
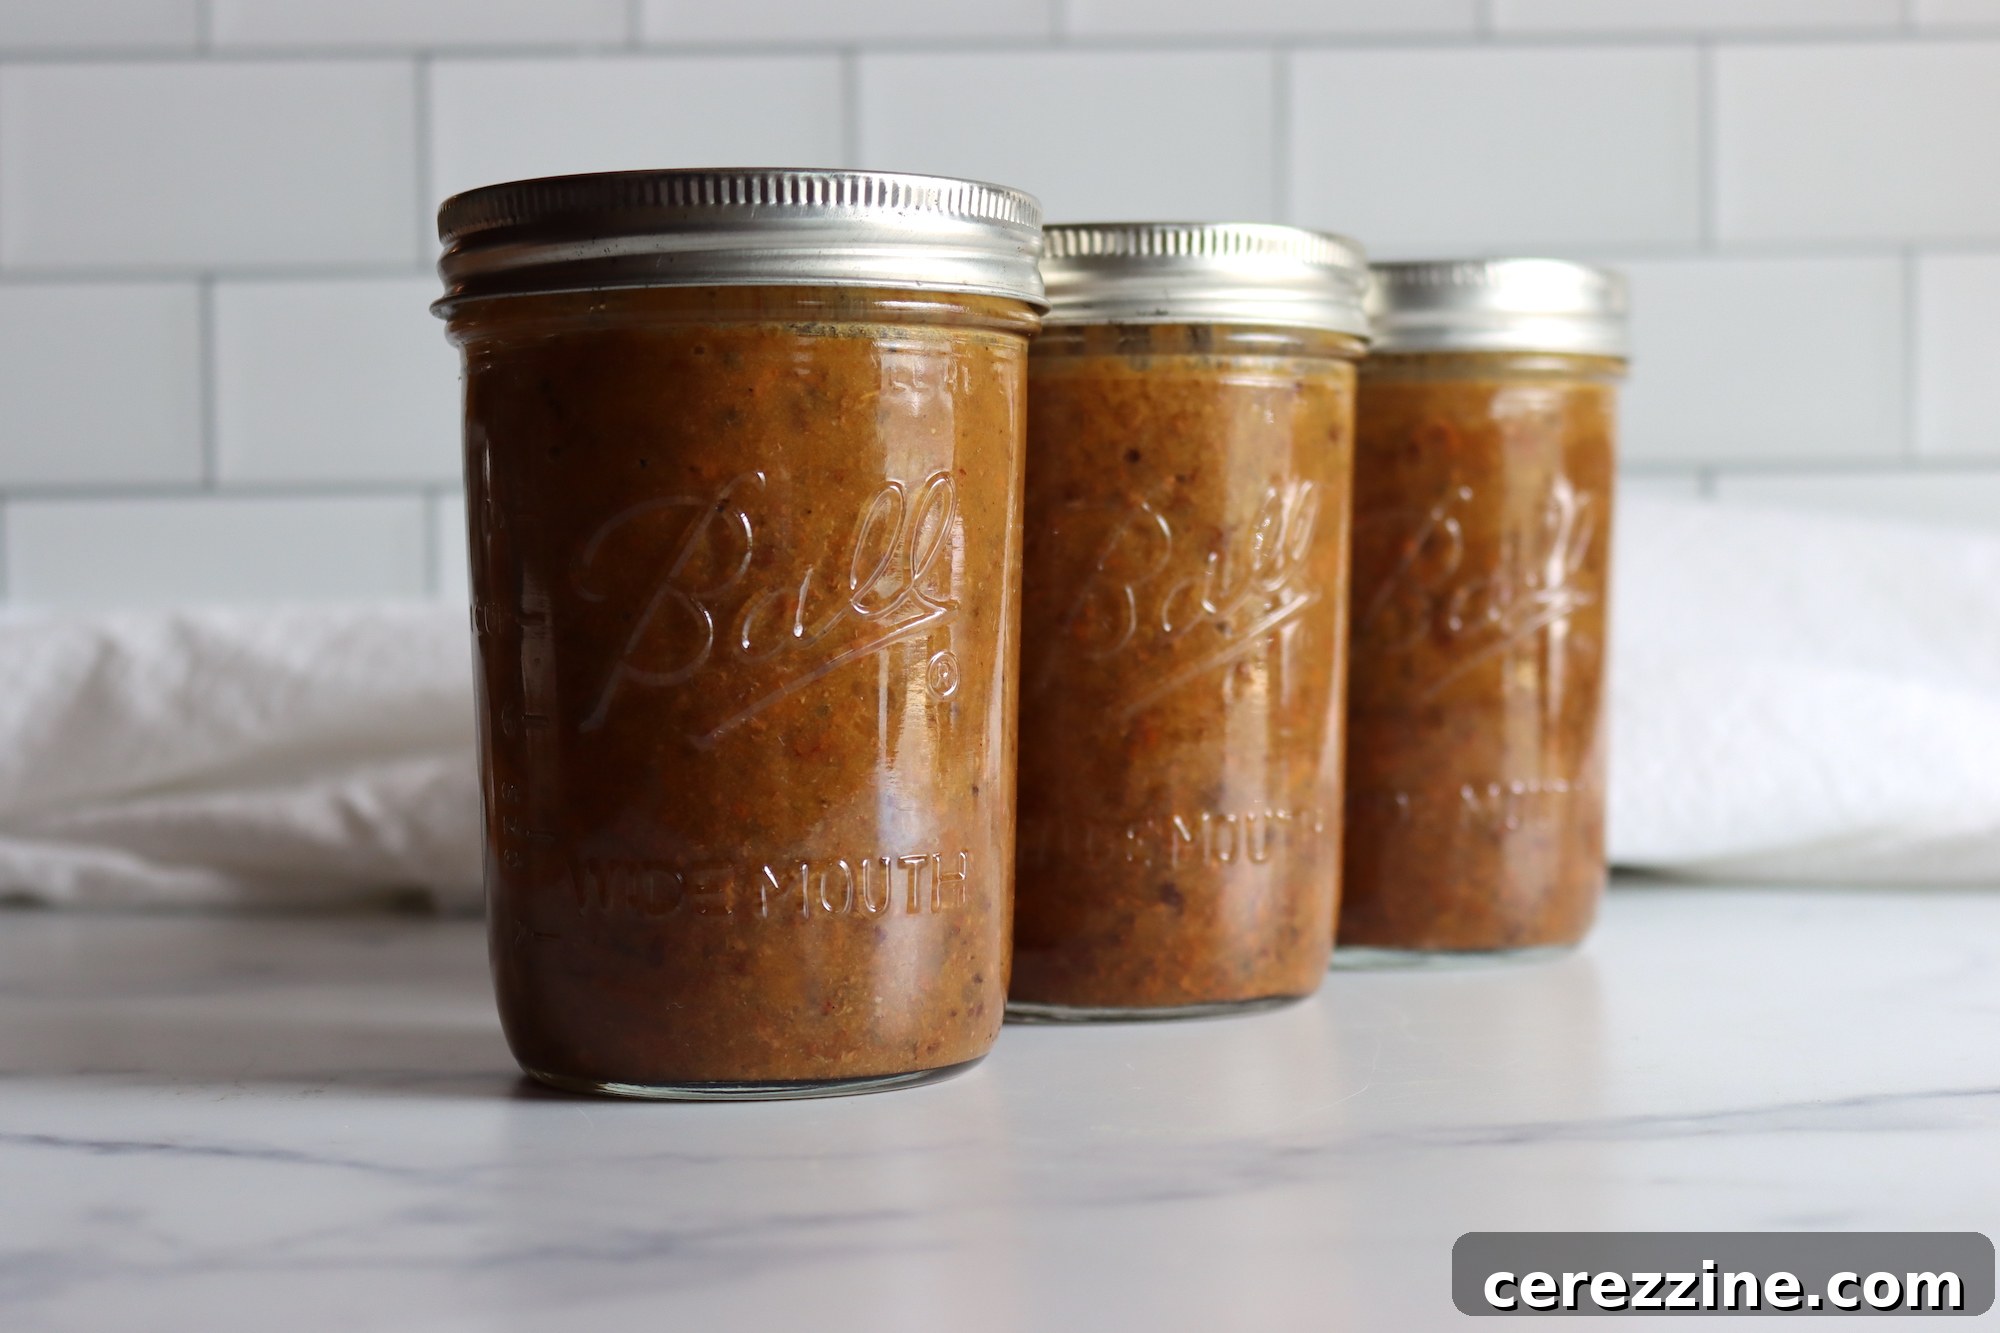
Canning taco meat is a delicious homemade convenience food, and after pressure canning, it’ll be waiting ready to heat and eat on your pantry shelf.
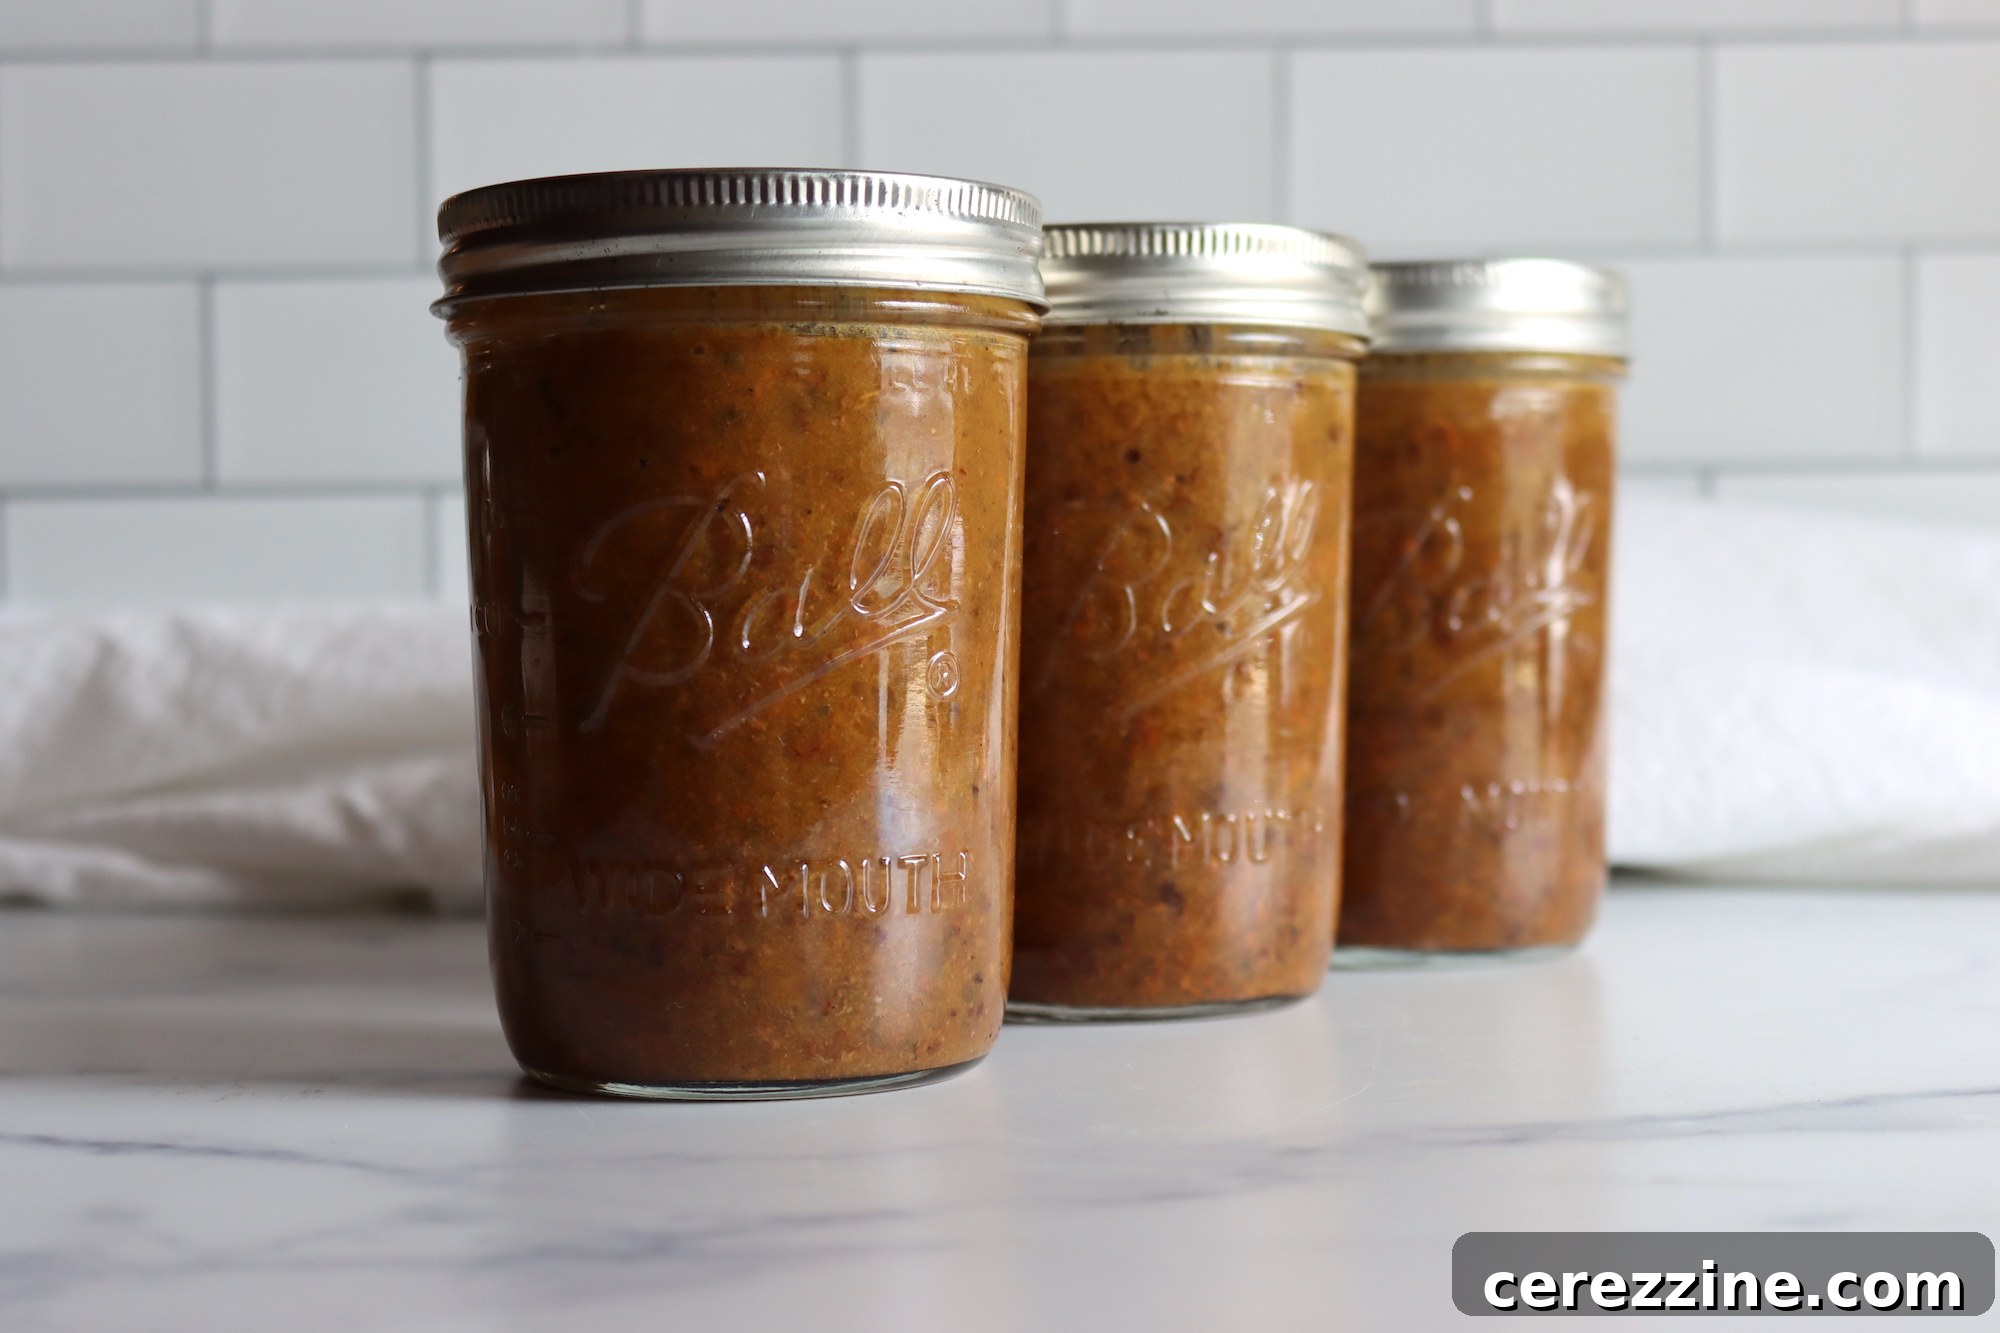
Canning Taco Meat: The Ultimate Guide to Savory, Shelf-Stable Meals
Imagine having perfectly seasoned taco meat ready to go at a moment’s notice, without the need for defrosting or last-minute cooking. For anyone who loves the vibrant flavors of tacos, burritos, or nachos, pressure canning taco meat is a game-changer. This method transforms ordinary ground beef (or other ground meats) into a convenient, shelf-stable staple that will revolutionize your meal prep. Say goodbye to freezer burn worries and hello to tender, juicy taco meat always at your fingertips, making it an indispensable homemade convenience food for busy families, avid meal preppers, or anyone seeking culinary simplicity and preparedness.
Why Pressure Can Taco Meat? Unlocking Flavor and Convenience
Pressure canning is not just a preservation method; it’s a way to infuse deep flavors and create incredibly tender meat. Unlike freezing, which can sometimes alter texture, pressure canning cooks the meat under high heat and pressure, allowing the seasonings and chosen liquid to meld together beautifully. This results in moist, flavorful taco meat that tastes like it’s been slow-cooked for hours, all while being safely stored on your pantry shelf for an extended period.
- Unmatched Convenience: Your taco meat is already cooked, seasoned, and ready to heat. This drastically cuts down on meal preparation time, perfect for unexpected guests or busy weeknights.
- Enhanced Flavor Profile: During the canning process, the spices fully penetrate the meat, creating a richer and more cohesive flavor than simply cooking it fresh.
- Shelf Stability: Canned taco meat eliminates the need for refrigeration or freezer space, making it an excellent option for long-term food storage and emergency preparedness.
- Cost-Effective: Buy ground meat in bulk when it’s on sale and preserve it, saving money in the long run.
- Peace of Mind: Knowing you have a supply of ready-to-eat meals provides comfort and security, especially during power outages or times when fresh ingredients are scarce.
For optimal flavor, avoid draining the liquid when serving. Instead, pour the contents of the jar into a saucepan and cook over medium-high heat until most of the liquid evaporates. This concentrates the savory flavors and lightly re-crisps the meat, delivering an authentic taco experience.
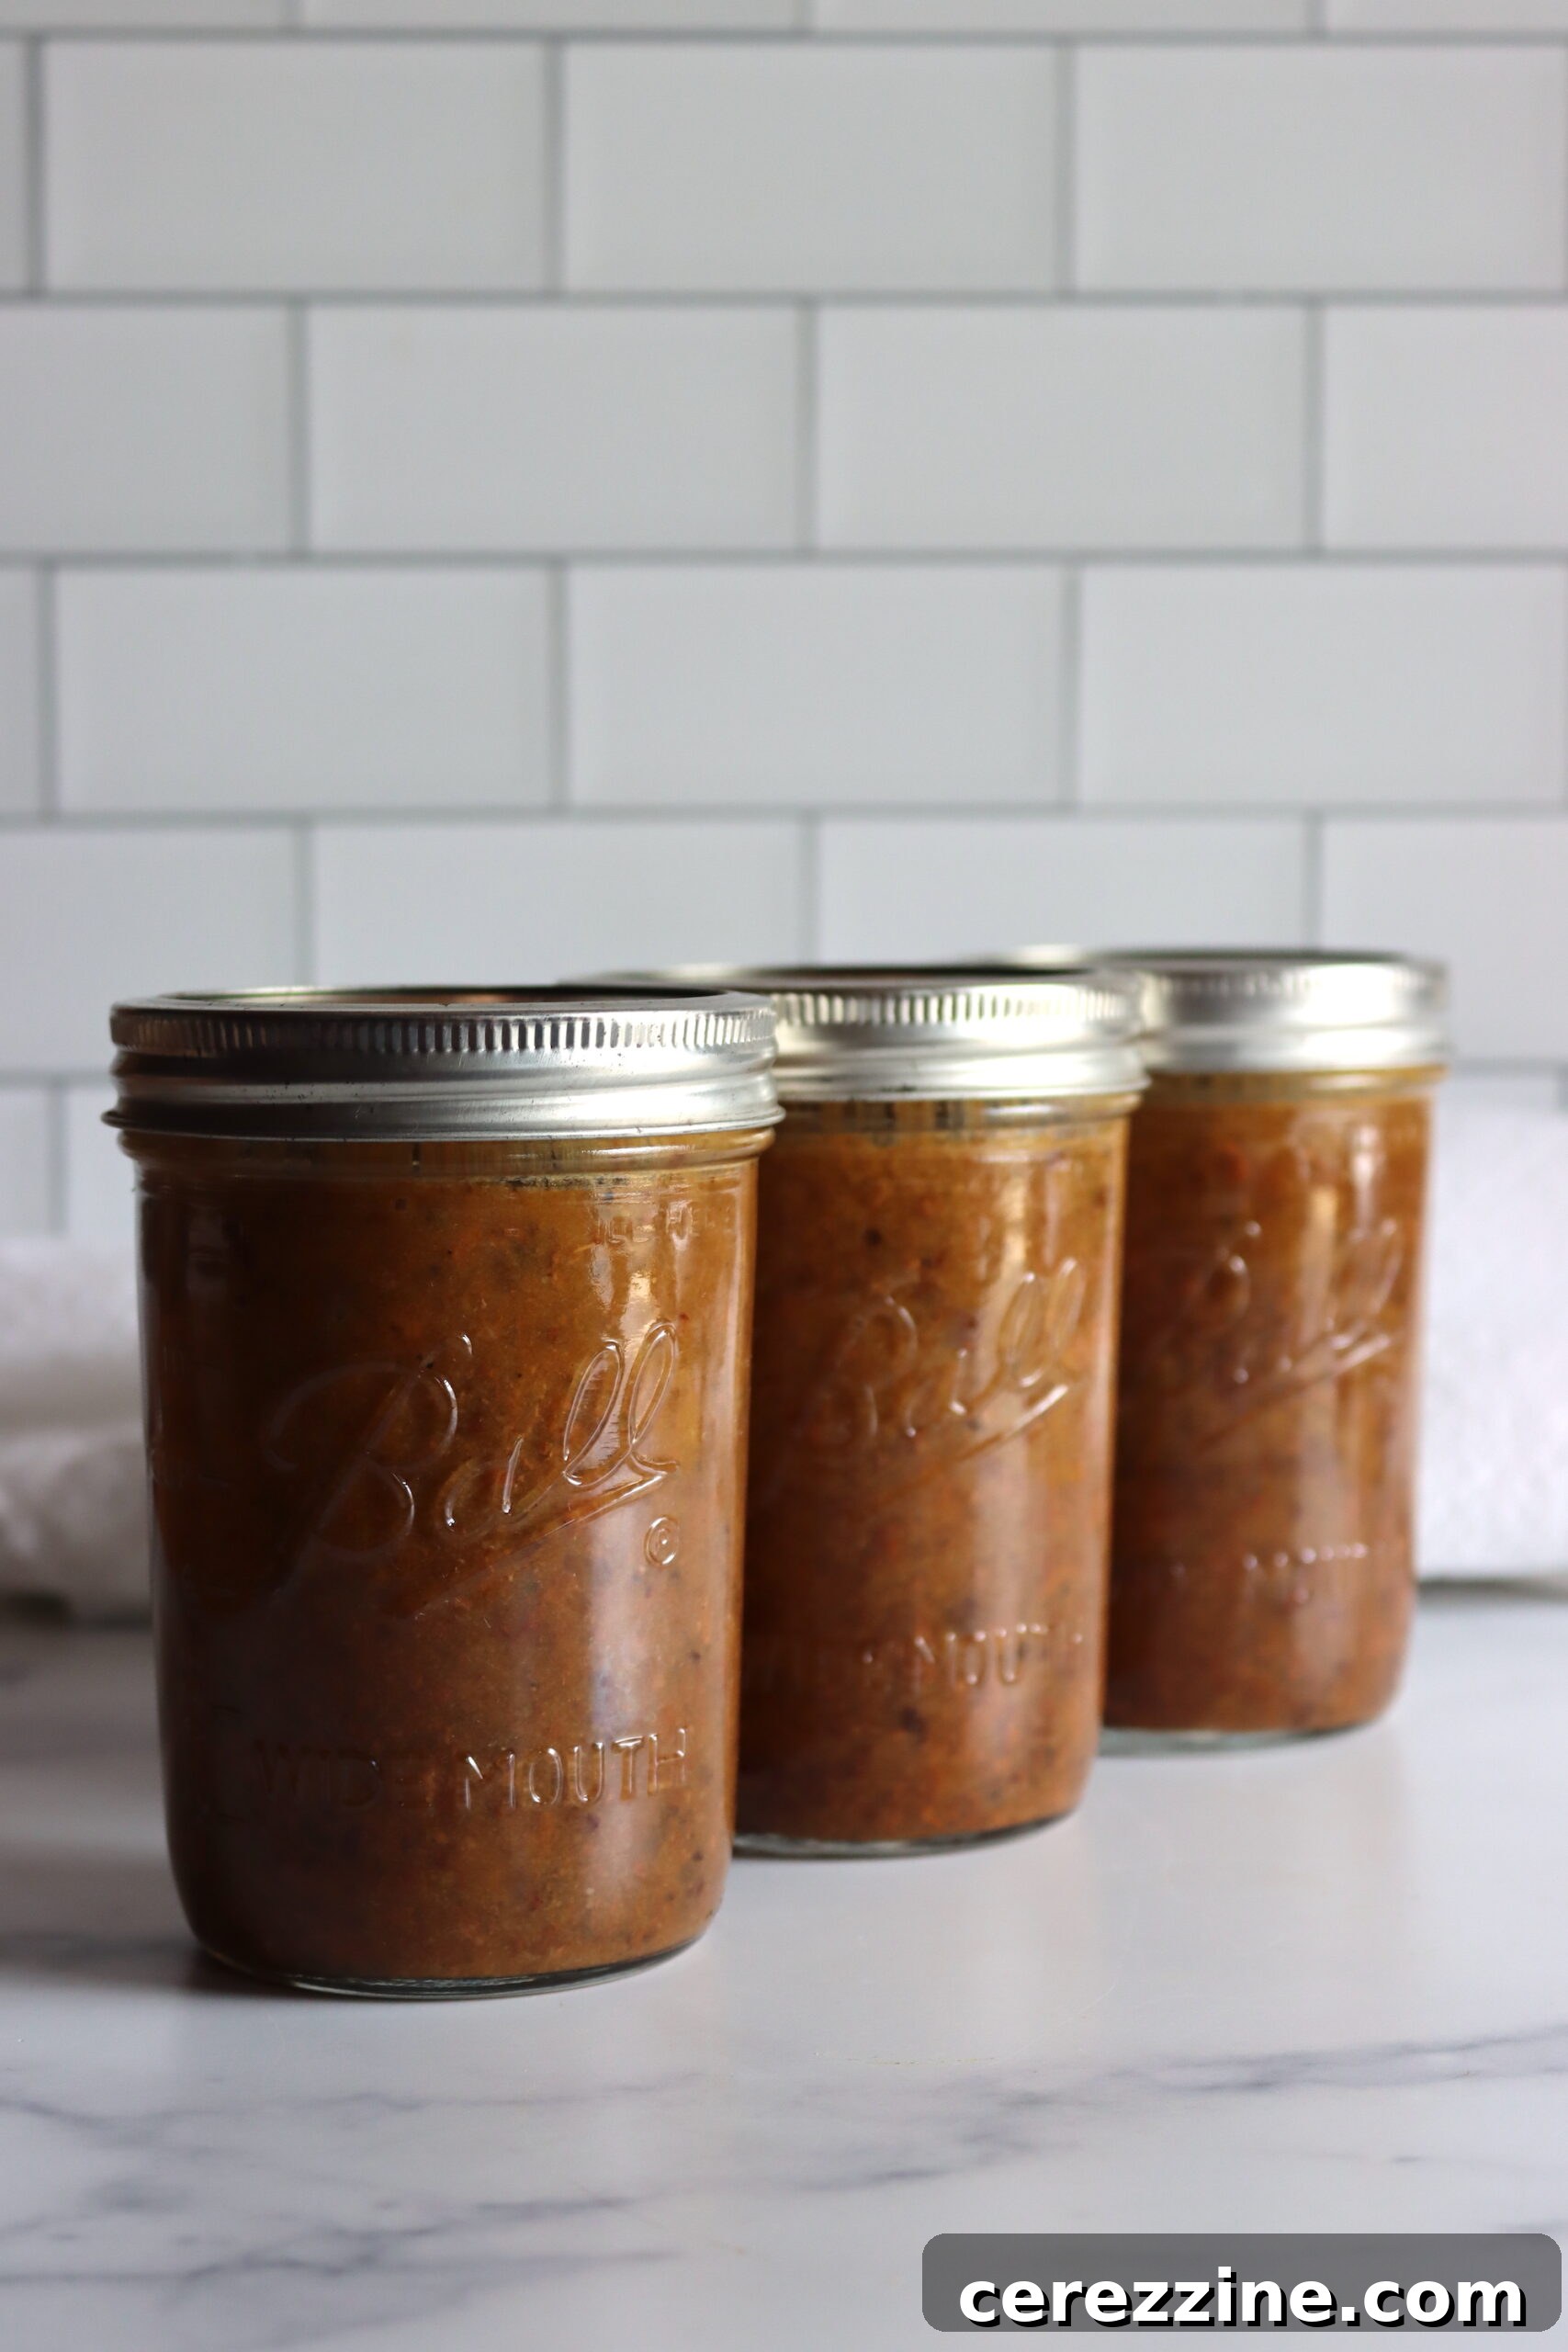
Safety First: Understanding Pressure Canning for Meat
When preserving low-acid foods like meat, pressure canning is the ONLY safe method. This process reaches temperatures high enough to destroy Clostridium botulinum spores, which can cause botulism, a serious foodborne illness. Unlike high-acid foods that can be safely water bath canned, meat requires the higher temperatures achieved only by a pressure canner.
Always follow tested recipes and guidelines from reputable sources like the National Center for Home Food Preservation (NCHFP). Proper headspace, processing times, and pressure adjustments for altitude are critical for ensuring the safety and quality of your canned goods. Do not attempt to water bath can meat products.
Ingredients for Canning Taco Meat: A Foundation of Flavor
This recipe is designed for ease and versatility, yielding approximately 4 pint jars of delicious taco meat. You can easily scale this up or down based on your needs and canner capacity.
Essential Ingredients:
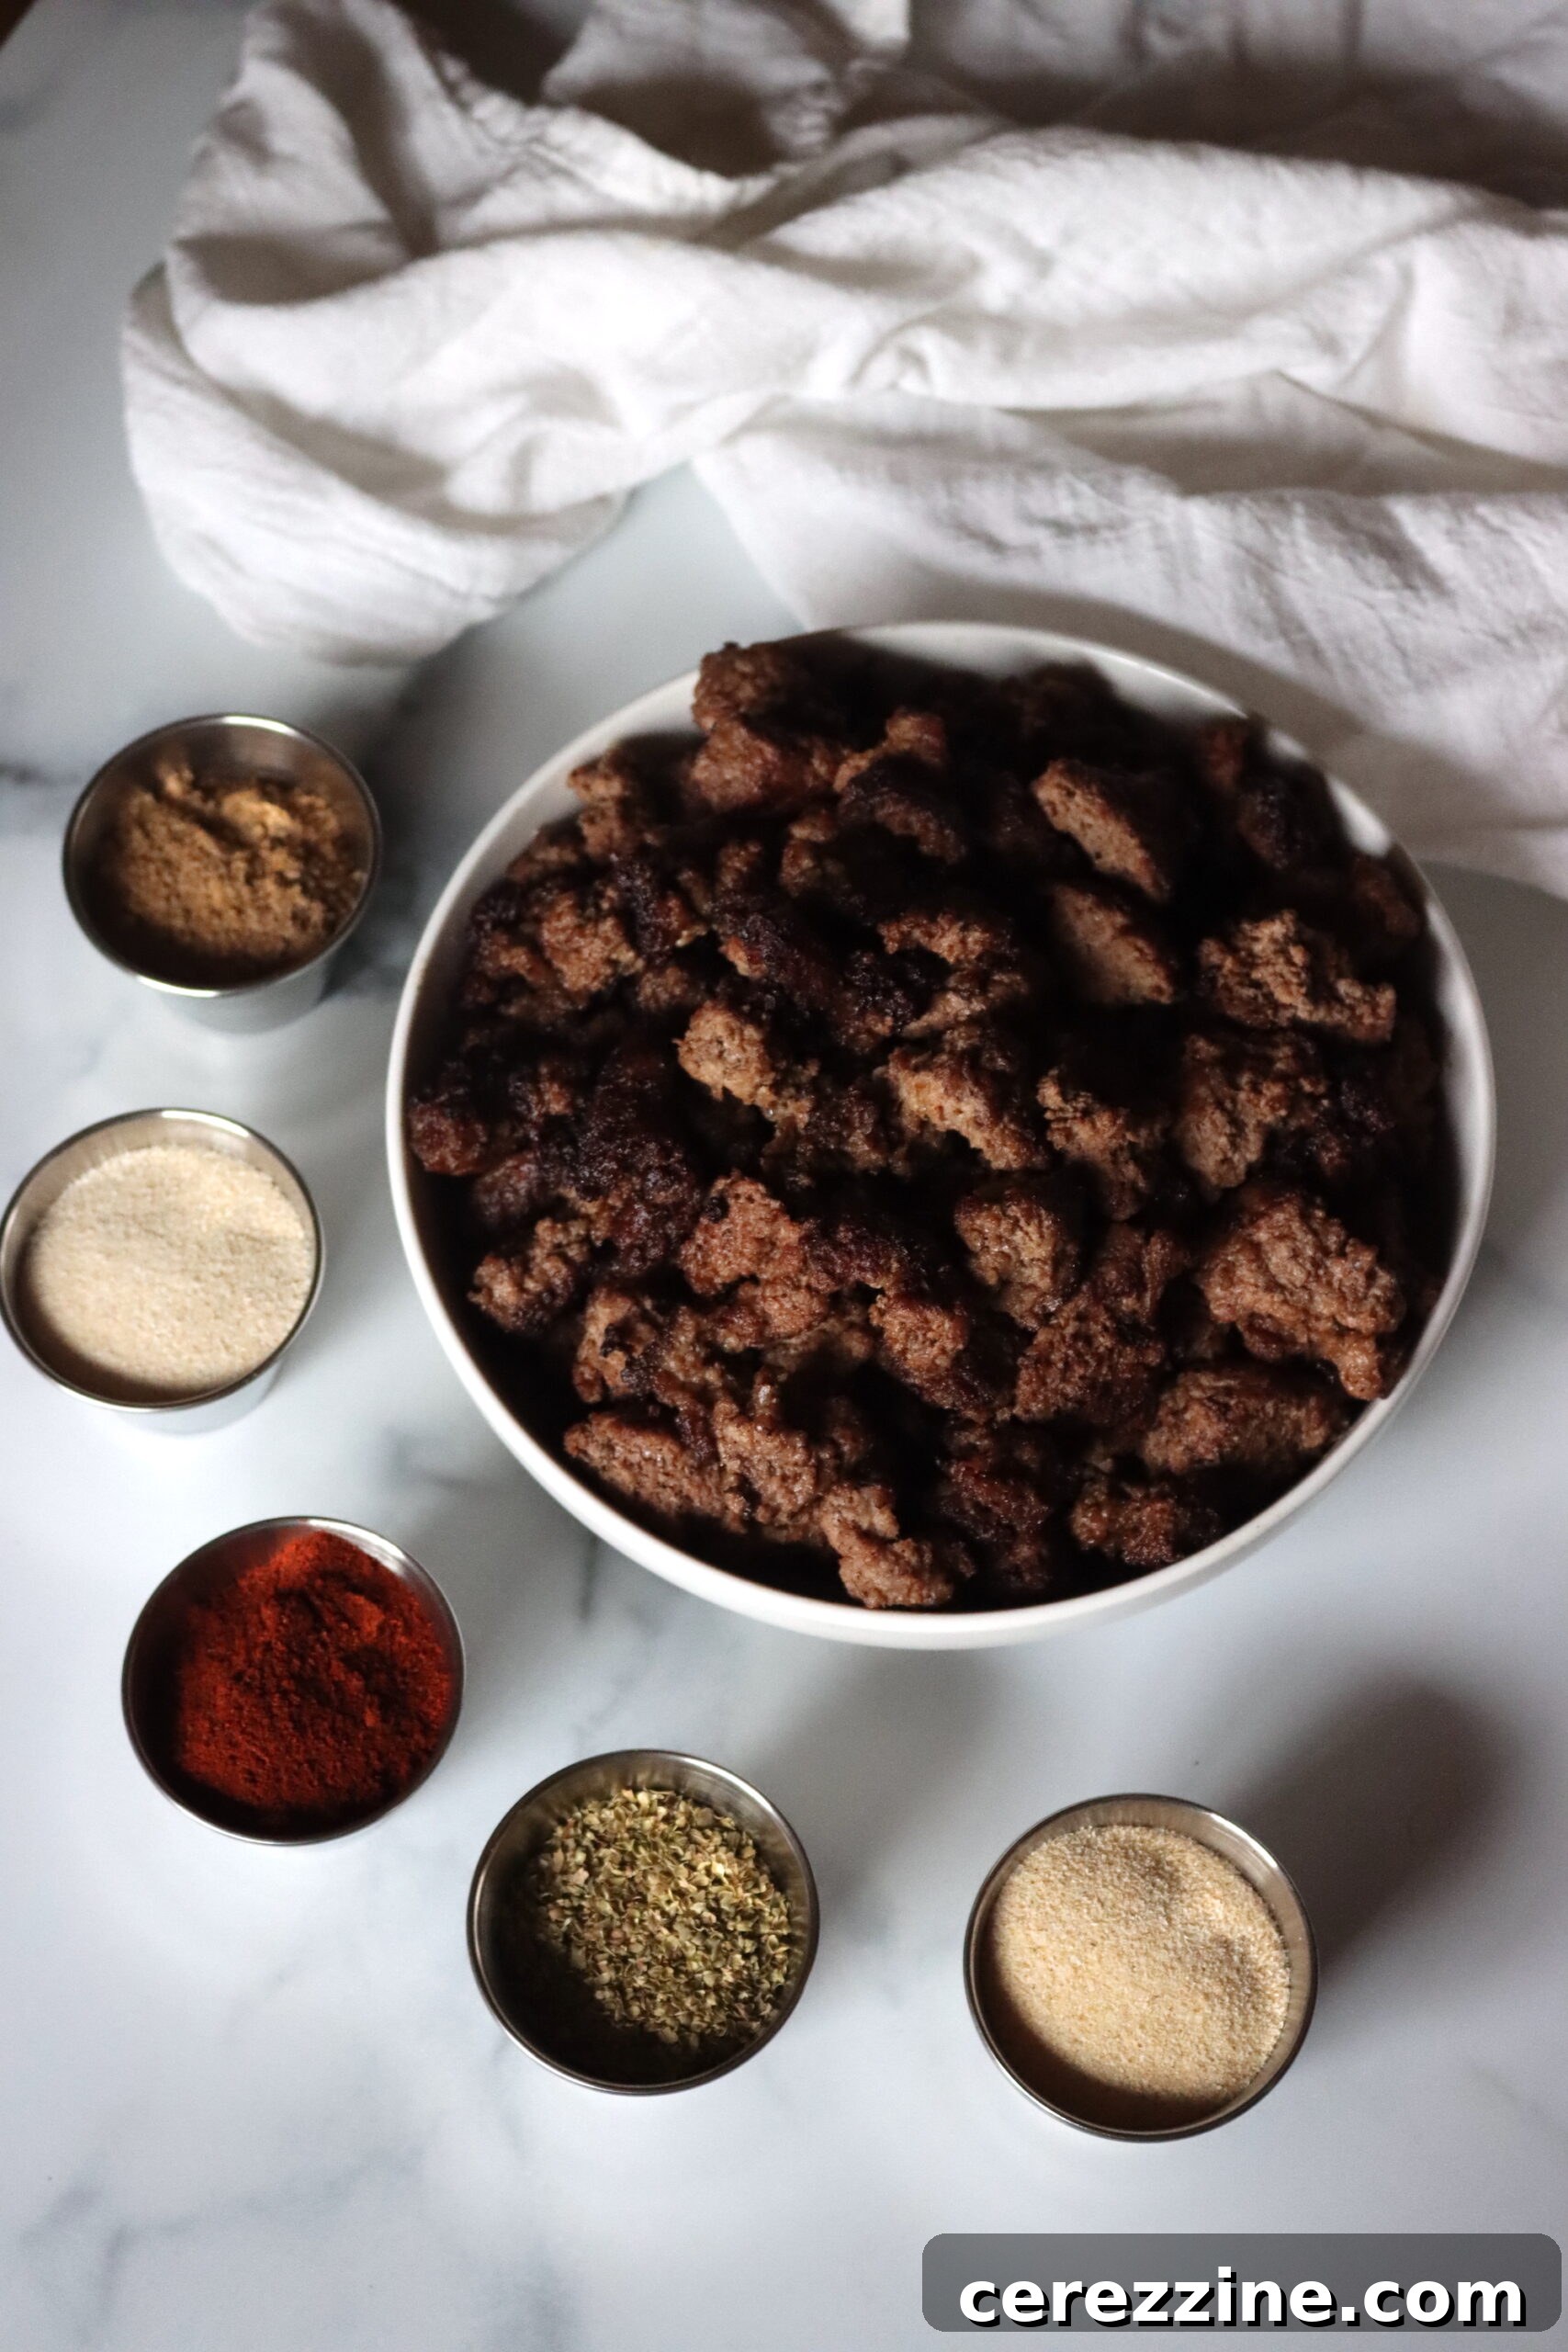
- 3 lbs Ground Beef: The classic choice for taco meat, offering rich flavor and satisfying texture.
- 3 to 4 tsp Salt: While the NCHFP generally recommends 1 tsp per pint for ground meat, you can adjust this to your personal taste. I often find 3 tsp for 3 lbs of meat to be sufficient.
- 2 Tbsp. Onion Powder or Minced Onion: Adds a foundational aromatic sweetness.
- 1 Tbsp. Garlic Powder: Essential for that robust, savory depth.
- 1 Tbsp. Chili Powder: The core spice that defines the “taco” flavor.
- 1 Tbsp. Cumin: Provides earthy, warm undertones that are hallmark of Mexican cuisine.
- 1 tsp. Oregano (preferably Mexican oregano): Mexican oregano has a more citrusy, earthy flavor compared to Mediterranean oregano, enhancing authenticity.
- 1 tsp. Red Pepper Flakes (optional): For those who appreciate a touch of heat. Adjust according to your preferred spice level.
- Beef Broth or Tomato Juice (about 3 cups): This is your canning liquid. Beef broth will yield a richer, more savory outcome, while tomato juice will add a pleasant tangy zest. Ensure it’s brought to a boil before adding to jars.
Meat and Spice Variations:
While ground beef is traditional, feel free to experiment with other ground meats you enjoy or have on hand. Ground chicken, turkey, or pork work wonderfully, as do wild game meats like venison or bear. The NCHFP guidelines for canning ground meat apply uniformly across these options, making this recipe highly adaptable.
When it comes to seasonings, the mix provided offers a classic taco flavor profile. However, home canning allows for immense customization. As long as you stick to dried spices and seasonings, you can adjust quantities or swap out ingredients to match your family’s preferences. Avoid fresh herbs or vegetables (other than those specified in NCHFP-approved mixed recipes) directly in the meat without following specific mixed-food canning guidelines, as they can alter the density and acidity, impacting canning safety.
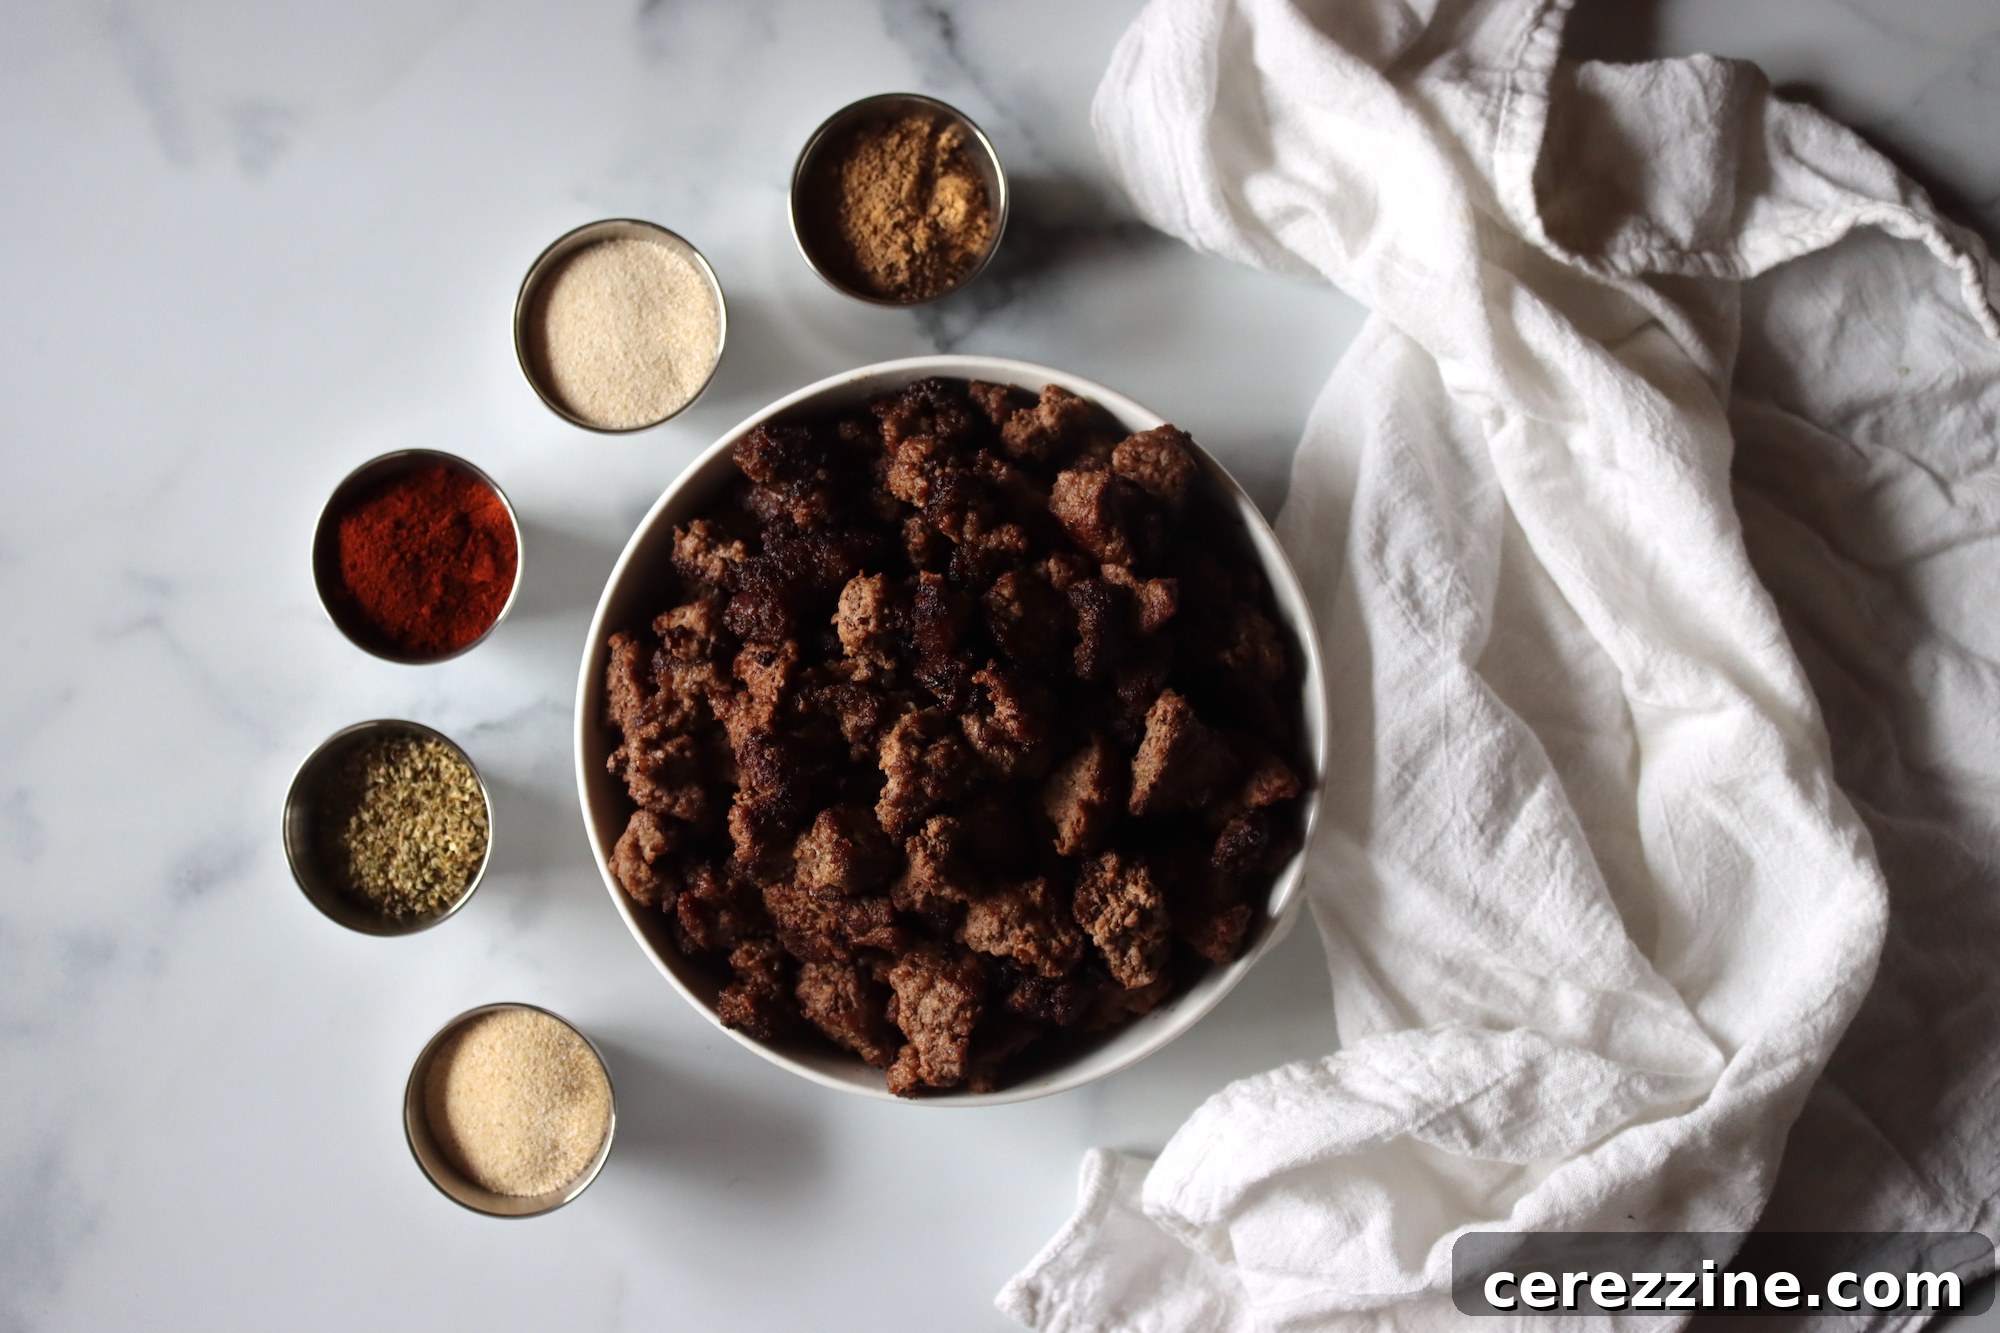
A note on adding vegetables: If you wish to incorporate diced peppers, onions, or tomatoes directly into the jars with the meat, you must follow specific guidelines for canning hearty soups or mixed meals. This is because adding low-acid vegetables can change the density and heat penetration during processing, requiring adjusted processing times to ensure safety. For simplicity and broad application, this recipe focuses purely on seasoned meat and liquid.
When browning the meat, I personally prefer to cook it in larger chunks rather than finely crumbling it. This approach helps maintain a more substantial and satisfying texture in the finished canned product, preventing it from becoming overly mushy after the pressure canning process.
Essential Equipment for Pressure Canning
Successful and safe pressure canning requires a few key pieces of equipment:
- Pressure Canner: This is non-negotiable for canning meat. Ensure it’s in good working order, with a properly functioning gauge (if it’s a dial gauge) and rubber seal.
- Pint-Sized Canning Jars: Use only jars designed for canning, such as Ball or Kerr. Wide-mouth jars are often easier to pack.
- New Lids and Bands: Always use new canning lids for each canning session to ensure a proper seal. Bands can be reused if they are in good condition.
- Canning Funnel: Helps prevent spills and keeps jar rims clean when filling.
- Jar Lifter: Essential for safely placing hot jars into and removing them from the canner.
- Headspace Tool (optional but recommended): Helps ensure accurate headspace, which is crucial for proper sealing.
- Large Skillet and Stockpot: For browning meat and heating canning liquid.
Preparing Taco Meat for Canning: A Step-by-Step Guide
The preparation phase is critical for both flavor and safety. Follow these steps carefully:
1. Brown the Ground Meat:
Start by adding a small amount of oil to a large skillet over medium heat. Add the ground beef and begin to brown it thoroughly. Break up the beef as it cooks, aiming for medium-sized crumbles rather than very fine pieces, which helps the finished product retain a pleasing texture. Ensure all pink is gone and the meat is fully browned. Drain off any excess fat from the skillet. This step is crucial; excess fat can interfere with jar seals and affect the quality of the canned product.
2. Season the Meat:
Once the beef is fully browned and drained, stir in all your chosen seasonings: salt, onion powder (or minced onion), garlic powder, chili powder, cumin, oregano, and red pepper flakes (if using). Mix vigorously to ensure the spices are evenly distributed throughout the meat. Some prefer to add seasonings while the meat is still cooking, which is also acceptable, but ensure they are well incorporated.
3. Prepare Your Canning Jars and Liquid:
Thoroughly wash and sterilize 4 pint-sized canning jars and their lids. Sterilization is important to eliminate any potential bacteria. Keep the jars warm to prevent thermal shock when adding hot meat and liquid. Prepare your canning liquid: either beef broth or tomato juice. Measure out approximately 3 cups (¾ cup per pint jar) and bring it to a rolling boil in a separate saucepan. Keep the liquid hot.
4. Pack the Jars:
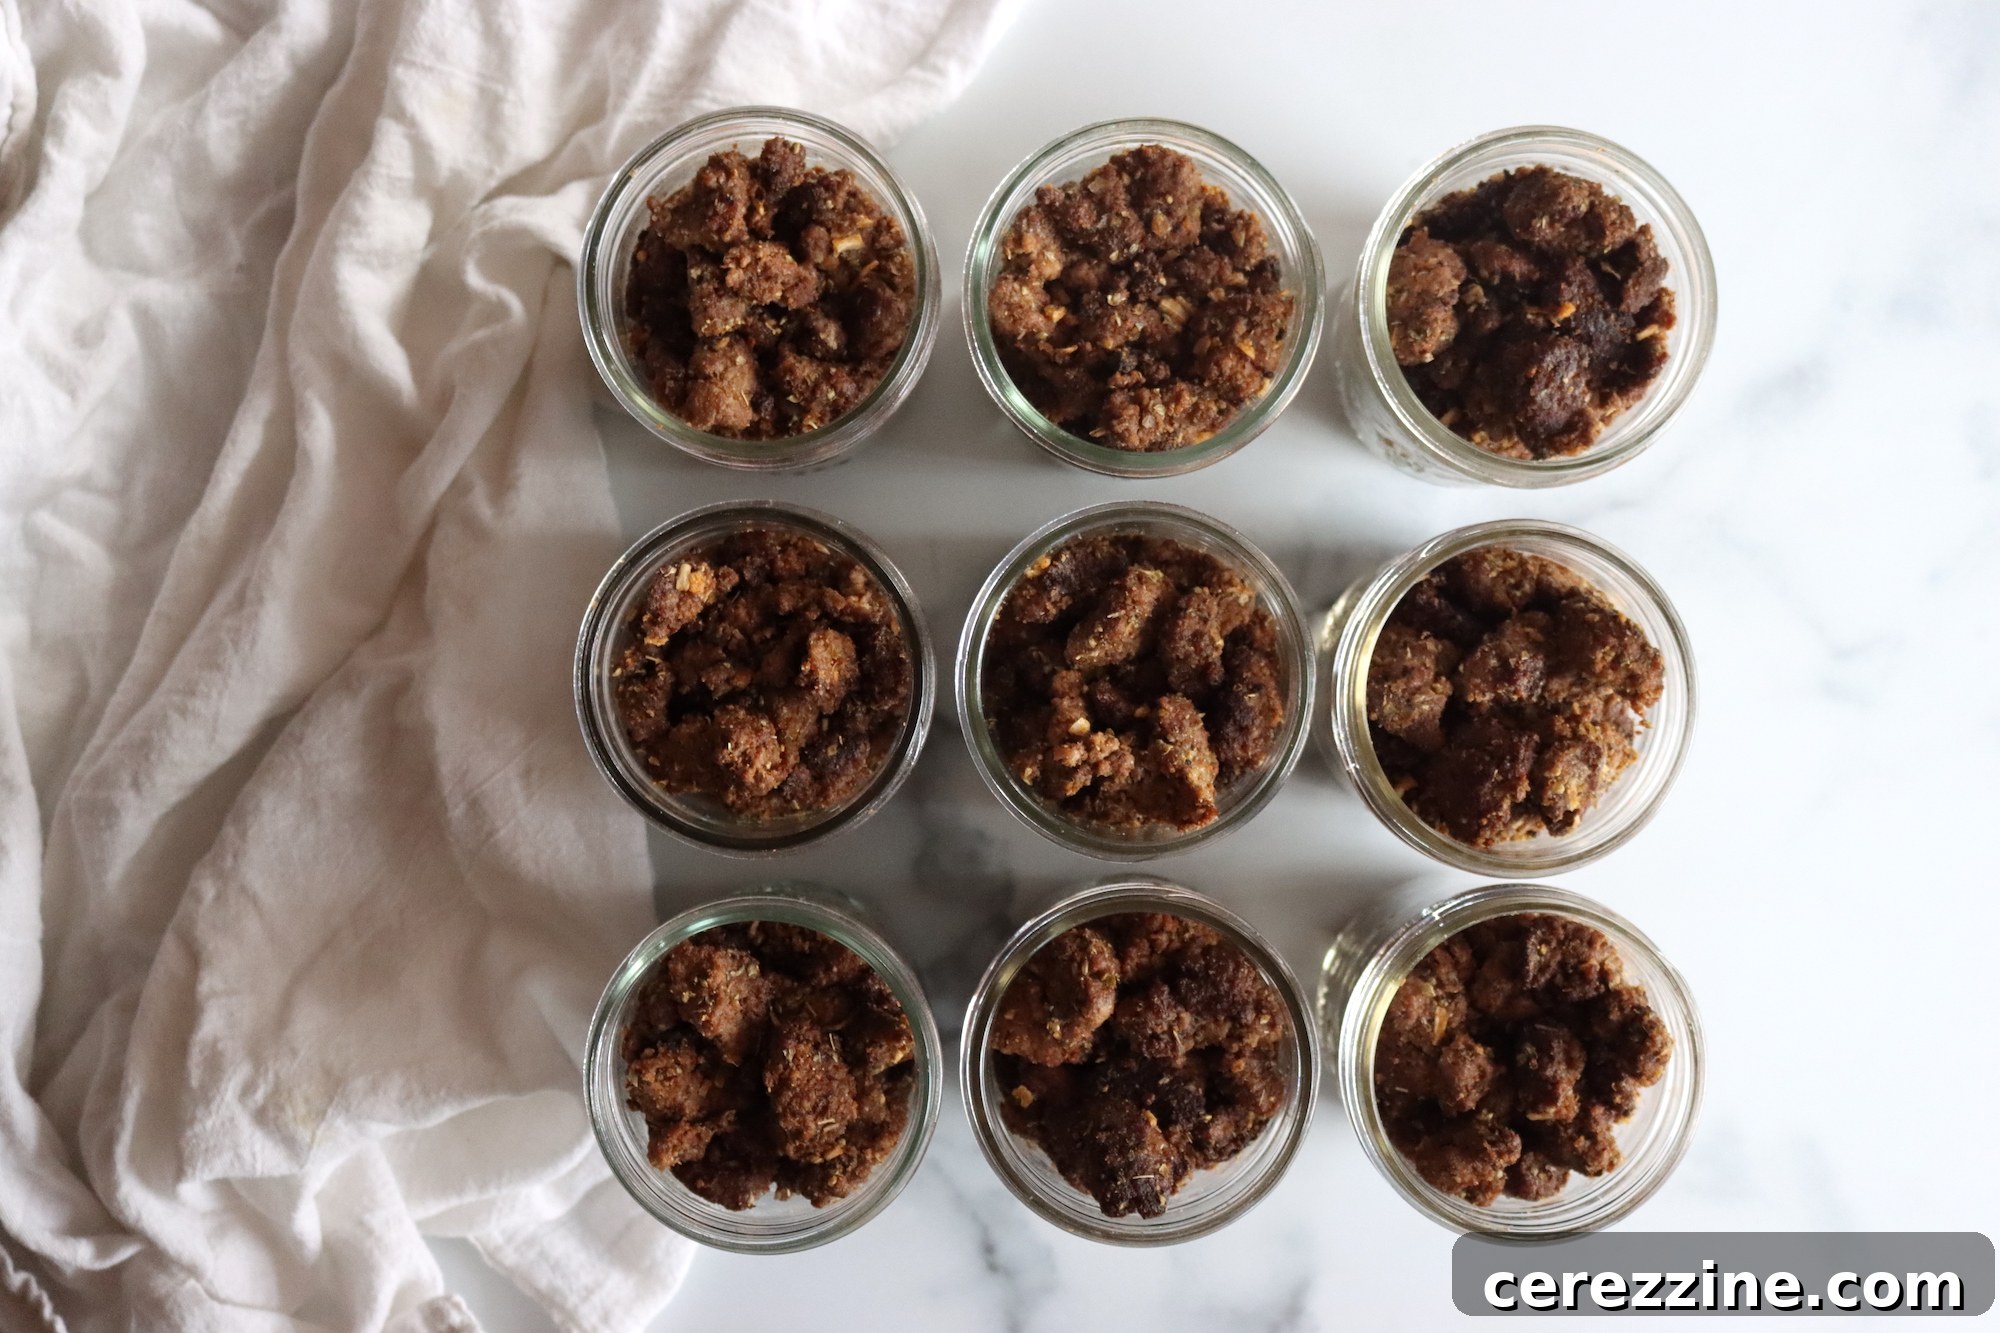
Using a canning funnel, spoon the seasoned ground beef into the prepared hot jars. Pack the meat firmly but not excessively tight. You want to ensure there’s enough space for the canning liquid to circulate. It’s essential to leave precisely one inch of headspace at the top of each jar. This headspace is vital for a proper vacuum seal to form during processing. Use a debubbler tool or a clean chopstick to remove any air bubbles from around the meat, adding more meat or liquid if necessary to maintain the 1-inch headspace.
5. Add Canning Liquid:
Carefully pour the boiling hot beef broth or tomato juice over the packed meat in each jar. Ensure the meat is mostly covered by the liquid, but strictly maintain that one-inch headspace. The hot liquid helps facilitate proper heat transfer during canning and keeps the meat moist.
6. Clean Rims and Seal:
Using a clean, damp cloth (you can dip it in white vinegar for extra grease removal), wipe the rims of each jar thoroughly. Any grease, food particles, or residue can prevent a proper seal. Place the sterilized lids centered on the jar rims, then screw on the bands until they are “finger-tight.” This means tightening them until you feel resistance, then giving them a gentle twist, but not overtightening, as this can impede air escape and prevent sealing.
Canning Taco Meat: The Pressure Processing Phase
With your jars properly prepared, it’s time for the most important step: pressure canning. This ensures the safety and long-term stability of your taco meat.
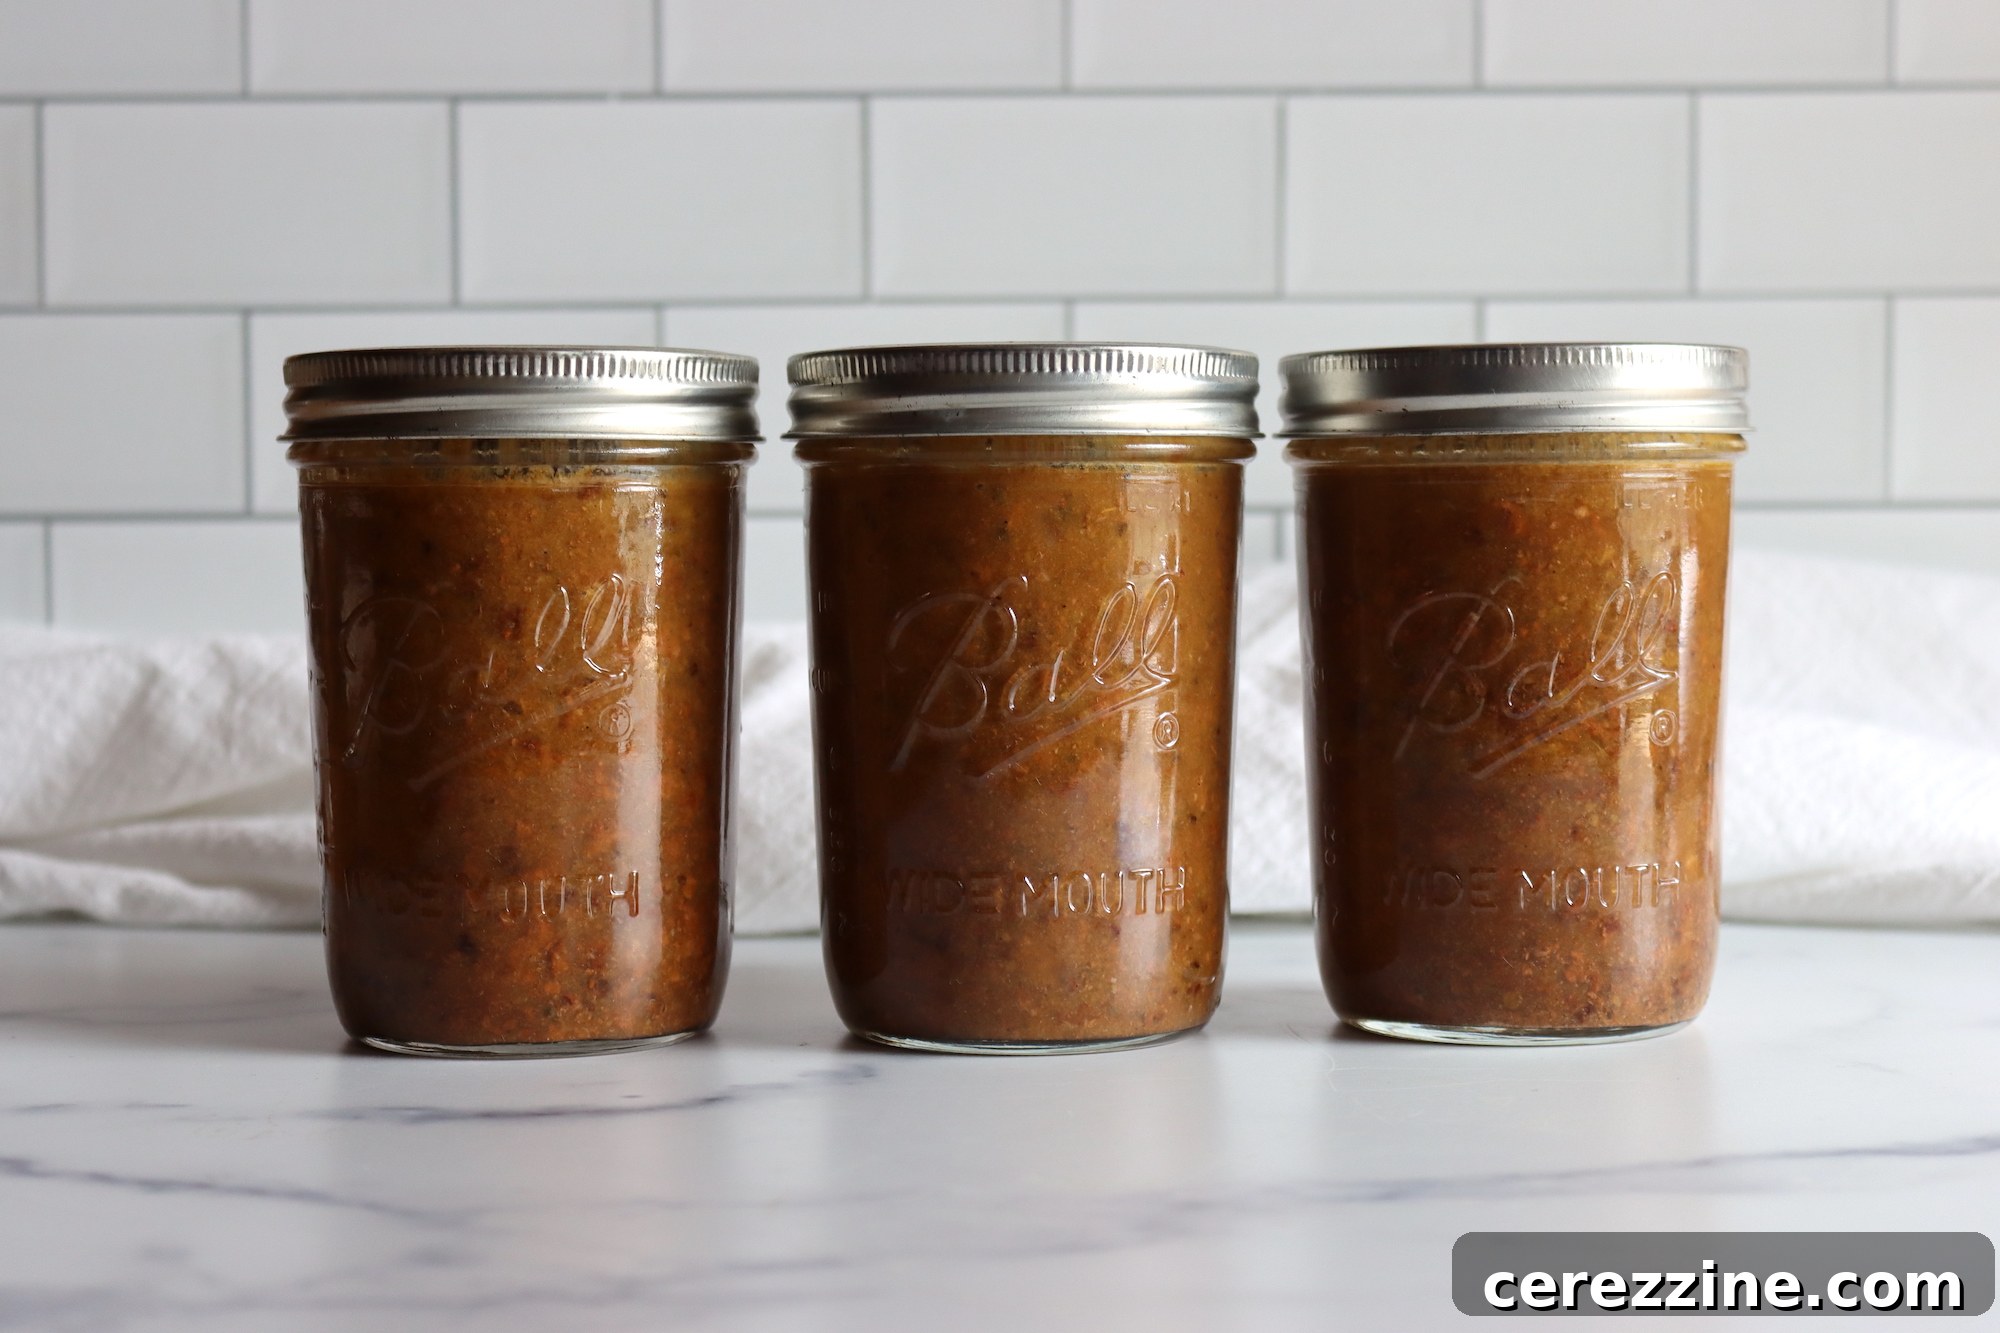
Load the prepared jars into your pressure canner, ensuring they are placed on the rack provided at the bottom. Add the recommended amount of water to your canner (usually 2-3 inches, check your canner’s manual). Secure the canner lid according to your model’s instructions.
Turn the heat to high. Allow the canner to vent steam for 10 minutes once a steady stream appears. This purges air from the canner, which is crucial for achieving the correct internal temperature. After venting, place the weighted gauge on the vent pipe or close the petcock and bring the canner up to the required pressure.
Process the jars at 10 pounds of pressure (for dial gauge canners, refer to your manual for specific pressure if below 2,000 feet altitude) for:
- 75 minutes for pints and half-pints
- 90 minutes for quarts
Maintain consistent pressure throughout the entire processing time. Adjust heat as necessary to keep the pressure steady.
Altitude Adjustments for Pressure Canning
Altitude affects boiling points and internal canner temperatures. It’s crucial to adjust the pressure according to your elevation to ensure safety. The processing time remains the same, but the required pressure increases at higher altitudes.
Weighted Gauge Canner:
- Under 1,000 Feet Elevation: Use 10 lbs pressure
- Over 1,000 Feet Elevation: Use 15 lbs pressure
Dial Gauge Canner:
- 0 to 2,000 Feet Elevation: Use 11 lbs pressure
- 2,001 to 4,000 Feet Elevation: Use 12 lbs pressure
- 4,001 to 6,000 Feet Elevation: Use 13 lbs pressure
- 6,001 to 8,000 Feet Elevation: Use 14 lbs pressure
Post-Canning and Storage:
Once the processing time is complete, turn off the heat and allow the pressure canner to cool down naturally and completely. DO NOT rush this process by opening the vent or cooling with water, as this can cause liquid loss from jars and potential seal failure. Once the pressure gauge reads zero, wait another 5-10 minutes before carefully removing the lid. Always open the lid away from your face to avoid steam burns.
Using a jar lifter, carefully remove the hot jars from the canner and place them on a clean, towel-lined surface, ensuring they are not touching each other. Let them cool undisturbed for 12-24 hours. As they cool, you’ll hear the satisfying “pop” sound as the lids seal. After cooling, check seals by pressing the center of each lid. If it doesn’t flex, the jar is sealed. Remove the bands, wipe jars clean, label with contents and date, and store in a cool, dark, dry place. Unsealed jars must be refrigerated and consumed within a few days.
Tips & Variations for Your Canned Taco Meat
This recipe is a fantastic starting point, but don’t hesitate to customize it to fit your culinary desires.
- Adjust the Spice Level: For a milder taco meat, simply reduce or omit the red pepper flakes. If you crave more heat, consider adding a pinch of cayenne pepper, a dash of hot sauce (to the pan, not the jars), or increasing the chili powder.
- Broth or Juice: Which Liquid is Right for You? The choice between beef broth and tomato juice significantly impacts the final flavor. Beef broth delivers a deep, umami-rich savory profile. Tomato juice introduces a bright, tangy element that can cut through the richness of the meat. For a balanced approach, you can even experiment with a 50/50 mix of both. Consider what you typically pair with your tacos!
- Creative Add-ins (with caution): While adding fresh vegetables directly into the canning jar with the meat requires adherence to specific, tested recipes for mixed ingredients (like canning hearty soups, as linked earlier), you can always add fresh veggies like diced bell peppers, onions, or cilantro *after* opening a jar of canned taco meat and reheating it. This ensures safety while still allowing for fresh flavor and texture.
- Meat Texture Matters: As mentioned, browning the ground meat in slightly larger chunks can lead to a more pleasant, less mushy texture after canning. Avoid over-crumbling.
- Homemade Taco Seasoning: For ultimate control over ingredients and flavor, consider making your own taco seasoning blend from scratch. This allows you to avoid preservatives and anti-caking agents found in many store-bought mixes.
How to Use Your Canned Taco Meat: Endless Culinary Possibilities
Once your flavorful taco meat is safely canned, a world of quick and delicious meals opens up. The convenience is truly remarkable – just open a jar, heat, and serve!
To use, simply empty the contents of a jar into a skillet or microwave-safe dish. Heat thoroughly. As the meat heats, you can simmer off any excess liquid to concentrate the flavors, or leave a little for a juicier consistency. Here are just a few ideas:
- Classic Tacos and Burritos: The most obvious and satisfying use! Pile into hard or soft taco shells, or wrap in tortillas with your favorite toppings like lettuce, cheese, salsa, sour cream, and guacamole.
- Nachos Supreme: Layer over tortilla chips with melted cheese, jalapeños, olives, and a dollop of sour cream.
- Taco Salads: Serve a generous portion over a bed of crisp lettuce with corn, black beans, tomatoes, avocado, and a zesty dressing.
- Quick Quesadillas: Spread between two tortillas with cheese and grill until golden and melty.
- Enchiladas: Use as a filling for homemade enchiladas, topped with sauce and cheese, then baked.
- Stuffed Bell Peppers: Mix with rice and stuff into bell peppers for a hearty, baked meal.
- Chili Starter: Add to a pot with beans, tomatoes, and more chili spices for a quick and robust chili.
- Taco Soup: Combine with broth, corn, beans, and diced tomatoes for a flavorful, hearty soup.
- Emergency Meals: Keep a few jars in your camping gear or emergency kit for an instant, satisfying meal.
The beauty of this pressure-canned taco meat is its versatility and the guarantee of a flavorful meal even on the busiest of nights. It’s truly a homemade convenience food that keeps on giving!
Frequently Asked Questions (FAQ) About Canning Taco Meat
How long does canned taco meat last?
Properly pressure canned taco meat, stored in a cool, dark place, can last for at least 1 year, and often much longer (2-3 years) while retaining good quality. Always ensure jars are sealed and store in ideal conditions for optimal shelf life.
Can I use a water bath canner for taco meat?
No, absolutely not. Meat is a low-acid food and must be processed in a pressure canner to reach temperatures high enough to destroy harmful bacteria spores, like those that cause botulism. A water bath canner does not achieve these necessary temperatures.
What if my jars don’t seal?
If a jar doesn’t seal after 12-24 hours of cooling, do not reprocess it. Instead, refrigerate the unsealed jar and consume its contents within 2-3 days, or freeze it for later use. Ensure you troubleshoot the reason for seal failure for future canning sessions (e.g., chipped rim, over-tightened band, food on rim).
Can I add fresh cilantro or other fresh herbs before canning?
It’s generally not recommended to add fresh herbs like cilantro or fresh vegetables to meat when pressure canning unless the recipe specifically calls for it and has been tested for safety. Fresh ingredients can change the density and acidity of the product, requiring different processing times. It’s best to add fresh herbs and vegetables when reheating and serving the canned taco meat.
Can I use leaner ground meat?
Yes, you can use leaner ground meat. However, ensure you add enough liquid (broth or tomato juice) to maintain moisture, as leaner meats tend to be drier. Always drain any rendered fat before filling jars.
More Taco Meat Canning Adventures
Ready to explore more delicious ways to preserve taco flavors? Try these related recipes:
- Chipotle Beef Taco Meat
- Chicken Taco Meat
- Canned Taco Soup
Beyond Tacos: Other Ground Beef Canning Recipes
Ground beef is incredibly versatile for canning. Expand your pantry with these other fantastic ground beef canning recipes:
- Canning Sloppy Joe Filling
- Canning Hamburger or Ground Beef
Canning Taco Meat Recipe
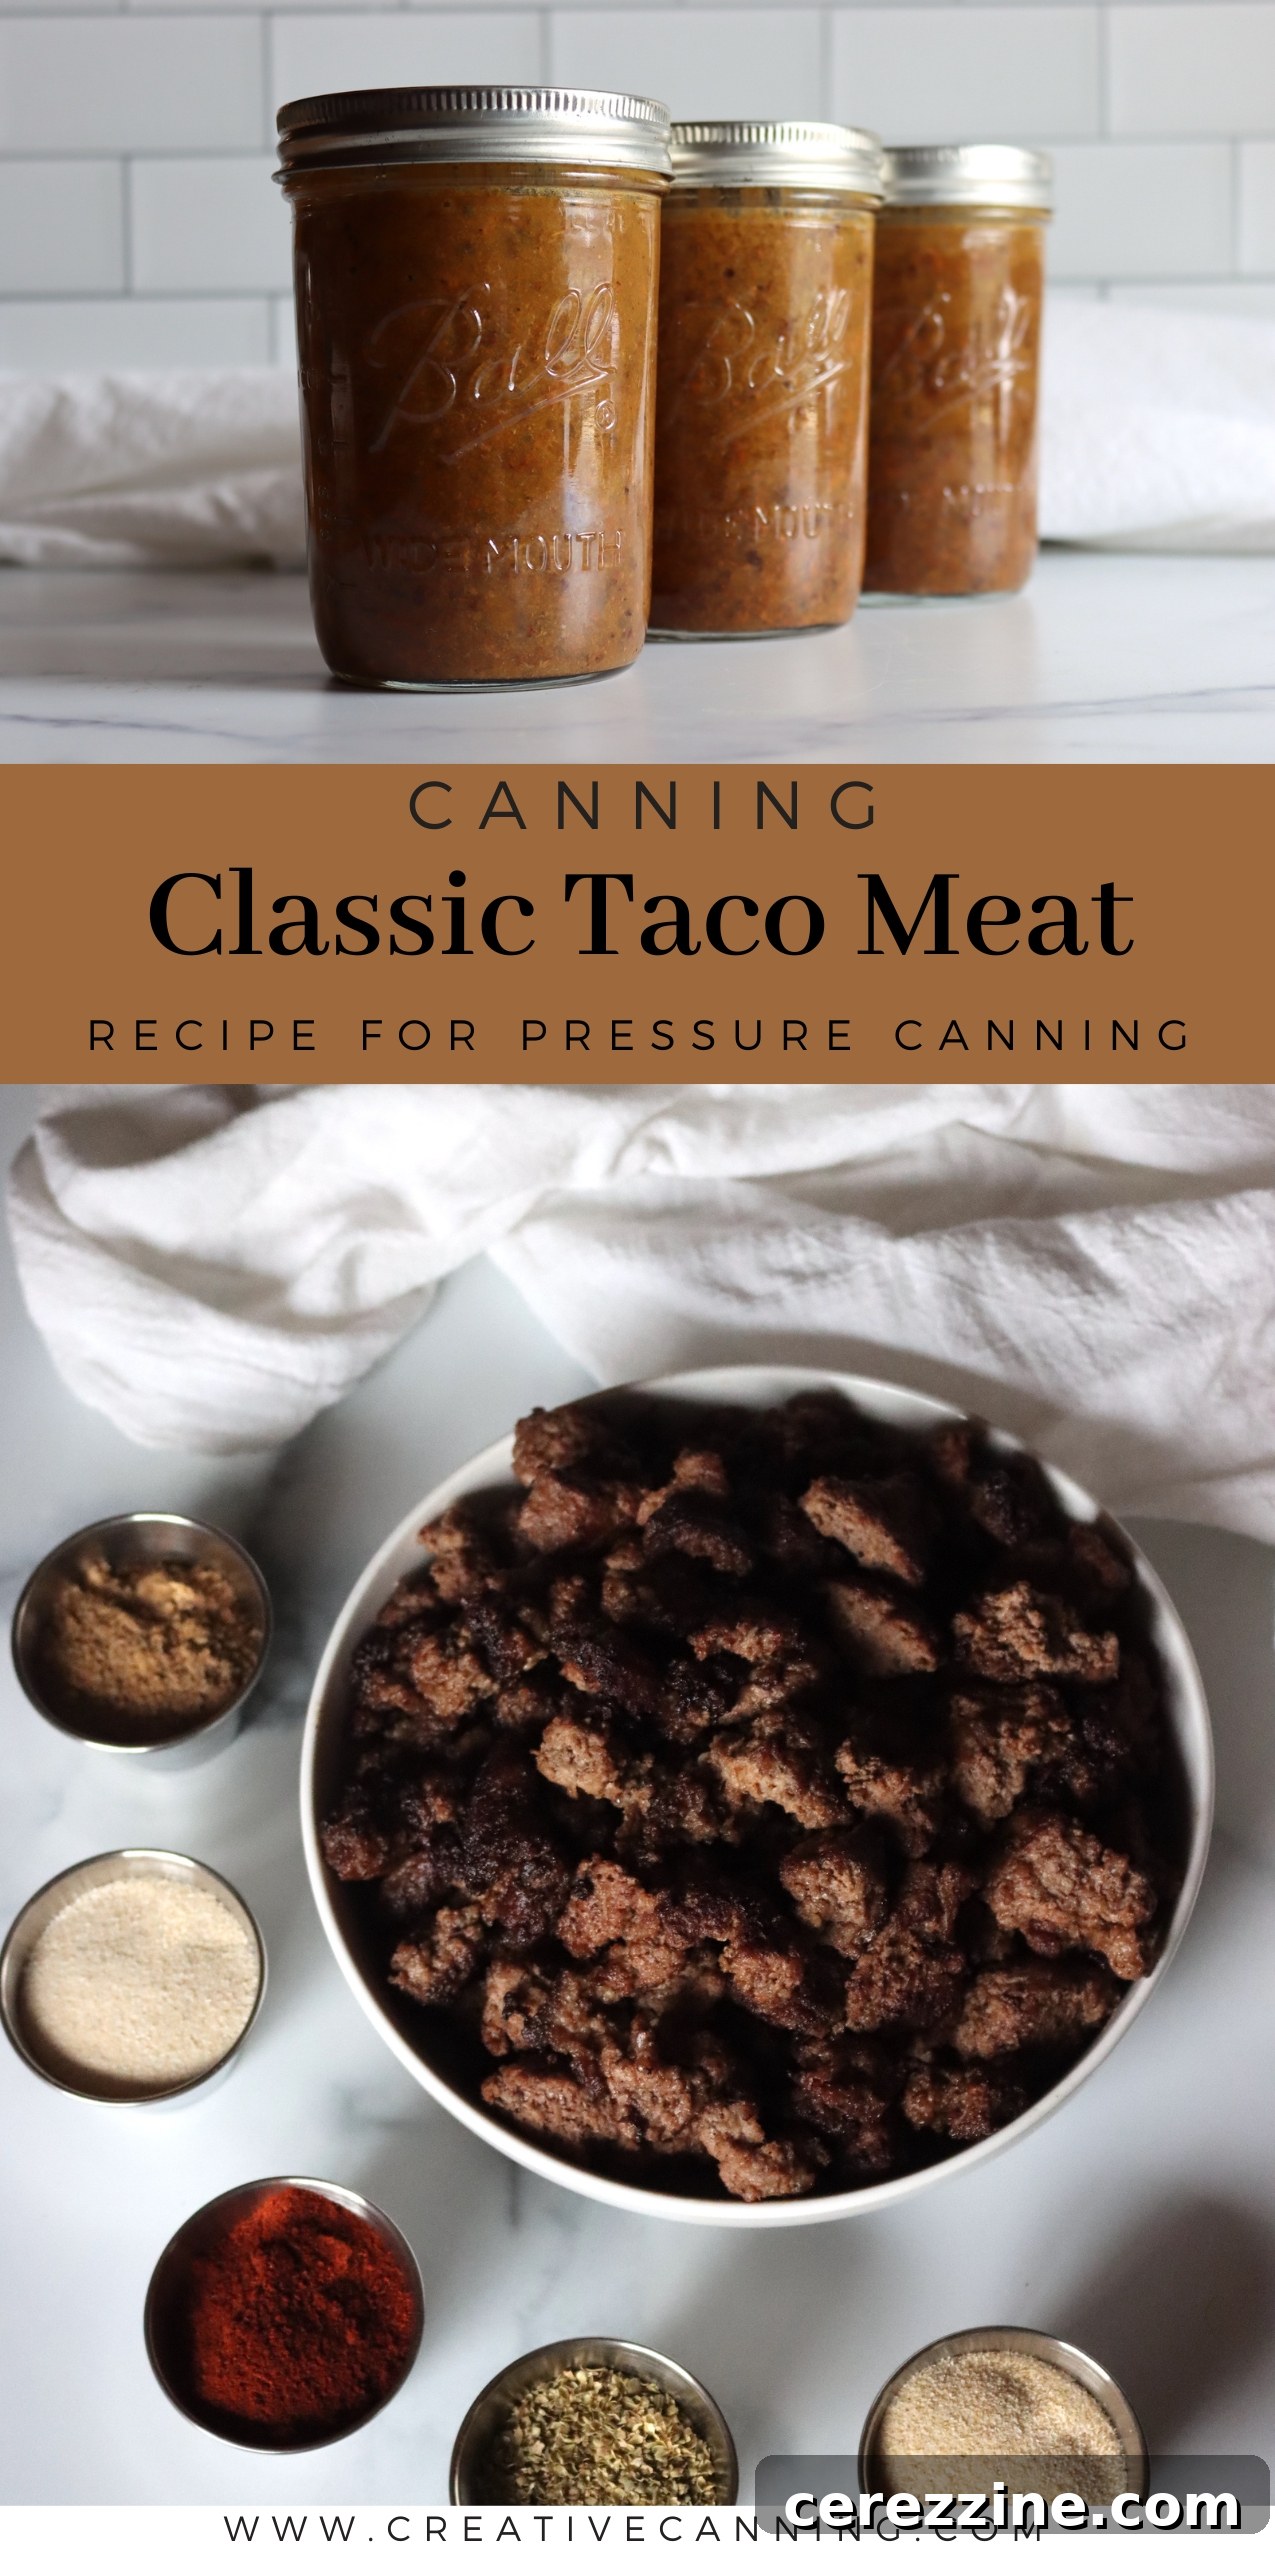
The beauty of this pressure-canned taco meat is that it’s an easy, shelf-stable solution for quick meals. It’s perfect for busy nights when you need a meal in a hurry but don’t want to sacrifice flavor. Canning taco meat means you can stock up on homemade taco fillings and have them ready whenever the taco cravings hit. It’s truly a homemade convenience food!
Prep Time: 20 minutes
Cook Time: 1 hour 15 minutes
Total Time: 1 hour 35 minutes
Yields: 16 servings (4 pints)
Equipment
- Pressure Canner
- Wide Mouth Pint Jars
- Wide Mouth Canning Lids
- Canning Funnel
- Jar Lifter
Ingredients
- 3 lbs ground beef
- 4 tsp salt (Adjust to your tastes, this is the NCHFP recommendation, but I like a bit less at around 3 tsp.)
- 2 Tbsp. Onion Powder or Minced Onion
- 1 Tbsp. Garlic Powder
- 1 Tbsp. Chili Powder
- 1 Tbsp. Cumin
- 1 tsp. Oregano (preferably Mexican oregano)
- 1 tsp. Red Pepper Flakes (optional, for heat)
- 3 cups Beef broth or tomato juice (About 3 cups for canning liquid, you may need a bit more to bring jars to 1” headspace.)
Instructions
- Add a bit of oil to a large skillet, and cook the ground beef over medium heat. Break it up as it cooks, browning on all sides.
- Once the beef is browned and excess fat is drained, stir in the salt, minced onion, chili powder, cumin, red pepper flakes, and oregano. Mix well to evenly coat the meat with the spices.
- Sterilize 4 pint-sized canning jars and their lids. (You can adjust the recipe to make more jars as needed, depending on your canner’s capacity.)
- Choose either beef broth or tomato juice as your canning liquid. You’ll need about ¾ cup of liquid per pint jar (about 3 cups total for this recipe). Bring the canning liquid to a hard boil and keep hot as you pack the jars.
- Spoon the seasoned ground beef into the jars, packing it tightly but without overpacking. Leave about an inch of headspace at the top.
- Pour the boiling hot beef broth or tomato juice into each jar, ensuring the meat is mostly covered, but still leaving that inch of headspace.
- Use a clean, damp cloth to wipe the rims of the jars to remove any grease or residue that could affect the seal.
- Place sterilized lids on the jars and screw on the bands until they’re just finger-tight.
- Process the jars in a pressure canner at 10 pounds of pressure for 75 minutes (for pints and half pints) or 90 minutes (for quarts). If you’re above 1,000 feet in altitude, adjust the pressure as needed (see altitude adjustments section in the main article).
- After canning, turn off the heat and let the canner cool naturally. Once the pressure has dropped to zero, carefully remove the jars and place them on a towel-lined surface. Allow the jars to cool completely before storing them in a cool, dark place.
Nutrition Information (Approximate)
Serving: 0.5 cup
Calories: 235 kcal
Carbohydrates: 4g
Protein: 15g
Fat: 17g
Saturated Fat: 7g
Polyunsaturated Fat: 1g
Monounsaturated Fat: 8g
Trans Fat: 1g
Cholesterol: 60mg
Sodium: 665mg
Potassium: 390mg
Fiber: 1g
Sugar: 2g
Vitamin A: 587 IU
Vitamin C: 8 mg
Calcium: 39 mg
Iron: 3 mg
Nutrition information is automatically calculated, so should only be used as an approximation.