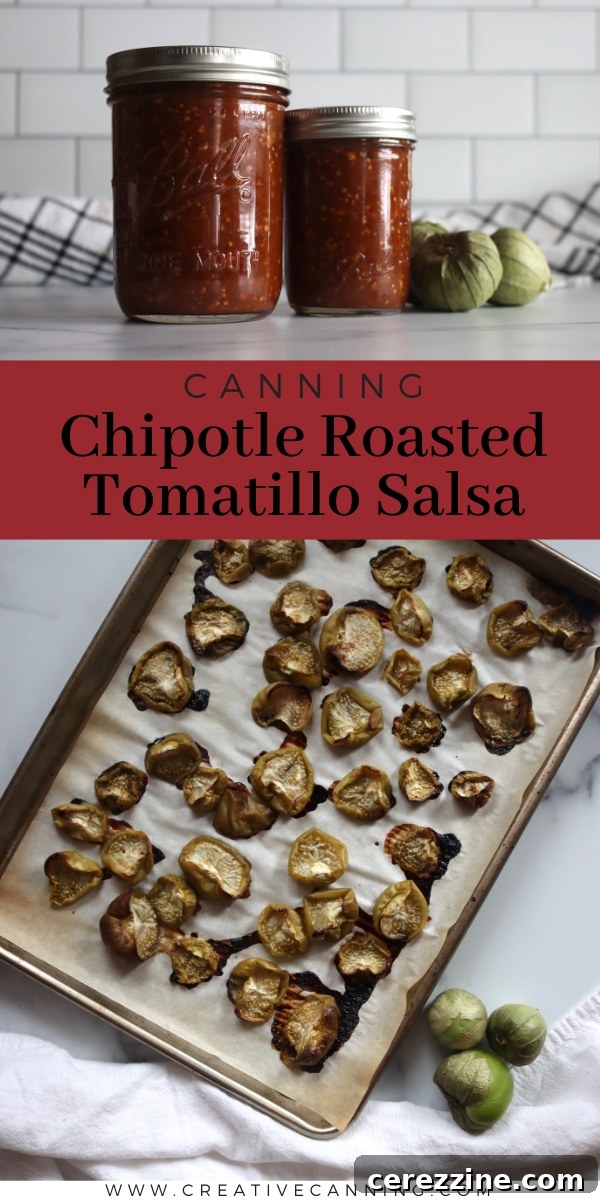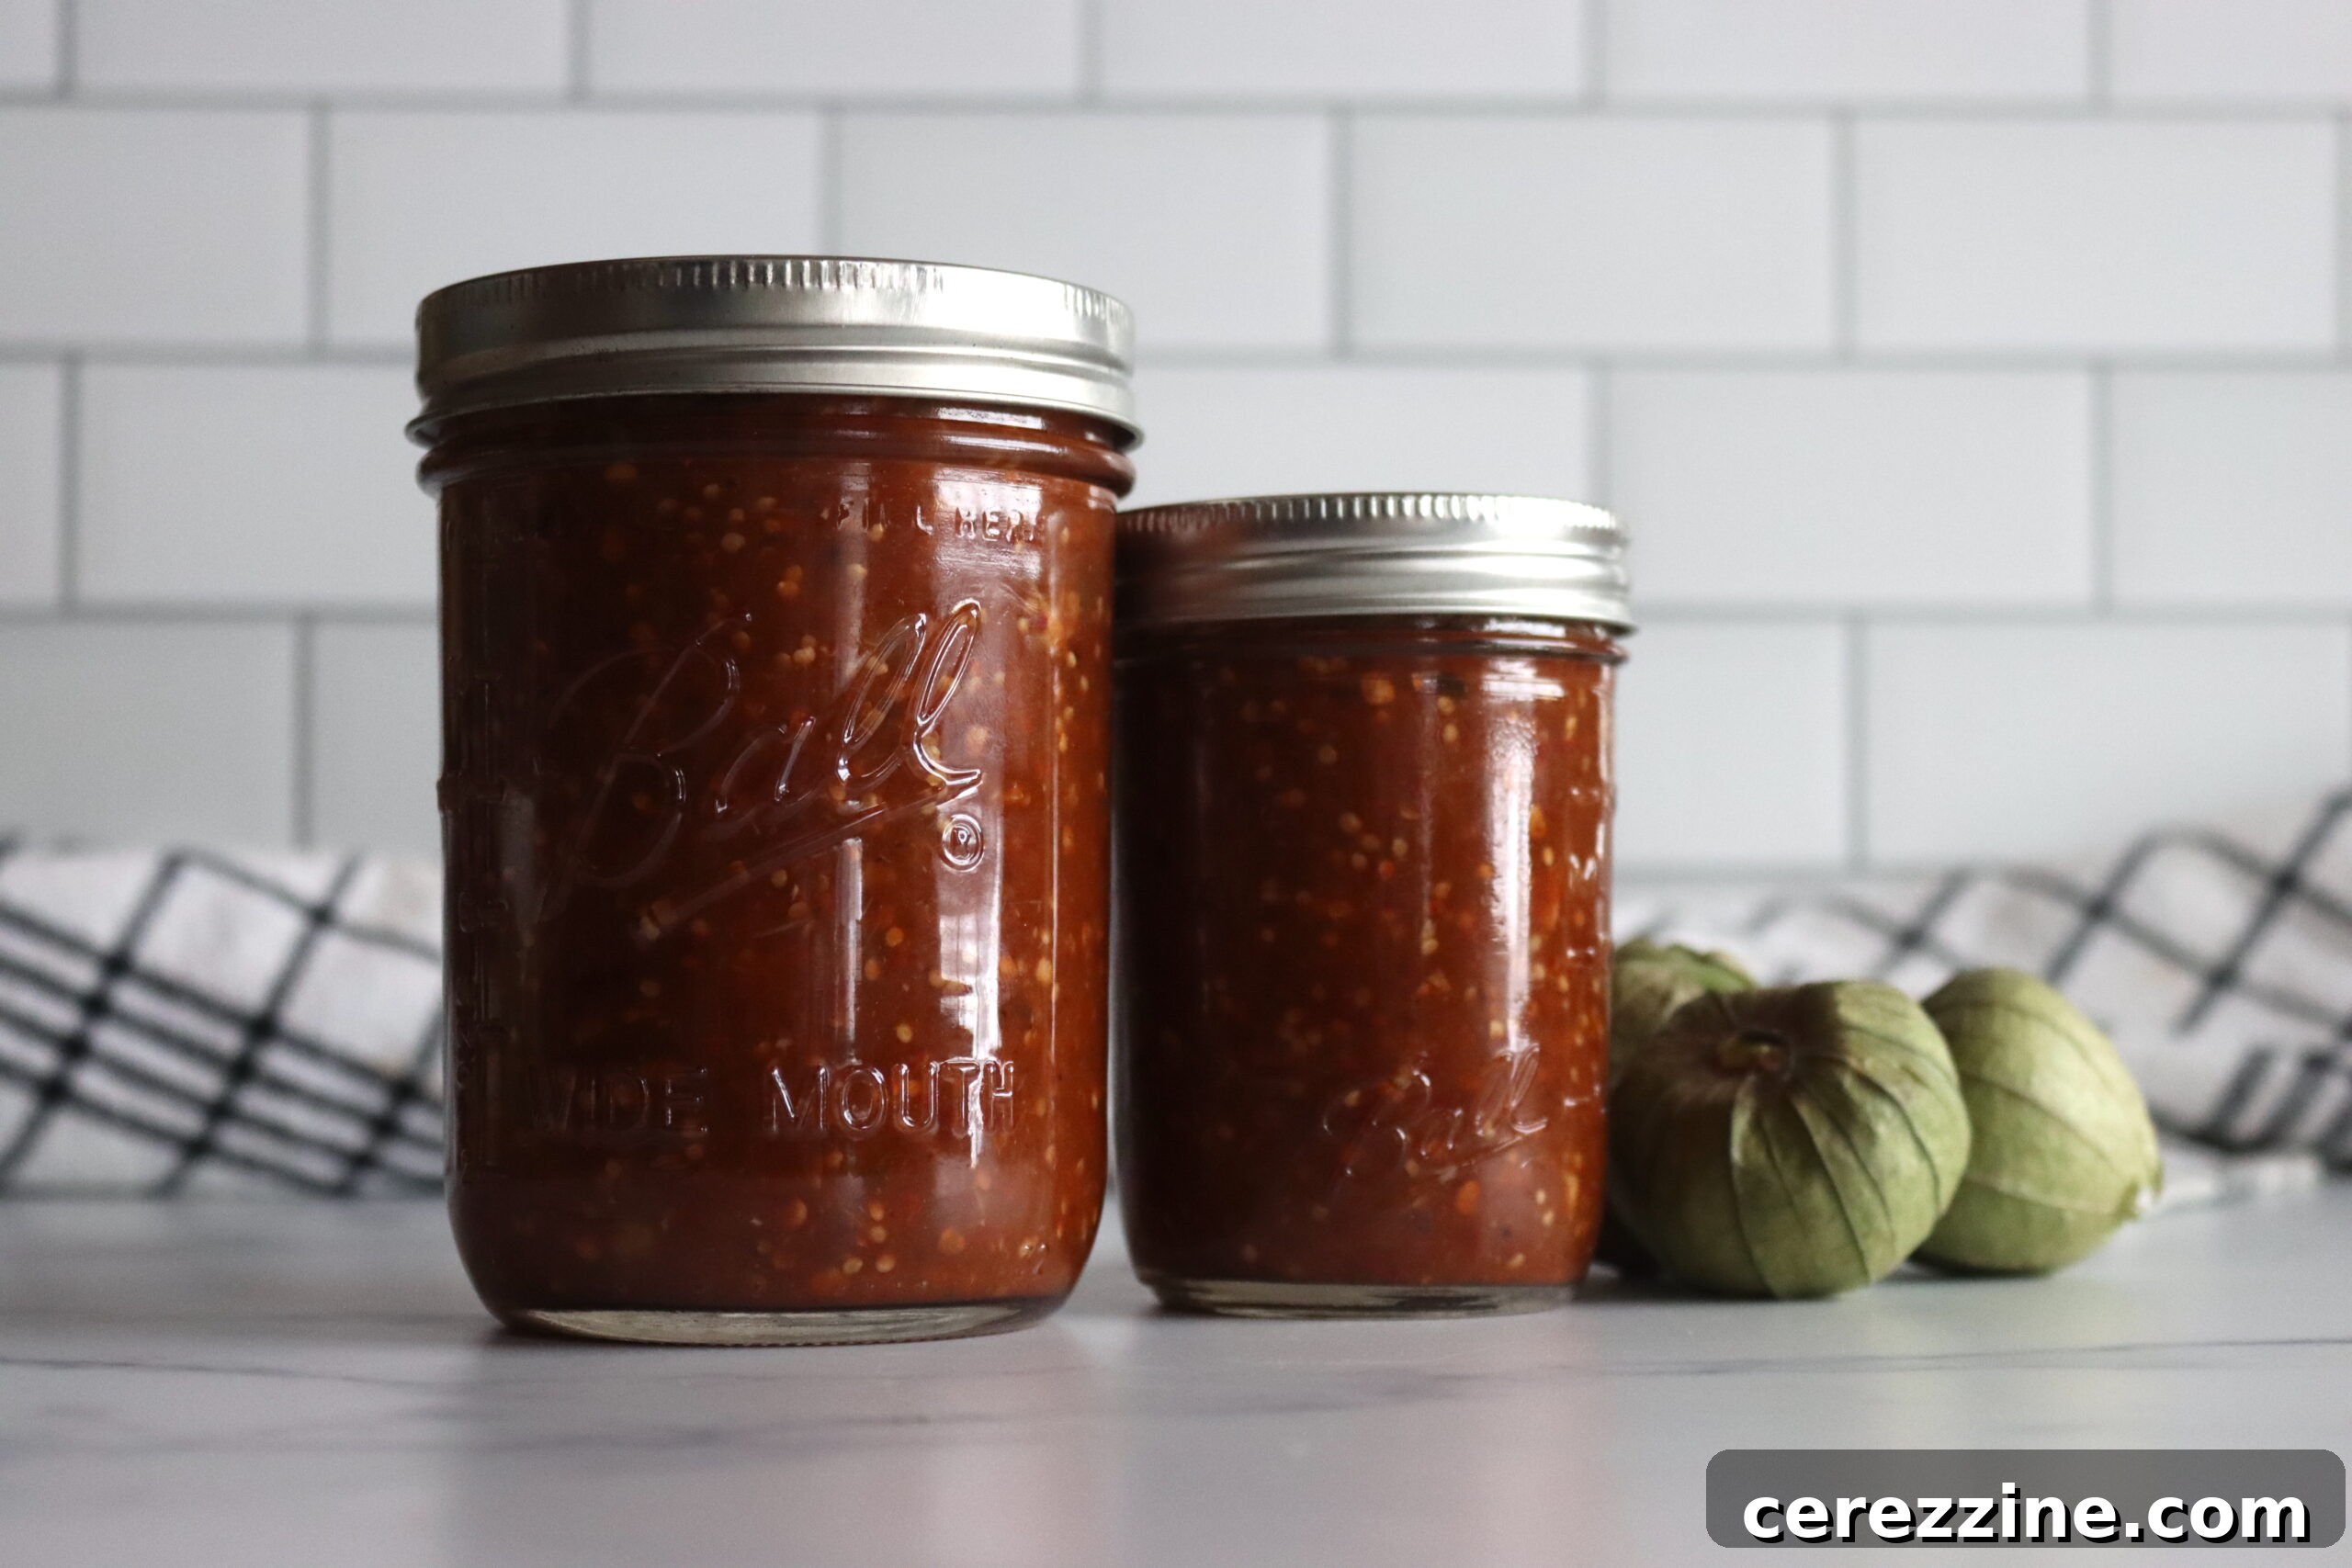
Experience the rich, smoky depth of chipotle peppers perfectly balanced with the bright, tangy zest of tomatillos in this truly exceptional homemade salsa. Whether you plan to enjoy it fresh or preserve its vibrant flavors through water bath canning, this recipe promises to be a staple in your kitchen.
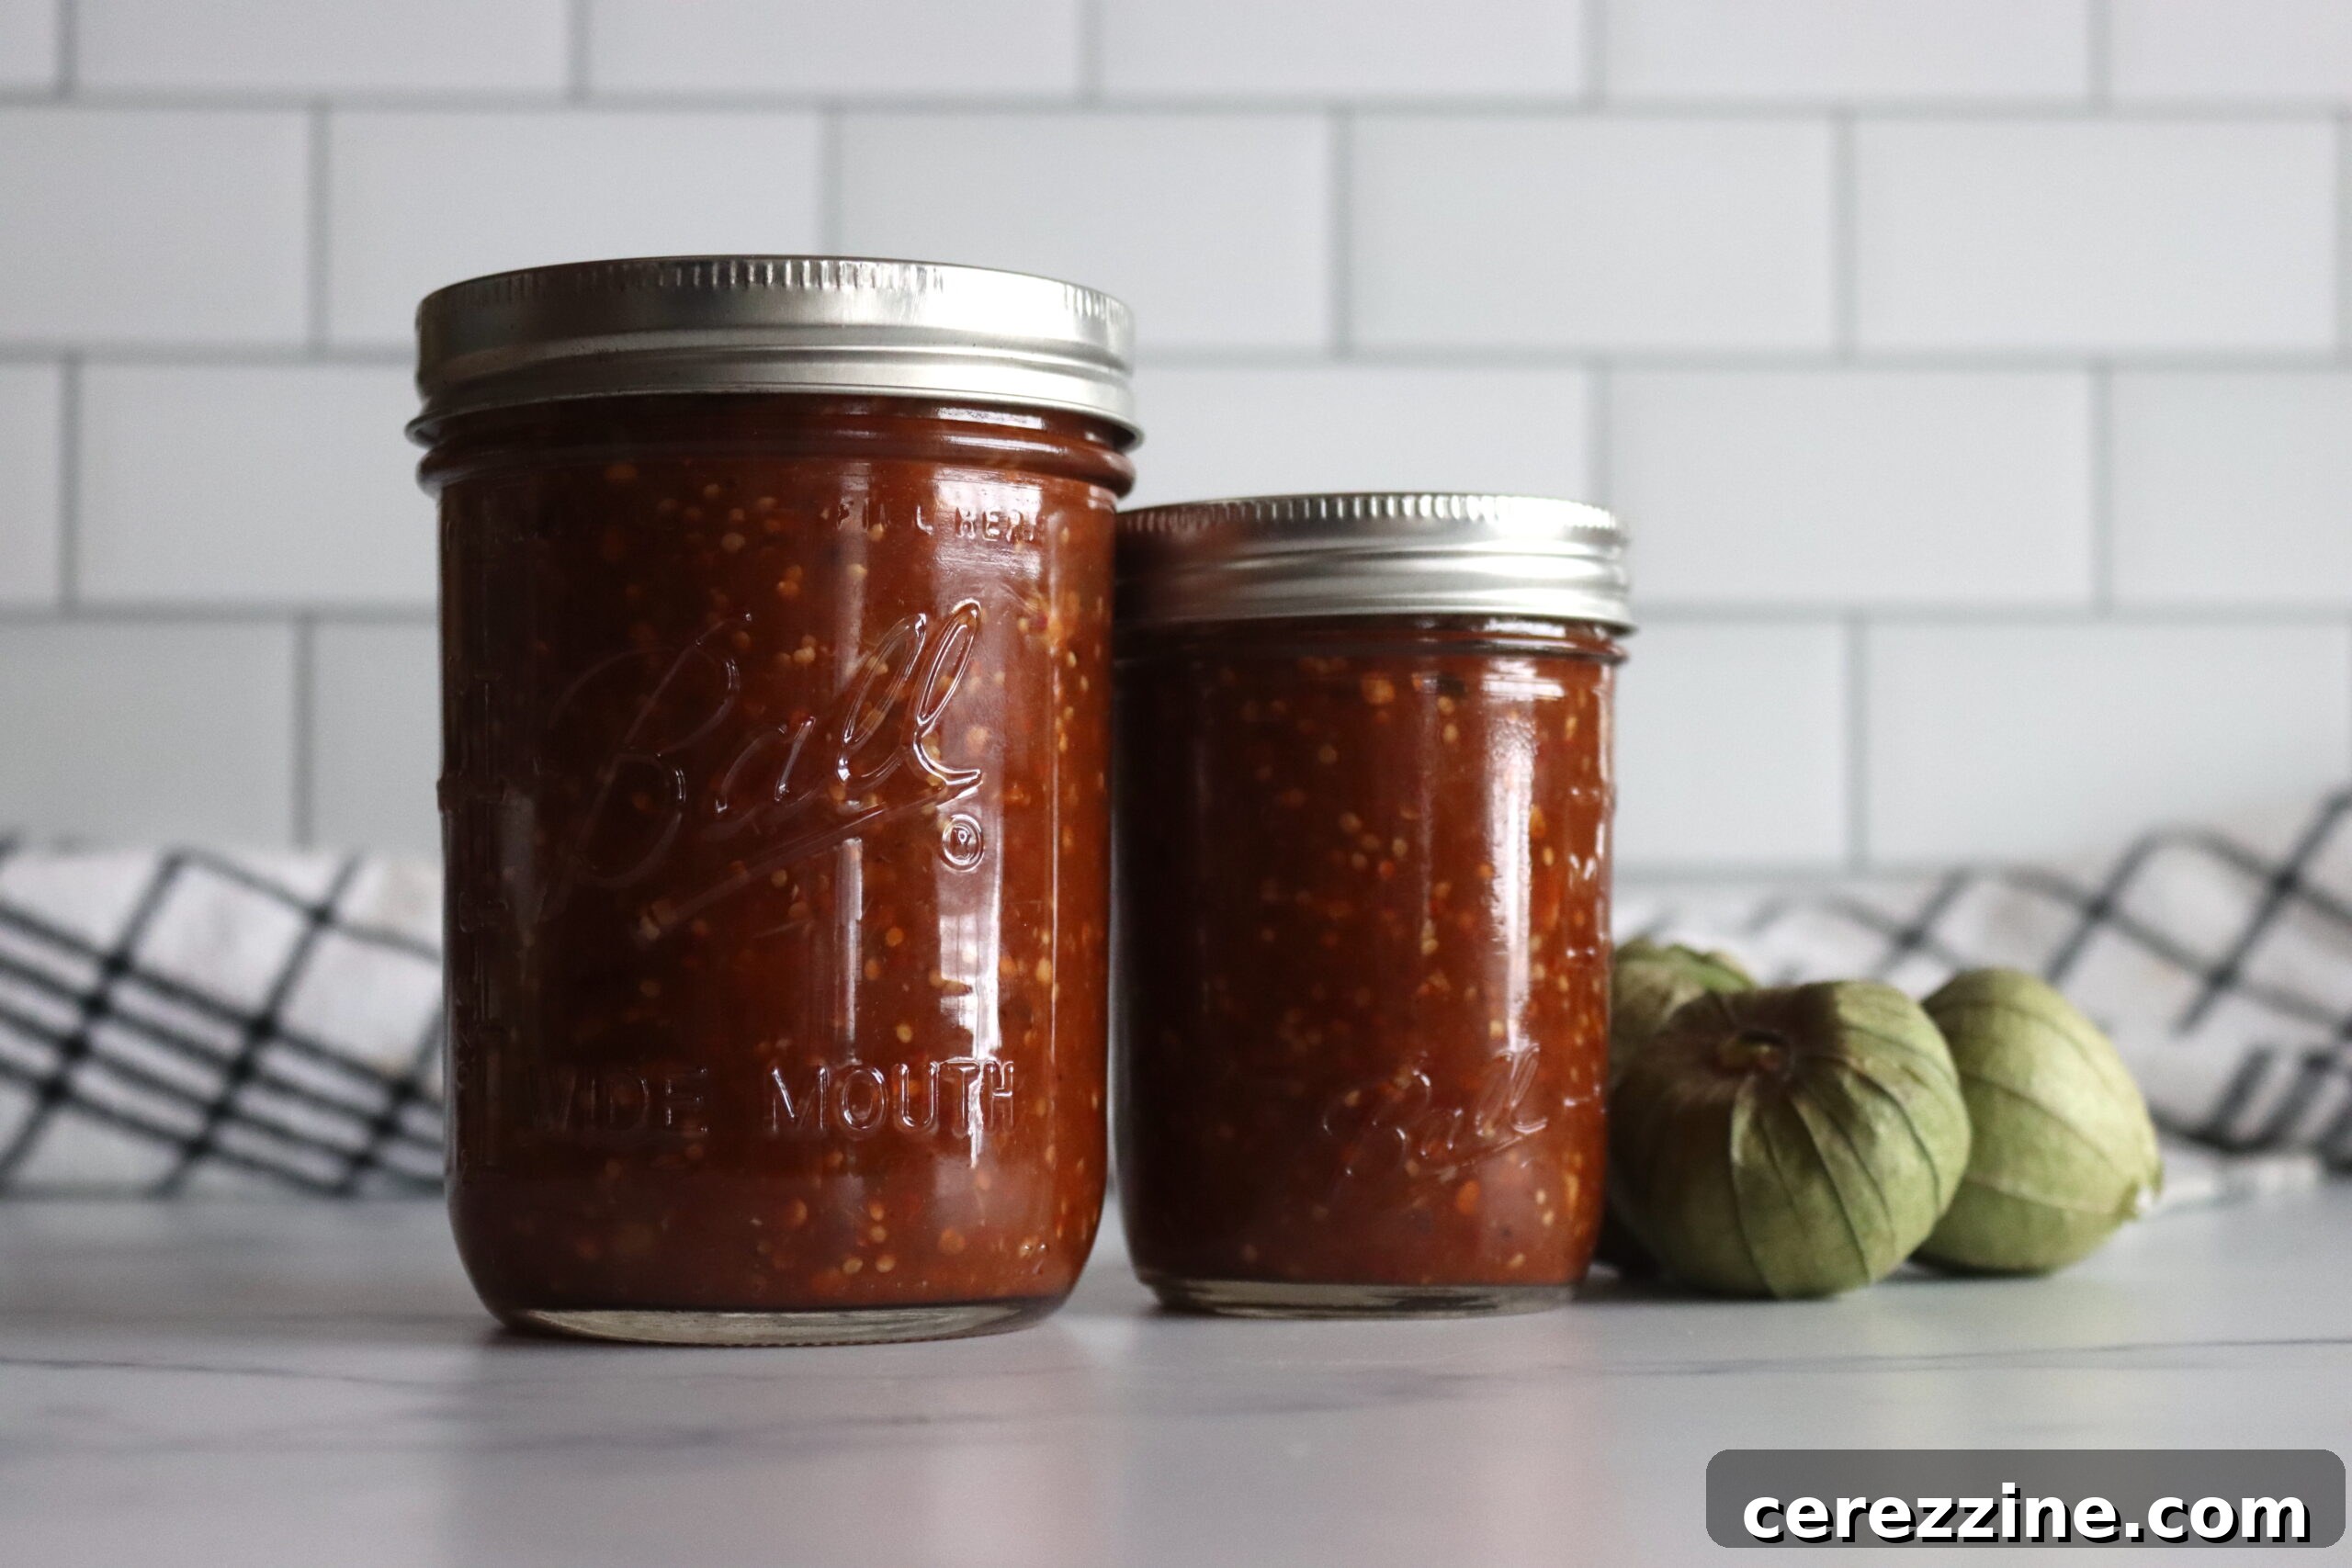
The Allure of Homemade Chipotle Tomatillo Salsa
Are you ready to transform your culinary creations with a salsa that’s far beyond ordinary? Dive into the world of homemade Chipotle Tomatillo Salsa – a condiment celebrated for its unique blend of smoky heat, piquant tang, and incredibly fresh flavor. This isn’t just another salsa; it’s a versatile masterpiece designed to elevate everything from your weeknight tacos to elaborate grilled feasts. Forget bland store-bought options; with this recipe, you’re about to craft a vibrant, delicious sauce that will impress everyone at your table.
Whether you’re a seasoned chef eager to stock your pantry with delicious preserves or a curious home cook taking your first steps into canning, this detailed guide provides everything you need. We’ll walk you through each stage, from selecting the freshest ingredients to mastering the water bath canning process, ensuring your chipotle tomatillo salsa is not only bursting with flavor but also safely preserved for enjoyment year-round.
Why Make Your Own Chipotle Tomatillo Salsa?
The beauty of homemade salsa lies in its unparalleled freshness and the ability to customize flavors to your exact preference. While store shelves offer countless salsa varieties, none can truly compare to the depth and vibrancy of a batch made from scratch. Here’s why making your own Chipotle Tomatillo Salsa is a game-changer:
- Unmatched Flavor Profile: The roasting process for the tomatillos, onions, and garlic brings out a complex sweetness and char that you simply can’t achieve with raw ingredients. Combined with the distinctive smoky kick of chipotle peppers in adobo, this salsa offers a multi-layered flavor experience that tantalizes the taste buds.
- Control Over Ingredients: You choose the freshest produce, control the spice level, and avoid unwanted additives, preservatives, or excessive sodium often found in commercial salsas. This means a healthier and more flavorful product for you and your family.
- Versatility: This salsa is incredibly versatile. It’s perfect as a dip for tortilla chips, a robust topping for tacos and burritos, a zesty marinade for grilled meats, or even a flavorful addition to breakfast dishes like scrambled eggs or omelets.
- The Joy of Canning: For those interested in food preservation, water bath canning allows you to extend the shelf life of this delicious salsa for up to a year. Imagine enjoying the taste of summer’s bounty in the middle of winter!
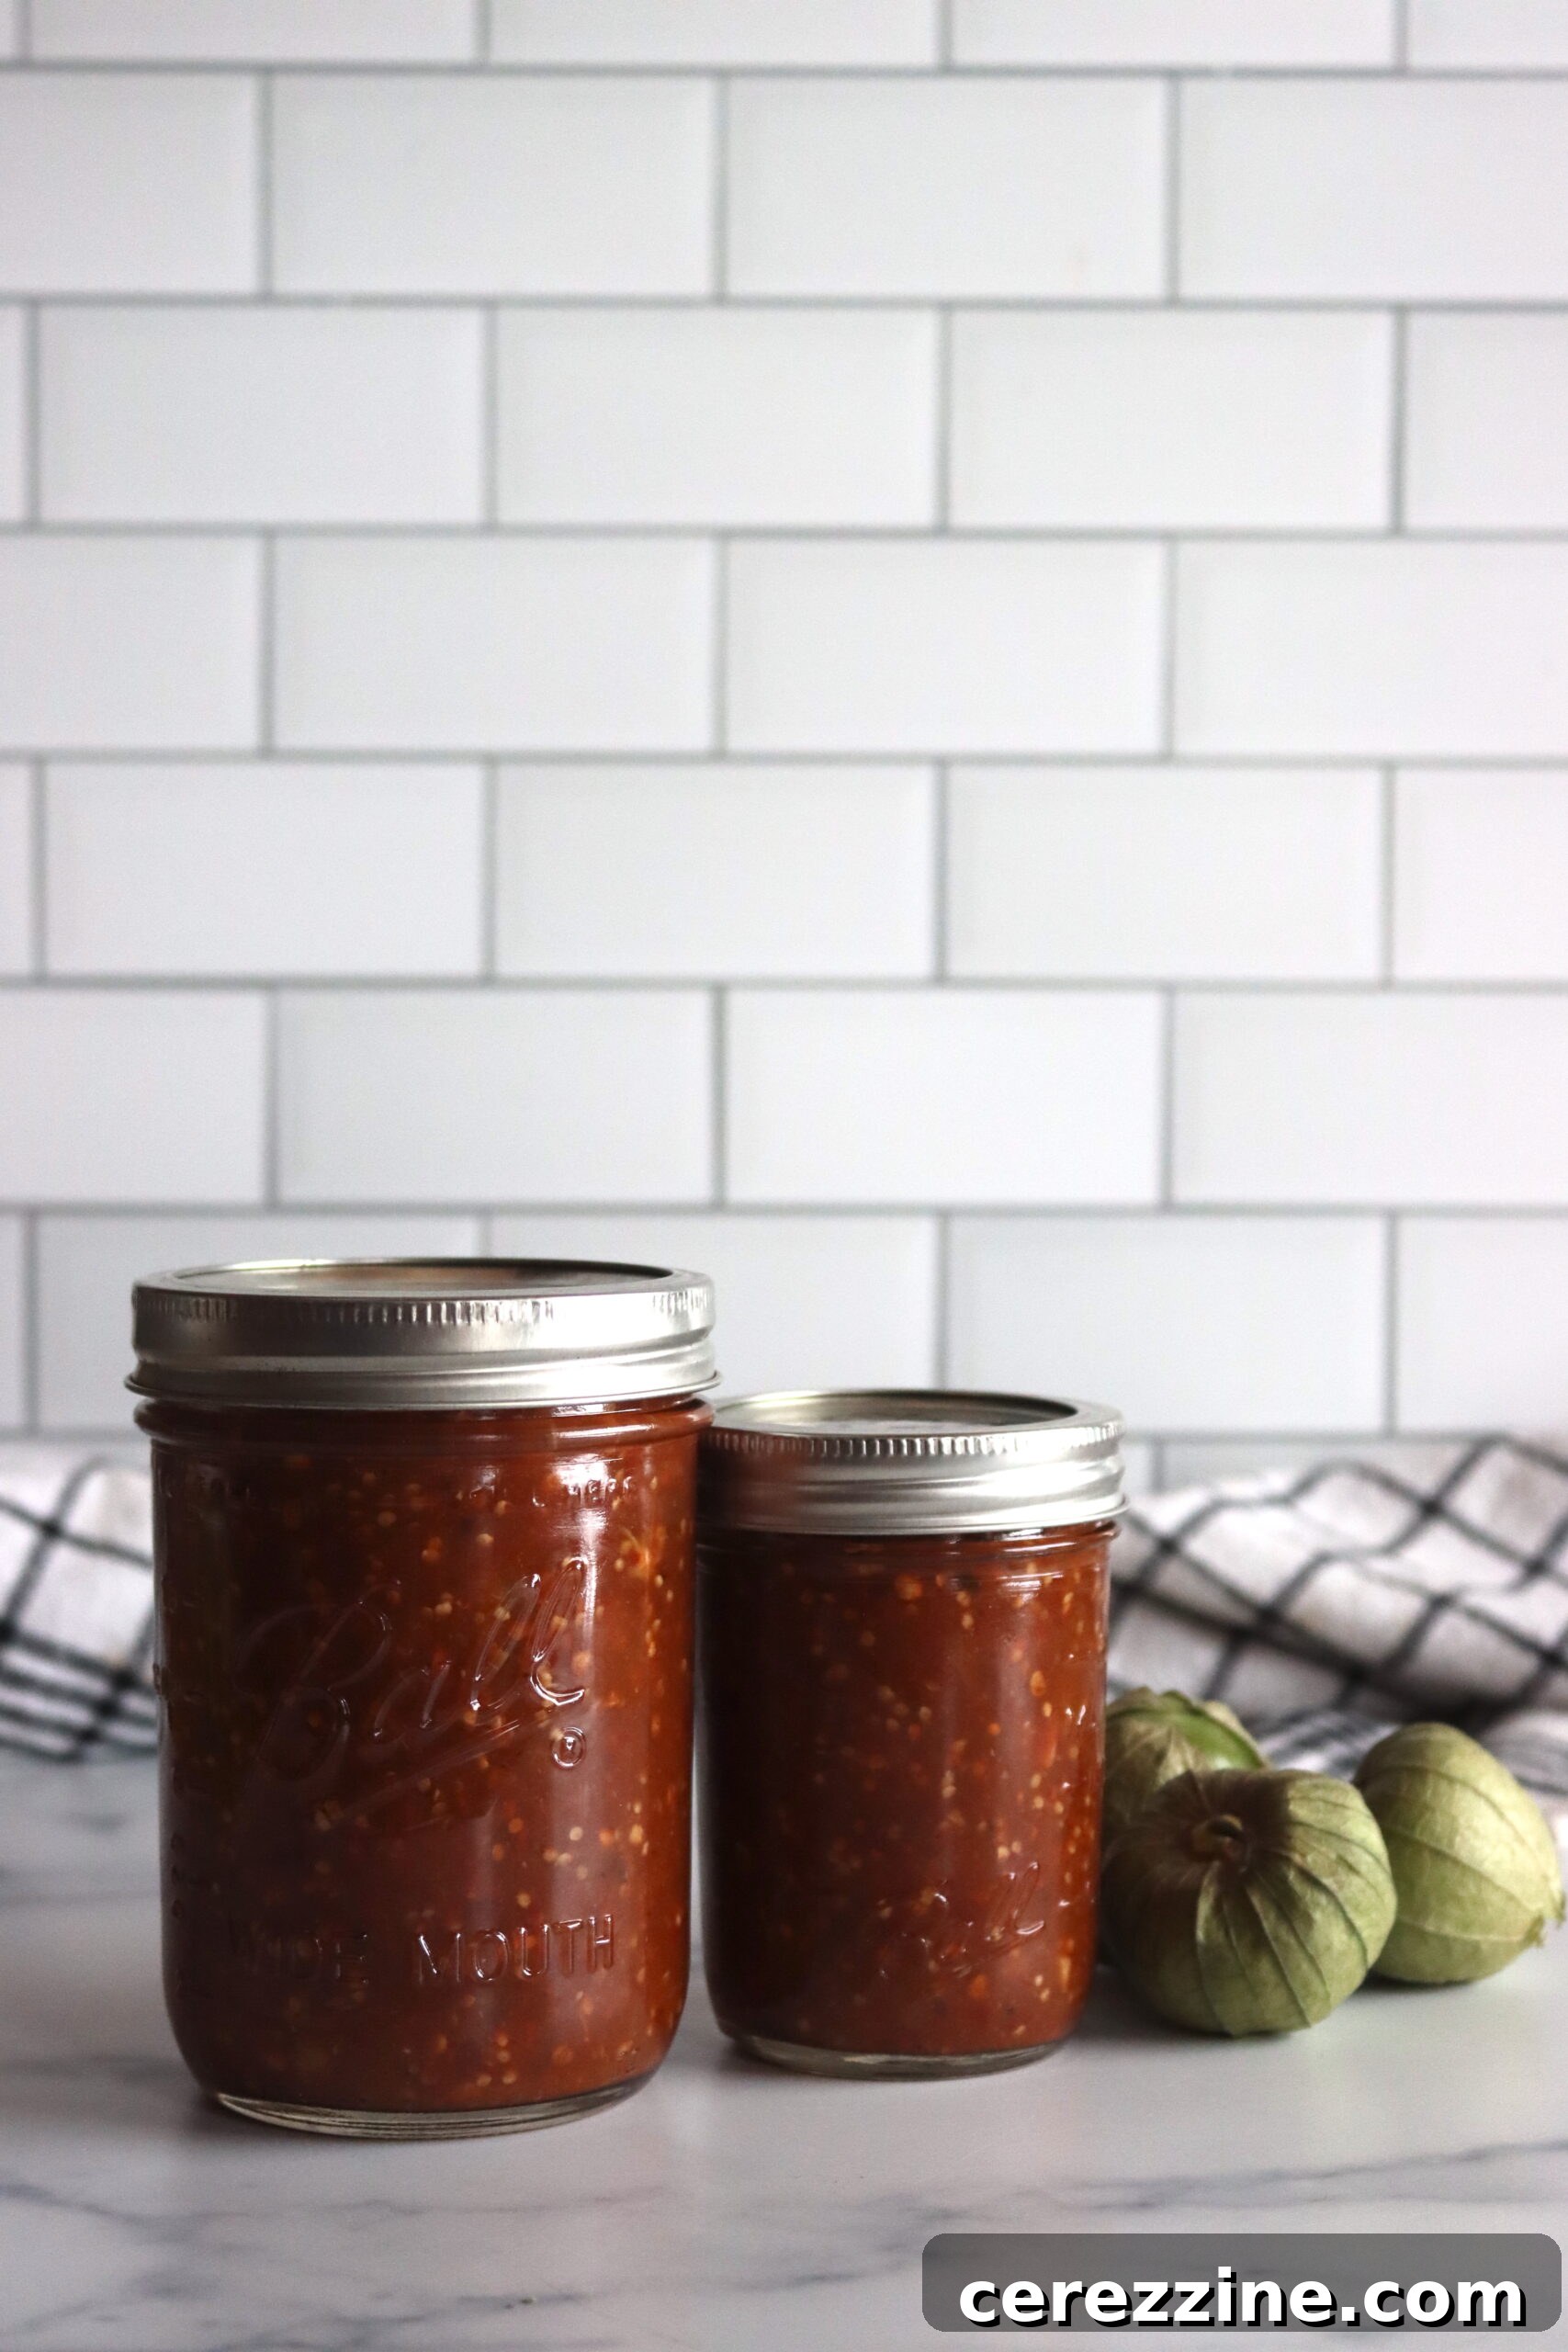
Essential Ingredients for Your Homemade Chipotle Tomatillo Salsa
Crafting this smoky and tangy salsa begins with selecting high-quality ingredients. This recipe yields approximately three half-pint jars, making it perfect for a small batch canning project or for enjoying fresh. This is a thoroughly tested canning recipe, adapted from the trusted source: The All New Ball Book of Canning and Preserving.
Understanding Your Key Ingredients: Tomatillos and Chipotles
Before we dive into the full ingredient list, let’s take a moment to appreciate the stars of this salsa:
- Tomatillos: Often mistaken for green tomatoes, tomatillos (Physalis philadelphica) are actually a distinct fruit in the nightshade family, closely related to gooseberries and groundcherries. They are encased in a papery husk that should be removed before use, revealing a sticky surface that washes off easily. Tomatillos are prized for their tart, bright, and slightly citrusy flavor, which provides the foundational tang for this salsa. They typically come in green varieties, but purple ones can also be found. Both work wonderfully for this recipe.
- Chipotle Peppers in Adobo: These are smoked and dried jalapeño peppers rehydrated and packed in a savory, tangy sauce made from tomatoes, vinegar, garlic, and spices. Chipotle peppers infuse the salsa with a characteristic smoky flavor and a moderate level of heat. The adobo sauce itself is also packed with flavor, so don’t discard it – it’s an integral part of the salsa’s complexity.
Ingredient List (Yields approximately 3 half-pint jars)
- 2 lbs (approx. 1 kg) Fresh Tomatillos: Ensure the husks are removed and rinsed thoroughly.
- 1 Small Onion: Leave it unpeeled and quartered for roasting. The skin helps protect the onion flesh and adds flavor during roasting.
- 4 Cloves of Garlic: Peeled for convenience.
- ¼ cup (60 ml) Fresh Lime Juice: Approximately the juice from three medium-sized fresh limes. Freshly squeezed is highly recommended for the best flavor.
- 5-7 Canned Chipotle Peppers: From one 7 oz (198g) can of chipotles in adobo sauce. Include some of the adobo sauce for maximum flavor and smokiness. Adjust the quantity based on your preferred spice level.
- ½ tsp (2 ml) Salt: Fine sea salt or canning salt is recommended. Adjust to taste if making for fresh consumption, but stick to the recipe for canning for safety.
Ingredient Substitution Tip: If fresh tomatillos are unavailable, an approved and tested substitution for canning recipes is green (unripe) tomatoes. They offer a similar tartness, making them a suitable alternative. This year, I’m excited to also prepare a batch of chipotle green tomato salsa, showcasing its versatility!
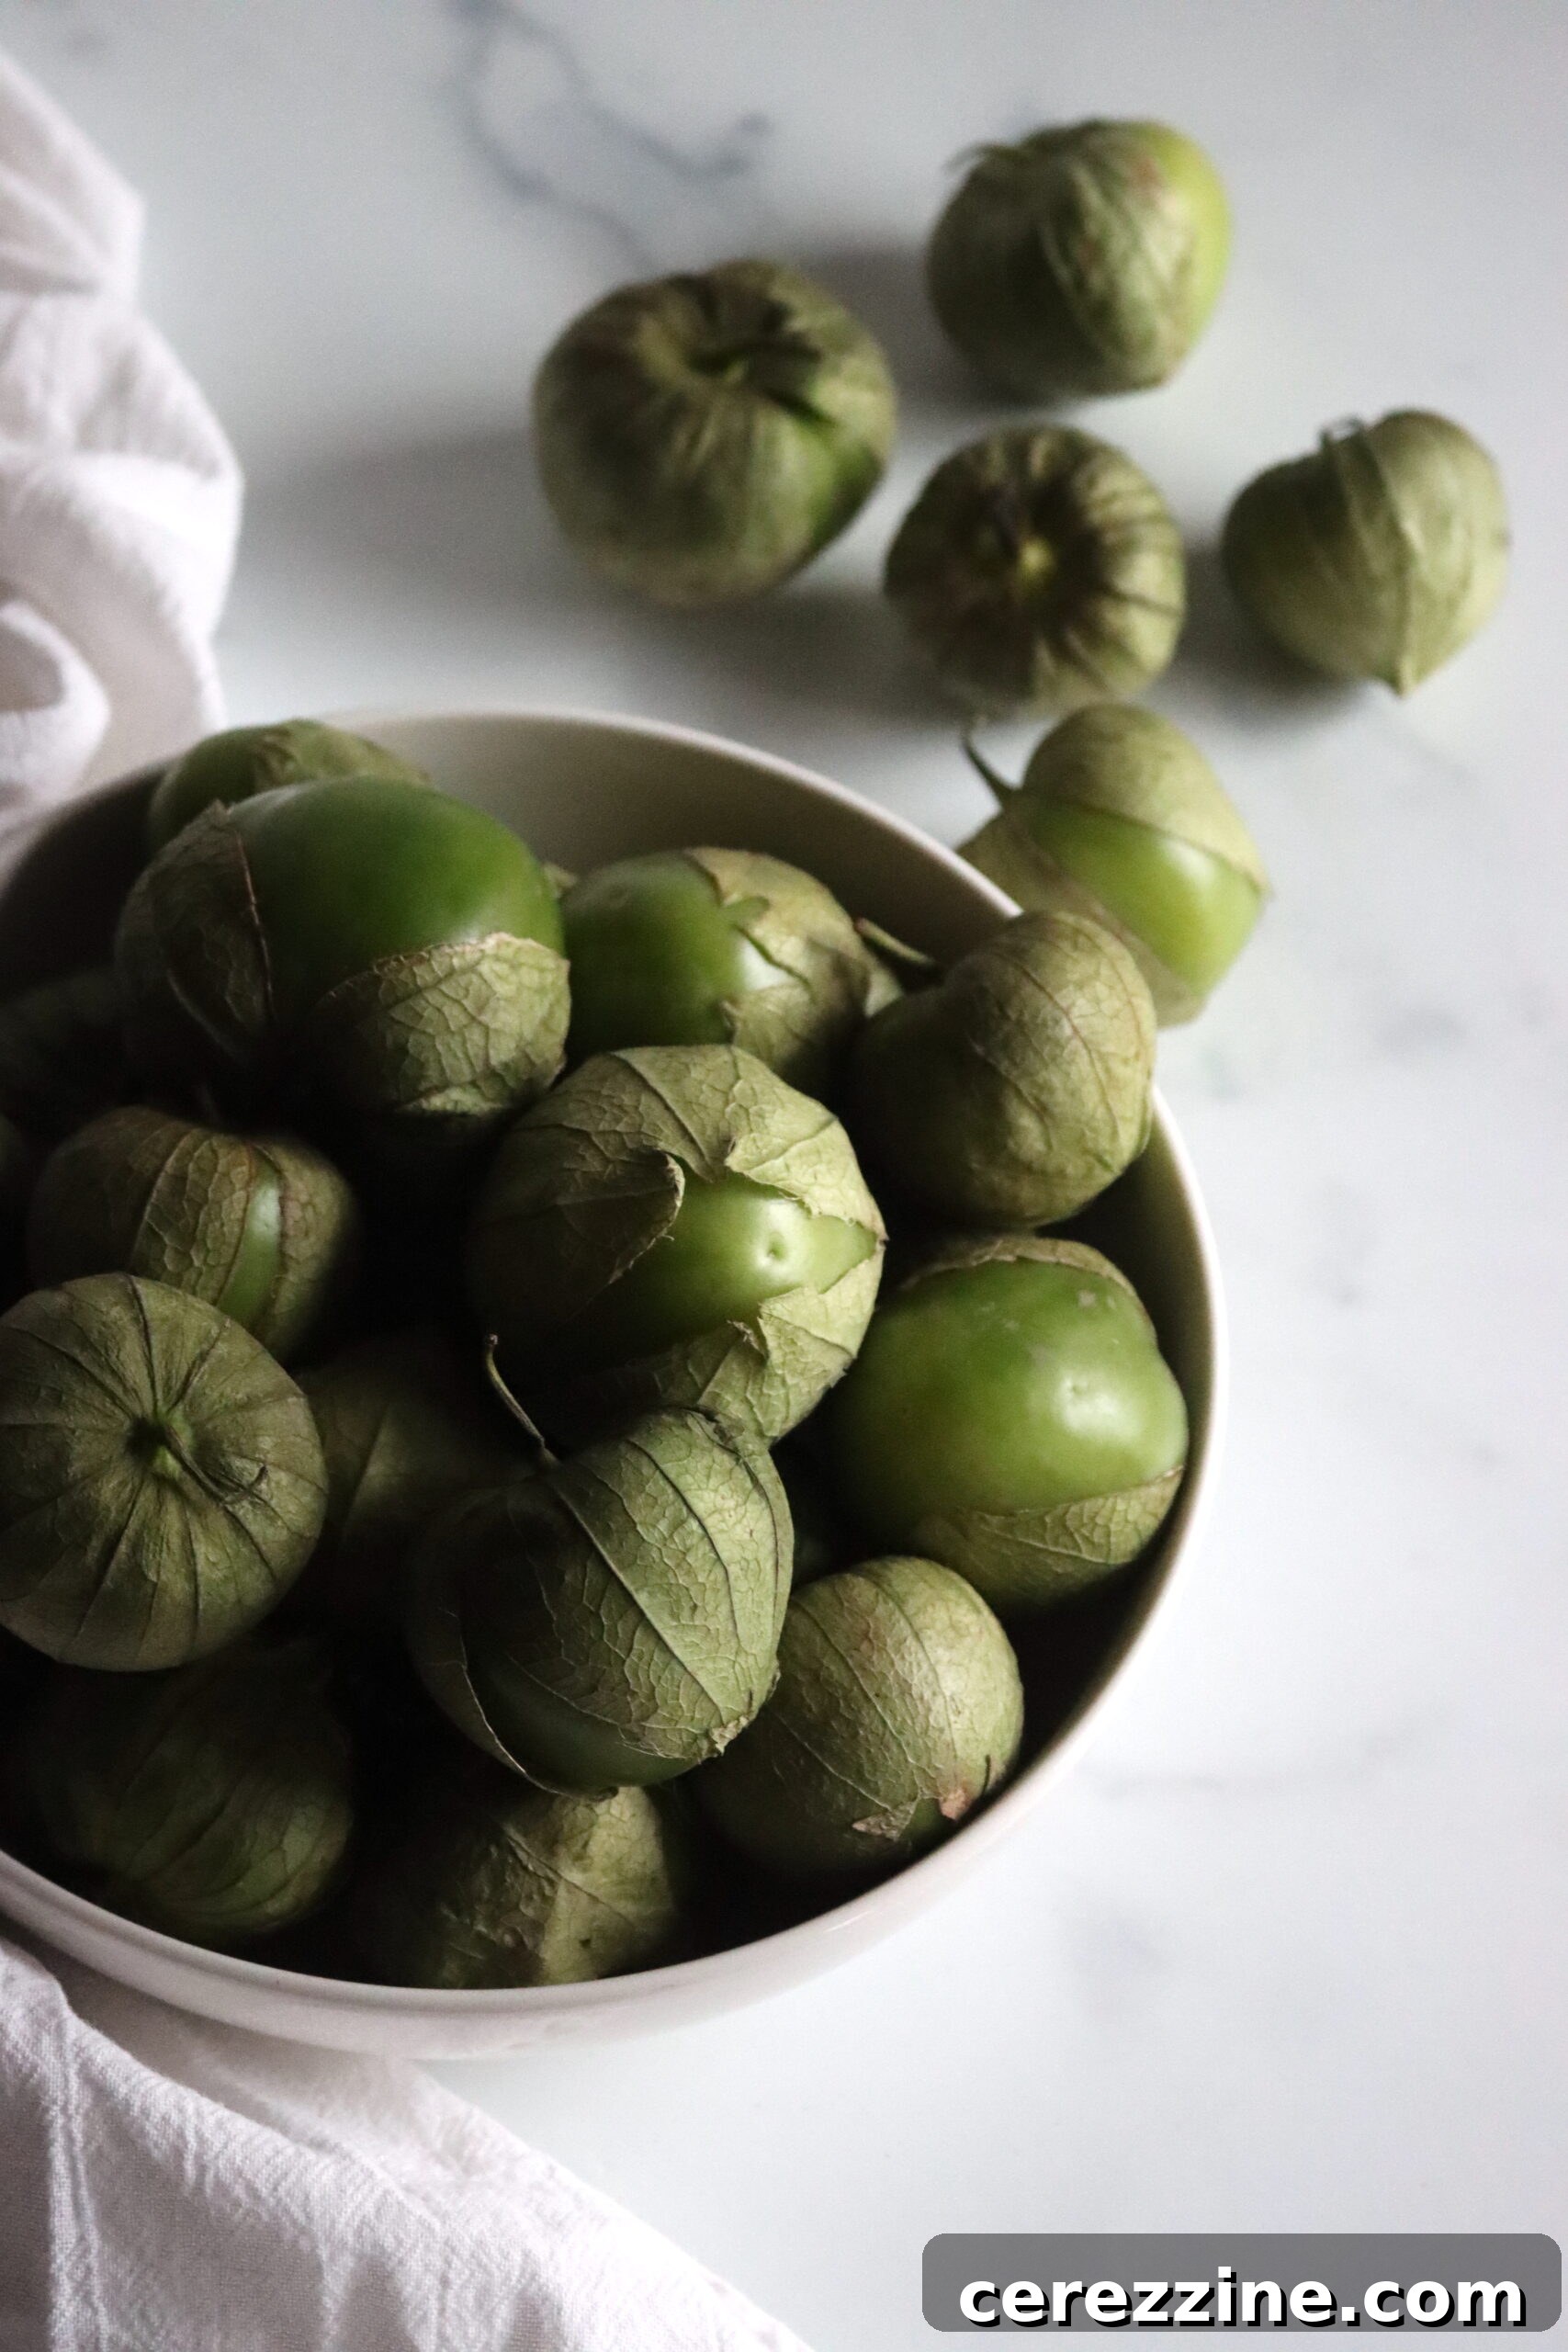
Step-by-Step Guide: Crafting and Canning Chipotle Tomatillo Salsa
1. Preparing Your Ingredients for Roasting
The roasting process is crucial for developing the deep, complex flavors that make this salsa so irresistible. Begin by preheating your oven to a robust 425°F (220°C). This high heat ensures a good char on your vegetables, intensifying their sweetness and tang. Arrange your prepared tomatillos, stem side down, and onion quarters, skin side down, on a large-rimmed baking sheet. The stem-side down placement for tomatillos helps them soften evenly and prevents them from rolling around. For the garlic, wrap the peeled cloves securely in a small piece of aluminum foil and tuck this pouch into a corner of the baking sheet. This protects the garlic from burning while allowing it to roast and sweeten.
2. The Roasting Process: Unlocking Flavor
Place the baking sheet with your tomatillos, onions, and garlic into the preheated oven. Roast for approximately 20 minutes, or until the tomatillos and onions exhibit a pleasing char and have significantly softened. This charring is not just for appearance; it caramelizes the natural sugars and creates a wonderful smoky undertone. Once roasted to perfection, carefully transfer the baking sheet to a wire rack, allowing the vegetables to cool sufficiently so they can be handled safely. There’s no need to peel the roasted tomatillos – their skin contains valuable flavor and nutrients, and they will blend smoothly into the salsa.
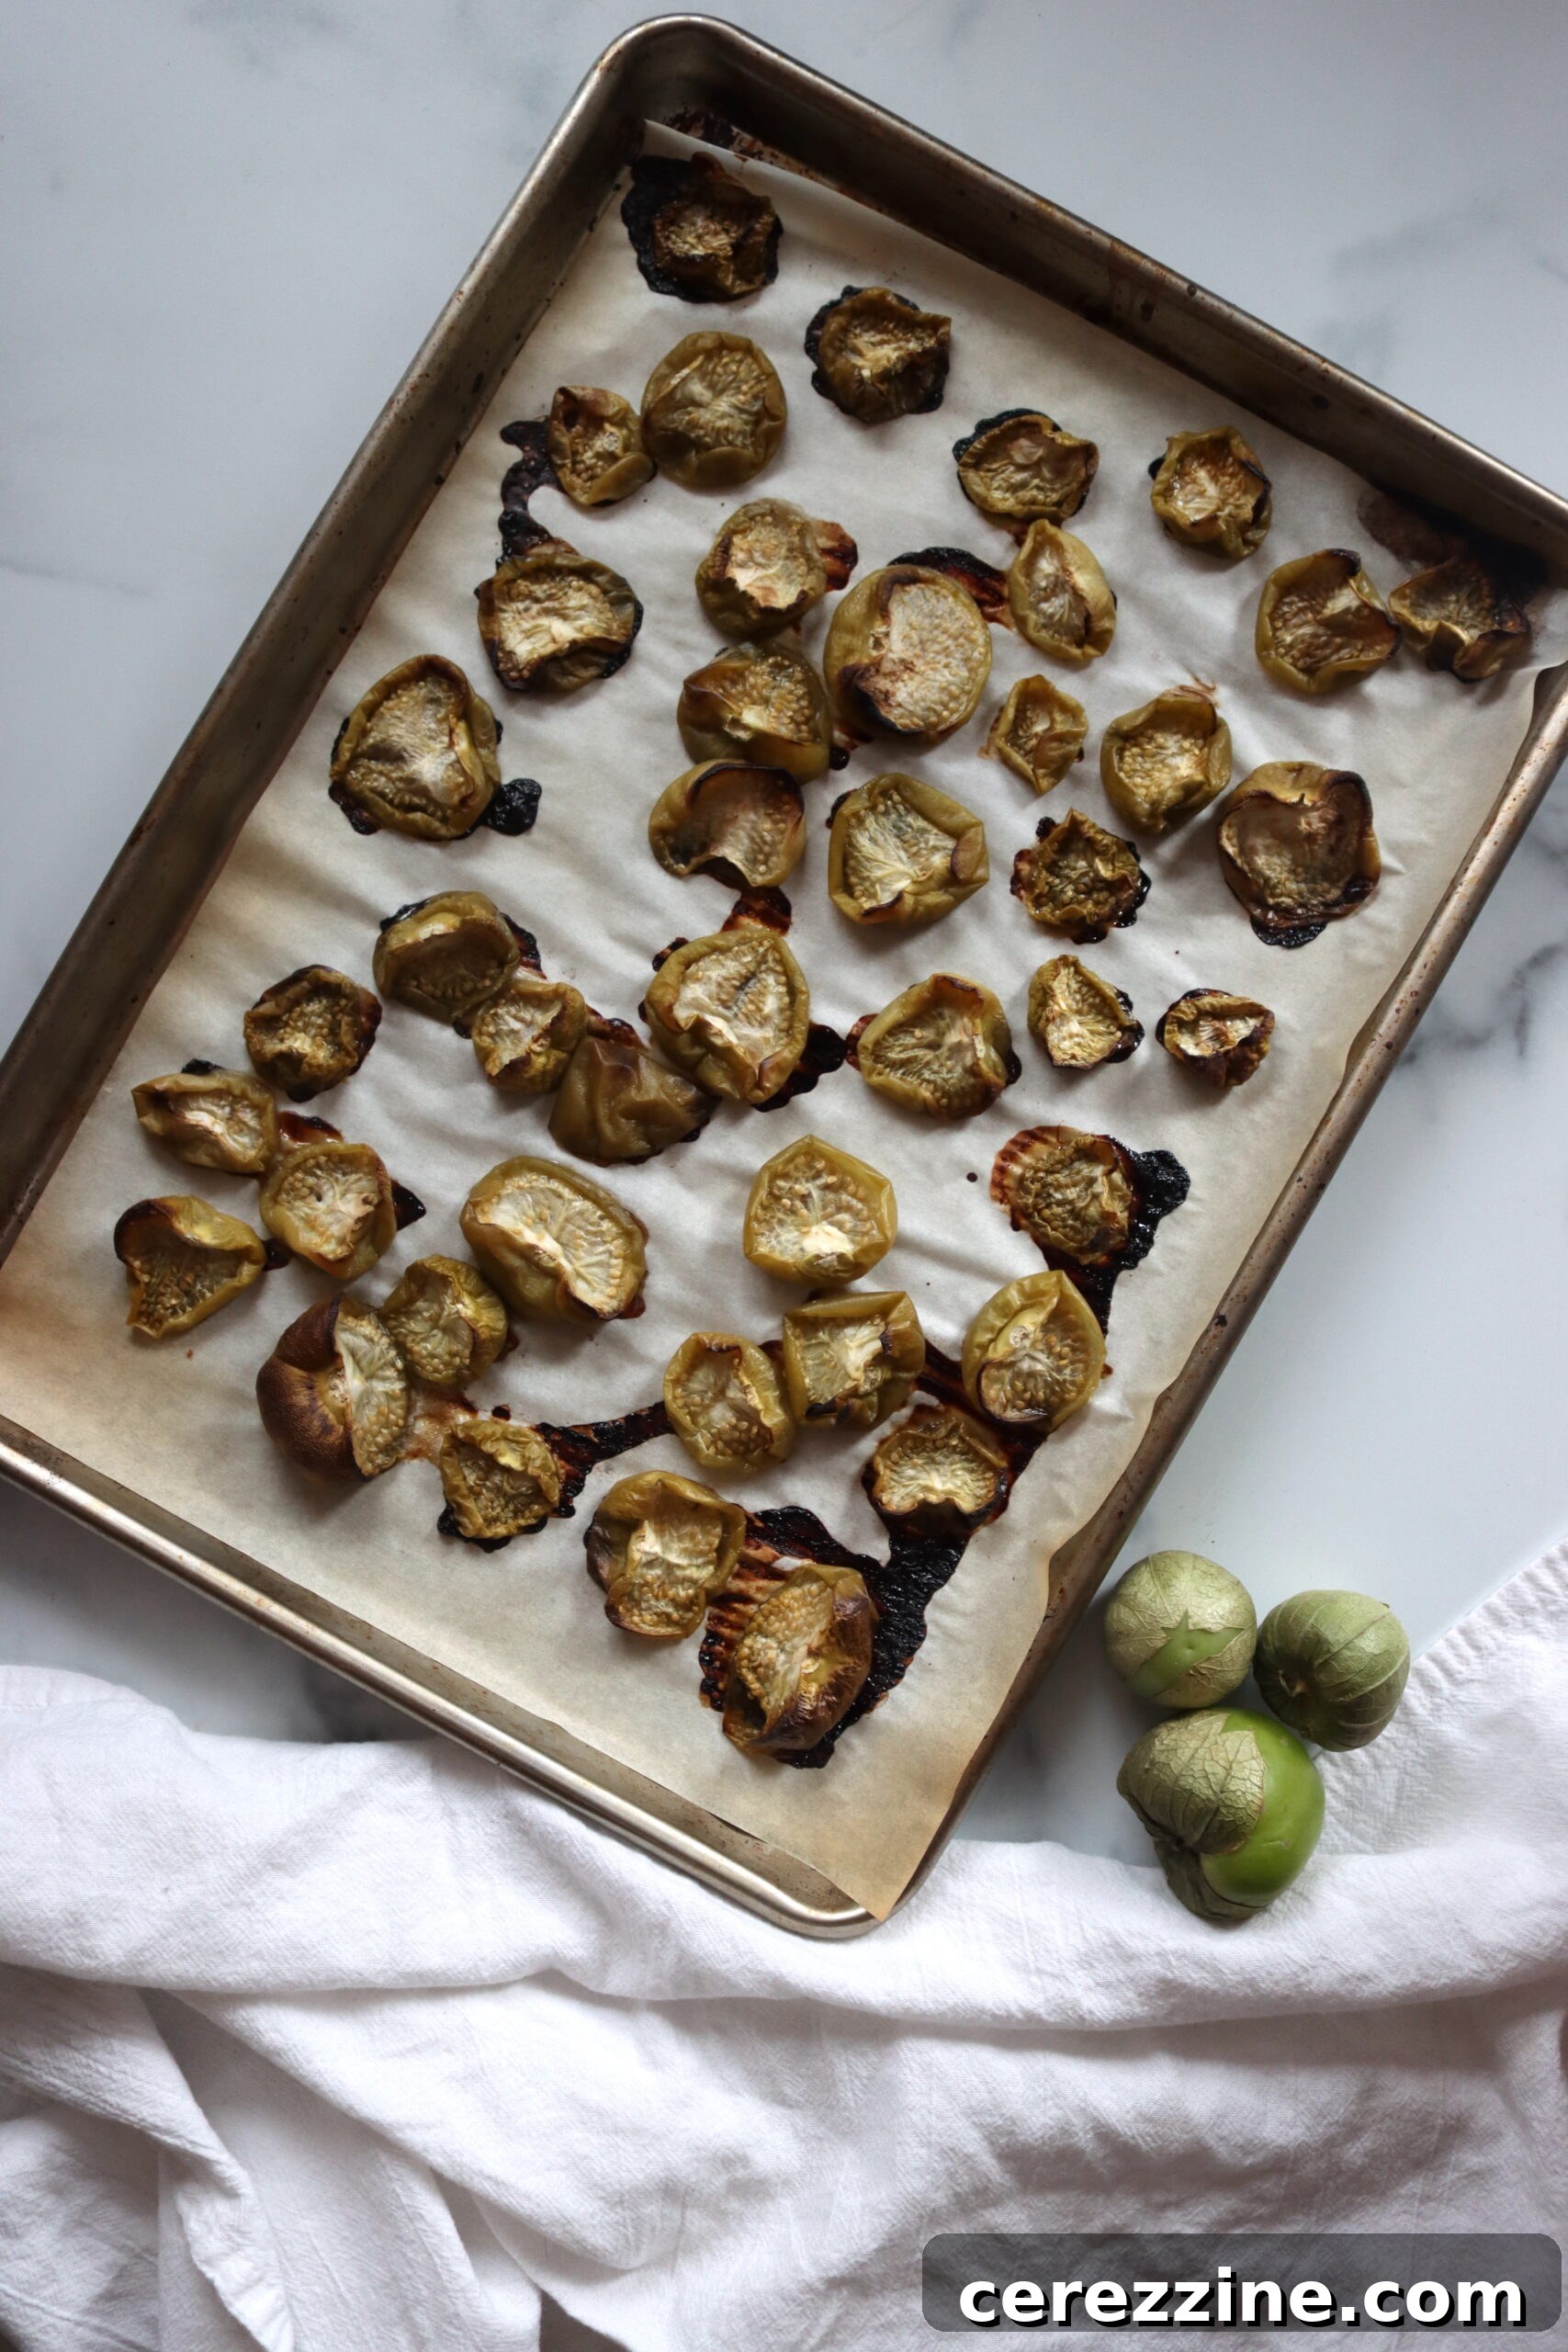
3. Blending for Perfection
Once the roasted vegetables are cool enough to handle, transfer them to a food processor. Add the fresh lime juice, the specified amount of chipotle peppers (along with some of their adobo sauce), and salt. Process the mixture until it reaches your desired consistency. Some prefer a smoother salsa, while others enjoy a chunkier texture. Pulse briefly for a rustic feel, or process longer for a more uniform sauce. Taste and adjust seasoning if you are enjoying it fresh, but for canning, it’s best to stick to the recipe’s salt content to maintain pH balance for safety.
4. Cooking and Preparing for Canning
Carefully transfer the pureed salsa mixture into a large stainless steel or enameled saucepan. These materials are non-reactive and ideal for cooking acidic foods like salsa. Bring the salsa to a rolling boil over medium-high heat, stirring frequently to prevent scorching. Once it reaches a boil, immediately remove the saucepan from the heat. This brief boiling step helps to fully incorporate flavors and prepares the salsa for the canning process.
5. Water Bath Canning: Preserving Your Salsa
Canning this salsa is a rewarding way to extend its shelf life, allowing you to enjoy its delicious flavor for months to come. Always ensure your canning jars and lids are properly sterilized and warm before filling.
- Fill Jars: Carefully ladle the hot salsa into your sterilized, warm canning jars, leaving precisely half an inch of headspace from the rim. This headspace is crucial for proper sealing and creating a vacuum.
- Remove Air Bubbles: To ensure a good seal and prevent spoilage, run a non-metallic utensil (like a chopstick or plastic knife) around the inside edge of each jar to release any trapped air bubbles.
- Clean Rims: Wipe the jar rims meticulously clean with a damp cloth. Any food residue on the rim can prevent a proper seal.
- Seal Jars: Center the warmed lids on the jars, then apply the screw bands and adjust them to be “fingertip-tight.” This means tightening just until you feel resistance, then giving a slight extra turn, but not overtightening.
- Process in Canner: Gently place the filled jars onto the rack in your boiling water canner, ensuring they are fully submerged by at least an inch of water. Bring the water to a full, rolling boil.
- Timing: Once the water is boiling, begin your timer. Process the jars for 25 minutes. Remember to adjust this processing time if you live at a higher altitude according to tested canning guidelines (e.g., add 5 minutes for altitudes 1,001-3,000 feet, 10 minutes for 3,001-6,000 feet, etc.).
- Cool Down: After the processing time is complete, turn off the heat and carefully remove the canner lid. Allow the jars to stand undisturbed in the hot water for an additional five minutes. This helps to equalize the temperature and reduces the risk of siphoning.
- Final Cooling and Sealing Check: Using jar lifters, carefully remove the hot jars from the canner and place them on a towel-lined surface or a cooling rack, ensuring there’s space between each jar for air circulation. Do not disturb them for at least 12 to 24 hours. As they cool, you should hear satisfying “pinging” sounds as the lids seal. After 24 hours, check the seals by pressing down on the center of each lid; if it doesn’t flex, the jar is sealed. Label your sealed jars with the contents and date, and store them in a cool, dark place. Any unsealed jars should be refrigerated and consumed within a few weeks.
Creative Ways to Enjoy Your Chipotle Tomatillo Salsa
Now that you’ve successfully prepared your exquisite Chipotle Tomatillo Salsa, it’s time to unleash its full potential! This versatile sauce is much more than just a dip; it’s a flavor enhancer for countless dishes. Here are some inspiring ideas to get you started:
- Classic Dip: The most straightforward way to enjoy it is with a generous bowl of crispy tortilla chips. The smoky, tangy, and spicy notes are perfectly complemented by the salty crunch of the chips.
- Taco & Burrito Topping: Elevate your favorite Mexican-inspired meals. Drizzle a spoonful or two over chicken, beef, pork, or veggie tacos, burritos, and enchiladas for an instant flavor boost.
- Grilled Meats & Fish: Use it as a vibrant topping for grilled chicken, steak, pork chops, or even flaky white fish like cod or tilapia. Its bold flavors cut through the richness of meats beautifully. It also works wonderfully as a last-minute marinade for a quick flavor infusion before grilling.
- Breakfast Brilliance: Transform your morning routine. A dollop of this salsa is fantastic with scrambled eggs, breakfast burritos, huevos rancheros, or even as an unexpected kick to an avocado toast.
- Quesadillas & Empanadas: Serve it as a dipping sauce for cheesy quesadillas or savory empanadas, adding a layer of sophisticated flavor to these comforting favorites.
- Burger & Sandwich Spread: Replace mayonnaise or mustard with this salsa for a unique, spicy, and tangy twist on your burgers, sandwiches, or wraps.
- Soup & Chili Enhancer: Stir a tablespoon or two into a bowl of chili or a hearty bean soup just before serving for an extra layer of smoky depth.
- Grain Bowls & Salads: Incorporate it into your healthy grain bowls or use it as a dressing base for a vibrant Mexican-inspired salad.
Storage and Shelf Life: Keeping Your Salsa Fresh
One of the many advantages of this recipe is its excellent storage capabilities. If you’ve opted for water bath canning, your sealed jars of Chipotle Tomatillo Salsa can be stored in a cool, dark pantry for up to a year. Always ensure the lids remain sealed. Once a jar is opened, or if you made a fresh batch without canning, the salsa should be stored in the refrigerator and consumed within two to three weeks for optimal freshness and flavor. Properly handled and refrigerated, it will last longer than most commercial salsas due to the freshness of ingredients and lack of artificial preservatives.
Tips and Troubleshooting for Perfect Salsa Every Time
Even with a straightforward recipe, a few tips can ensure your salsa turns out perfectly and help you troubleshoot common issues:
- Adjusting Spice Level: Chipotle peppers can vary in heat. For a milder salsa, start with 3-4 peppers and taste before adding more. For extra heat, include additional chipotle peppers or even a fresh serrano pepper when roasting.
- Consistency Control: If your salsa is too thick after blending, you can add a small amount of water, vegetable broth, or even a splash more lime juice to achieve your desired consistency. If it’s too thin, simmer it gently on the stovetop for a few minutes to reduce and thicken, being careful not to scorch it.
- Flavor Enhancements: A handful of fresh cilantro added after blending can brighten the flavor. A pinch of cumin or oregano can also add another layer of traditional Mexican flavor. For a sweeter touch, a tiny bit of brown sugar can balance the tartness of the tomatillos.
- Canning Safety: Always follow tested canning recipes and guidelines precisely. Do not alter the proportions of acidic ingredients (like lime juice or tomatillos) to low-acid ingredients (like onions and peppers) unless using a tested recipe. Headspace, processing time, and proper jar preparation are critical for safe home canning.
- Altitude Adjustments: If canning at high altitudes, remember to increase your processing time. Failure to do so can result in under-processed food that is unsafe for shelf storage. Consult official canning guides for precise adjustments for your specific altitude.
⭐
⭐
⭐
⭐
24
servings, makes 3 half-pint jars
Chipotle Tomatillo Salsa
Ashley Adamant
20 minutes
10 minutes
25 minutes
55 minutes
Equipment
-
Water Bath Canner
-
Food Processor
-
Large Rimmed Baking Sheet
-
Large Stainless Steel or Enameled Saucepan
-
Canning Jars (half-pint) with Lids and Bands
-
Jar Lifter
-
Non-metallic Utensil (for air bubbles)
Ingredients
-
2 lbs (1 kg) fresh tomatillos, husks removed and rinsed -
1 small onion, quartered (skin on for roasting) -
4 cloves garlic, peeled -
¼ cup (60 ml) fresh lime juice, from about three fresh limes -
5-7 canned chipotle peppers, from one 7 oz (198g) can of chipotles in adobo, include some sauce -
½ tsp salt
Instructions
-
Preheat your oven to 425°F (220°C).
-
Arrange the tomatillos (stem side down) and onion quarters (skin side down) on a large-rimmed baking sheet. Wrap the peeled garlic cloves in a small piece of aluminum foil and place the pouch in one corner of the baking sheet.
-
Bake at 425°F for about 20 minutes, or until the tomatillos and onions begin to char and soften. Transfer the baking sheet to a wire rack to cool slightly. Once cool enough to handle, transfer the roasted vegetables (including the unpeeled tomatillos) to a food processor.
-
Add the fresh lime juice, 5-7 chipotle peppers (with some adobo sauce), and ½ tsp salt to the food processor with the roasted vegetables. Process until the mixture is pureed to your desired consistency (smooth or slightly chunky).
-
Transfer the pureed salsa to a large stainless steel or enameled saucepan. Bring the salsa to a full boil over medium-high heat, then immediately remove it from the heat.
-
Ladle the hot salsa into sterilized, warm half-pint jars, leaving exactly half an inch of headspace. Remove any air bubbles by running a non-metallic utensil around the inside edge of the jar. Wipe the jar rims clean with a damp cloth, center the lids on the jars, and apply the bands to be fingertip-tight.
-
Place the filled jars in a boiling water canner, ensuring they are fully submerged by at least an inch of water. Bring to a rolling boil and process for 25 minutes (adjust for altitude if necessary). Turn off the heat, remove the canner lid, and let the jars stand in the water for five minutes. Carefully remove the jars and place them on a towel-lined surface to cool undisturbed for 12-24 hours. Check seals, label, and store.
Nutrition
Carbohydrates: 3g,
Protein: 0.4g,
Fat: 0.4g,
Saturated Fat: 0.1g,
Polyunsaturated Fat: 0.2g,
Monounsaturated Fat: 0.1g,
Sodium: 49mg,
Potassium: 111mg,
Fiber: 1g,
Sugar: 2g,
Vitamin A: 45IU,
Vitamin C: 6mg,
Calcium: 5mg,
Iron: 0.3mg
Nutrition information is automatically calculated and should only be used as an approximation.
✉️
Enjoyed this recipe? Share your thoughts below!
Your comments and feedback are greatly appreciated.
Explore More Homemade Salsa Recipes
If you’ve enjoyed crafting this Chipotle Tomatillo Salsa, you’ll love exploring other vibrant homemade salsa recipes. Expand your canning repertoire and delight in a variety of fresh flavors:
- Classic Tomatillo Salsa: A bright and zesty salsa verde, perfect for those who prefer less heat or want to appreciate the pure tang of tomatillos.
- Sweet & Savory Corn Salsa: A delightful blend of sweet corn, colorful peppers, and herbs, offering a different texture and flavor profile that’s fantastic with grilled chicken or fish.