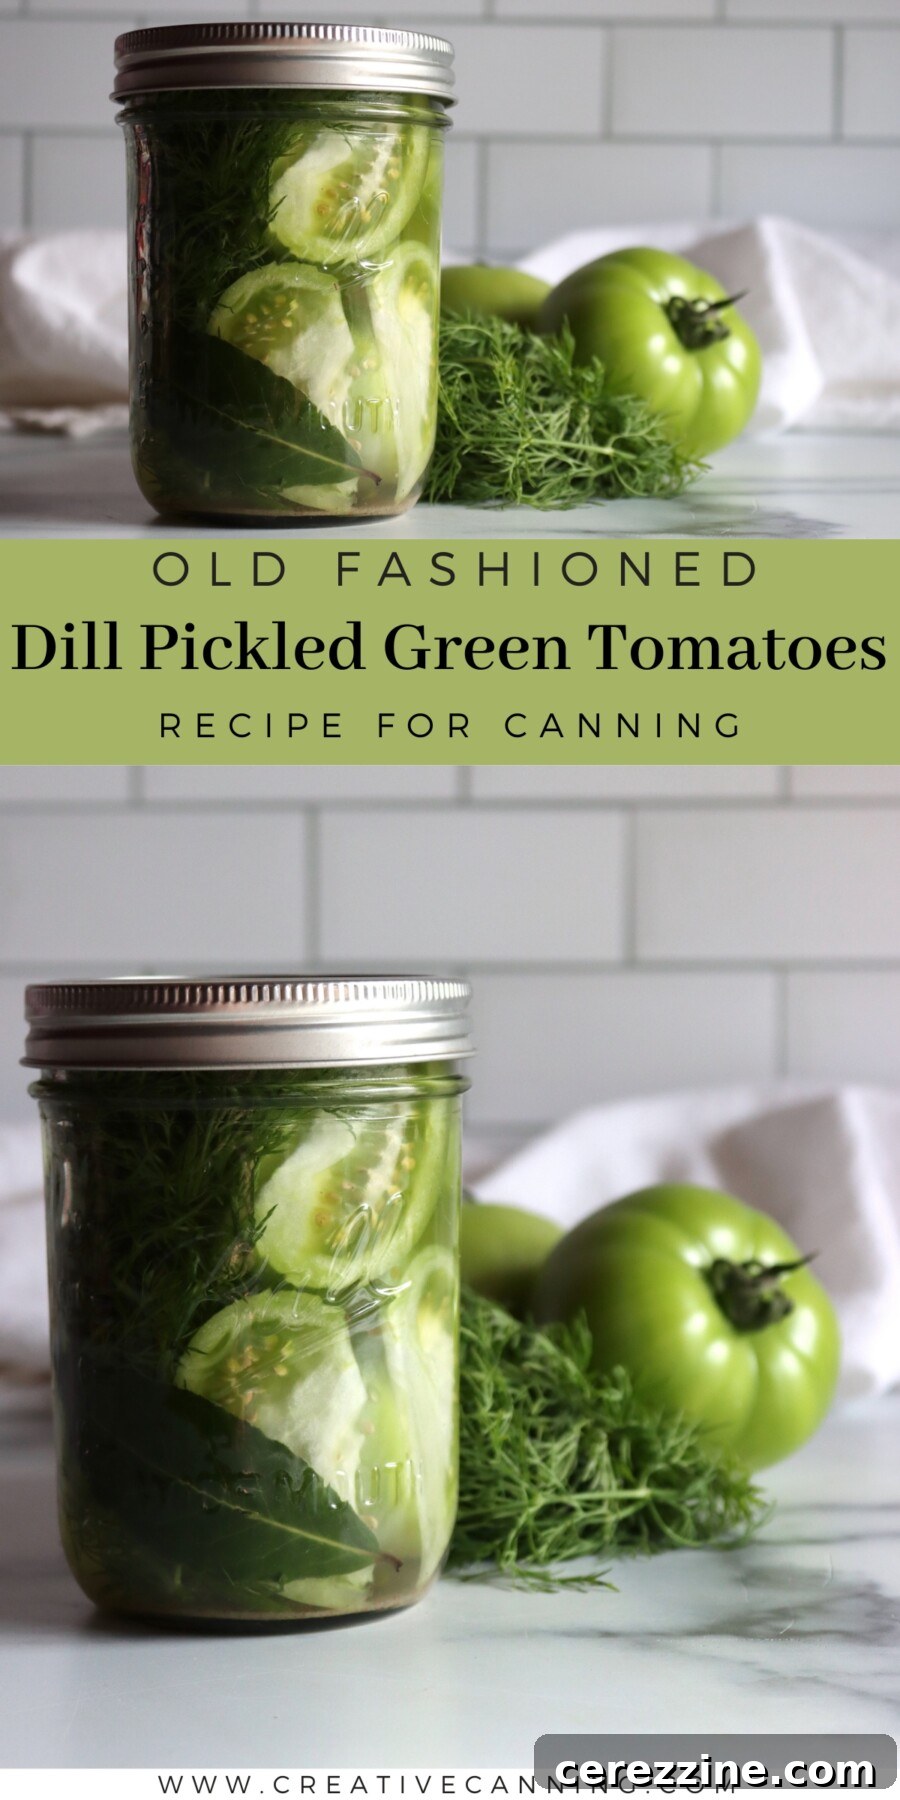
Delicious Dill Pickled Green Tomatoes: Your Ultimate Guide to Crispy Homemade Canning
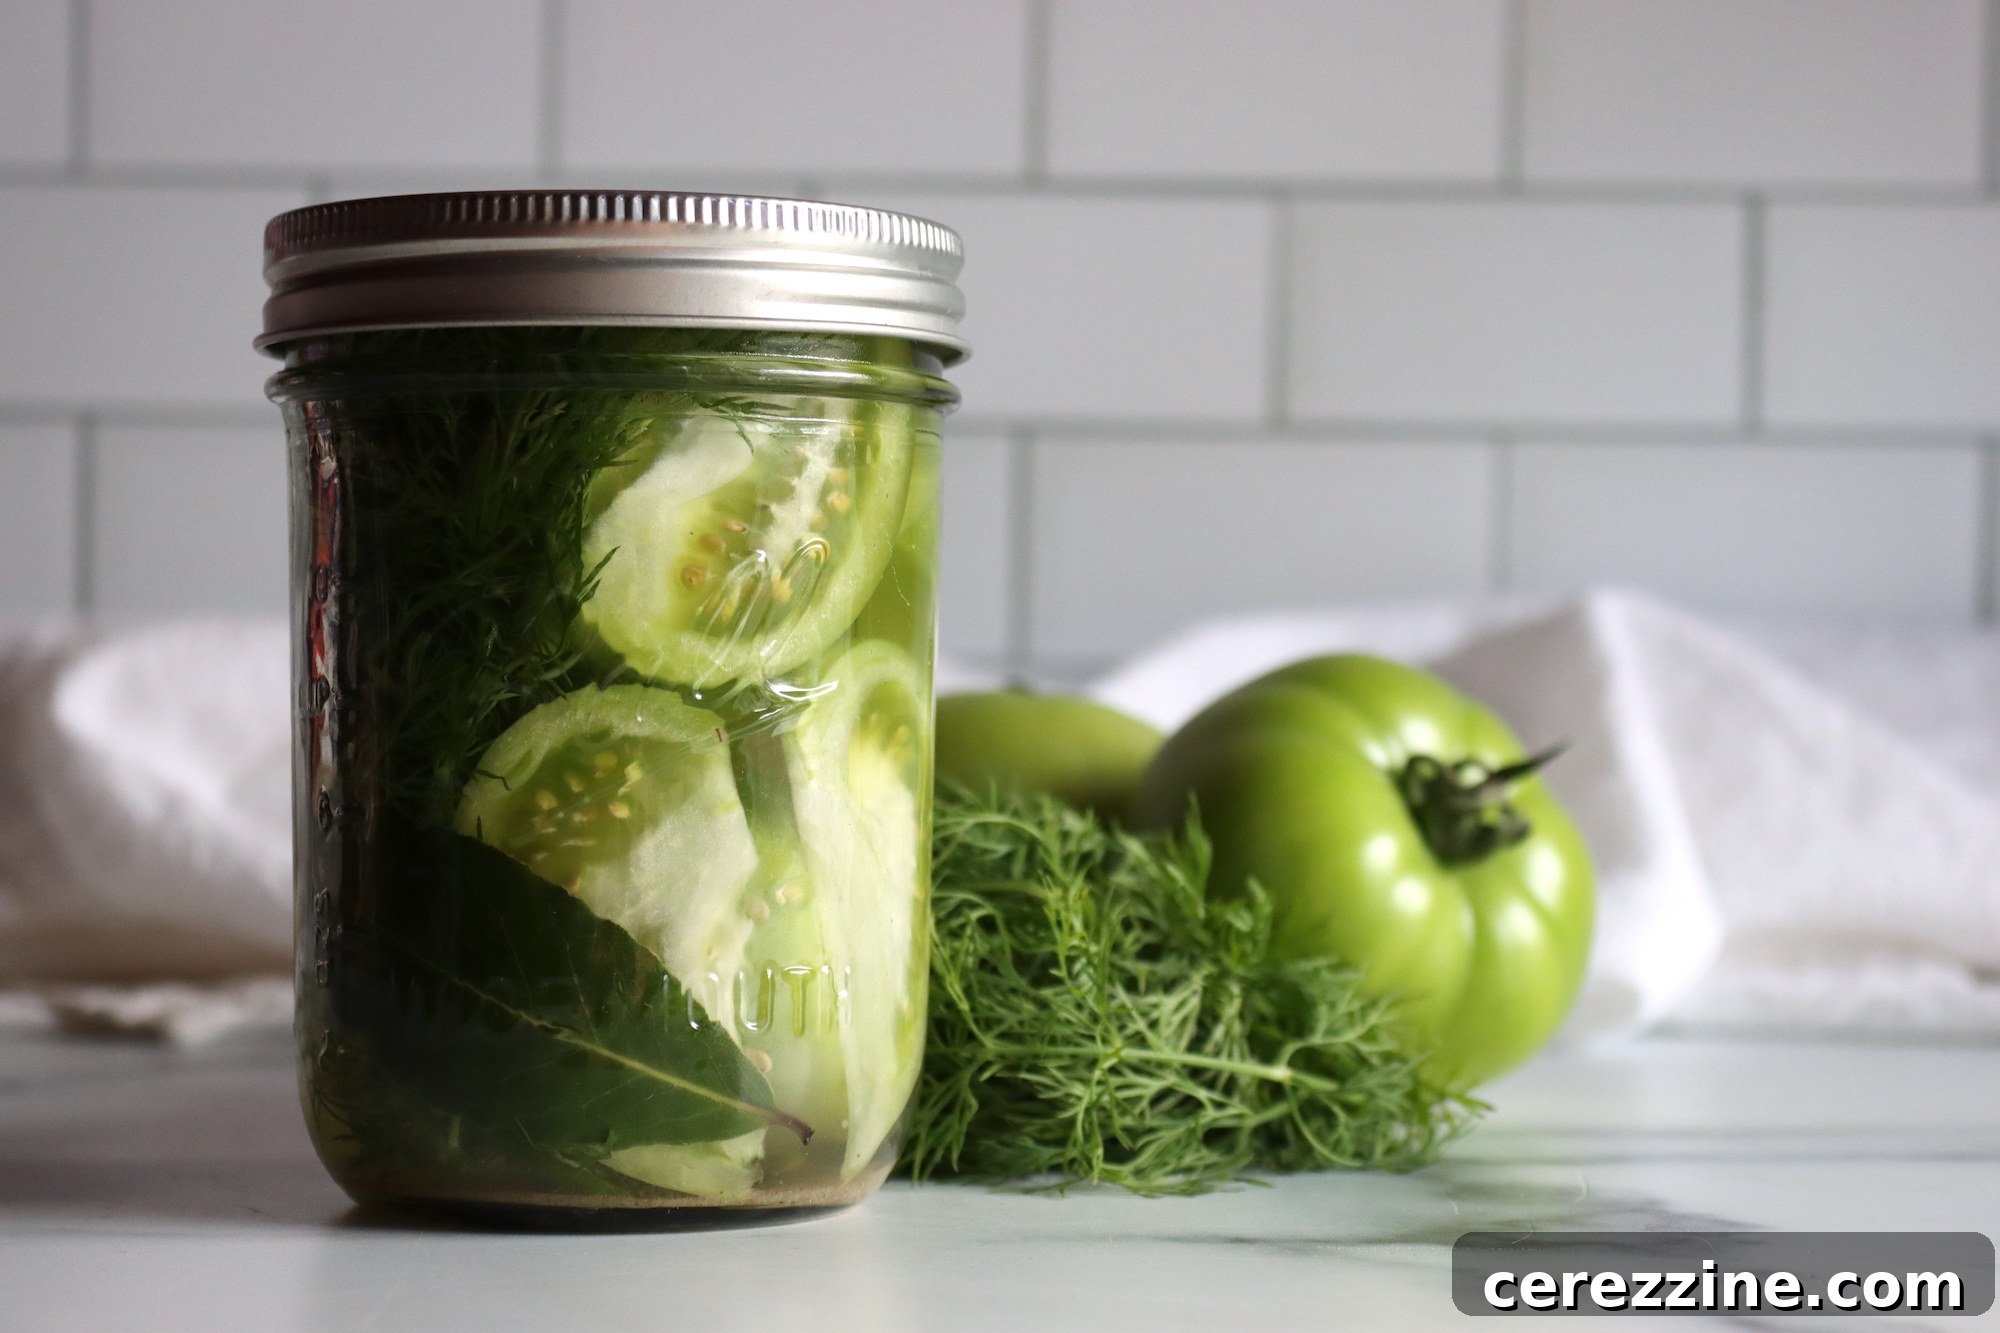
Dill pickled green tomatoes are a culinary delight that perfectly captures the essence of late-season harvests. These crunchy, garlicky, and delightfully tart pickles offer a burst of flavor that complements an astonishing array of dishes, from casual sandwiches to elegant snack boards. Once a staple in every pantry, this old-fashioned preserve is making a well-deserved resurgence, celebrated for its unique taste and satisfying texture. If you’re looking for a simple yet rewarding way to transform your abundance of unripe tomatoes, this comprehensive guide will walk you through creating your own batch of crisp, homemade dill pickled green tomatoes.
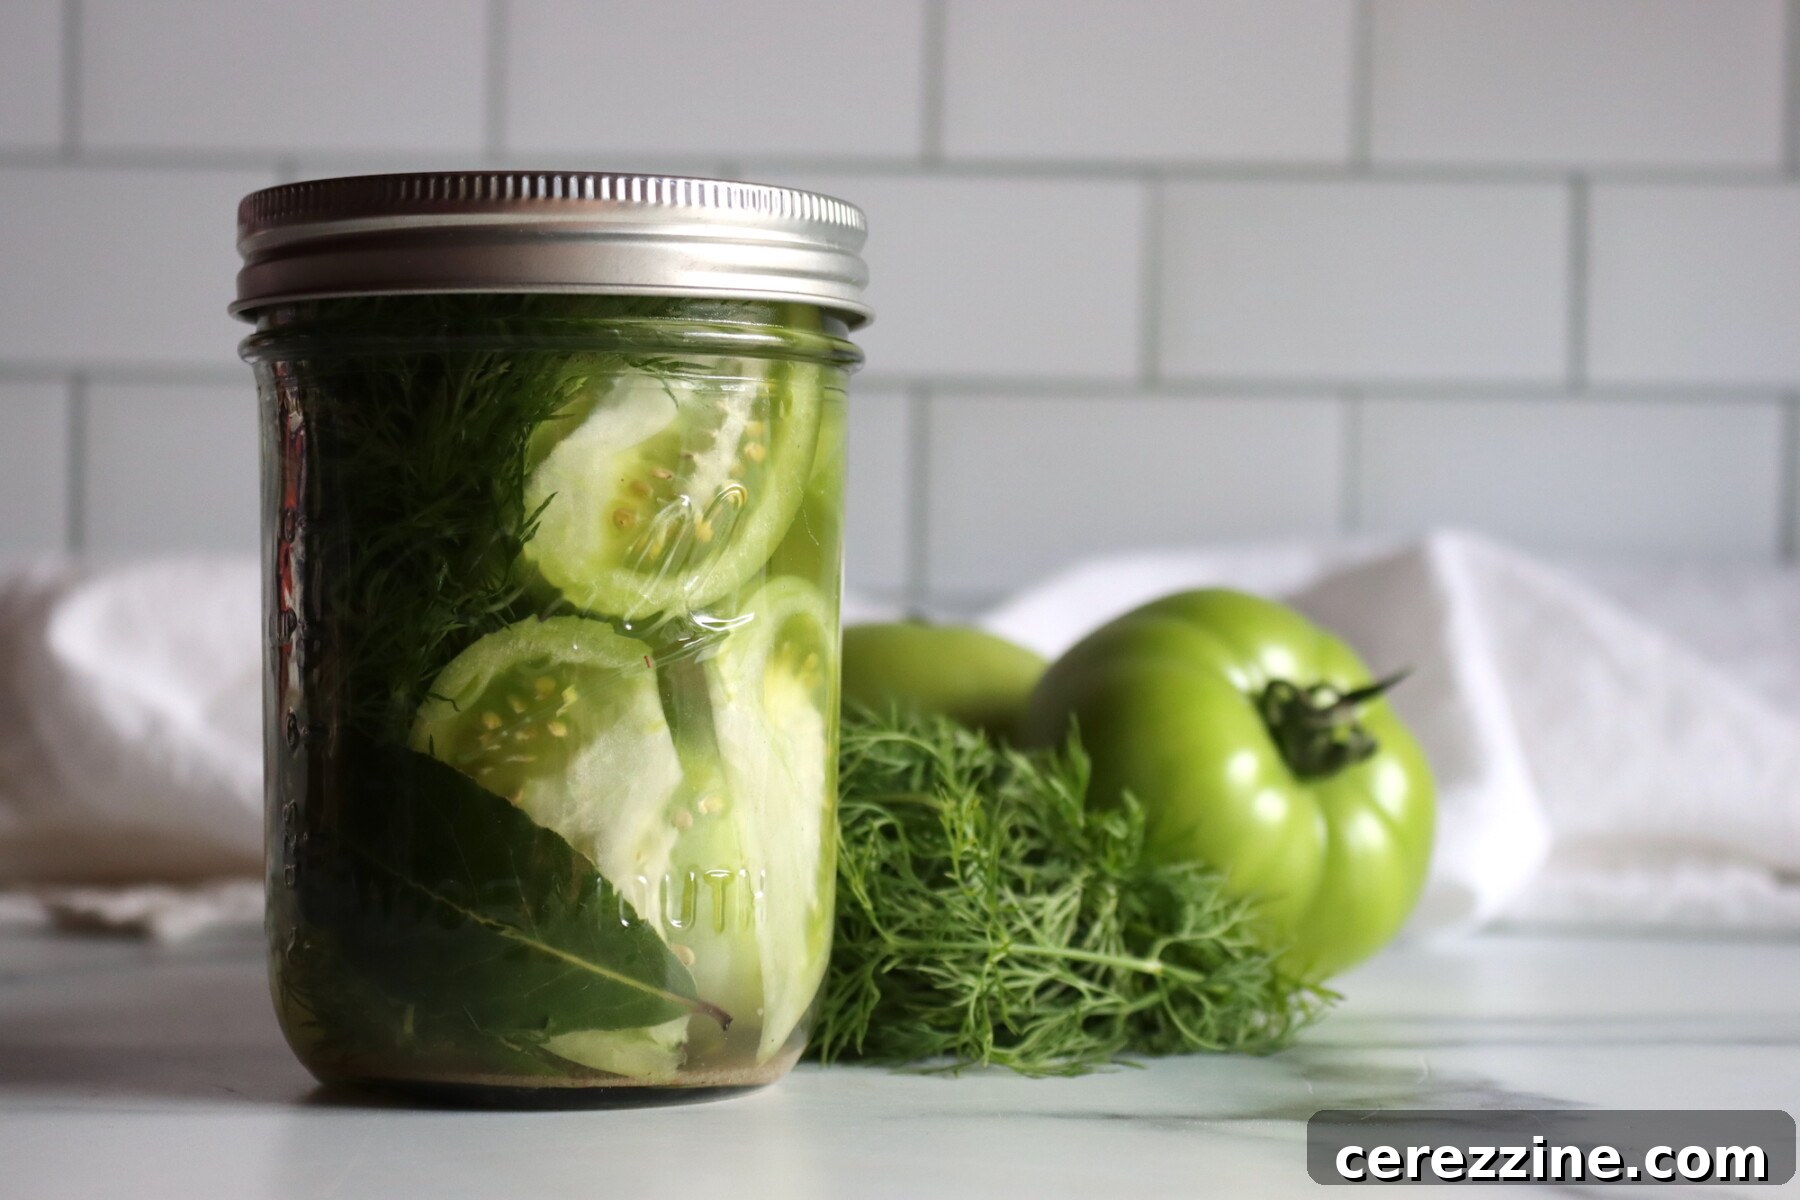
As summer transitions into autumn, many gardeners find themselves with an abundance of green, unripe tomatoes. While fried green tomatoes are a popular treat, there are only so many batches one can enjoy before the novelty wears off. This is where the magic of preserving truly shines! Instead of letting these end-of-season gifts go to waste, green tomato canning recipes provide an excellent solution. Pickling, in particular, stands out as a superior method to transform firm, underripe tomatoes into a flavorful pantry staple that can be savored throughout the colder months.
While we often associate pickles with cucumbers, historical cookbooks reveal a surprising truth: green tomatoes were far more commonly pickled. For instance, the 1911 Canadian Farm Cookbook featured a remarkable 40 green tomato recipes out of 120 total pickle, relish, and sauce entries! This preference was not without reason. Green tomatoes boast a naturally firm texture that holds up exceptionally well during the canning process, resulting in a delightfully crisp pickle. Furthermore, their distinct, complex flavor profile adds a unique dimension that sets them apart from their cucumber counterparts. Long before the classic dill pickled cucumber became ubiquitous, dilled green tomato pickles were the prize lining pantry shelves, a testament to their enduring appeal.
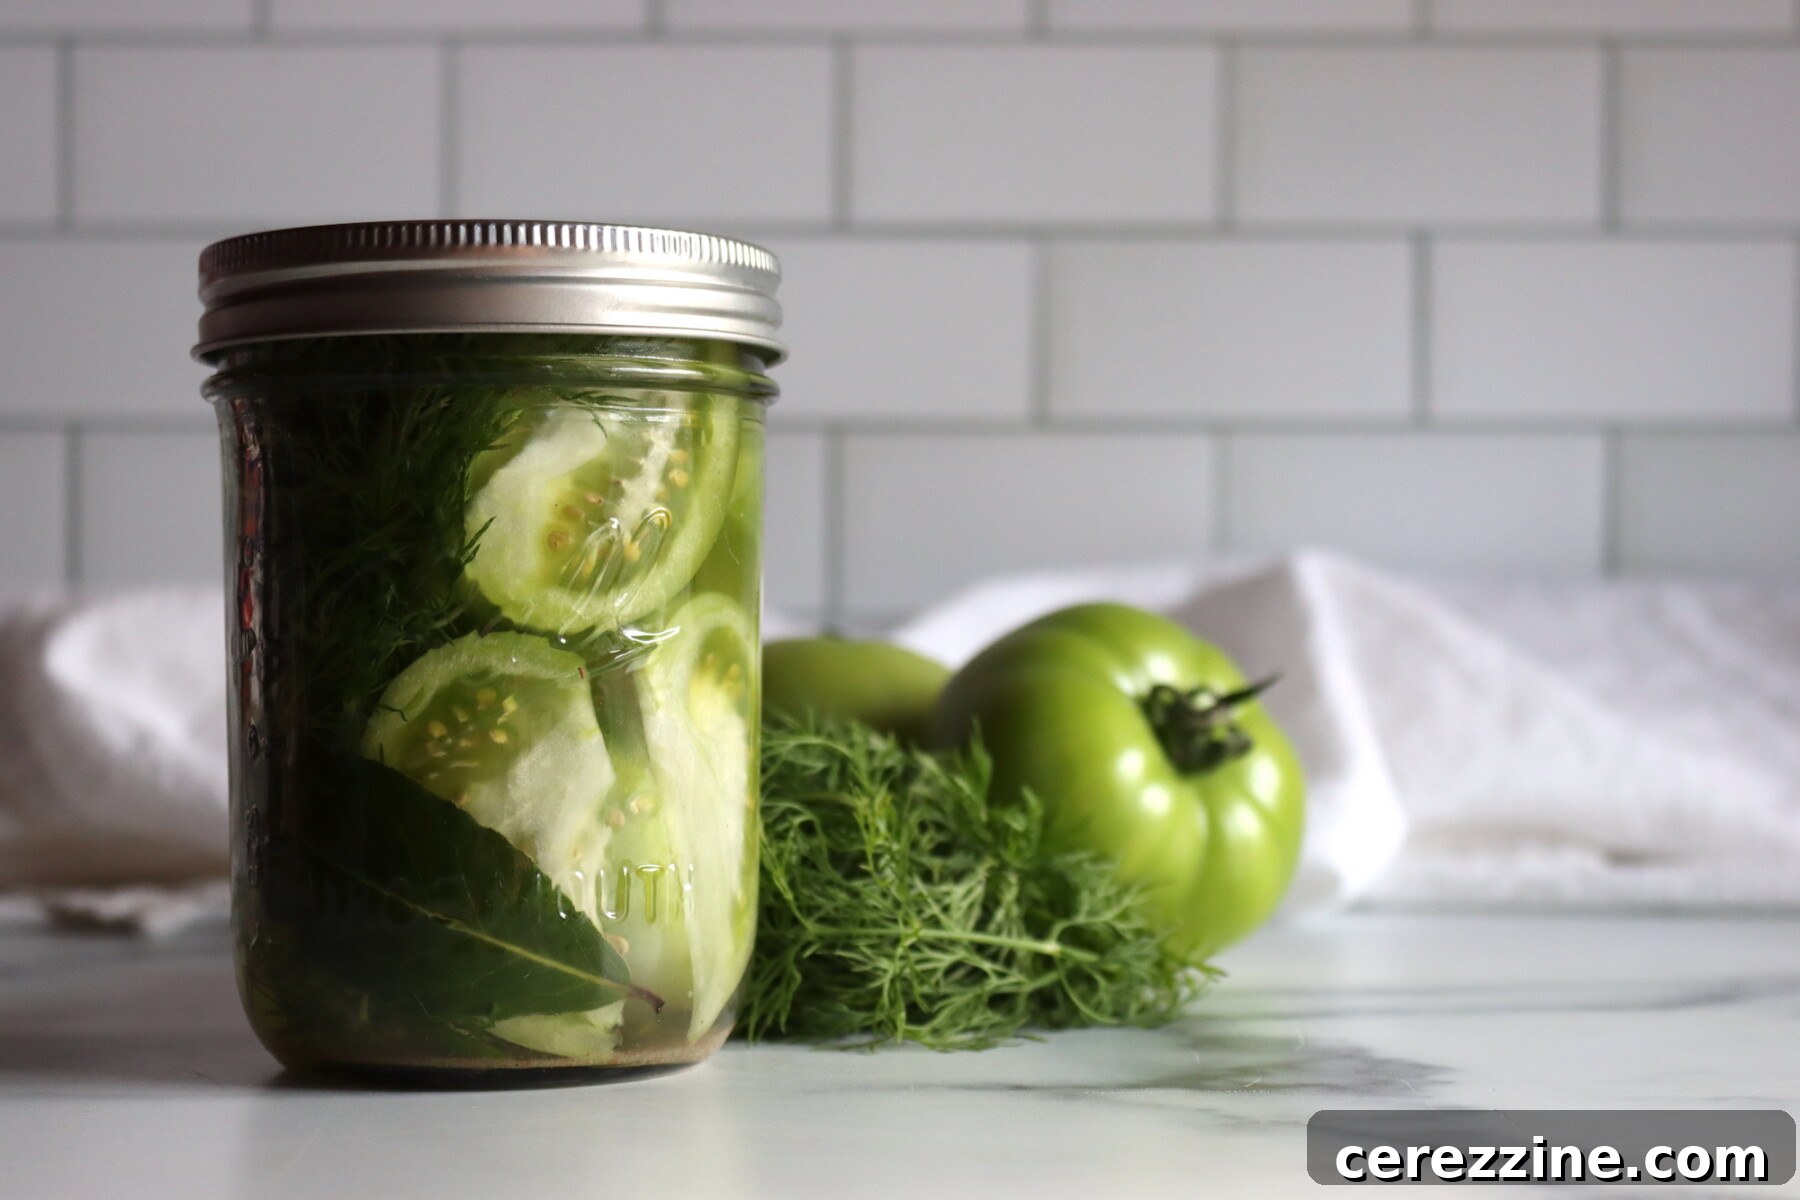
This particular recipe for dill pickled green tomatoes is a trusted adaptation from the renowned Ball Blue Book of Preserving, a gold standard in home canning. You’ll find a similar, reliable formula in the more extensive Ball Complete Book of Home Preserving. It’s a straightforward, time-tested brine that not only ensures the tomatoes remain wonderfully crisp but also infuses them with abundant dill and garlic flavor. Whether you use small, cherry-sized green tomatoes left whole or larger heirloom varieties cut into quarters, these pickles maintain their texture beautifully in the jar. They make an effortless, tangy accompaniment for hearty winter meals, an impressive addition to charcuterie boards, or simply a quick, satisfying snack straight from the refrigerator.
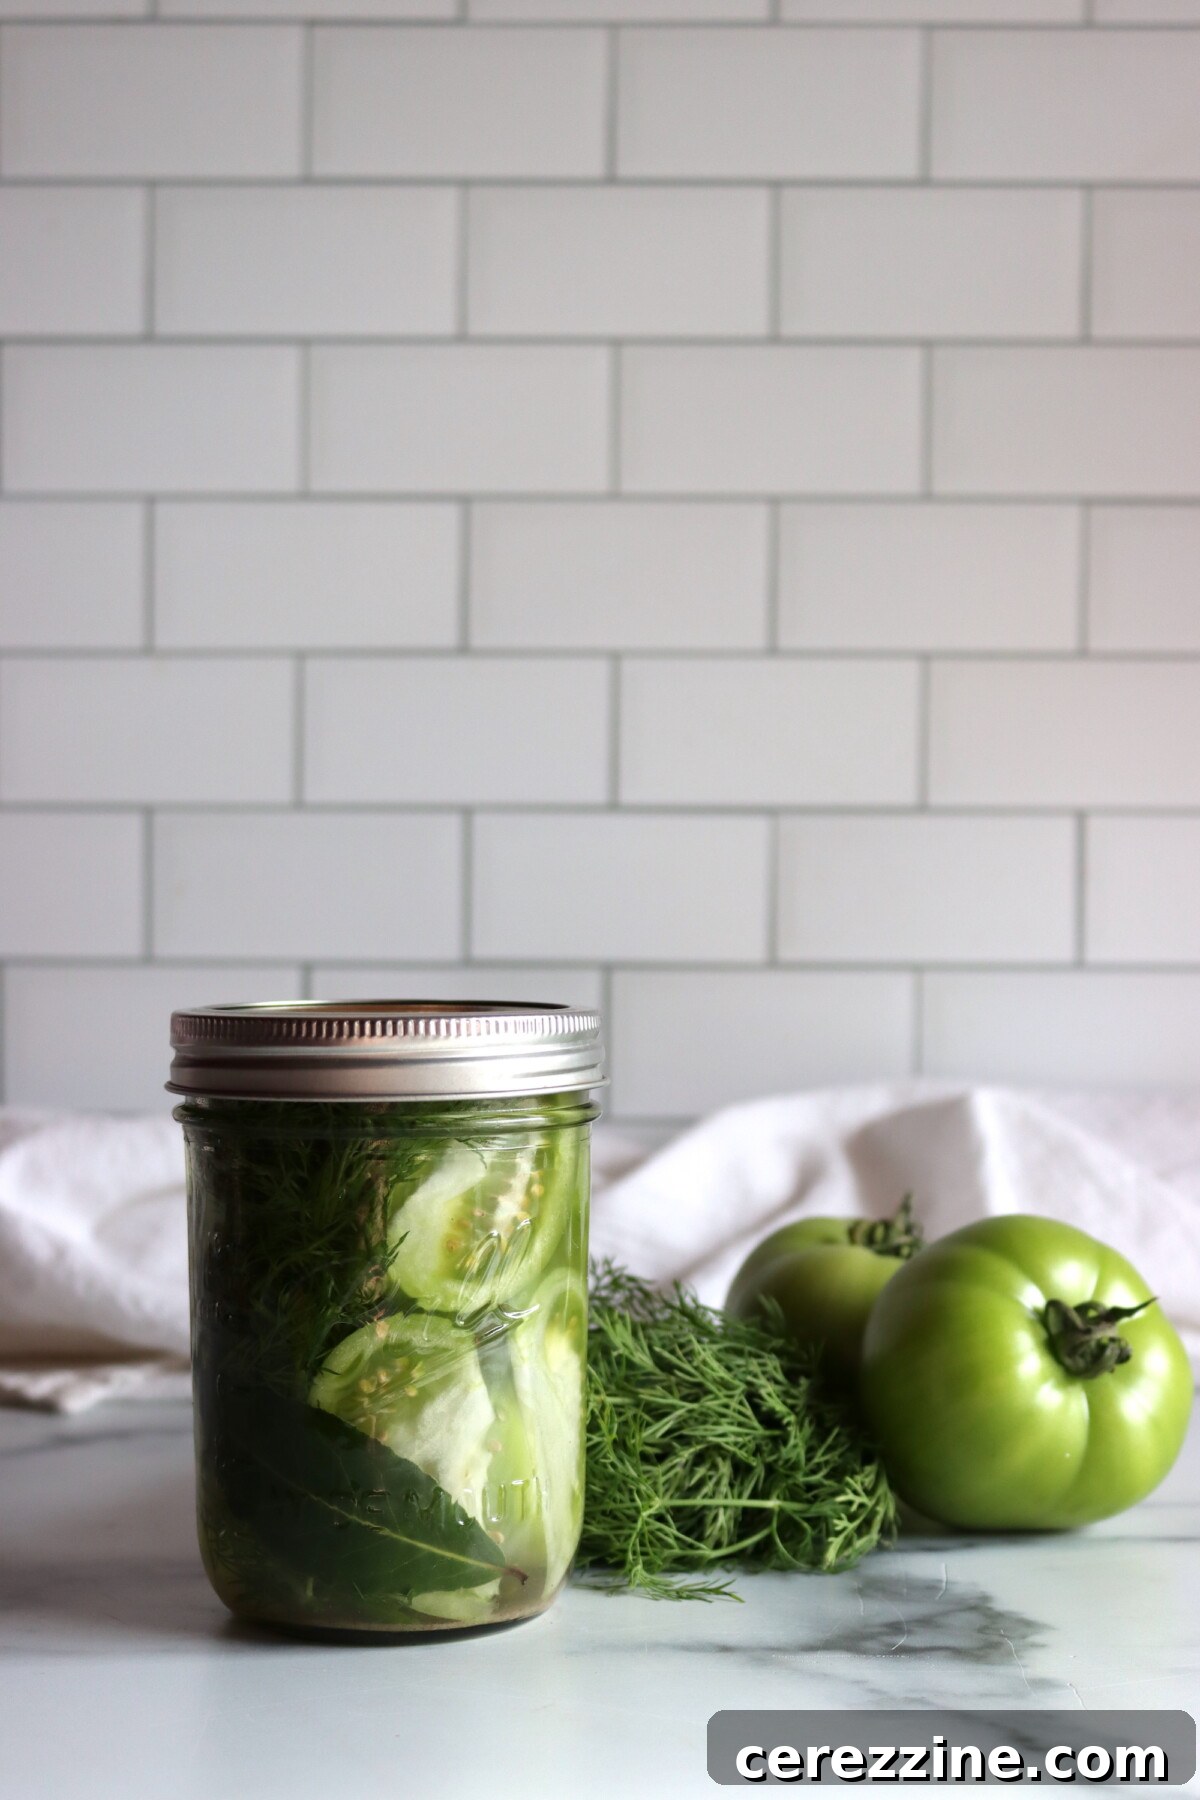
Essential Ingredients for Perfect Dill Pickled Green Tomatoes
This recipe is designed to yield approximately 6 pint jars, though the exact quantity can vary based on the size of your tomatoes, how they are cut, and how tightly you pack your jars. Generally, you’ll need just under a pound of green tomatoes to fill one pint jar, along with about a cup of brine per pint. Preparing these ingredients properly is key to achieving excellent results.
To make about 6 pint jars of crisp dill pickled green tomatoes, gather the following:
- 5 pounds green tomatoes, halved or quartered if large, or left whole if cherry-sized
- ¼ cup pickling or canning salt
- 3 ½ cups vinegar (5% acidity)
- 3 ½ cups water
- 6 cloves garlic, peeled
- 6 heads fresh dill (or 1 tablespoon dill seed per pint)
- 6 bay leaves
- Optional: ⅛ teaspoon calcium chloride (pickle crisp) per pint for extra crunch
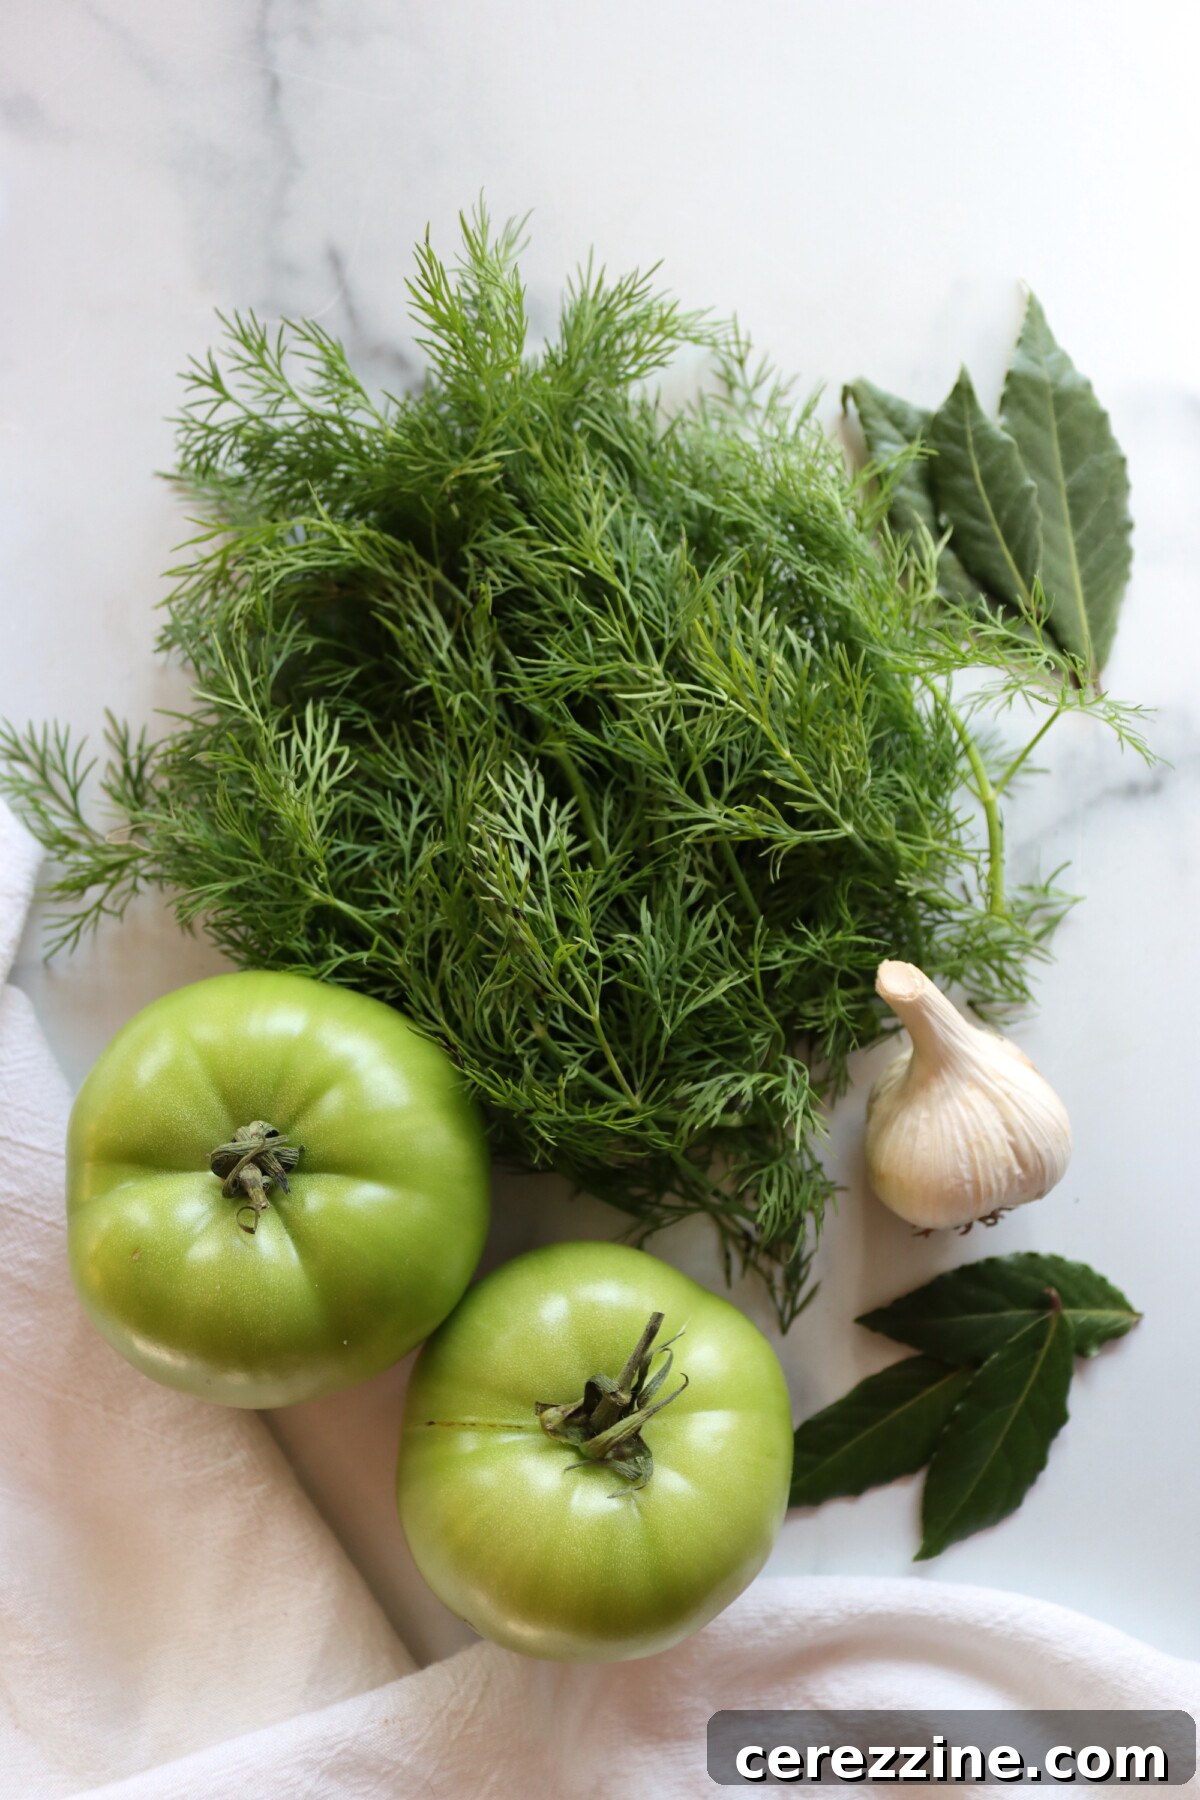
When preparing your brine, it’s crucial not to increase the amount of water, as the solution must maintain at least 5% acidity from the vinegar for safe preservation. Always check the label on your vinegar bottle, as the acidity percentage is typically listed. You have flexibility in your vinegar choice; while white vinegar provides a clean, sharp flavor, cider vinegar offers a warmer, slightly less harsh profile. Both are perfectly acceptable for this recipe.
This recipe calls for a substantial amount of salt, aligning with the traditional salty-sour character of dill pickles. If you prefer a less salty flavor, feel free to reduce the salt; it contributes primarily to taste, not to the preservation safety of this particular brine. To temper the sharp tang of the vinegar, you might consider adding a tablespoon or two of sugar. This will subtly balance the sour notes without making the pickles taste overtly sweet. However, many enthusiasts appreciate the intentional sourness of classic dill pickles, which is why sugar is not a standard inclusion in the initial recipe.
The seasonings in this recipe are highly adaptable to personal taste. For a more intense garlic flavor, simply add a few extra cloves. If you enjoy a touch of heat, a teaspoon of red pepper flakes per jar can add a pleasant kick. Historically, classic dill pickles often feature just garlic and dill, whether from fresh dill fronds or concentrated dill seed. Other nice additions, though not typically found in the Ball recipe, include a teaspoon of whole black peppercorns, coriander seeds, or mustard seeds in each jar, which can add a lovely depth to the flavor profile.
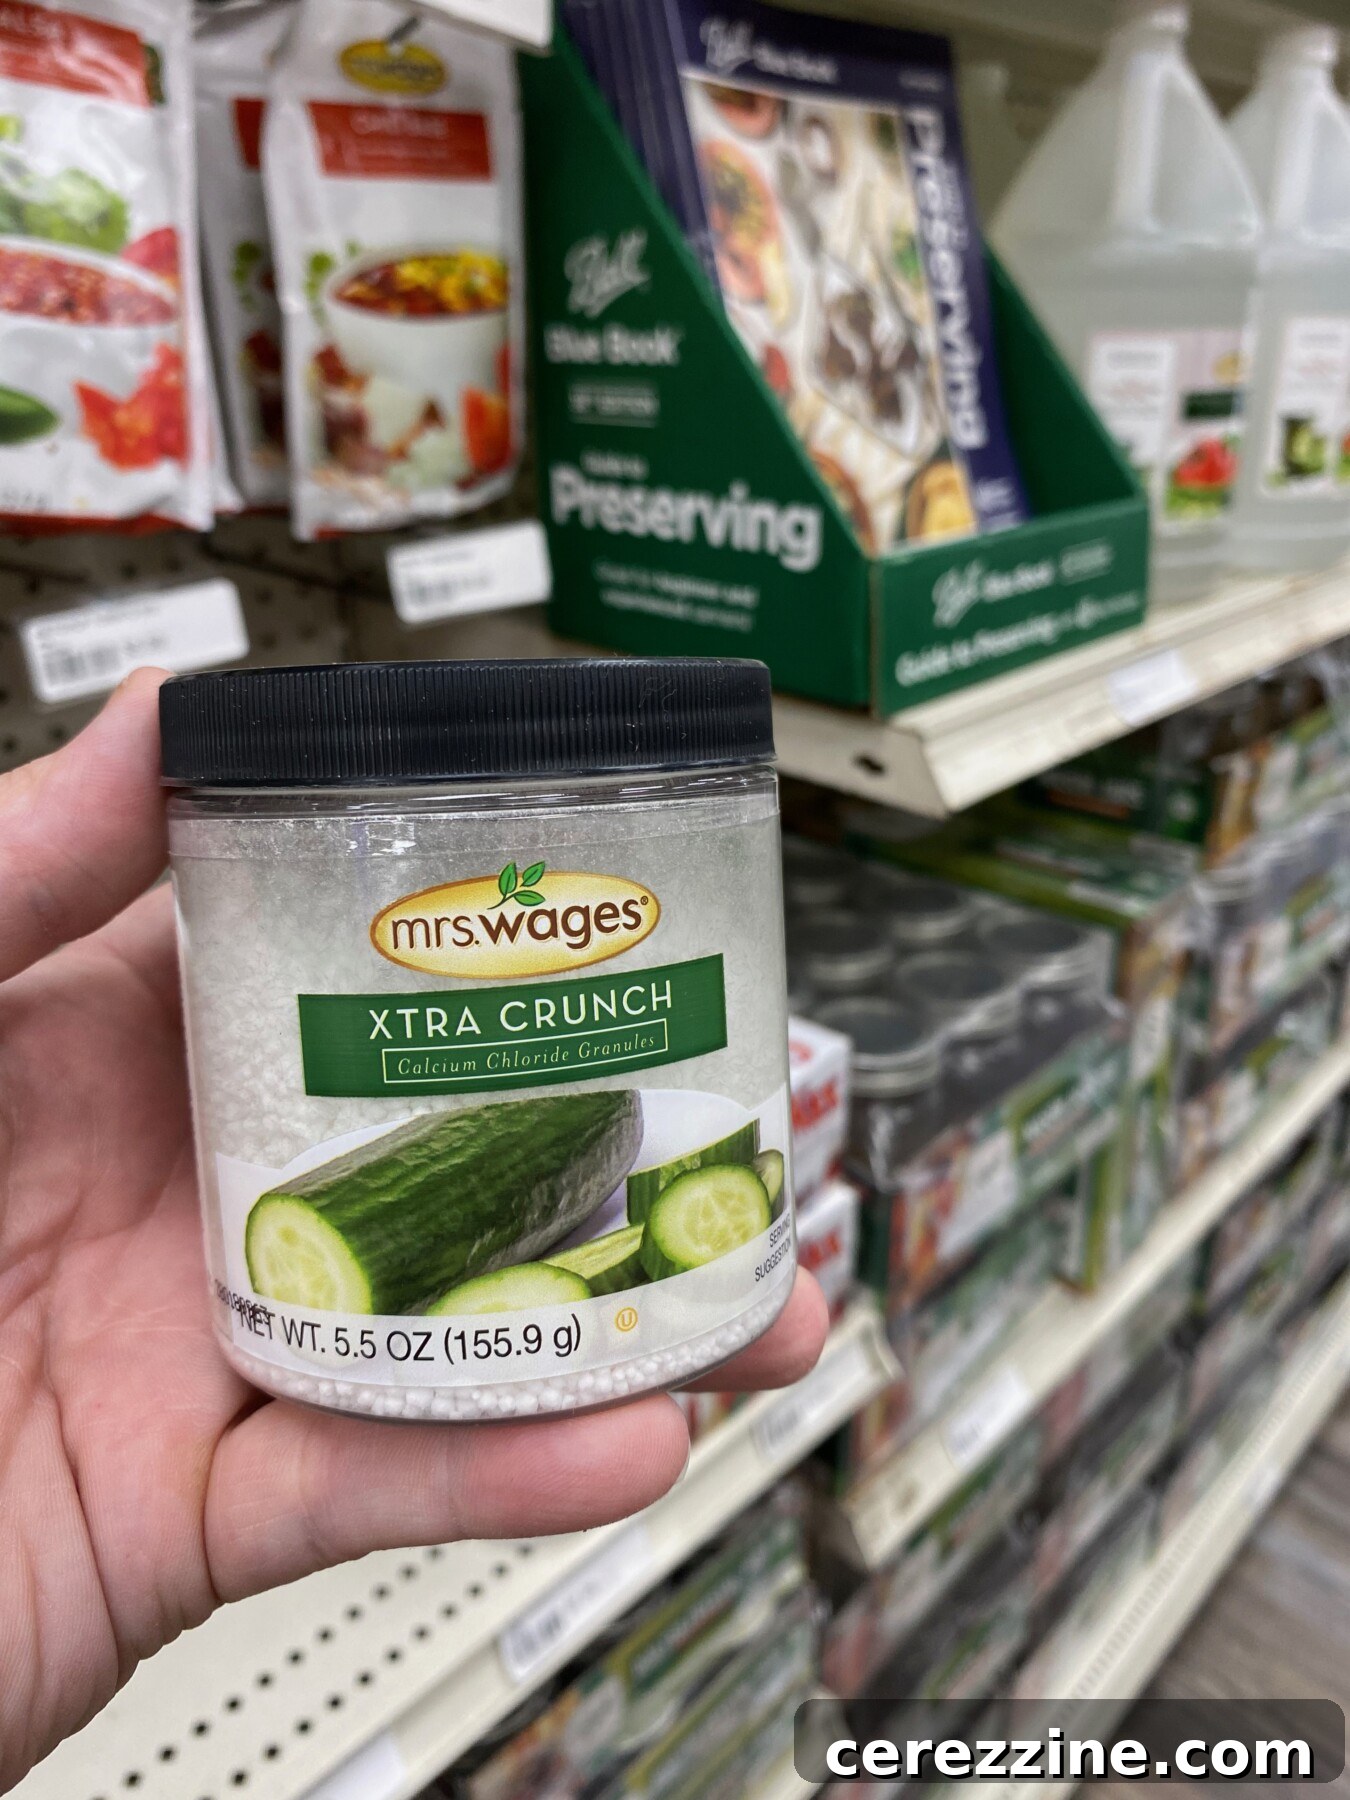
For an optimal crunch, especially important for canned pickles, I highly recommend including calcium chloride. This ingredient, often sold as Pickle Crisp by Ball or Xtra Crunch by Mrs. Wages, significantly helps maintain pickle firmness during the canning process. While optional, its inclusion leads to a noticeably superior texture. In older times, pickling lime was used for similar results, but calcium chloride offers a much simpler and safer method for achieving that desired crispness.
Step-by-Step Guide: How to Make Dill Pickled Green Tomatoes
This recipe comes together quite efficiently, making the canning process smooth. If you plan to can your pickles, it’s advisable to prepare your water bath canner and sterilize your jars before you begin chopping your tomatoes. Having everything ready beforehand ensures a seamless transition.
- Prepare Tomatoes: Begin by thoroughly washing the green tomatoes under cold running water, then drain them completely. For larger green tomatoes, core them and cut them into halves or quarters to ensure they fit snugly and neatly into your jars. Small, cherry-sized green tomatoes can be left whole; however, it’s essential to prick each one several times with a fork or skewer. This allows the pickling brine to penetrate effectively and helps prevent the tomatoes from splitting during processing. Set the prepared tomatoes aside as you move on to the brine.
- Prepare Brine: In a large, nonreactive pot (such as stainless steel or enamelware), combine the pickling salt, vinegar, and water. Place the pot over medium-high heat and bring the mixture to a rolling boil, stirring continuously to ensure the salt fully dissolves. Once it reaches a boil, reduce the heat to a gentle simmer and let it cook for about 5 minutes. This simmering period allows all the ingredients to meld and ensures the brine is thoroughly hot when you’re ready to fill your jars. Keep the brine at a low simmer while you proceed with packing the jars.
- Pack Jars: Carefully pack the raw green tomatoes firmly into hot, sterilized pint jars, leaving a ½-inch headspace at the top of each jar. As you pack the tomatoes, add 1 peeled clove of garlic, 1 fresh dill head (or 1 tablespoon of dill seed), and 1 bay leaf to each jar. If you’ve opted for extra crispness, now is the time to add ⅛ teaspoon of calcium chloride (pickle crisp) to each pint jar.
- Fill with Brine: Ladle the hot brine over the packed tomatoes in each jar, ensuring that you maintain the ½-inch headspace. Use a specialized bubble remover tool or a clean, non-metallic utensil (like a chopstick or plastic knife) to gently dislodge any trapped air bubbles along the sides of the jars. Add more hot brine if necessary to restore the ½-inch headspace after removing air.
- Seal Jars: With a clean, damp cloth, carefully wipe the rims of each jar to remove any residual brine or debris. This step is crucial for achieving a proper seal. Center the warm lids onto the jars, then screw on the bands until they are fingertip-tight. Avoid overtightening, as this can prevent proper sealing.
Water Bath Canning: Safely Preserving Your Green Tomato Pickles
Once your jars are meticulously filled and sealed, they are ready for the water bath canning process, which is essential for creating shelf-stable preserves.
- Load Canner: Carefully place the filled jars onto the rack inside your prepared water bath canner. Ensure that the jars are completely submerged under at least 1 to 2 inches of water. Secure the canner lid.
- Process Jars: Bring the water in the canner to a full, rolling boil. Once a vigorous boil is achieved, start your timer. Process pint jars for 15 minutes. It is vital to maintain a steady, rolling boil throughout the entire processing time to ensure safe preservation.
- Cool Down: When the processing time is complete, turn off the heat and carefully remove the canner lid. Allow the jars to rest in the hot water for approximately 5 minutes. This crucial resting period helps to prevent siphoning (loss of brine from the jars) when they are removed from the canner.
- Cool and Store: Using a jar lifter, carefully transfer the hot jars to a towel-lined counter or a cooling rack. Ensure there is adequate space between each jar to allow for even cooling. Let the jars cool undisturbed for a minimum of 12 to 24 hours. After they have completely cooled, check the seals: the center of each lid should be concave and not flex when pressed. Any jars that have not sealed properly should be refrigerated immediately and used within a few weeks. Wipe down the sealed jars, label them with the contents and date, and store them in a cool, dark place. For the best flavor development, allow the pickles to cure for at least 2 weeks before opening and enjoying. This curing time allows the flavors to fully meld and deepen.
Important Altitude Adjustments for Canning
Water bath canning times must be adjusted based on your elevation to guarantee proper heat penetration and safe acidity levels. This ensures the destruction of spoilage microorganisms and prevents foodborne illnesses. Use the following adjusted processing times for pint jars of dill pickled green tomatoes, always remembering to start your timer only after the water returns to a full rolling boil:
- 0 to 1,000 feet: 15 minutes
- 1,001 to 6,000 feet: 20 minutes
- Above 6,000 feet: 25 minutes
Creative Variations for Your Dill Pickled Green Tomatoes
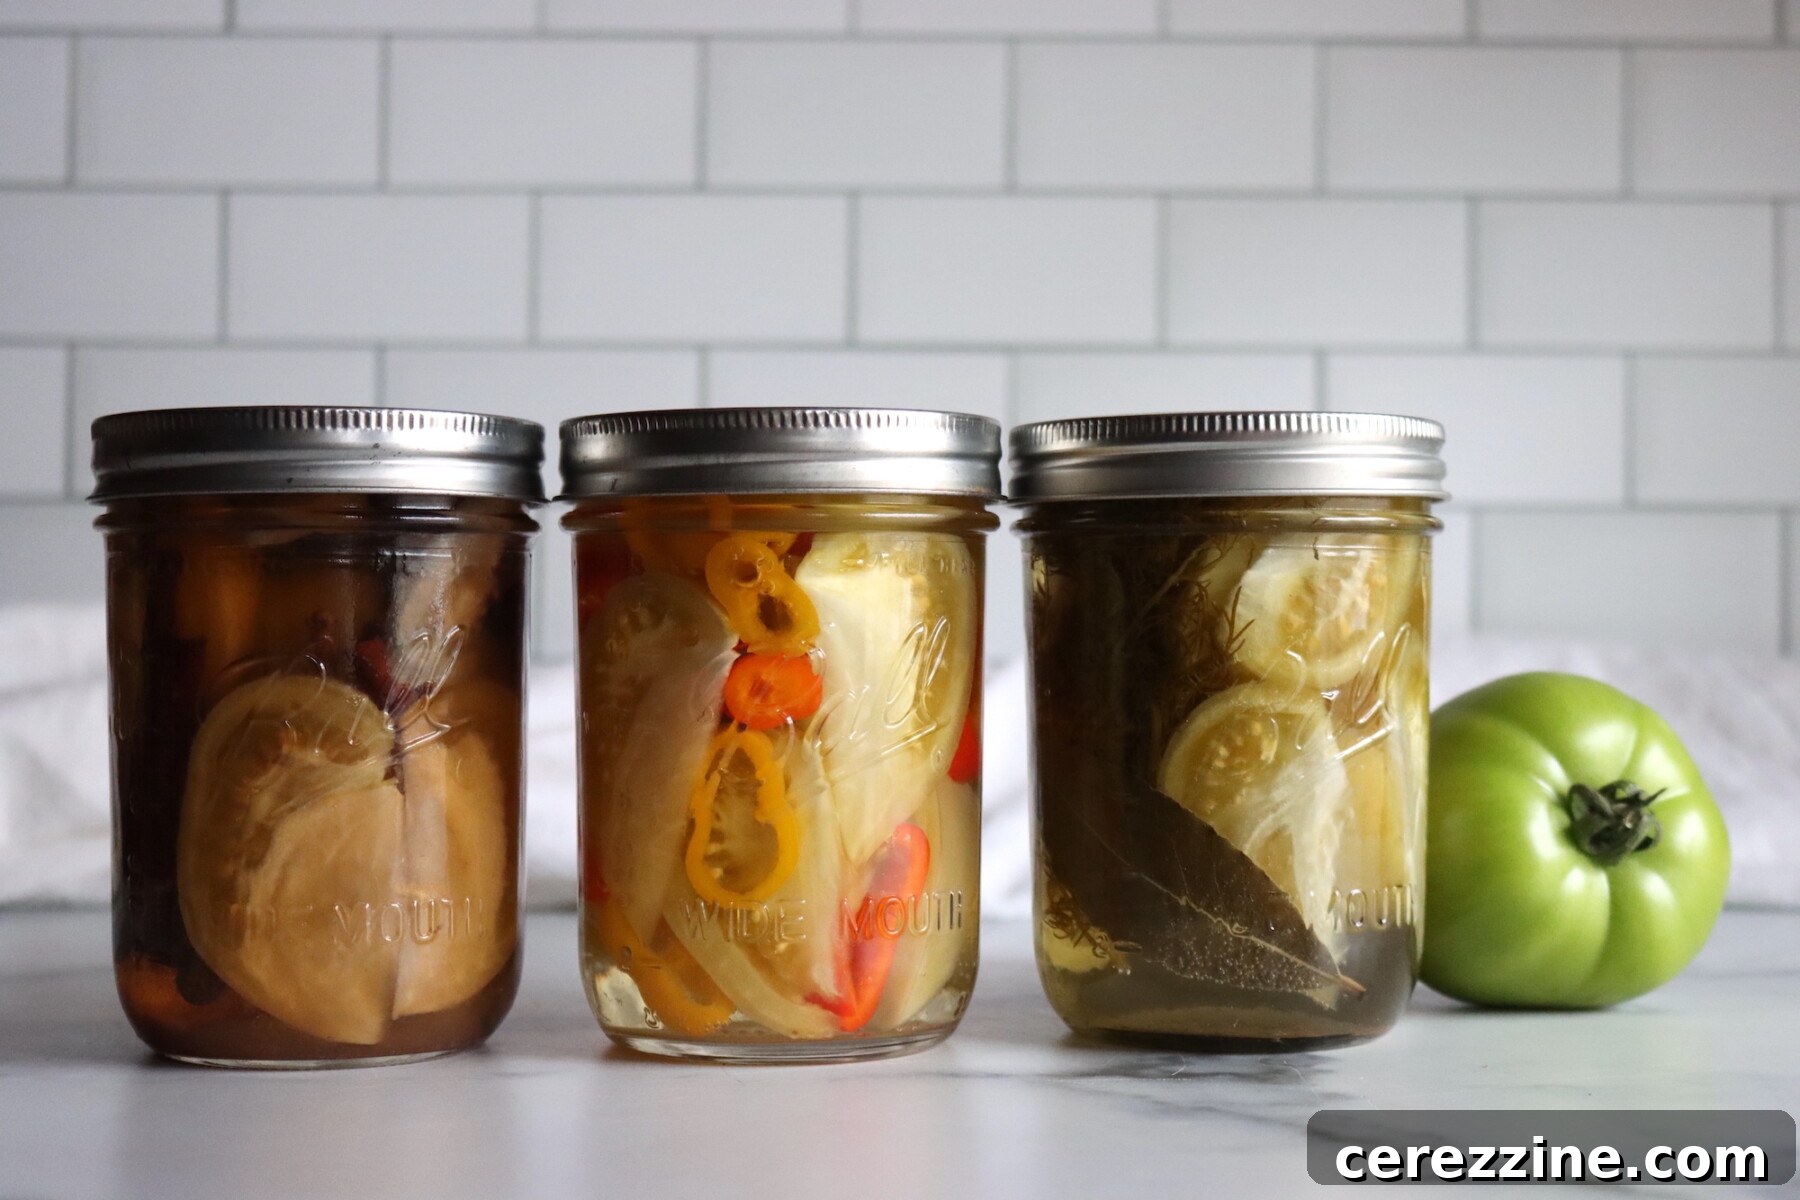
Dill pickled green tomatoes are remarkably versatile and offer endless possibilities for customization, provided you maintain the essential vinegar-to-water ratio for safety. The safest and easiest way to experiment with this recipe is by altering the spices in each individual jar. For example, if you’re a garlic enthusiast, you can add extra garlic cloves to a batch, creating intensely garlicky pickles akin to popular cucumber dill varieties. For those who enjoy a bit of warmth, a sprinkle of red pepper flakes will yield a delightful spicy version. Incorporating a few whole black peppercorns, mustard seeds, or coriander seeds into each jar can introduce wonderful aromatic depth without affecting the crucial acidity of the recipe.
You can also subtly change the character of your brine by experimenting with different types of vinegar. While plain white vinegar produces a clean, sharp, and traditional flavor, cider vinegar provides a softer, fruitier, and more complex tang. As long as your chosen vinegar maintains at least 5% acidity, feel free to mix and match to discover your preferred taste. For a “deli-style” green tomato pickle, try using mostly white vinegar with just a splash of cider vinegar, accompanied by a generous amount of garlic and dill seed.
If you’re already in the mood for chopping and pickling, consider making a mixed batch by adding a few slices of hot peppers or onions to some of your jars. When doing so, ensure the total quantity of vegetables in each jar remains roughly consistent with the original recipe. Think of these additions more as complementary seasonings rather than primary ingredients. This approach allows you to stay safely within the tested parameters of the original Ball recipe while creating a diverse array of flavors for your pantry from a single canning session.
Don’t stop at just dill! Explore other delightful pickled green tomato recipes, including tempting sweet pickled green tomatoes and invigorating spicy pickled green tomatoes (recipes coming soon) for even more variety.
Serving Suggestions: Enjoying Your Homemade Green Tomato Pickles
Once your jars of dill pickled green tomatoes have had sufficient time to cure, the real enjoyment begins! These versatile pickles are incredibly adaptable and can elevate a wide range of meals and snacks. Serve them proudly on appetizer boards, where their vibrant color and tangy crunch will be a highlight. They are perfect tucked into sandwiches, adding a zesty counterpoint to rich fillings, or sliced thinly onto burgers as a flavorful alternative to cucumber dill pickle slices. Their firm texture makes them ideal for chopping into potato salad, egg salad, or tuna salad, providing a delightful tangy crunch that brightens every bite.
Beyond the classics, consider dicing these pickles and incorporating them into grain salads for an extra layer of flavor and texture. They also make a fantastic topping for tacos or nachos, adding a zesty kick. When serving roasted meats, a side of dill pickled green tomatoes can beautifully cut through the richness, offering a refreshing palate cleanser. Because green tomatoes maintain their crispness so well, both in the jar and on the plate, every bite delivers that satisfying garlicky pickle sensation, truly feeling like a cherished taste of the autumn harvest.
More Green Tomato Canning Recipes to Explore
Beyond dill pickles, green tomatoes are incredibly versatile for canning. Discover more delicious ways to preserve your harvest with these popular green tomato recipes.
Southern Chow Chow (Traditional Green Tomato Relish)
Old-Fashioned Green Tomato Jam
Pickled Green Tomatoes
Green Tomato Chutney
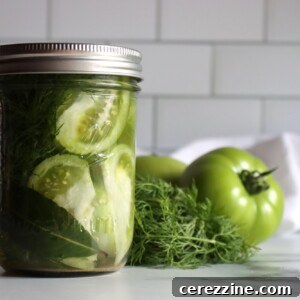
Dill Pickled Green Tomatoes
Pin
Rate
Equipment
-
Water Bath Canner
Ingredients
- 5 pounds green tomatoes, halved or quartered if large, or left whole if cherry sized
- ¼ cup pickling or canning salt, see note
- 3 ½ cups vinegar, 5% acidity, white or cider
- 3 ½ cups water
- 6 cloves garlic, peeled
- 6 heads fresh dill, or 1 tablespoon dill seed per pint
- 6 whole bay leaves, one per pint
- Optional: ⅛ teaspoon calcium chloride, pickle crisp per pint
Instructions
-
Prepare a water bath canner, pint jars, and two-piece lids. Keep jars hot until ready to fill.
-
Wash the green tomatoes under cold running water and drain. Core larger tomatoes and cut into halves or quarters. Leave cherry-sized tomatoes whole, but prick each one several times with a fork or skewer.
-
In a large nonreactive pot, combine the pickling salt, vinegar, and water. Bring to a boil over medium-high heat, stirring to dissolve the salt. Reduce the heat and simmer for 5 minutes. Keep the brine hot.
-
Pack the raw green tomatoes into hot pint jars, leaving ½ inch headspace. To each jar, add 1 clove garlic, 1 dill head (or 1 tablespoon dill seed), and 1 bay leaf. If using, add ⅛ teaspoon calcium chloride to each pint.
-
Ladle the hot brine over the tomatoes in each jar, maintaining ½ inch headspace. Remove air bubbles by running a bubble remover or clean utensil around the inside of each jar, then adjust brine as needed.
-
Wipe jar rims with a clean, damp cloth. Center lids on jars and screw on bands until fingertip-tight.
-
Place the jars on the rack in the water bath canner, ensuring they’re covered by at least 1 to 2 inches of water. Bring to a full rolling boil, then process pint jars for 15 minutes, adjusting for altitude (see notes).
-
When the time is up, turn off the heat and remove the canner lid. Let jars rest in the hot water for 5 minutes, then carefully transfer them to a towel-lined counter to cool for 12 to 24 hours.
-
Check seals. Refrigerate any unsealed jars and use promptly. Label and store sealed jars in a cool, dark place. For best flavor, allow pickles to cure for at least 2 weeks before opening.
Notes
As written, this recipe gives a salty pickle, which many people prefer. You can use half as much salt (2 Tbsp) and still get great pickle flavor, so adjust if you like less salty pickles.
Any variety of firm, underripe green tomatoes will work here, but choose fruits without cracks or soft spots.
Once opened, store jars in the refrigerator and use within several weeks for the best texture and flavor.
Altitude Adjustments
- 0 to 1,000 feet: 15 minutes
- 1,001 to 6,000 feet: 20 minutes
- Above 6,000 feet: 25 minutes
Like this? Leave a comment below!
Explore More Dill-Inspired Canning Recipes
If you adore the vibrant, fresh flavor of dill, you’ll love these additional dill canning recipes designed to fill your pantry shelves with delicious homemade goodness all year round!
Pickled Dilly Beans (Dill Pickled Green Beans)
Dill Pickle Spears
Classic Dill Pickles
Kosher Dill Pickles