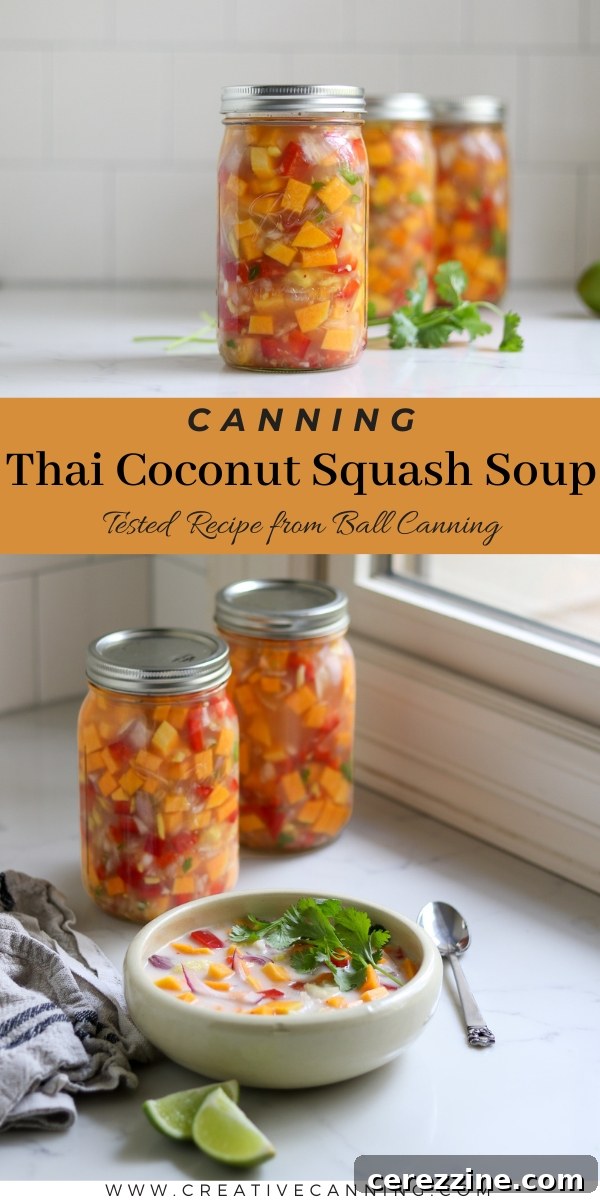
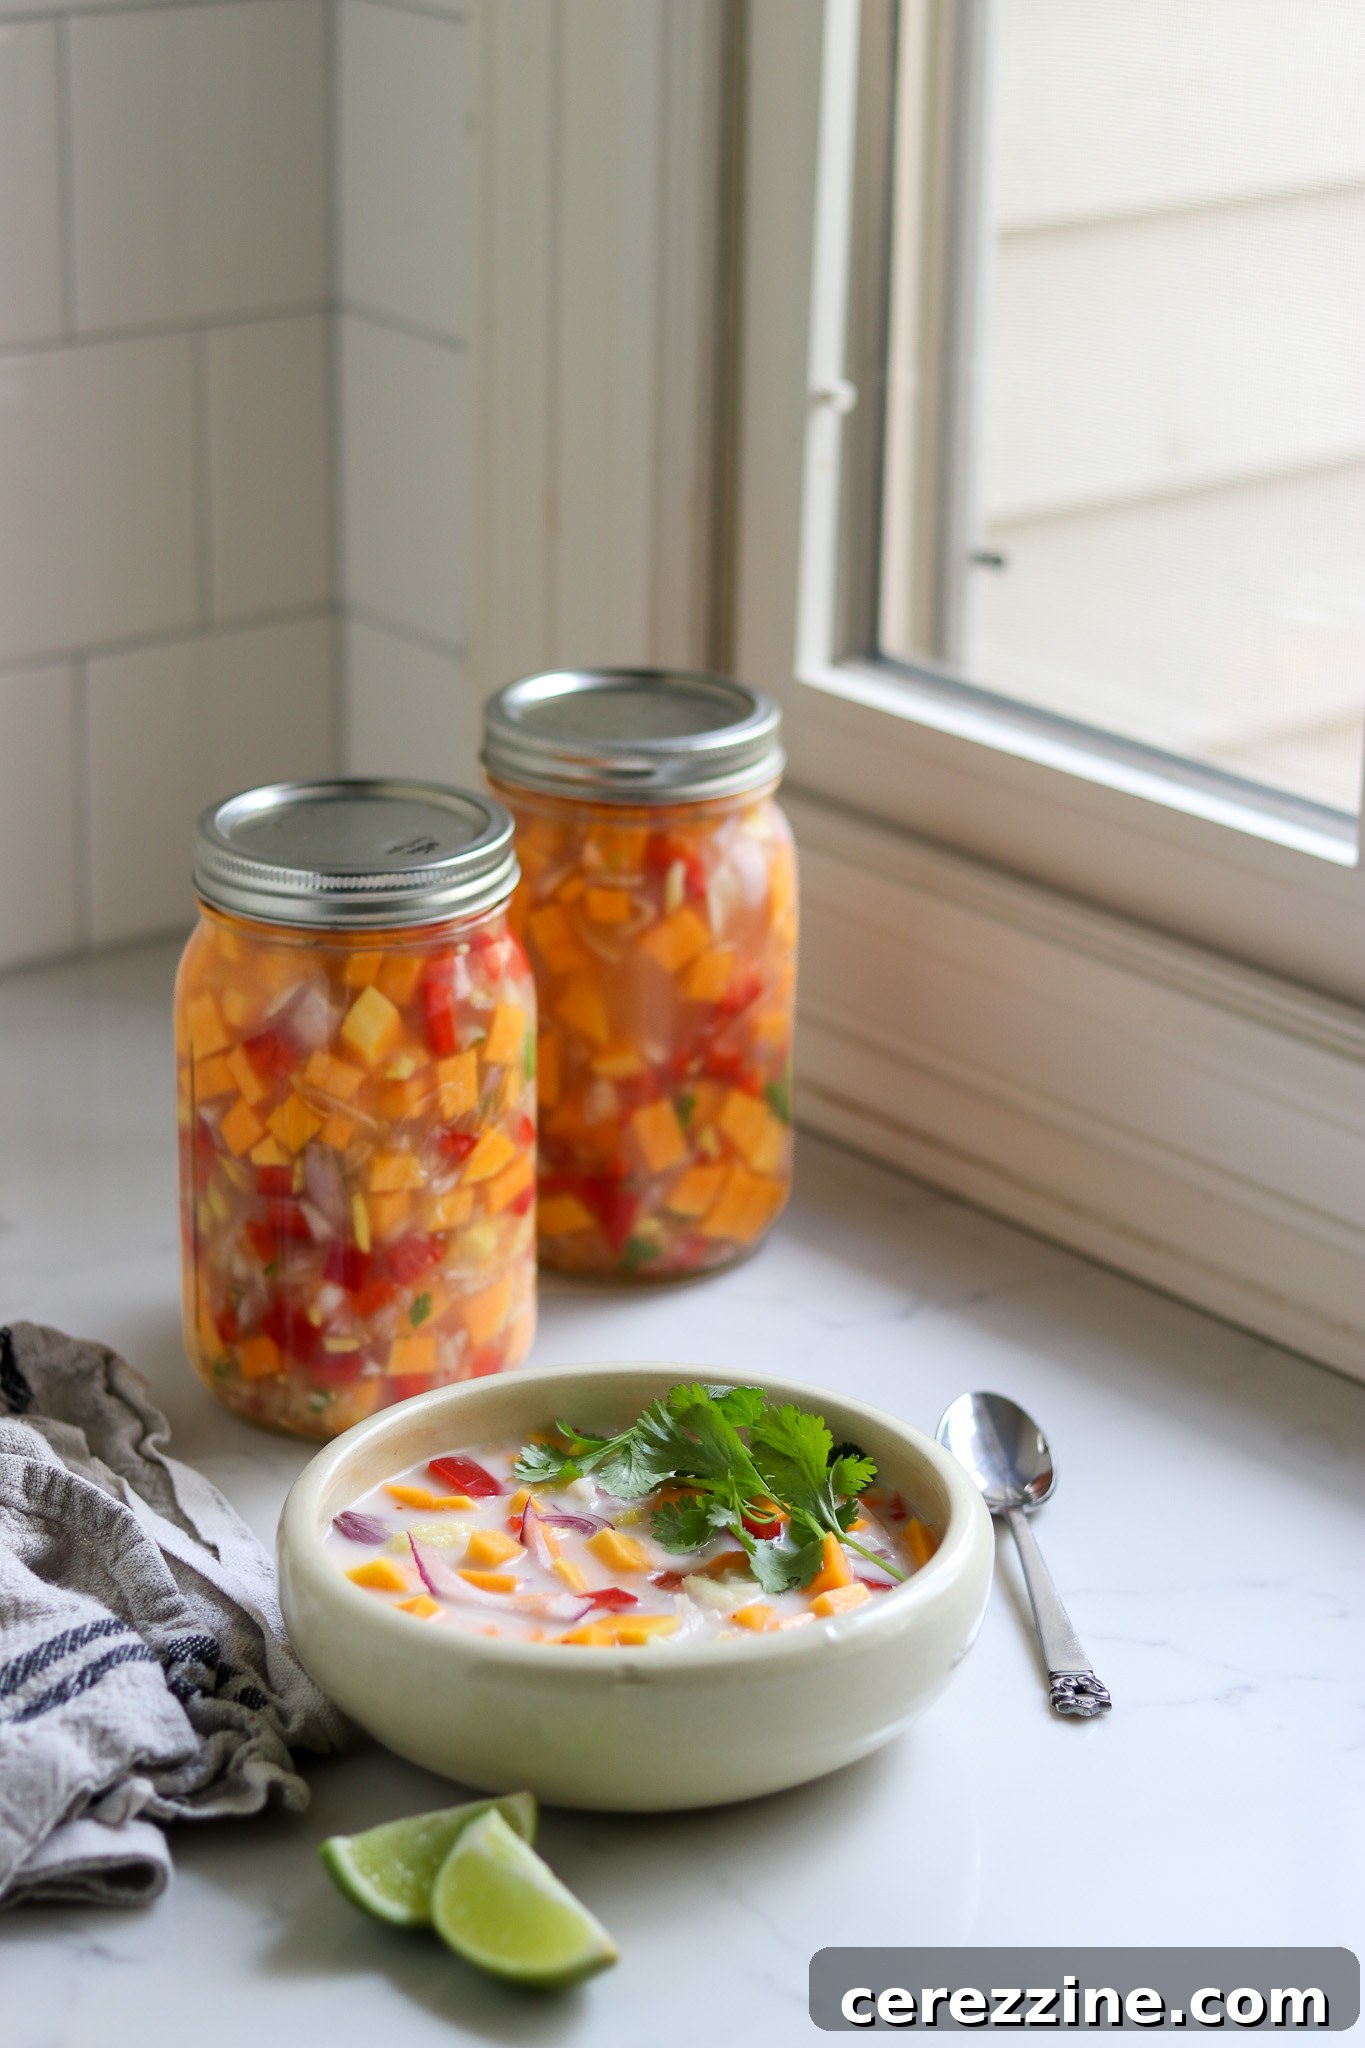
Unlock exotic flavors for your pantry with this incredible Thai Coconut Squash Soup pressure canning recipe. This delightful vegetarian soup allows you to preserve the vibrant tastes of Southeast Asia right on your shelf, ready for a quick and wholesome meal. Simply add a can of creamy coconut milk when serving, and you’ll have a rich, aromatic Thai coconut squash soup that’s perfect for those busy weeknights or when you crave a comforting, flavorful dish.

Whether you’re a seasoned home canner or just embarking on your preserving journey, this vegetarian soup canning recipe is an accessible and rewarding project. Known widely as Thai coconut squash soup, its rich flavors and nourishing ingredients are sure to impress family and friends. While the preparation involves some chopping, the hands-on time is quickly rewarded once the ingredients come together and head into the pressure canner.
One of the most appealing aspects of this recipe is its efficiency. The majority of the work lies in preparing the fresh vegetables, ensuring everything is diced to the correct size. Once your mise en place is complete, the soup comes together with surprising speed, making the transition to the pressure canner almost seamless.
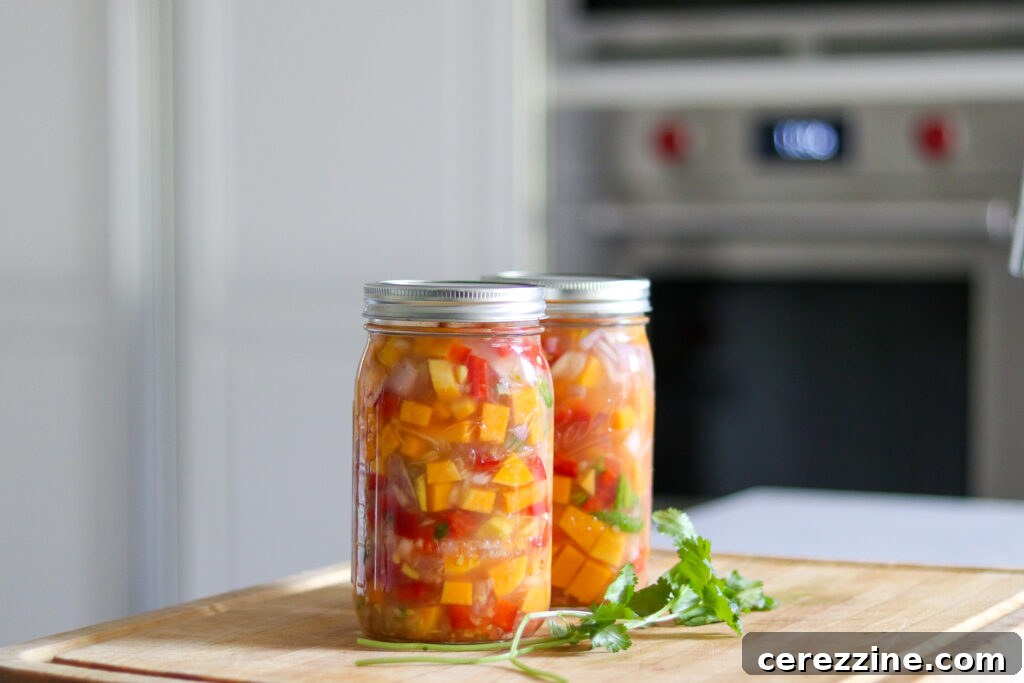
Why Can Thai Squash Soup? Preserving the Flavors of Fall
Winter squash, such as butternut, kabocha, and acorn varieties, are autumn staples, packed with nutrients and earthy sweetness. However, storing them can be a challenge without a dedicated root cellar. This squash canning recipe offers an ideal solution, allowing you to enjoy the robust flavors of winter squash year-round. Canned Thai squash soup not only provides a convenient, healthy meal option but also extends the harvest season, preventing food waste and ensuring a delicious pantry staple is always within reach.
Beyond its practicality, this soup is a true delight for the palate. It combines the natural sweetness of squash with the aromatic complexity of Thai spices, creating a comforting and exotic flavor profile. Plus, squash is inherently nutritious, offering a good source of vitamins, minerals, and fiber, making this canned soup a healthful addition to any diet.

Understanding the Coconut Milk Rule for Safe Canning
It’s crucial to understand a key safety guideline when canning this soup: coconut milk cannot be added before canning. There are currently no approved pressure canning recipes, nor water bath canning recipes, that safely include coconut or coconut milk. This is due to coconut milk’s fat content and density, which can interfere with the heat penetration required for safe processing, potentially leading to bacterial growth.
Fortunately, this isn’t a drawback but rather a smart way to ensure food safety while maximizing flavor. Coconut milk is readily available in cans, which are shelf-stable. You simply retrieve a can of coconut milk from your pantry alongside your jar of Thai squash soup, combine them during serving, and heat. All the other delicious ingredients—squash, broth, and spices—are safely sealed in the jar, ready to be transformed into a complete meal in minutes.
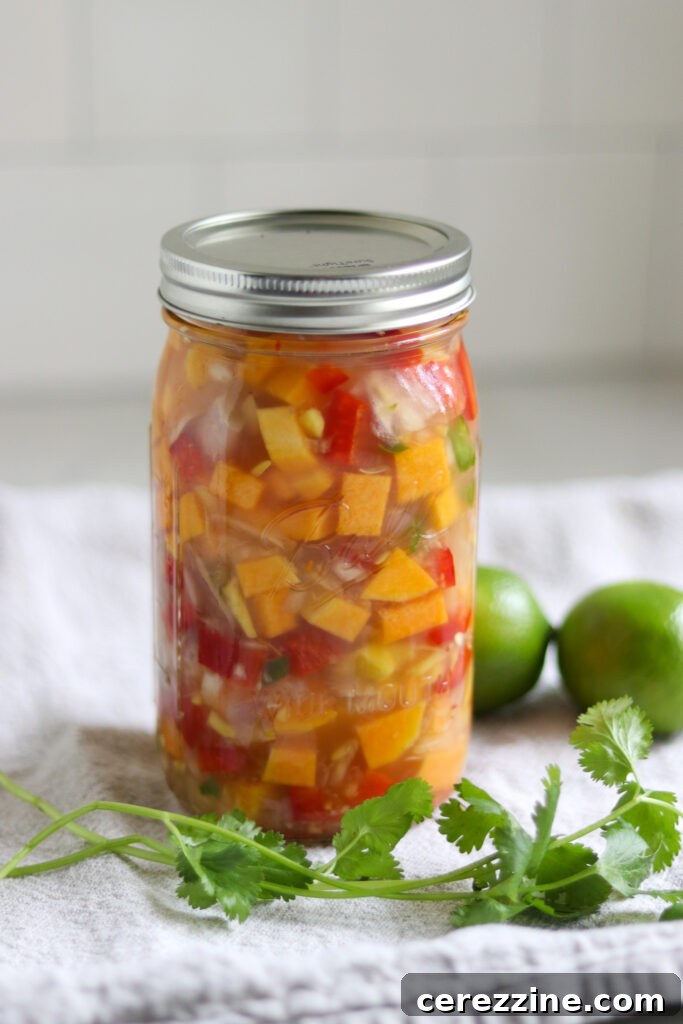
Ingredients for Your Thai Squash Soup Canning Project
This reliable canning recipe, adapted from Ball Canning’s comprehensive guide, The All New Ball Book of Canning and Preserving (page 284), is designed for safety and exceptional flavor. To prepare a batch yielding 6 pints or 3 quart jars, gather the following high-quality ingredients:
- 2 quarts (2 liters) chicken or vegetable broth
- 1 ½ lb (750 grams) butternut, kabocha, acorn, or another orange-fleshed winter squash, peeled and cut into ½” (1cm) cubes
- ½ tsp (2 ml) ground red pepper
- 2 fresh Thai chile peppers, seeded and minced
- 3 garlic cloves, minced
- 1 stalk lemongrass, quartered
- 1 piece peeled fresh ginger (2 inch or 5 cm piece), grated
- 2 tbsp (30 ml) sugar
- 1 tsp (5 ml) lime zest
- 1 chopped red bell pepper
- 4 chopped shallots
- 2 tsp (10 ml) salt
- 2 tbsp (30 ml) fresh lime juice
Choosing Your Squash and Customizing Flavors
When selecting your squash, any variety of orange-fleshed winter squash will work beautifully, contributing a vibrant color and naturally sweet flavor to your soup. Butternut, kabocha, and acorn squash are excellent choices. While an orange hue offers the most visually appealing result, other yellow-fleshed winter squash varieties are perfectly acceptable if that’s what you have available. Aim for approximately five cups (1.25 liters) of cubed squash.
Important: Steer clear of summer squash (like zucchini or yellow squash) for this recipe. Summer squash has a much higher water content and a different cellular structure, requiring distinct canning and cooking instructions that are not compatible with this recipe.
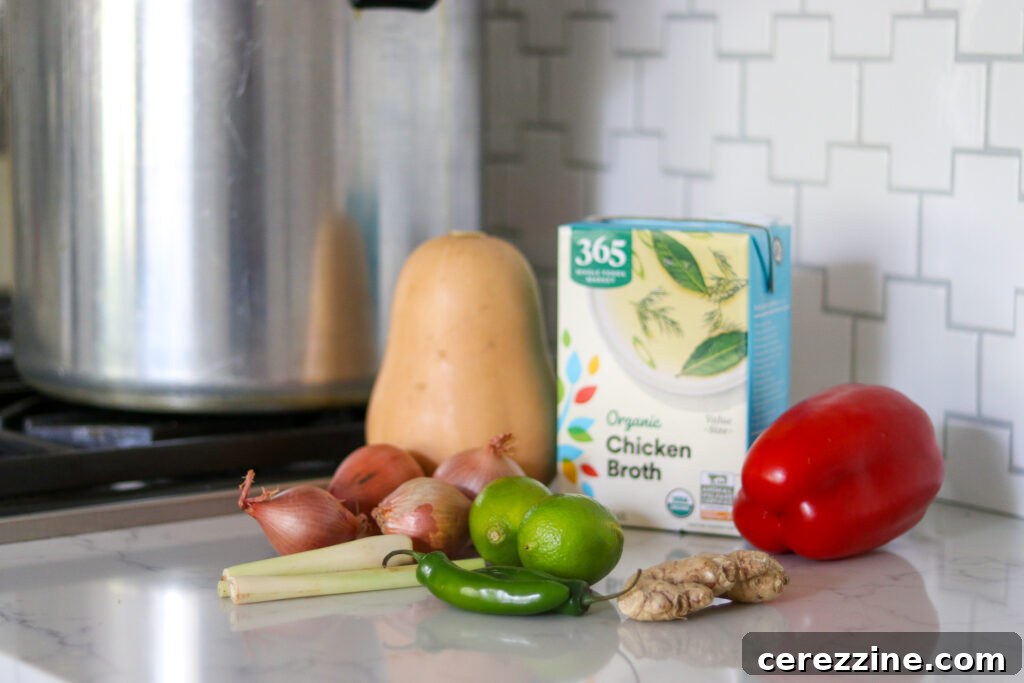
Feel free to adjust the spice level and aromatics to suit your personal preferences. The ginger, garlic, and lemongrass can be omitted if you’re not a fan, or you can substitute dried versions if fresh ingredients aren’t available. For the peppers, while Thai chiles are suggested for authentic flavor, any combination of sweet bell peppers or hotter varieties will work just as well. If shallots are hard to find, regular onions or even scallions make a fine substitute.
A Critical Canning Safety Rule: When making substitutions or adjustments, remember not to add more solids than the recipe calls for. Increasing the density of solids in a canning recipe can affect heat penetration during processing, making the product unsafe. You can, however, safely omit ingredients like peppers, onions, spices, sugar, and lime juice to tailor the taste. If you remove solids, simply add a bit more broth to fill the space in the jars, but under no circumstances should you substitute other types of vegetables in their place, as this would alter the tested density of the recipe.
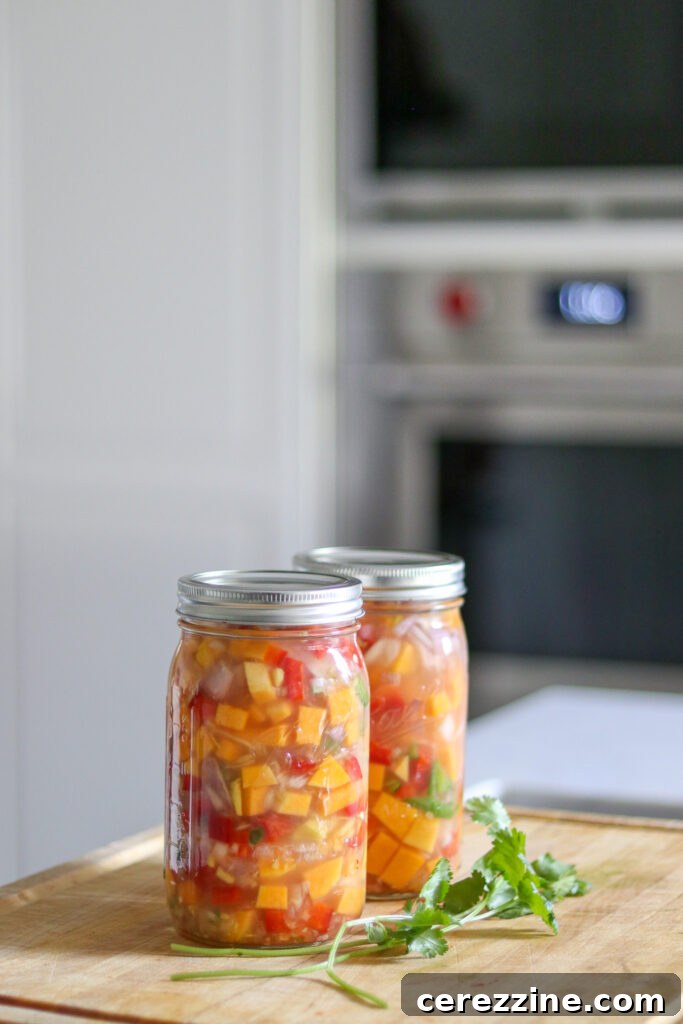
One safe and easy way to customize the flavor is by adding dry spices. You are always permitted to incorporate reasonable amounts of dried herbs and spices into any tested canning recipe. To increase the heat, consider adding dried red pepper flakes or cayenne powder. For deeper aromatic notes, powdered ginger, garlic, or onion can be added. Furthermore, you can infuse your broth with extra flavors, just as this recipe uses lemongrass. Experiment with kaffir lime leaves or star anise during the broth simmering stage for added complexity.
Serving Add-Ins for Freshness
As mentioned, some key ingredients, particularly coconut milk, are added at serving time to preserve both fresh flavor and canning safety. For each pint of soup you serve, Ball Canning recommends incorporating the following:
- 2 tbsp (30 ml) red onion slivers
- 1 tbsp (15 ml) chopped cilantro
- ½ cup (250 ml) coconut milk
- Lime wedges
If you are serving a quart jar, simply double these recommended amounts. These fresh additions are entirely optional, providing a burst of brightness and texture, but the soup is still delicious without them. Don’t worry if you don’t always have fresh cilantro or a precisely measured tablespoon of onion on hand – the beauty of home-canned soup is its convenience!

Choosing Your Canning Liquid
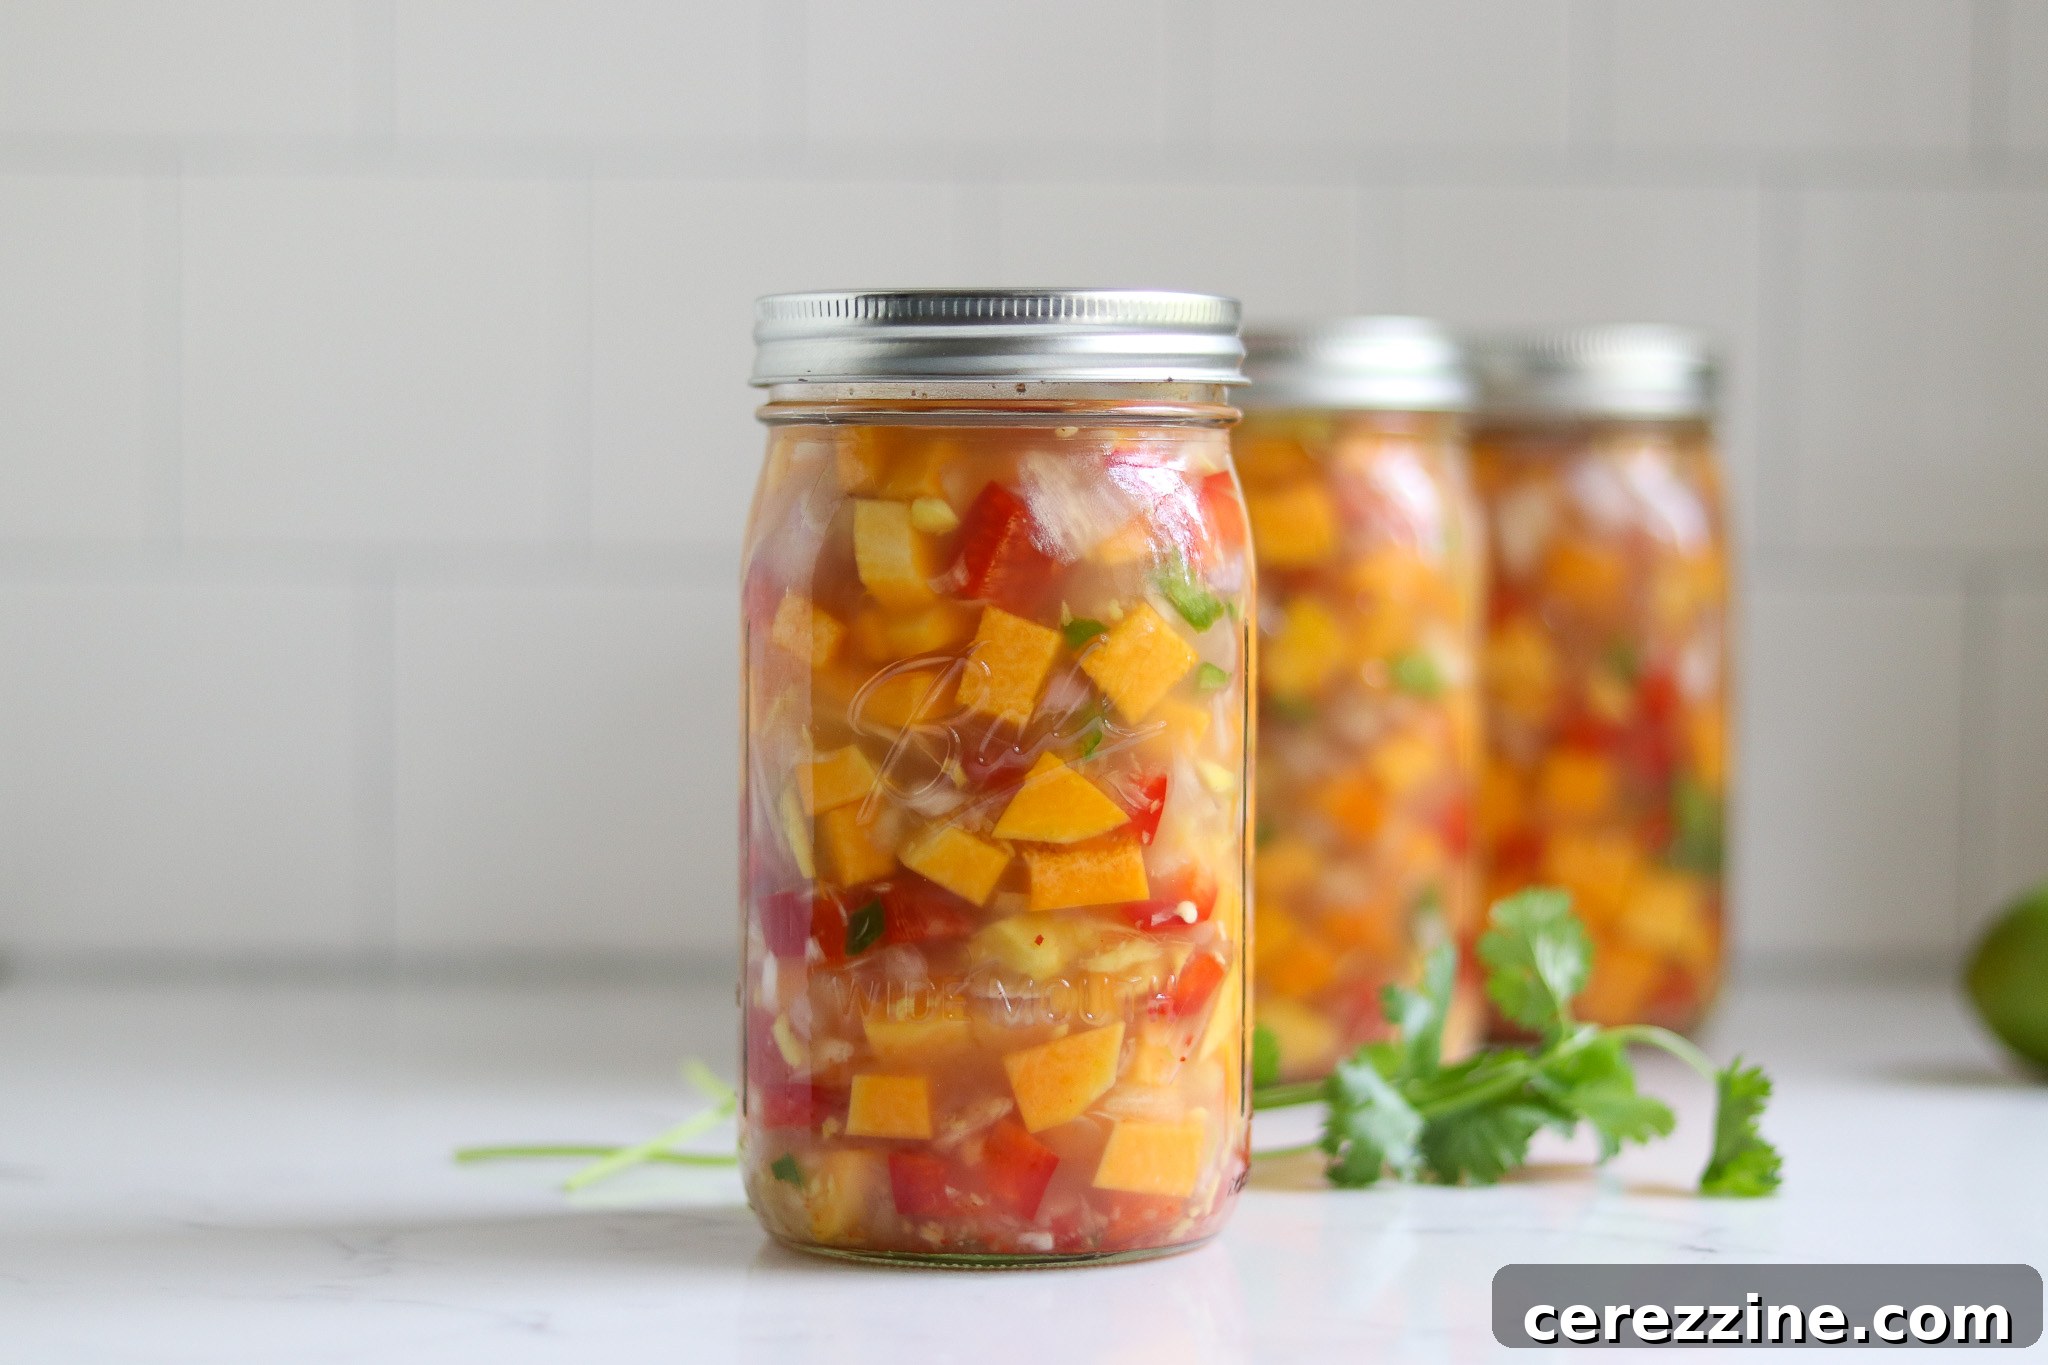
The recipe calls for chicken or vegetable broth as the canning liquid, which significantly enhances the soup’s depth of flavor. While you can technically use plain water, it’s generally not recommended as it can result in a “washed out” flavor. Always opt for a quality broth if possible. Unlike some soup canning recipes where jars are filled halfway with solids and topped with broth, this Thai Squash Soup recipe makes for full jars with a generous amount of delicious vegetables. Regardless, always ensure you leave the recommended 1 inch of headspace when filling your jars.
Preparing Your Ingredients for Thai Squash Soup
The most laborious part of this recipe is the initial ingredient preparation, particularly the chopping. Getting all your vegetables washed, peeled, and diced efficiently will make the rest of the process much smoother.
Begin by thoroughly washing all your produce under cool running water.
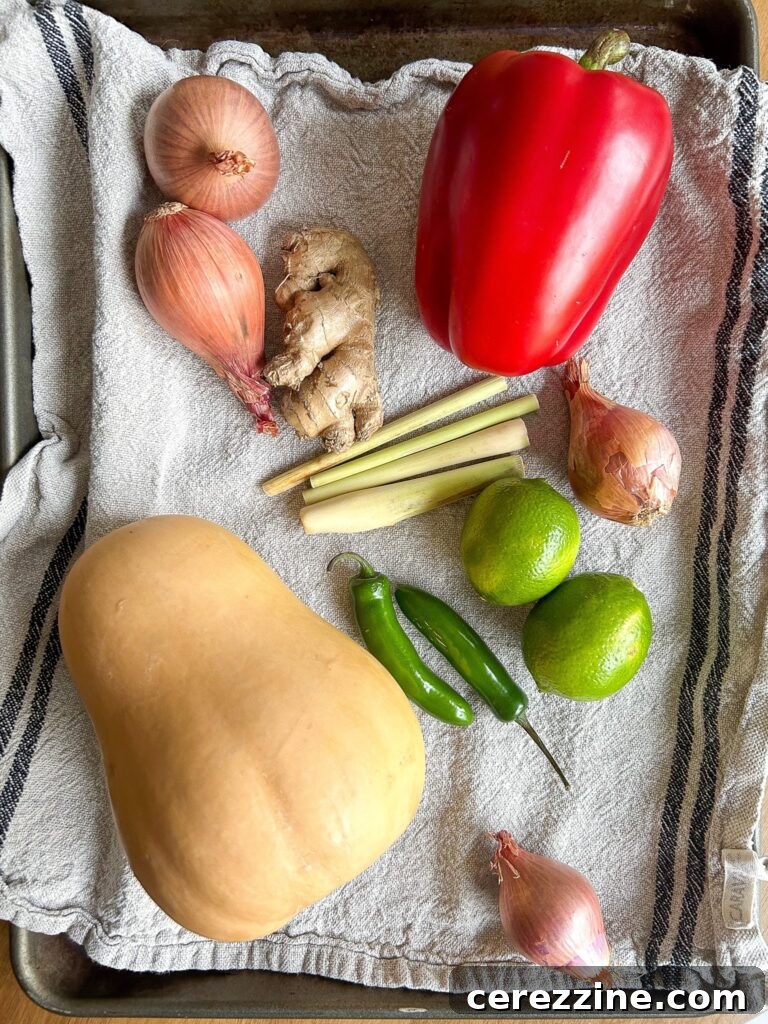
Next, tackle the squash. Peel it carefully, then slice it in half and scoop out the seeds and fibrous strands. Finally, chop the squash flesh into uniform ½-inch (1 cm) cubes. While this is relatively straightforward with softer-skinned butternut squash, other winter squash varieties can be quite challenging to peel and cut. A sharp, sturdy knife and a good quality peeler are your best friends here. Many home canners, myself included, find a high-quality peeler like a Victronox Swiss Army Peeler to be a game-changer for effortlessly handling hard winter squash, significantly speeding up canning prep.
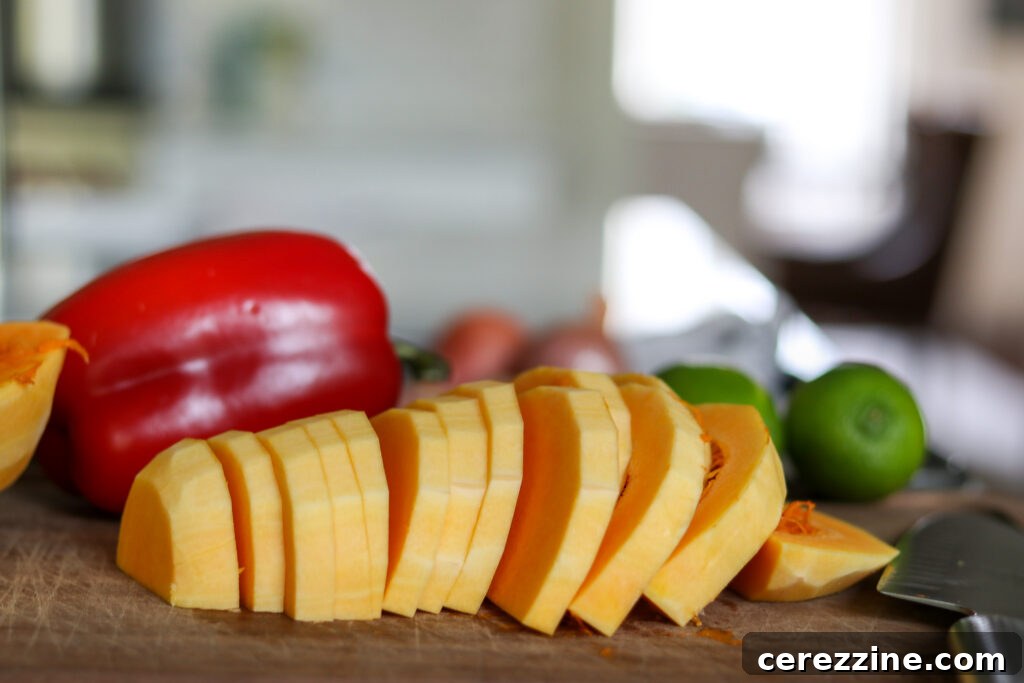
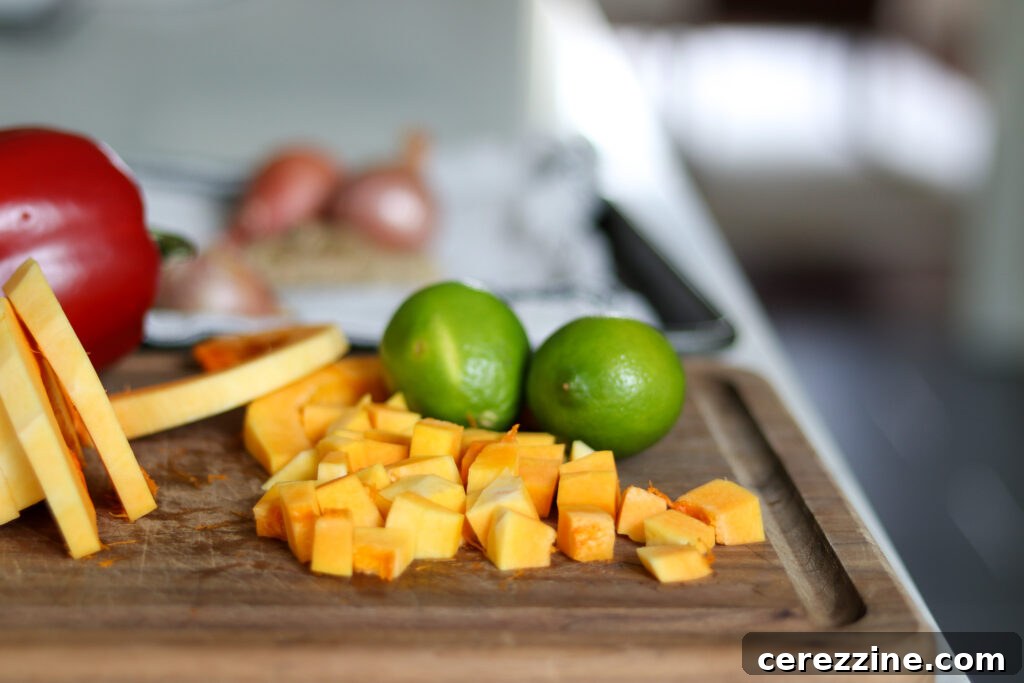
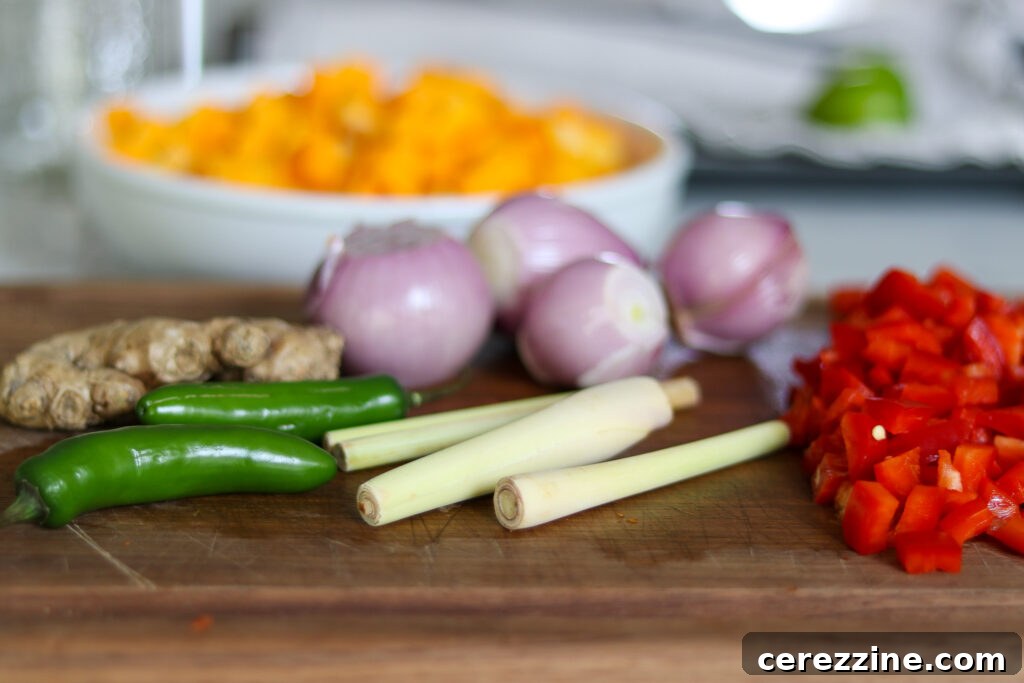
Once the squash is prepped, move on to the remaining ingredients. Mince the garlic and Thai chiles, grate the ginger, quarter the lemongrass, chop the red bell pepper and shallots. A small food processor can be a valuable tool for quickly processing ingredients like garlic, ginger, and chiles, but be mindful not to over-process. The goal is a fine dice, not a puree, to ensure proper heat penetration during canning.
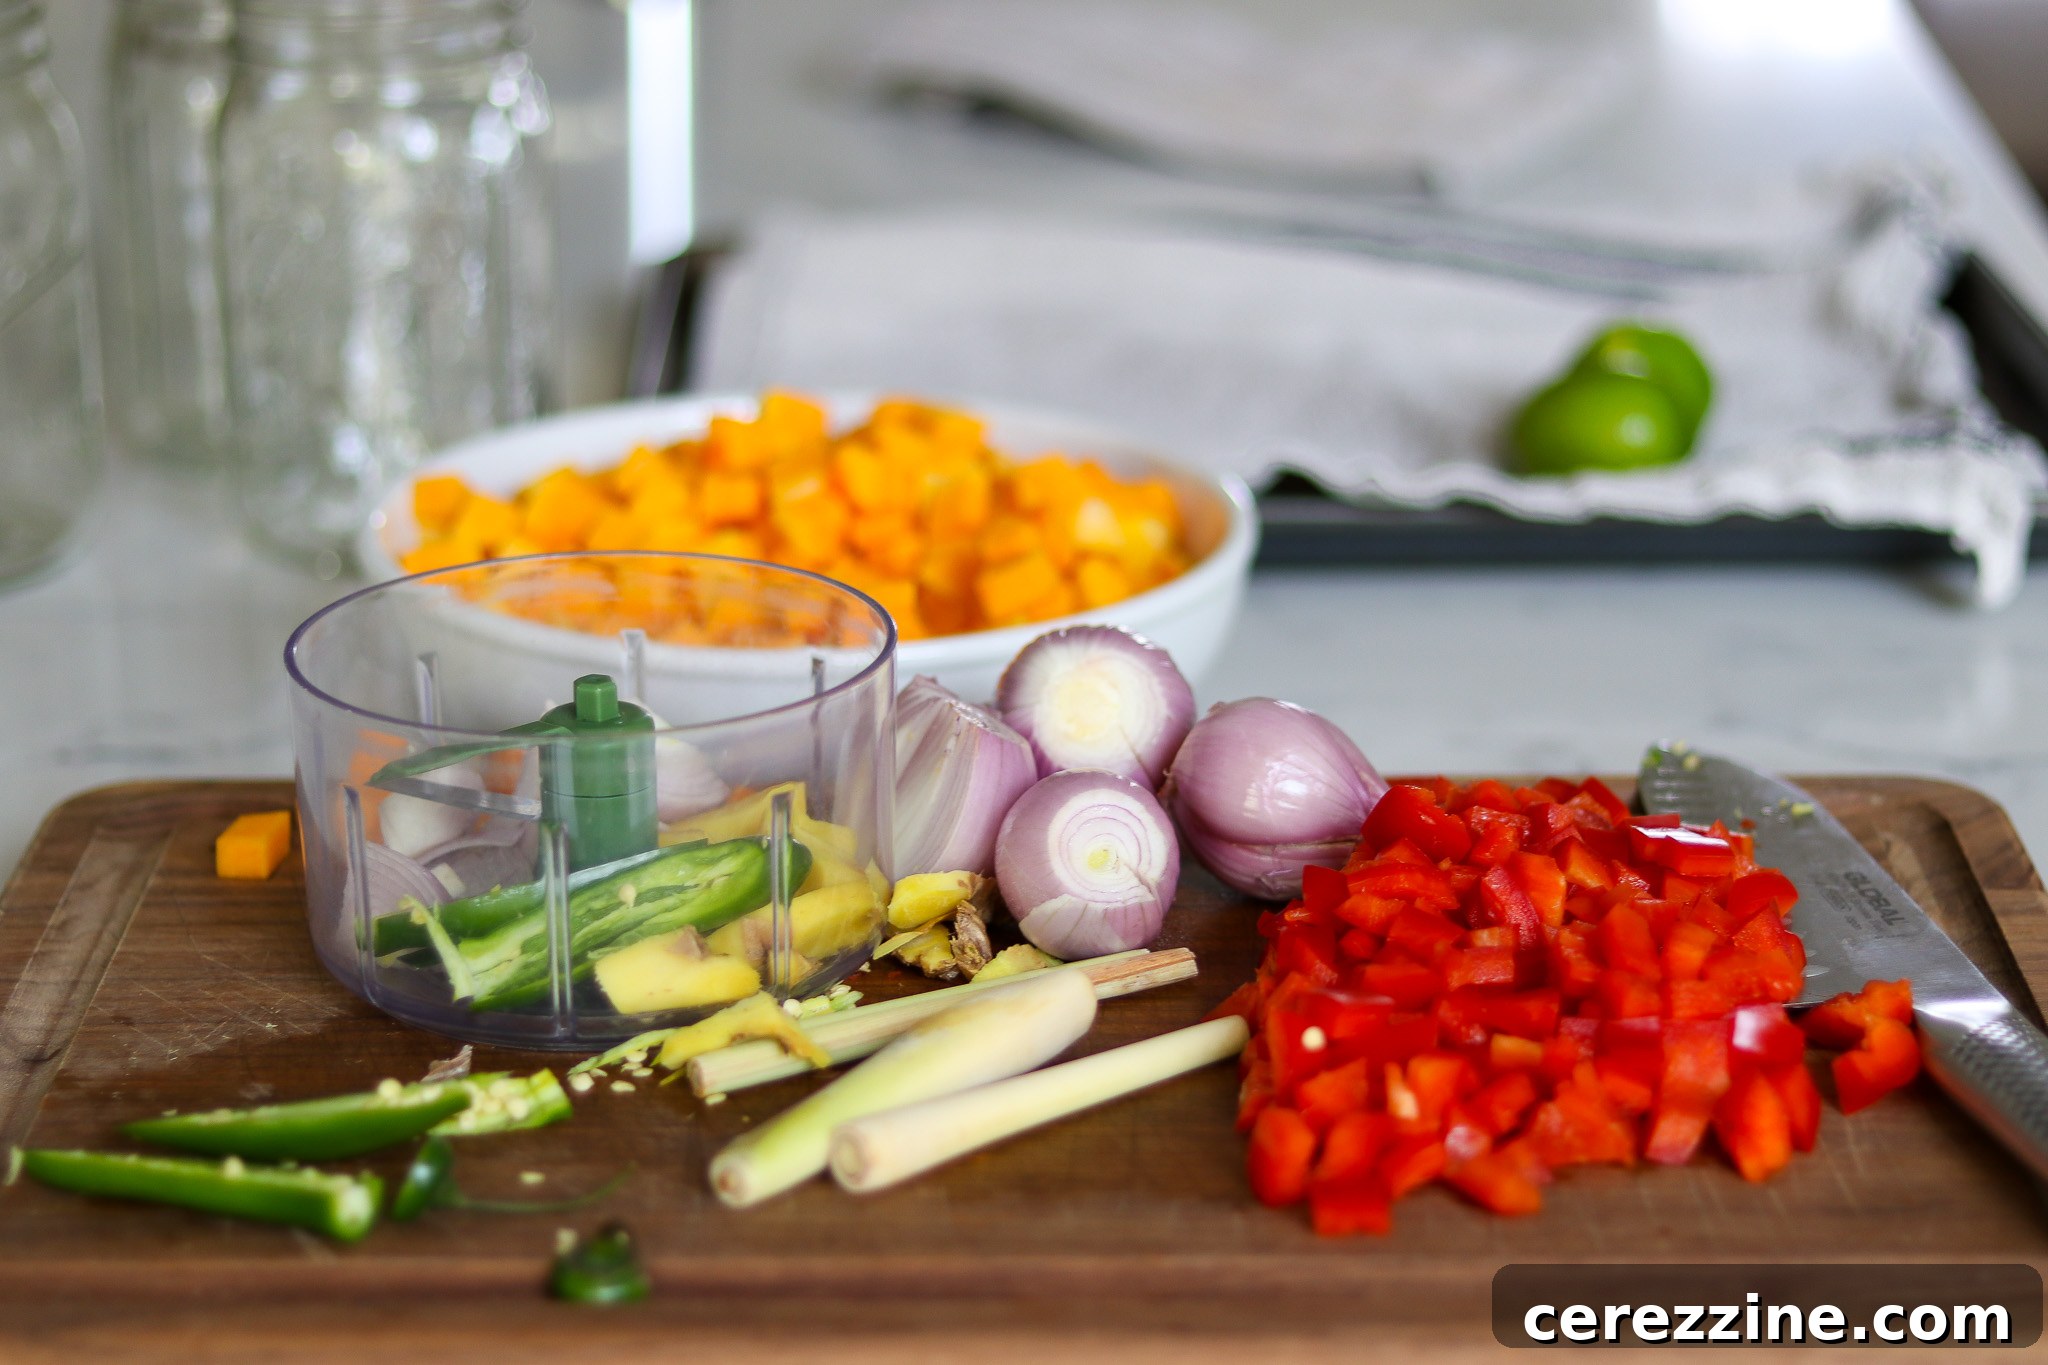
Maintaining diced ingredients rather than pureeing them is essential for canning safety. Pureed or excessively thick soups can impede the heat transfer within the jars, potentially leading to under-processing. We want distinct chunks of vegetables suspended in a liquid broth, ensuring safe and effective sterilization.
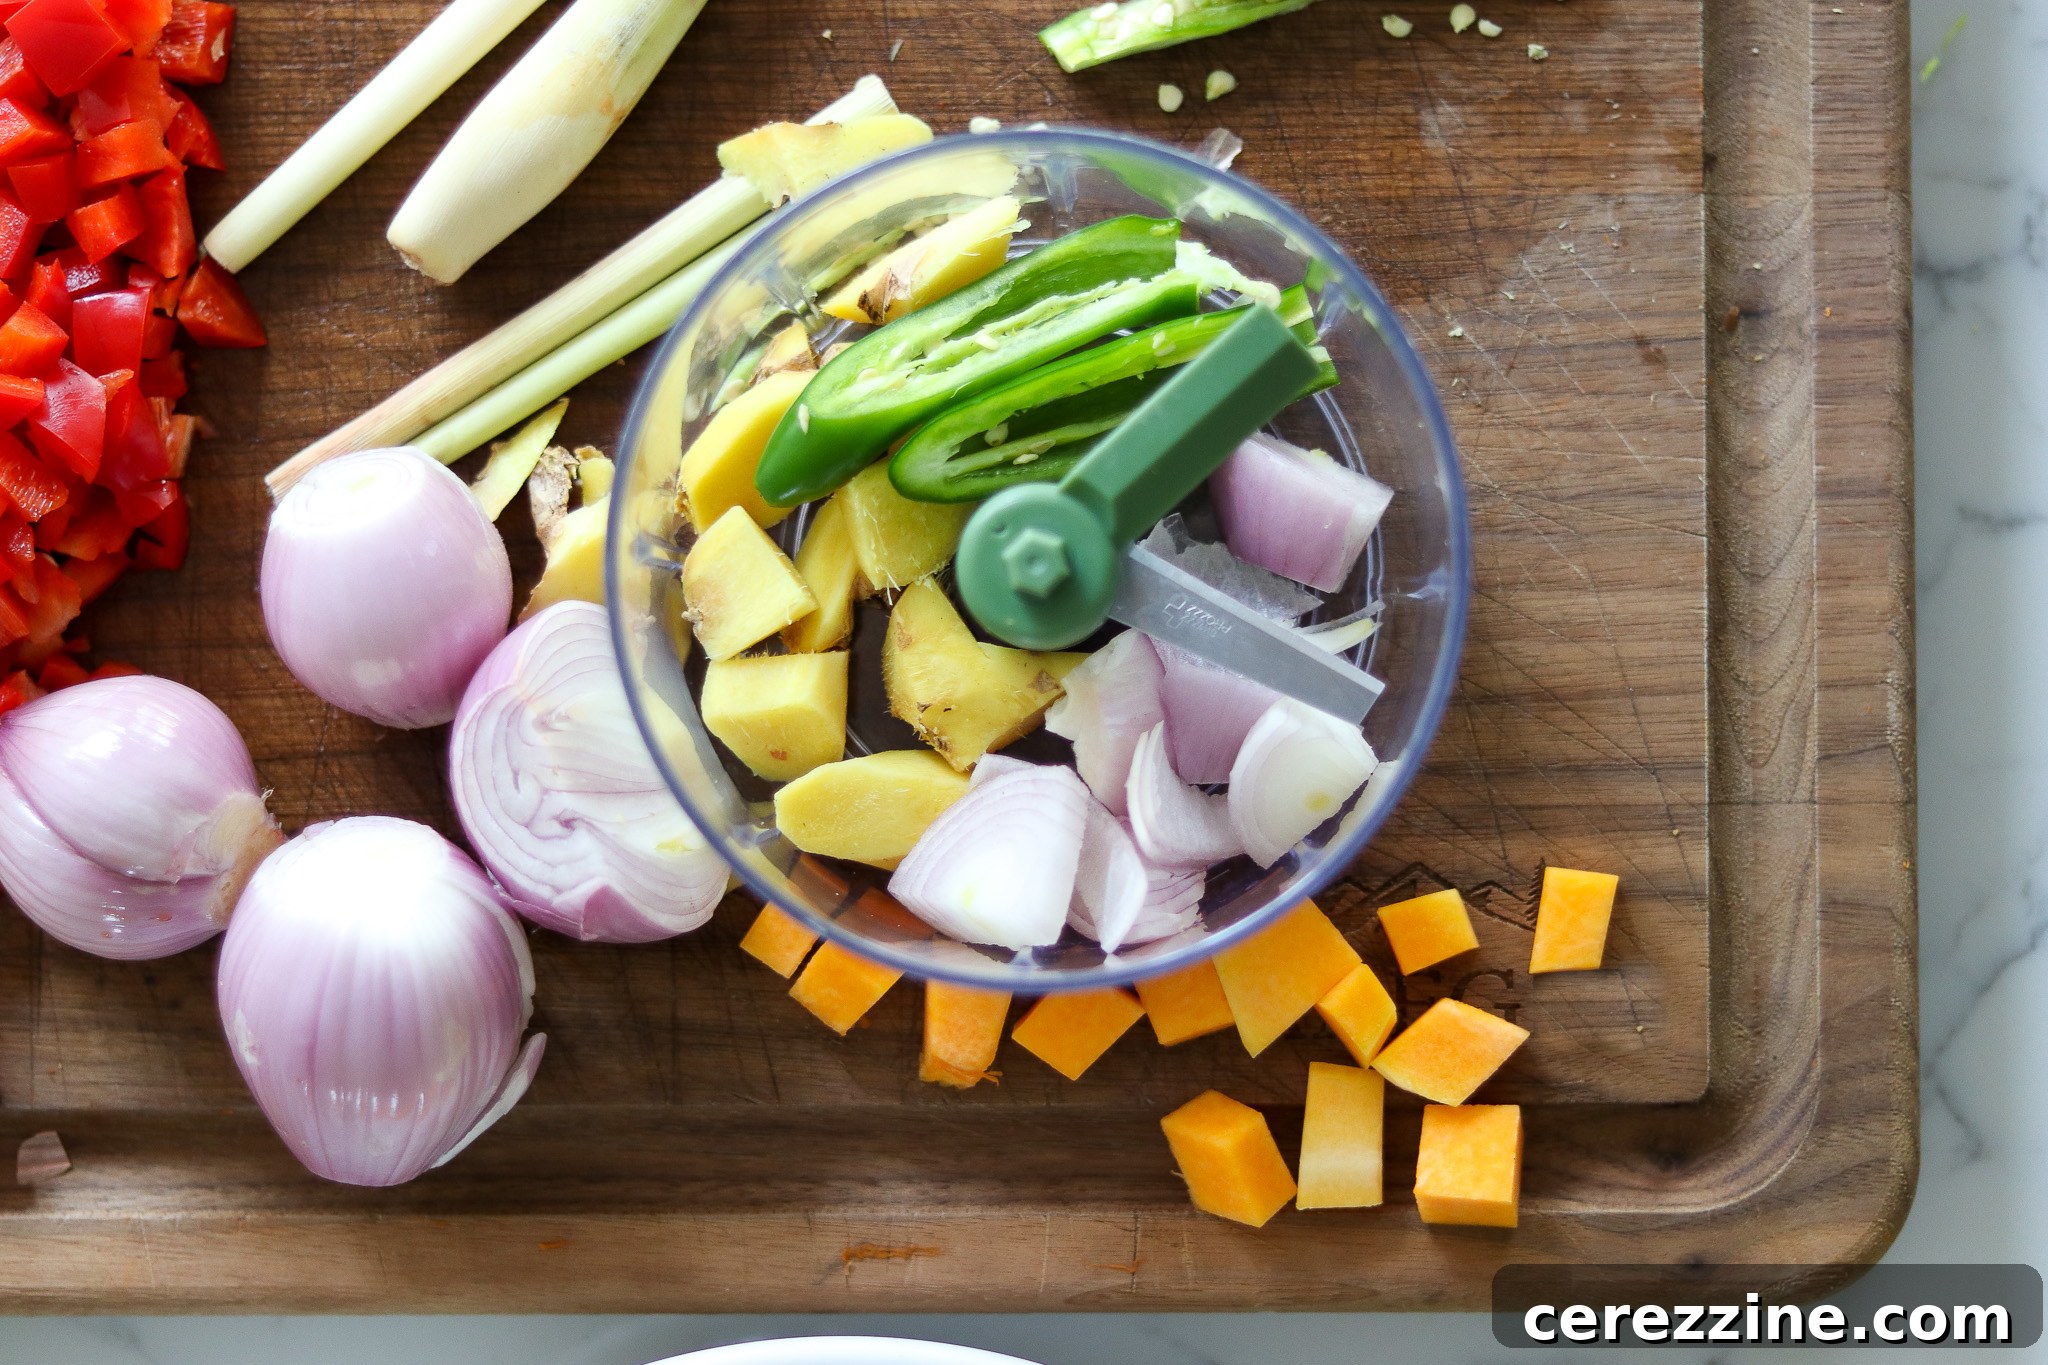
With all your vegetables prepped, it’s time to begin heating both the soup ingredients and your pressure canner. This recipe utilizes the “hot pack” method, which is particularly important when canning winter squash. Hot packing involves pre-cooking the ingredients before they go into the jars, rather than packing raw cubed squash.
While it might seem counterintuitive, partially pre-cooked squash holds its shape much better during the canning process than raw squash. Raw squash contains a significant amount of trapped air in its tissues, which can cause the pieces to break apart or “blow out” within the jars during processing. Simmering the squash first drives off this air, helping the squash cubes maintain their integrity and texture, resulting in a more appealing and safer finished product.
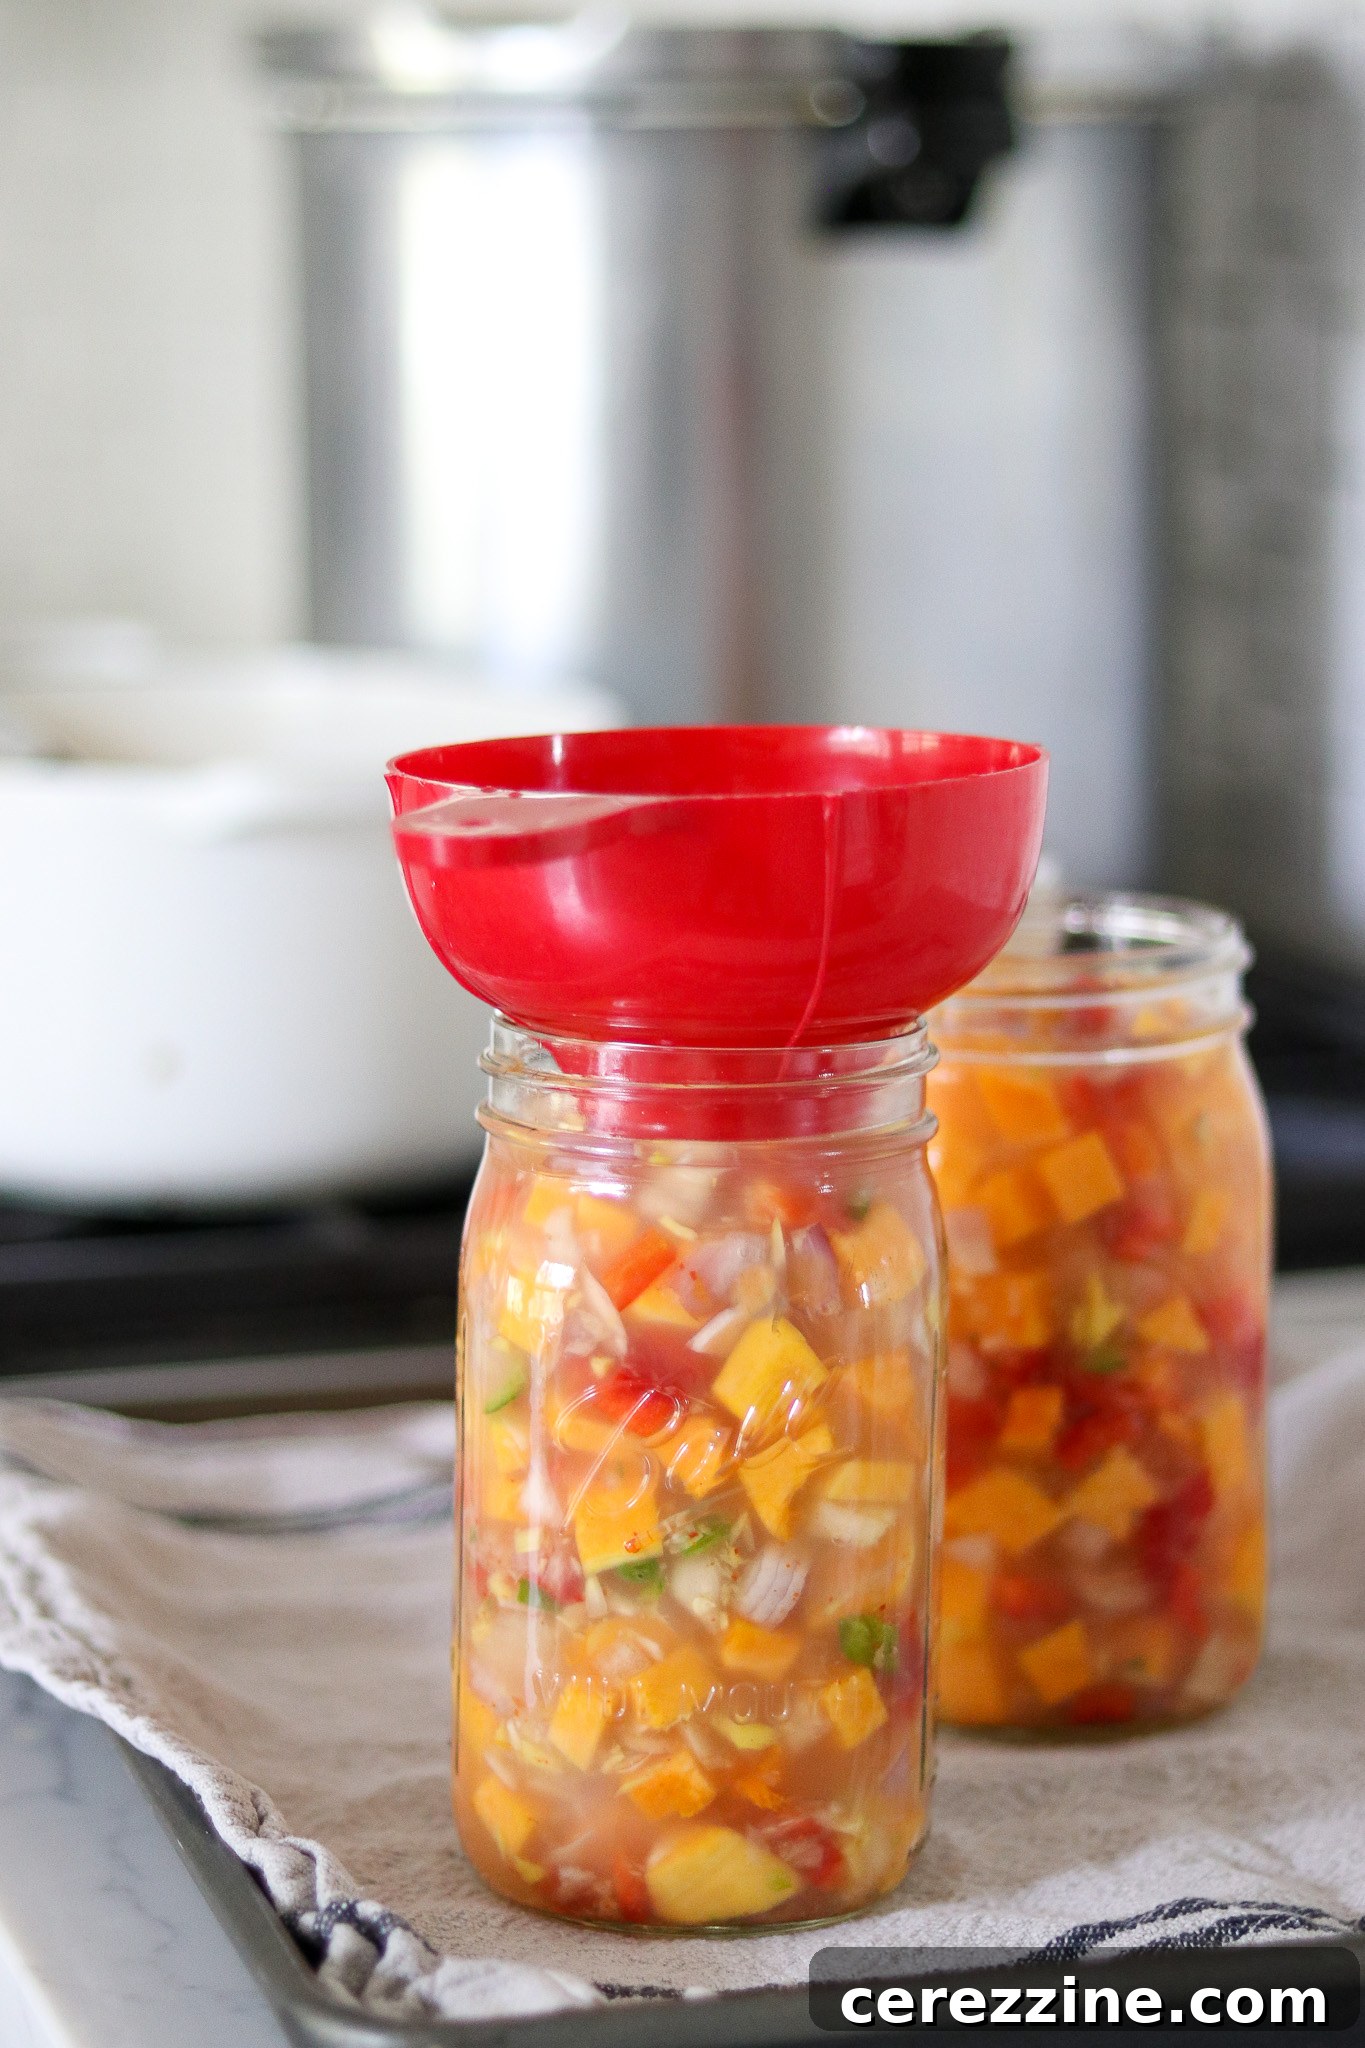
Canning Thai Squash Soup: Step-by-Step Instructions
Before you begin assembling the soup, prepare your pressure canner according to the manufacturer’s instructions for hot packing. This typically involves adding 2-3 inches of water to the canner bottom, inserting the canning rack (trivet), and pre-heating the water to a gentle simmer, around 180°F (82°C).
In a large, heavy-bottomed pot or a six-quart (six-liter) stainless steel or enameled Dutch oven, bring your chosen broth to a rolling boil. Stir in the ground red pepper, minced garlic cloves, Thai chiles, grated ginger, and quartered lemongrass stalk. Allow this aromatic mixture to simmer for 20 minutes, stirring frequently. This simmering step is crucial for two reasons: it allows the flavors of the spices to fully infuse the broth, and it begins to pre-cook the vegetables, ensuring they withstand the pressure canning process without breaking down excessively.
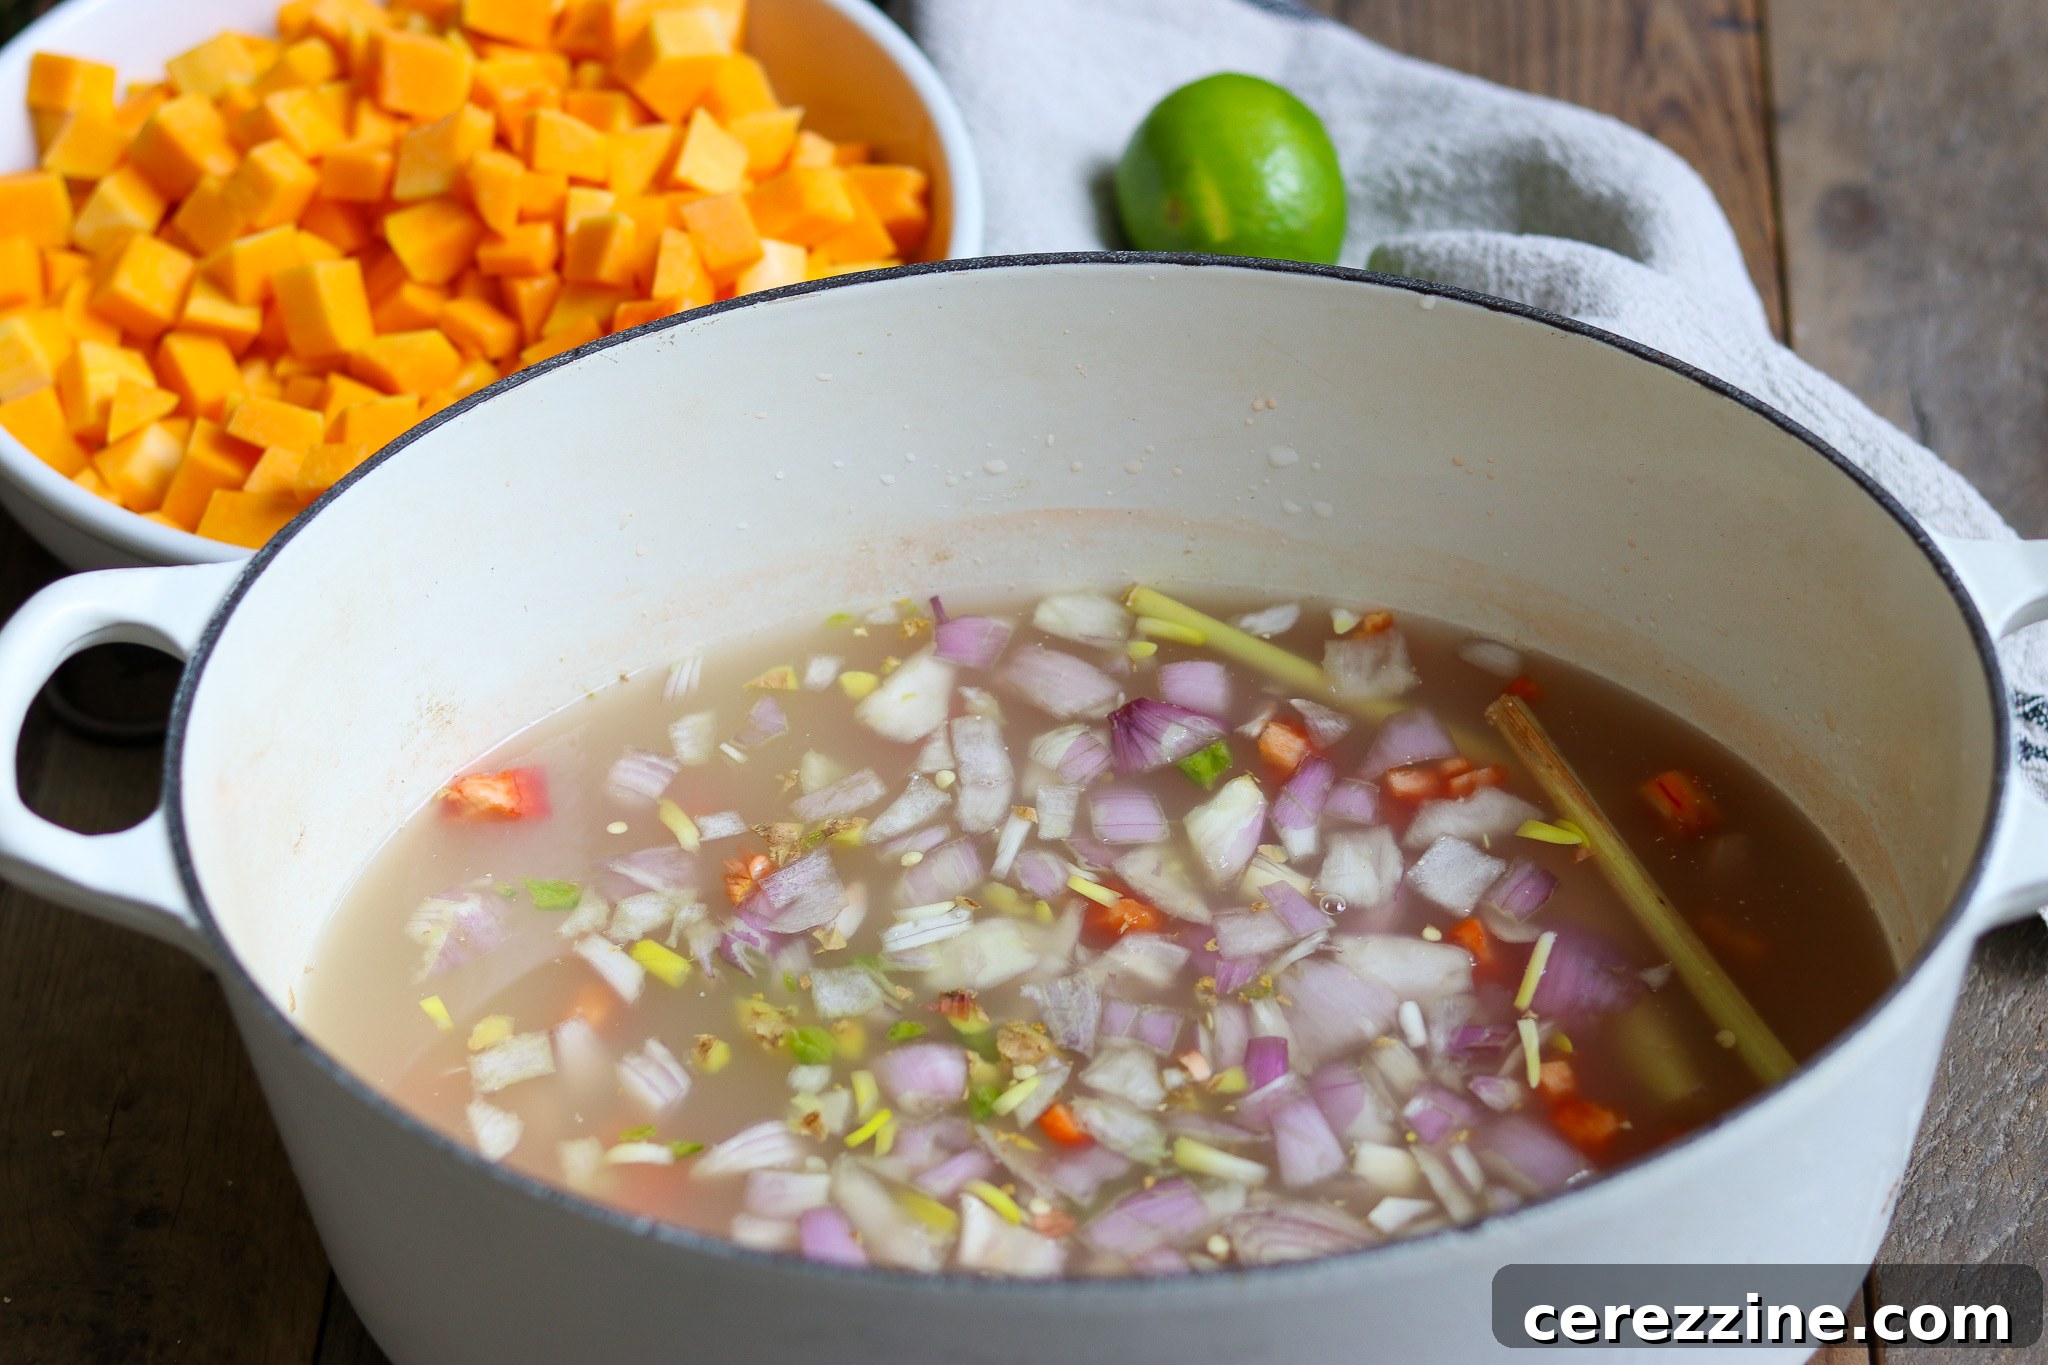
Important: At this point, carefully remove the lemongrass stalk from the simmering broth. The lemongrass is intended solely for flavoring and should not remain in the finished canned product. Leaving it in could result in an unpleasant texture and an overly strong, potentially bitter flavor. If you accidentally leave it in, your soup is still safe if properly processed, but removing it ensures the best taste and eating experience.
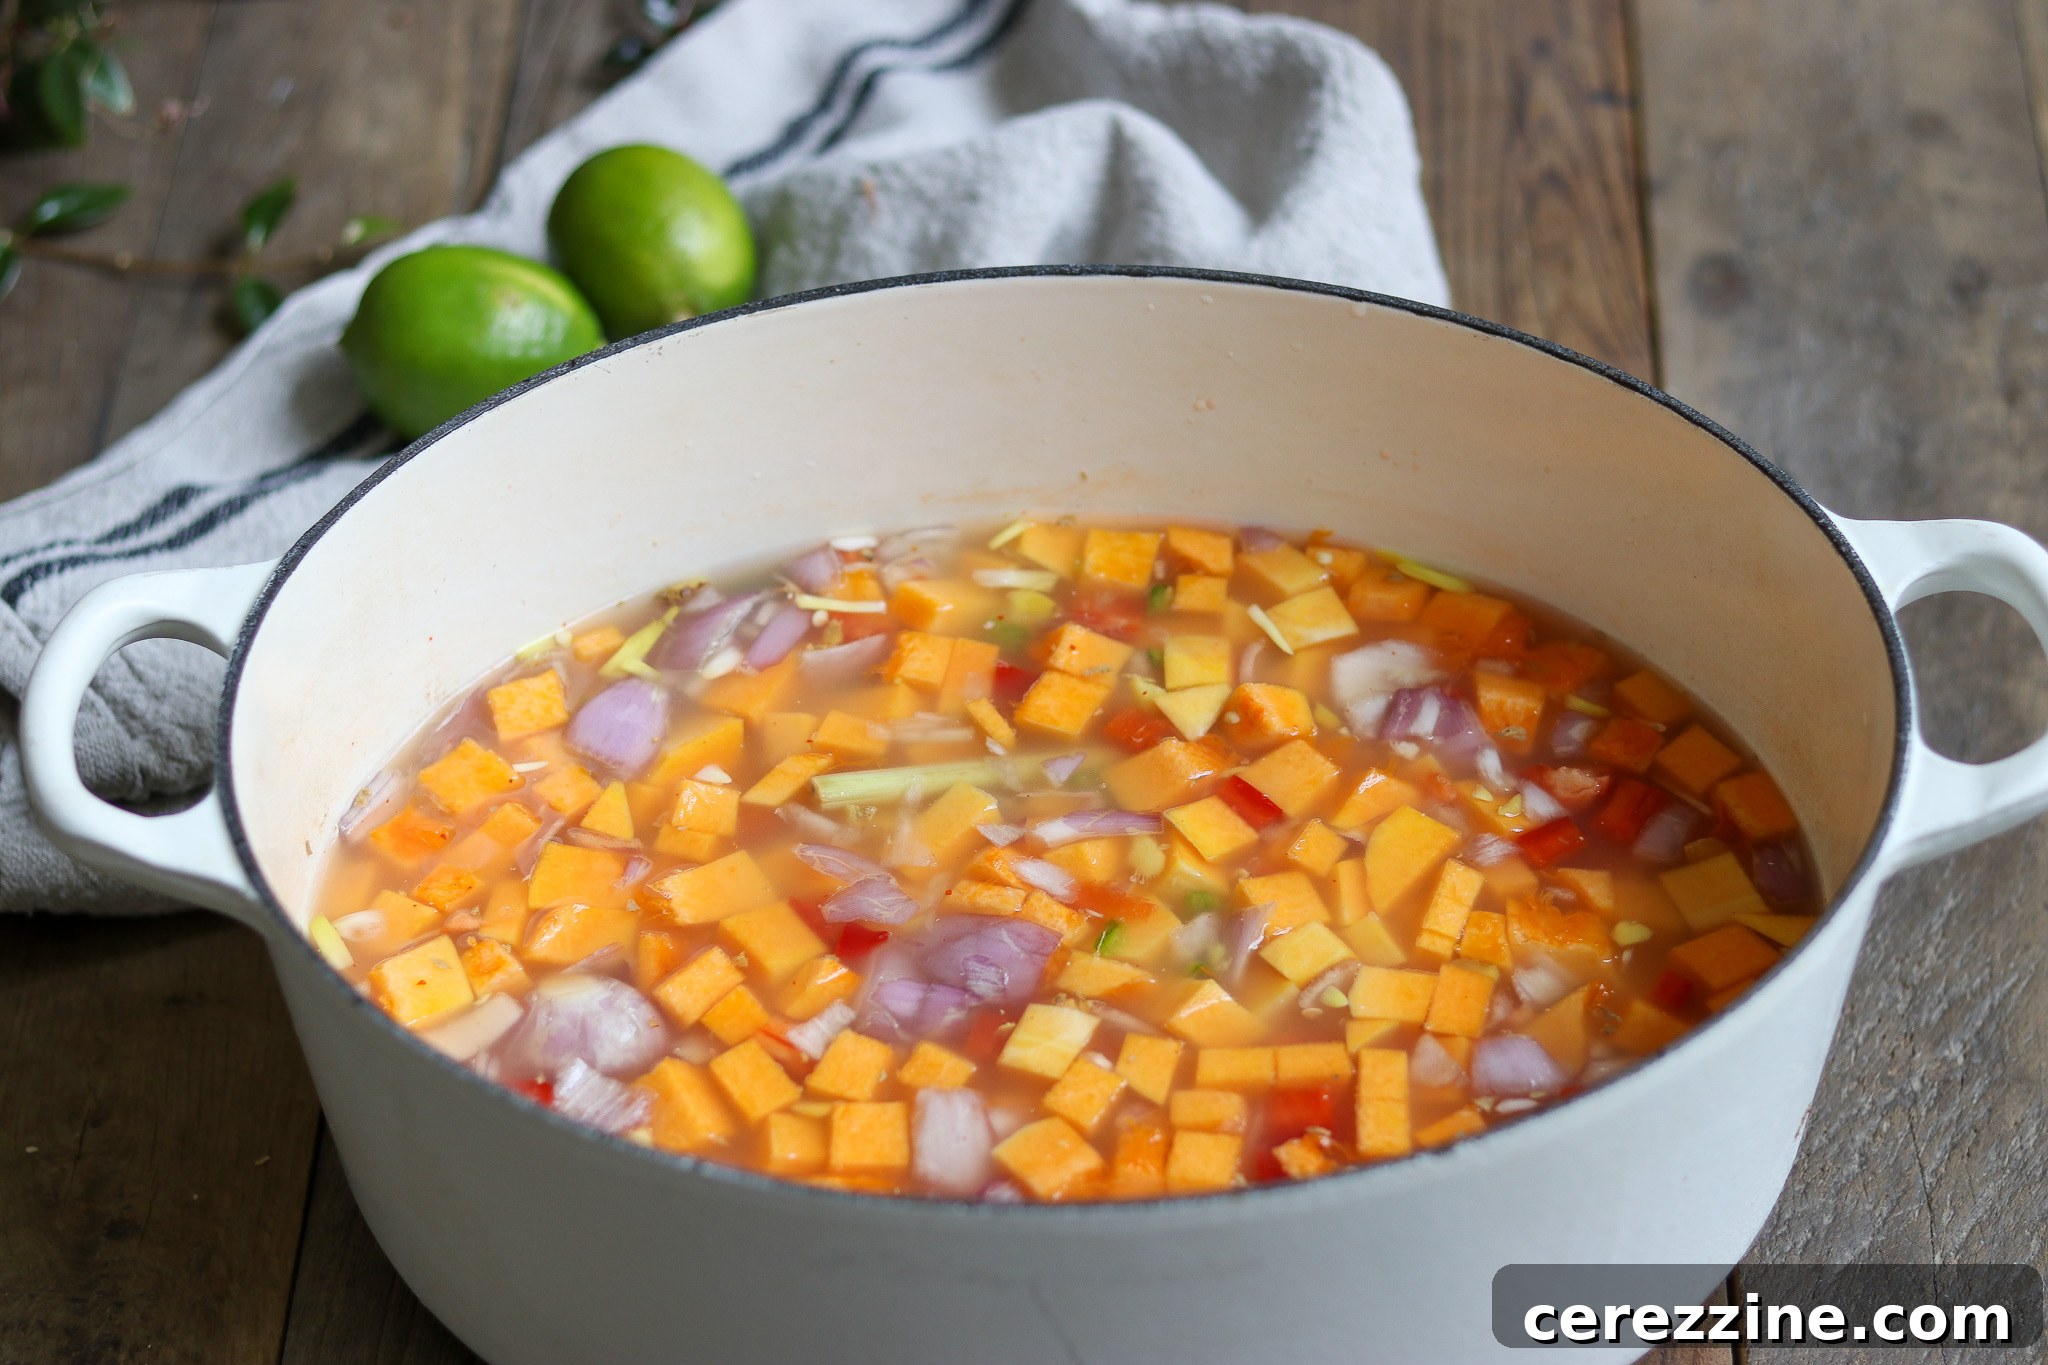
Now, add the cubed squash, sugar, salt, lime zest, fresh lime juice, chopped shallots, and red bell pepper to the pot. Return the soup to a boil, then reduce the heat and continue to simmer, uncovered, for another five minutes, stirring occasionally to prevent sticking.
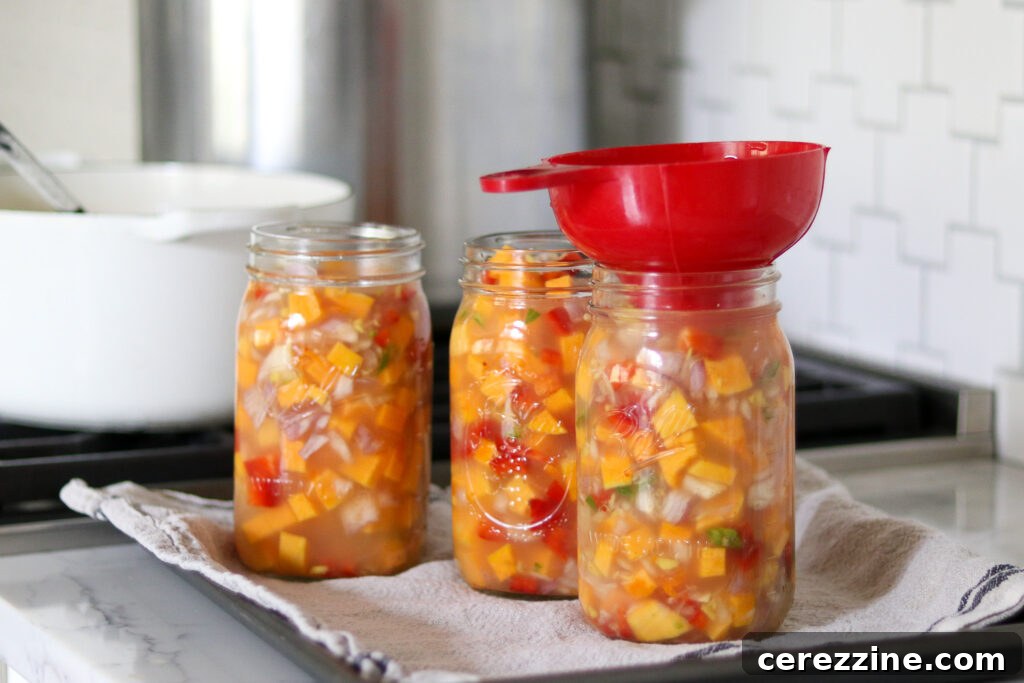
Carefully ladle the hot soup into hot, sterilized canning jars, ensuring you leave precisely 1 inch (2.5 cm) of headspace. After filling, use a bubble removal tool (or a clean, non-metallic utensil) to dislodge any trapped air bubbles within the jar. Wipe the jar rims thoroughly with a clean, damp cloth to remove any food particles or residue, which could interfere with a proper seal. Center new, pre-warmed lids on the jars, then secure them with screw bands, tightening them until they are fingertip-tight.
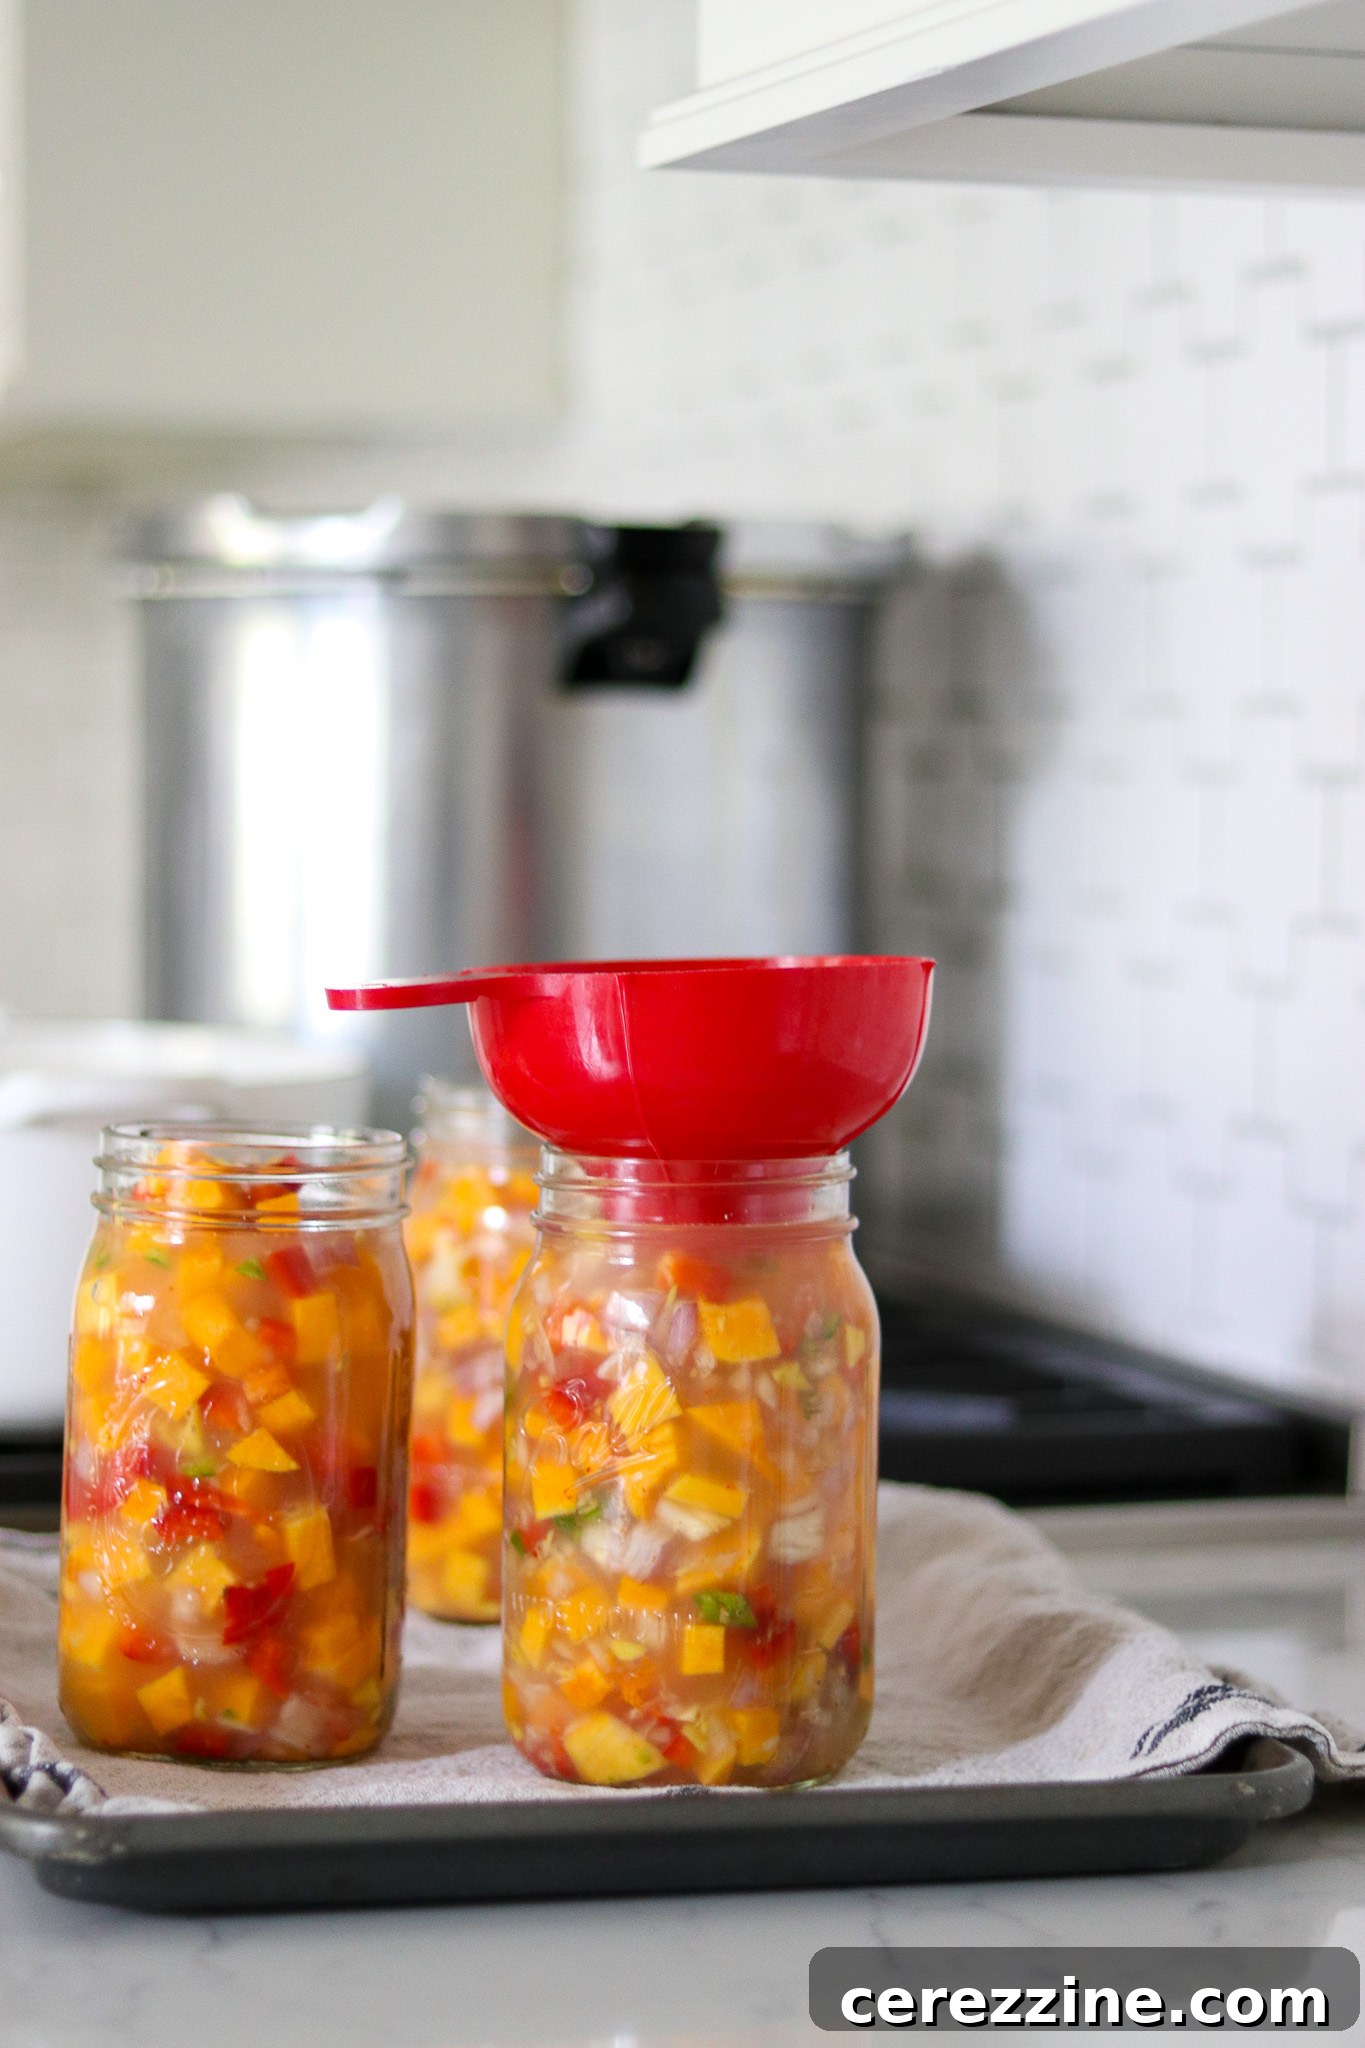
Place the filled jars onto the rack in your pre-heated pressure canner. Continue filling and loading jars until the canner is full, or all soup is jarred. Secure the canner lid, turning it to the locked position. Increase the heat to medium-high and allow the canner to vent a steady stream of steam for 10 minutes (always refer to your specific canner’s instructions for venting times). After venting, place the weighted gauge or counterweight on the vent port. Bring the pressure up to 10 lbs for a weighted-gauge canner or 11 lbs for a dial-gauge canner, adjusting for your altitude as necessary (see altitude adjustments below).
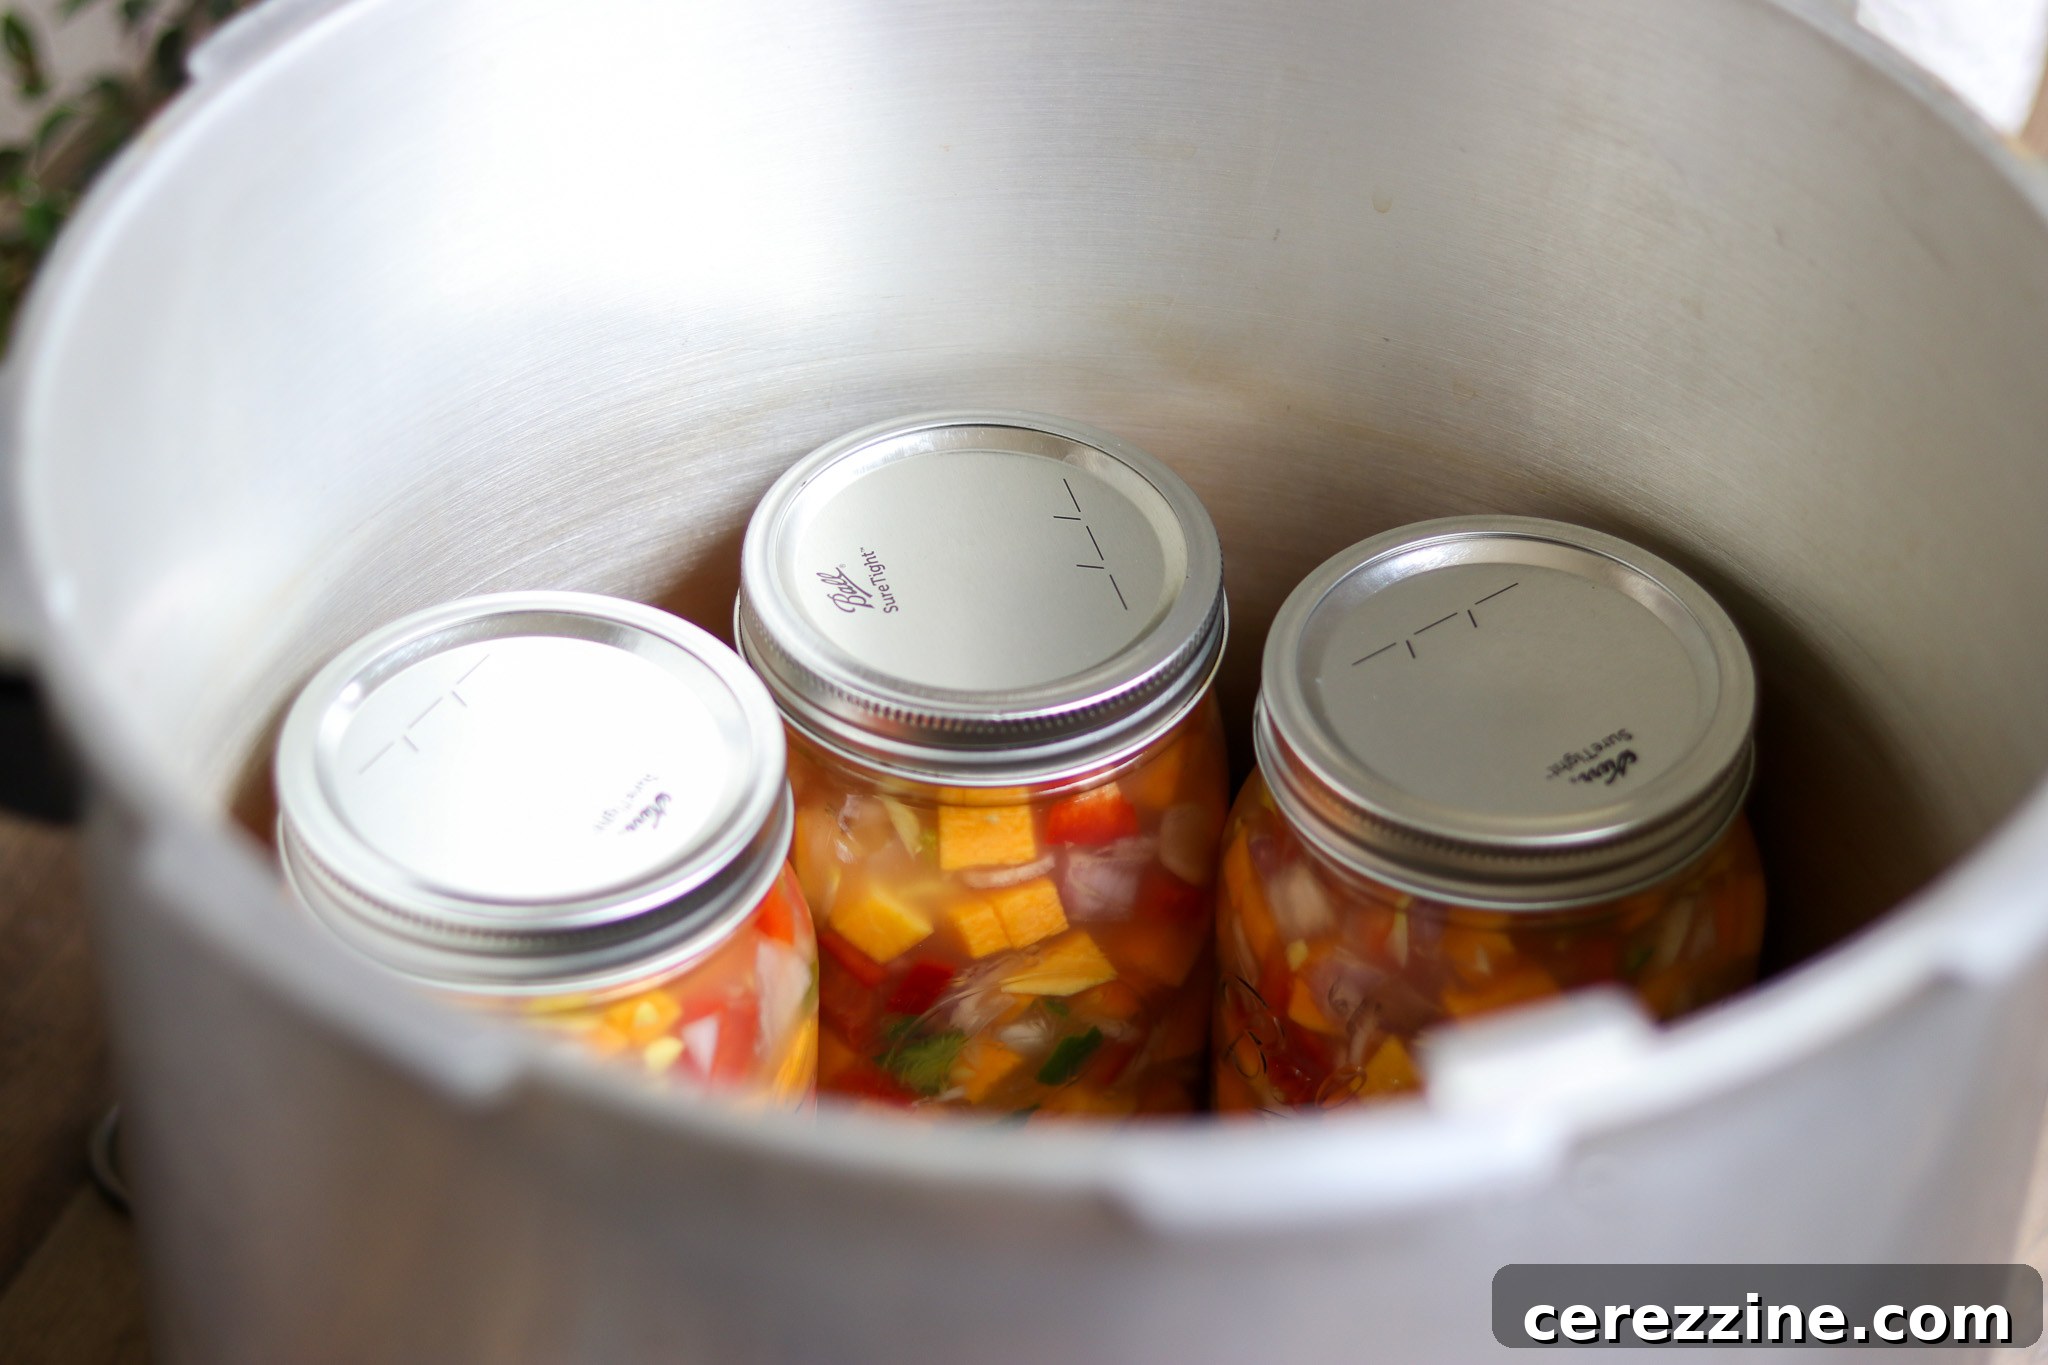
Once the canner reaches the target pressure, process pint jars for 75 minutes and quart jars for 90 minutes. Maintain a consistent pressure throughout the entire processing time. If the pressure drops at any point, you must bring it back up to the target and restart the timing from the beginning.
After the processing time is complete, turn off the heat and allow the canner to cool naturally to zero pressure. Do not attempt to force cool the canner. Once the pressure gauge reads zero, wait an additional five minutes before carefully removing the canner lid, tilting it away from your face to avoid steam burns.
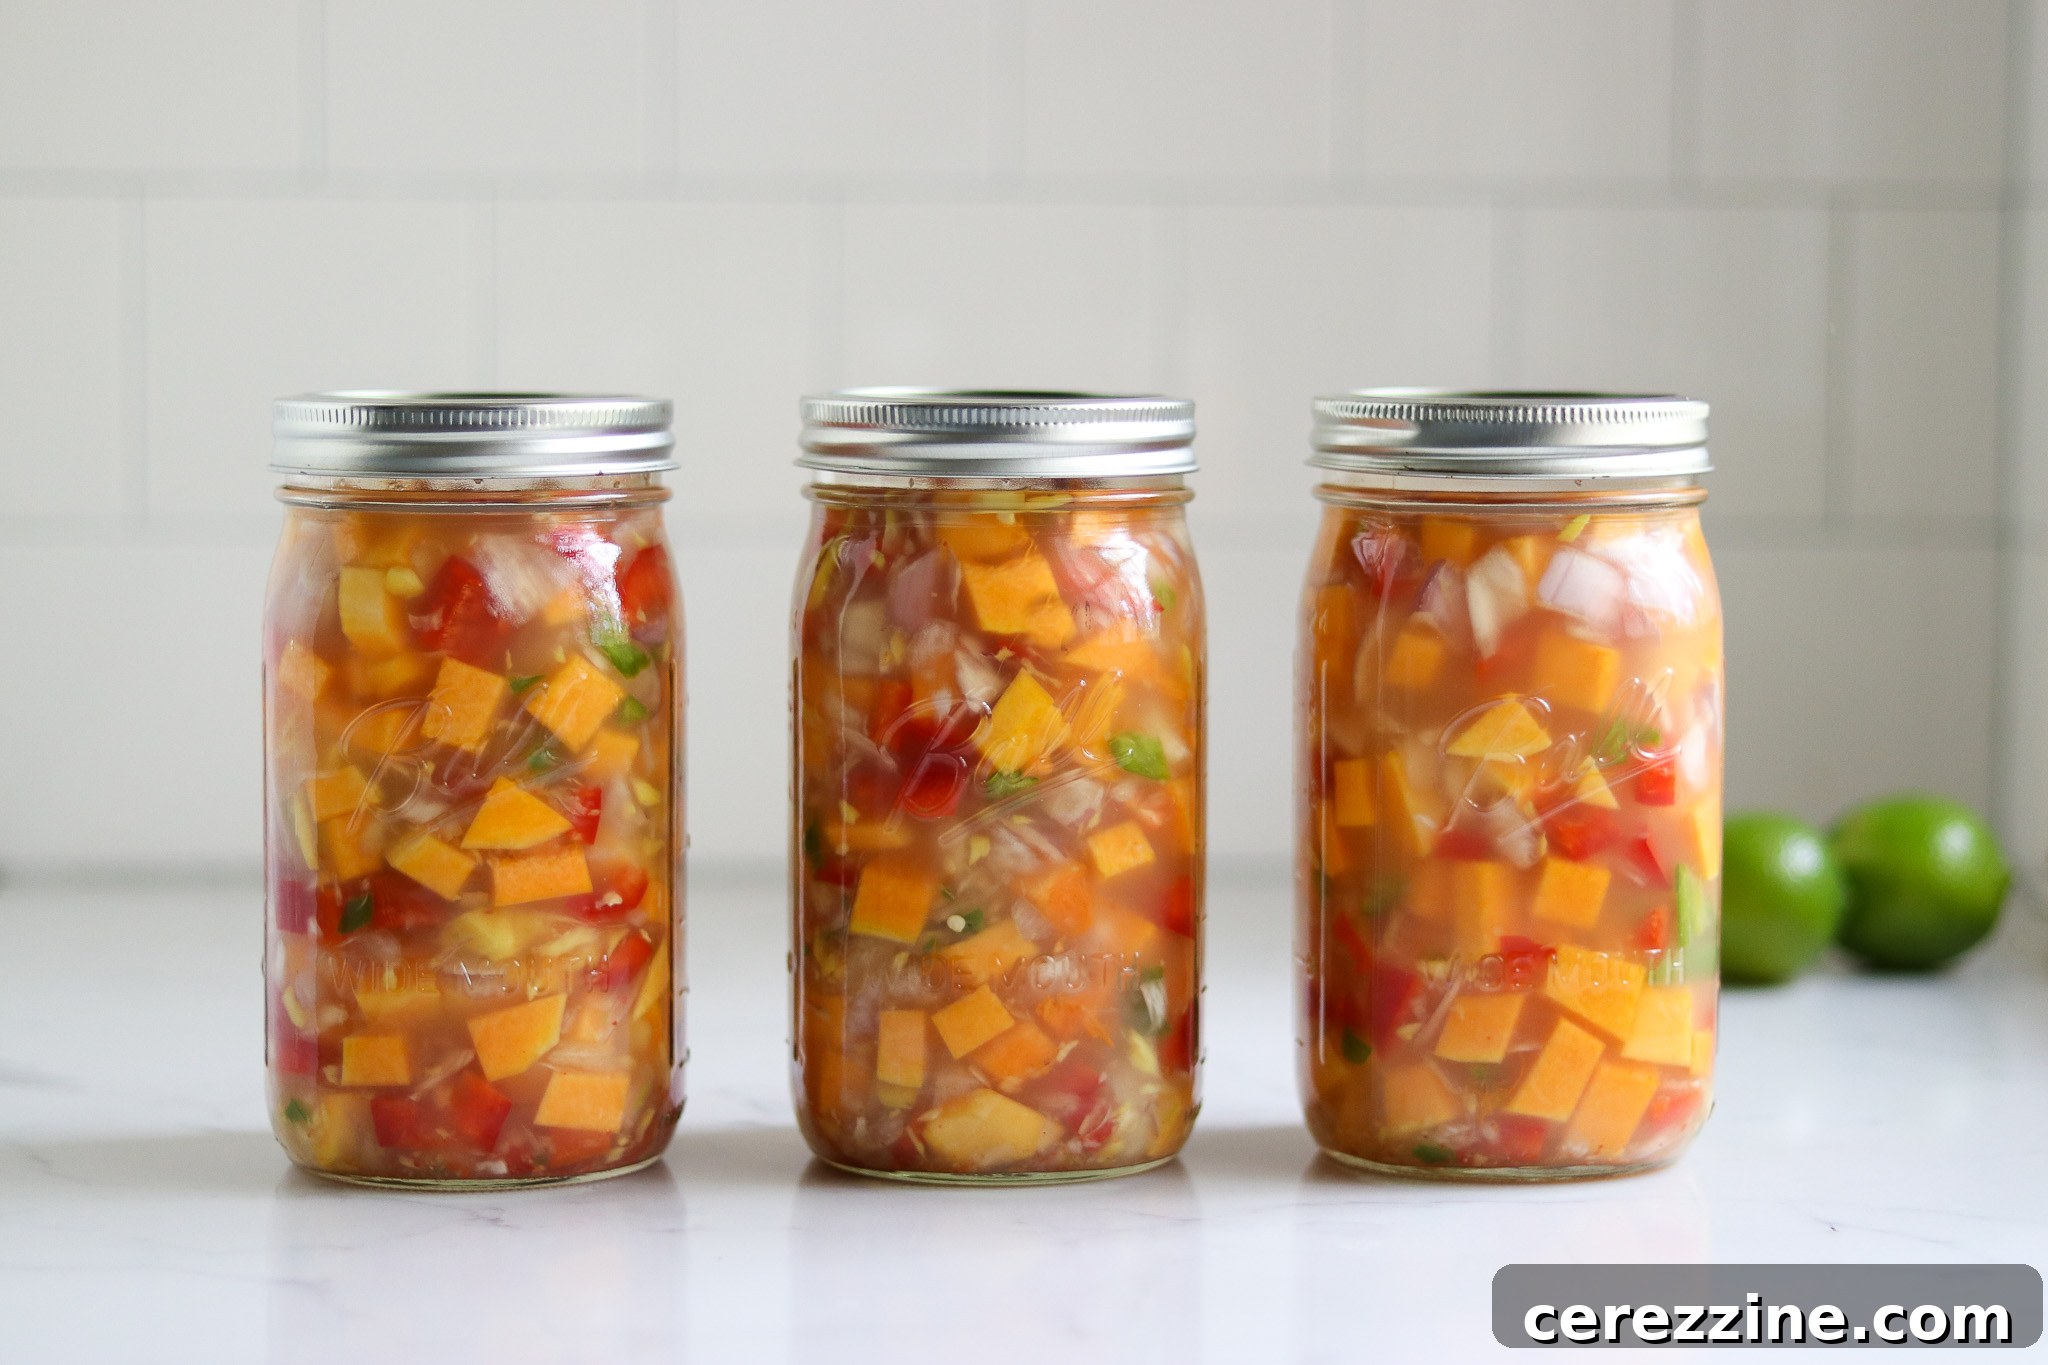
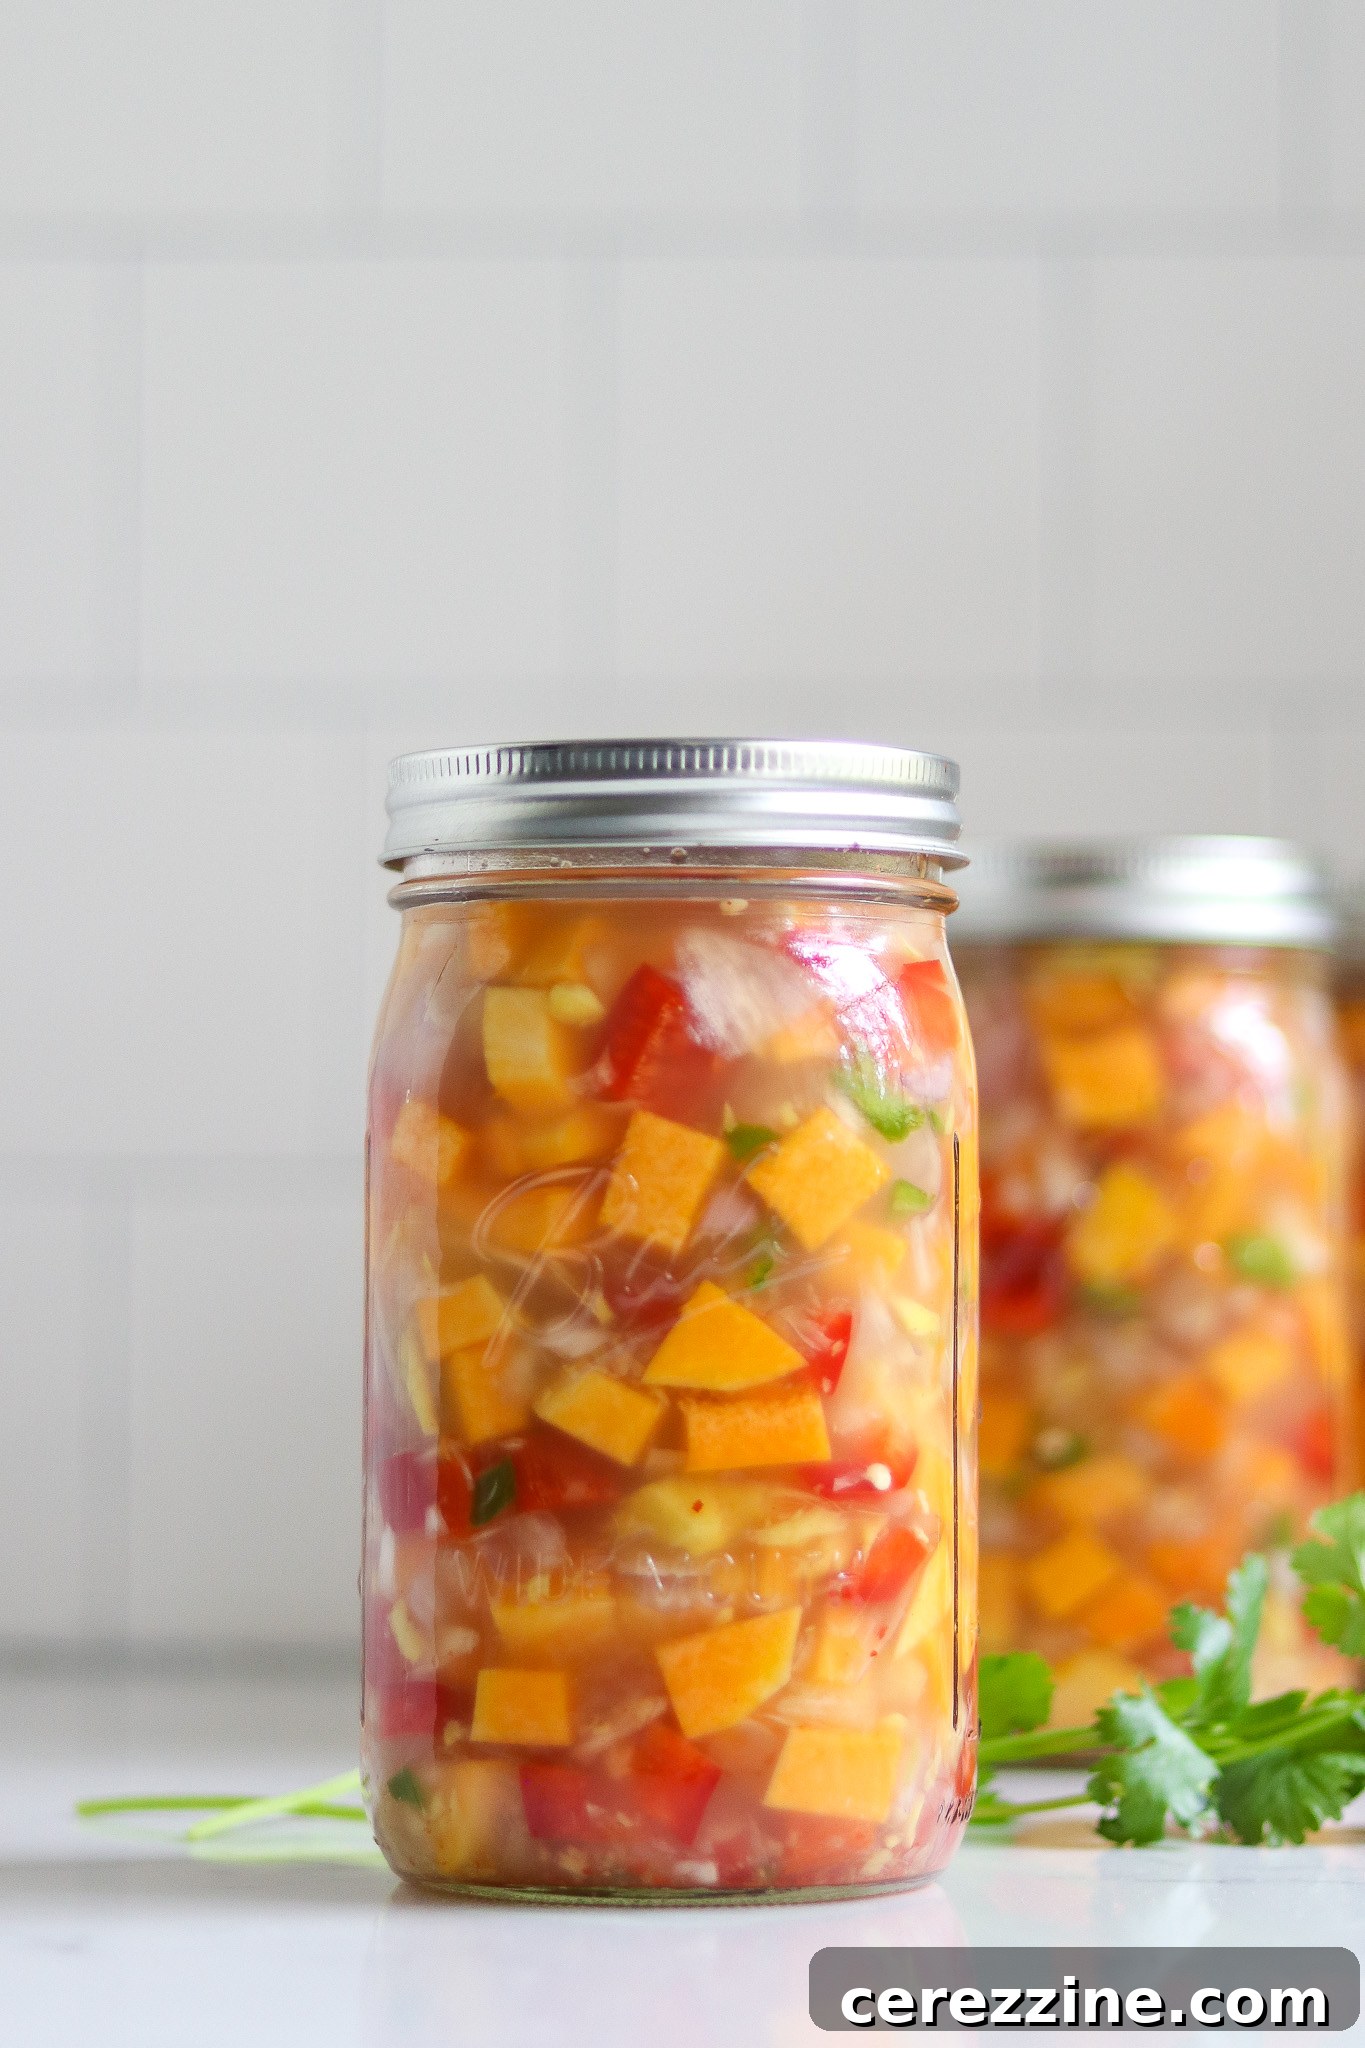
Let the jars cool inside the canner for another 10 minutes. Then, using a jar lifter, carefully remove the hot jars and place them on a towel-lined counter, spaced apart, to cool undisturbed for 12 to 24 hours. After cooling, check all seals. Lids should be concave and not flex when pressed. Remove the screw bands, wipe jars clean, label with contents and date, and store in a cool, dark place for up to one year. Any unsealed jars should be refrigerated and consumed within a few days.
Altitude Adjustments for Pressure Canning Soup
When pressure canning, the processing times remain constant regardless of altitude, but the required pressure must be adjusted to compensate for lower atmospheric pressure at higher elevations. Always use the following guidelines for safe canning:
For dial gauge pressure canners:
- 0 to 2,000 feet in elevation – 11 lbs pressure
- 2,001 to 4,000 feet in elevation – 12 lbs pressure
- 4,001 to 6,000 feet in elevation – 13 lbs pressure
- 6,001 to 8,000 feet in elevation – 14 lbs pressure
For weighted gauge pressure canners:
- 0 to 1,000 feet in elevation – 10 lbs pressure
- Above 1,000 feet – 15 lbs pressure
Serving Your Home-Canned Thai Squash Soup
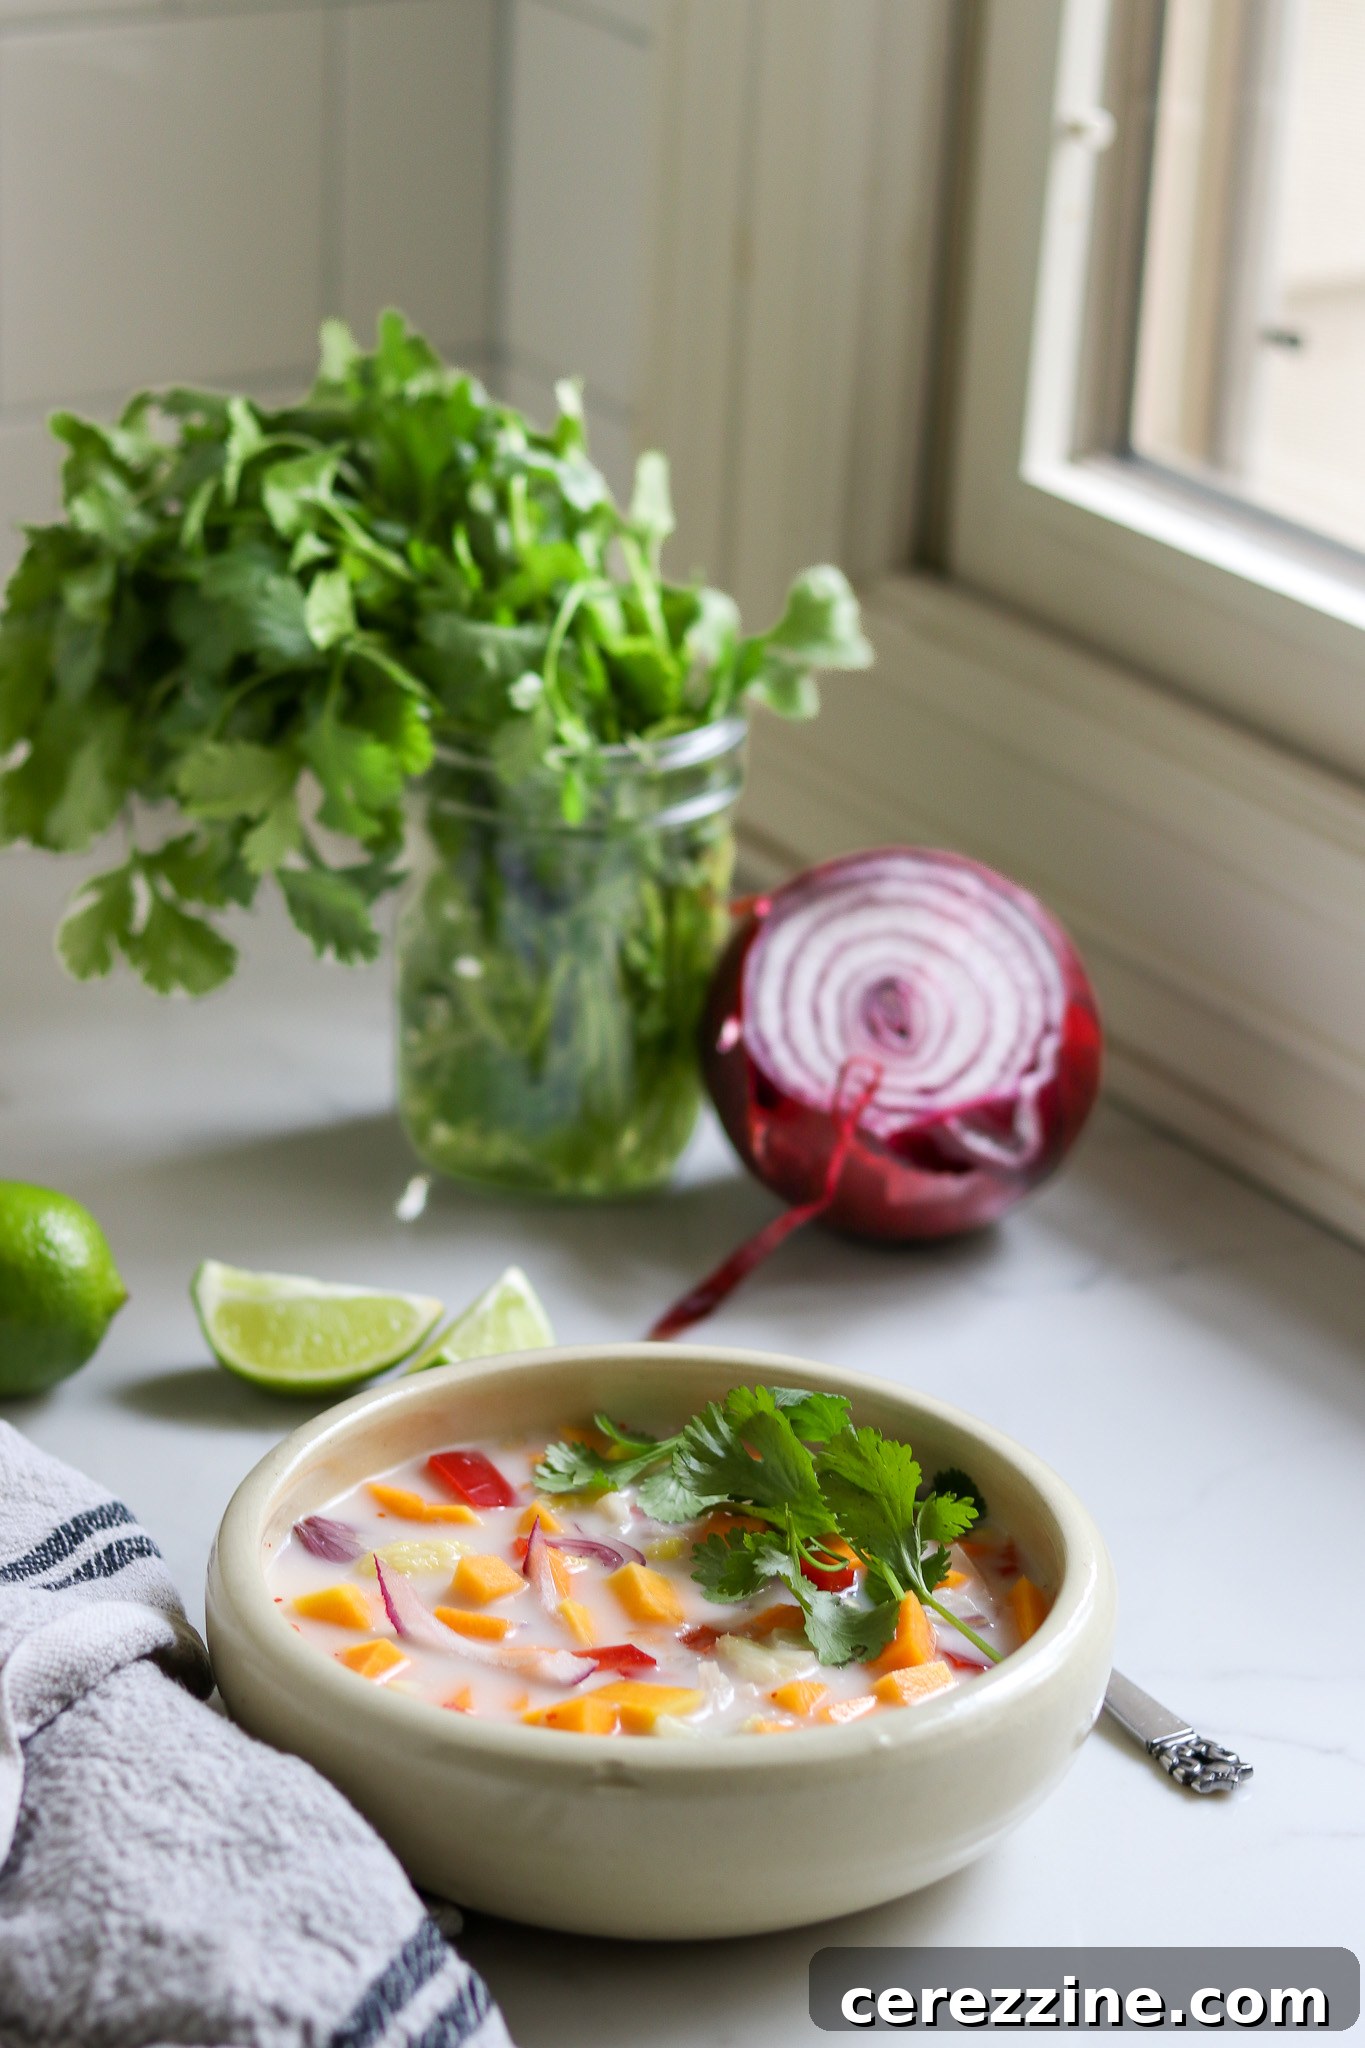
Serving your homemade Thai Squash Soup is wonderfully simple and quick. Pour the contents of one jar (pint or quart) into a medium stainless steel saucepan. Bring the soup to a gentle boil over high heat, stirring occasionally.
Once simmering, for each pint jar of soup, stir in ½ cup (250 ml) of creamy coconut milk, two tablespoons (30 ml) of fresh red onion slivers, and one tablespoon (15 ml) of freshly chopped cilantro. If you’re reheating a quart jar, simply double these amounts. Continue to simmer for another minute or two, or until the soup is thoroughly heated through and the flavors have melded. Serve immediately, garnished with fresh lime wedges for an extra burst of zest, if desired. Enjoy the incredible convenience and authentic taste of your labor of love!
Canning Thai Coconut Squash Soup Recipe Card
Servings: 6 Servings, Makes 6 pints or 3 quarts
Canning Thai Coconut Squash Soup
By Ashley Adamant
This Thai-inspired squash soup is a delicious pressure canning recipe. Coconut milk is added at serving for real Thai flavor.
Prep Time: 30 mins
Cook Time: 1 hr 30 mins
Total Time: 2 hrs
Equipment
- Pressure Canner
Ingredients
- 2 Quart vegetable broth, or chicken broth
- 1 ½ lb butternut squash, or kabocha, acorn, or some other orange-fleshed winter squash, peeled and cut into ½” (1cm) cubes
- ½ tsp red pepper, flakes
- 2 small Thai chile peppers, seeded and minced, fresh or dried
- 3 cloves garlic, minced
- 1 stalk lemongrass, quartered
- 1 piece ginger, fresh 2 inch or 5 cm piece, peeled, grated
- 2 tbsp sugar
- 1 tsp lime zest
- 1 medium red bell pepper, chopped
- 4 medium shallots, chopped
- 2 tsp salt
- 2 tbsp lime juice, ideally fresh, but bottled works too
Serving Add Ins Per Pint
- 2 tbsp red onion slivers, for serving
- 1 tbsp cilantro, for serving
- ½ cup coconut milk, for serving
- Lime wedges, for serving
Instructions
- Bring the broth to a boil in a six quart (six liter) Dutch oven. Stir in the red pepper, garlic cloves, Thai chiles, ginger and lemongrass stalk. Simmer for 20 minutes, stirring often.
- Remove the lemongrass, then add the squash, sugar, salt, lime zest, lime juice, shallots, and bell pepper. Return to a boil, then reduce the heat. Simmer with the pot uncovered for five minutes. Stir occasionally.
- Ladle the hot soup into hot jars, leaving an inch (2.5 cm) of headspace.
- Remove the air bubbles with a bubble removal tool, then use a clean rag to wipe any food particles or residue from the jar rims.
- Place the lids and bands on the jars, then tighten them until they are fingertip tight.
- Place the jars on a rack in a pressure canner that contains two inches (5 cm) of simmering water. Repeat this process until all of the jars are filled.
- Place the lid on the canner. Turn it to the locked position. Adjust the heat to medium high, then vent steam for 10 minutes. Place the weighted gauge or counter weight on the vent, then bring the pressure to 10 lbs for a weighted-gauge canner or 11 lbs for a dial-gauge canner.
- Process pints for 75 minutes or quarts for 90 minutes.
- Turn off the heat, then cool the canner to zero pressure. Allow the canner to sit for another five minutes before you attempt to remove the lid.
- Cool the jars in the canner for 10 minutes. Then, remove the jars and allow them to cool for 12 hours. Check the seals, label, then store for up to one year.
- To serve, pour the contents of a jar into a medium stainless steel pan. Bring the soup to a boil over high heat.
- For each pint jar of soup, stir in ½ cup (250 ml) of coconut milk, two tablespoons (30 ml) of red onion slivers, and one tablespoon (15 ml) of chopped fresh cilantro. For quarts, double the measurements.
- Bring everything to a simmer, then cook for a minute or two (or until heated all the way through).
- Serve with fresh lime wedges, if desired.
Notes
When serving, Ball Canning suggests adding the following ingredients to each pint of soup (or twice this much per quart):
2 tbsp (30 ml) red onion slivers (for serving)
1 tbsp (15 ml) chopped cilantro (for serving)
½ cup (250 ml) coconut milk (for serving)
Lime wedges (for serving)
Altitude adjustments for canning soup are covered in detail in the main article. Remember that processing times remain the same, but pressure settings change based on your elevation.
Nutrition
Calories: 144kcal, Carbohydrates: 28g, Protein: 2g, Fat: 4g, Saturated Fat: 4g, Polyunsaturated Fat: 0.1g, Monounsaturated Fat: 0.2g, Sodium: 2048mg, Potassium: 578mg, Fiber: 3g, Sugar: 12g, Vitamin A: 13380IU, Vitamin C: 56mg, Calcium: 71mg, Iron: 2mg
Nutrition information is automatically calculated, so should only be used as an approximation.
More Soup and Autumn Canning Recipes
Keep your canner working hard this fall and beyond with these other fantastic seasonal canning recipes:
- Cranberry Apple Jam
- How to Make Fruit Butter
- Pear Butter
- Pear Sauce
- Pickled Green Tomatoes
Hearty Meal-in-a-Jar Canning Recipes
If you love the convenience of having a full meal ready to heat and eat, explore these additional meal-in-a-jar canning recipes:
- Sausage, Potato, and Kale Soup
- Butternut Squash and White Bean Soup
- Carrot Soup
- Split Pea Soup
- Chicken Soup
- Boston Baked Beans
- Thai Curry Duck
- White Bean Chicken Chili
- Cajun Red Beans and Sausage