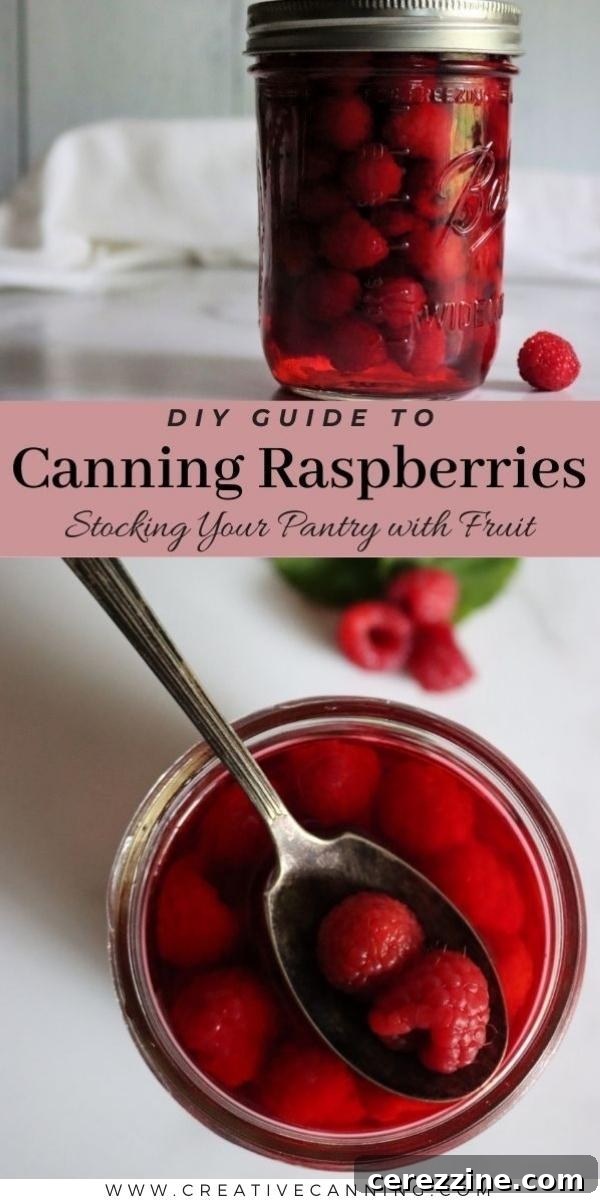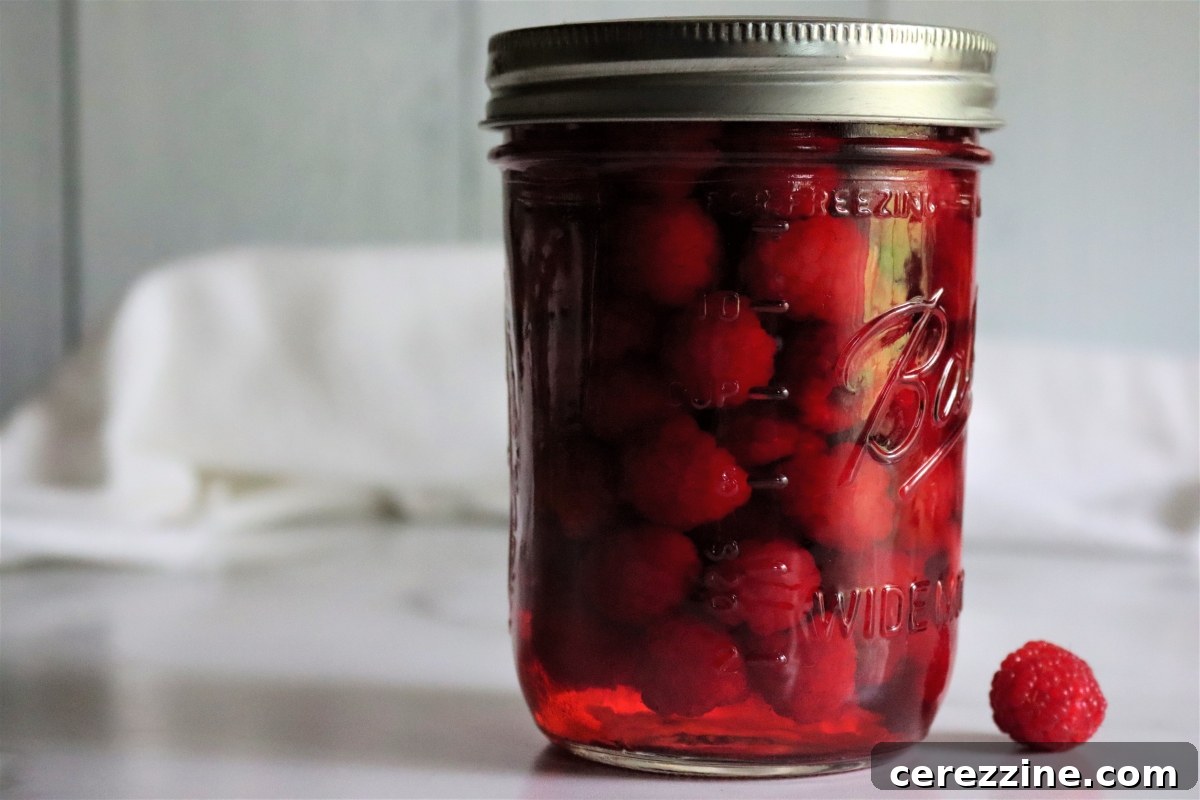
Canning raspberries is a delightful and practical way to capture the essence of summer, allowing you to enjoy these vibrant berries long after their fresh season has passed. Imagine reaching into your pantry on a cold winter day and pulling out a jar of sun-kissed raspberries, ready to transform your baked goods, breakfasts, or desserts. This simple preservation method ensures a steady supply of sweet, versatile raspberries, perfect for muffins, cobblers, yogurt toppings, ice cream sundaes, or simply relished straight from the jar with a spoon.
Why Choose Canning for Raspberries?
While freezing and dehydrating are popular methods for preserving berries, canning offers distinct advantages, especially when it comes to maintaining flavor and texture for specific culinary applications. Many home preservers opt for freezing raspberries, but this can often alter their delicate balance, making them surprisingly tart and causing a loss of their natural sweetness. Frozen raspberries, while convenient, can create an overly sour burst in an otherwise perfectly sweet muffin, which isn’t always desirable.
Dehydrating raspberries is another viable option, yielding a fantastic shelf-stable snack, ideal for granola or cereal. However, dried raspberries typically lack the juiciness and tender texture required for baking or as a luscious topping for yogurt and ice cream. They simply don’t rehydrate adequately to mimic the fresh berry experience.
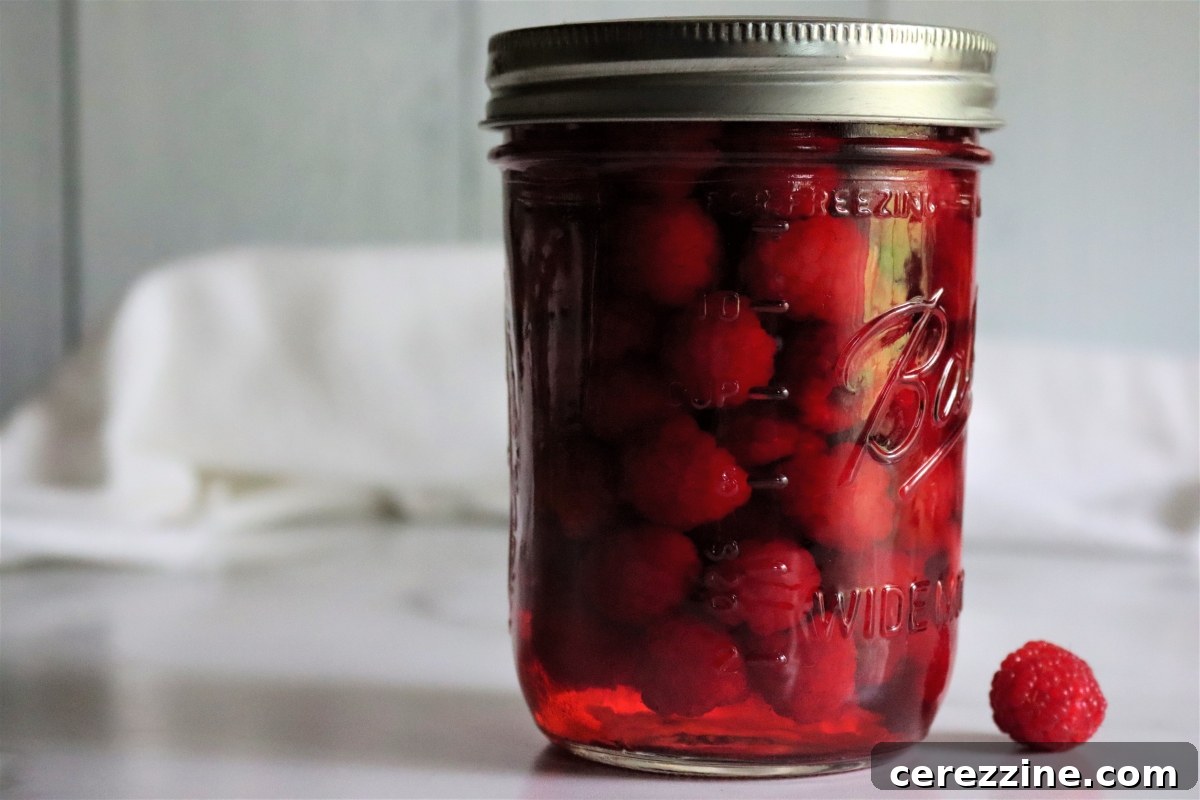
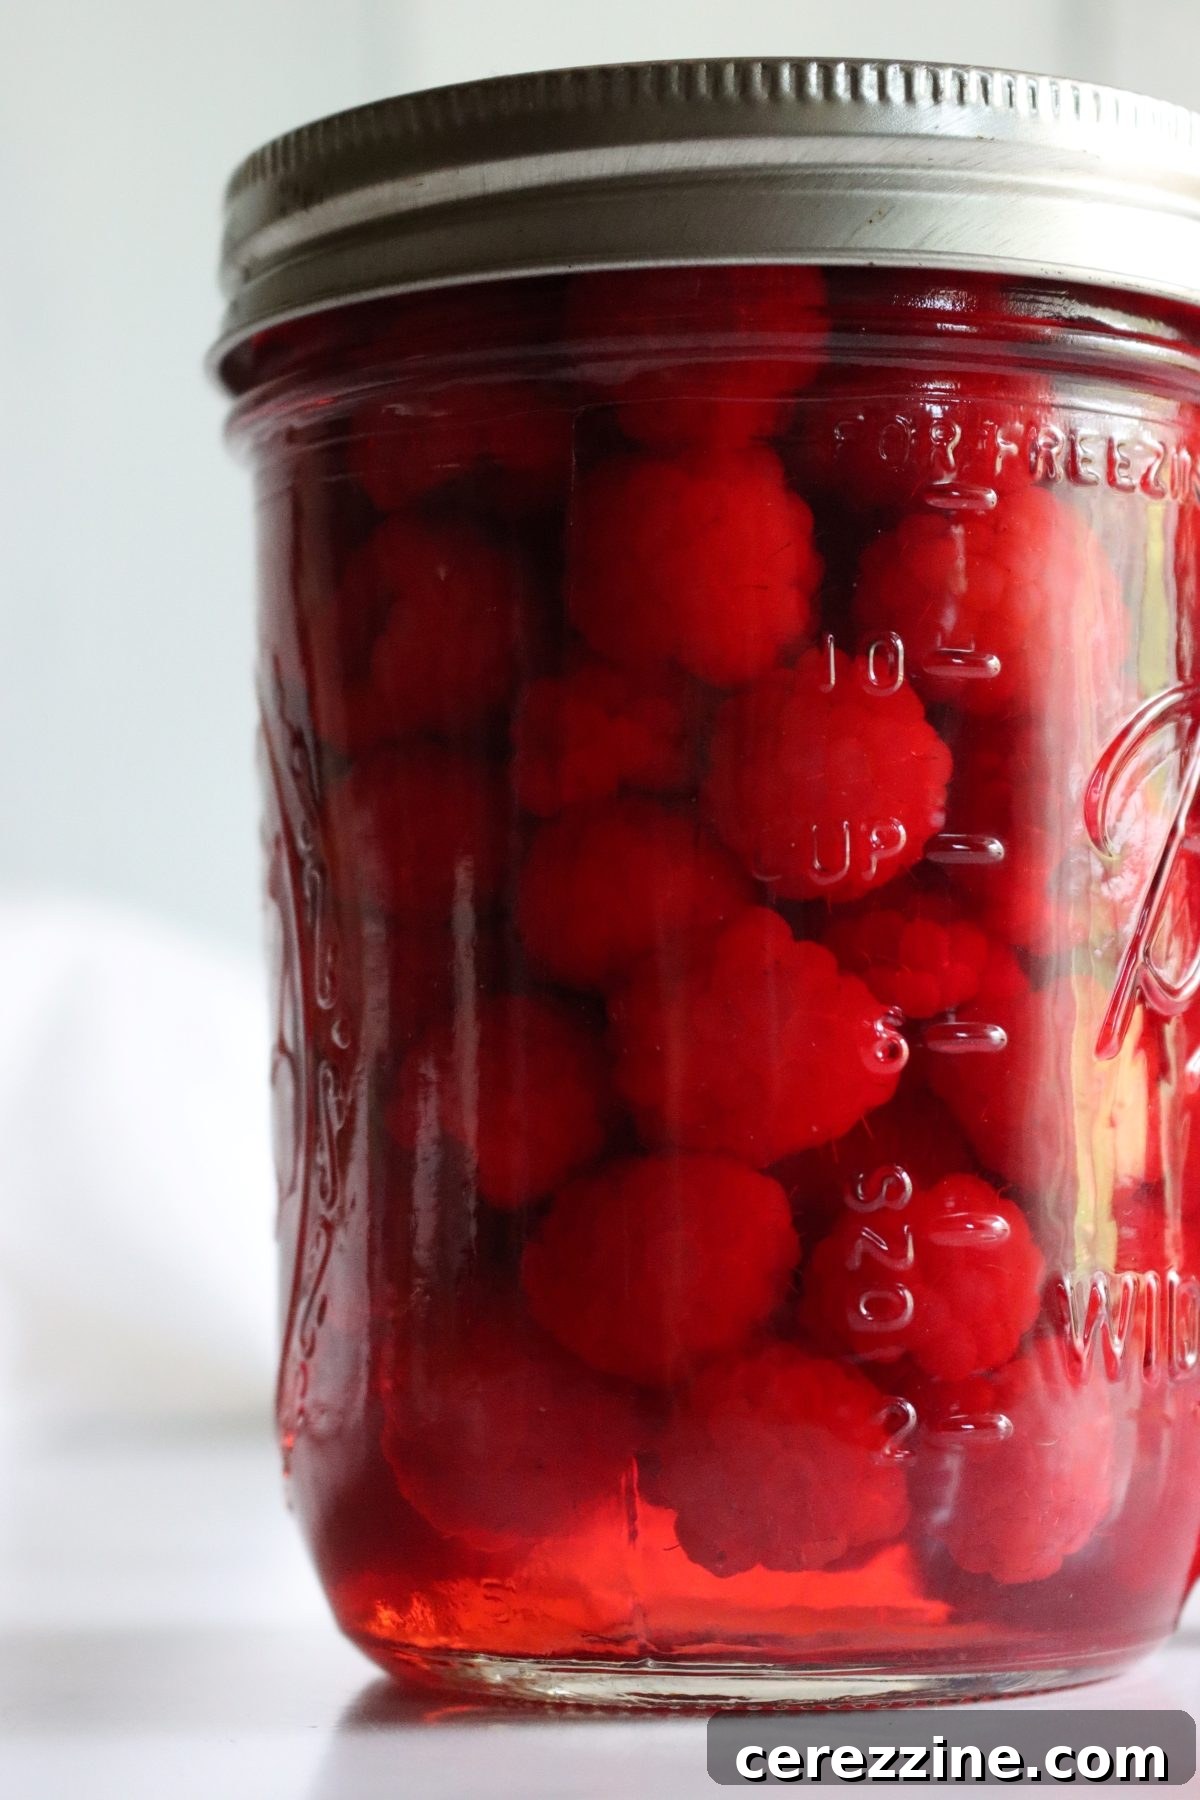
Canned raspberries, on the other hand, are a game-changer. When preserved in a light syrup, they retain their inherent sweetness and a wonderfully soft yet intact texture. This makes them absolutely perfect for baking into muffins, adding to pies, stirring into overnight oats, or creating a vibrant topping that rivals fresh berries. Their versatility truly shines, allowing them to be used anywhere you’d typically use fresh raspberries, bringing that taste of summer to your table year-round.
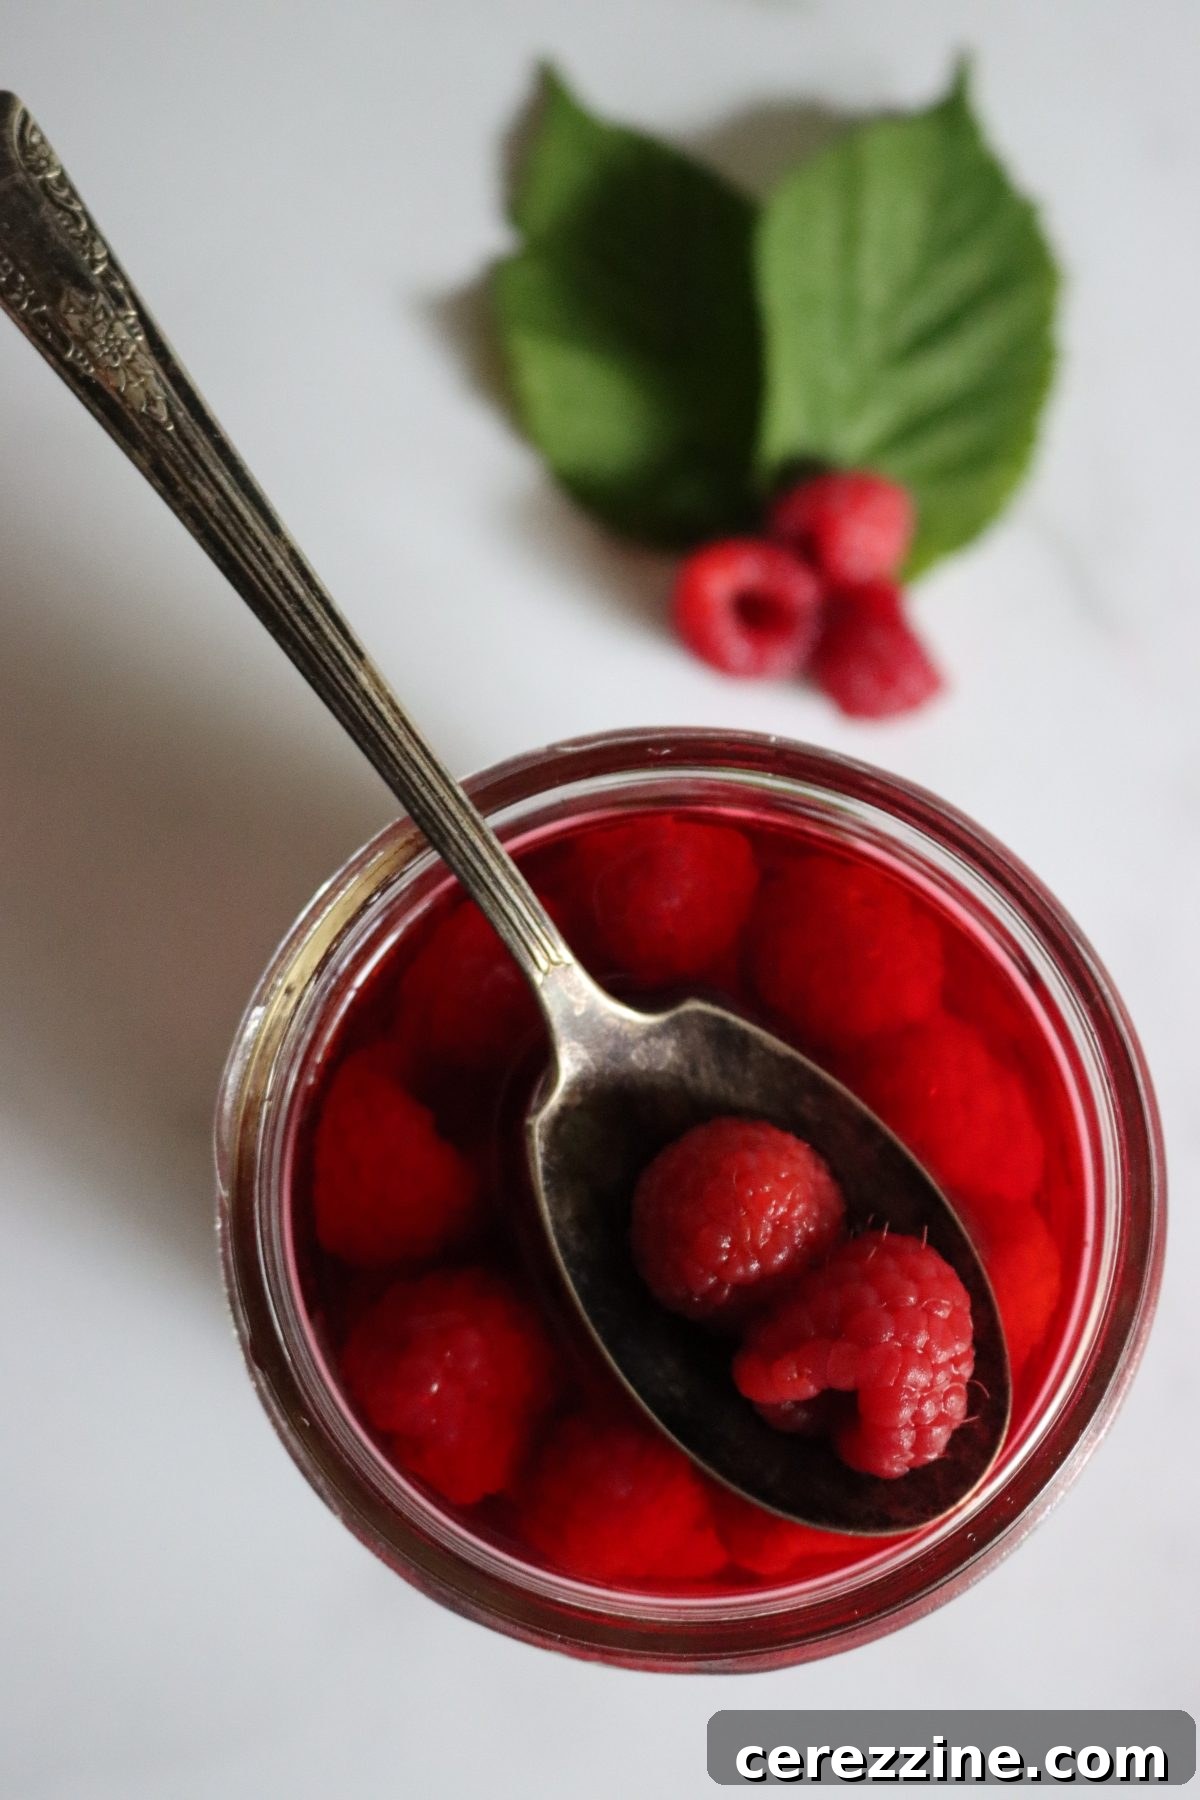
The Secret to Perfectly Canned Raspberries: Harvesting and Variety
A common concern with canning raspberries is their delicate nature – will they turn to mush during the canning process? The answer is yes, they can, unless you employ a few clever tricks to ensure they maintain their structural integrity and beautiful appearance.
Optimal Harvesting for Canning
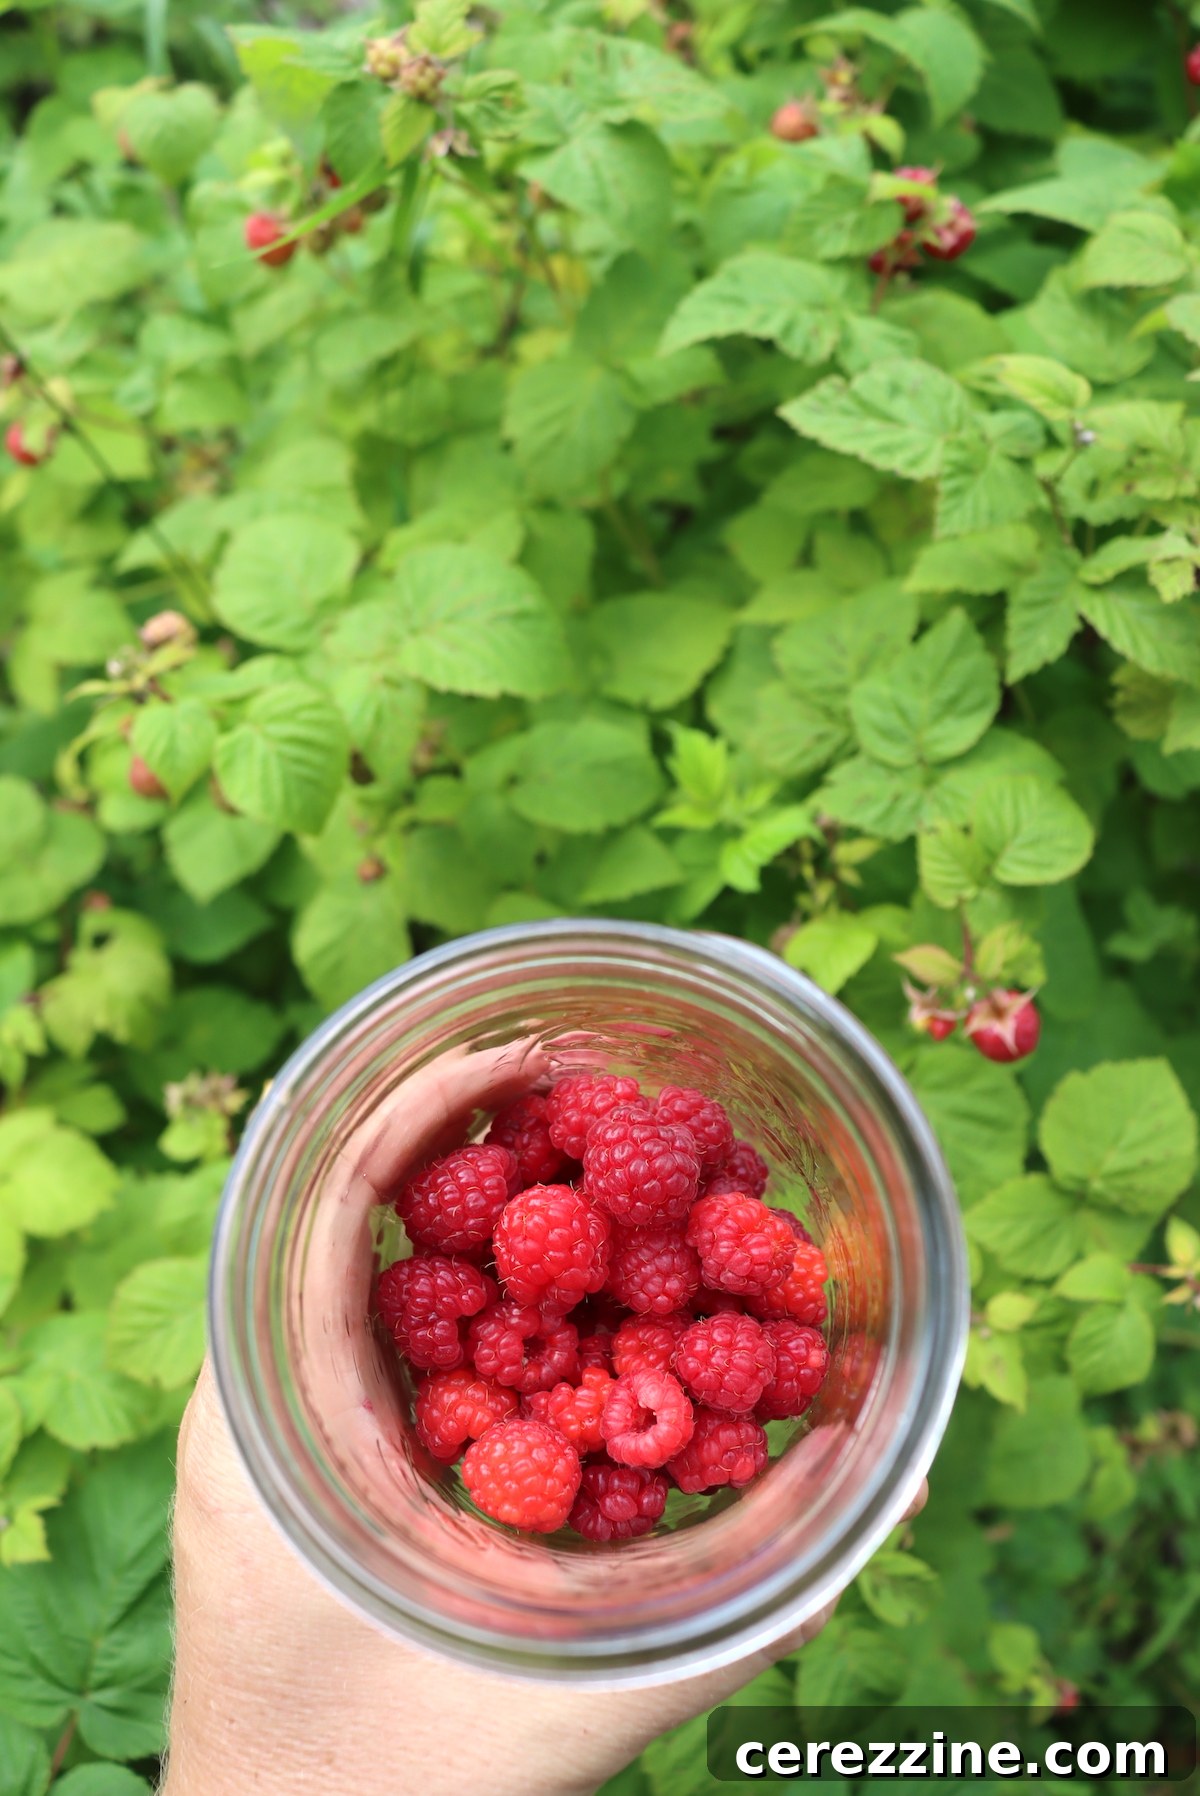
The most crucial step begins right at harvest. To minimize handling and prevent bruising, I meticulously pick raspberries directly into the canning jars. It’s vital to select only “firm ripe” berries that are robust enough to hold their shape, avoiding any that are overripe or overly soft right off the cane. This direct-to-jar method significantly reduces the chances of damage that occurs with multiple transfers.
My raspberry patch is conveniently close to my kitchen, allowing me to process berries almost immediately after picking. This ensures they are canned at their peak freshness, often within an hour of being harvested. If your patch isn’t as close, or if you’re sourcing from a pick-your-own farm, consider bringing a flat of clean canning jars with you. Most farms charge by weight or volume, so picking directly into your own pint jars is usually welcomed, cutting down on waste and guaranteeing you the highest quality fruit for preserving.
Choosing the Right Raspberry Variety
The variety of raspberry also plays a significant role in how well the berries hold up during canning. Some varieties are naturally firmer and better suited for preservation. For instance, ‘Latham’ is a robust variety specifically bred for commercial production, known for its ability to withstand picking and transport. Many commercial varieties possess this inherent firmness, which translates well to canning.
However, simply buying these varieties from a grocery store might not guarantee success. By the time they reach the supermarket, they are often a week or more past their peak freshness, making them prone to falling apart in the canner regardless of their inherent firmness. For the best results, always prioritize freshly picked, firm raspberries.
Embracing Imperfection: Delicious Even If They Fall Apart
Even with the best practices, some raspberries might still soften or break down during canning. Don’t let this discourage you! Canned raspberries, even if they’ve lost some of their individual shape, are still incredibly delicious and useful. They are perfect for creating luscious homemade jams or jellies. For a truly unique treat, consider using softer raspberries to make a flavorful raspberry wine, transforming any perceived canning “failure” into a delightful success.
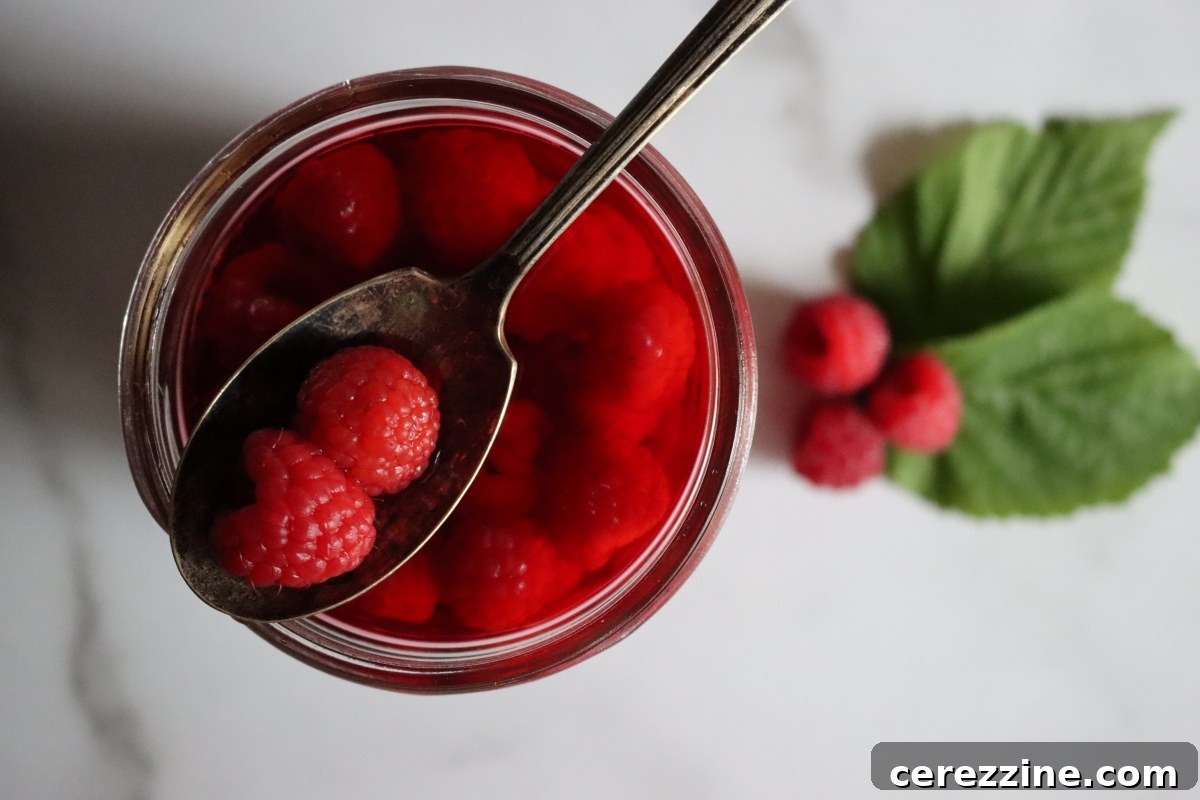
And when they do hold together beautifully, they are truly a sight to behold in the jar, making them excellent gifts that often garner compliments for their visual appeal and exquisite taste.
How to Can Raspberries: A Step-by-Step Guide
The process for canning raspberries is quite similar to canning blackberries or blueberries, with identical processing times and headspace requirements according to USDA guidelines. However, given their delicate nature, specific considerations will yield the best results.
Essential Canning Equipment
- Water Bath Canner (or a large pot with a rack and lid)
- Canning jars (half-pints, pints, or quarts)
- New canning lids and bands
- Jar lifter
- Canning funnel
- Bubble remover/headspace tool
- Clean kitchen towels
Preparing for Canning
- Sterilize Jars and Lids: Wash jars thoroughly in hot, soapy water, rinse well, and keep them hot in the canner or a warm oven. Prepare new lids according to manufacturer instructions (usually simmering in hot water, not boiling).
- Prepare Water Bath Canner: Fill your water bath canner with enough water to cover the jars by at least 1-2 inches. Bring the water to a simmer (140°F / 60°C) for raw pack, or a low boil for hot pack.
- Prepare Syrup or Liquid: While jars are heating, prepare your chosen canning liquid (syrup, water, or fruit juice) and bring it to a boil.
Choosing Your Packing Method: Raw Pack vs. Hot Pack
For raspberries, a raw pack method is generally recommended to preserve their delicate texture and fresh flavor. Unlike blueberries, which can shrink significantly with a raw pack (leading to wasted jar space), raspberries benefit from minimal pre-cooking.
Raw Pack Canning Raspberries
This method involves packing raw, fresh fruit directly into jars. It’s ideal for delicate fruits like raspberries as it minimizes heat exposure before processing.
- Gently pack freshly picked, firm raspberries directly into clean, hot canning jars, leaving 1/2 inch of headspace at the top. Avoid pressing down too hard, as this will crush the berries.
- Carefully pour boiling syrup (or your chosen liquid) over the raspberries, ensuring they are fully submerged while maintaining the 1/2 inch headspace.
- Use a bubble remover tool to gently release any trapped air bubbles by sliding it around the inside of the jar. Adjust headspace if necessary by adding more liquid.
- Wipe jar rims clean with a damp cloth. Place prepared lids and screw on bands finger-tight.
- Process jars in a water bath canner according to the table below.
Hot Pack Canning Raspberries
While less recommended for raspberries due to their delicate nature, hot packing can be used, particularly for fruits that tend to float or shrink. It involves pre-heating the fruit before packing.
- Gently simmer raspberries in water or syrup for about 30 seconds to heat them through and release some air from their tissues.
- Using a slotted spoon, carefully transfer the hot raspberries into clean, hot canning jars, leaving 1/2 inch headspace.
- Cover the berries with the boiling liquid they were simmered in (or fresh boiling syrup/water/juice), maintaining 1/2 inch headspace.
- Remove air bubbles, adjust headspace, wipe rims, and apply lids and bands finger-tight.
- Process jars in a water bath canner according to the table below.
Note: Hot pack is primarily recommended for firmer berries like blueberries and gooseberries. For the best quality and texture with raspberries, stick to the raw pack method.
Jar Size and Processing Time
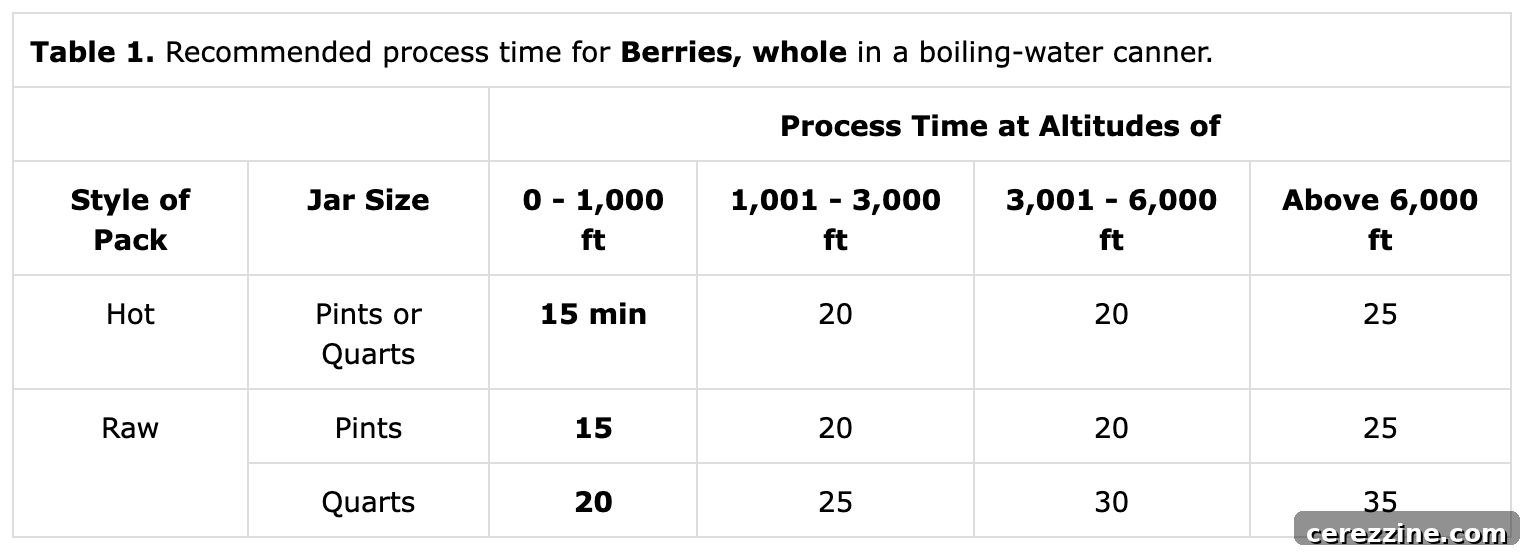
You can use half-pints, pints, or quarts for canning raspberries. However, I highly recommend sticking to smaller jars, specifically half-pints or pints. The longer processing time required for quarts is harder on the fruit, making them more prone to breaking down. Smaller jars have shorter processing times, which helps preserve the berries’ delicate texture. This principle also applies to canning dill pickles, where smaller jars help prevent sogginess.
For raw-packed raspberries, the processing time for pints and half-pints is the same, which is another reason to favor these sizes to minimize cooking time and ensure optimal results.
Water Bath Canning Instructions (Raw Pack)
- Prepare a water bath canner, filling it with water and bringing it to a hot but not yet simmering temperature (around 140°F or 60°C) for raw pack canning. Clean and prepare canning jars, lids, and rings.
- Prepare your extra light syrup (or preferred canning liquid) by mixing water and sugar and bringing it to a boil.
- Gently pack clean, fresh raspberries into hot canning jars, leaving 1/2 inch headspace. Avoid pressing the fruit to prevent bruising.
- Pour the boiling syrup over the fruit in the jars, ensuring all berries are covered. Use a non-metallic utensil to remove any air bubbles. Readjust headspace to maintain 1/2 inch if needed by adding more syrup.
- Wipe jar rims thoroughly with a clean, damp cloth. Place prepared lids and screw on bands finger-tight.
- Carefully load the sealed jars into the prepared water bath canner, ensuring they are fully submerged by at least 1-2 inches of water.
- Bring the canner to a full, rolling boil. Once boiling vigorously, start your timer and process jars for the recommended time based on your jar size and altitude (see notes below). For pints and half-pints, process for 15 minutes. For quarts, process for 20 minutes.
- When the processing time is complete, turn off the heat. Allow the jars to rest in the hot water bath for an additional 5 minutes. This crucial step helps prevent siphoning (liquid loss from the jars) caused by sudden temperature changes when jars are removed too quickly.
- Carefully remove jars from the canner using a jar lifter and place them on a clean towel on your countertop, ensuring there is space between them for air circulation. Let them cool undisturbed for 12-24 hours.
- After 24 hours, check jar seals. Lids should be concave and not flex when pressed. Remove bands, wipe jars clean, and label with contents and date. Any unsealed jars should be refrigerated and consumed promptly. Properly sealed jars can be stored in a cool, dark, dry pantry for 12-18 months.
Alternative: Pressure Canning Raspberries
While not generally recommended due to the delicate nature of raspberries and the potential for excessive breakdown under pressure, some individuals prefer pressure canning. If you choose this method, be aware that the texture may be softer. (Note: You can use a pressure canner for water bath canning if it’s the only large pot you have, just ensure the lid is not sealed and the jars are covered with water like a traditional water bath canner).
For those determined to pressure can raspberries, here are the processing times and pressures:
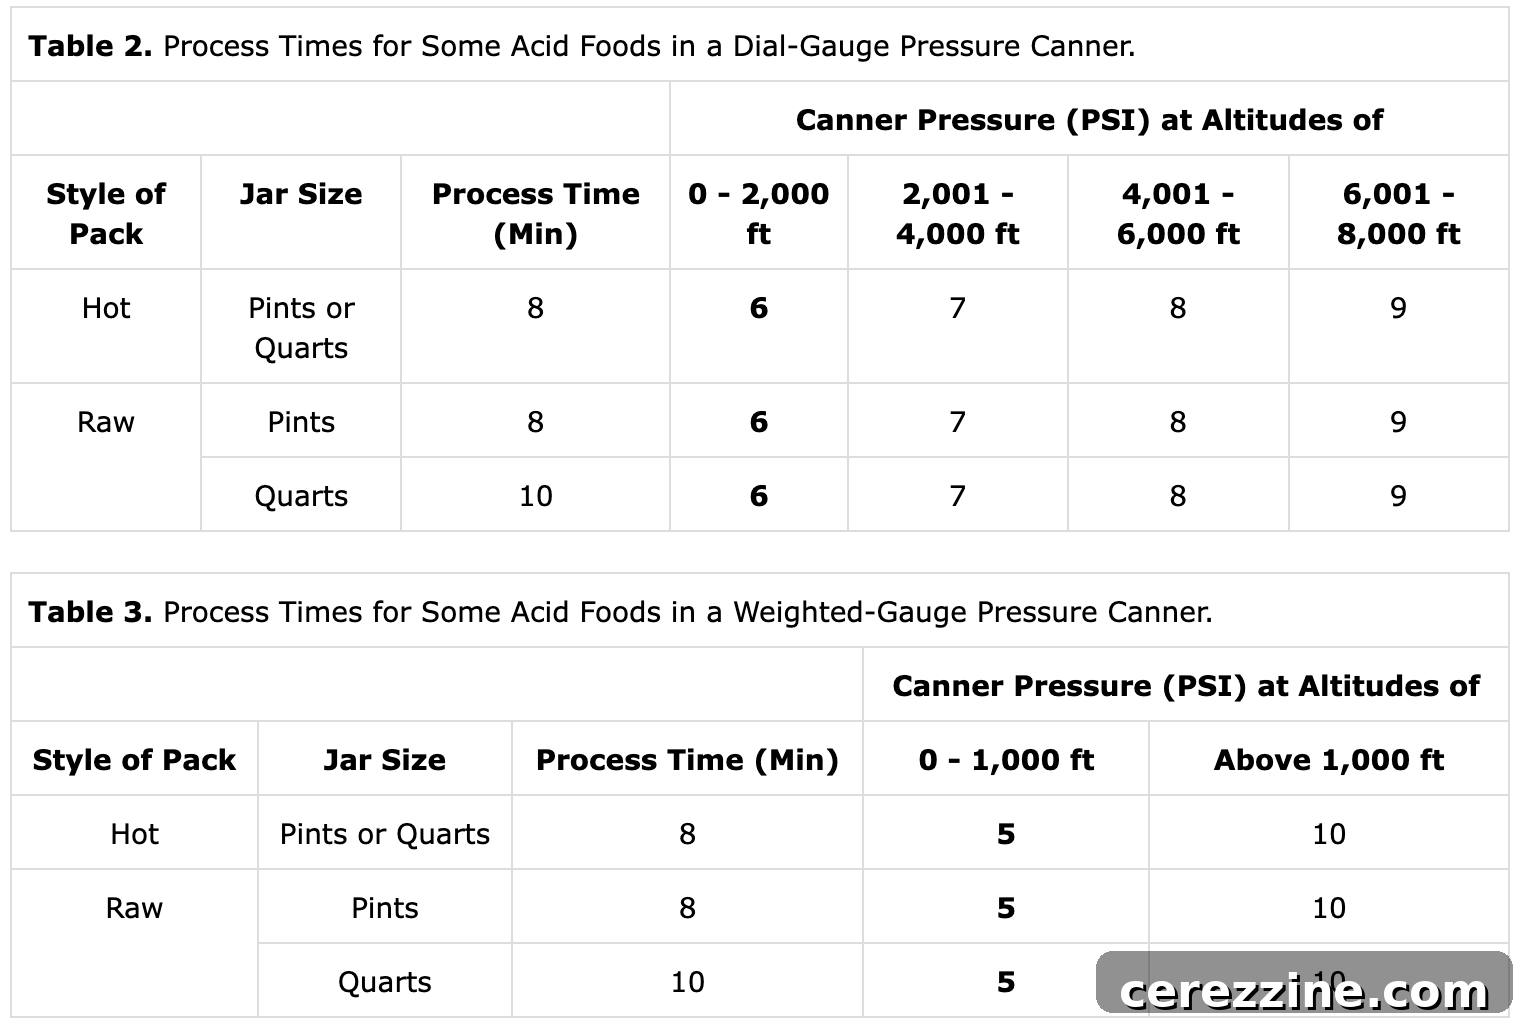
After processing in a pressure canner, allow the canner to cool completely and naturally depressurize before opening the lid. Rushing this step can lead to siphoning or unsealed jars.
Syrup for Canning Raspberries
Raspberries can be canned in plain water, fruit juice, or sugar syrup. Each option impacts the final flavor and sweetness of the preserved berries:
- Plain Water: Not recommended, as it tends to leach out the raspberries’ natural flavor, resulting in a bland product.
- Fruit Juice: Apple or cherry juice can be used as a natural sweetener. However, keep in mind that the berries will absorb some of the juice’s flavor, which may or may not be desired.
- Sugar Syrup: This is generally the best option for retaining flavor and enhancing texture. I personally use an extra light syrup for canning raspberries. This specific syrup strength perfectly complements their natural sweetness without making them overly sugary. It prevents the berries from losing their sweetness to the canning liquid while avoiding the cloying taste of a heavier syrup.
Extra Light Syrup Recipe
For a 9-pint canner load, you will need:
- 6 1/2 cups water
- 3/4 cup sugar
Combine water and sugar in a saucepan and bring to a boil, stirring until the sugar is fully dissolved. Keep hot until ready to use.
For different syrup strengths (light, medium, heavy, extra heavy), you can refer to comprehensive canning syrup tables that provide precise sugar-to-water ratios.
Average Rating: 4.67 out of 5 stars based on 3 votes.
Canning Raspberries
By Ashley Adamant
Canning plain raspberries in syrup is a versatile way to preserve raspberries on your pantry shelf.
Servings: 32 servings, Makes 9 Pints
Prep Time: 10 minutes
Cook Time: 15 minutes
Total Time: 25 minutes
Equipment
- Water Bath Canner
Ingredients
- 9 to 10 pints fresh raspberries, firm ripe
- 6 1/2 cups water
- 3/4 cup sugar
Instructions
- Prepare a water bath canner and bring it up to hot but not yet simmering for raw pack canning (140 degrees F or 60 degrees C). Clean and prepare canning jars, lids, and rings.
- Mix water and sugar and bring to a boil to create extra light syrup (or bring your preferred canning liquid to a boil).
- Pack canning jars with fresh raspberries, gently so that you don’t bruise the fruit, leaving 1/2 inch headspace.
- Pour boiling syrup over the fruit in the jars, remove any air bubbles, and adjust headspace to maintain 1/2 inch.
- Seal jars with 2 part canning lids and load into the prepared water bath canner.
- Bring the canner up to a hard boil. Start the timer once the canner is boiling, and process jars for 15 minutes (pints) or 20 minutes (quarts). See notes for altitude adjustments.
- When the canning time is complete, turn off the heat and allow the jars to sit in the canner for an additional 5 minutes before removing with a jar lifter and allowing them to cool completely on a towel on the counter.
- Check seals after 24 hours, and store any unsealed jars in the refrigerator for immediate use. Properly canned and sealed jars can be stored in the pantry and should maintain quality for 12-18 months.
Notes
- Canning Syrup – These instructions are for canning raspberries in extra light syrup, but they can be processed in a variety of liquids. For measurements for light, medium, and heavy syrup, see a comprehensive canning syrup table for sugar amounts. You can also use plain water or fruit juice (apple, berry, cherry, etc).
- Raw Pack v. Hot Pack – These instructions are for raw pack canning. For quality, raw pack is strongly suggested when working with raspberries. However, if you prefer hot pack, simmer the raspberries in your canning syrup for 30 seconds before removing them with a slotted spoon and packing into canning jars. Hot pack canning times are 15 minutes for both pints and quarts (adjust for altitude).
- Altitude Adjustments – Canning times are 15 minutes for pints and half-pints, and 20 minutes for quarts below 1,000 feet in elevation.
- For 1,000 to 3,000 feet: Increase to 20 minutes for pints and 25 minutes for quarts.
- For 3,001 to 6,000 feet: Increase canning time to 20 minutes for pints and 30 minutes for quarts.
- For 6,001 feet and above: Increase canning time to 25 minutes for pints and 35 minutes for quarts.
Nutrition
Serving: 0.5 cup, Calories: 87kcal, Carbohydrates: 21g, Protein: 2g, Fat: 1g, Saturated Fat: 0.03g, Polyunsaturated Fat: 0.5g, Monounsaturated Fat: 0.1g, Sodium: 4mg, Potassium: 201mg, Fiber: 9g, Sugar: 11g, Vitamin A: 44IU, Vitamin C: 35mg, Calcium: 35mg, Iron: 1mg
Nutrition information is automatically calculated, so should only be used as an approximation.
More Raspberry Canning Recipes and Beyond
Looking to explore more ways to preserve your raspberry bounty? Check out these delicious recipes:
- Old Fashioned Raspberry Jelly (no pectin added)
- Classic Raspberry Jam (no pectin added)
- Mixed Berry Jam ~ Coming Soon
- Mixed Berry Jelly ~ Coming Soon
And if you’re putting up more than just raspberries this season, here are some other popular summer canning recipes to help you fill your pantry with homemade goodness:
- Canning Peaches
- Canning Corn
- Canning Tomatoes (Whole or Halves)
- Canning Peas
You can find all my favorite canning recipes, regardless of the season, in my comprehensive guide.