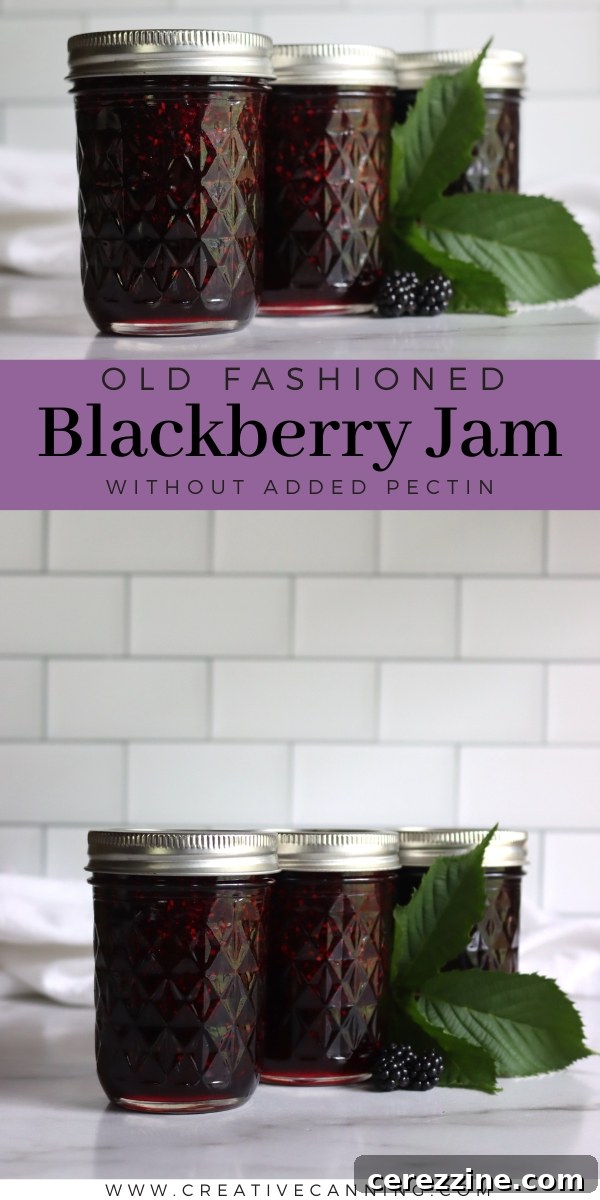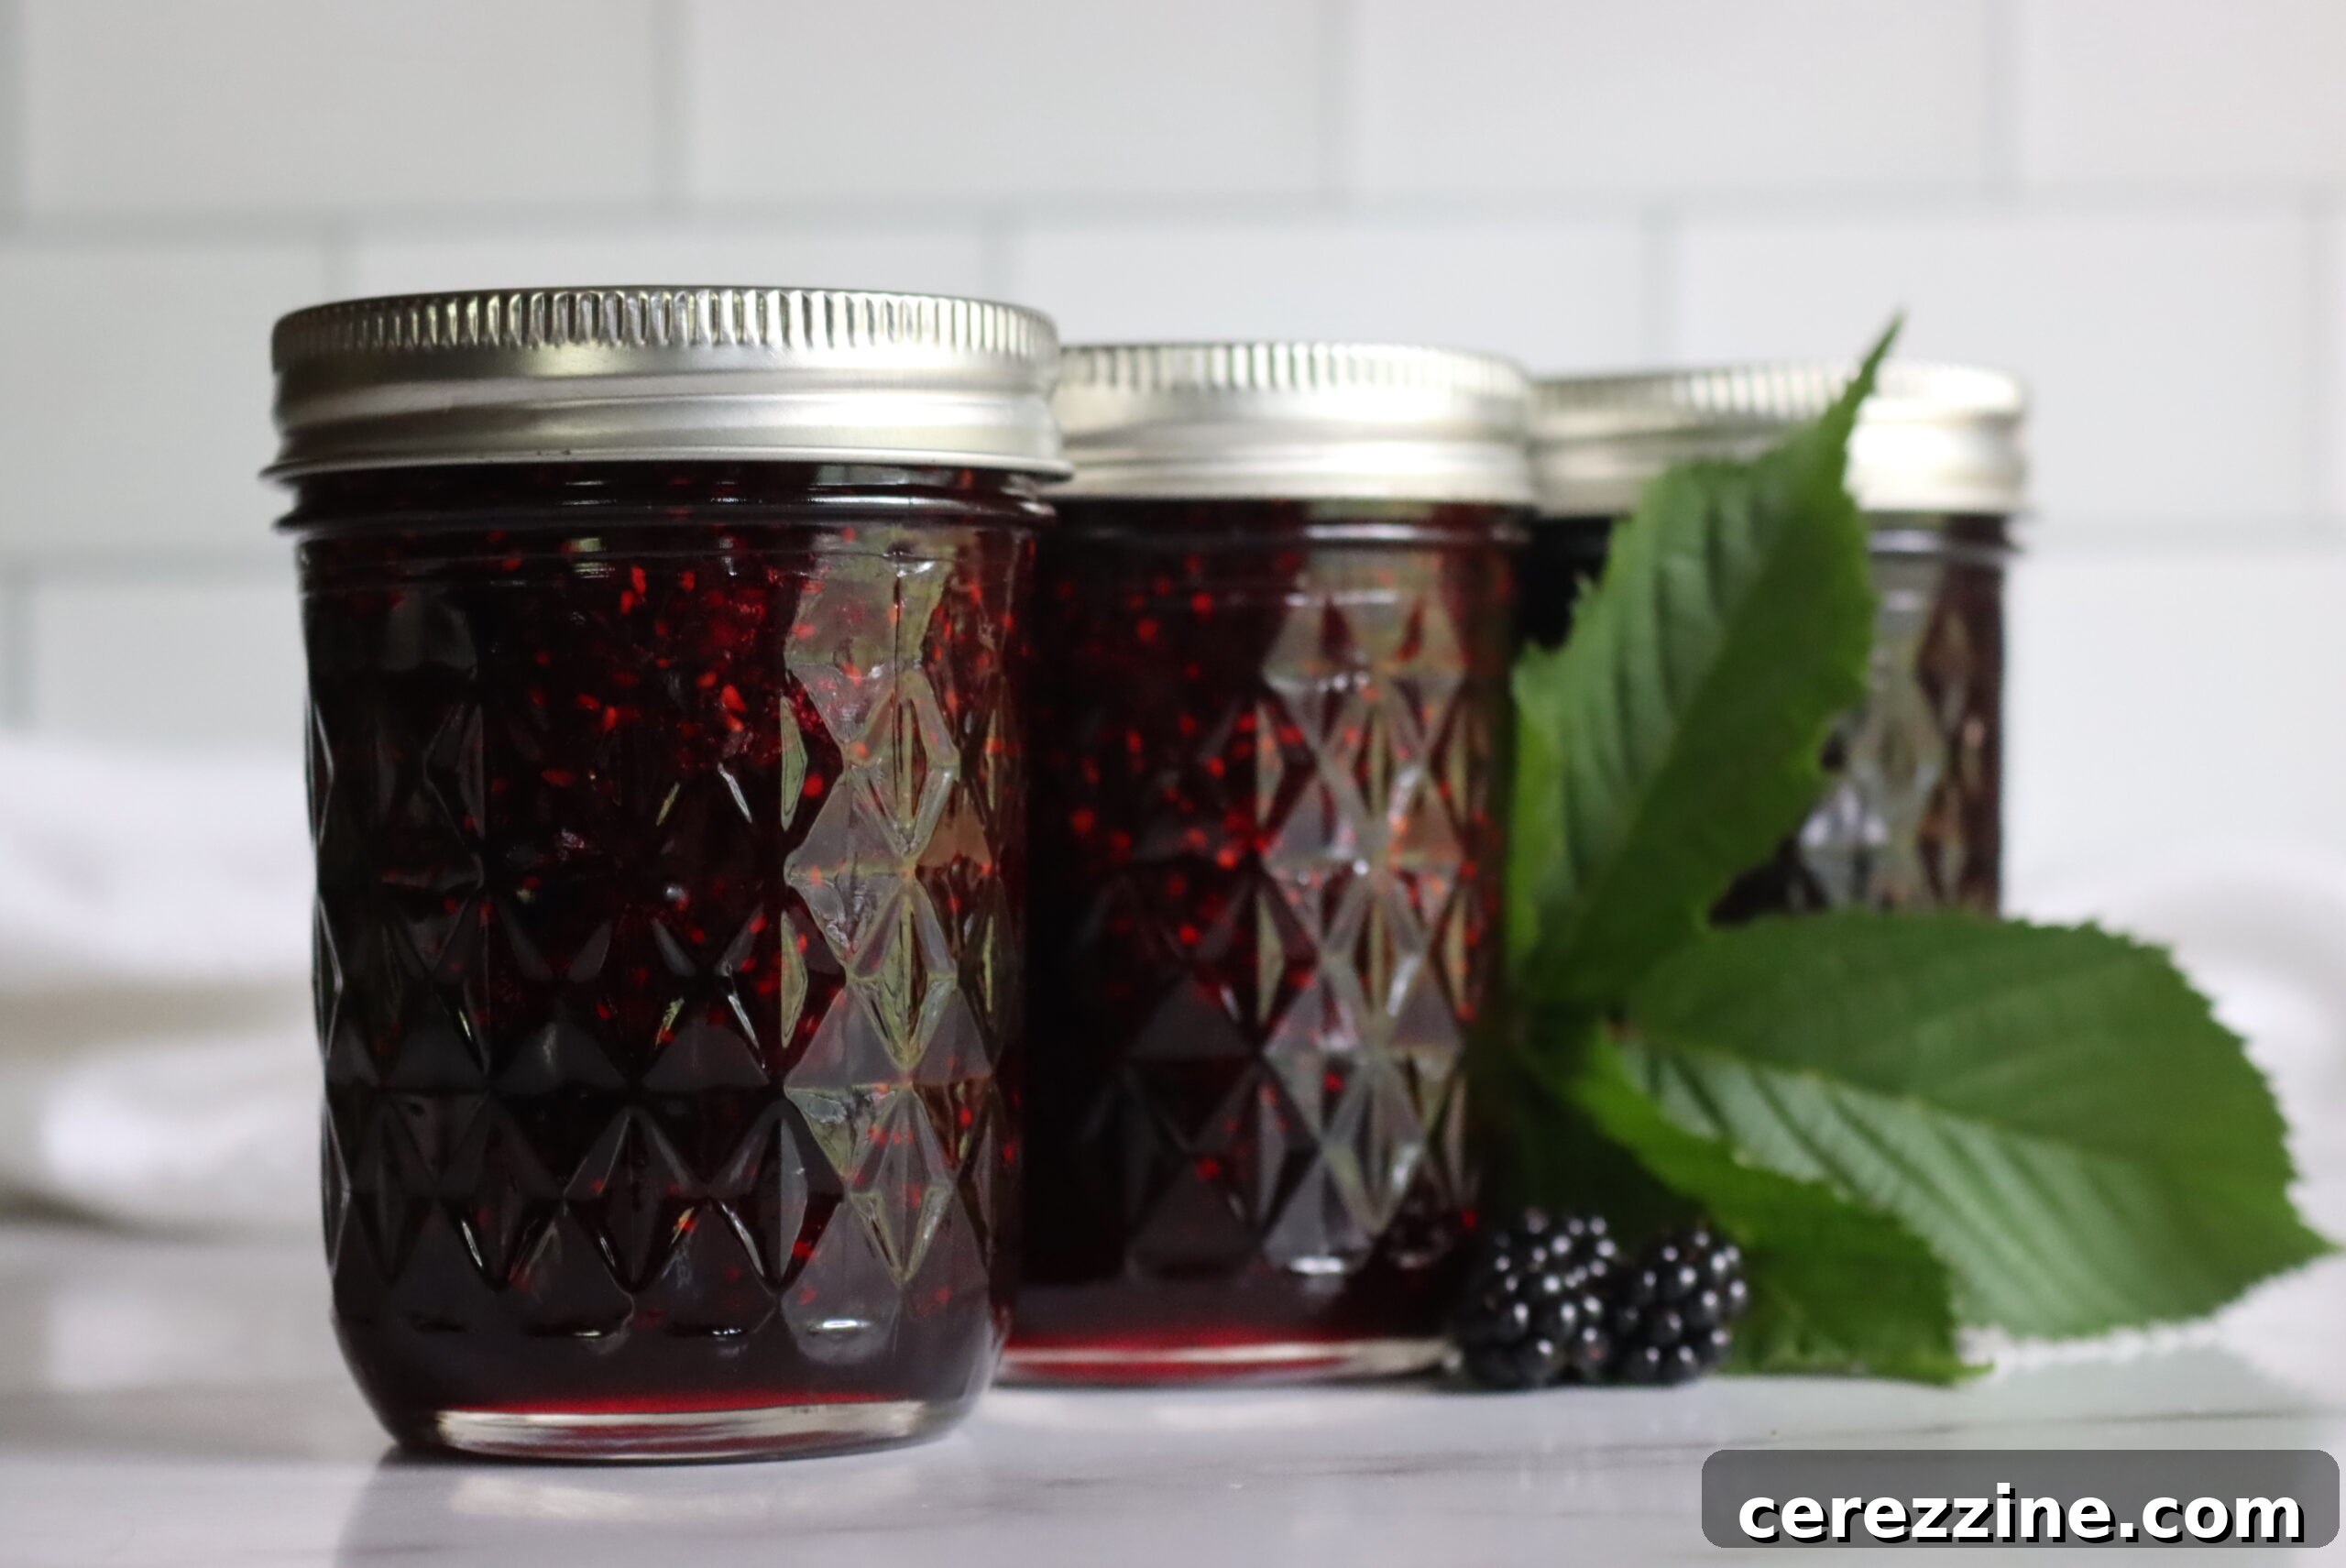
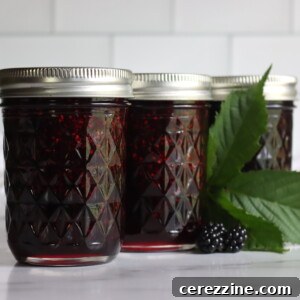
Welcome to the delightful world of homemade jams, where the vibrant flavors of summer are captured in every luscious spoonful. Among the many seasonal fruit preserves, **Old Fashioned Blackberry Jam without Pectin** stands out as a true classic. This traditional recipe allows the natural beauty and rich taste of blackberries to shine, creating a truly unforgettable spread that requires no added pectin. Forget store-bought versions; making your own blackberry jam is a rewarding experience that yields a superior product, brimming with authentic fruit flavor and a satisfying texture.
The Abundance of Blackberries: A Delicious Dilemma
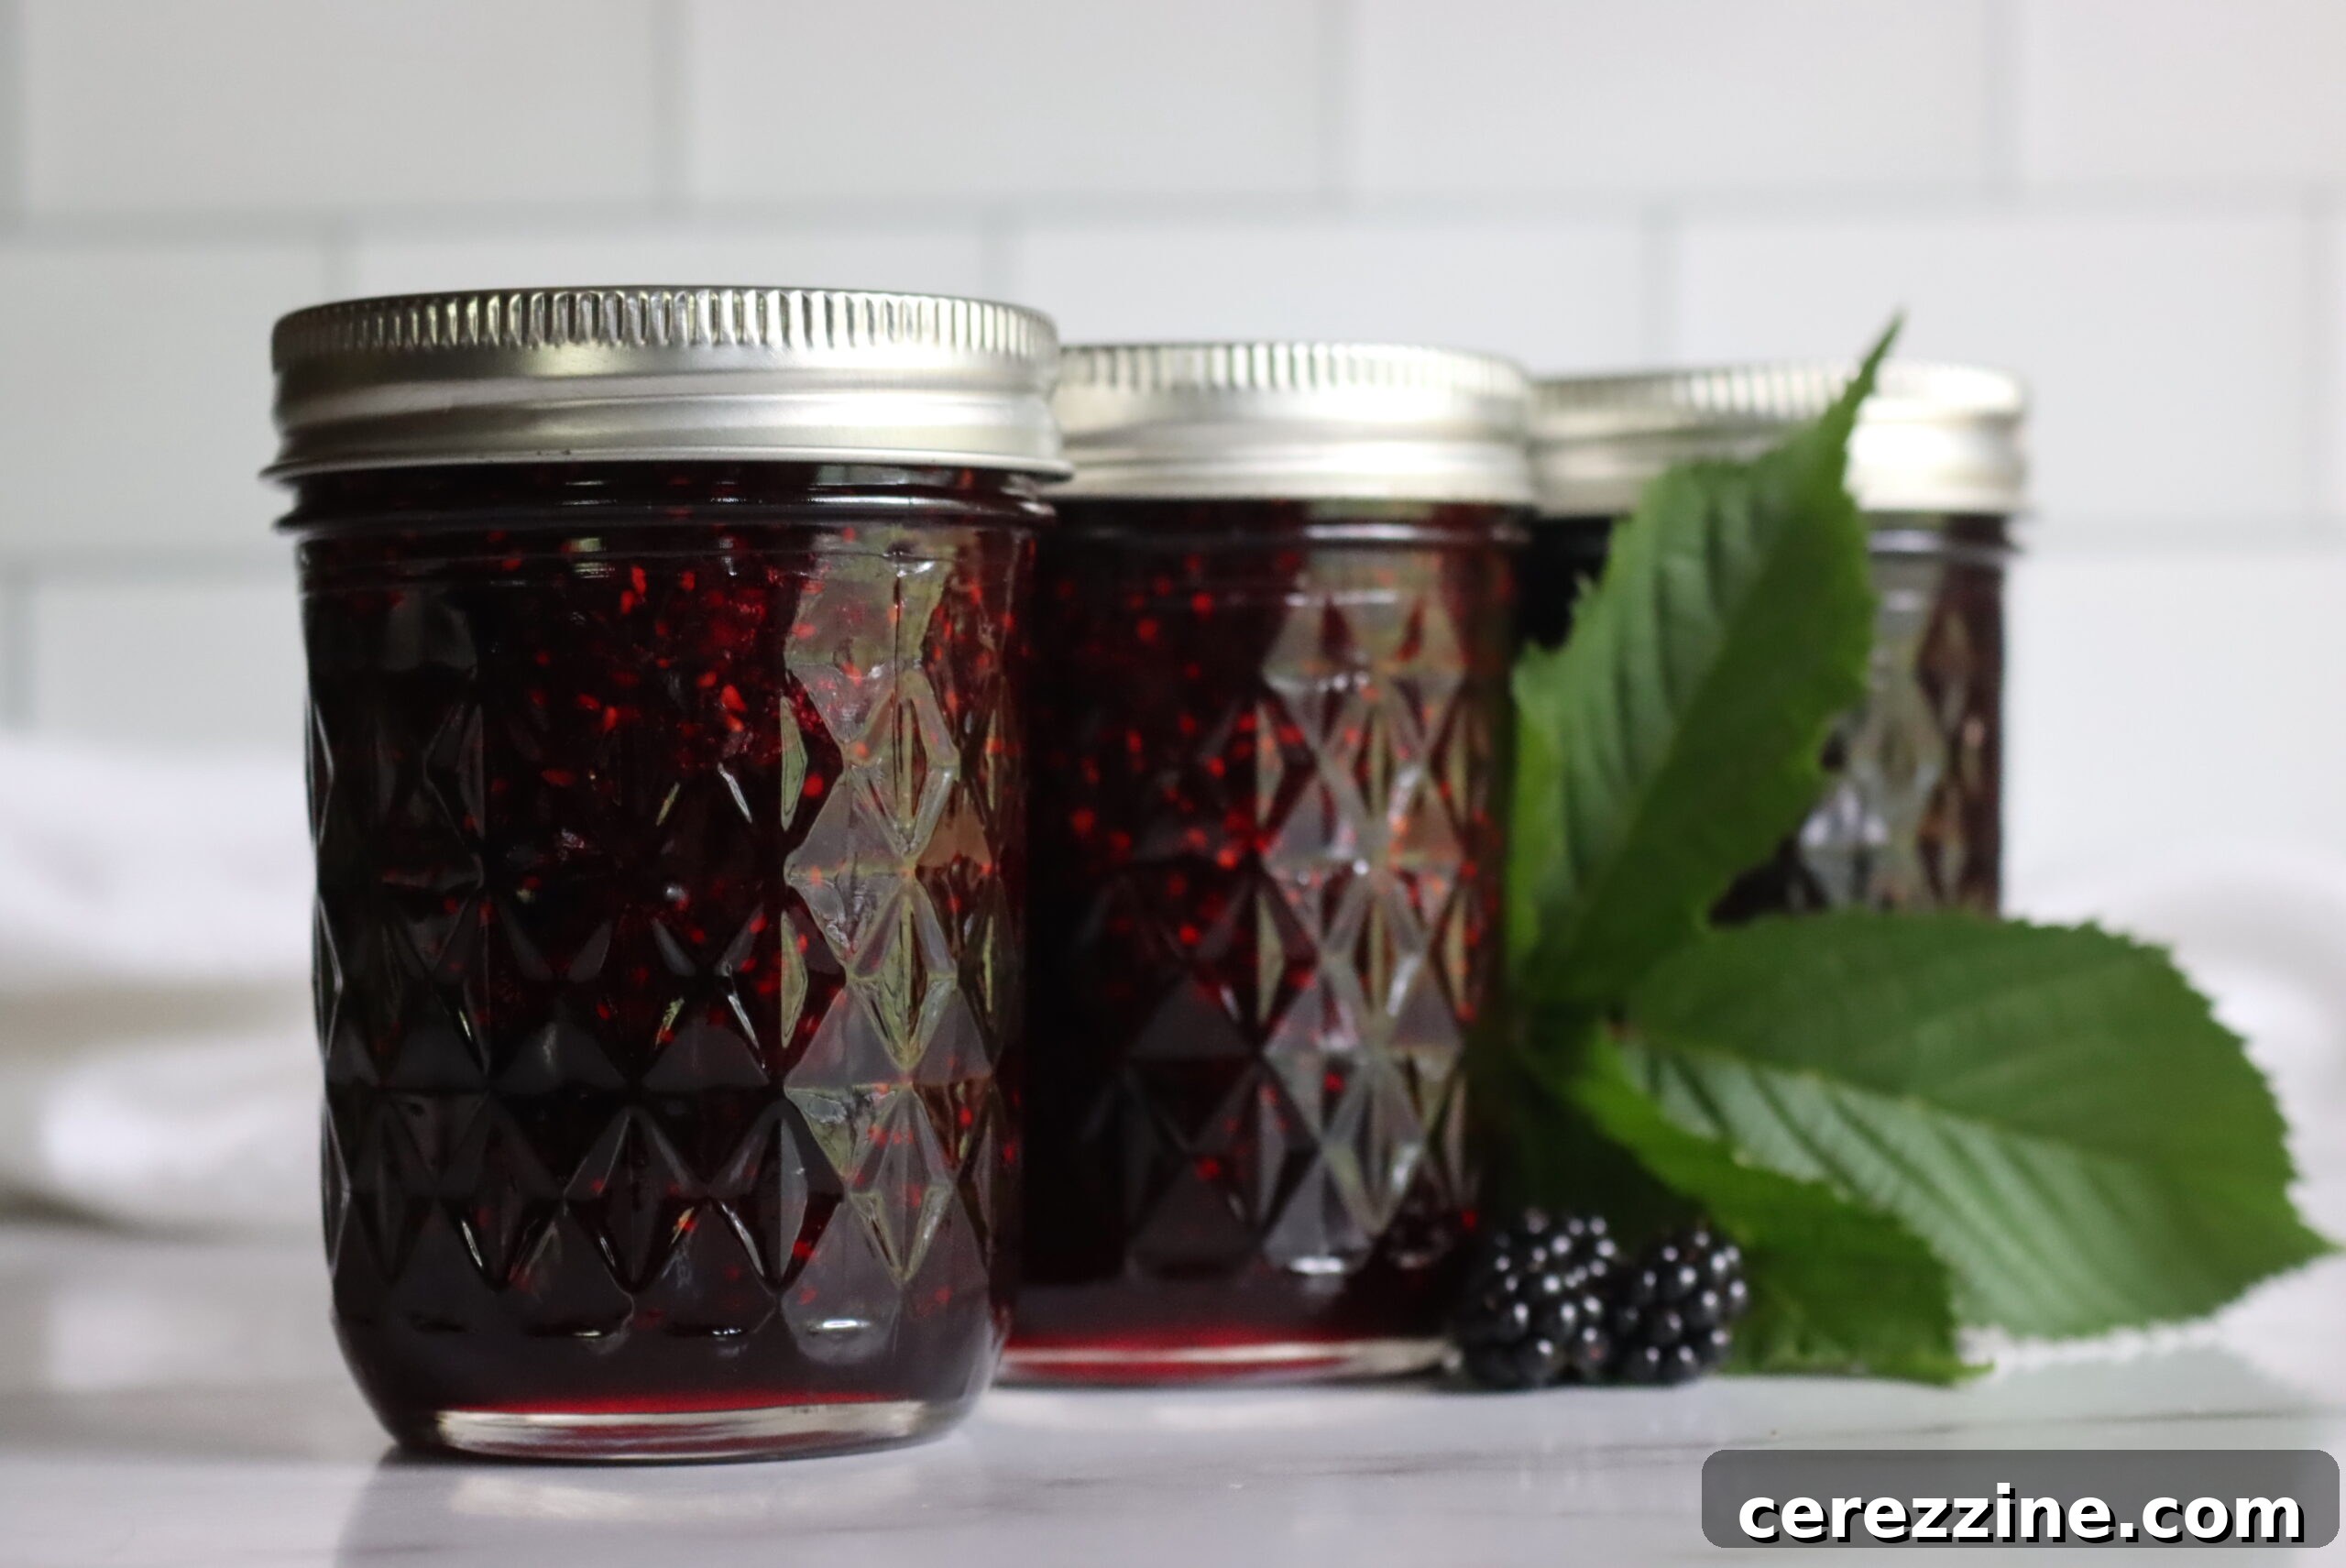
Summer and early autumn often bring a bountiful harvest of blackberries, whether from your own garden, a local farm, or wild foraging expeditions. When these succulent berries arrive by the bucketload, it presents a wonderful challenge: how to preserve them all before they spoil? While freezing is a convenient option for pies and smoothies, freezer space can quickly become a precious commodity. This is where the art of jam-making truly shines, offering an efficient and incredibly delicious way to extend the blackberry season well into the colder months.
For many, homemade blackberry jam evokes cherished memories and the simple joys of a bygone era. It’s more than just a preserve; it’s a taste of nostalgia. Our family, for instance, finds immense comfort in spreading this rich, flavorful jam on warm biscuits throughout the winter. It’s a tradition that brings everyone together and a flavor that never loses its appeal. This recipe, focusing on an authentic, **old fashioned blackberry jam** approach without relying on commercial pectin, has become a cherished staple in our home, a testament to the timeless appeal of simple, wholesome ingredients.
To Seed or Not to Seed: Your Blackberry Jam Preference
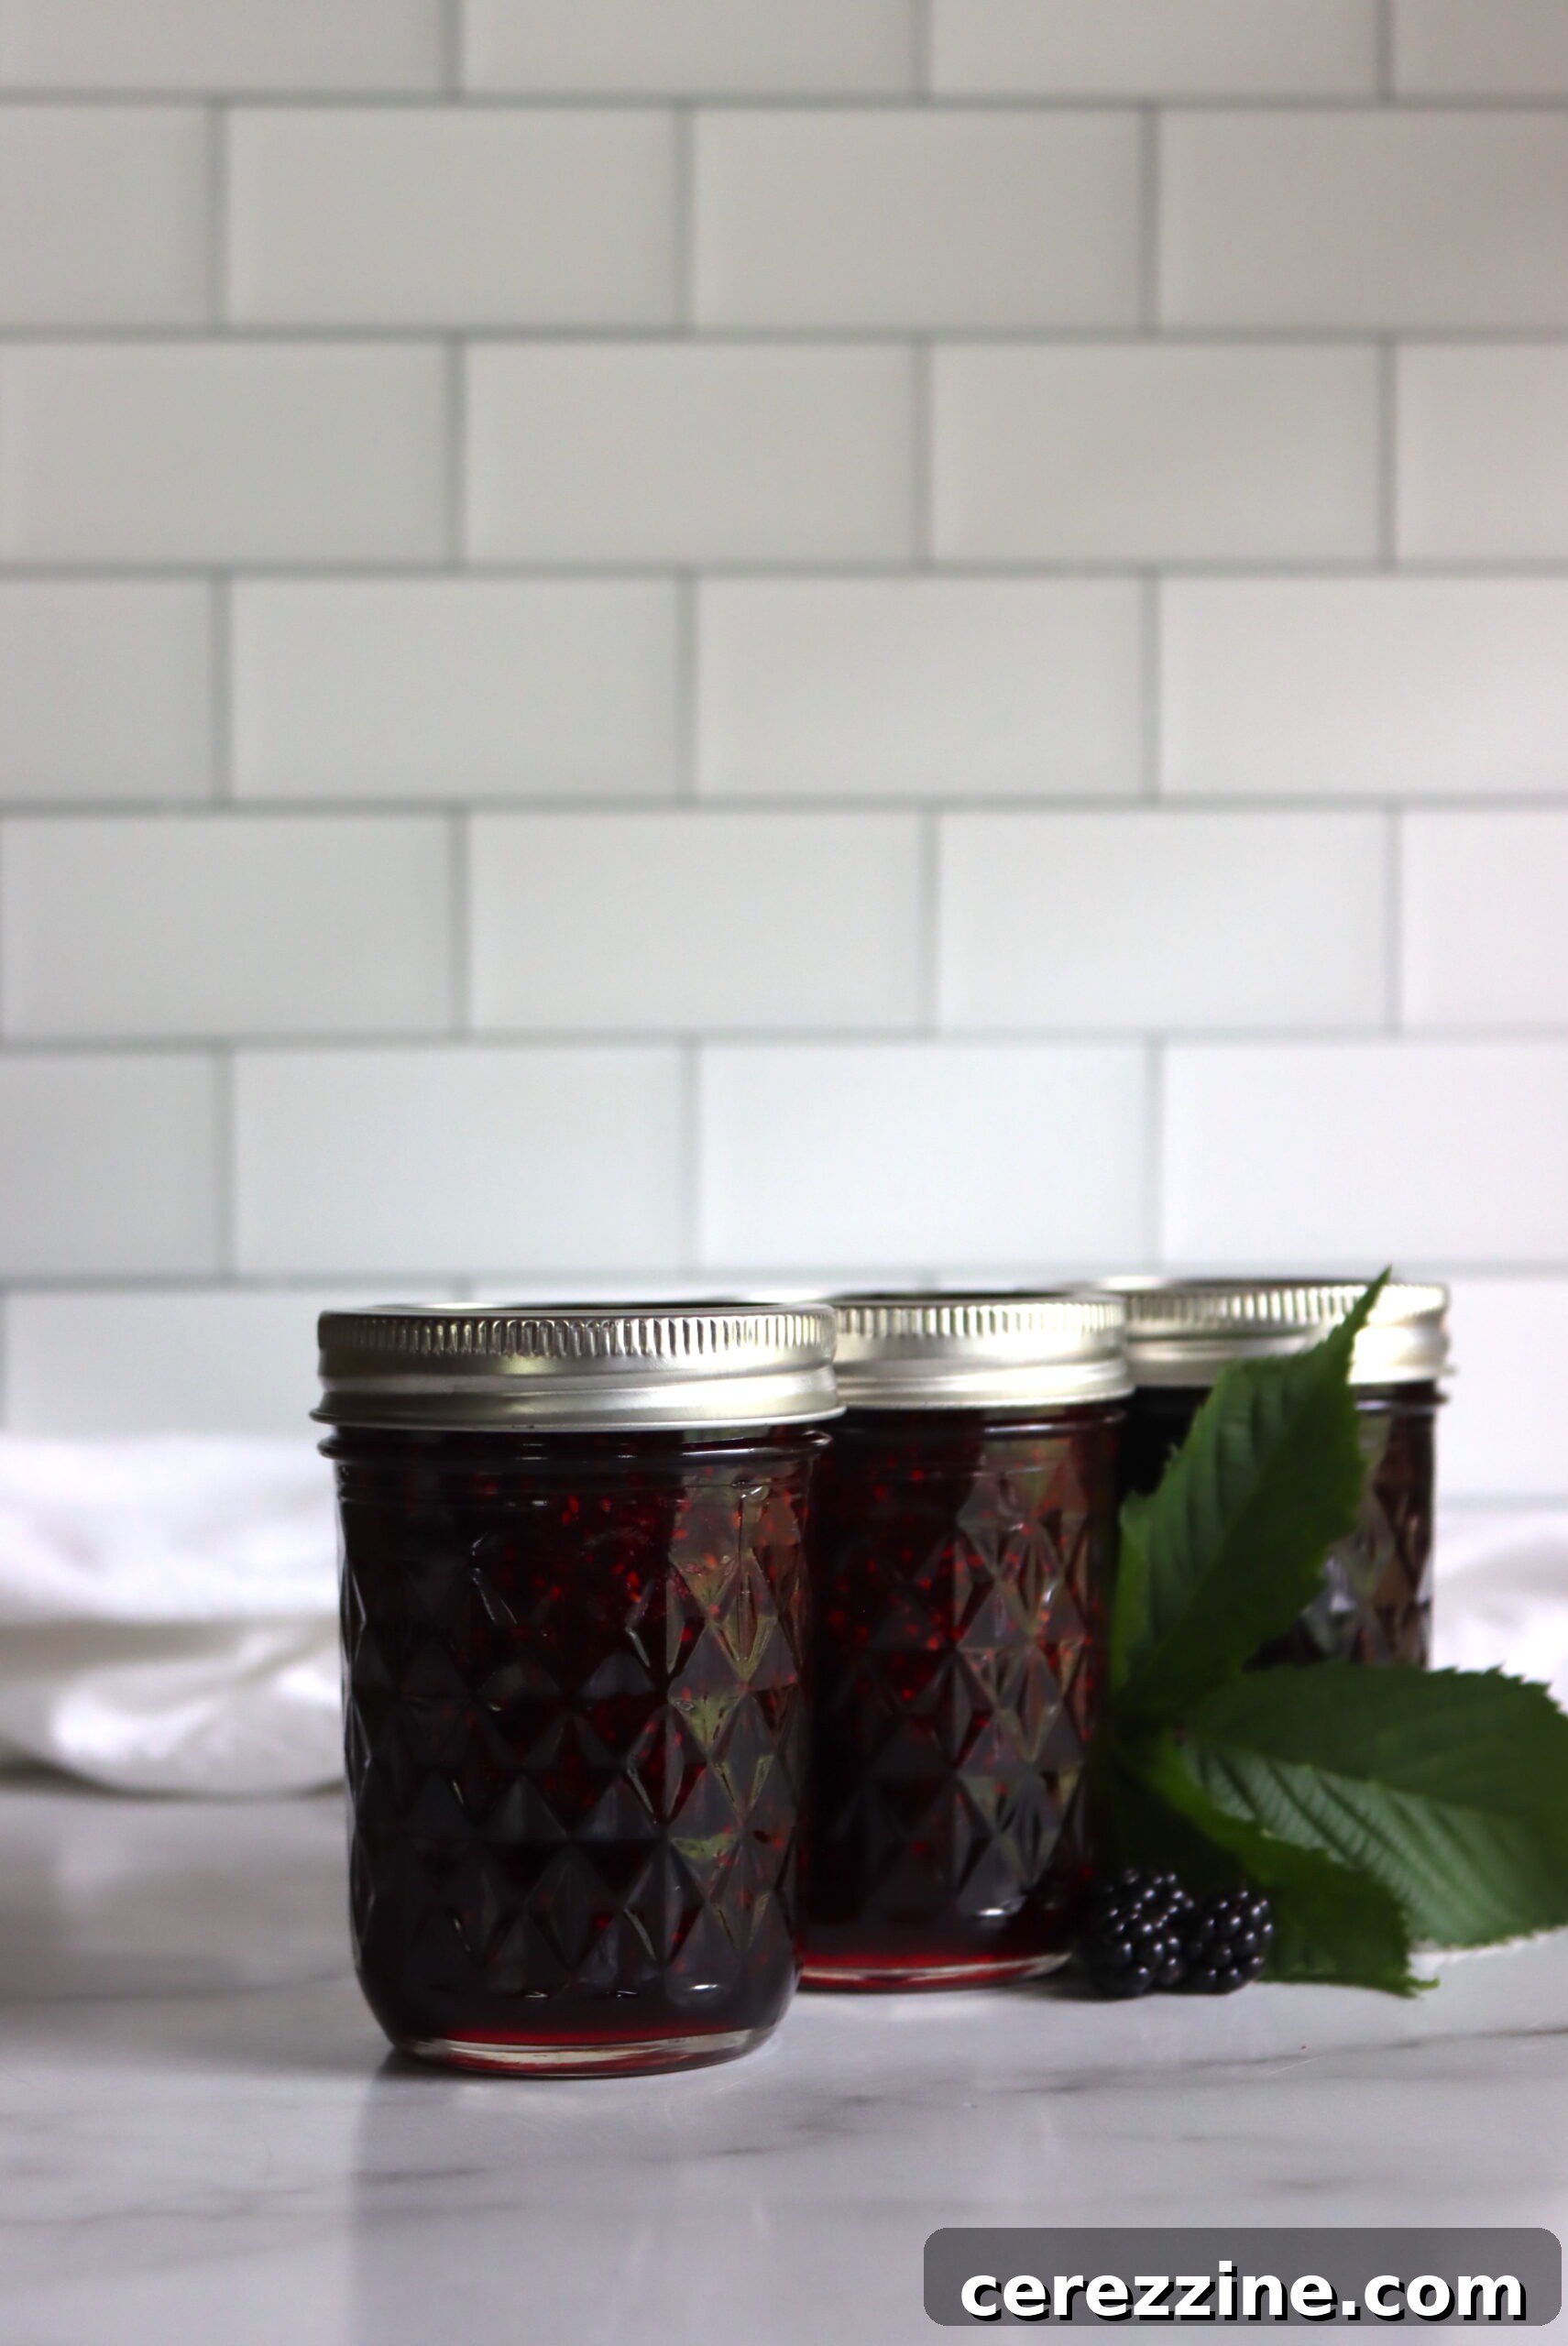
This traditional recipe embraces the natural character of blackberries, including their seeds. Many jam enthusiasts appreciate the delightful texture and rustic charm that the seeds provide. However, if you prefer a smoother, seedless jam experience, the seeds can be easily removed. This can be achieved by pressing the cooked berries through a fine mesh strainer, a food mill, or a chinois sieve. For detailed instructions on creating a perfectly smooth preserve, you might refer to a seedless blackberry jam recipe. Alternatively, if you desire a crystal-clear spread, consider making a blackberry jelly, which involves removing both the seeds and pulp. But for those who cherish the full, robust flavor and texture of the berry, sticking with this old-fashioned, seeded jam is the way to go! And if you find yourself with an abundance of blackberries, don’t stop at jam; consider making a few jars of home canned blackberry pie filling for future dessert endeavors.
Essential Ingredients for Perfect Blackberry Jam
Creating exceptional blackberry jam at home is surprisingly simple, requiring just a few key ingredients. The beauty of this recipe lies in its minimalist approach, allowing the natural pectin within the fruit and a balanced amount of sugar to create a beautifully set jam without any artificial additives. For a yield of approximately two half-pint (8 oz.) jars of delicious jam, you will need:
- 4 cups fresh blackberries: Measured whole and unmashed.
- 2 cups granulated sugar: The perfect ratio to enhance flavor and aid in setting.
- 2 Tablespoons lemon juice: Freshly squeezed or bottled, crucial for both flavor and canning safety.
The quality of your blackberries profoundly impacts the final jam. If possible, seek out wild blackberries; they are renowned for their intense flavor and higher natural pectin content, which contributes to a firmer set. When purchasing from a store, select berries that are ripe but not overly soft or mushy. Incorporating a few slightly underripe berries can be beneficial, as they contain more pectin, naturally boosting your jam’s setting power. While many recipes call for added pectin, this method leverages the fruit’s inherent properties to achieve a wonderfully consistent texture. The lemon juice serves a dual purpose: it brightens the flavor of the berries and, more importantly, provides the necessary acidity for proper gel formation and ensures a safe pH level for water bath canning.
When preparing this recipe, you may certainly double the quantities if you have a larger harvest. However, it’s generally advisable not to exceed 8 cups of blackberries in a single batch. Overloading your pot can make it challenging for the jam to reach the proper temperature and consistency, potentially preventing it from setting correctly. Stick to these ratios for the best results, ensuring a glorious set every time.
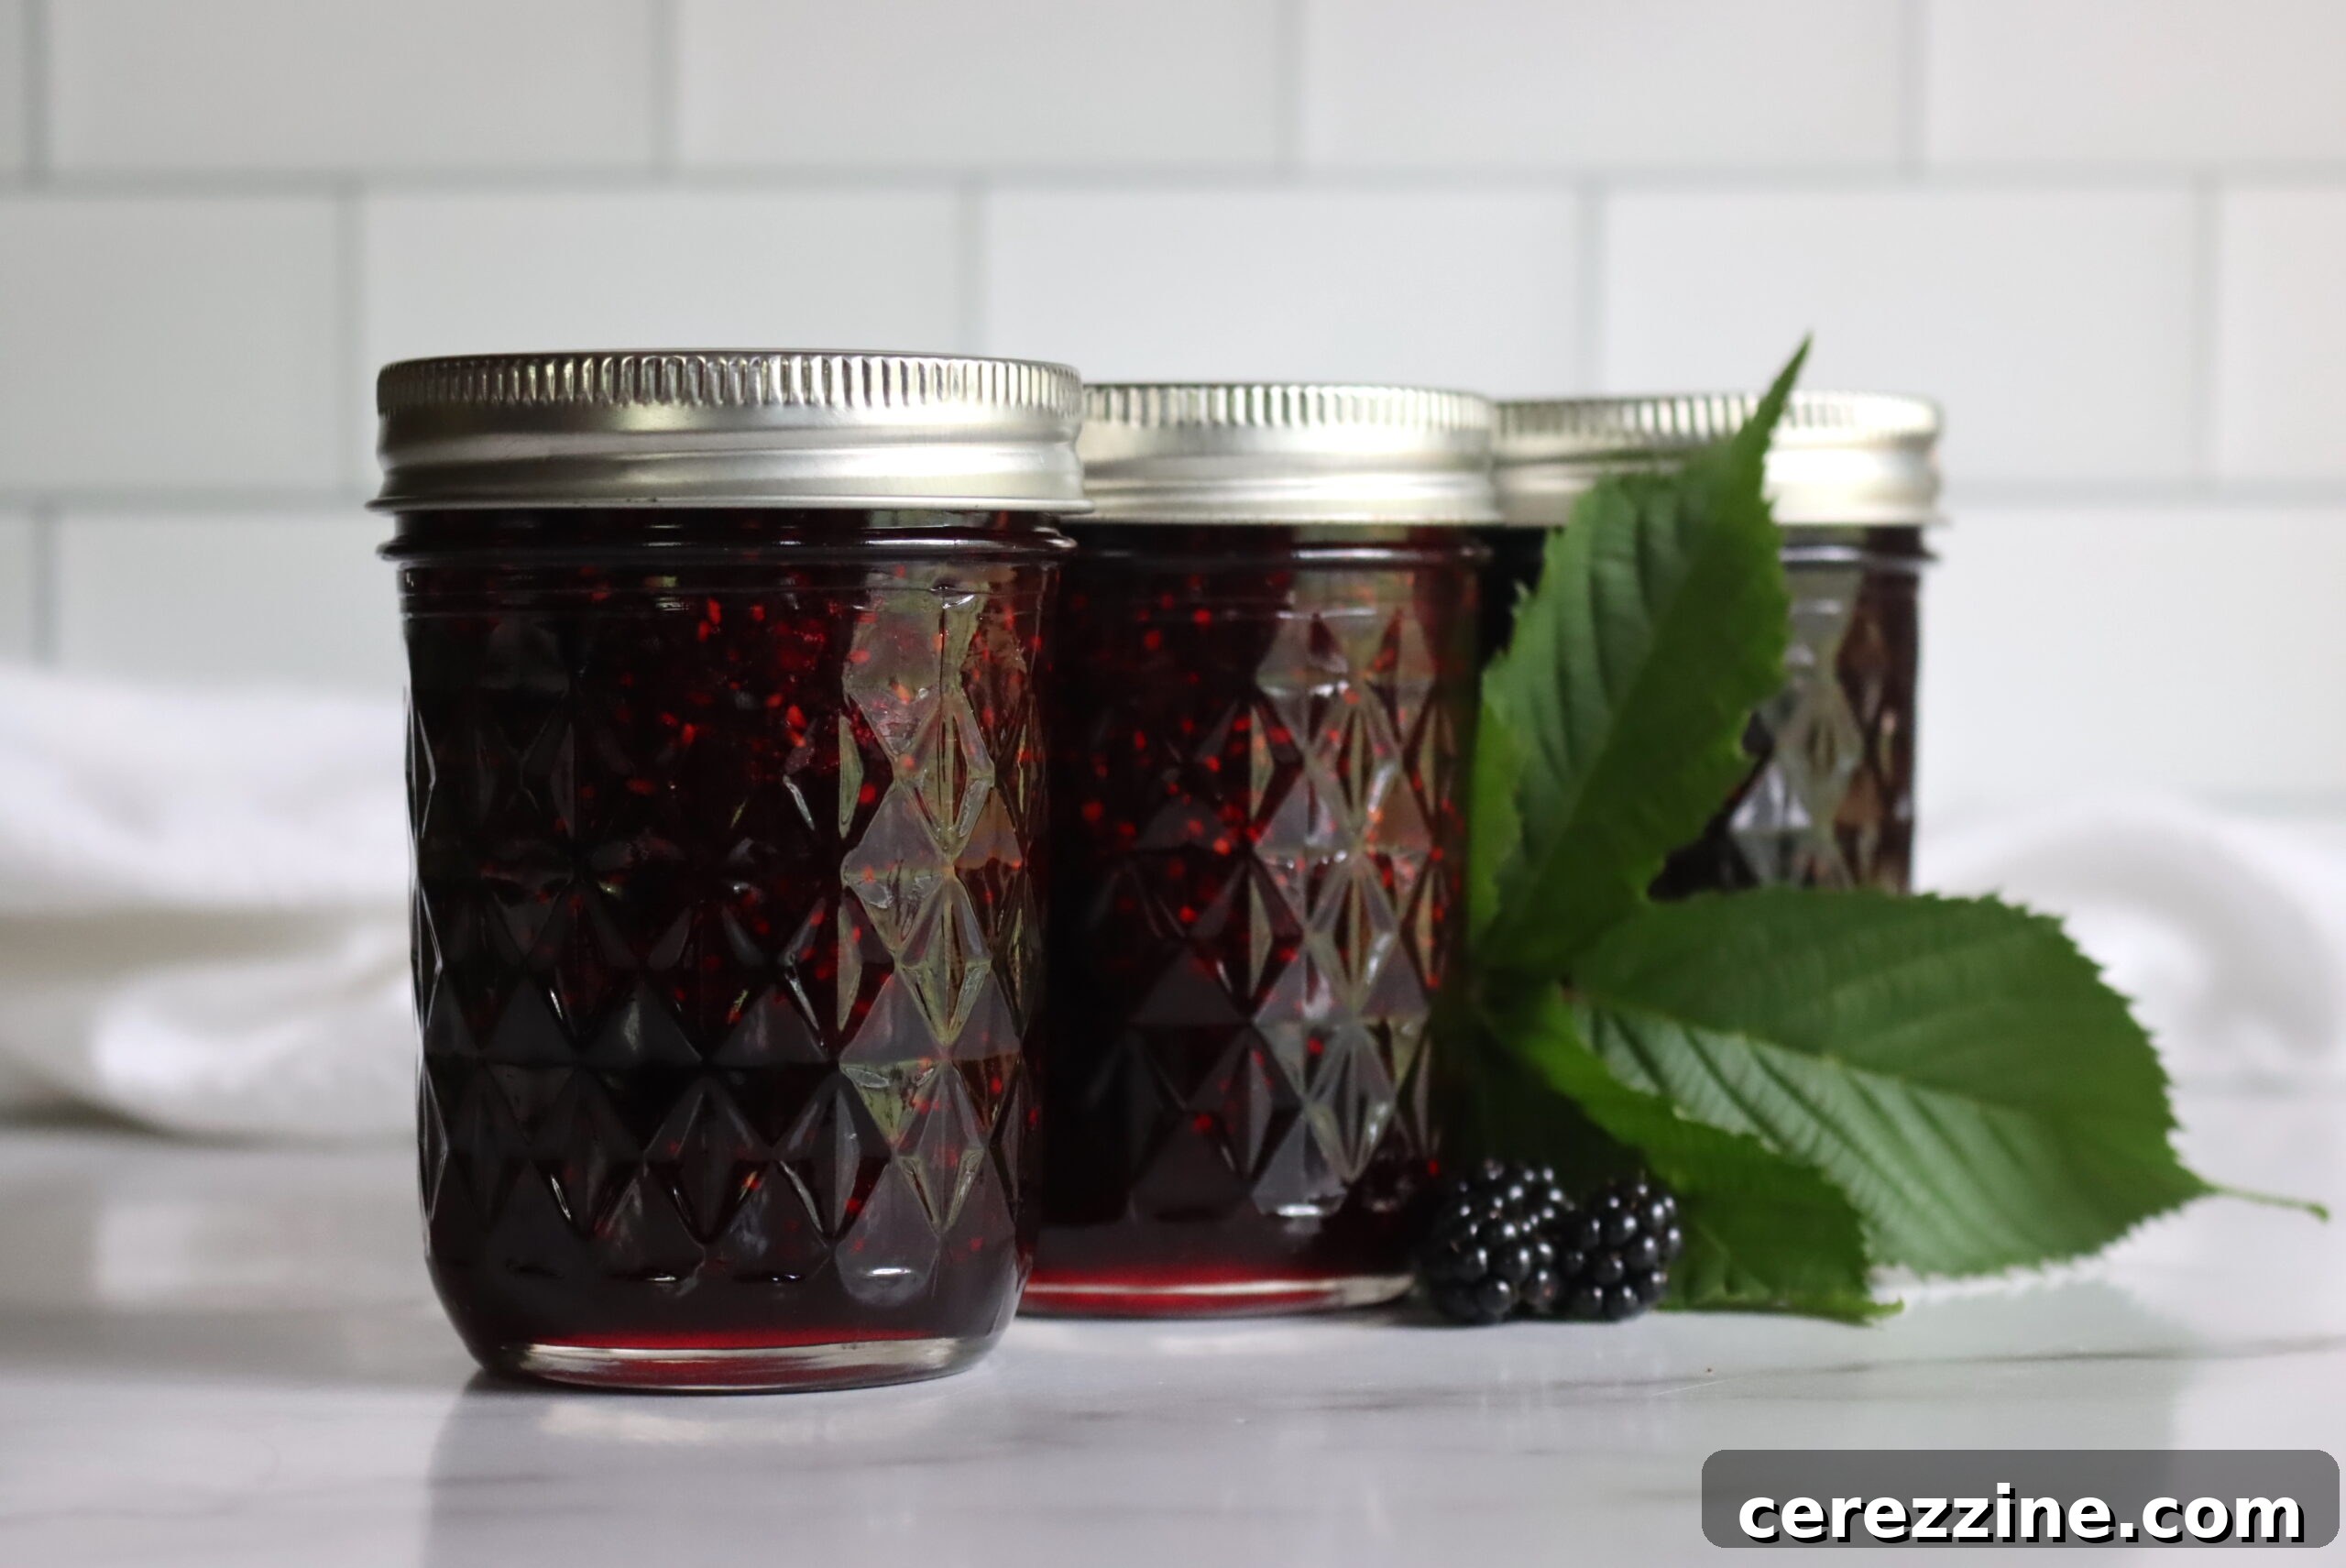
Crafting Your Homemade Blackberry Jam: A Step-by-Step Guide
Embarking on the journey of making blackberry jam is a simple pleasure. Follow these steps to transform your fresh berries into a delightful preserve:
- Berry Preparation: Begin by carefully sorting through your freshly picked or purchased blackberries. Remove any stems, leaves, or other debris. Give the berries a gentle rinse under cool water and allow them to drain thoroughly.
- Initial Mash and Acidity Boost: Place the 4 cups of cleaned blackberries into a medium or large heavy-bottomed saucepan or a dedicated jam pot. Using a potato masher or a large sturdy spoon, gently mash the berries. This initial mashing helps to break down the fruit, releasing its juices. Stir in the 2 tablespoons of lemon juice. At this stage, do not add the sugar.
- Slow Cooking to Release Juices: Place the saucepan over medium heat. Begin to slowly cook the blackberries and lemon juice, stirring frequently. This gentle heat helps the berries release more of their natural juices without scorching. Continue cooking for about 5-8 minutes until you have a good amount of liquid in the pot. If you prefer a smoother jam, you can mash the berries further during this cooking phase.
- Introducing the Sweetness: Once the berries have softened and a significant amount of juice has been released, it’s time to add the sugar. Stir in the 2 cups of granulated sugar, ensuring it dissolves completely into the hot berry mixture.
- Bringing to a Boil: Increase the burner temperature to medium-high or even high, stirring continuously. Your goal is to bring the jam mixture to a full, rolling boil. Constant stirring is crucial here to prevent the sugar from sticking to the bottom of the pot and scorching.
- Boiling for the Set: Once the jam reaches a vigorous boil that cannot be stirred down, reduce the heat slightly to medium-high to maintain a strong, steady boil. Continue boiling the jam for approximately 15-20 minutes. During this time, the jam will thicken as the water evaporates and the natural pectin activates.
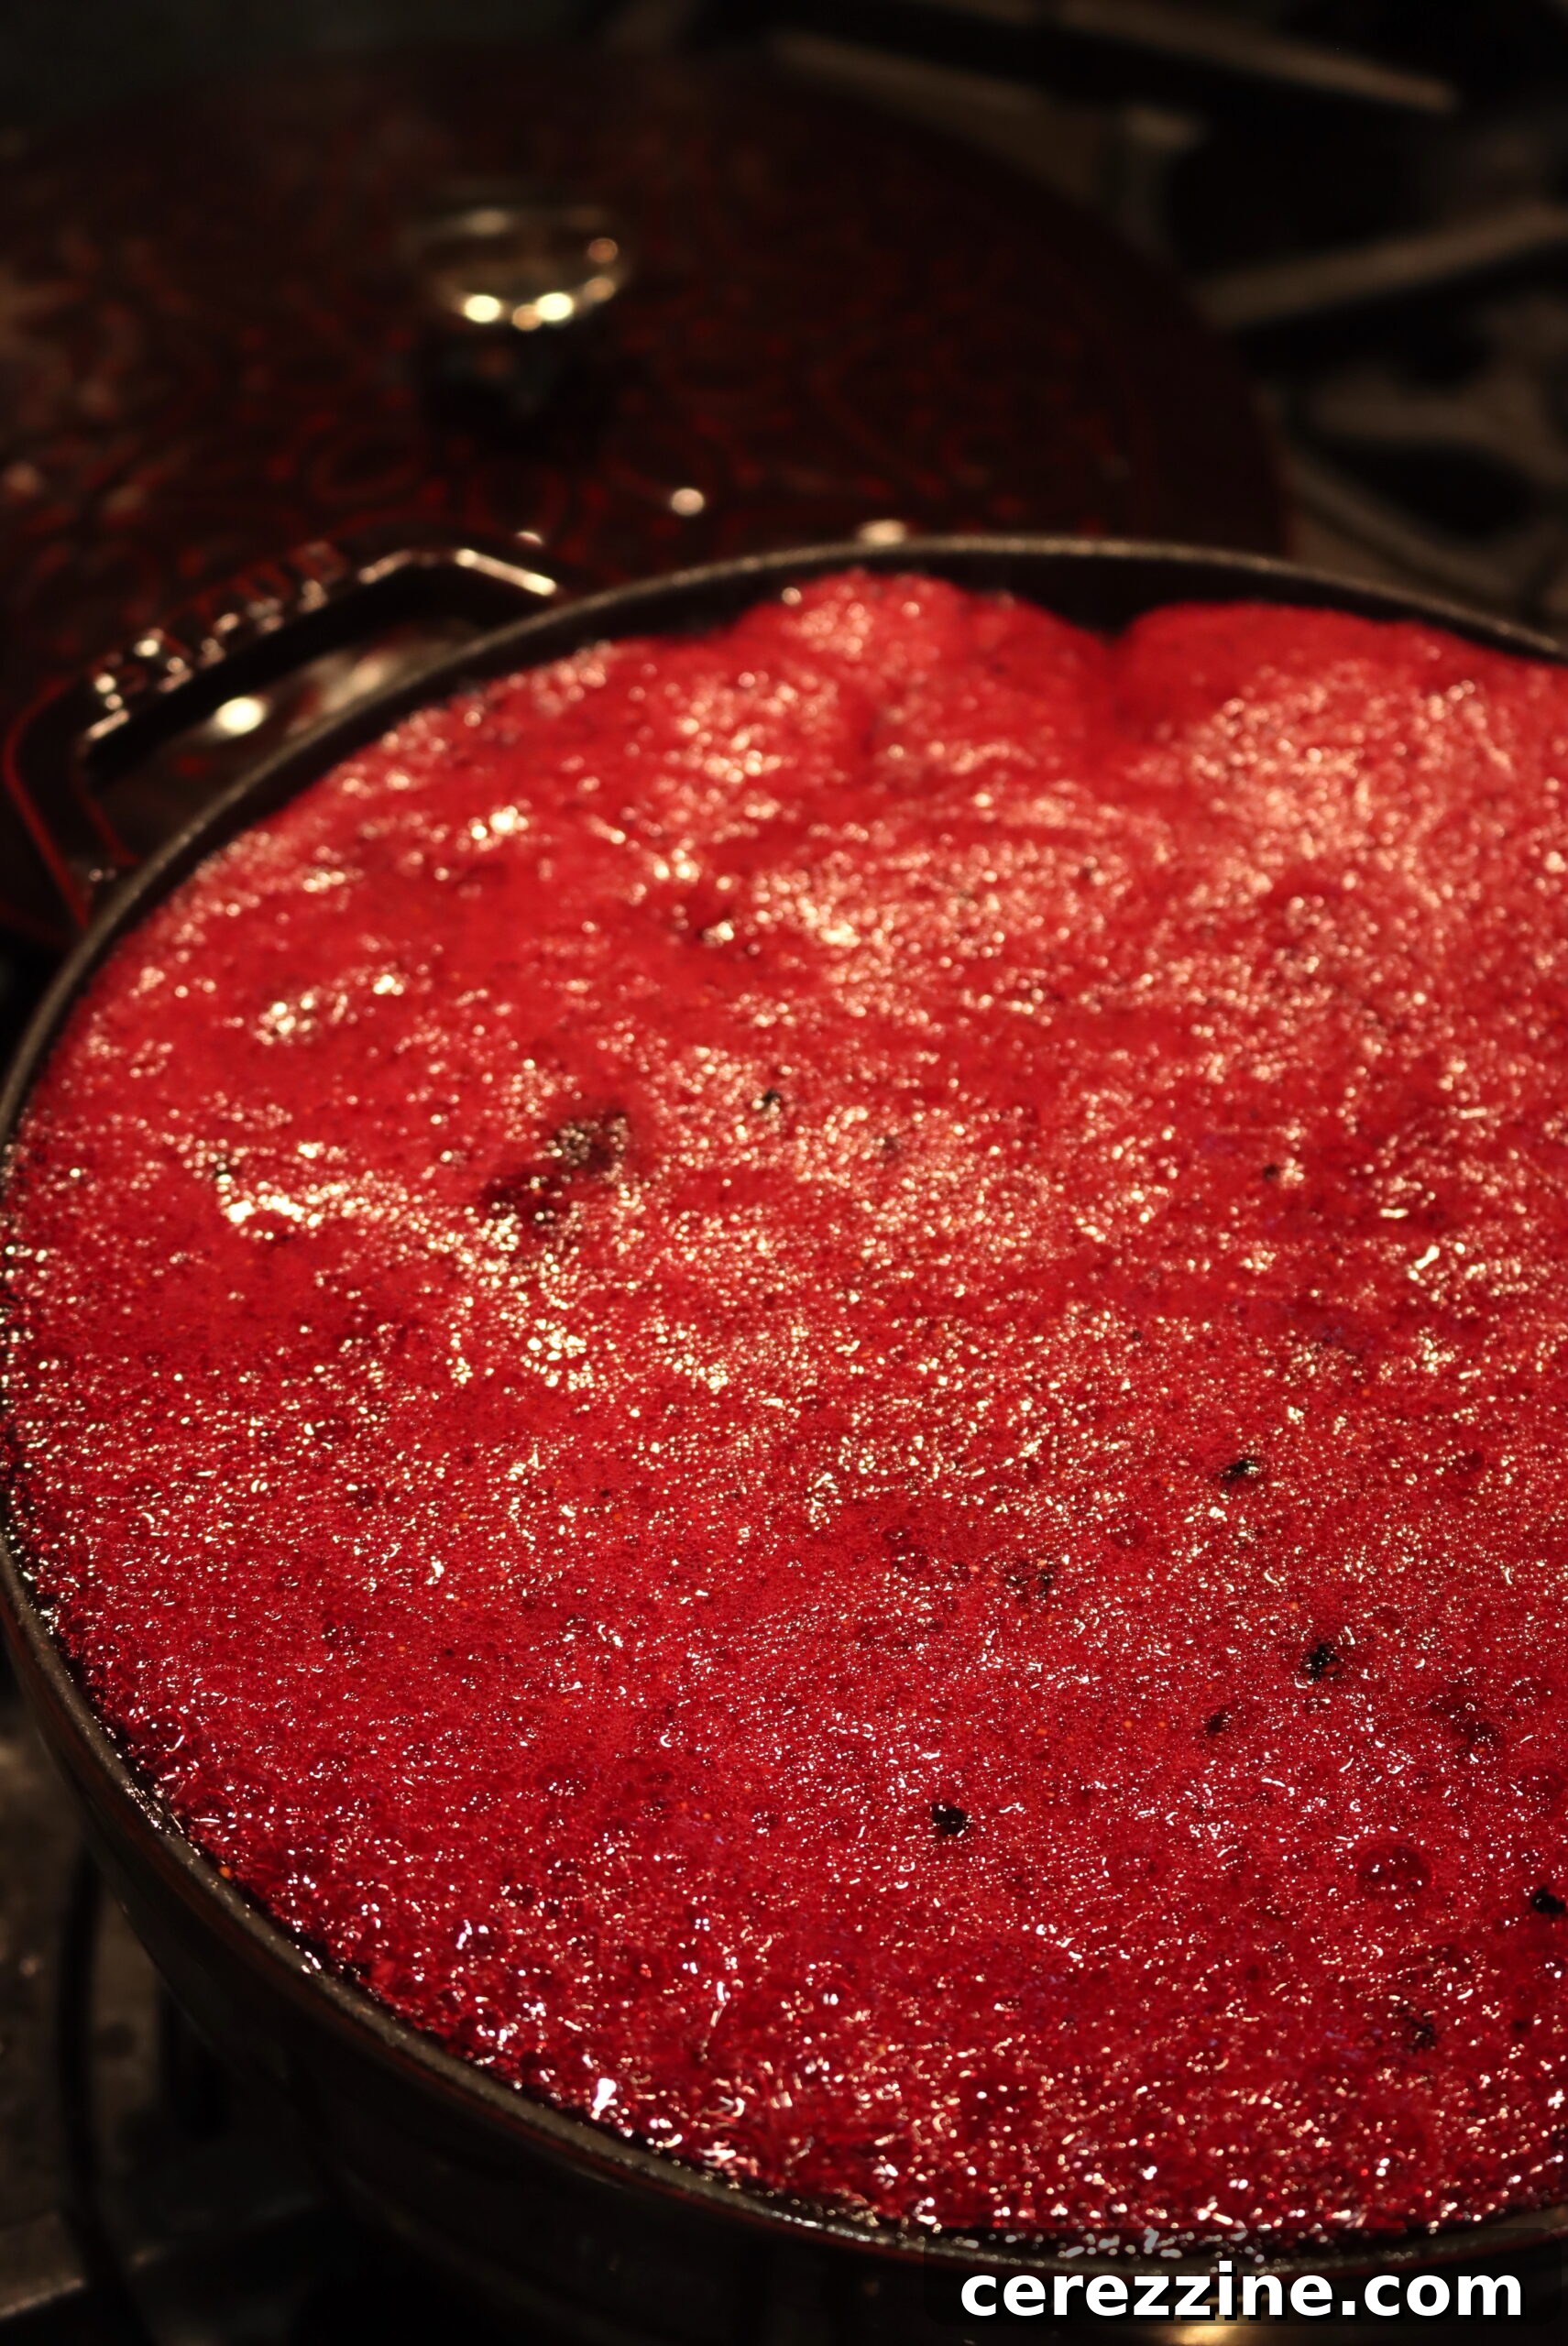
Testing for the Perfect Gel Stage
The key to a perfectly set jam is knowing when it has reached the “gel stage.” There are two reliable methods for testing:
- Candy Thermometer Method: For a precise measurement, use a candy thermometer. Cook the jam until it consistently reaches 220°F (104°C) at sea level. Remember that elevation affects boiling points, so adjust accordingly (subtract 2 degrees Fahrenheit for every 1,000 feet above sea level).
- Cold Plate Method: This traditional method relies on visual cues. Before you begin cooking, place a couple of small ceramic plates or saucers in your freezer. When you suspect the jam is nearing completion, retrieve one cold plate. Drop about a tablespoon of hot jam onto the chilled surface, then return the plate to the freezer for 1-2 minutes. Remove the plate and gently push the edge of the jam dollop with your fingertip. If the jam has formed a “skin” on top and wrinkles or mounds slightly when pushed, it has reached the gel stage. If your finger slides straight through, the jam is not yet ready; continue cooking and retest every few minutes with a fresh cold plate. Patience is key during this phase! Keep a watchful eye to prevent scorching, adjusting the heat as necessary to maintain a steady boil without burning.
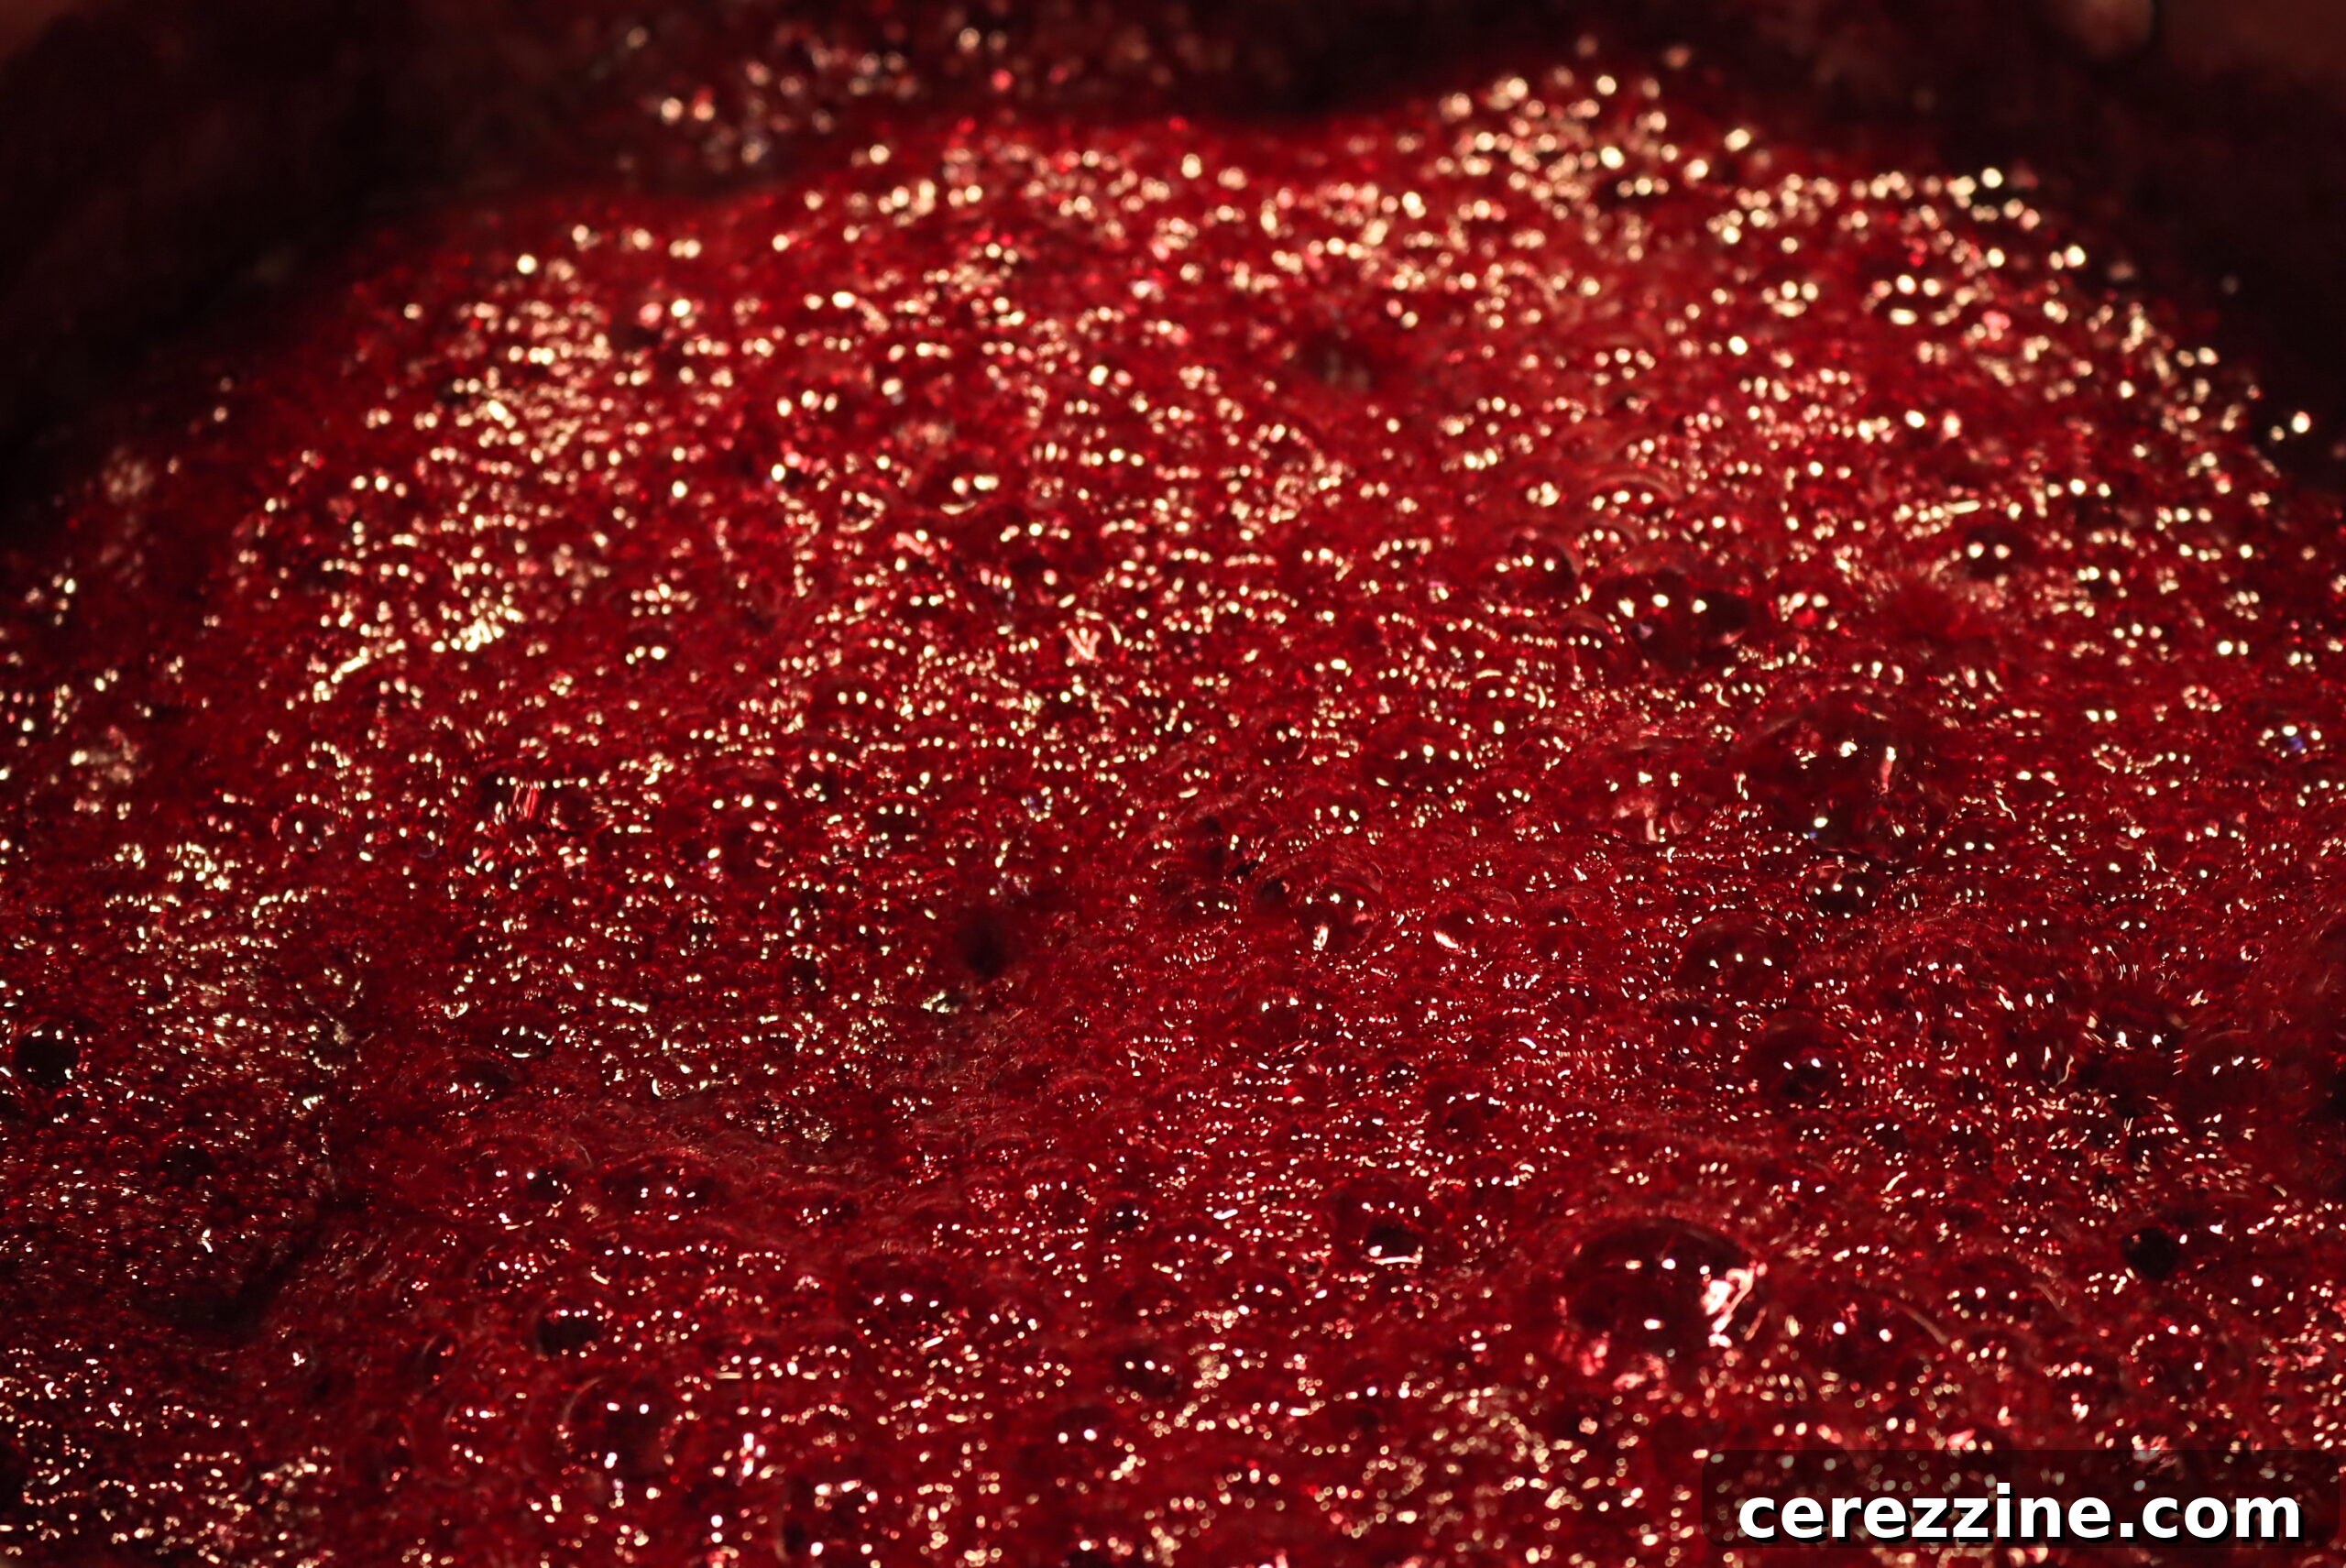
Once your jam has achieved the perfect gel stage, carefully remove it from the heat. Ladle or pour the hot jam into your prepared jars or containers. Ensure you leave approximately ¼ inch of headspace at the top of each jar. This space is crucial for proper sealing if you plan to can the jam. Wipe the rims of the jars with a clean, damp cloth to remove any sticky residue, then apply the lids.
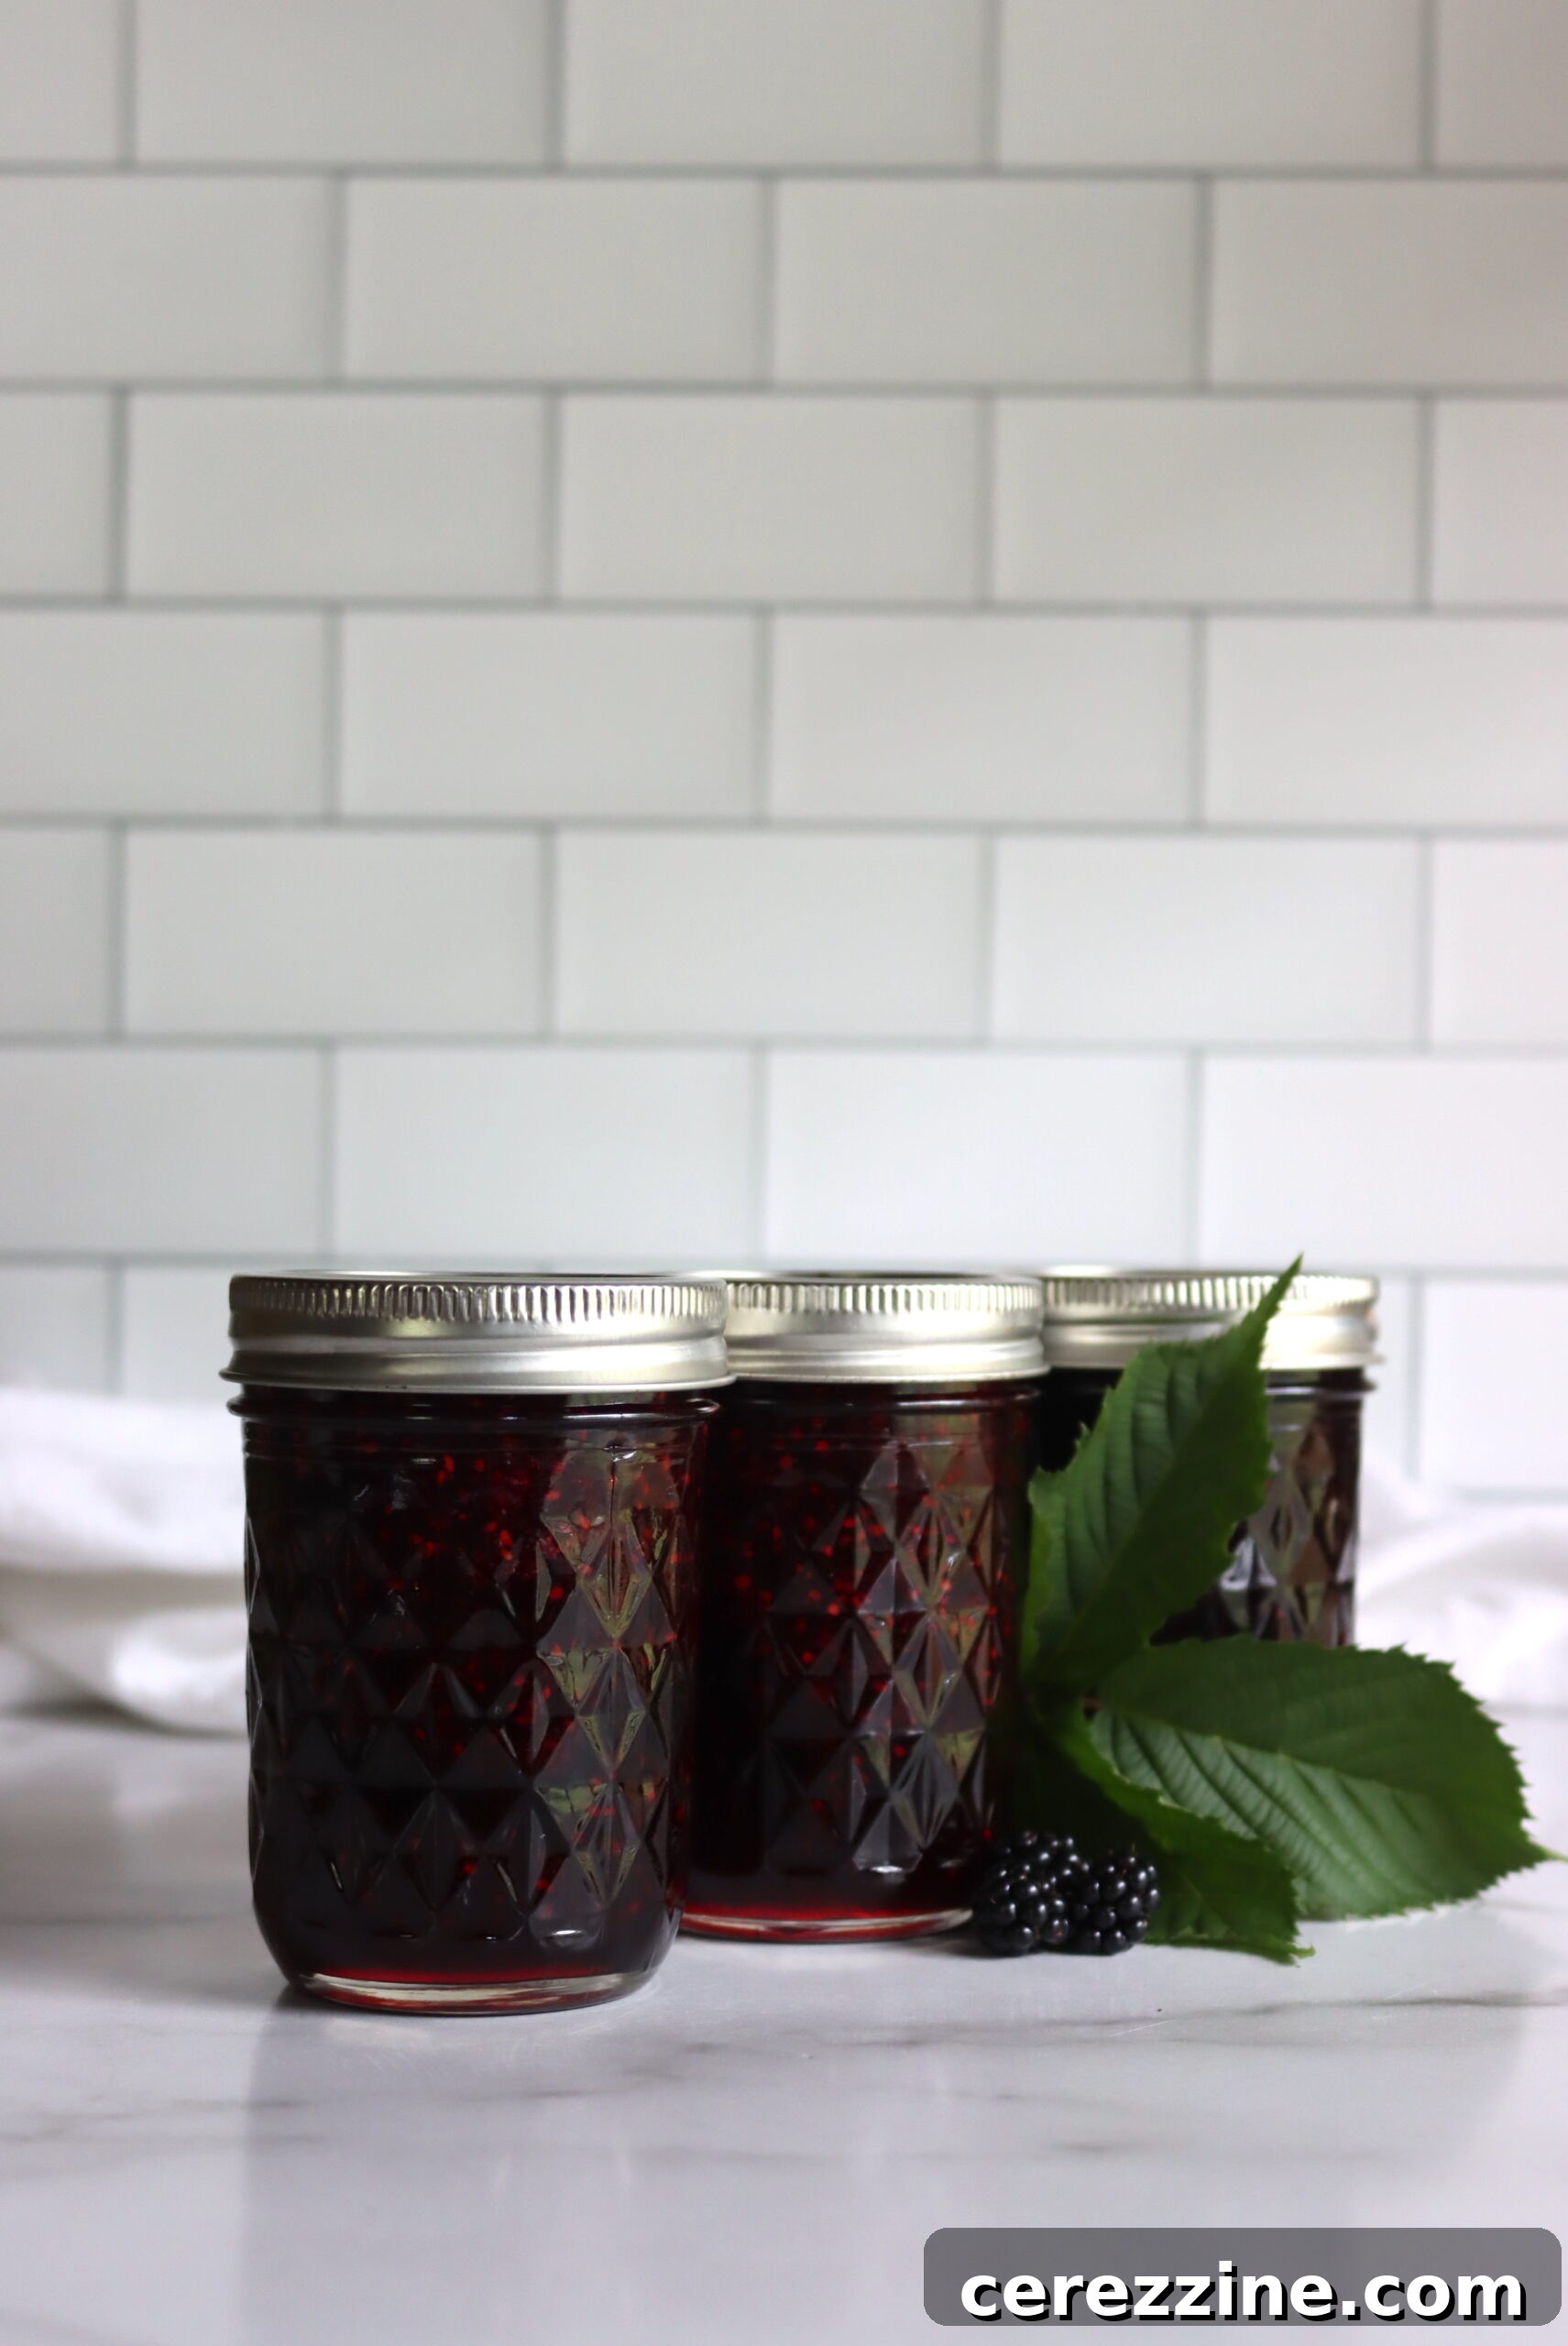
Preserving Your Blackberry Jam: Canning, Refrigerating, and Freezing
Once you’ve perfected your delicious homemade blackberry jam, you have several options for storage, depending on how long you wish to keep it. If you’re not planning on canning, the jam can be stored in the refrigerator for about a month, ready for immediate enjoyment. For longer-term storage without canning, freezing is an excellent alternative. Simply allow the jam to cool completely, then transfer it to freezer-safe containers, leaving ample headspace for expansion. Frozen blackberry jam will maintain its quality for up to 6 months.
For truly long-term preservation, water bath canning is the gold standard. Properly canned blackberry jam can be safely stored in your pantry or a cool, dry place for 18 months or even longer, providing a taste of summer any time of the year. Canning also makes your jam shelf-stable, perfect for gifting or emergency preparedness.
If you are new to the world of home canning, it’s highly recommended to familiarize yourself with the basics of water bath canning before you begin. Resources like a beginner’s guide to water bath canning can provide essential safety tips and step-by-step instructions. Before you even start cooking your jam, ensure your water bath canner is prepared, and your canning jars are sterilized and hot.
Here’s how to safely can your blackberry jam:
- Fill Hot Jars: Once the jam reaches its gel stage, carefully ladle it into the hot, sterilized canning jars, leaving precisely ¼ inch of headspace at the top. Using a canning funnel with headspace measurements can significantly simplify this step.
- Clean Rims and Apply Lids: Wipe the rims of the filled jars thoroughly with a clean, damp cloth to remove any jam residue. This ensures a proper seal. Apply the two-part canning lids, tightening the metal band only to “finger-tight” – just enough to keep the lid in place, allowing air to escape during processing.
- Process in Water Bath Canner: Carefully load the filled jars into your preheated water bath canner, ensuring they are fully submerged in water by at least an inch. Bring the canner to a full, rolling boil. Once boiling vigorously, process pint jars for 10 minutes. If you are at an elevation above 6,000 feet, increase the processing time to 15 minutes to account for the lower boiling point.
- Cool Down and Check Seals: After the processing time has elapsed, turn off the heat. Allow the jars to remain in the hot water for an additional 5 minutes before removing them. This gradual temperature change helps prevent “thermal shock” and can improve seal rates. Using a jar lifter, carefully remove the jars from the canner and place them on a towel on your countertop, leaving some space between them for adequate airflow.
- Storage: Allow the jars to cool undisturbed for 12-24 hours. After this time, check the seals: the center of the lid should be depressed and not flex when pressed. Any jars that have not sealed properly should be refrigerated immediately and consumed within a month. Store your successfully canned jam in a cool, dry, dark place, such as a pantry. It will maintain its optimal quality for about 18 months, though it will remain safe to eat for longer as long as the seal remains intact. Once a jar is opened, always refrigerate it.
- Berry Blends: Consider combining blackberries with other seasonal berries for a delightful medley. Raspberries add a tart brightness, while strawberries contribute a sweet, summery note. A blackberry and blueberry blend offers a deeper, more complex fruit profile.
- Aromatic Flavorings: Infuse your jam with subtle, aromatic notes to elevate its character. A hint of vanilla extract (added after cooking) can provide a warm, sweet undertone. A pinch of ground cinnamon or a whole cinnamon stick simmered with the fruit will introduce a cozy, spiced complexity. For a sophisticated touch, a few drops of almond extract can create a unique, slightly nutty aroma that complements the blackberries beautifully.
- Elevate Your Desserts: Spoon it generously over a slice of light, fluffy white cake or a buttery shortbread, perhaps with a dollop of freshly whipped cream. It makes an exquisite topping for creamy cheesecakes, providing a tart counterpoint to the richness. Drizzle it warm over vanilla bean ice cream for an instant gourmet dessert, or swirl it into plain yogurt for a healthful yet decadent treat.
- Breakfast and Brunch Delights: Transform your morning routine by slathering copious amounts of blackberry jam onto your favorite warm breads, toast, croissants, English muffins, or flaky biscuits. It’s also a wonderful filling for crepes or an addition to oatmeal and overnight oats. For a delightful surprise, spoon some into the batter of your favorite muffins or quick bread before baking.
- Savory Pairings: Don’t limit jam to just sweets! Blackberry jam can be a surprising and delicious accompaniment to savory dishes. Serve it alongside roasted meats like pork or duck, or use it as a glaze for chicken. It also makes a fantastic addition to a cheese board, complementing sharp cheddar or creamy brie.
-
Water Bath Canner
-
Large Heavy-Bottomed Saucepan or Jam Pot
-
Potato Masher
-
Canning Funnel
-
Candy Thermometer (optional, for gel stage)
- 4 cups fresh blackberries, measured whole, unmashed
- 2 cups granulated sugar
- 2 tbsp lemon juice (fresh or bottled)
-
Carefully pick through your blackberries, removing stems, leaves, and any debris. Rinse berries thoroughly with clean water.
-
Place the 4 cups of blackberries into a medium or large heavy-bottomed saucepan or jam pot. Use a potato masher or a large spoon to gently mash the blackberries. Add 2 tablespoons of lemon juice.
-
Cook the mashed berries and lemon juice over medium heat, stirring frequently to prevent scorching, until the juices are significantly released. (While mashing at this stage is optional, it helps achieve a smoother consistency.)
-
Once a significant amount of juice has formed, add the 2 cups of sugar, stirring until completely dissolved.
-
Increase the heat to medium-high or high and bring the mixture to a rolling boil, stirring continuously to prevent sticking.
-
Reduce heat to medium-high and boil the jam for approximately 15-20 minutes, or until it reaches the gel stage.
-
Test for the gel stage using the cold plate test (wrinkling when pushed) or by checking with a candy thermometer, aiming for 220°F (104°C) at sea level.
-
Once the gel stage is reached, carefully ladle or pour the hot jam into prepared jars or containers, leaving ¼-inch headspace.
-
Wipe jar rims clean and apply lids. Preserve by hot water bath canning for long-term storage, or refrigerate/freeze until ready to eat.
- 30+ Blackberry Canning Recipes: A comprehensive collection of ideas for preserving blackberries.
- Canning Blackberry Pie Filling: Prepare your pie filling ahead of time for quick and easy desserts.
- Blackberry Jelly: For those who prefer a clear, seedless spread.
- Canning Blackberry Syrup: (Recipe Coming Soon!)
With these preservation methods, you can enjoy the exquisite taste of your homemade blackberry jam all year long.
Exciting Blackberry Jam Variations to Explore
While classic blackberry jam is a treat in itself, experimenting with variations can open up a world of new flavors. Blackberries are incredibly versatile and pair beautifully with a variety of other fruits and spices.
When experimenting, start with small amounts of flavorings and adjust to your taste. These variations can transform your homemade blackberry jam into an even more personalized culinary masterpiece.
Creative Ways to Enjoy Your Blackberry Jam
The versatility of homemade blackberry jam extends far beyond a simple spread on toast. Its rich, fruity flavor makes it a fantastic addition to both sweet and savory dishes.
Let your culinary imagination soar and discover all the wonderful ways you can incorporate this exquisite blackberry jam into your meals and treats.
16 servings, Makes 2 half-pint (8-ounce) jars
Old Fashioned Blackberry Jam (No Added Pectin)
10 minutes
30 minutes
10 minutes
50 minutes
Print Recipe
Equipment
Ingredients
Instructions
Notes
Nutrition
Nutrition information is automatically calculated and should be used as an approximation only.
More Blackberry Preservation Ideas
If you’ve fallen in love with preserving blackberries, there are many more exciting ways to utilize this wonderful fruit. Explore these additional recipes to make the most of your blackberry harvest:
Embrace the seasonal bounty and enjoy the rich, versatile flavor of blackberries in all its preserved glory!