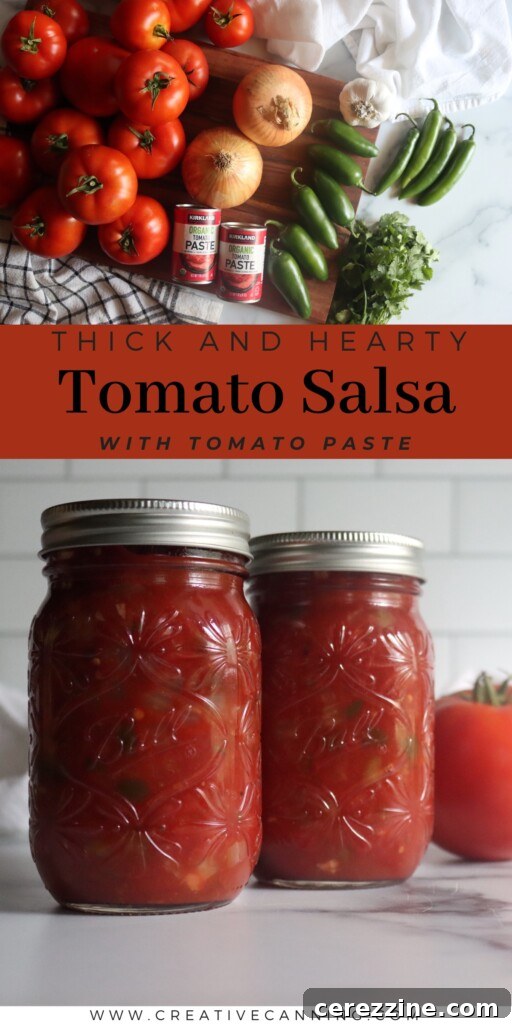
Mastering Thick & Savory Tomato Salsa with Tomato Paste for Safe Canning
Are you on the hunt for a homemade salsa recipe that rivals the thick, rich, and utterly scoopable texture of your favorite store-bought jar? Look no further! This comprehensive guide reveals the secrets to crafting a robust and flavorful Tomato Salsa with Tomato Paste. Designed for those who appreciate a deeply savory salsa, this recipe leverages fresh tomatoes, a generous mix of peppers and onions, and the natural thickening power of tomato paste to achieve that coveted, hearty consistency. Not only is it bursting with classic flavors, but this meticulously tested recipe is also certified safe for water bath canning, empowering you to stock your pantry with delicious, shelf-stable homemade salsa all year round.
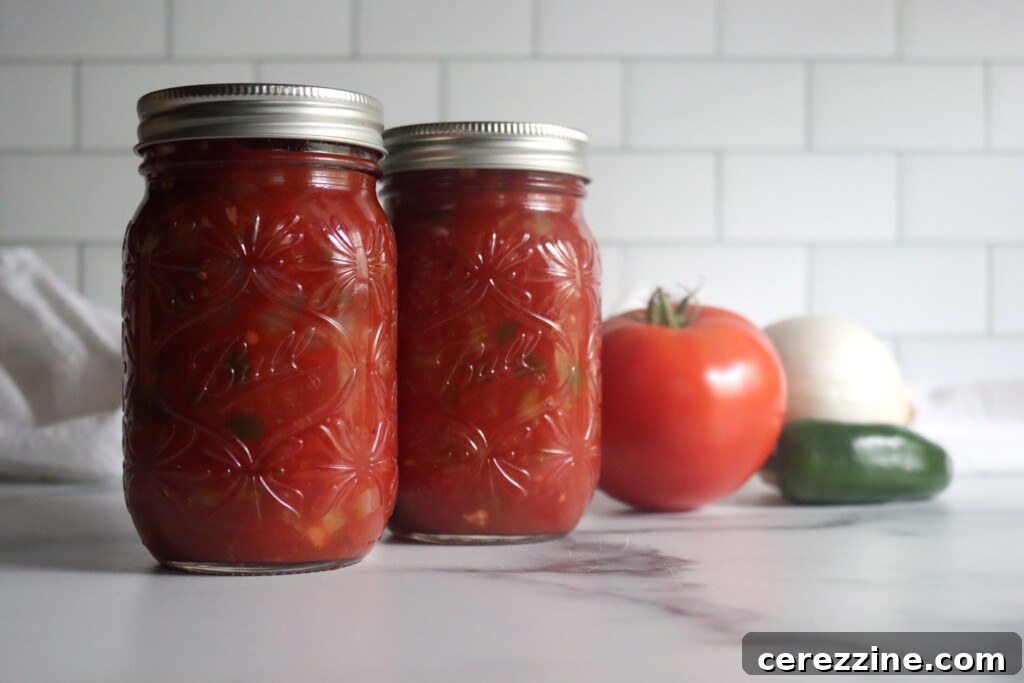
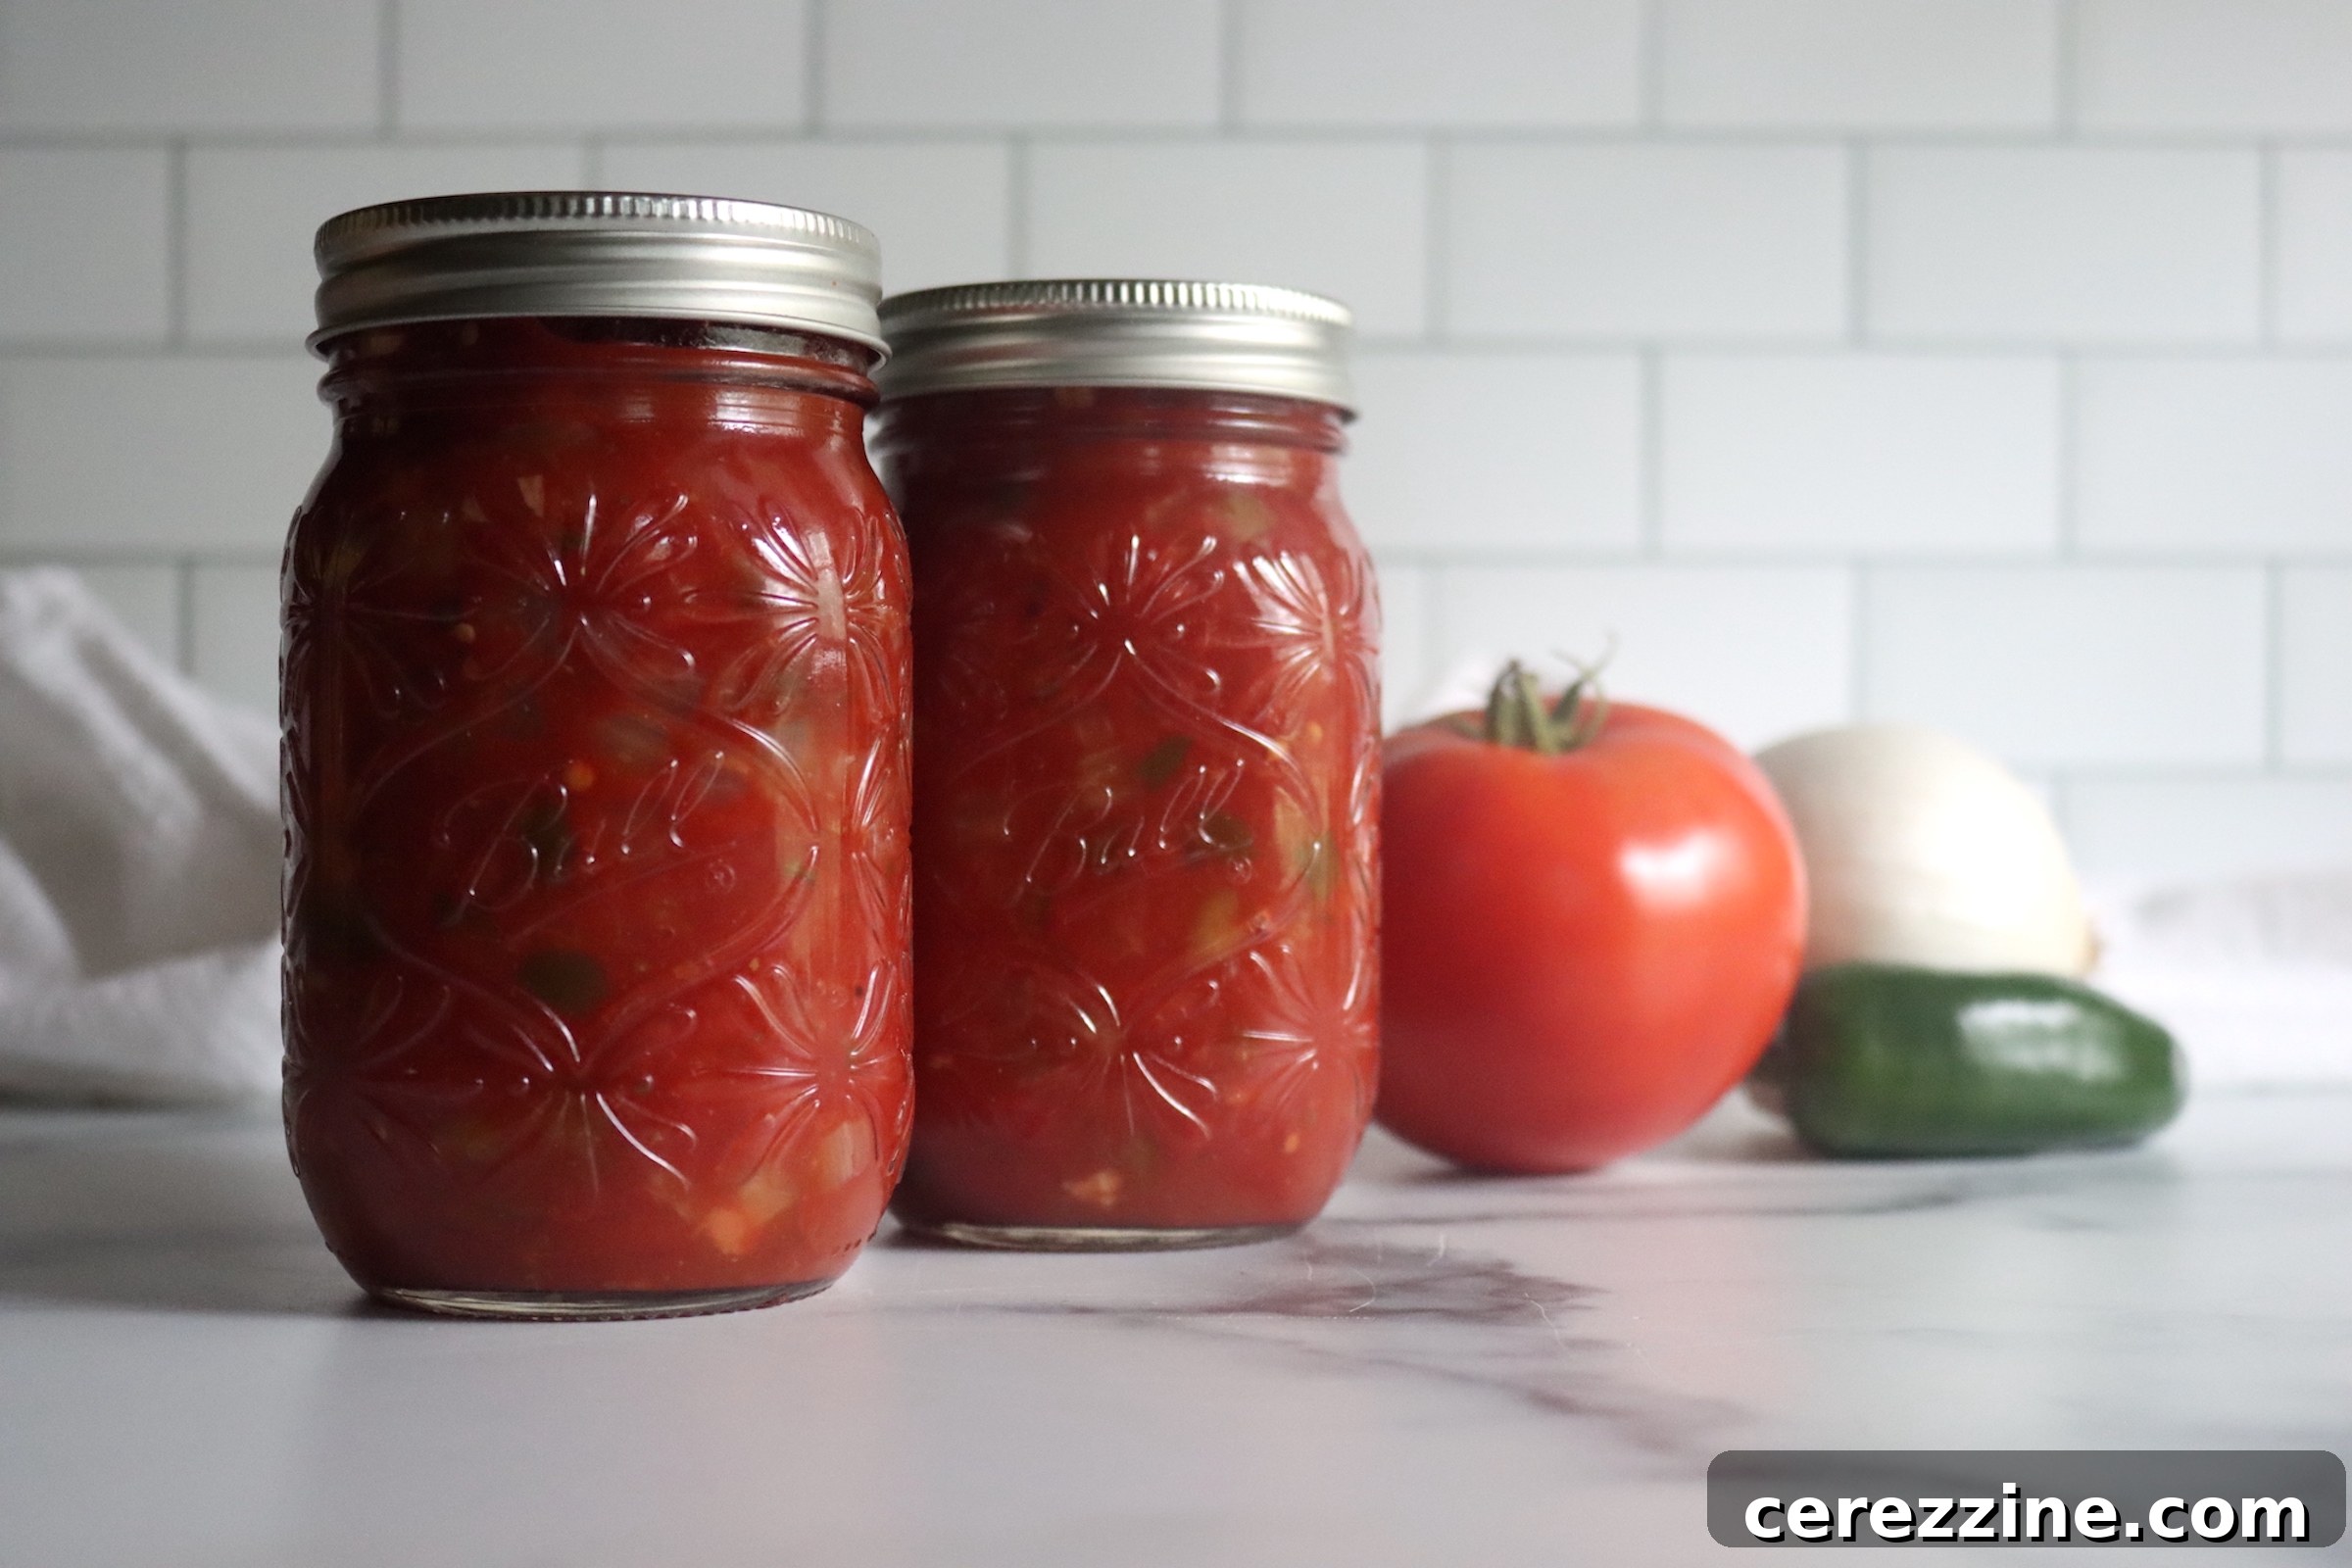
This exceptional Tomato Salsa with Tomato Paste delivers a thick, spoonable texture that closely mimics the beloved classic jarred versions found in grocery stores. It’s a savory, mildly spiced concoction, generously loaded with chunky tomatoes, crisp peppers, and aromatic onions. The clever inclusion of tomato paste is the key to its satisfying body and profound richness, while precisely measured lemon juice ensures its safety for water bath canning. If your goal has been to create a pantry-stable salsa boasting that familiar, comforting texture and flavor profile, this recipe is your ultimate solution, ticking every box for quality, taste, and reliability.
Adapted from the highly respected So Easy to Preserve publication by the National Center for Home Food Preservation, this recipe stands as a testament to reliability and safety in home canning. It’s a thoroughly tested canning method that consistently yields between 7 to 9 pints of delightful salsa. The jalapeño peppers contribute a gentle background heat, allowing the vibrant flavors of garlic, earthy cumin, and aromatic oregano to shine through, creating a deep, multifaceted savory profile.
A subtle touch of sugar plays a crucial role in balancing the acidity of the tomatoes and citrus, resulting in a perfectly rounded salsa. This balance makes it incredibly versatile – whether you’re dipping crispy tortilla chips, stirring it into a hearty chili, or piling it high on tacos. The sugar is entirely optional and serves solely to enhance flavor; feel free to omit it if you prefer a salsa with a sharper, more piquant bite. This adaptability ensures your homemade salsa perfectly suits your palate and culinary applications.
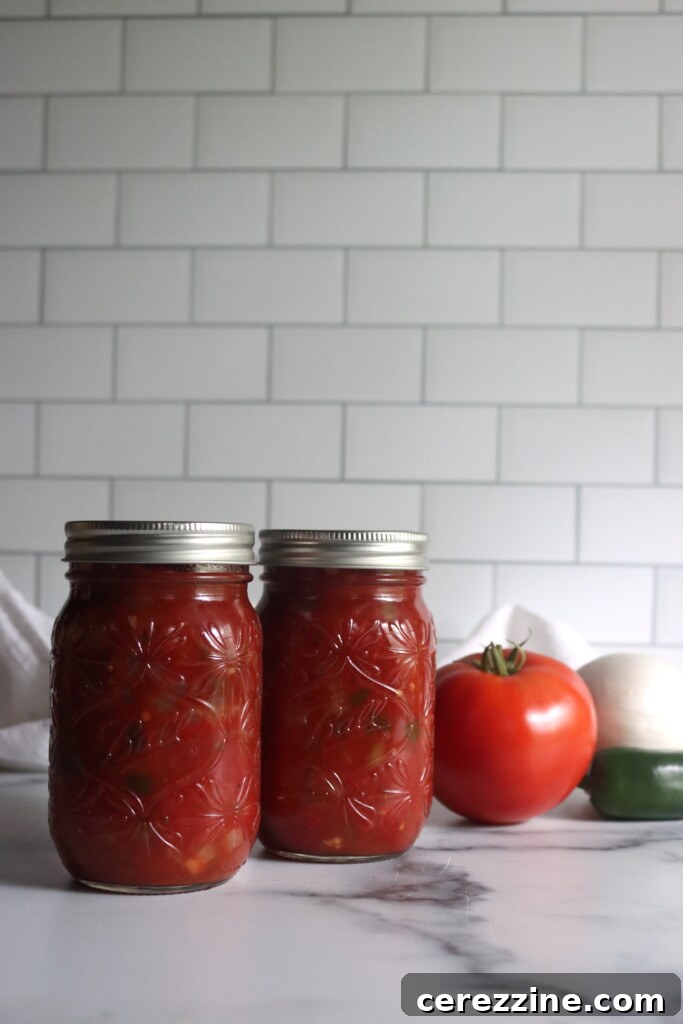
Why You’ll Adore This Homemade Salsa
- Unmistakable Classic Texture: The star ingredient, tomato paste, is the secret behind this salsa’s delightful, thick, and perfectly dippable consistency. It transforms fresh tomatoes into a robust blend that mirrors the satisfying mouthfeel of premium store-bought varieties, ensuring every chip gets a generous coating.
- Balanced, Mild Heat: Infused with just the right amount of kick from jalapeños, this salsa offers a pleasant warmth without overpowering the other vibrant flavors. For those who crave more intensity, the recipe offers easy adjustments to amp up the spice, making it customizable for all heat preferences.
- Effortless Canning-Friendly: Crafted as a tried-and-true, tested recipe, it incorporates bottled lemon juice to guarantee the necessary acidity for safe water bath canning. This means you can confidently prepare large batches and store them for extended periods, enjoying homemade goodness whenever the craving strikes.
- Rich, Savory Depth: Beyond the texture, the combination of roasted chiles, fresh garlic, onions, and optional spices like cumin and oregano creates a complex flavor profile. It’s not just a condiment; it’s a culinary experience that enhances any meal.
- Versatile Culinary Companion: This salsa is incredibly adaptable. While perfect with chips, it also shines as an ingredient in your favorite recipes, from topping grilled meats and eggs to enriching soups, stews, and casseroles. It’s a fundamental flavor builder for countless dishes.
Essential Ingredients for Your Robust Tomato Salsa with Tomato Paste
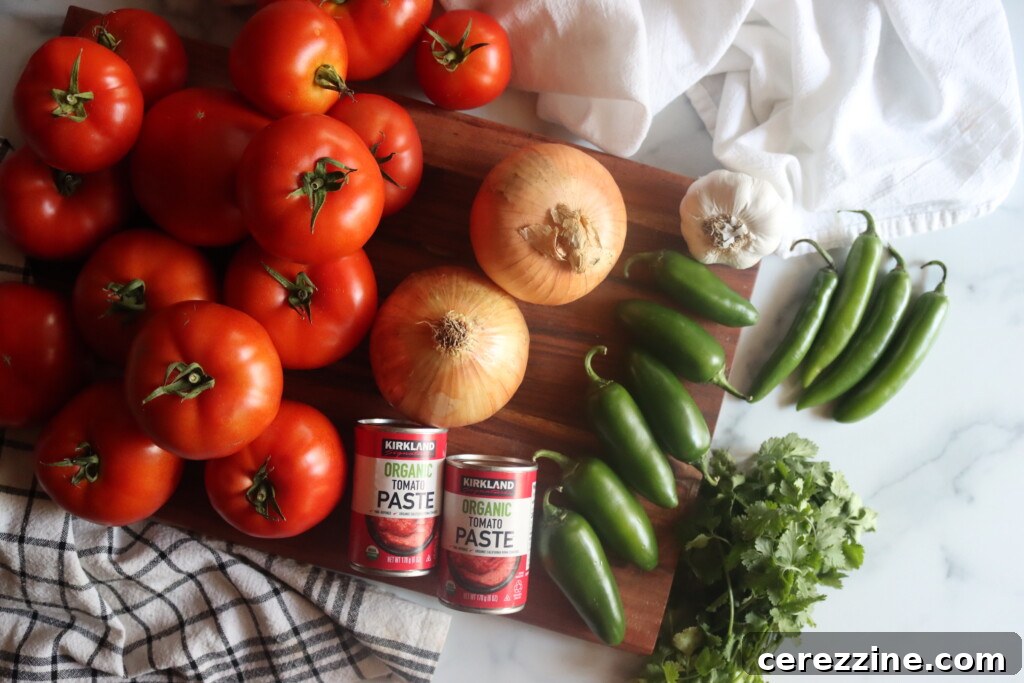
This recipe is designed to yield a generous batch of 7 to 9 pints of homemade salsa, making it perfect for preserving. While it proudly features fresh slicing tomatoes as its foundation, the key to its signature thickness and body lies in the strategic addition of tomato paste. A crucial component for safety, bottled lemon or lime juice is absolutely essential to achieve the correct acidity level for water bath canning; under no circumstances should it be substituted with fresh juice. Each ingredient plays a vital role in both flavor and safety:
- Slicing Tomatoes: Opt for ripe, firm slicing tomatoes. These will form the fresh, chunky base of your salsa. Peeling and coring them is crucial for the best texture and to prevent tough skin pieces in your finished product. Chopping them coarsely ensures a rustic, satisfying texture.
- Onions: Sweet or yellow onions work wonderfully, providing a sweet yet pungent counterpoint to the tomatoes and peppers. They add a foundational savory depth that is indispensable to classic salsa flavor.
- Jalapeño Peppers: These versatile peppers introduce a gentle, approachable heat. For a milder salsa, meticulously remove all seeds and membranes. If you crave more spice, feel free to leave some or all of them intact.
- Long Green Chiles: Such as Anaheim or Hatch chiles. Roasting and peeling these chiles before chopping adds a beautiful smoky depth and complex flavor profile that elevates the salsa beyond simple freshness.
- Garlic: Freshly minced garlic is non-negotiable for its sharp, aromatic, and savory kick. It provides an underlying warmth and intensifies the overall flavor of the salsa.
- Tomato Paste: This concentrated tomato goodness is the hero for thickness. It transforms the liquid base of fresh tomatoes into a rich, hearty, and spoonable consistency that defines this salsa’s appeal.
- Bottled Lemon or Lime Juice: This is a critical ingredient for canning safety. Its consistent acidity ensures that the pH of the salsa is low enough to prevent spoilage organisms from growing during water bath processing. Do NOT use fresh juice, as its acidity can vary significantly.
- Salt: A fundamental flavor enhancer, salt brightens all the other ingredients and brings them into harmony. While optional for flavor adjustment, it is highly recommended for a well-rounded taste.
- Sugar: A small amount of sugar works wonders to balance the acidity from the tomatoes and lemon/lime juice, creating a smoother, more palatable flavor. It’s optional and purely for taste, so adjust or omit based on your preference for sweetness.
- Ground Cumin (optional): For an authentic, earthy, and warm undertone that is characteristic of many Mexican and Tex-Mex salsas.
- Oregano Leaves (optional): Whether fresh or dried, oregano introduces a bright, slightly bitter, and aromatic herbal note that complements the other savory ingredients beautifully.
- Black Pepper: Offers a subtle background warmth and a hint of pungent spice, adding another layer of complexity to the salsa’s flavor.
Step-by-Step Guide: Crafting Your Own Tomato Salsa with Tomato Paste
Embarking on the journey of homemade salsa canning is a rewarding experience. Following these detailed steps will ensure a delicious and safely preserved product.
1. Prepare Your Vegetables with Precision:
- Jalapeño Peppers: First, wash and carefully stem the jalapeño peppers. For a milder salsa, slice them lengthwise and remove all seeds and white membranes, as these contain most of the capsaicin (the heat-inducing compound). Chop the deseeded peppers finely. Unlike other chiles, jalapeños do not require roasting or peeling.
- Long Green Chiles: These chiles (such as Anaheim or poblano) benefit immensely from roasting to enhance their flavor and make peeling easier. Place them under a broiler, turning occasionally, for 6 to 8 minutes, or blister them directly over an open flame until their skins are charred and bubbly. Transfer them to a bowl and cover with a lid or plastic wrap for about 10-15 minutes to steam, which loosens the skins. Once cool enough to handle, peel off the skins, remove the seeds, and finely chop the flesh.
- Tomatoes: To easily remove tomato skins, score a small “X” at the bottom of each tomato. Briefly dip them in boiling water for approximately 60 seconds (or until the skins begin to crack), then immediately transfer them to an ice bath to stop the cooking process. The skins should now slip off effortlessly. Remove the cores and coarsely chop the tomatoes, collecting any juices.
- Onions and Garlic: Peel and finely chop your chosen onions. Similarly, peel and finely mince the garlic cloves. Uniform chopping helps ensure even cooking and distribution of flavor throughout the salsa.
2. Combine and Simmer for Flavor Development:
Once all your vegetables are meticulously prepared, transfer them into a large, heavy-bottomed stockpot. Add the essential tomato paste, bottled lemon or lime juice (remember, no fresh juice for canning!), salt, sugar (if using), and any optional seasonings like ground cumin, oregano leaves, and black pepper. Stir all the ingredients thoroughly to ensure everything is well combined and evenly distributed.
Bring this vibrant mixture to a rolling boil over high heat, stirring constantly to prevent sticking and burning, especially at the bottom of the pot. Once boiling, reduce the heat to a gentle simmer. Continue to cook for 10 minutes, stirring occasionally. During this simmering phase, the flavors will meld beautifully, and the salsa will naturally thicken to its desired hearty consistency as excess liquid evaporates.
3. Prepare for Canning:
While your salsa simmers, prepare your canning equipment. Wash pint-sized canning jars and their lids thoroughly with hot, soapy water. Sterilize the jars by either boiling them in your water bath canner for at least 10 minutes or running them through a dishwasher’s sanitize cycle. Keep the jars hot until ready to fill. The two-part canning lids (flats and rings) should be warmed in a small saucepan of simmering water (do not boil the flats, as it can compromise the seal).
4. Fill Jars and Achieve Proper Headspace:
Carefully ladle the hot, simmering salsa into the prepared hot canning jars, being mindful to leave exactly ½ inch of headspace. Headspace is the empty space between the surface of the food and the rim of the jar, crucial for creating a proper vacuum seal.
After filling, use a non-metallic utensil (like a plastic spatula or wooden chopstick) to gently remove any trapped air bubbles by running it around the inside of the jar. Adjust the headspace again if necessary by adding a little more salsa. Wipe the jar rims clean with a damp paper towel to ensure no food particles interfere with the seal. Center a warmed flat lid on each jar, then screw on the metal band fingertip-tight – not overly tight, just enough to secure the lid.
5. Process in a Boiling Water Bath:
Carefully place the filled and lidded jars into your boiling water bath canner, ensuring they are fully submerged by at least 1 inch of water. Bring the water to a full, rolling boil. Once boiling, process the jars for 15 minutes. Remember, this processing time needs to be adjusted based on your altitude to ensure safe canning, as detailed in the “Altitude Adjustments” section below. Begin timing only once the water has reached a vigorous boil.
6. Cool, Check Seals, and Store:
After the processing time is complete, turn off the heat and carefully remove the canner lid. Allow the jars to rest in the hot water for 5 minutes before carefully lifting them out and placing them on a clean towel or wire rack, spaced apart to allow for air circulation. Let the jars cool undisturbed for 12 to 24 hours. As they cool, you should hear satisfying “pinging” sounds as the lids seal.
Once completely cool, check the seals: press the center of each lid. If it doesn’t flex, the jar is sealed. If a lid yields when pressed, it hasn’t sealed properly and that jar must be refrigerated and consumed within a week or reprocessed with a new lid. Label your sealed jars with the contents and date, then store them in a cool, dark, dry place. For optimal flavor and quality, aim to enjoy your homemade salsa within 12 to 18 months.
Crucial Altitude Adjustments for Safe Canning
To guarantee the safety and shelf-stability of your canned salsa, it is absolutely imperative to adjust the processing time based on your geographical elevation. Water boils at lower temperatures at higher altitudes, requiring longer processing times to achieve the necessary sterilization. Please consult the following guidelines and adjust accordingly:
- 0 to 1,000 feet: Process for 15 minutes
- 1,001 to 6,000 feet: Process for 20 minutes
- Above 6,000 feet: Process for 25 minutes
Always ensure your water bath canner reaches a full, rolling boil for the entire duration of the adjusted processing time.
Understanding Salsa Canning Safety: A Tested Recipe
Undertaking home canning demands adherence to tested recipes for food safety. The good news is, yes—this is indeed a rigorously tested and safe salsa canning recipe! It has been developed and approved by authoritative sources such as the University of Georgia’s invaluable resource, So Easy to Preserve, and the National Center for Home Food Preservation. These organizations conduct extensive research to ensure that canning recipes meet stringent safety standards.
While you certainly have the option to store this freshly made salsa in your refrigerator (for consumption within 1-2 weeks) or freezer (for up to 6 months), for achieving true shelf-stable storage, it is absolutely critical to follow this recipe precisely as written. The most vital rule: do NOT reduce the amount of bottled lemon or lime juice specified. This ingredient is a non-negotiable component that ensures the salsa reaches a sufficiently low pH level, creating an acidic environment that inhibits the growth of harmful bacteria, including those that cause botulism. Using fresh juice, which can vary widely in its acidity, is also unsafe for canning purposes.
Conversely, you have some flexibility with low-acid ingredients such as onions or peppers. You may safely reduce or even omit these to suit your taste preferences. However, it is paramount that you do NOT increase their quantities beyond what the recipe calls for. Increasing low-acid ingredients can raise the overall pH of the salsa, rendering it unsafe for water bath canning. You can, however, substitute one type of pepper for another (e.g., bell peppers for some of the green chiles) or use different varieties of onions, as long as you meticulously maintain the original proportions and total quantity of these ingredients.
Finally, you have complete freedom to adjust the quantities of salt, sugar, ground cumin, oregano, or black pepper to perfectly suit your personal taste. These ingredients are included purely for flavor enhancement and do not have any impact on the safety parameters of the canning process. This flexibility allows you to customize the salsa’s spice and seasoning profile without compromising its shelf-stability.
Tomato Salsa with Tomato Paste (Thickened Salsa)
Thick, savory tomato salsa made with fresh tomatoes and tomato paste. A safe, tested recipe for canning with mild heat and rich, dippable texture.
Rating: 5 out of 5 stars (from 1 vote)
Equipment
- Water Bath Canner
- Large Stockpot
- Canning Jars (pint size) with Lids & Bands
- Jar Lifter, Funnel, Bubble Remover
Ingredients
- 3 Quart slicing tomatoes, peeled, cored, chopped
- 3 cups onions, chopped
- 6 medium jalapeño peppers, seeded, finely chopped (leave seeds for more heat)
- 4 medium long green chiles, roasted, peeled, seeded, chopped
- 4 cloves garlic, finely chopped
- 24 ounces tomato paste (two small 12 oz cans)
- 2 cups bottled lemon or lime juice (essential for safe canning)
- 1 Tbsp salt (optional, to taste)
- 1 Tbsp sugar (optional, to balance acidity)
- 1 Tbsp ground cumin (optional, for earthy flavor)
- 2 Tbsp oregano leaves (optional, for herbal notes)
- 1 tsp black pepper
Instructions
- Prepare Canner: If canning, prepare a water bath canner and sterilize jars and warm lids before beginning.
- Prepare Vegetables: Blanch and peel tomatoes. Roast, peel, and chop long green chiles. Seed and finely chop jalapeños. Chop onions and finely mince garlic.
- Cook Salsa: In a large stockpot, combine all prepared vegetables with tomato paste, bottled lemon/lime juice, salt, sugar (if using), and optional spices (cumin, oregano, black pepper). Bring the mixture to a boil over high heat.
- Simmer: Reduce heat to a simmer and cook for 10 minutes, stirring occasionally until the salsa thickens.
- Fill Jars: Ladle the hot salsa into sterilized pint jars, leaving ½ inch headspace. Remove air bubbles with a non-metallic utensil, adjust headspace if necessary, wipe jar rims clean, and apply two-part canning lids until fingertip-tight.
- Process: Process jars in a boiling water bath canner for 15 minutes (adjust for altitude: 20 minutes at 1,001–6,000 ft; 25 minutes above 6,000 ft).
- Cool & Store: Let jars cool undisturbed for 12–24 hours on a clean counter or towel. Check seals (lids should not flex when pressed). Label sealed jars and store in a cool, dark place. Best used within 12–18 months.
Notes
Altitude Adjustments: To ensure safe canning, adjust processing time based on your elevation:
- 0 to 1,000 feet: Process for 15 minutes
- 1,001 to 6,000 feet: Process for 20 minutes
- Above 6,000 feet: Process for 25 minutes
Is This a Safe Salsa Canning Recipe? Yes—this is a tested, safe salsa canning recipe developed by the University of Georgia’s So Easy to Preserve and the National Center for Home Food Preservation.
You can store this salsa in the fridge or freezer if you prefer, but for shelf-stable storage, be sure to follow the recipe exactly. Do not reduce the amount of lemon or lime juice, as it’s essential for safe acidity.
You may safely reduce or omit low-acid ingredients like onions or peppers, but do not increase them. You can substitute one type of pepper for another, or use different types of onions, so long as you maintain the original proportions.
Feel free to adjust the salt, sugar, cumin, oregano, or black pepper to suit your taste—these are included for flavor only and don’t impact the safety of the canning process.
Nutrition
Calories: 12kcal
Carbohydrates: 3g
Protein: 1g
Fat: 0.1g
Saturated Fat: 0.02g
Polyunsaturated Fat: 0.04g
Monounsaturated Fat: 0.02g
Sodium: 116mg
Potassium: 125mg
Fiber: 1g
Sugar: 2g
Vitamin A: 288IU
Vitamin C: 9mg
Calcium: 7mg
Iron: 0.3mg
Nutrition information is automatically calculated and should only be used as an approximation.
Enjoyed this recipe?
We’d love to hear from you! Please leave a comment or share your experience below.
Discover More Flavorful Salsa Canning Recipes for Your Pantry
Once you’ve mastered this thick and satisfying tomato salsa, you might be eager to expand your repertoire of preserved delights. Building a well-stocked pantry with a variety of homemade salsas not only offers unparalleled flavor but also provides convenience for quick meals and entertaining. Looking for more safe, tested salsa canning recipes to fill out your shelves? Our diverse collection offers something for every palate and occasion.
If you’re a connoisseur of vibrant, fruit-forward salsas that offer a delightful sweet-and-savory contrast, we have several irresistible options. Begin with our unique Summer Fruit Salsa with Honey & Balsamic, a sophisticated blend perfect for grilled chicken or pork. Explore the tropical zest of Pineapple Mango Salsa, or delve into the pure, succulent sweetness of classic Mango Salsa. For those who appreciate a touch of smoky heat with their fruit, our Chipotle Mango Salsa offers an exciting twist. These fruit salsas are fantastic with seafood, tacos, or even as a unique topping for breakfast dishes.
For a more traditional, smoky, or intensely savory experience, you can’t go wrong with our robust alternatives. Try the deeply flavored Chipotle Tomatillo Salsa, which combines the tang of tomatillos with a rich, smoky undertone, or stick with the bright and zesty appeal of classic Tomatillo Salsa. These are ideal for enchiladas, burritos, or as a vibrant accompaniment to any Mexican-inspired meal.
Do you find yourself with an abundance of unripe green tomatoes from your garden as the season winds down? Our innovative Green Tomato Salsa Verde is the perfect solution, transforming them into a tangy, flavorful salsa that adds a unique twist to your pantry staples. And for those seeking something truly seasonal and distinct, our exquisite Cranberry Salsa introduces a bright, tart, and festive flavor, making it a wonderful addition to your fall and winter canning lineup – excellent with poultry or holiday spreads.
If keeping things uncomplicated and universally appealing is your priority, consider our refreshing Corn Salsa, which brings a sweet crunch to any dish. Or, opt for a crowd-pleasing, gently spiced choice like Mild Jalapeño Salsa, perfect for families or those who prefer a subtle warmth. Each of these recipes has been carefully developed to ensure safety and delicious results, helping you create a versatile and vibrant collection of homemade salsas.