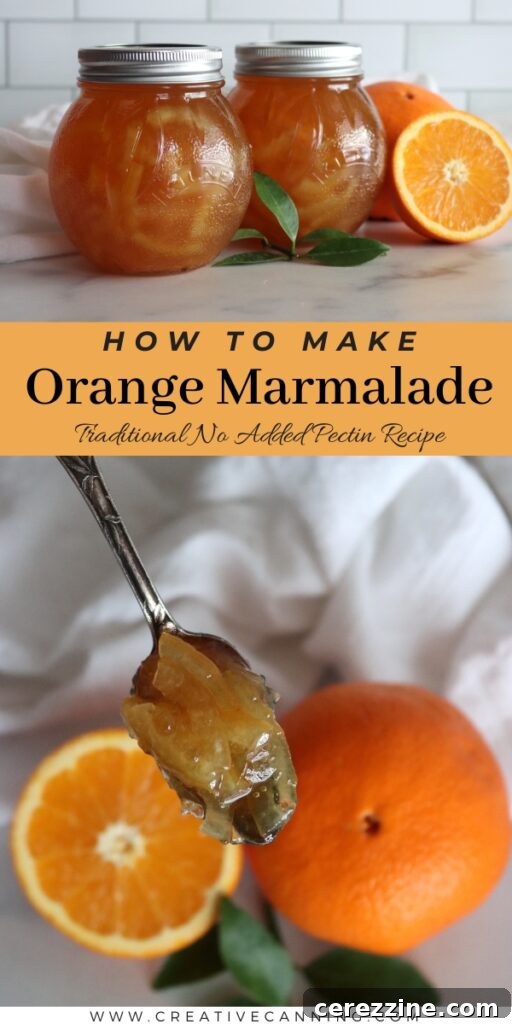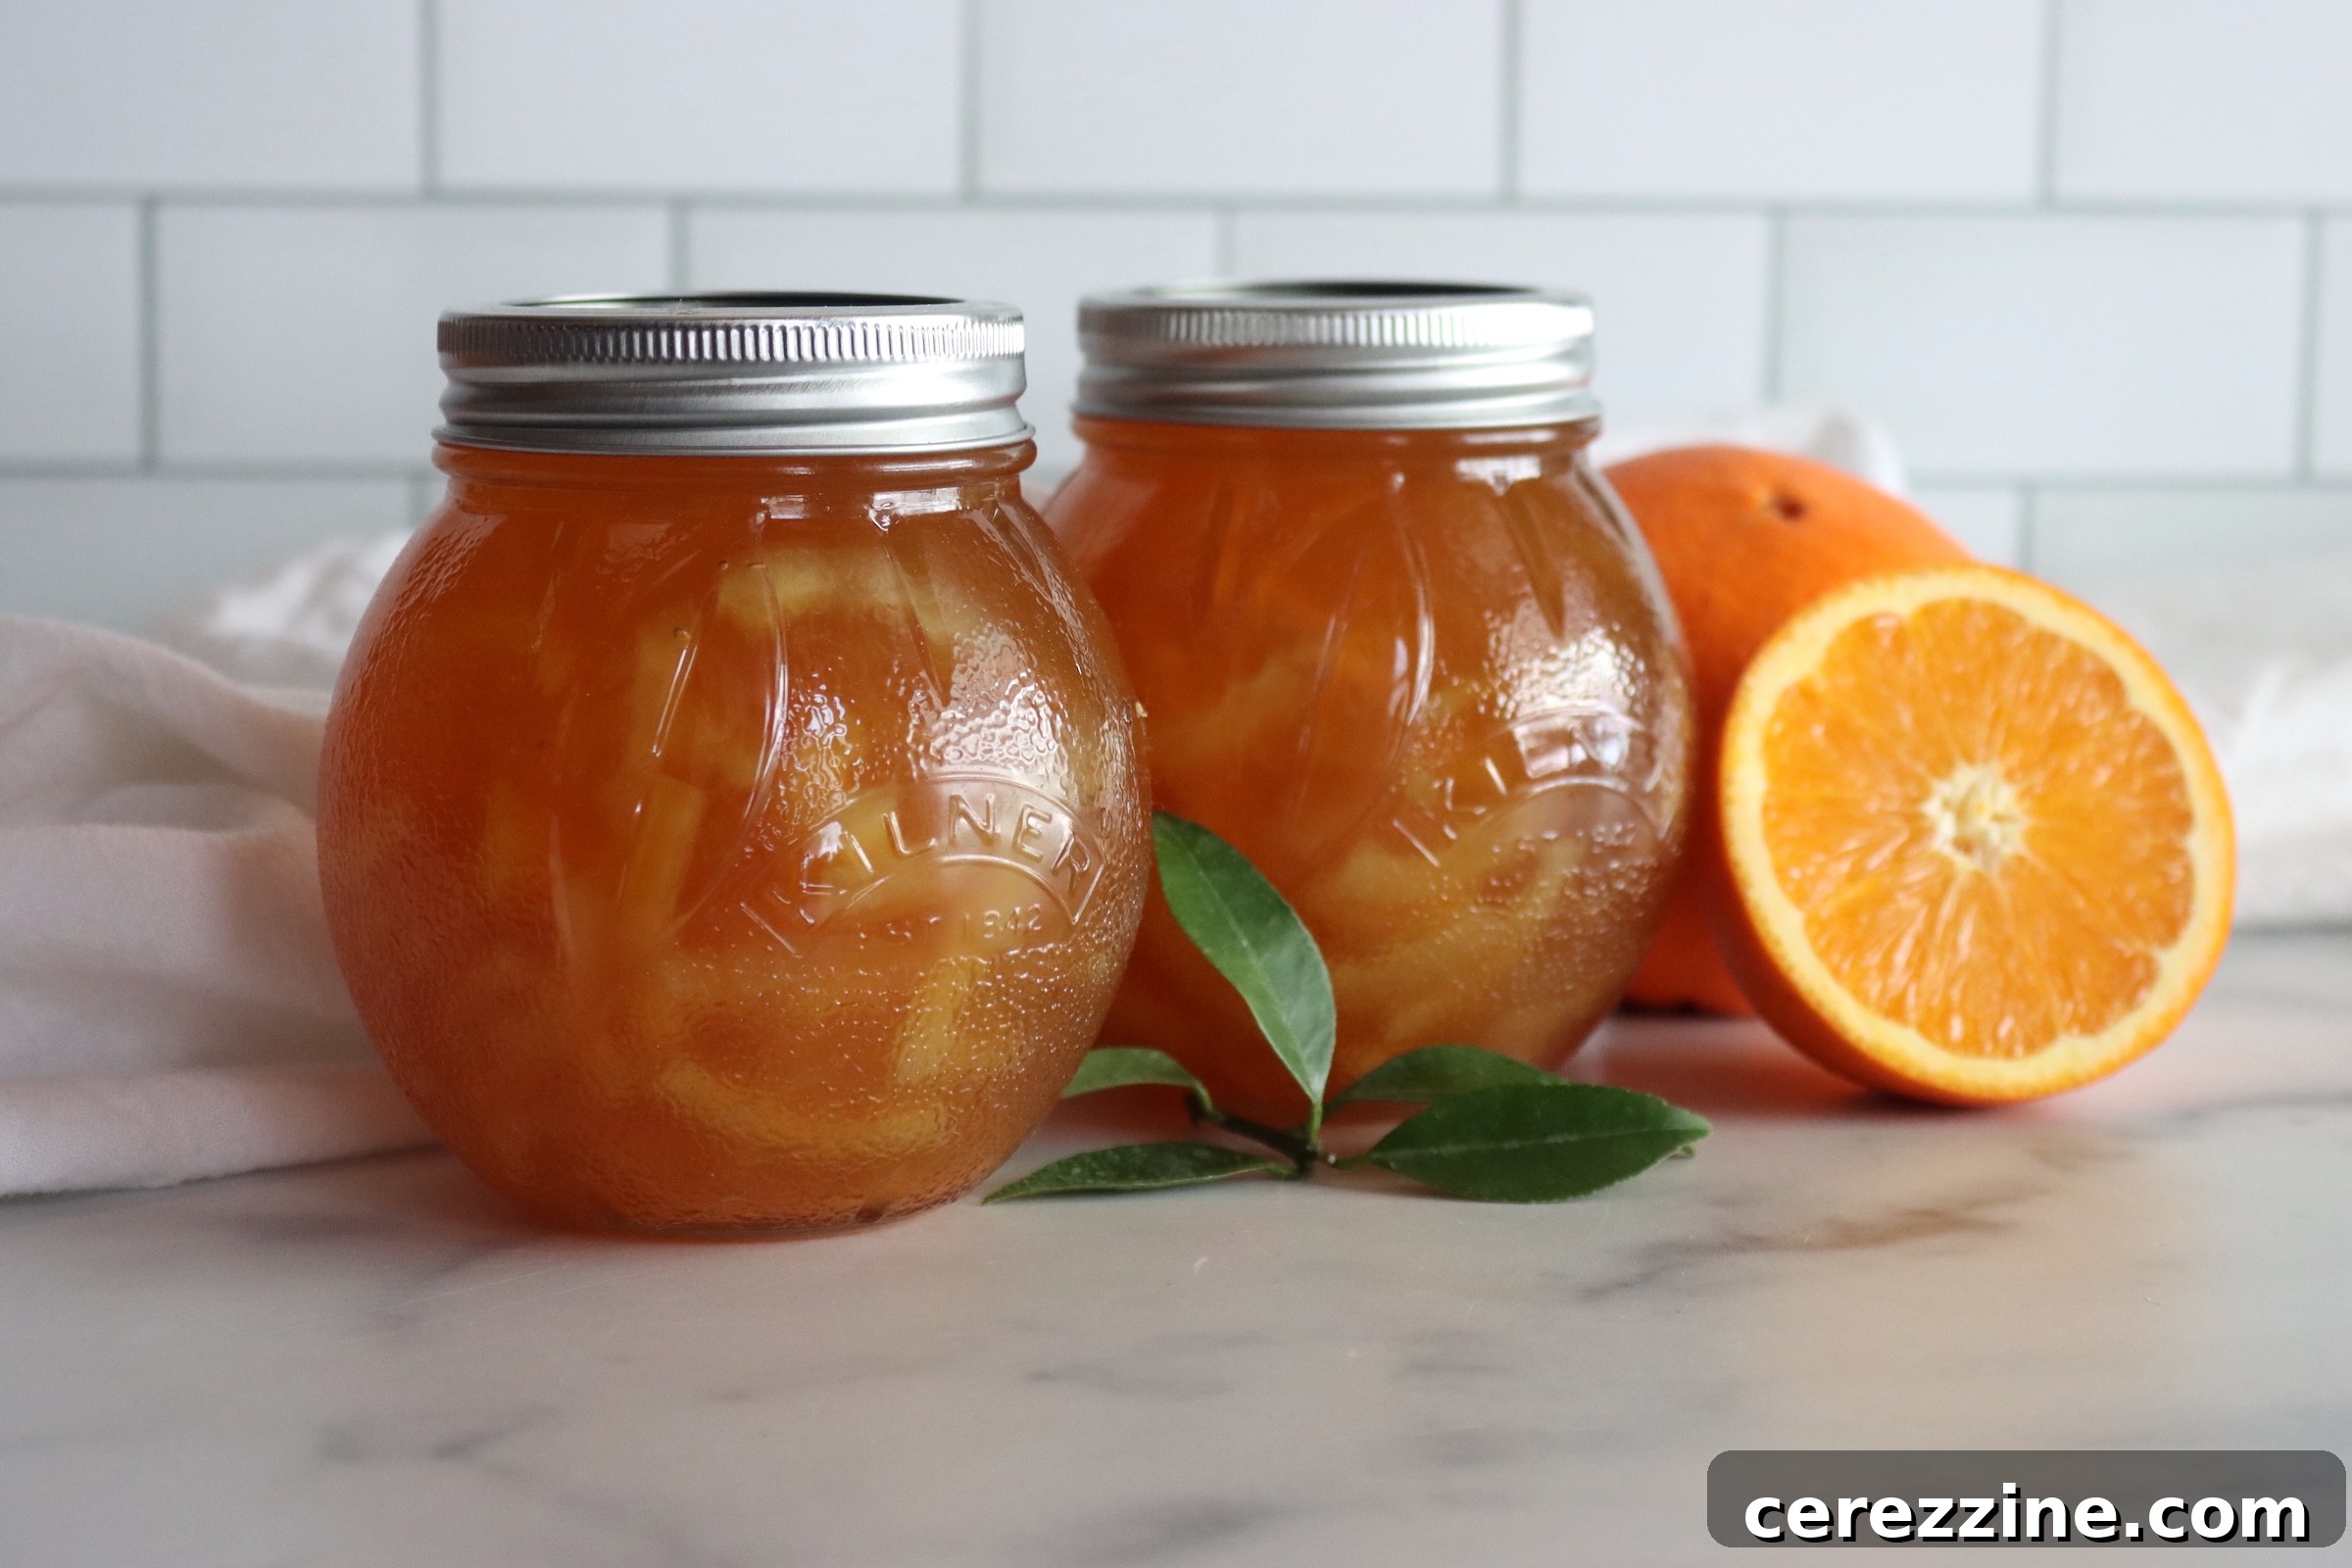
Embark on a culinary journey to craft the ultimate traditional homemade orange marmalade. More than just a breakfast spread, this classic citrus preserve is a labor of love, celebrated for its complex bitter-sweet flavor, vibrant color, and satisfying texture. Made over three dedicated days, this authentic recipe ensures a depth of flavor and perfect set that store-bought varieties simply can’t match. Prepare to fill your kitchen with an intoxicating citrus aroma and create a beautiful preserve that tastes like sunshine in a jar, perfect for gifting or savoring all year round.
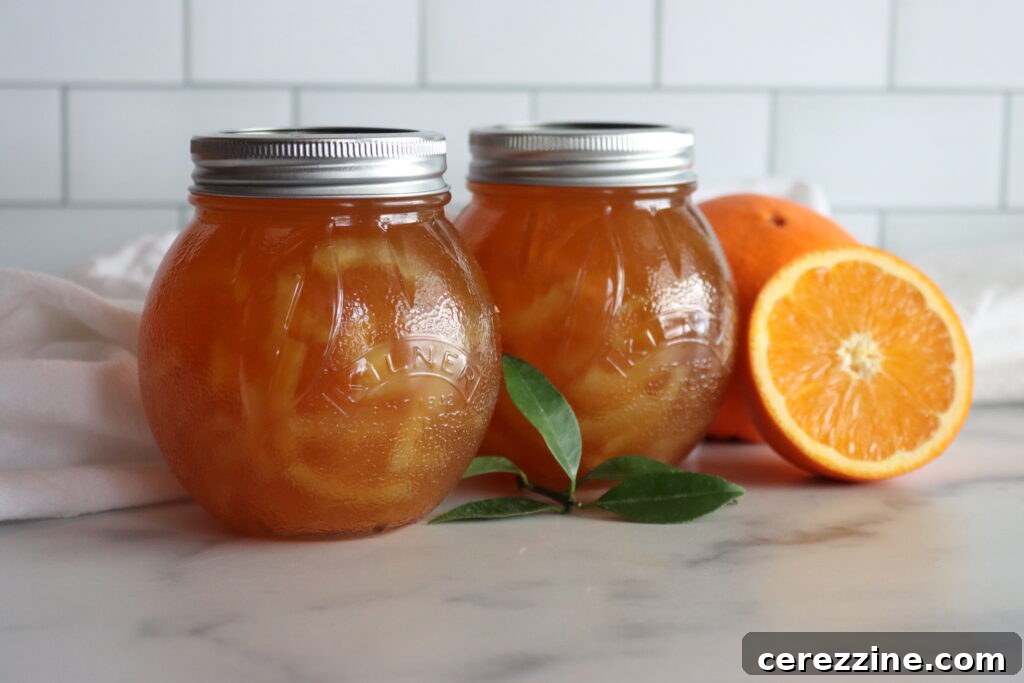
The Heart of Marmalade: Choosing Your Oranges Wisely
The secret to an exceptional orange marmalade lies primarily in the quality and type of oranges you select. Traditionally, Seville oranges are the gold standard for marmalade making. These distinctive fruits, typically available only for a short season in late winter, are renowned for their intense bitterness and exceptionally high pectin content. This natural pectin is crucial for achieving that ideal, firm, yet spreadable gel-like consistency without the need for commercial additives, while their inherent bitterness provides the signature tangy counterpoint to the sweetness of the sugar.
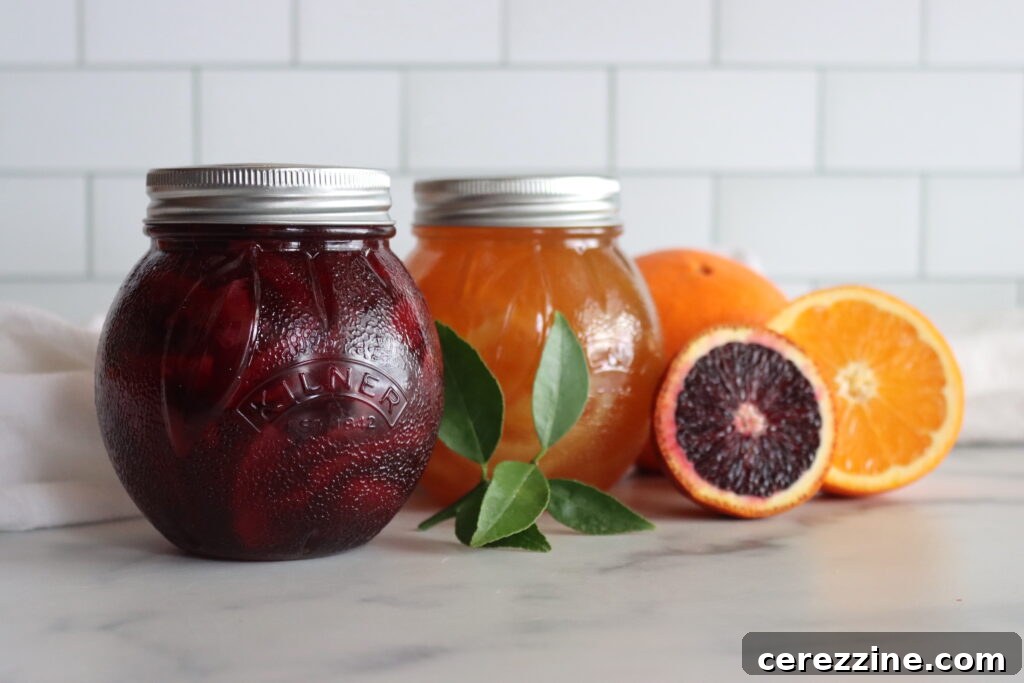
However, if Seville oranges are not readily accessible, particularly in regions like Vermont where specialty citrus can be scarce, delightful marmalade can still be made using other varieties. Navel oranges, with their juicy sweetness, are a popular alternative. When using sweeter oranges like Navels or Valencias, it’s essential to introduce more tartness to balance the flavor profile. This is often achieved by substituting a portion of the oranges with lemons or increasing the lemon juice content in the recipe. Blood oranges offer a unique twist, imparting a stunning ruby-red hue and a subtle, slightly floral, berry-like note to the finished preserve. Mandarins, while wonderfully aromatic, are also quite sweet and will benefit significantly from additional lemon to prevent the marmalade from becoming cloyingly sweet.
Regardless of your chosen variety, prioritize fresh, organic fruit whenever possible. Since the peel plays a starring role in both flavor and texture, ensuring it’s free from pesticides and waxes is paramount. Thoroughly washing and scrubbing your oranges before preparation is always a good practice.
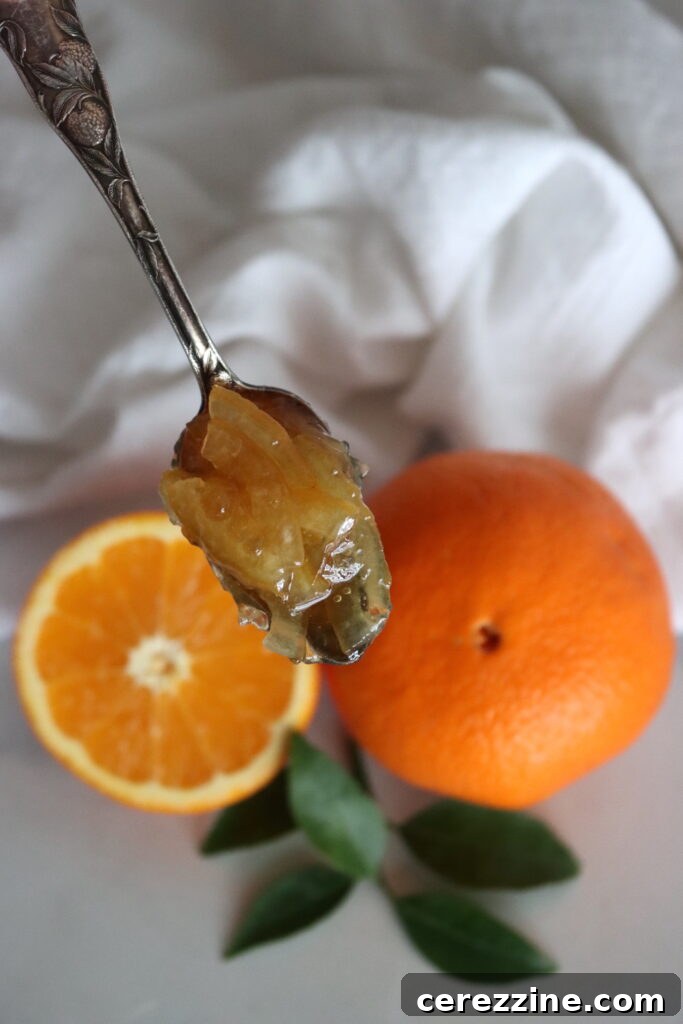
Traditional Craftsmanship vs. Modern Convenience: The Marmalade Method
There are generally two schools of thought when it comes to making orange marmalade: the time-honored traditional method and the quicker, modern approach. While both can yield delicious results, they differ significantly in process, flavor development, and texture.
The traditional method, often spanning three days, is celebrated by purists for its unparalleled depth of flavor and superior texture. This process involves slowly coaxing the pectin and rich citrus oils from the fruit over an extended period, typically by soaking the fruit overnight and then simmering it gently for hours. This patient approach allows the rinds to soften beautifully and the flavors to meld and intensify, resulting in a complex, well-rounded marmalade with a characteristic “chewy” peel that is highly prized.
In contrast, modern marmalade recipes often incorporate added pectin, usually in powdered or liquid form, to accelerate the setting process. This allows for significantly shorter cooking times, making it a more convenient option for those with less time. While faster, the flavor profile of pectin-added marmalade tends to be brighter and fresher, but often lacks the deep, caramelized notes and the nuanced bitterness that develops through the slow-cooking of the traditional method. If you’re seeking a quicker alternative, especially with sweeter oranges like Navels or mandarins, a recipe utilizing low-sugar pectin can be an excellent choice, allowing you to adjust sweetness to your preference. However, for true aficionados who appreciate the rich heritage and profound flavors of a classic preserve, the traditional three-day method remains the definitive choice.
Understanding Your Ingredients: More Than Just Oranges and Sugar
Crafting exquisite orange marmalade involves a careful balance of a few simple ingredients, each playing a crucial role in the final product’s flavor, texture, and preservation. For this traditional three-day recipe, you’ll need oranges, sugar, and fresh lemon juice.
- Oranges: The recipe divides oranges into two distinct groups. The first group, about 1 ½ lbs, is cut into eighths. These larger pieces, including their seeds, are primarily used for extracting pectin and intense citrus flavor during the initial long simmer. They will be discarded before the final cooking stage. If you’re using very sweet oranges (like Navels or Mandarins) instead of bitter Sevilles, it’s recommended to adjust this ratio to 1 lb of oranges and ½ lb of lemons to achieve a balanced tartness. The second group, 1 lb of oranges, is thinly sliced. These slices, with their zest and pulp, are the beautiful translucent pieces that will be suspended in your finished marmalade. It’s important to remove all seeds from these slices as you prepare them.
- Sugar: Approximately 5 cups (2 ½ lbs) of white cane sugar are essential for this recipe. In traditional marmalade making, sugar serves multiple purposes: it acts as a natural preservative, contributes significantly to the texture by binding with pectin to create a gel, and balances the bitterness of the citrus. The sugar content in this recipe is roughly equal in weight to the citrus, a ratio critical for proper setting. Reducing this amount without adding commercial pectin will likely result in a runny marmalade.
- Fresh Lemon Juice: A ¼ cup of freshly pressed lemon juice, typically from 2 lemons, is a vital ingredient. Lemon juice not only enhances the brightness of the orange flavor but, more importantly, provides the acidity necessary to activate the pectin in the fruit. This acidity is key to achieving a firm and stable set. While bottled lemon juice is often used for canning safety in other recipes, for this particular marmalade, fresh lemon juice is highly recommended for its superior flavor profile, as its acidity is primarily for pectin activation rather than strict pH control for preservation, which is managed by the high sugar content and processing.
Careful consideration of these ingredients and their roles will lead to a truly outstanding homemade orange marmalade.
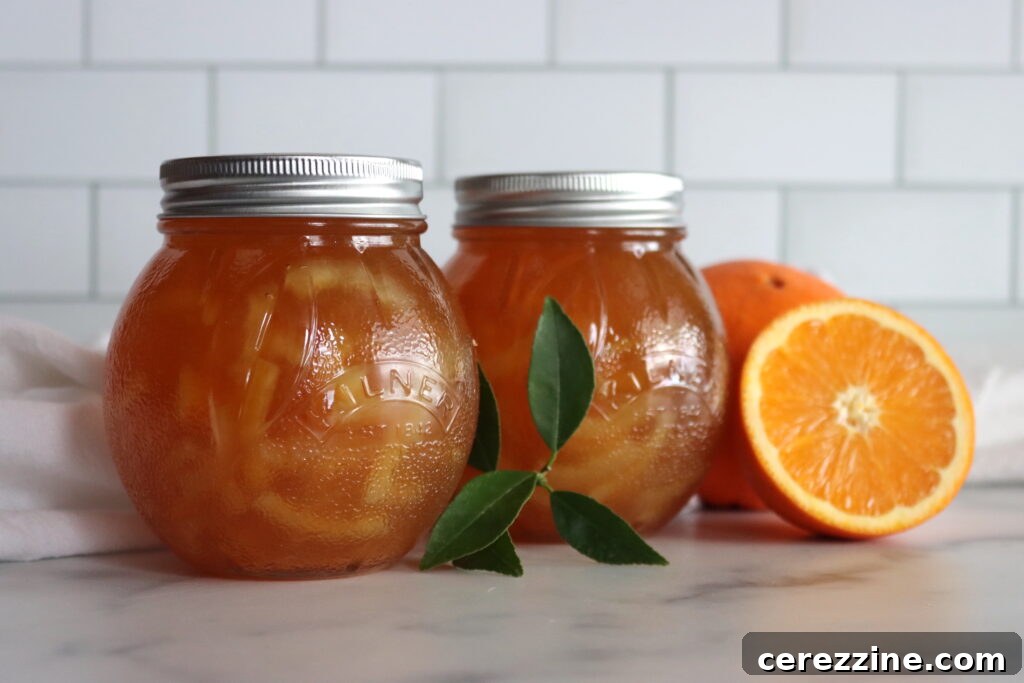
The Three-Day Journey to Perfect Orange Marmalade
Making traditional orange marmalade is a slow, methodical process that rewards patience with exceptional flavor and texture. This three-day approach allows each component to develop fully, culminating in a truly exquisite preserve.
Day 1: Preparation and Infusion
The first day focuses on softening the citrus rinds and beginning the crucial process of extracting natural pectin. This initial step is fundamental for achieving the desired gel-like consistency.
- Take the orange eighths (1 ½ lbs, or 1 lb oranges + ½ lb lemons if using sweeter varieties) and place them in a large, nonreactive pot. Ensure they fit snugly in a single layer at the bottom.
- Add enough cold water to the pot so that the fruit can float freely, indicating full submersion.
- Cover the pot tightly with a lid.
- Allow the pot to sit undisturbed at room temperature overnight. This overnight soak helps to soften the peels and encourages the natural pectin within the fruit to begin releasing into the water.
Day 2: Slow Simmer and Peel Perfection
Day two involves two separate but equally important cooking processes: simmering the pectin-rich fruit and tenderizing the thinly sliced peels that will form the body of your marmalade.
- Begin with the pot containing the orange eighths from Day 1. Bring this mixture to a boil over medium-high heat.
- Once boiling, reduce the heat to a gentle simmer, cover the pot, and cook for approximately three hours. Stir occasionally to ensure even cooking and prevent sticking. Replenish with additional water as needed to keep the fruit submerged, ensuring maximum pectin extraction. The oranges should become incredibly soft, and the liquid should begin to thicken slightly, developing a delicate syrupy consistency.
- Once cooked, carefully strain the liquid from the cooked orange eighths. Pour the hot mixture through a fine-mesh strainer into a heatproof container. Do not press the fruit; allow the liquid to drip naturally overnight. This ensures clear, pectin-rich juice.
- While the juice is straining, prepare the thinly sliced oranges (1 lb, with seeds removed). Place these slices in a separate wide stainless-steel pot.
- Cover the sliced oranges with cold water and bring to a rolling boil over high heat.
- Reduce the heat to a simmer and cook for five minutes. Drain and discard this water. This step helps to reduce some of the initial bitterness from the rinds and cleanses them.
- Return the drained slices to the pot, add fresh water to cover them by about an inch.
- Cook, covered, at a lively simmer for two hours, stirring occasionally. The goal is to make the orange slices very tender and translucent.
- Once tender, remove the pot from heat, cover it, and let the slices rest overnight at room temperature in their liquid.
Day 3: The Grand Finale – Combining and Cooking to Set
The final day brings all the prepared components together to create the magnificent marmalade. This is where patience truly pays off as you cook the mixture to its perfect setting point.
- Before starting, place a few metal teaspoons or a small ceramic plate in your freezer. These will be used later for testing the marmalade’s set. If you plan to can your marmalade, prepare your water bath canner and sterilize your jars and lids now.
- Take the strained orange juice from Day 2. Discard the cooked orange eighths, ensuring all juice has been extracted through the fine-mesh sieve.
- In a large, heavy-bottomed jam pot or preserving pan, combine the 5 cups of white cane sugar, the strained orange juice, the ¼ cup of fresh lemon juice, and the cooked thinly sliced orange pieces along with their soaking liquid.
- Stir the mixture thoroughly to ensure that all the sugar completely dissolves before heating. Undissolved sugar can lead to crystallization in the finished marmalade.
- Bring the mixture to a vigorous boil over high heat.
- Continue cooking at a rapid, rolling boil. Initially, stir only occasionally to prevent scorching at the bottom of the pan. As the mixture begins to thicken and foam, you will need to stir more frequently, every few minutes, especially towards the end, to ensure even cooking and prevent sticking.
- Orange marmalade typically takes at least 20 minutes to reach its setting point, but this can vary significantly based on your stove’s heat, the width of your pan, and the pectin content of your fruit. Some batches may take up to 45 minutes or even an hour. As it thickens, the color of the marmalade will deepen, and the bubbles on the surface will become smaller and more concentrated.
Mastering the Set: Ensuring Perfect Marmalade Consistency
Determining when your marmalade has reached its perfect set is a critical step. An undercooked marmalade will be too runny, while an overcooked one can become overly stiff or gummy. There are several reliable methods to test for doneness:
Instant-Read Thermometer Test
Using an instant-read thermometer is often the most precise method, especially for those new to jam and jelly making. Marmalade typically sets at around 220°F (104.4°C) at sea level. However, this temperature needs to be adjusted for altitude. As altitude increases, the boiling point of water decreases, and so does the setting point for preserves. A general rule of thumb is to reduce the target temperature by 1°F for every 500 feet above sea level. For example, if you are at 1,000 feet elevation, your target set point would be approximately 218°F (103.3°C).
Cold Plate Test (Wrinkle Test)
This is a classic and widely used method. Make sure you have several small plates or saucers chilled in your freezer beforehand:
- When you suspect the marmalade is ready, remove the pot from the heat.
- Drop a small spoonful of hot marmalade onto one of the chilled plates.
- Let it sit for a few seconds to cool.
- Push the edge of the marmalade with your finger. If it wrinkles and holds its shape without immediately running back together, it has reached its set point.
- If it’s still too runny, return the pot to the heat, continue boiling for another few minutes, and repeat the test with a fresh chilled plate.
Cold Spoon Test
Similar to the cold plate test, this method uses a frozen spoon to check consistency:
- Place several metal teaspoons in the freezer before you begin cooking.
- When you’re ready to test, remove a small spoonful of hot marmalade and place it onto one of the frozen spoons.
- Allow it to cool on the spoon for 1-2 minutes.
- Check the underside of the spoon – it should be neither warm nor cold.
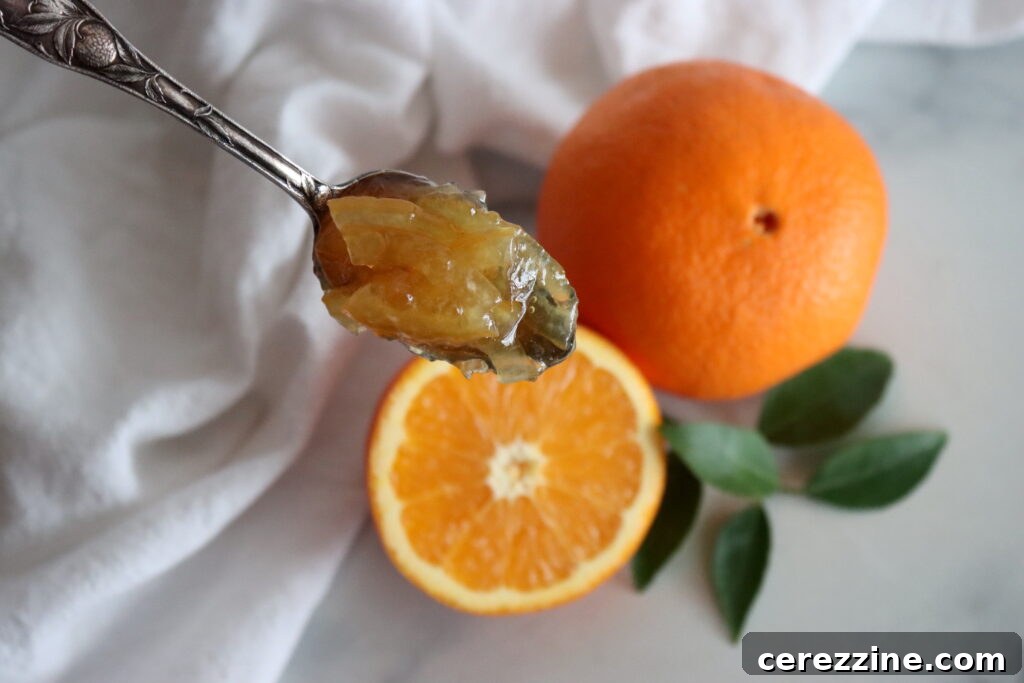
- Tilt the spoon gently. If the marmalade has thickened to a jelly-like consistency and holds its shape, clinging to the spoon without running off freely, it is done. If it still runs easily, continue boiling for a few more minutes and retest.
By utilizing these testing methods, you can confidently achieve a perfectly set marmalade every time.
Finishing Touches and Safe Storage
Once your marmalade reaches the desired set, the final steps ensure a beautiful presentation and readiness for storage.
- As soon as the marmalade is set, turn off the heat immediately. Resist the urge to stir it further, as this can break the pectin bonds and lead to a cloudy appearance.
- Using a clean stainless-steel spoon, carefully skim off any foam that has accumulated on the surface. This will ensure your finished marmalade is clear and glossy.
- Ladle the hot marmalade into your prepared, clean jars, leaving ¼ inch of headspace from the rim. This headspace is crucial for proper sealing if you plan to can the marmalade.
- Once filled, it’s important to remember that marmalades, especially traditional ones without added pectin, can take time to fully set in the jar. While many begin to set within 24-48 hours, the pectin can continue to work its magic for up to a week. Don’t be discouraged if your marmalade feels a bit soft initially; give it ample time to firm up before judging its final consistency.
Canning Orange Marmalade for Long-Term Enjoyment
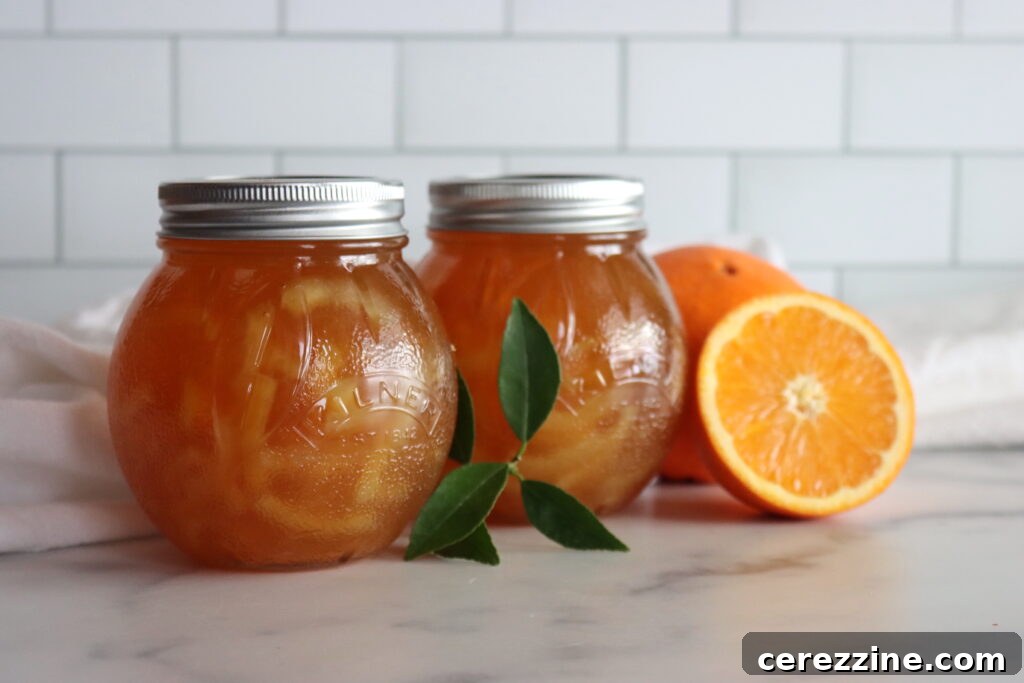
While homemade marmalade can be stored in the refrigerator for a few weeks, canning it ensures a much longer shelf life and pantry stability, allowing you to enjoy your efforts throughout the year. Canning is an optional step, but highly recommended for preserving your delicious creation.
If you choose to can your marmalade, it’s crucial to prepare your water bath canner, jars, and lids on Day 3, before you begin the final cooking process of the marmalade. This ensures everything is ready once the marmalade reaches its setting point.
- Once your marmalade is ladled into clean, hot canning jars, leaving ¼ inch headspace, carefully wipe the rims of the jars to ensure no marmalade residue will prevent a proper seal.
- Center the canning lids on the jars, then apply the screw bands finger-tight.
- Carefully place the filled jars into your prepared boiling water bath canner, ensuring they are fully submerged by at least 1-2 inches of water.
- Bring the water back to a full, rolling boil.
- Process pint jars of orange marmalade for 10 minutes. If you are at an elevation above 6,000 feet, increase the processing time to 15 minutes to account for the lower boiling point of water.
- Once the processing time is complete, turn off the heat and carefully remove the canner lid. Allow the jars to sit in the hot water for 5 minutes before carefully removing them.
- Place the hot jars on a wire rack or a clean towel, ensuring they are not touching each other, and let them cool undisturbed for 12-24 hours. You will hear the satisfying “ping” as the lids seal.
- After 12-24 hours, check the seals by pressing down on the center of each lid. If it doesn’t flex, the jar is sealed. Remove the screw bands, wipe down the jars, label them, and store them in a cool, dark place.
- Any jars that did not seal should be stored in the refrigerator and consumed within a few weeks.
Properly canned and sealed jars of traditional orange marmalade will maintain their peak quality on the pantry shelf for 12-18 months, offering you a taste of homemade goodness whenever you desire.
Beyond the Classic: Exciting Marmalade Variations
While the pure, traditional orange marmalade is a timeless delight, its inherent balance of sweet, bitter, and tangy flavors makes it an excellent canvas for creative variations. Experimenting with additional ingredients can introduce new dimensions of aroma and taste, allowing you to personalize your preserves.
Here are a few inspiring ideas to elevate your homemade orange marmalade:
- Whisky Cinnamon Marmalade: For a sophisticated and warming twist, incorporate a splash of good quality whisky and a few cinnamon sticks during the final cooking stage. The whisky adds a subtle depth and warmth, while cinnamon beautifully complements the citrus notes, creating a complex, aromatic preserve perfect for chilly mornings.
- Vanilla Rum Marmalade: Transform your marmalade into a luxurious treat by infusing it with vanilla and dark rum. Add a vanilla bean pod (split and scraped) to the simmering fruit, or a teaspoon of pure vanilla extract at the very end. A generous splash of dark rum during the final boil will add a rich, aromatic depth that pairs wonderfully with the bright orange.
- Orange & Lemon Marmalade: If you enjoy a tangier, brighter marmalade, a combination of oranges and lemons is a fantastic choice. To create this variation, simply replace ¼ to ½ of the oranges in the recipe with an equal weight of lemons. This will intensify the citrus zing, offering a delightfully zesty and refreshing spread.
These variations are just starting points. Feel free to explore other spices like cloves, ginger, or even a touch of star anise to find your signature marmalade flavor. Alternatively, sticking to the pure, unadulterated orange flavor remains a classic choice for a reason – its timeless appeal is undeniable.
Traditional Orange Marmalade Recipe
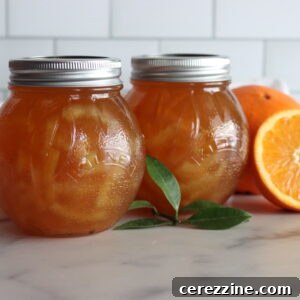
This traditional orange marmalade rewards patience with an intensely flavored, perfectly set preserve. Whether spread on toast or paired with cheese, it is a satisfying addition to any pantry. Enjoy the deep citrus aroma and the perfect balance of sweet and bitter flavors, crafted with care the old-fashioned way.
Equipment
- Water Bath Canner
- Half Pint Jars
- Regular Mouth Canning Lids
- Canning Funnel
- Jar Lifter
- Large nonreactive pot (stainless steel or enameled cast iron)
- Fine mesh strainer
- Heatproof container
- Large jam pot or preserving pan
- Metal teaspoons or small ceramic plate (for testing set)
Ingredients
- 1 ½ lb oranges, cut into eighths (If using very sweet oranges, use 1 lb oranges and ½ lb lemons instead.)
- 1 lb oranges, halved crosswise, each half cut lengthwise into quarters and sliced as thinly as possible, seeds removed
- 5 cups (2 ½ lbs) white cane sugar
- ¼ cup freshly pressed lemon juice (from 2 lemons)
Instructions
Day 1: Preparing the Oranges
- Place the orange eighths in a nonreactive pot where they fit snugly in a single layer.
- Add enough cold water to allow the fruit to float freely.
- Cover the pot tightly and let it sit overnight at room temperature to help soften the fruit and begin extracting pectin.
Day 2: Cooking the Fruit
- Bring the pot with the orange eighths to a boil over medium-high heat, then reduce to a gentle simmer.
- Cook, covered, for about 3 hours, stirring occasionally. Add water as needed to keep the fruit submerged. The oranges should become very soft and the liquid slightly syrupy.
- Strain the juice by pouring the hot mixture through a fine strainer into a heatproof container. Cover the container and let it drip overnight to extract all the flavorful liquid. Discard the cooked orange eighths after straining.
- Meanwhile, prepare the thinly sliced oranges by placing them in a wide stainless-steel pot and covering them with cold water.
- Bring to a boil over high heat, then reduce to a simmer and cook for 5 minutes.
- Drain and discard this water. Return the slices to the pot, add fresh water to cover them by 1 inch.
- Cook, covered, at a lively simmer for 2 hours, stirring occasionally. Once the slices are tender and translucent, remove from heat, cover, and let rest overnight at room temperature in their liquid.
Day 3: Combining and Cooking the Marmalade
- Place a small plate or several metal spoons in the freezer for testing later. If canning, prepare a water bath canner and jars.
- In a large jam pot, combine the sugar, the strained orange juice (from the cooked eighths), the fresh lemon juice, and the cooked orange slices with their liquid (from the thinly sliced oranges).
- Stir well, ensuring the sugar is fully dissolved before heating.
- Bring the mixture to a vigorous boil over high heat.
- Cook at a rapid boil, stirring occasionally at first. As the mixture thickens and starts to foam, stir gently every few minutes to prevent scorching.
- Continue cooking until the setting point is reached. This can take at least 20 minutes, and potentially up to an hour, depending on various factors.
- Testing for Doneness: Remove the marmalade from heat. Drop a small spoonful onto a plate chilled in the freezer. Let it cool for a few seconds, then run your finger through the marmalade; if it wrinkles and holds its shape without running back together, it is set. Alternatively, use an instant-read thermometer: marmalade usually sets around 220°F (104.4°C) at sea level (adjust for altitude: subtract 1°F for every 500 feet of elevation).
- Once done, turn off the heat but do not stir.
- Skim off any foam using a stainless-steel spoon for a clear finish.
- Ladle the marmalade into prepared jars, leaving ¼ inch of headspace.
- If canning, cap the jars with canning lids and process in a water bath canner for 10 minutes (or 15 minutes if above 6,000 feet in elevation). Remove from canner and let cool completely before checking seals.
Notes
- Orange Selection: Seville oranges offer the ideal bitterness and pectin. If using sweeter oranges (like Navels or Mandarins), substitute 1 lb of sweet oranges with ½ lb of lemons in the first ingredient group (the eighths for pectin extraction) to balance the flavor. Still use all orange slices for the finished marmalade.
- Water Level: Ensure fruit is always completely covered with water during simmering to extract maximum pectin and flavor.
- Sugar Ratio: The high sugar ratio is crucial for both setting and preservation in traditional marmalade. To reduce sugar, a low-sugar pectin must be used to ensure proper set.
- Simmering Time: Cooking times can vary based on fruit ripeness and pectin levels. Always rely on the set tests rather than strict timing.
Troubleshooting Your Marmalade
Even experienced cooks encounter issues. Here’s how to address common marmalade problems:
- Marmalade Didn’t Set: If your marmalade remains runny after cooling, it likely didn’t reach the correct temperature (around 220°F / 104.4°C) or boil long enough to activate pectin. Reheat the marmalade, bring it back to a rapid boil, and cook for several more minutes, testing frequently with the cold plate or cold spoon method.
- Marmalade is Too Thick: If your marmalade turns out overly thick or stiff, it was probably cooked too long. To remedy this, gently reheat the marmalade with a small amount of boiling water, stirring until it reaches a desired consistency. Be cautious not to add too much water at once.
- Sugar Crystallization: Sugar crystals forming in the marmalade often indicate that the sugar wasn’t fully dissolved before the mixture came to a rolling boil. Ensure thorough stirring after adding sugar until no granules remain. Crystallization can also occur if the marmalade is overcooked or rapidly cooled.
- Cloudy or Foamy Appearance: Excessive stirring after the marmalade has begun to thicken can break down pectin and cause cloudiness. Not skimming off the foam adequately during boiling can also lead to a foamy finish. Always skim the foam just before jarring for a beautifully clear, glossy preserve.
Nutrition Information
Nutrition information is automatically calculated, so should only be used as an approximation. Per serving (1/24 of recipe):
- Calories: 183 kcal
- Carbohydrates: 47 g
- Protein: 0.5 g
- Fat: 0.2 g
- Saturated Fat: 0.01 g
- Polyunsaturated Fat: 0.01 g
- Monounsaturated Fat: 0.01 g
- Sodium: 0.4 mg
- Potassium: 89 mg
- Fiber: 1 g
- Sugar: 46 g
- Vitamin A: 106 IU
- Vitamin C: 26 mg
- Calcium: 19 mg
- Iron: 0.1 mg
If you loved crafting this traditional spread, why not explore the diverse world of citrus preserves? Each fruit offers a unique flavor profile waiting to be discovered. For a visually stunning and richly flavored option, try our Blood Orange Marmalade. If you prefer a brighter, more pungent taste, our Lemon Marmalade or Lime Marmalade are excellent choices that deliver a zesty punch. For those mindful of sugar intake, our Low Sugar Orange Marmalade (with pectin) provides a delicious and healthier alternative. And for ultimate creativity, explore the versatility of our Marmalade with Any Citrus recipe, allowing you to mix and match your favorite citrus fruits for endless delightful combinations! The journey of homemade preserves is always an adventure in flavor!