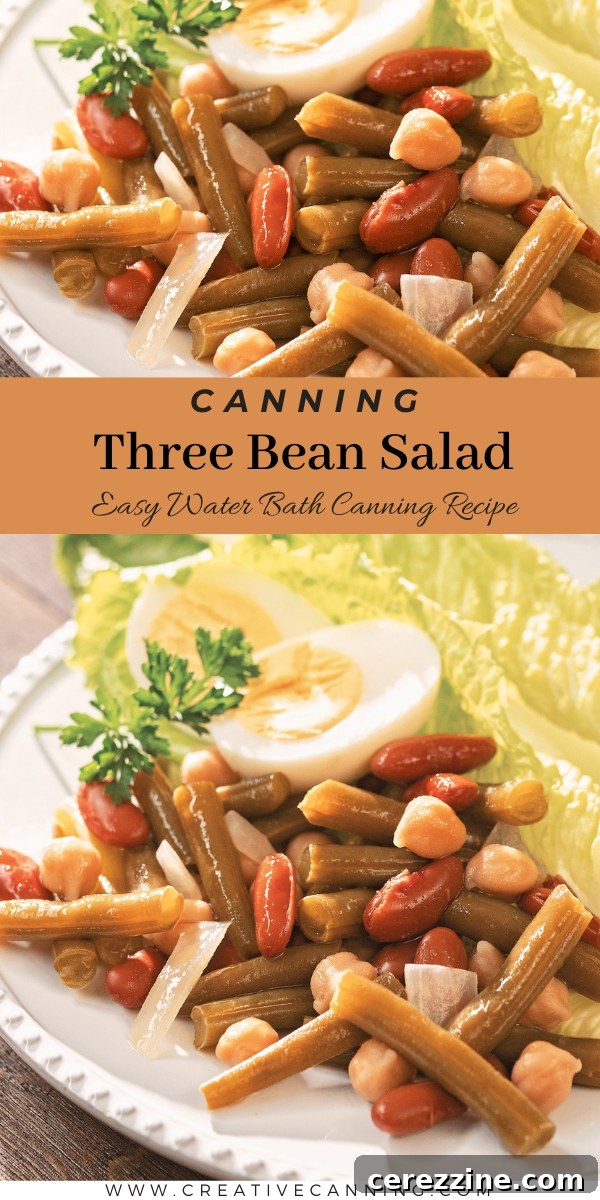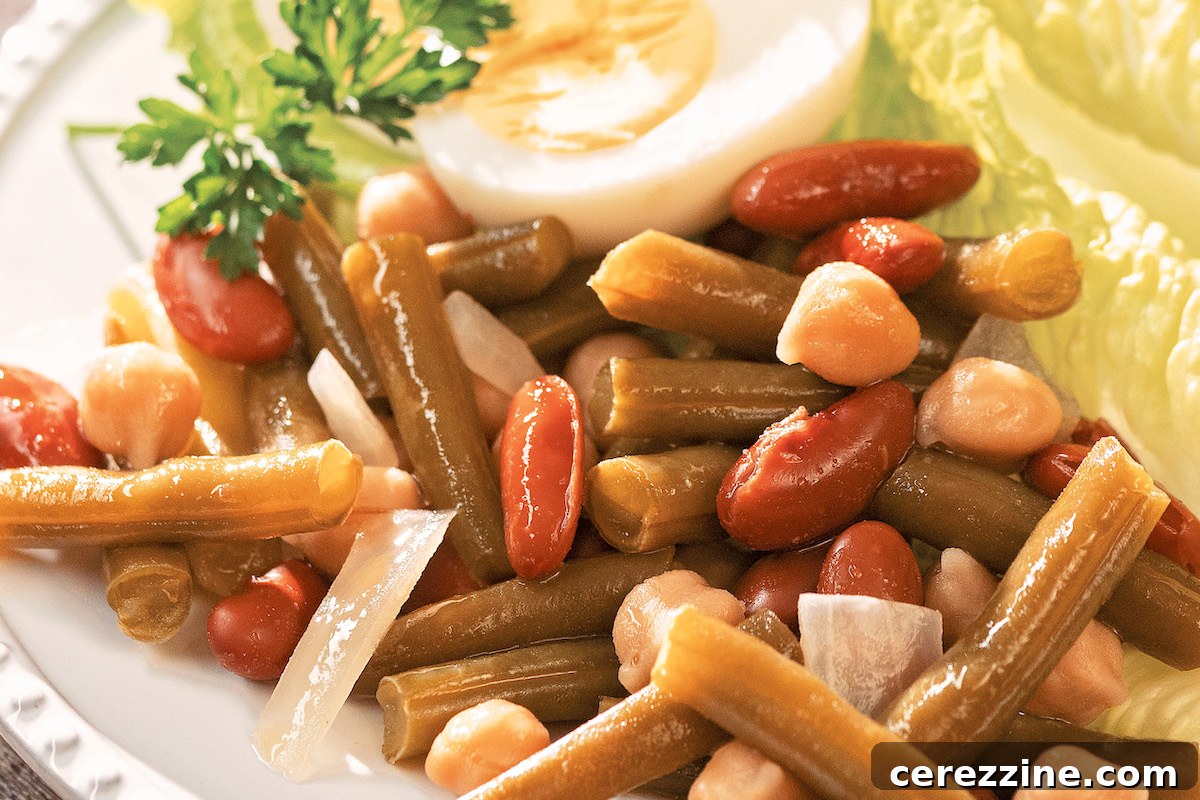
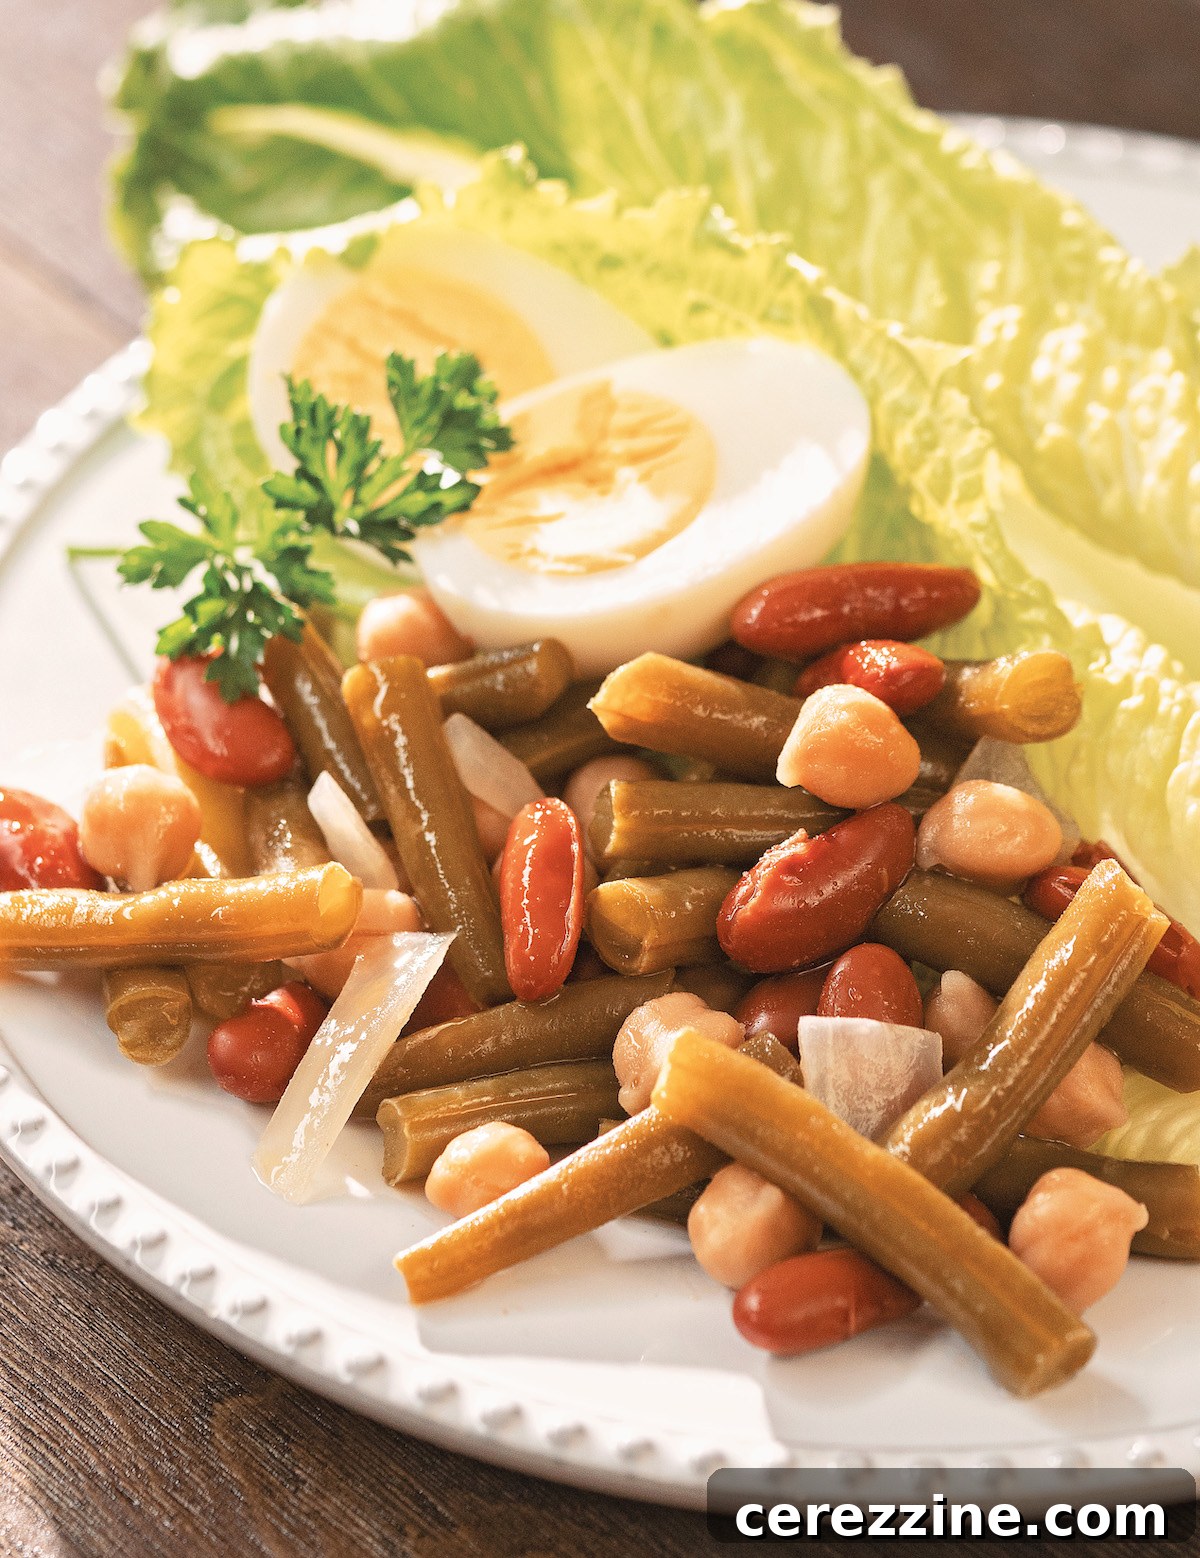
Pickled three-bean salad is an incredibly versatile and flavorful dish, and with this easy water bath canning recipe, you can enjoy its vibrant taste any time of year. Transforming this beloved classic into a convenient, shelf-stable side dish means you’ll always have a delightful addition ready for spontaneous summer BBQs, last-minute potlucks, or simply to brighten up a weeknight meal. Imagine the ease of having a tangy, perfectly seasoned salad ready to serve straight from your pantry, without the need to heat up your kitchen during warmer months. This comprehensive guide will walk you through creating a delicious, safely canned three-bean salad that’s sure to become a cherished family favorite.
Mastering the Art of Canning Pickled Three-Bean Salad
Three-bean salad holds a special place in culinary traditions, often gracing picnic tables and potluck spreads alongside other cherished dishes like creamy deviled eggs, savory Boston baked beans, and smoky grilled BBQ chicken. Its appealing combination of crisp-tender beans and a tangy-sweet dressing offers a refreshing contrast, making it a universal crowd-pleaser. However, achieving that deeply infused, complex flavor profile characteristic of a truly exceptional pickled salad typically demands a significant time commitment for marination – often requiring preparation days in advance to allow the ingredients to fully absorb the dressing.
This is precisely where the invaluable practice of canning pickled three-bean salad comes into its own. By preserving this delightful concoction, you unlock the convenience of having a ready-to-serve side dish at your fingertips, boasting flavors that have had ample time to meld and deepen. This method allows you to harness the bounty of fresh produce during its peak season, processing it when ingredients are at their finest, and then enjoying the fruits of your labor throughout the entire summer and well into the colder months. No more stressing over last-minute meal preparations; simply pop open a jar, and a flavorful, homemade side is instantly available, perfect for effortless outdoor dining or busy weekdays.
Moreover, one of the most reassuring aspects of this specific recipe is its suitability for water bath canning. This method is considerably less complex and intimidating than pressure canning, making it an accessible entry point for beginners and a preferred technique for experienced canners alike. Water bath canning is safely used for high-acid foods, and through the precise combination of vinegar and lemon juice, this three-bean salad achieves the necessary acidity levels for safe preservation using this straightforward method. This ensures that you can confidently undertake this canning project and achieve consistently delicious and safe results.
Safety First: A Tested and Trusted Recipe
When it comes to home canning, food safety is not just important; it’s absolutely critical. This pickled three-bean salad recipe is built upon a foundation of methods thoroughly tested and approved by the USDA (United States Department of Agriculture), which is the gold standard for home food preservation guidelines. Adhering to these scientifically validated processes ensures that your canned goods are not only delicious but also safe for consumption.
While the original USDA recipe provides a robust starting point, this version benefits from thoughtful enhancements introduced by Angi Schneider, a respected expert in food preservation, as featured in her highly acclaimed book, The Ultimate Guide to Preserving Vegetables. Angi’s expertise brings a nuanced improvement to the salad’s overall flavor profile. A key modification involves substituting the often-harsh white vinegar with a smoother, more complex red wine vinegar. This seemingly minor change yields a significantly more palatable and sophisticated taste, enhancing the natural flavors of the beans and vegetables without an overpowering acidic bite.
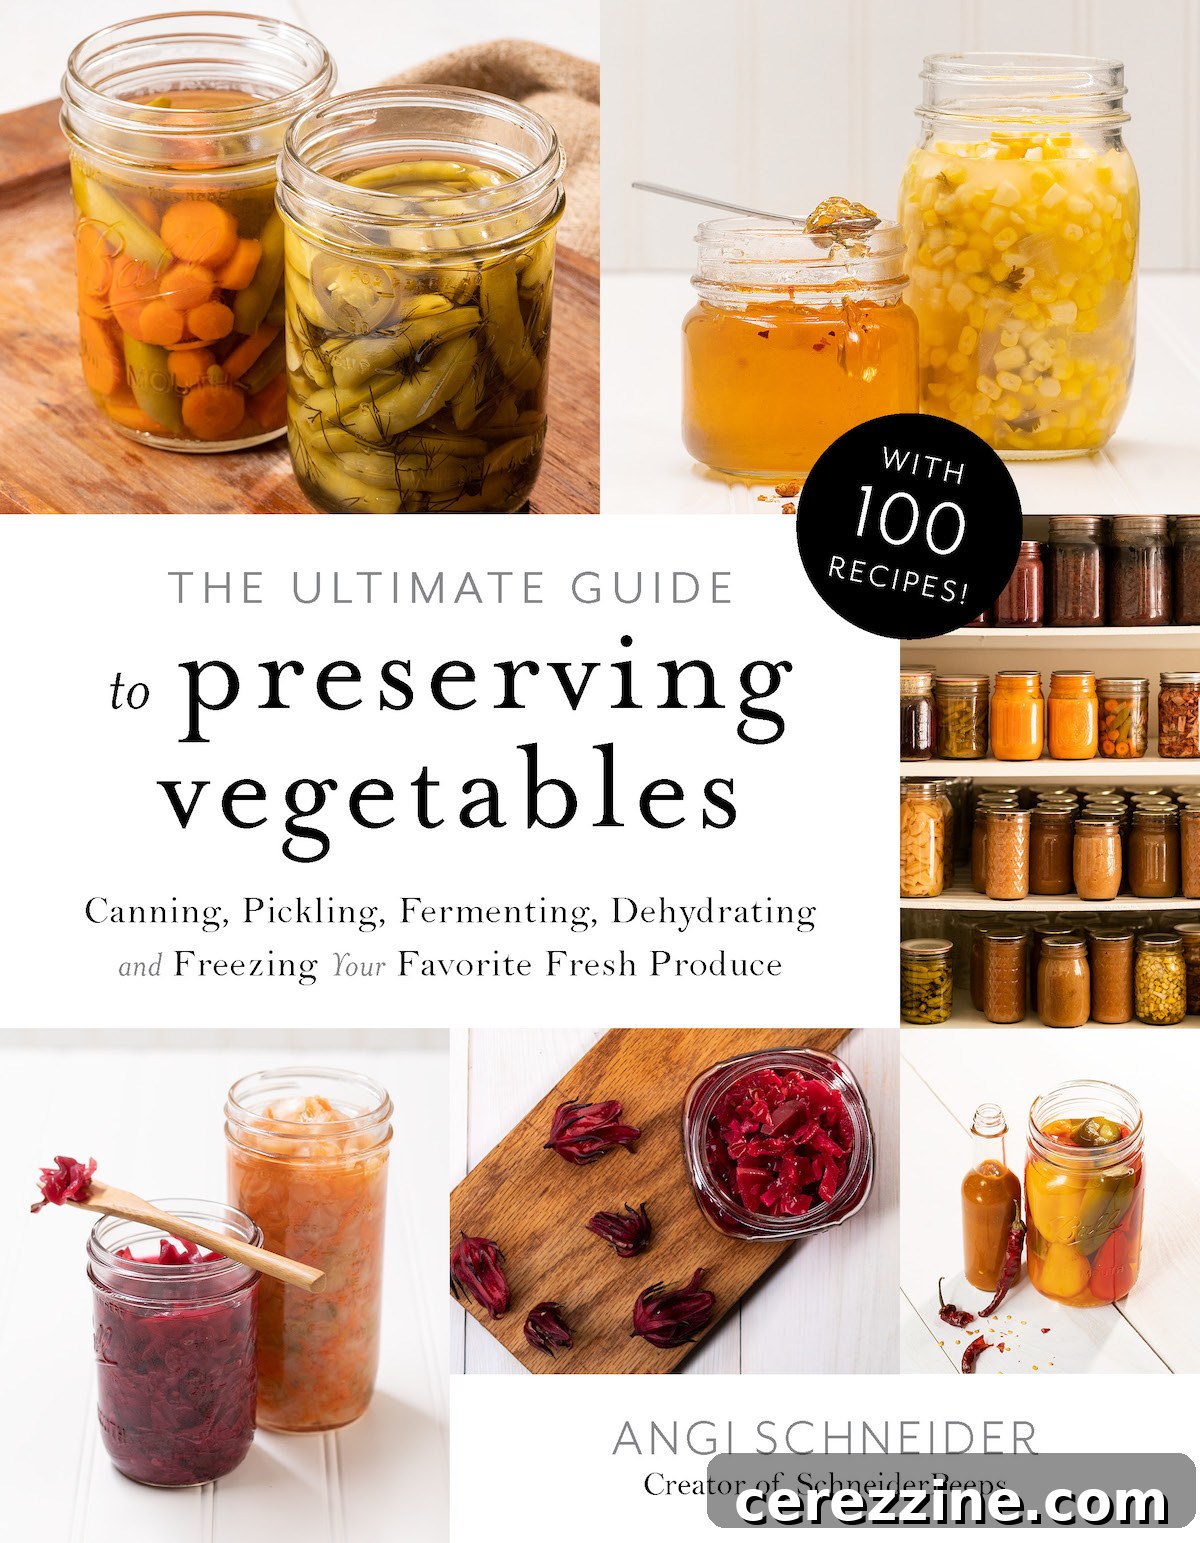
This exceptional recipe has been reprinted with permission from The Ultimate Guide to Preserving Vegetables by Angi Schneider, published by Page Street Publishing Co. in 2020. Photo credit: Dennis Burnett. The content has been carefully adapted for optimal web formatting and clarity, ensuring ease of use for our readers.
Why This Canned Three-Bean Salad Will Be Your New Favorite
Finding reliably tested canning recipes that incorporate dry or shell beans, and are also safely processed in a water bath canner, can be quite challenging. Many traditional recipes tend to focus predominantly on pickled snap beans. This makes a comprehensively tested three-bean salad recipe, designed for water bath canning, a truly valuable discovery. Upon finding such a method, experimenting with it was an absolute priority. Although the initial outcome was satisfactory, it didn’t quite capture the specific flavors or textures preferred by my family.
Consequently, I embarked on a journey of careful adaptation, making a few strategic adjustments while always operating strictly within the established safe canning guidelines. The result is a refined recipe that has quickly ascended to the status of a new family favorite. It’s important to note that this process is designed as a two-day endeavor, primarily due to the crucial overnight marination period. This extended soak allows the beans and vegetables to fully absorb the flavorful brine, developing a depth of taste that cannot be rushed. The effort invested in this two-day process is undeniably rewarded with a superior, richly flavored product.
Beyond its canning convenience, this vibrant bean salad is incredibly versatile and shines brightest when served cold. It makes an outstanding side dish, perfectly complementing a casual sandwich lunch or a light salad supper. For an added touch of freshness and visual appeal, a simple garnish of freshly chopped parsley just before serving elevates its presentation and brightens its flavors, making it suitable for even more formal gatherings.
Essential Ingredients for a Perfectly Pickled Three-Bean Salad
This recipe is designed to yield a generous batch, producing approximately 11 to 12 half-pint (250-ml) jars or 5–6 pint (500-ml) jars. This quantity is ideal for stocking your pantry, ensuring you have plenty of this delicious salad on hand. Gather the following high-quality ingredients to begin your canning adventure:
- 3 cups (330 g) fresh snap beans (also known as green beans), chopped into uniform 1-inch (2.5 cm) pieces. These should be blanched in boiling water for 3 minutes, then immediately transferred to an ice bath to stop the cooking process and preserve their crispness. Drain thoroughly.
- 3 cups (770 g) cooked kidney beans. You can either use kidney beans that you’ve cooked from dried, ensuring they are well-drained, or commercially canned kidney beans, thoroughly rinsed and drained to remove excess sodium and canning liquid.
- 2 cups (480 g) cooked garbanzo beans (chickpeas). Similar to kidney beans, these can be home-cooked and drained, or commercially canned, rinsed, and drained.
- 1 cup (150 g) finely chopped onion. A sweet onion variety works particularly well here.
- 2⁄3 cup (98 g) finely chopped sweet pepper. Any color bell pepper will add both flavor and visual appeal.
- 1 cup (237 ml) red wine vinegar. It is imperative that your vinegar has a minimum acidity of 5% for safe canning.
- 1 cup (237 ml) bottled lemon juice. Using bottled lemon juice is crucial for consistent and reliable acidity levels in canning, unlike fresh lemon juice which can vary.
- 1 1⁄2 cups (300 g) granulated sugar. This balances the acidity and adds a pleasant sweetness to the salad.
- 1⁄2 cup (118 ml) olive oil. This contributes to the richness and mouthfeel of the dressing.
- 1 tsp sea salt. For flavor enhancement.
- 2 1⁄2 cups (593 ml) water.
Understanding Ingredient Choices and Safe Modifications
The foundation of this recipe originates from the USDA’s Complete Guide to Home Canning, an indispensable and highly trusted resource for safe and effective food preservation practices. Our adapted version is designed to produce roughly double the quantity of the original USDA recipe, offering a more bountiful yield for your pantry. While making modifications to any tested canning recipe demands meticulous attention to safety, certain changes are permissible, provided they do not compromise the critical pH balance or significantly alter the density in a way that affects heat penetration.
One notable adaptation in this recipe is the omission of celery. This decision was based purely on family preference, as celery wasn’t a universally favored ingredient. If you, however, appreciate the crisp texture and subtle herbaceous note that celery can add, you are welcome to reintroduce 1 cup of finely chopped celery into your vegetable mix. This addition is considered safe as it does not reduce the overall acidity of the product or significantly increase its density beyond tested limits.
A significant enhancement to the flavor profile comes from the substitution of white vinegar with red wine vinegar. While white vinegar provides the necessary acidity, its taste can sometimes be sharp and aggressive. Red wine vinegar, in contrast, imparts a smoother, more complex, and subtly fruity tang that beautifully complements the medley of beans and vegetables. Both types of vinegar are standardized to 5% acidity, which is the crucial benchmark for safe canning. Always verify that your chosen vinegar, regardless of type, states “5% acidity” on the label.
Furthermore, I’ve deliberately increased the amount of bottled lemon juice to a full cup. This addition is a game-changer, infusing the salad with a bright, zesty note that makes the flavors sing. The original USDA recipe, when scaled to this batch size, would typically call for only 1/2 cup of bottled lemon juice. While I strongly advocate for using the full cup for its vibrant taste, you do have the option to reduce the lemon juice to 1/2 cup if you prefer a milder citrus profile. However, it is paramount that you **do not reduce the lemon juice quantity below 1/2 cup**, as this is the absolute minimum amount specified in the tested USDA recipe to ensure adequate acidity for safe water bath canning. Deviating below this minimum could compromise the safety of your canned product.
It is the substantial inclusion of high-acid ingredients—namely, vinegar and bottled lemon juice—that makes it possible to safely process this three-bean salad in a water bath canner. Beans themselves are naturally low-acid foods, typically requiring pressure canning for safety. However, the generous amount of added acidity in this recipe effectively lowers the overall pH of the mixture, creating an environment inhospitable to harmful bacteria and allowing for the simpler, yet equally effective, water bath canning method to be used.
Crafting Your Canned Three-Bean Salad: A Detailed Two-Day Process
The preparation for this pickled three-bean salad is straightforward, but it crucially incorporates a two-day approach to allow for an overnight marination period. This extended marination is essential for deeply infusing the vegetables with the rich, tangy brine, resulting in a finished product with superior flavor and texture. Embrace this two-day process for truly outstanding results.
Day 1: Preparing the Vegetables and Marinating in Brine
- **Combine Vegetables:** In a large, clean mixing bowl, gently combine the prepared snap beans (blanched and cooled), the thoroughly drained cooked kidney beans, the thoroughly drained cooked garbanzo beans, the finely chopped onion, and the chopped sweet pepper. Toss lightly to ensure an even distribution of ingredients. Set this mixture aside.
- **Prepare the Pickling Brine:** In a substantial, nonreactive stockpot (materials like stainless steel or enamel-coated cookware are ideal), combine the red wine vinegar, bottled lemon juice, granulated sugar, olive oil, sea salt, and water. Place the stockpot over medium-high heat and bring the mixture to a full, rolling boil, stirring occasionally to ensure that the sugar and salt completely dissolve.
- **Simmer Vegetables in Brine:** Once the brine is boiling vigorously, carefully add the previously prepared mixed vegetables from the bowl into the stockpot. Reduce the heat to a steady medium and allow the entire mixture to simmer gently for precisely 15 minutes. This simmering step is vital as it begins the pickling process, allowing the vegetables to absorb the flavorful brine and soften slightly.
- **Cool and Marinate Overnight:** After the 15-minute simmering period, remove the stockpot from the heat. Allow the bean mixture to cool completely until it reaches a lukewarm temperature. Once cooled, securely cover the pot (with a tight-fitting lid or plastic wrap) and transfer it to the refrigerator. Let the mixture marinate in the refrigerator for an extended period of 12 to 14 hours, ideally overnight. This prolonged marination is the secret to developing the profound, melded flavors characteristic of a true pickled salad.
Day 2: Canning and Water Bath Processing
- **Prepare Canning Equipment:** On the second day, begin by setting up your water bath canner. Fill the canner halfway with water and place it on your stovetop over medium heat to bring the water to a gentle simmer (aim for approximately 180°F / 82°C) while you prepare your jars. Thoroughly inspect all your canning jars for any potential defects such as nicks, cracks, or chips, particularly around the rims, as these can compromise a proper seal. Wash all clean jars diligently in hot, soapy water, rinse them thoroughly, and keep them hot until they are ready to be filled. This can be achieved by leaving them in the simmering water of the canner or by placing them in a warm oven. For new canning lids, wash them in hot, soapy water and rinse; avoid boiling lids as this can damage the sealing compound.
- **Reheat Bean Mixture and Fill Jars:** Bring the marinated bean mixture (from the refrigerator) back to a boil in its stockpot over medium-high heat. Once boiling, carefully ladle the hot bean mixture into your prepared hot jars, ensuring you maintain a consistent 1/2 inch (12 mm) of headspace (the empty space between the surface of the food and the rim of the jar).
- **Remove Air Bubbles:** Utilize a clean, non-metallic bubble remover tool or a simple chopstick to gently dislodge any trapped air bubbles from within the jars. Carefully slide the tool around the inside perimeter of each jar, allowing the brine to settle evenly around all the beans. After de-bubbling, recheck the headspace; if it has fallen below 1/2 inch, add additional hot brine to restore the correct level.
- **Clean Rims and Secure Lids:** With meticulous care, wipe the rims of each filled jar with a clean, damp cloth. This crucial step removes any food particles or grease that could interfere with the sealing process. Center a warm, clean canning lid onto each jar, then secure it with a screw band, tightening it only fingertip-tight (just until you feel resistance, avoiding overtightening).
- **Process in Water Bath:** Gently lower the filled and lidded jars into the simmering water bath canner using a jar lifter. Ensure that all jars are completely submerged under at least 1 inch (2.5 cm) of water. Place the lid securely on the canner and increase the heat to bring the water to a full, vigorous, rolling boil. Once a full boil is achieved, begin timing the processing according to the recommended duration, making sure to adjust for your specific altitude if necessary.
- **Cool and Store Jars:** After the processing time is complete, turn off the heat and carefully remove the canner lid. Allow the jars to rest undisturbed in the hot water for 5 minutes before carefully removing them. Using a jar lifter, transfer the hot jars to a folded towel on your counter or a protected surface. Ensure there is adequate space between each jar to allow for proper air circulation. Let the jars cool naturally and completely, without disturbance, for at least 12 to 24 hours.
- **Check Seals and Store:** Once the jars have fully cooled, remove the screw bands and individually check each jar’s seal. A properly sealed lid will be concave (curved inwards) and will not flex or pop when pressed firmly in the center. If any jar has failed to seal, immediately place it in the refrigerator and consume its contents within a few weeks. For sealed jars, wipe them clean with a damp cloth, label them clearly with the contents and the date of canning, and store them in a cool, dark, and dry pantry or cupboard for up to one year.
Crucial Altitude Adjustments for Canning Three Bean Salad
To guarantee the safety and quality of your canned goods, it is absolutely essential to adjust processing times based on your elevation above sea level. For this pickled three-bean salad recipe, please refer to the following altitude adjustment chart:
- For elevations from 0 to 1,000 Feet (0-305 meters), process jars for 15 minutes.
- For elevations from 1,001 to 6,000 Feet (306-1,829 meters), process jars for 20 minutes.
- For elevations above 6,000 feet (above 1,829 meters), process jars for 25 minutes.

**Important Note on Jar Sizes:** This recipe has been meticulously tested and approved exclusively for canning in pint (500-ml) and half-pint (250-ml) jars. It is critical that you do not attempt to use larger quart-sized jars, as this could lead to insufficient heat penetration during the processing time, thereby compromising the safety of the preserved product. Always adhere to the recommended jar sizes for safe home canning.
Canning Three Bean Salad Recipe
By Ashley Adamant
This bean salad is a delightful cold side dish, perfect for complementing sandwiches, salads, or any grilled meal. With a simple water bath canning process, it stores beautifully on your pantry shelf, providing a convenient and flavorful option whenever you need it.
Yields: Approximately 11-12 half-pint jars (250 ml) or 5-6 pint jars (500 ml)
Prep Time: 20-30 minutes (active preparation)
Marination Time: 12-14 hours (overnight refrigeration)
Canning Process Time: 15-25 minutes (adjusted for altitude)
Total Time: Approximately 14-16 hours (encompassing active prep, marination, and processing time)
Ingredients
- 3 cups (330 g) snap beans, chopped, blanched for 3 minutes, and cooled
- 3 cups (770 g) canned and drained or cooked kidney beans
- 2 cups (480 g) canned and drained or cooked garbanzo beans (chickpeas)
- 1 cup (150 g) chopped onion
- 2⁄3 cup (98 g) chopped sweet pepper
- 1 cup (237 ml) red wine vinegar (5% acidity)
- 1 cup (237 ml) bottled lemon juice
- 1 1⁄2 cups (300 g) granulated sugar
- 1⁄2 cup (118 ml) olive oil
- 1 tsp sea salt
- 2 1⁄2 cups (593 ml) water
Instructions
- In a large bowl, combine the blanched snap beans, kidney beans, garbanzo beans, chopped onion, and sweet pepper. Toss gently to mix thoroughly. Set aside.
- In a large nonreactive stockpot (e.g., stainless steel), combine the red wine vinegar, bottled lemon juice, sugar, olive oil, sea salt, and water. Bring this mixture to a rolling boil over medium-high heat, stirring until the sugar and salt are completely dissolved.
- Add the combined bean and vegetable mixture to the boiling brine. Reduce the heat to medium and simmer gently for 15 minutes.
- Remove the pot from the heat and allow the entire mixture to cool to a lukewarm temperature. Once cooled, cover the pot tightly and refrigerate for 12 to 14 hours (overnight) to allow the flavors to marinate and deepen.
- The following day, prepare your water bath canner by filling it halfway with water and placing it on the stove to heat to a simmer (around 180°F / 82°C). Wash clean canning jars and lids in hot soapy water; keep jars hot until ready to fill.
- Bring the marinated bean mixture back to a boil in its stockpot. Carefully ladle the hot mixture into the prepared hot jars, leaving 1/2 inch (12 mm) of headspace.
- Use a non-metallic bubble remover tool or chopstick to remove any trapped air bubbles from the jars. Recheck headspace and add more hot brine if necessary to maintain 1/2 inch.
- Wipe the rims of the jars clean with a damp cloth to ensure a proper seal. Center a warm lid on each jar, then screw on the band fingertip-tight.
- Carefully place the filled jars into the simmering water bath canner, ensuring they are covered by at least 1 inch (2.5 cm) of water. Bring the canner to a full, rolling boil.
- Once a full boil is achieved, place the lid on the canner and process the jars for 15 minutes. Adjust this processing time based on your altitude (refer to notes below for specific adjustments).
- After processing, turn off the heat and remove the canner lid. Let the jars stand in the hot water for 5 minutes before carefully removing them with a jar lifter.
- Place the hot jars on a folded towel on your counter, leaving space between them for air circulation. Allow them to cool undisturbed for at least 12-24 hours.
- Once completely cooled, remove the screw bands and check the seals. Lids should be concave and not flex when pressed. Any unsealed jars should be refrigerated and consumed promptly. Wipe sealed jars clean, label with contents and date, and store in a cool, dark, dry place for up to one year.
Notes on Canning Three Bean Salad
Always adjust your processing time according to your altitude to ensure the safety and quality of your home-canned foods:
- For elevations from 0 to 1,000 Feet (0-305 meters), process for 15 minutes.
- For elevations from 1,001 to 6,000 Feet (306-1,829 meters), process for 20 minutes.
- For elevations above 6,000 feet (above 1,829 meters), process for 25 minutes.
Remember that this recipe is only tested for pint (500-ml) and half-pint (250-ml) jars. Do not use larger quart jars.
Enjoyed making this pickled three-bean salad? We’d love to hear your thoughts and experiences in the comments below!
More Delicious Pickling Recipes to Explore
If you’ve enjoyed the process of preserving and are keen to expand your home canning repertoire, we have an array of fantastic pickling recipes that are perfect for capturing the fresh flavors of your garden or local market. Dive into more tangy and delightful canned goods:
- Homemade Corn Relish: A wonderfully sweet and tangy condiment that pairs exceptionally well with grilled meats, hot dogs, or as an addition to salads.
- Classic Pickled Beets: Earthy, sweet, and vibrantly colored, these pickled beets are a healthy and delicious addition to any meal, whether served as a side or in a salad.
- Bread and Butter Zucchini Pickles: A creative and delicious way to utilize an abundance of zucchini, offering a delightful sweet and sour crunch that rivals traditional cucumber pickles.