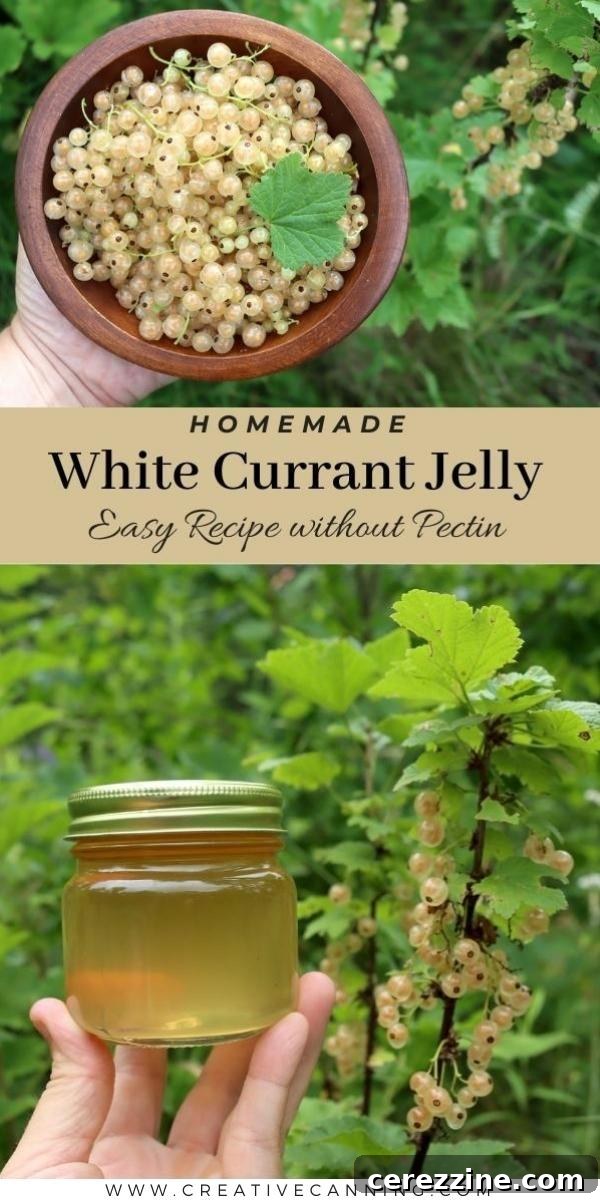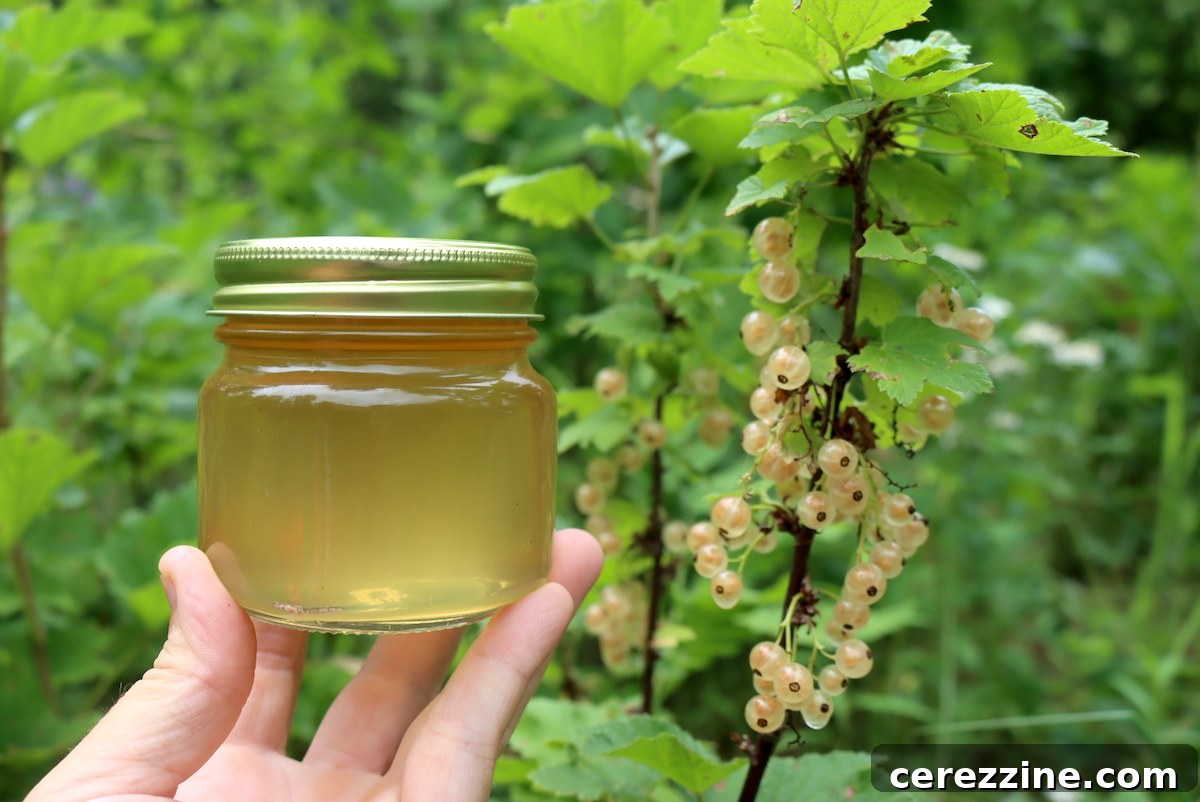
White currant jelly is a delightful and easy-to-make homemade preserve that requires minimal effort and just a few simple ingredients. It offers a quick and rewarding solution for preserving abundant white currant harvests, ensuring you can savor their unique flavor long after the summer season ends.
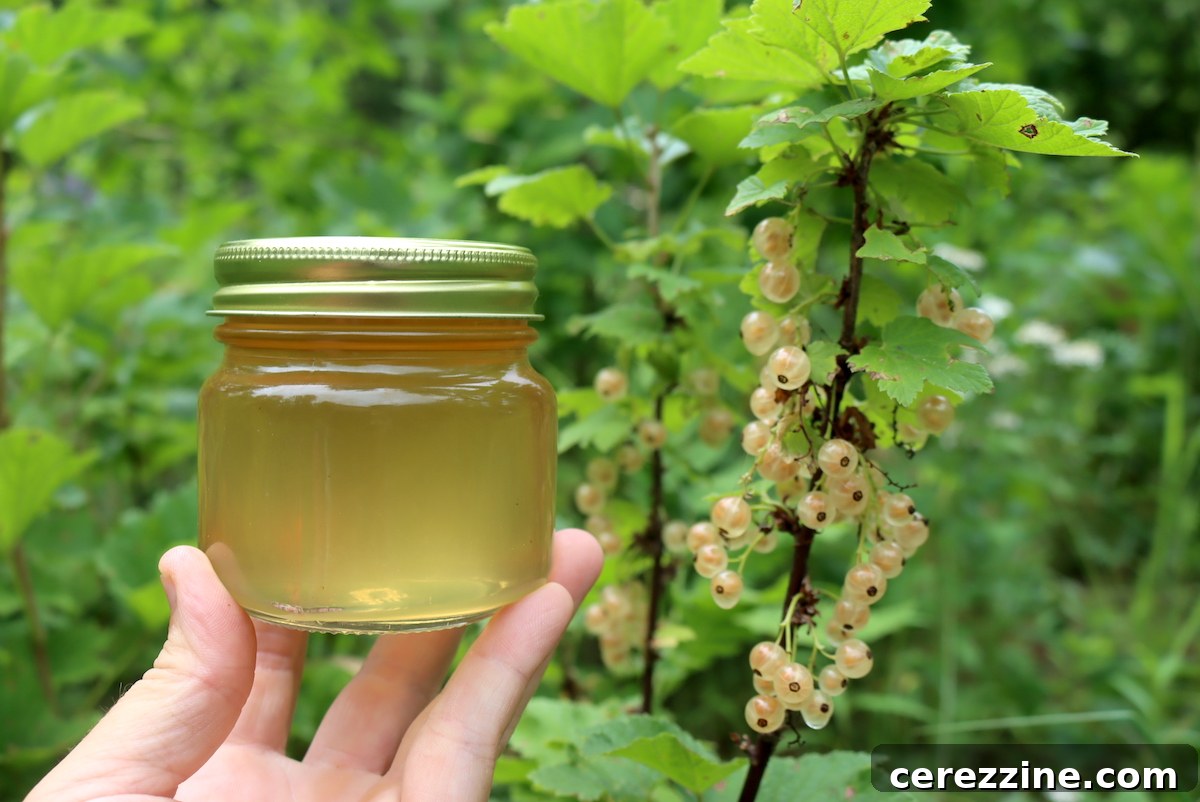
For those of us blessed with fertile land, especially in shadier, wetter environments, growing currants can be incredibly rewarding. On our woodland homestead, both black and red currants thrive, yielding generous crops that I transform into delicious blackcurrant jam, blackcurrant jelly, redcurrant jam, and redcurrant jelly every year. A few seasons ago, we enthusiastically introduced white currants to our garden. My primary motivation was to enrich our midsummer harvest basket with an even broader spectrum of vibrant colors and delicate flavors.
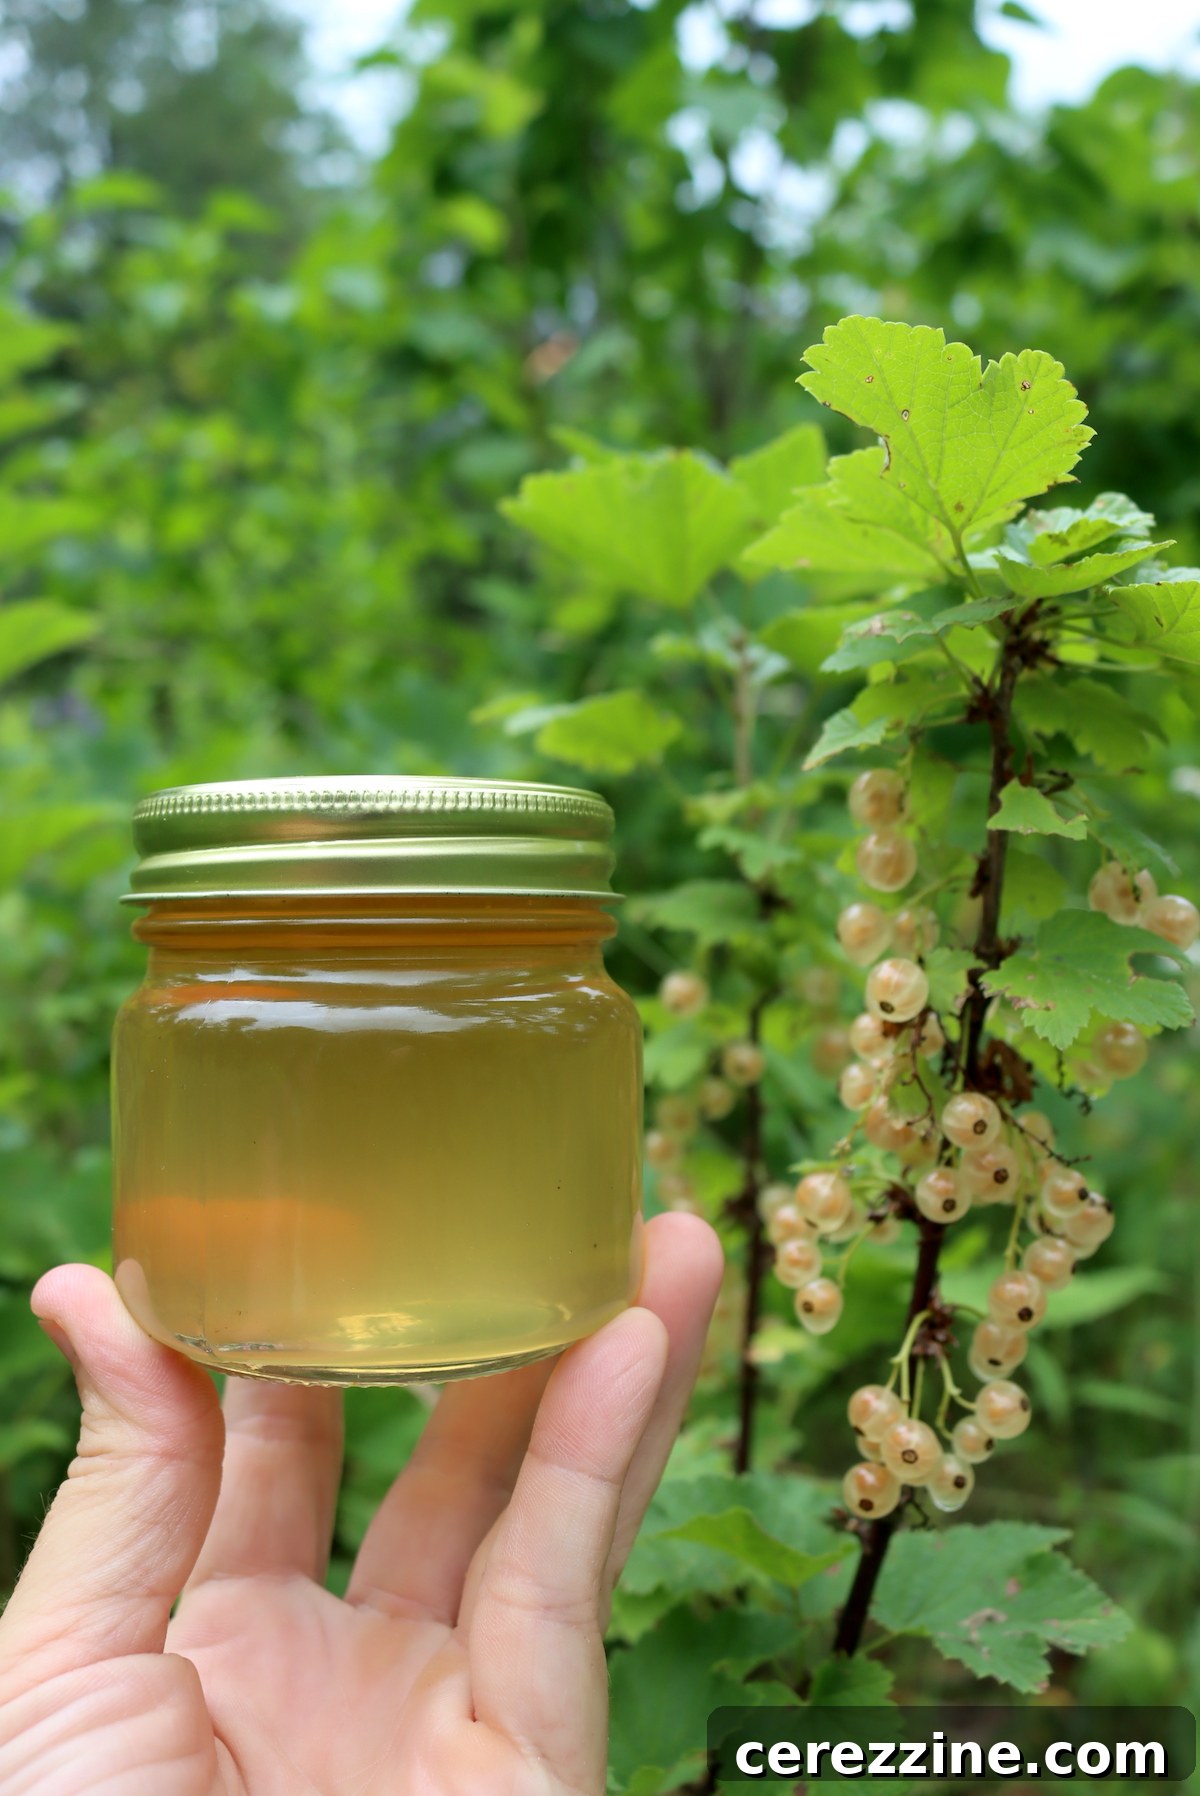
Initially, these new white currant plants were small, offering only a handful of berries each season – just enough for a fresh snack. However, with time and care, they have matured beautifully, now producing substantial harvests. This abundance has prompted an exciting addition to my repertoire of homemade preserves: exquisite white currant jelly. Its delicate flavor and beautiful clear color make it a truly special treat, proving that even the simplest recipes can yield extraordinary results.
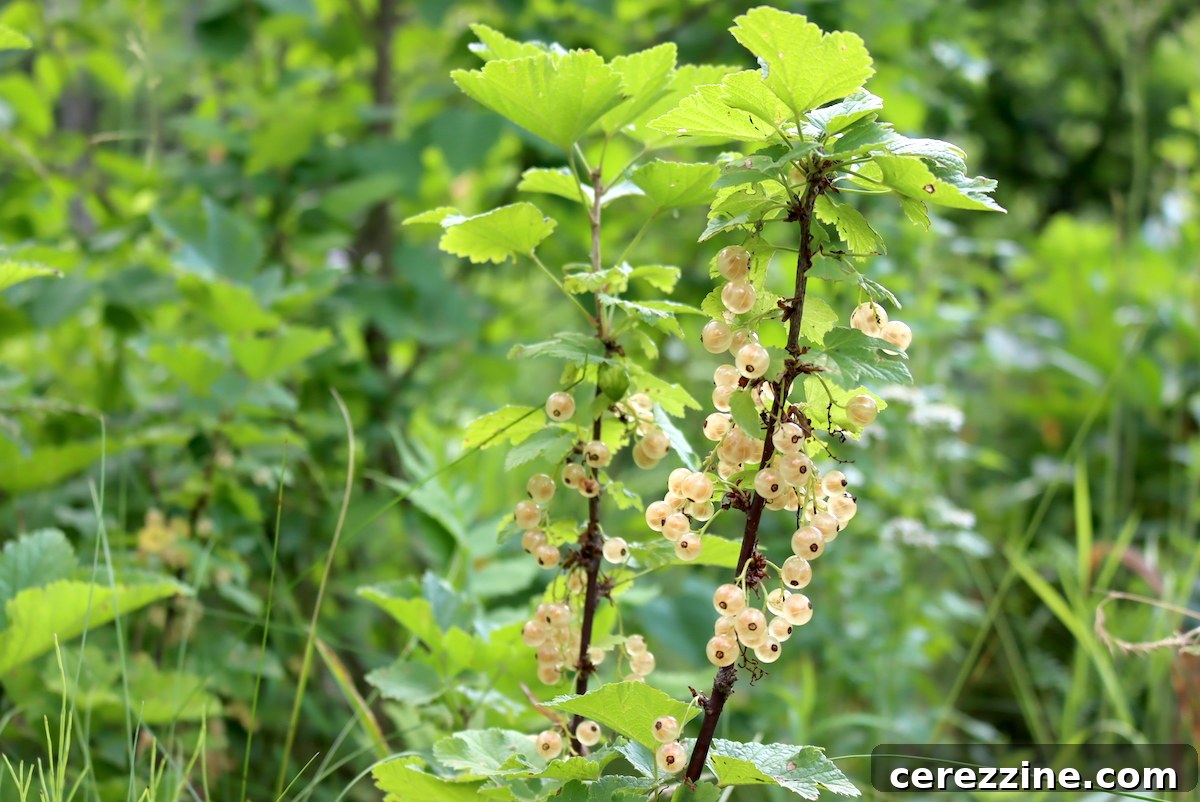
The Delicate Charm of White Currants
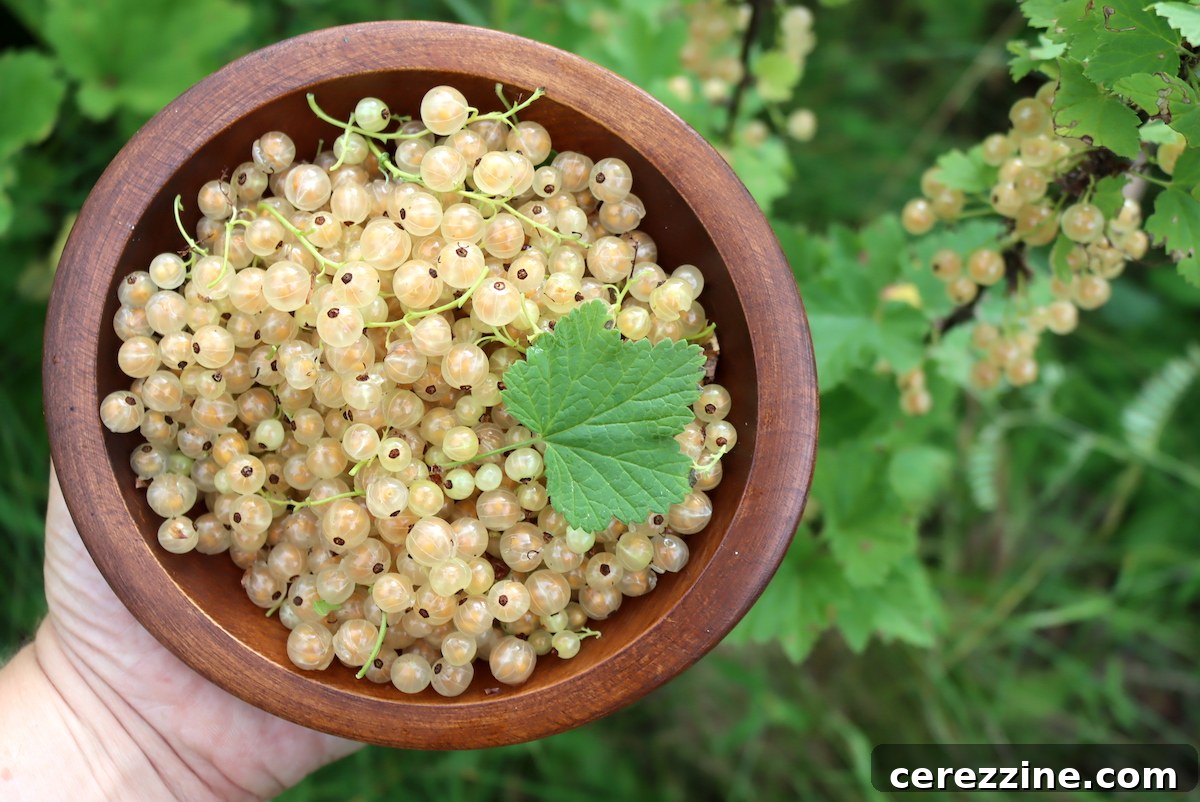
White currants (Ribes rubrum ‘White Grape’) are a fascinating and often overlooked member of the Ribes genus. Unlike their more common red and black cousins, white currants boast a milder, sweeter flavor profile with less tartness, making them particularly appealing for delicate preserves. Their translucent, almost pearlescent berries add a touch of elegance to any dish or pantry shelf. These resilient shrubs are well-suited to various climates, thriving in partial shade and moist, well-drained soil, making them an excellent choice for many home gardens.
Beyond their aesthetic appeal and delightful taste, white currants are naturally rich in pectin, the gelling agent essential for making perfect jelly. This inherent quality means you won’t need to rely on commercial pectin, simplifying the recipe and allowing the pure, bright flavor of the fruit to shine through. Harvesting white currants is a straightforward process, typically occurring in mid-summer. Look for plump, firm berries that have developed their characteristic clear, pale hue. While some choose to de-stem them for fresh eating, for jelly making, leaving the stems intact during the initial cooking phase is actually beneficial, as they contribute additional natural pectin, aiding in a firmer set.
Simple Ingredients for Exquisite White Currant Jelly
One of the beauties of white currant jelly is its simplicity. This recipe prioritizes the natural flavor of the fruit, requiring just two core ingredients plus a small amount of water. While the initial recipe is designed for a small batch – perfect for trying it out or when you have a modest harvest – it can easily be scaled up for larger yields. Typically, if you’re purchasing white currants from a farmers market, they often come in half-pint (1 cup) or pint (2 cup) containers. For a single 8-ounce jar of jelly, you’ll need approximately 1 ¼ to 1 ½ cups of fresh white currants. Opting for a full pint allows you some extra berries for snacking before you embark on your jelly-making adventure!
What You’ll Need for One Jar:
- 1/2 pound (225 g) White Currants: This translates to roughly 1.5 cups of fresh berries. Ensure your currants are ripe and free from blemishes. Their natural pectin is key to this recipe’s success.
- 1/4 cup Water: Essential for helping the currants release their juice during the initial simmering phase.
- 1 cup Granulated Sugar: Sugar acts as both a sweetener and a preservative, and is crucial for the jelly’s set. The 1:1 ratio with juice is standard for fruit jellies high in natural pectin.
The process begins by gently cooking the currants with water until they release their vibrant juices. This specific quantity of currants should yield approximately 1 cup of concentrated white currant juice. It’s crucial to measure this extracted juice accurately, as the sugar quantity is determined by a 1:1 ratio. So, if your yield is, for instance, 1 cup of juice, you’ll incorporate 1 cup of sugar. Always adjust your sugar based on the actual volume of juice obtained; more juice means more sugar, and less juice means less sugar, ensuring a perfectly balanced and set jelly.
How to Craft Your Homemade White Currant Jelly
Making white currant jelly is a straightforward process, but attention to detail ensures a beautiful, clear, and perfectly set preserve. Follow these steps for a truly rewarding culinary experience:
Step 1: Preparing the Currant Juice
- Combine Currants and Water: Begin by placing your fresh white currants into a saucepan. Add about 1/4 cup of water for every 1/2 pound (or 1 1/2 cups) of fruit. There’s no need to meticulously stem the currants; the stems contain valuable natural pectin and will be strained out later. In fact, leaving them in can enhance the jelly’s setting ability.
- Gentle Simmering: Bring the mixture to a gentle boil, then reduce the heat to a simmer. Cook for approximately 3 to 5 minutes, or until the currants soften and begin to burst, readily releasing their juices. Use a spatula or potato masher to gently mash the fruit as it cooks, aiding in the juice extraction process. Avoid overcooking, as this can degrade the pectin.
- Strain the Juice: Carefully strain the cooked fruit mixture through a jelly bag or a double layer of dampened cheesecloth. Hang the bag or cloth over a bowl, allowing the juice to drip naturally. For the clearest jelly, resist the urge to squeeze the bag, as this can force pulp through and result in cloudy jelly. Allow it to drip for several hours, or even overnight, for maximum extraction.
- Measure the Juice: Once all the juice has been collected, measure its volume precisely. For every 1/2 pound of fruit you started with (approximately 1 1/2 cups), you should yield around 1 cup of juice. This measurement is critical as it dictates the amount of sugar required for a proper set.
Step 2: Cooking the Jelly to Perfection
- Combine Juice and Sugar: Pour the strained white currant juice back into a clean saucepan. Add an equal volume of granulated sugar. For example, if you measured 1 cup of juice, add 1 cup of sugar. Stir the mixture continuously over low heat until the sugar is completely dissolved.
- Achieving Gel Stage: Increase the heat to high and bring the mixture to a full, rolling boil that cannot be stirred down. Continue to cook, stirring occasionally to prevent scorching, until the jelly reaches its gel stage. This occurs at 220 degrees F (104 degrees C) when measured with an instant-read thermometer.
- Testing for Set (Alternative Method): If you don’t have a thermometer, you can use the plate test. Place a small plate in the freezer before you start cooking the jelly. When you think the jelly might be ready, spoon a small amount onto the chilled plate. Let it sit for 30 seconds, then push it with your finger. If it wrinkles, it has reached its set point.
- Fill Prepared Jars: Once the jelly reaches the gel stage, immediately remove it from the heat. Ladle the hot jelly into prepared, clean jars, leaving 1/4 inch of headspace at the top. This space is essential for proper sealing if you plan to can the jelly.
Step 3: Patience is a Virtue (Setting Time)
White currant jelly, like many natural fruit jellies, takes time to fully set. Do not be alarmed if your jelly doesn’t appear firm immediately after cooling. It can take a good 48 hours, or even up to a full week, for the pectin to fully activate and for the jelly to achieve its desired consistency in the jars. Store the jars at room temperature during this setting period. If, after a week, your jelly still hasn’t set, it may be re-cooked (see troubleshooting below).
Scaling Your White Currant Jelly Batch
While the provided recipe is excellent for a single jar, it’s perfectly acceptable to increase the quantities to yield a larger batch. A batch starting with 1 1/2 cups of fruit typically produces slightly more than one 8-ounce jar, usually around 1 1/4 jars. If you wish to make a more substantial amount, multiplying the recipe by four, starting with approximately 6 pounds of fruit, should yield about 5 standard jelly jars.
- For a larger batch (approx. 5 jars):
- Start with 6 pounds of white currants and 1 cup of water.
- Cook them together for a few minutes until the fruit breaks down, then strain to extract the juice. This should yield approximately 4 cups of pure white currant juice.
- Combine the 4 cups of juice with 4 cups of granulated sugar.
- Cook this mixture to the gel stage (220°F / 104°C).
- You should then have roughly 5 jars of delicious white currant jelly.
Important Note: While scaling up is convenient, it’s advisable not to exceed 6 to 8 pounds of fruit at a time for any jelly recipe. Extremely large batches tend to cook unevenly, making it difficult to reach the gel stage consistently, and may lead to issues with the jelly setting properly.
Preserving Your Harvest: Canning White Currant Jelly
White currants are naturally high in acidity, making them a safe and excellent choice for water bath canning. This is a significant advantage, as not all white fruits share this characteristic (for instance, certain varieties of white peaches are not recommended for canning due to lower acidity). Canning ensures that your homemade white currant jelly remains shelf-stable, allowing you to enjoy the taste of summer throughout the year.
While canning offers long-term preservation, it is an optional step. If you prefer, your white currant jelly can be stored in the refrigerator for several weeks. Alternatively, it can be frozen for up to six months, though natural jellies sometimes experience a slight loss of set quality after freezing due to the impact of freezing on natural pectins. Personally, I always choose canning because it aligns with my goal of preserving the bounty of our Vermont summers to enjoy during the long winter months.
Step-by-Step Water Bath Canning:
- Prepare Your Equipment: Before you even begin cooking your jelly, set up your water bath canner. Fill it with enough water to cover your jars by at least an inch, and bring it to a simmering temperature (around 180°F / 82°C). Also, ensure your canning jars are clean and warm, and your lids and bands are ready.
- Fill and Seal Jars: Once your jelly has reached the gel stage, carefully ladle it into the prepared jars, leaving precisely 1/4 inch of headspace. Wipe the rims of the jars clean with a damp cloth to ensure a proper seal. Place the lids on top, then screw on the bands until finger-tight.
- Process in Canner: Using a jar lifter, carefully load the filled jars into the simmering water bath canner. Ensure the jars are fully submerged. Bring the water to a full, rolling boil.
- Processing Time: Process the jars for 10 minutes. If you are at an elevation above 6,000 feet, increase the processing time to 15 minutes to account for the lower boiling point of water.
- Cooling and Checking Seals: After the processing time is complete, turn off the heat and allow the jars to remain in the hot canner for an additional 5 minutes. This helps to equalize the temperature and reduce the risk of siphoning. Then, carefully remove the jars using a jar lifter and place them on a towel on your counter, ensuring they are not touching each other, to cool completely for 12 to 24 hours.
- Confirm Seals: After the cooling period, check all jars for proper seals. The center of the lid should be concave and should not flex when pressed. Any jars that have not sealed properly should be stored in the refrigerator and consumed within a few weeks.
Remember, the setting time for white currant jelly is naturally extended. Do not be concerned if it still feels a little soft 48 hours after canning. It can take up to a full week for the jelly to firm up completely in the jars. If, after a week, your jelly hasn’t set, you can re-cook it (refer to the troubleshooting section below). However, if you’ve followed this recipe, used the correct juice-to-sugar ratio, and cooked the mixture to 220°F (104°C), you should achieve a perfect set.
Troubleshooting and Tips for Perfect Jelly
Even experienced jelly makers can encounter challenges. Here are some common issues and how to address them:
- Jelly Not Setting: This is the most common issue.
- Patience: As mentioned, white currant jelly takes time. Wait the full week before concluding it’s a “failed” batch.
- Insufficient Pectin: While white currants are high in pectin, factors like over-ripe fruit (pectin degrades with ripeness) or overcooking the initial juice extraction can reduce pectin.
- Incorrect Sugar Ratio: Too much or too little sugar can prevent a proper set. Always measure juice accurately and use a 1:1 ratio.
- Not Reaching Gel Stage: Ensure you cook the jelly to 220°F (104°C) or until it passes the plate test. Boiling below this temperature will likely result in syrup.
- Re-cooking a Runny Batch: If after a week, your jelly is still runny, you can try re-cooking it. Empty the jars back into a clean pot. For every 4 cups of unset jelly, add 1/4 cup of fresh white currant juice (or water if juice is unavailable) and 1 tablespoon of lemon juice (to boost acidity and pectin activation). Bring to a rolling boil and cook again to the gel stage.
- Cloudy Jelly:
- Squeezing the Jelly Bag: This forces pulp and fine particles through, making the jelly cloudy. Let gravity do the work.
- Over-Boiling: Boiling too vigorously for too long can break down fruit particles and cause cloudiness.
- Scorched Flavor:
- Stirring: Always stir the jelly frequently, especially once the sugar is added and it’s boiling rapidly, to prevent it from sticking to the bottom of the pan and burning. Use a heavy-bottomed pot.
Serving Suggestions for White Currant Jelly
Once you’ve mastered the art of making white currant jelly, you’ll discover its versatility in the kitchen. Its delicate, bright flavor makes it a fantastic accompaniment to a variety of dishes:
- Classic Breakfast & Brunch: Spread generously on warm toast, fluffy scones, or freshly baked croissants. It’s also delightful stirred into yogurt or oatmeal.
- Cheese Pairings: Its subtle sweetness and tartness make it an elegant partner for a cheese board, especially with creamy brie, tangy goat cheese, or sharp cheddar.
- Dessert Enhancer: Use it as a filling for tarts, thumbprint cookies, or layer cakes. A spoonful can elevate a simple panna cotta or cheesecake.
- Savory Glazes: Whisk a bit of jelly with a touch of mustard or vinegar to create a vibrant glaze for roasted chicken, pork, or duck. Its acidity can cut through rich flavors beautifully.
- Cocktail Ingredient: A small dollop can add a unique fruity note to cocktails or mocktails.
Explore More Summer Jelly Recipes
If you’ve enjoyed making this white currant jelly, you’ll love discovering other quick and easy jelly recipes perfect for summer harvests. Expanding your canning skills means enjoying a taste of sunshine year-round!
Currant Canning Recipes
Red Currant Jelly
White Currant Jelly
Canning Currant Pie Filling
8 servings, Makes 1 jar (8 oz)
White Currant Jelly
White currant jelly comes together with just currants and sugar (no added pectin needed). It’s an easy way to preserve white currants right on your pantry shelf!
2 hrs
10 mins
10 mins
2 hrs 20 mins
Pin Recipe
Rate Recipe
Print Recipe
Equipment
-
Water Bath Canner
-
Large Saucepan
-
Jelly Bag or Cheesecloth
-
Instant-Read Thermometer (optional but recommended)
-
Canning Jars with Lids and Bands
-
Jar Lifter and Canning Funnel
Ingredients
- 1 cup white currant juice (extracted from 1/2 pound / 225 g white currants and 1/4 cup water)
- 1 cup granulated sugar
Instructions
Making White Currant Juice for Jelly
- To prepare the white currant juice, place 1/2 pound (approx. 1 1/2 cups) of white currants in a saucepan with 1/4 cup water. You can leave the stems on as they contribute natural pectin.
- Bring the mixture to a gentle simmer, mashing the fruit occasionally with a spatula or potato masher to encourage juice release. Continue cooking for 2-5 minutes until the currants have softened and fallen apart.
- Strain the cooked fruit through a jelly bag or a double layer of dampened cheesecloth, allowing the juice to drip into a clean bowl. Avoid squeezing the bag for the clearest jelly. Measure the resulting juice; you should have about 1 cup.
Making White Currant Jelly
- If you plan to can the jelly, prepare your water bath canner, jars, and lids before proceeding.
- Pour the measured white currant juice into a clean saucepan and add an equal volume of granulated sugar. For example, if you have 1 cup of juice, add 1 cup of sugar. Stir over low heat until the sugar is completely dissolved.
- Increase the heat to medium-high and bring the mixture to a full, rolling boil that cannot be stirred down. Cook, stirring occasionally, until the jelly reaches the gel stage, which is 220°F (104°C) as measured with an instant-read thermometer. Alternatively, test for set using a chilled plate from the freezer (see article above for details). This usually takes 5-10 minutes.
- Once the gel stage is reached, remove the saucepan from the heat. Ladle the hot jelly into prepared jars, leaving 1/4 inch of headspace. Secure with two-part canning lids.
- If canning, carefully place the filled jars into a simmering water bath canner. Process for 10 minutes (increase to 15 minutes if above 6,000 feet elevation). After processing, turn off the heat and let the jars rest in the canner for 5 minutes before removing. Place jars on a towel on the counter to cool completely. Check seals after 12-24 hours. Unsealed jars should be refrigerated for immediate use. Properly sealed jars will keep on the pantry shelf for 12-18 months. Refrigerate after opening.
Notes
Batch Size
This recipe can be safely increased up to 4 times, utilizing up to 6 lbs of fruit. Starting with 1 1/2 cups of fruit typically yields about 1 1/4 jars of jelly. Multiplying the recipe by 4 (starting with 6 lbs of fruit) should produce approximately 5 jelly jars.
For a 6 lb fruit batch: combine 6 lbs fruit with 1 cup water, cook and strain to yield about 4 cups juice. Add 4 cups sugar and cook to gel stage. This should result in around 5 jars of jelly.
(Avoid increasing batch size beyond 6 to 8 lbs of fruit at a time, as very large batches may cook unevenly and struggle to set properly.)
Jelly Set
White currant jelly requires patience to set fully. Don’t worry if it’s not completely firm within 48 hours; it can take up to a full week in the jars. If, after a week, it still hasn’t set, you may re-cook it. Ensure you don’t exceed 4 cups of juice when re-cooking, use the correct 1:1 sugar ratio, and cook to 220°F for the best chance of success.
Nutrition
Carbohydrates: 29g,
Protein: 0.1g,
Fat: 0.1g,
Sodium: 3mg,
Potassium: 51mg,
Sugar: 28g,
Calcium: 3mg,
Iron: 0.2mg
Nutrition information is automatically calculated and should be used as an approximation only.
We hope you enjoy crafting this delightful white currant jelly. There’s immense satisfaction in making your own preserves, especially when they’re as elegant and flavorful as this. Don’t hesitate to leave a comment below if you have questions or tips to share!
More Summer Jelly Inspiration
If you’ve loved the process of making white currant jelly, why not explore other exciting jelly recipes to brighten your pantry? Each offers a unique flavor and the same rewarding experience of preserving summer’s bounty.
- Seedless Black Raspberry Jelly
- Old Fashioned Corn Cob Jelly
- Wild Grape Jelly
- Gooseberry Jelly
- Red Currant Jelly
- How to Make Floral Jelly (with Edible Flowers)