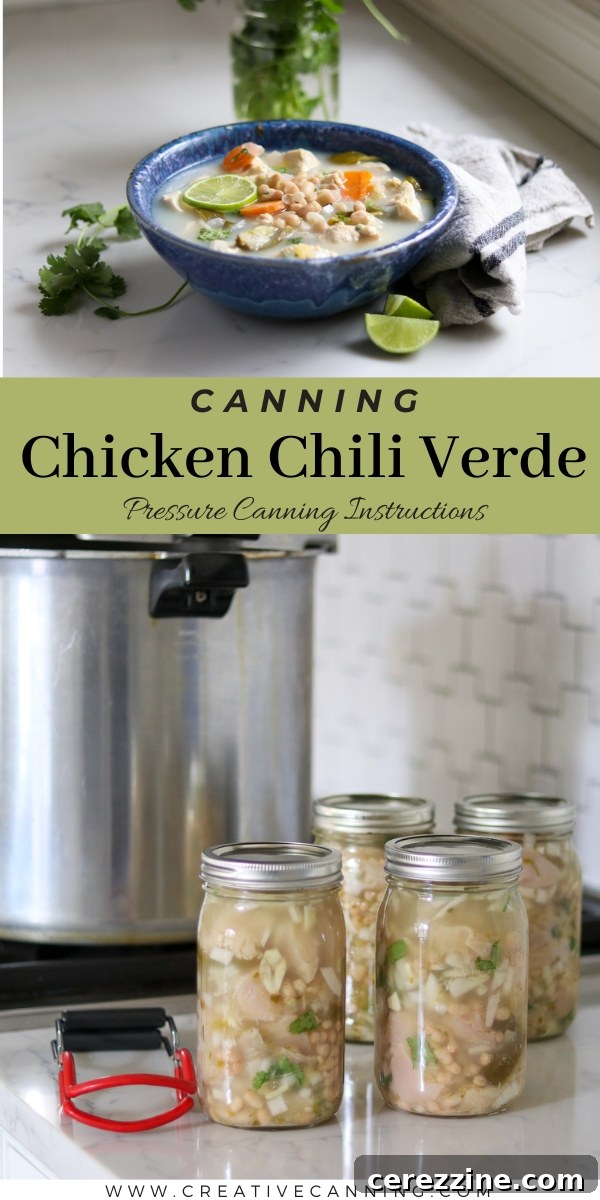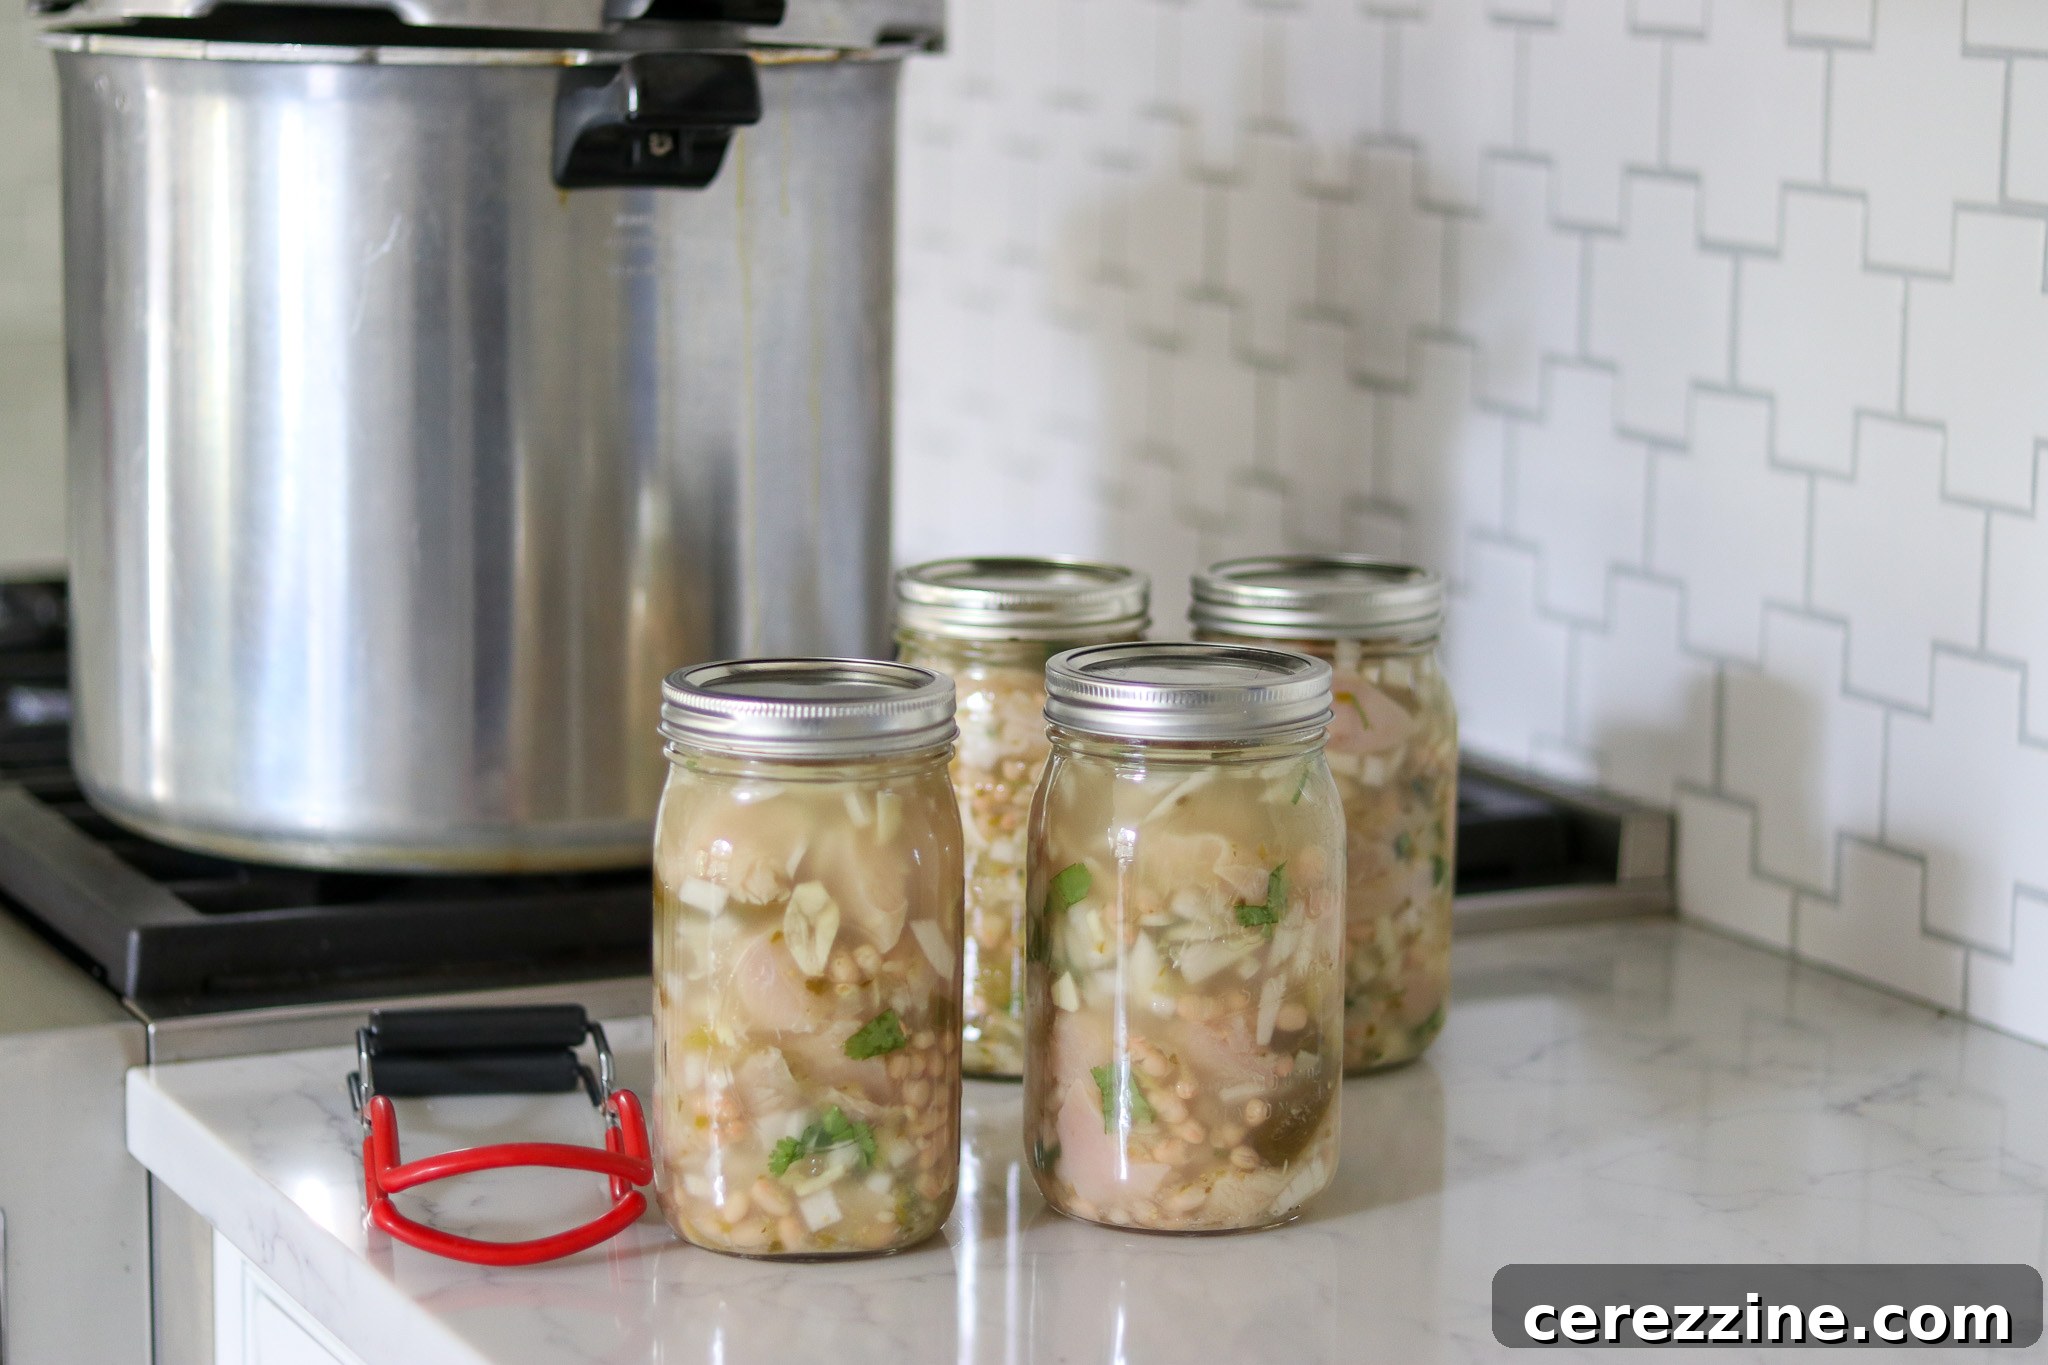
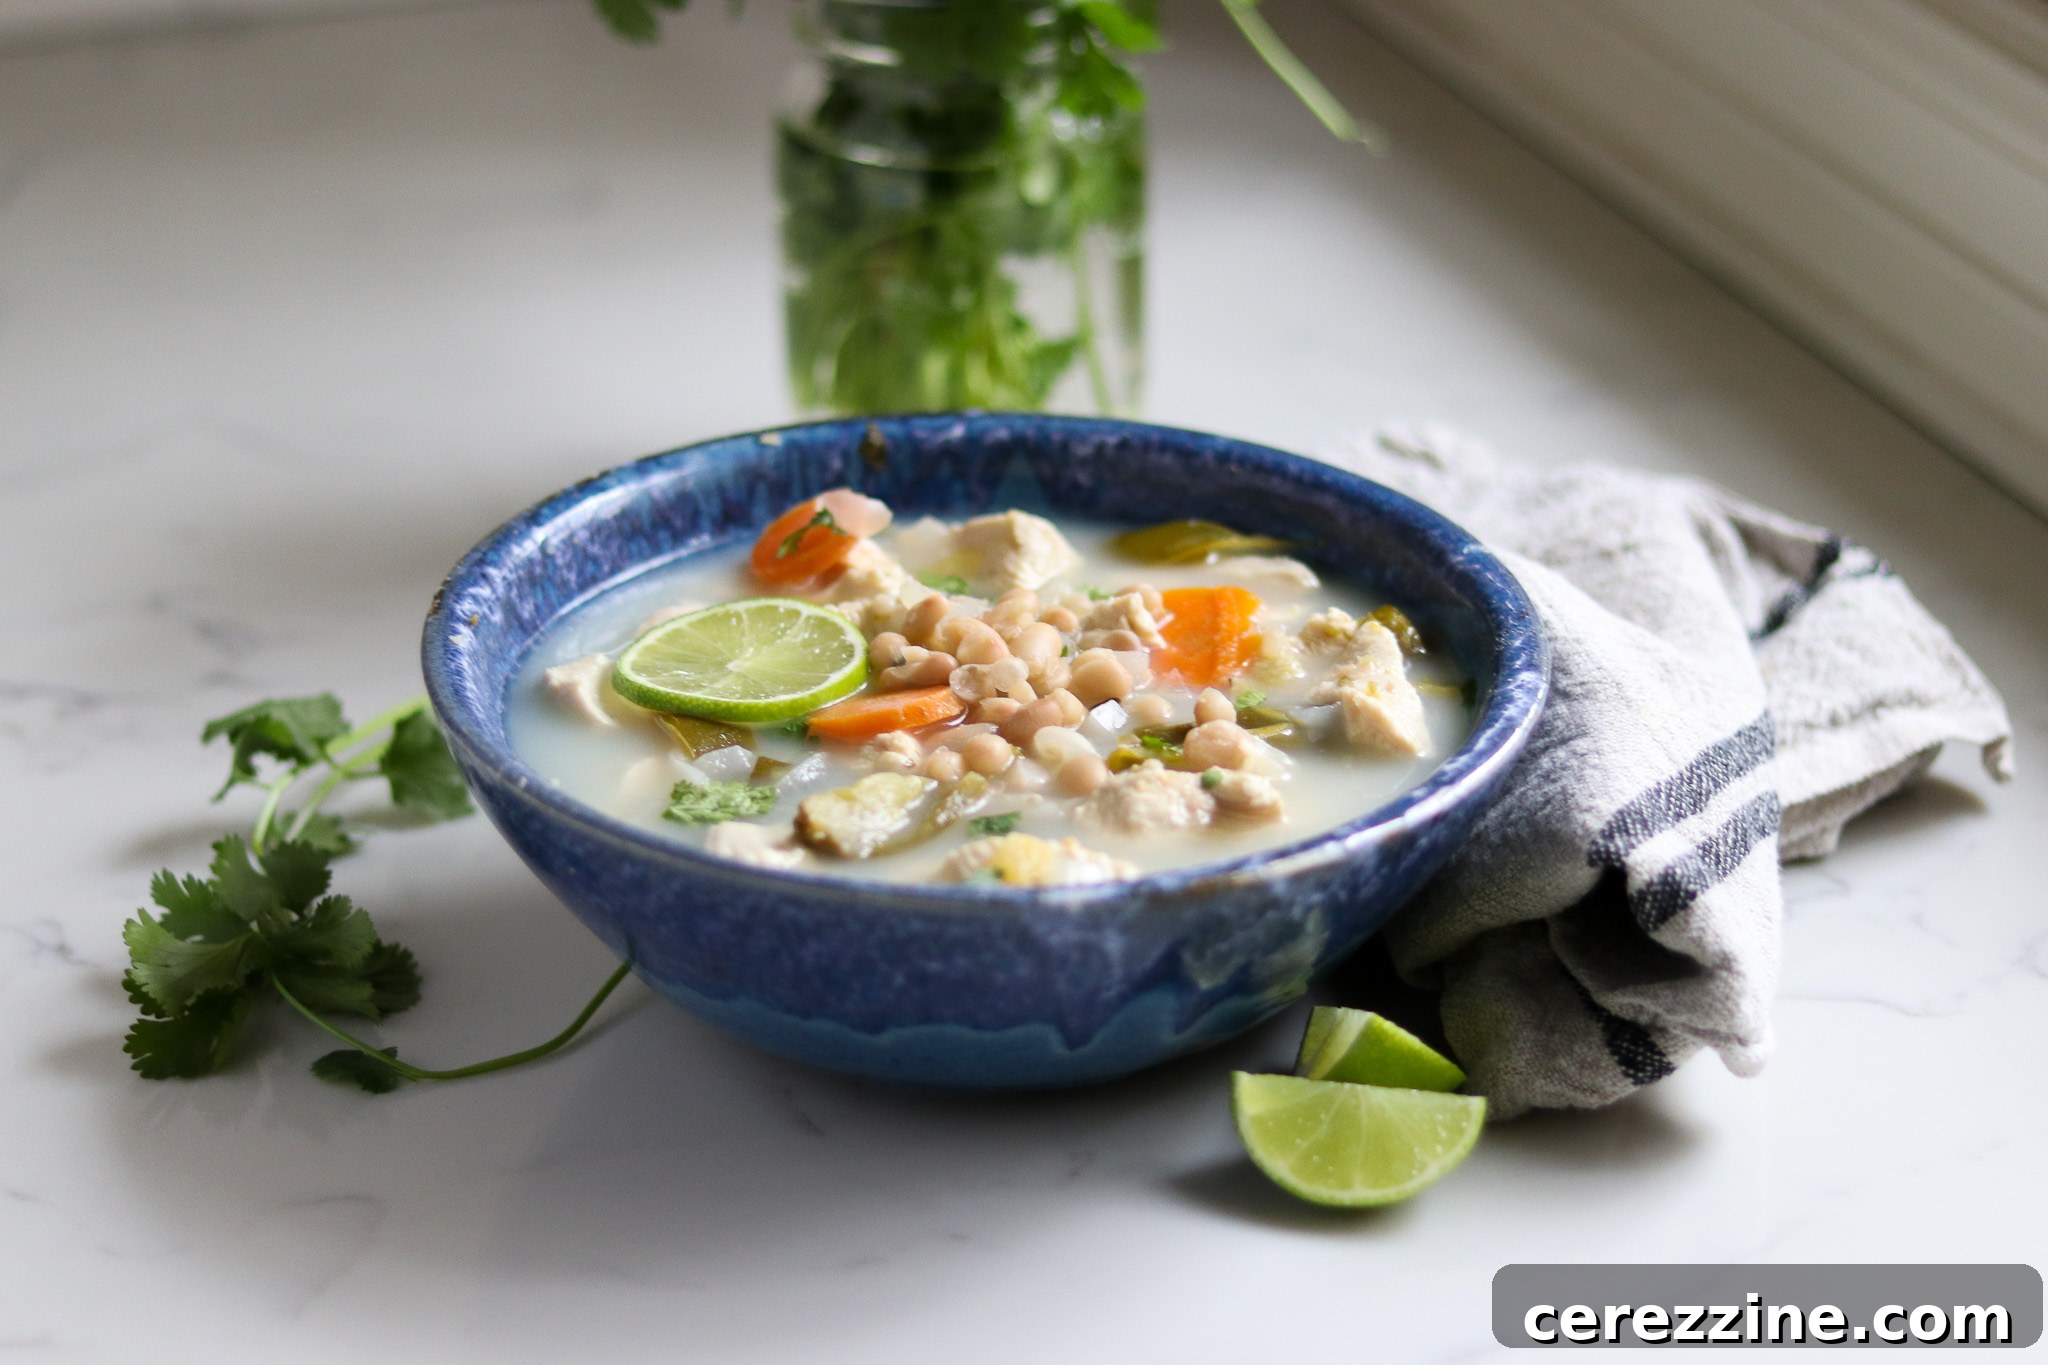
Home canning chicken chili verde is an exceptional way to stock your pantry with a delicious, ready-to-eat meal. This savory chicken chili, enriched with the vibrant flavors of salsa verde made from tomatillos or green tomatoes, offers a unique twist on traditional chili recipes. It’s a convenient and hearty option that brings gourmet taste directly to your emergency food supply or quick weeknight dinner table.
Unlock Convenience with Canned Chicken Chili Verde
In today’s fast-paced world, having nutritious and flavorful meals readily available is a true lifesaver. Meal-in-a-jar recipes, safely preserved through home canning, are perfect for this purpose. They eliminate the stress of mealtime preparation, making quick weeknight dinners a breeze. By taking a little time to plan ahead, you can pressure can this delectable chicken chili verde, ensuring a wholesome and satisfying meal is always within reach.
This meticulously tested recipe for canning chicken chili verde draws its inspiration from the highly respected All New Ball Book of Home Canning. This comprehensive guide features an entire chapter dedicated to a variety of meal-in-a-jar canning recipes, making it an invaluable resource for home preservers seeking to create convenient and shelf-stable meals.
Why Choose to Can Chicken Chili Verde?
Beyond convenience, canning your own chicken chili verde offers a multitude of benefits. It provides an excellent way to prepare for unexpected situations, ensuring your family has access to nourishing food during emergencies. Moreover, home canning allows you to control the quality of ingredients, reduce food waste, and save money on groceries. Imagine having a wholesome, homemade chili ready to heat and serve after a long day, without any last-minute cooking. This self-sufficiency and peace of mind are truly priceless.
The Distinctive Flavor of Salsa Verde
What truly sets this chili apart is the rich, well-rounded flavor imparted by salsa verde. Whether you opt for a homemade version crafted from fresh tomatillos or green tomatoes, or a high-quality store-bought option, salsa verde is the star ingredient. Its tangy, slightly spicy, and herbaceous notes complement the chicken and beans beautifully, creating a complex flavor profile that is both comforting and exciting. Understanding the nuances of salsa verde is key to appreciating the depth of this chili. Tomatillos, with their tart and bright flavor, are traditionally used, but green tomatoes can also yield excellent results, offering a slightly milder and sweeter profile.
Essential Ingredients for Your Canning Project
The original Ball recipe yields a small batch, typically 2 quarts or 4 pints. For a more practical “canner batch” that fits most standard-sized pressure canners, this recipe has been doubled. Should you have a larger canner or wish to adjust the yield to your specific needs, feel free to scale the ingredients up or down accordingly. This flexibility makes home canning adaptable to any household size.
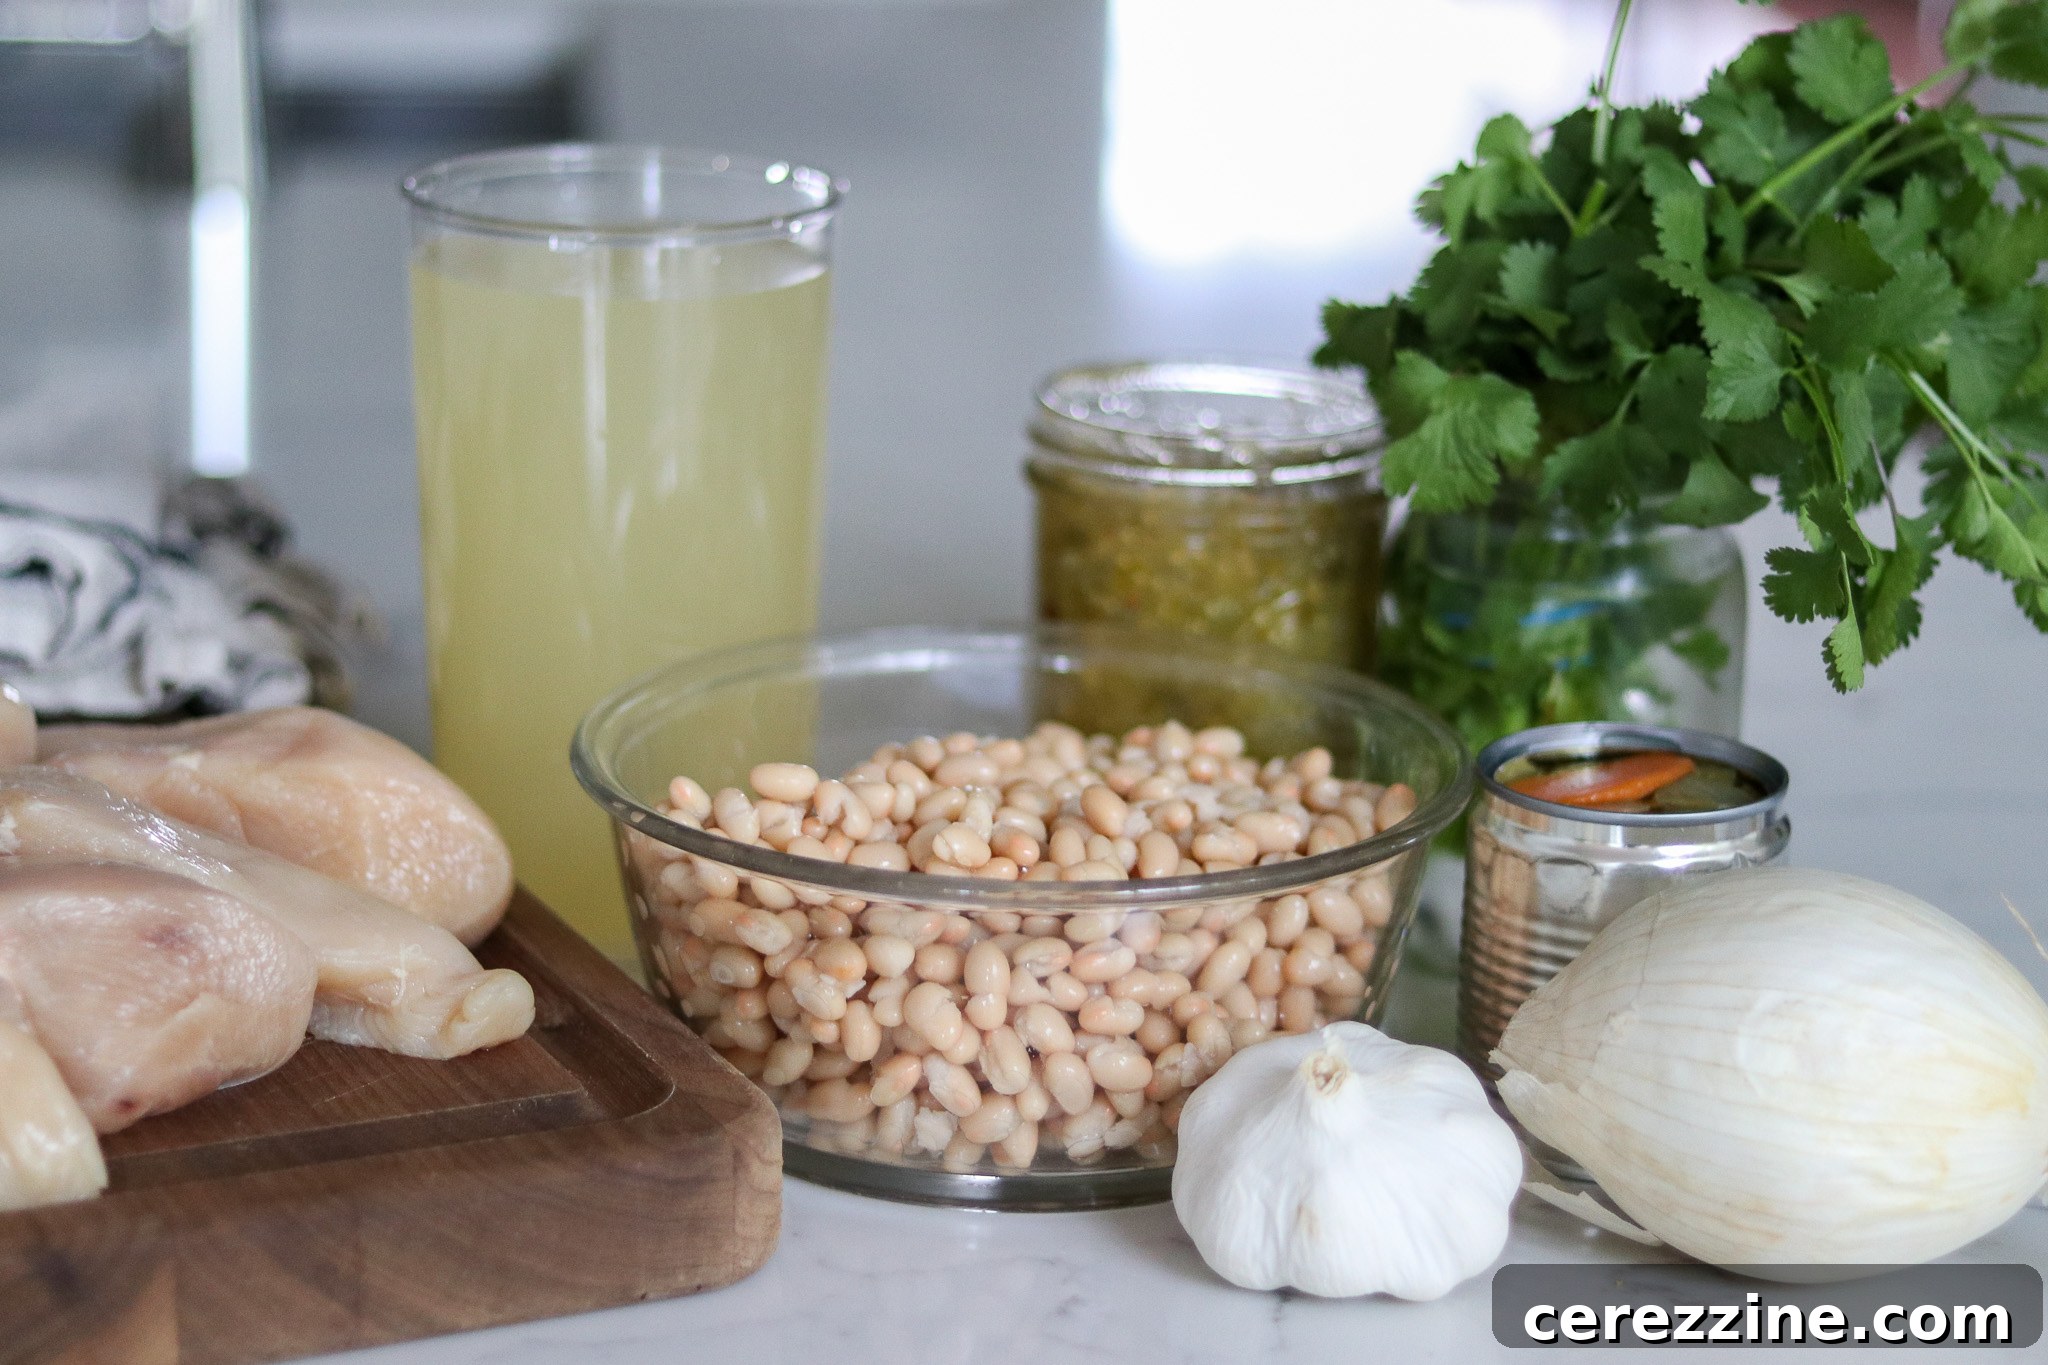
To prepare a generous 4-quart (or 8-pint) batch of chicken chili verde, gather the following high-quality ingredients:
- 4 lbs boneless chicken, preferably chicken breasts or thighs, chopped into uniform 2-inch chunks
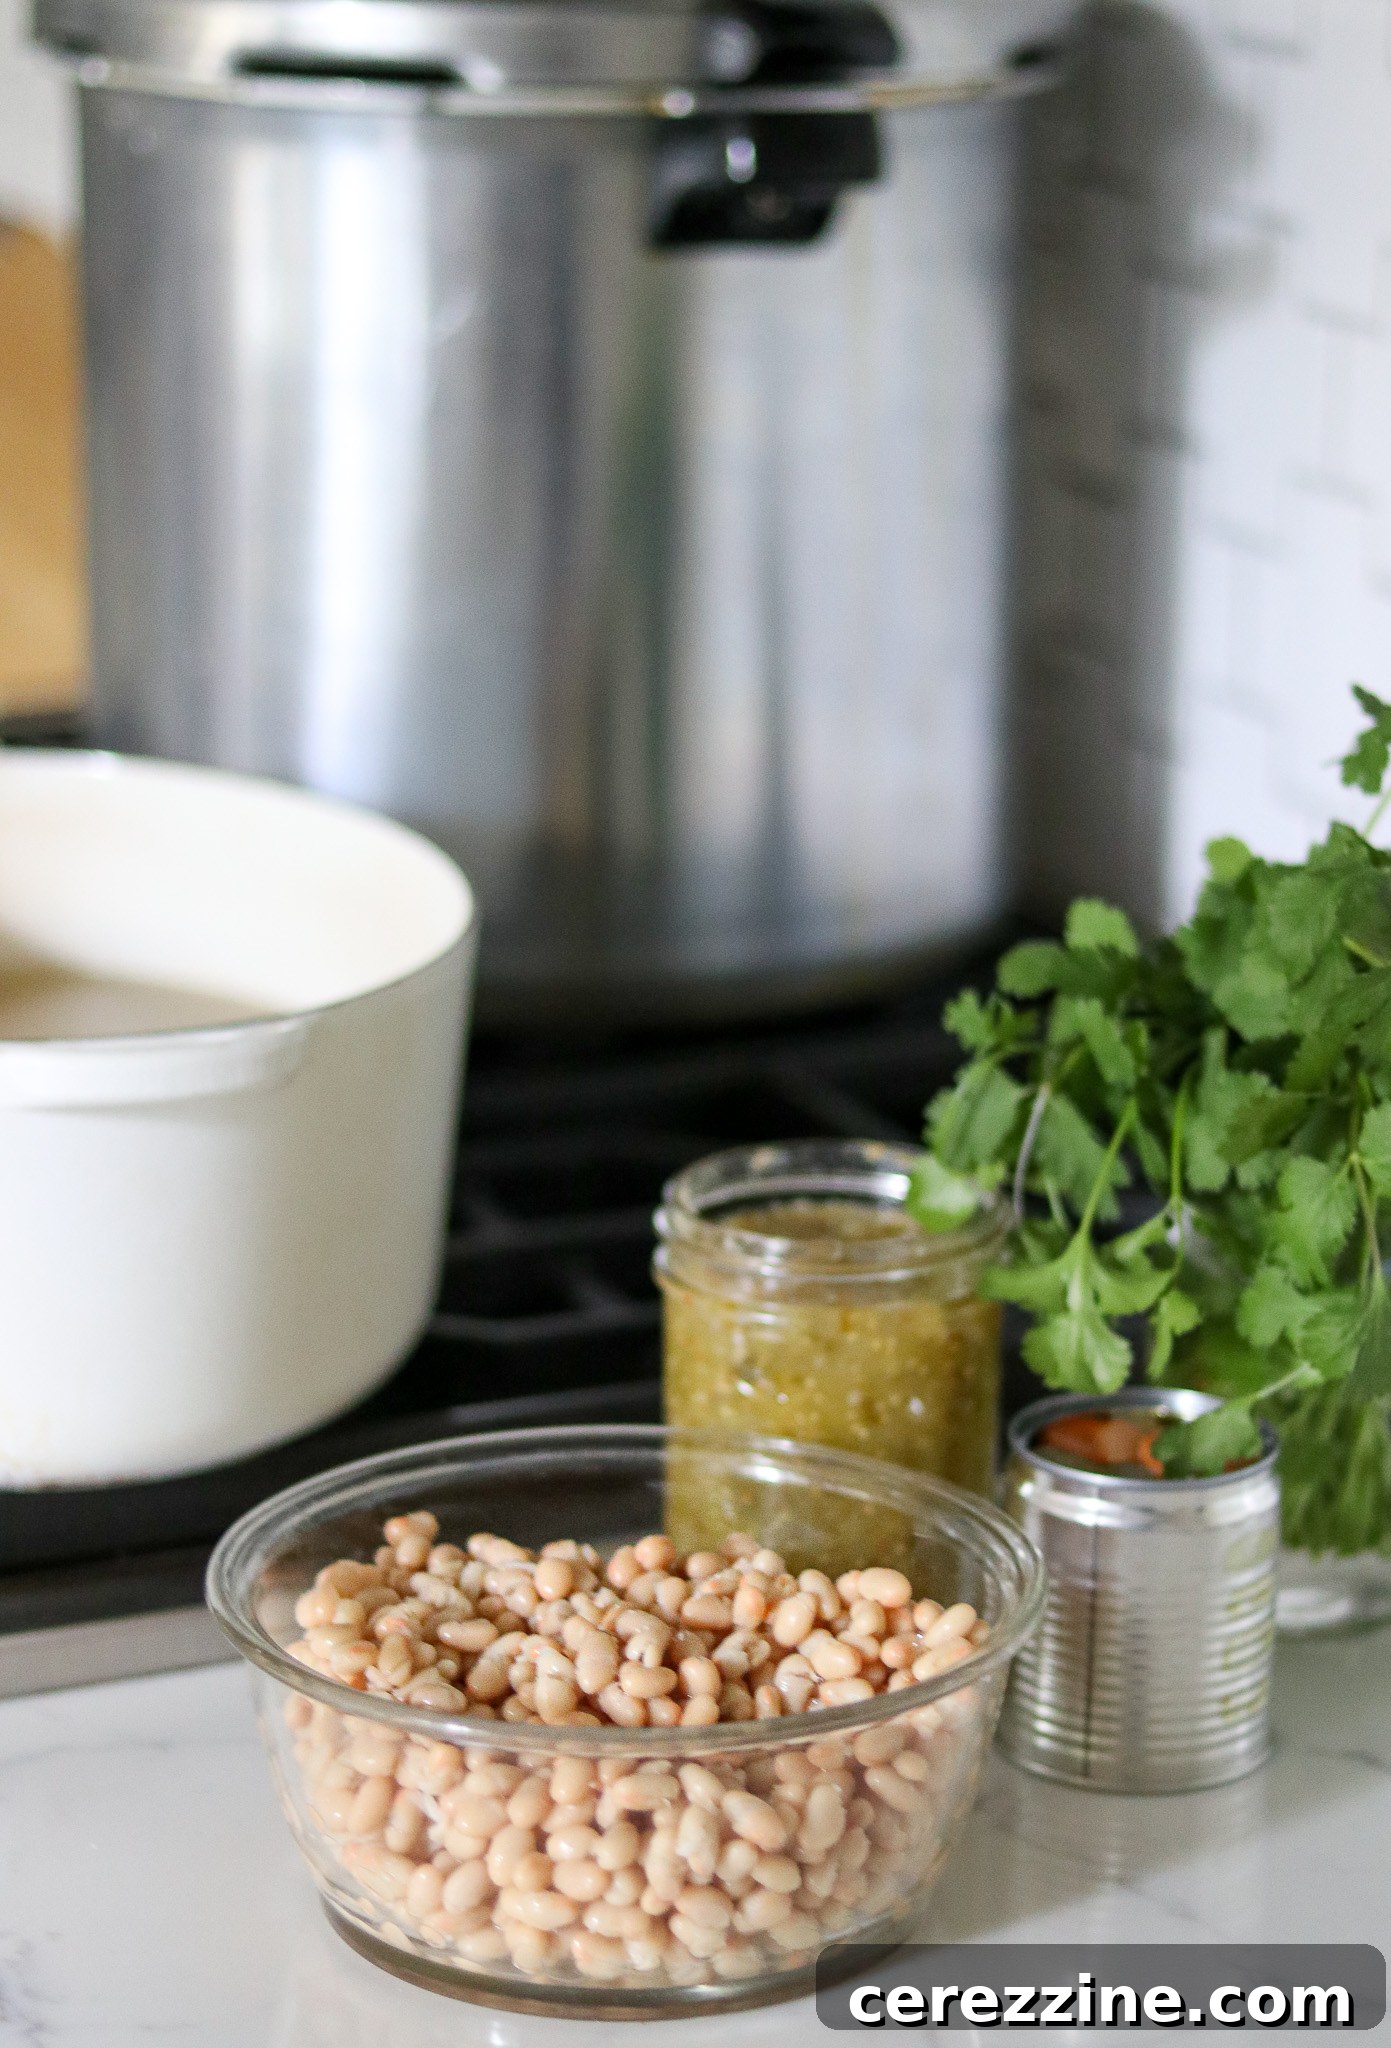
- 2 cups canned white beans, such as cannellini or great northern, thoroughly drained and rinsed
- 2 cups onions, finely diced for even distribution and cooking
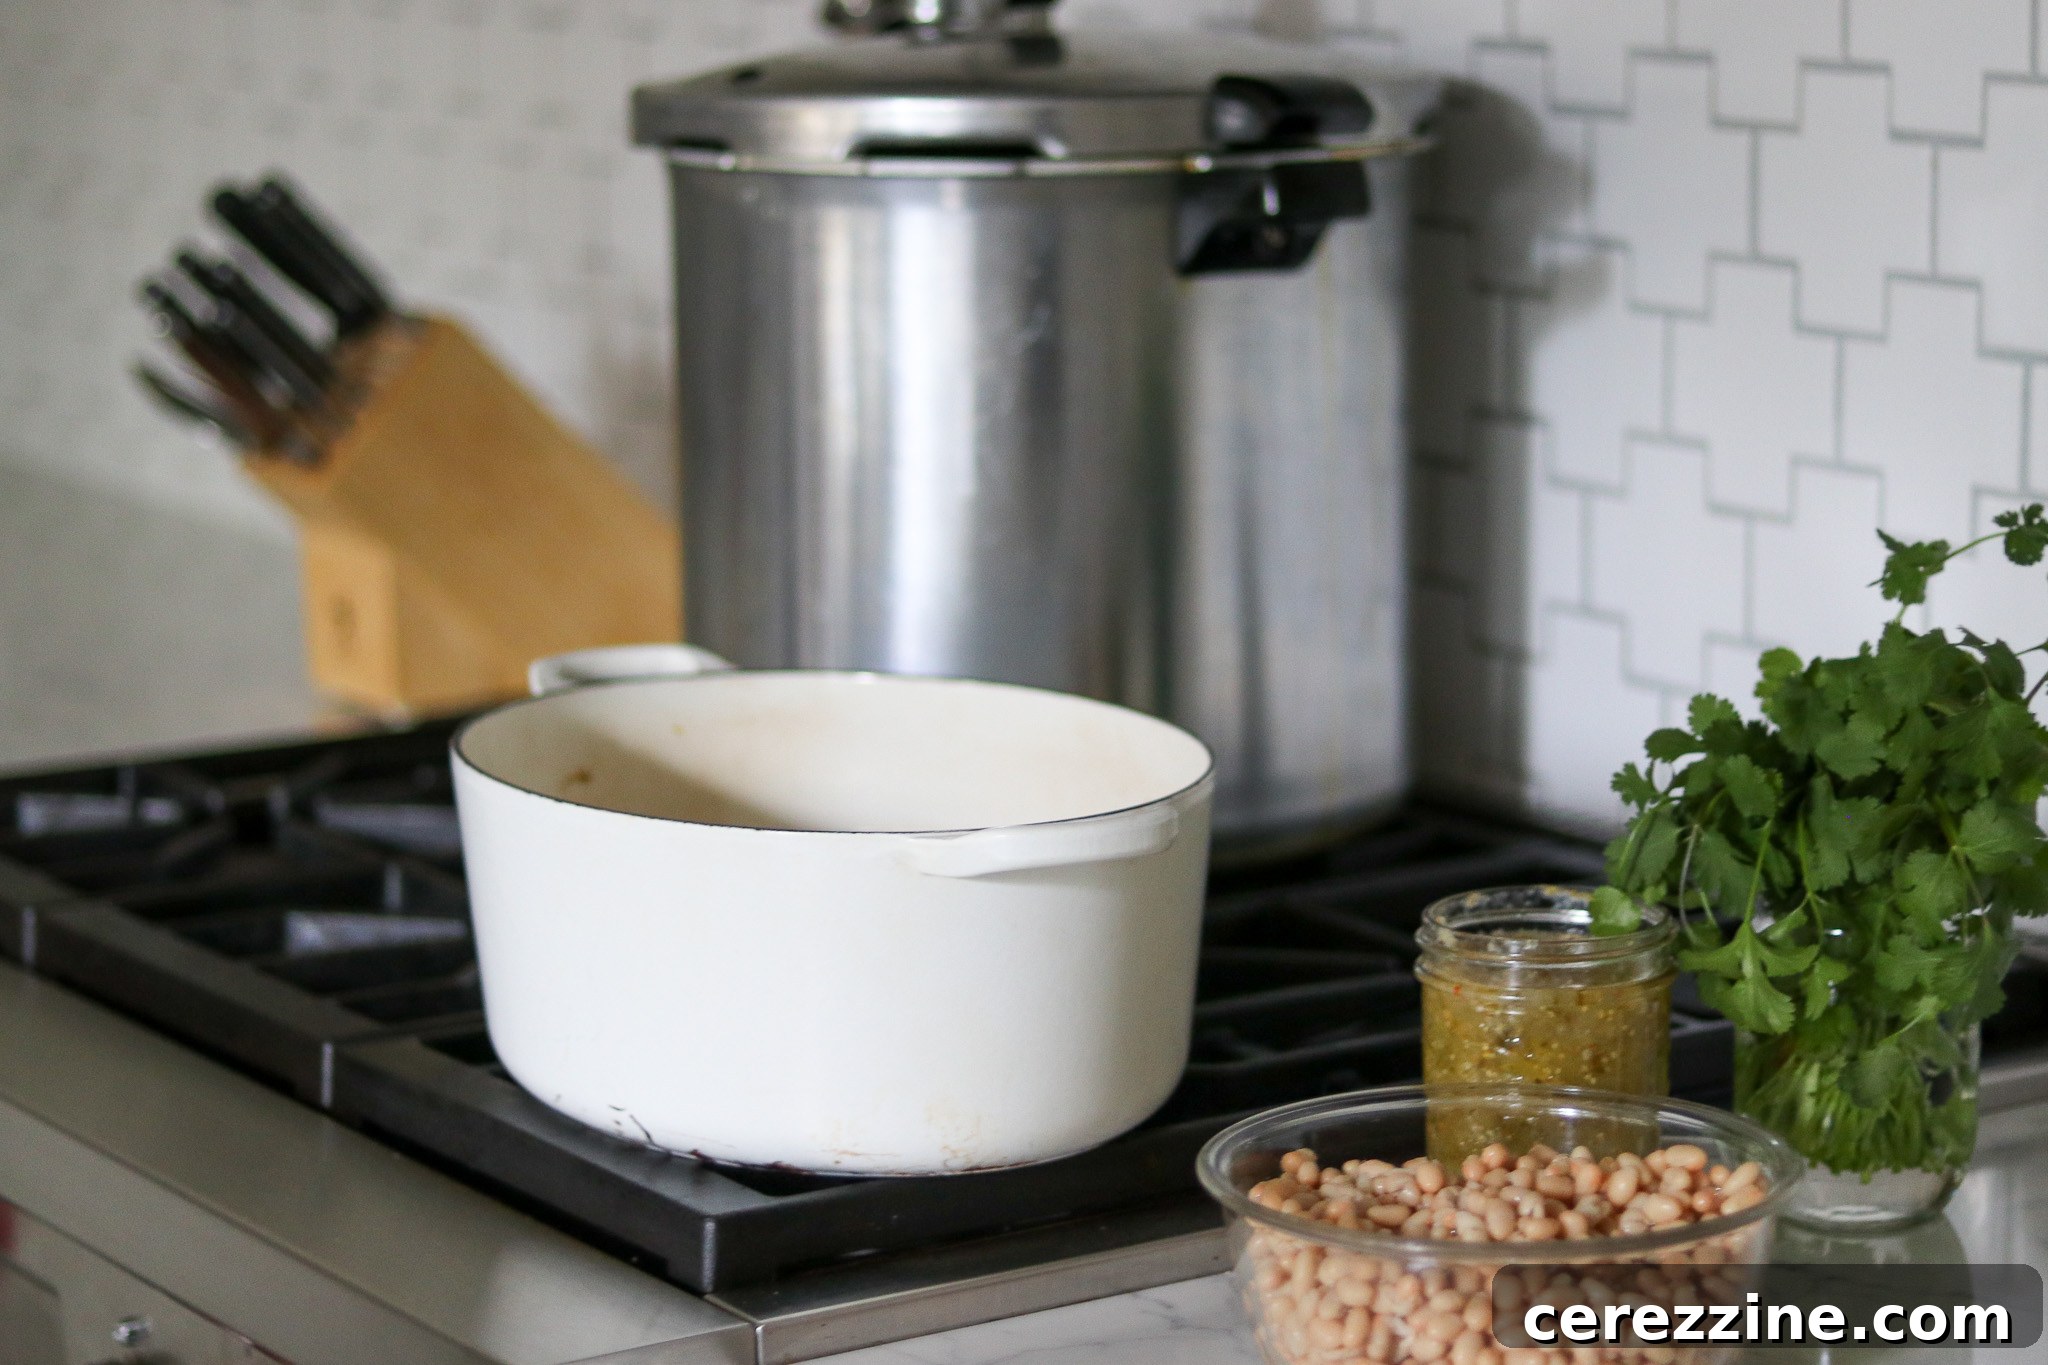
- 2 cups salsa verde, either homemade for ultimate freshness or a trusted store-bought brand (refer to the detailed note below for quick homemade salsa verde instructions)
- 4 tsp canning or pickling salt, essential for preservation and flavor balance
- 4 garlic cloves, freshly minced to infuse the chili with aromatic depth
- 1/2 cup sliced pickled jalapenos, providing a pleasant heat and tangy kick (homemade or store-bought are both suitable)
- 1/2 cup fresh cilantro, chopped, for a bright, herbaceous finish
- Approximately 2 quarts of chicken broth, for filling the jars and ensuring proper heat penetration during canning
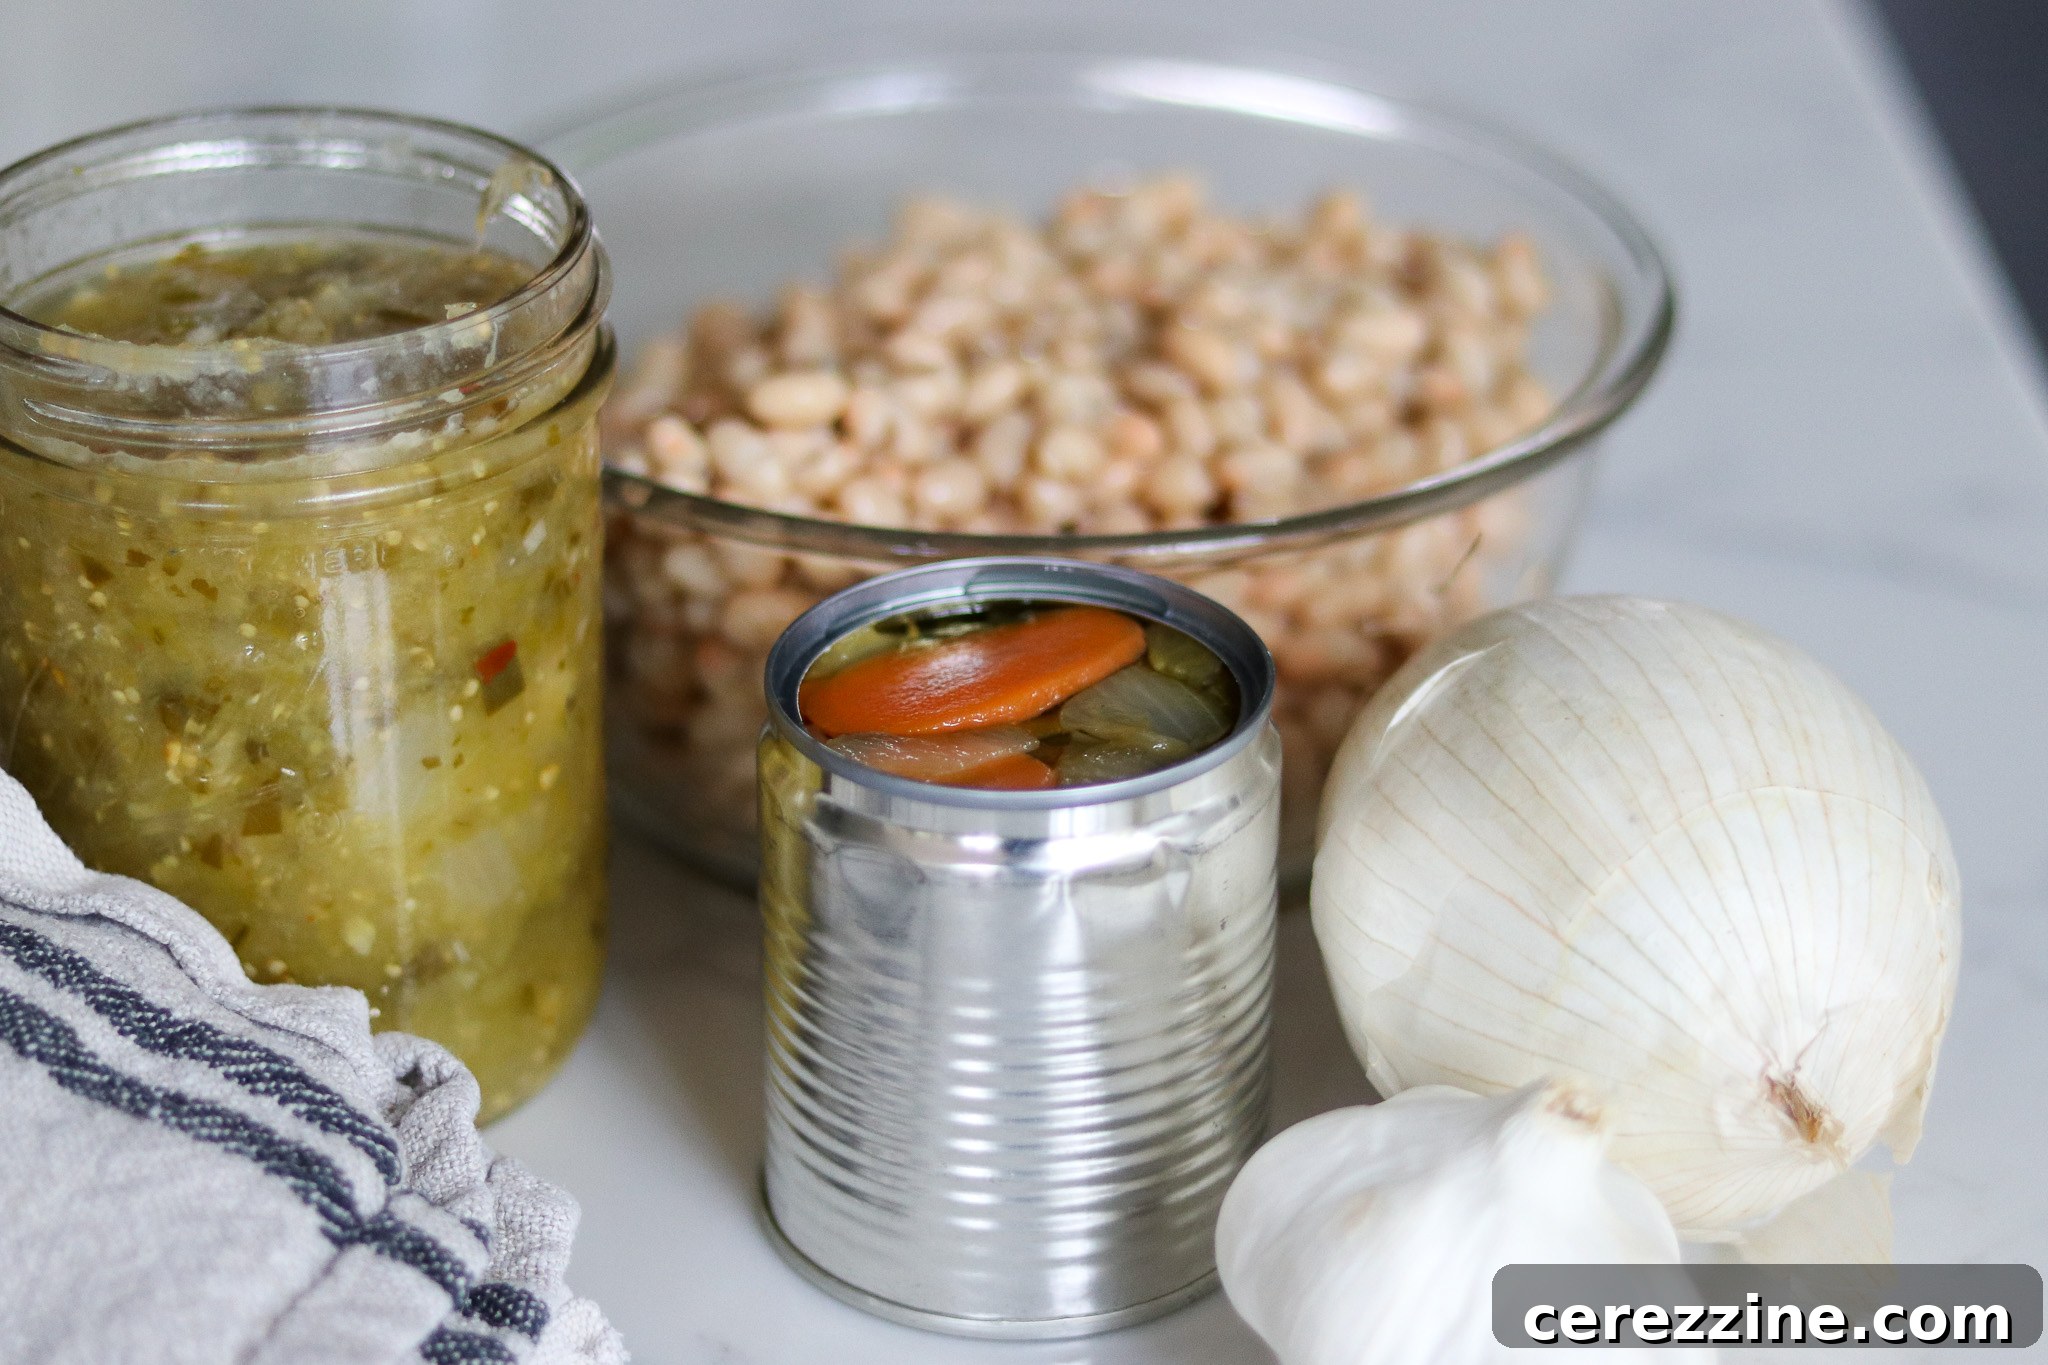
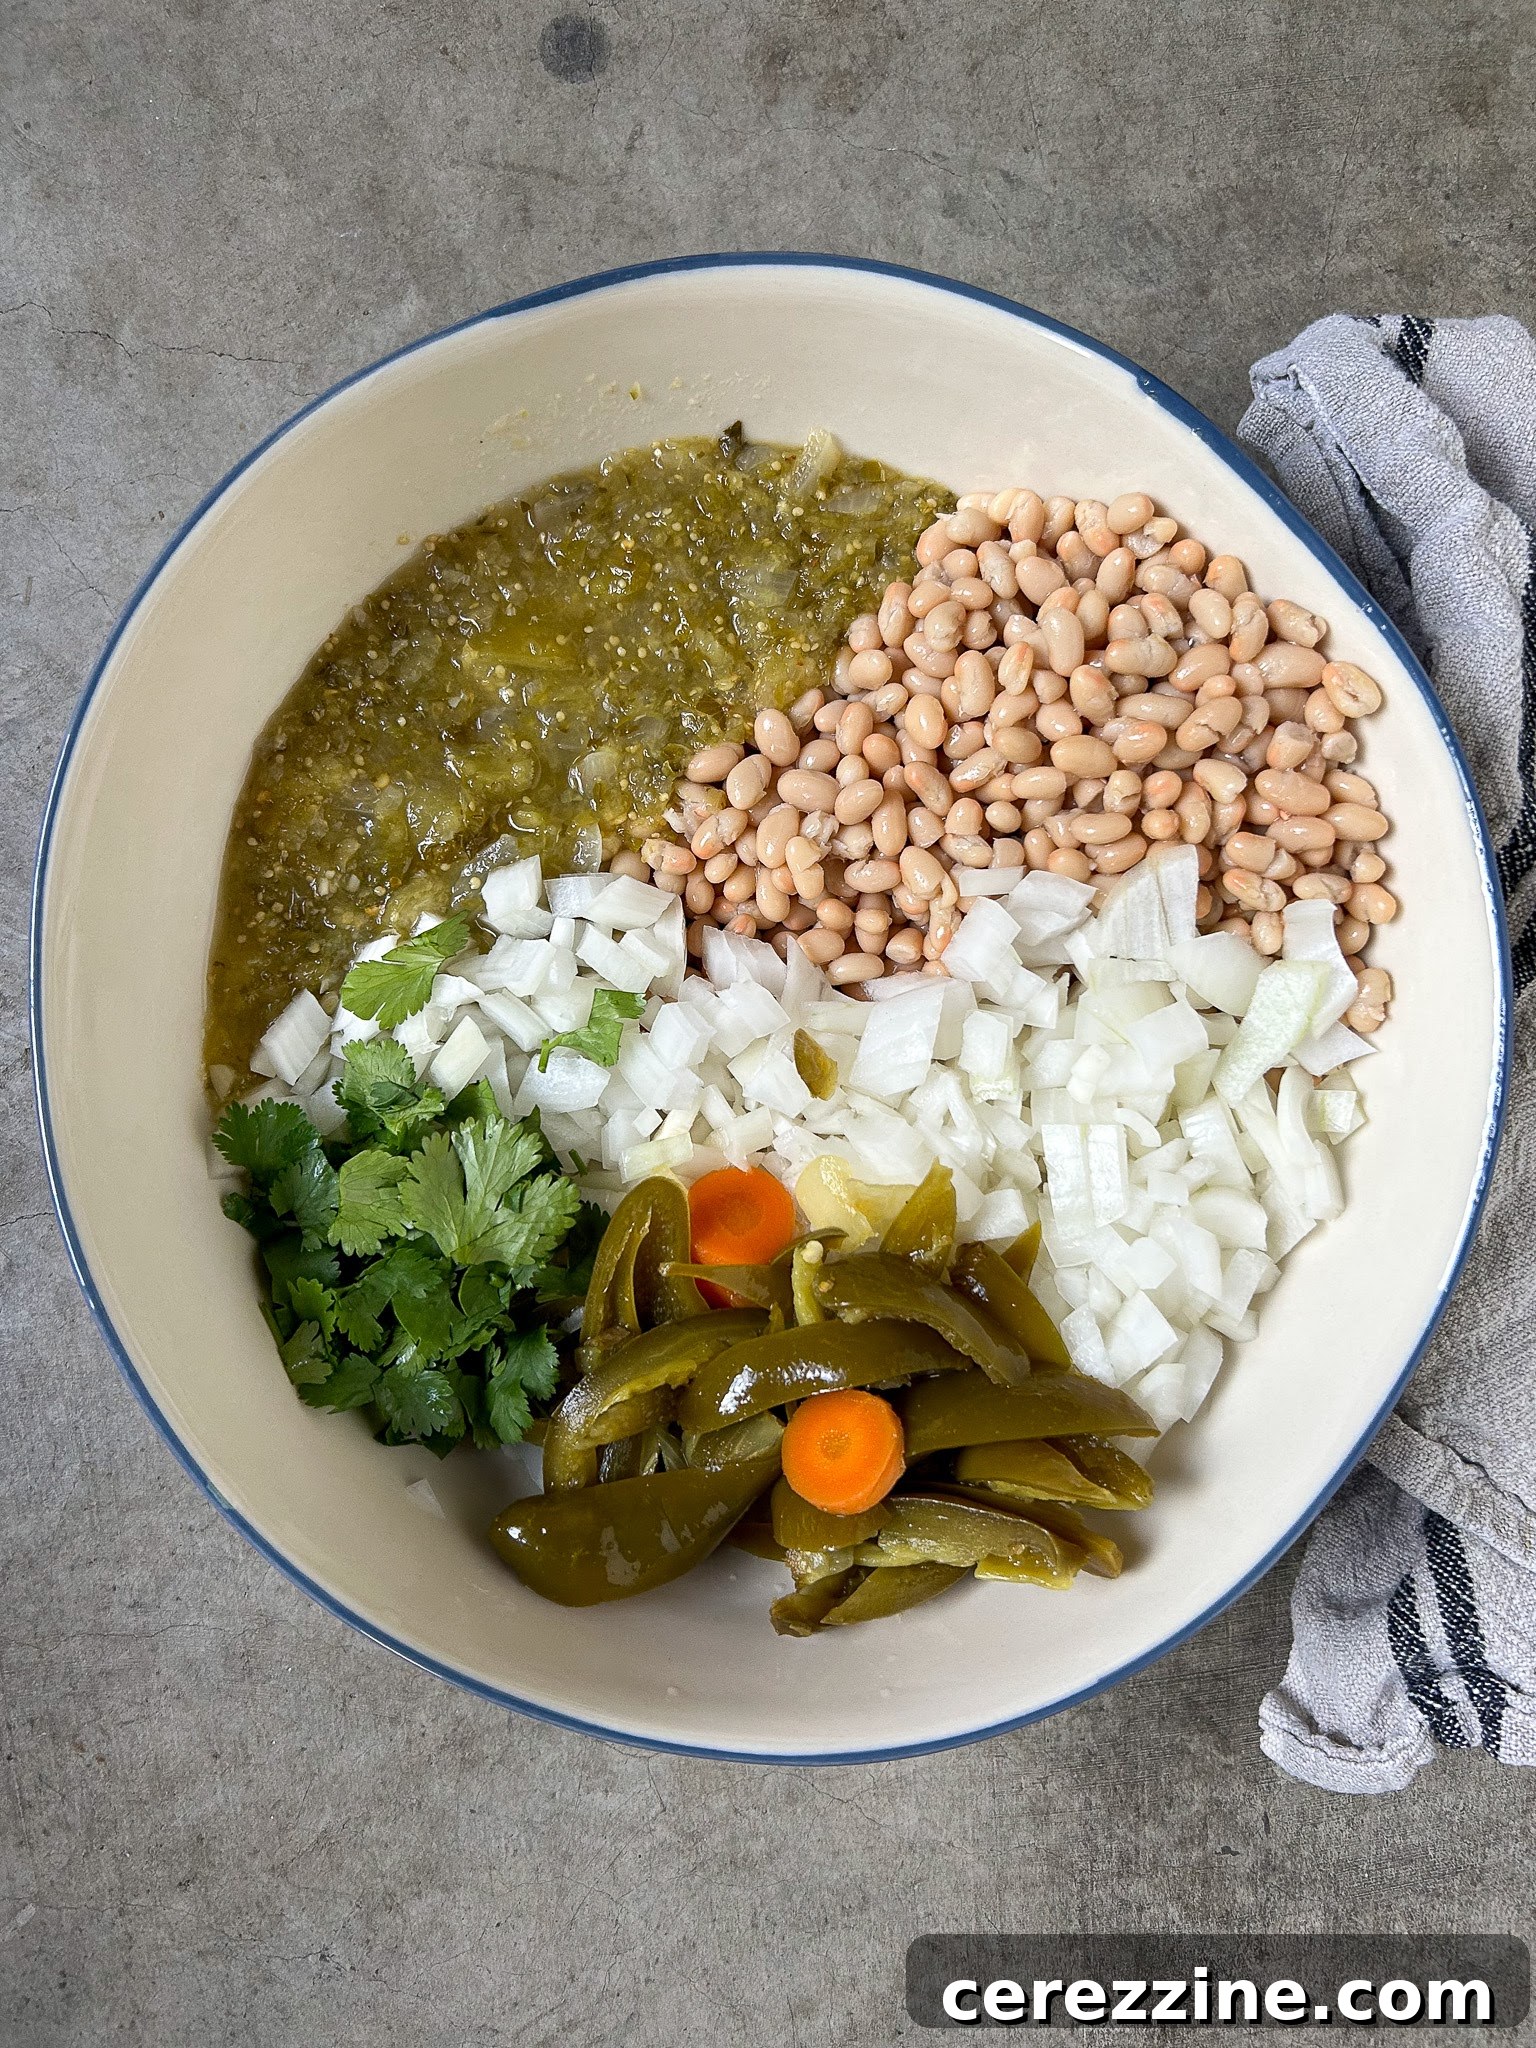
The beauty of this recipe lies in its adaptability. Both homemade and store-bought salsa verde and pickled jalapenos are perfectly acceptable. When using store-bought pickled jalapenos, you might encounter varieties that include other pickled vegetables like onions or carrots. This is completely fine for canning purposes, as the pickling process has rendered them safe. In essence, you are adding “1/2 cup of pickled vegetables” which is perfectly safe and adds to the flavor complexity. Many home canners choose to make their own pickled jalapenos, but commercially canned options provide a convenient alternative, especially if you didn’t preserve your own this year. As an example, one batch prepared for this article utilized a mix of pickled jalapenos and carrots from a tin can, demonstrating the versatility of this ingredient.
Choosing Your Beans: Canned vs. Dried
While the recipe specifies canned white beans for simplicity, you can certainly substitute dried beans if you prefer. Two cups of fully cooked canned beans are equivalent to approximately 2/3 cup of dried beans, highlighting the significant expansion that occurs during cooking. To prepare dried beans for this recipe, begin by soaking them overnight. Drain the soaking water, then place the beans in a fresh pot of water. Bring them to a boil and simmer for about 30 minutes. At this point, they won’t be fully cooked but will be sufficiently rehydrated. This partial cooking prevents them from absorbing excessive liquid during the canning process, eliminating the need for additional broth in the jars. The beans will complete their cooking cycle safely within the pressure canner.
(For ultimate ease, pre-cooked canned beans remain an excellent and straightforward choice.)
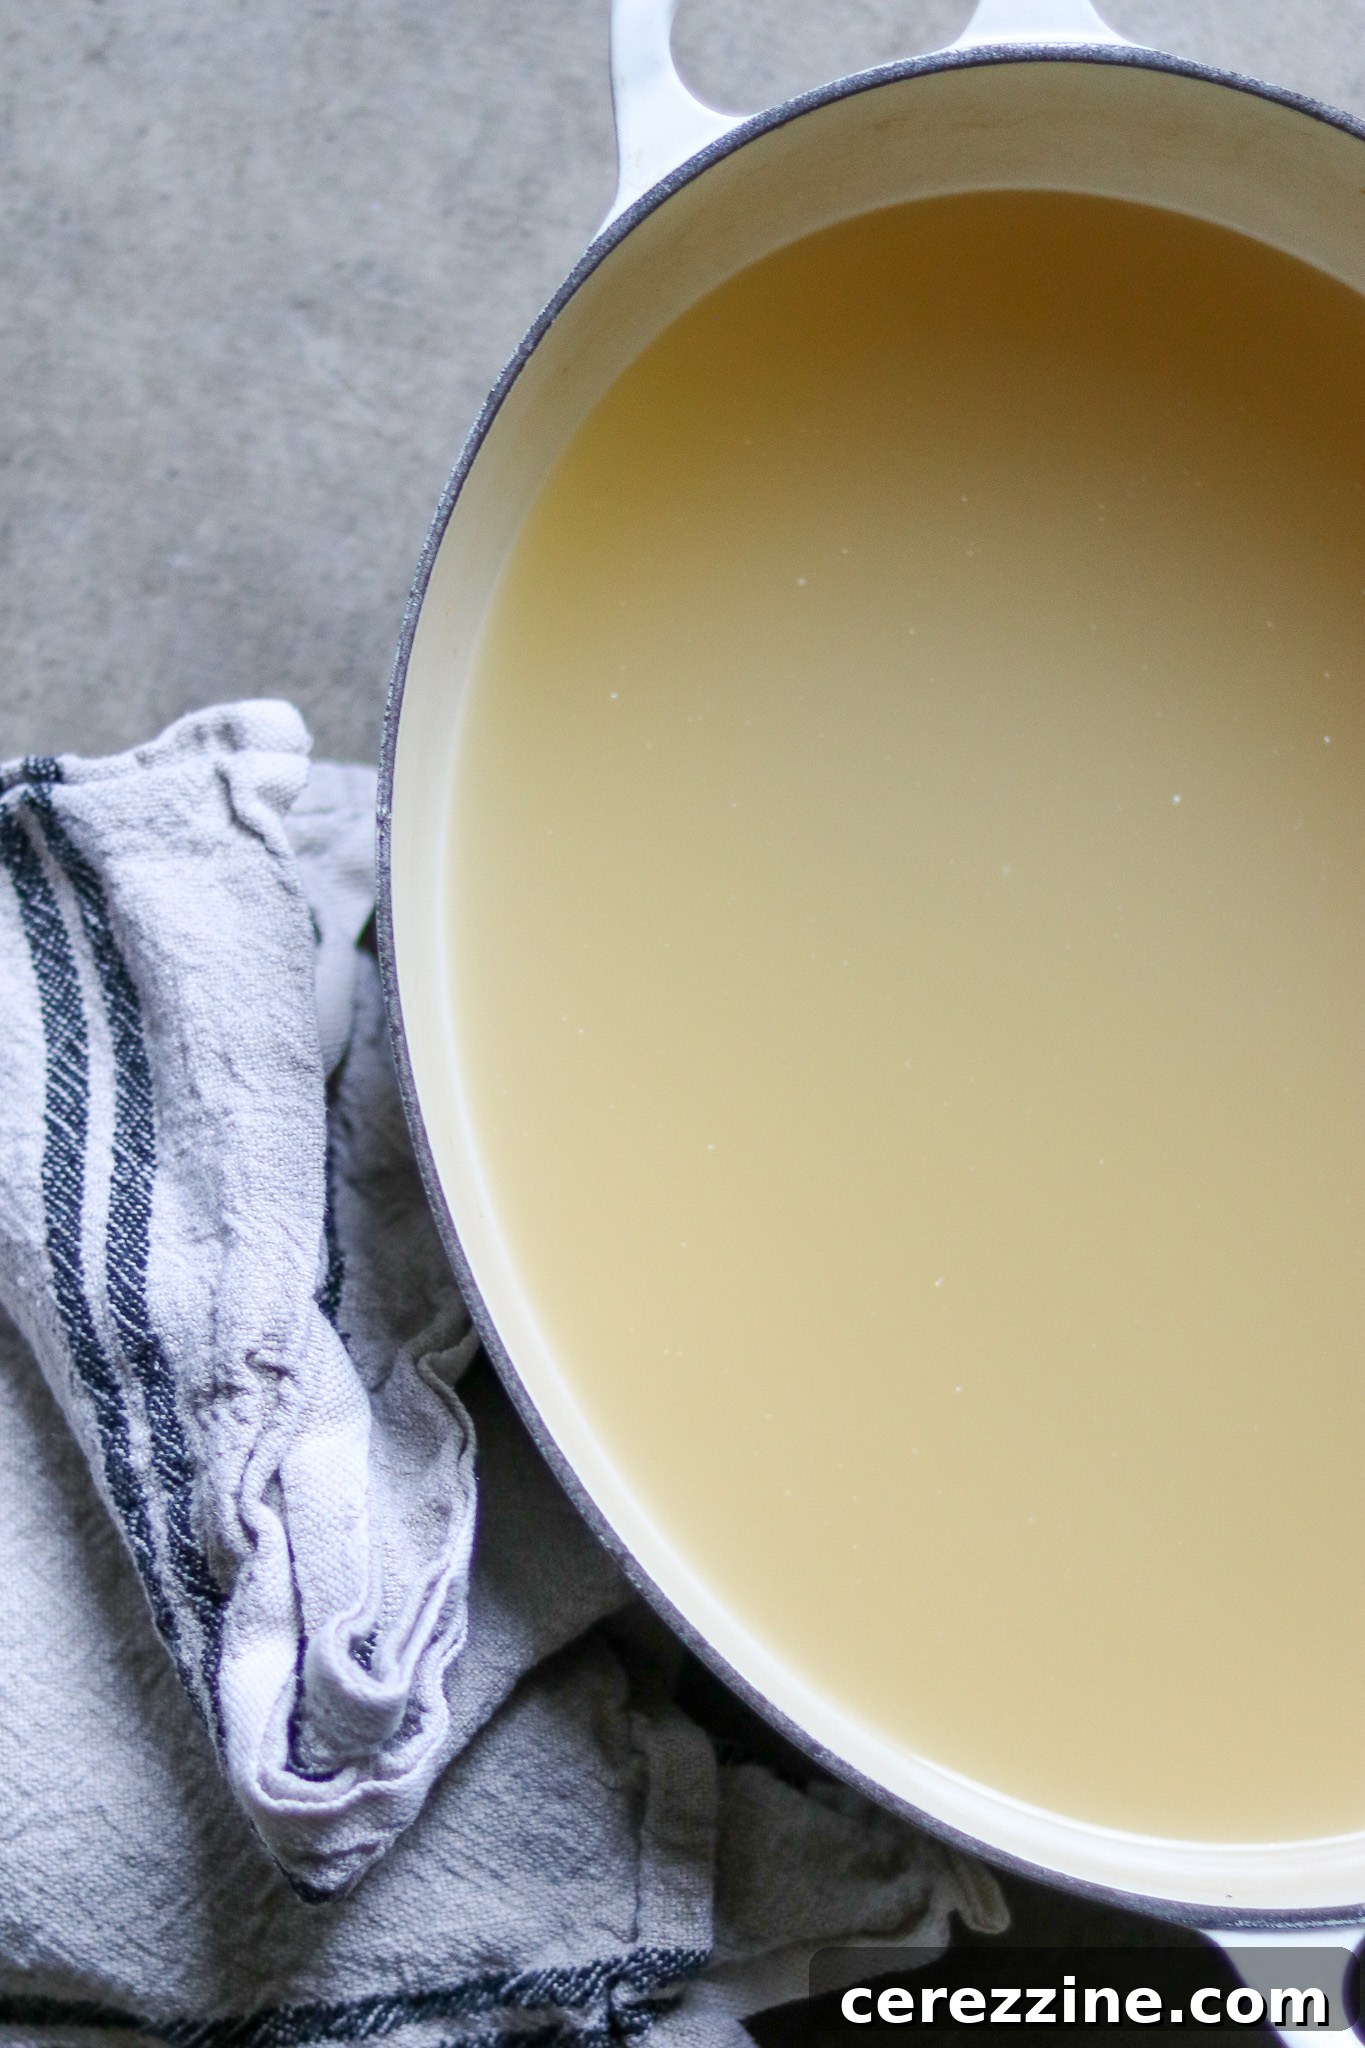
This recipe employs a straightforward raw pack method, which means most ingredients are combined raw in the jars before processing. The only component that needs to be heated is the chicken broth. Bring your chicken broth to a rolling boil in a stockpot or saucepan before it’s used to fill the prepared jars.
Once all the raw ingredients are packed into your jars, ensure your pressure canner is properly prepared for raw packing. This typically involves adding the bottom trivet, several inches of water, and preheating the water to approximately 140 degrees F (very hot, but not yet simmering). Simultaneously, keep your chicken broth at a boil on the stove. Fill each jar with the boiling hot chicken broth, leaving a precise 1-inch headspace to allow for expansion during processing and prevent siphoning.
(If you are new to pressure canning, it is highly recommended to consult a comprehensive beginner’s guide to pressure canning before attempting this or any pressure canning recipe to ensure safety and success.)
Crafting Your Own Quick Salsa Verde
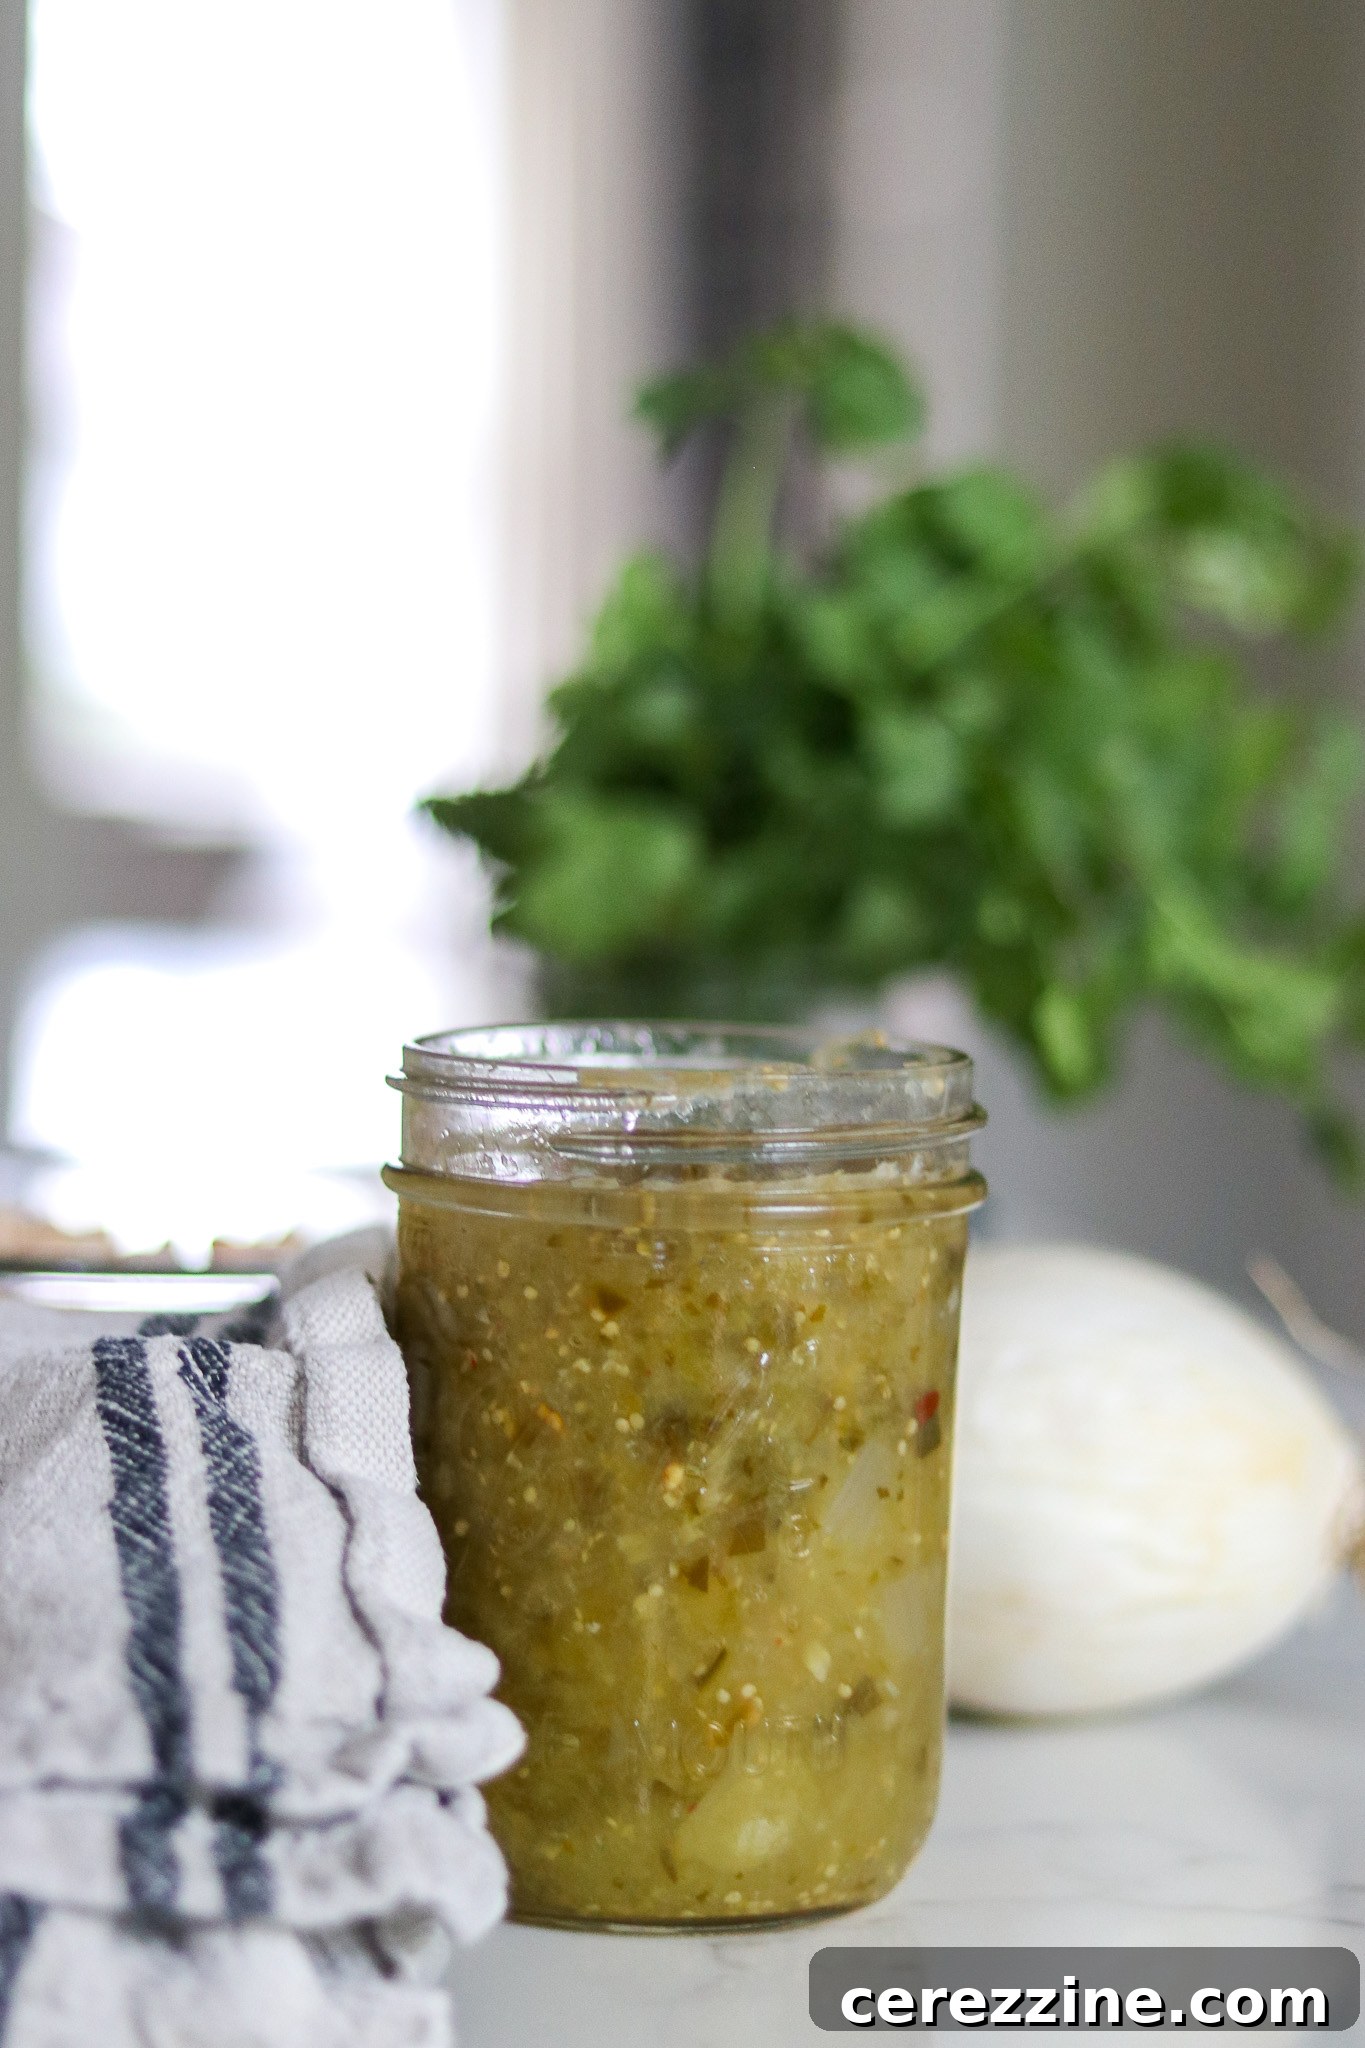
This recipe assumes you have a ready supply of salsa verde. While any green salsa you enjoy, whether homemade or store-bought, will work, Ball canning specifically recommends their roasted tomatillo salsa verde for optimal flavor. If you find yourself without a prepared salsa verde, don’t worry! You can quickly whip up the required 2 cups (one pint) using the following simple ingredients:
- 1 1/2 lbs tomatillos, husks removed and diced
- 1/2 medium onion, diced
- 1 fresh jalapeno, sliced (remove seeds for less heat, if desired)
- 2 garlic cloves, peeled and minced
- 3 Tbsp fresh lime juice, for brightness and acidity
- 2 tbsp fresh cilantro, chopped
- 1/2 tsp salt
- 1/2 tsp black pepper
To make this quick salsa verde, combine all ingredients in a saucepan. Bring them to a boil, then reduce heat and simmer for about 15 to 20 minutes, or until the vegetables are tender and cooked through. Once cooked, use a food processor, blender, or immersion blender to puree the mixture until it reaches your desired smoothness. This vibrant, homemade salsa verde is now ready to be incorporated into your chicken chili verde recipe for canning.
Step-by-Step Canning Chicken Chili Verde
This raw-pack canning method is renowned for its simplicity, making it an excellent choice for busy home canners. The process is straightforward, ensuring a successful batch of chili with minimal fuss.
- Prepare Your Pressure Canner: Before you begin, set up your pressure canner according to the manufacturer’s instructions for raw packing. This typically involves placing the canner trivet at the bottom and adding several inches of water, then warming the water to about 140°F (approximately 60°C).
- Heat the Broth: Bring your chicken broth to a vigorous boil in a separate saucepan on the stove. Keep it hot until ready to use.
- Combine Ingredients: In a large mixing bowl, combine all the chicken chili verde ingredients: the chopped chicken, drained beans, diced onions, salsa verde, salt, minced garlic, pickled jalapenos, and chopped cilantro. Stir everything together thoroughly to ensure all the spices and ingredients are evenly distributed.
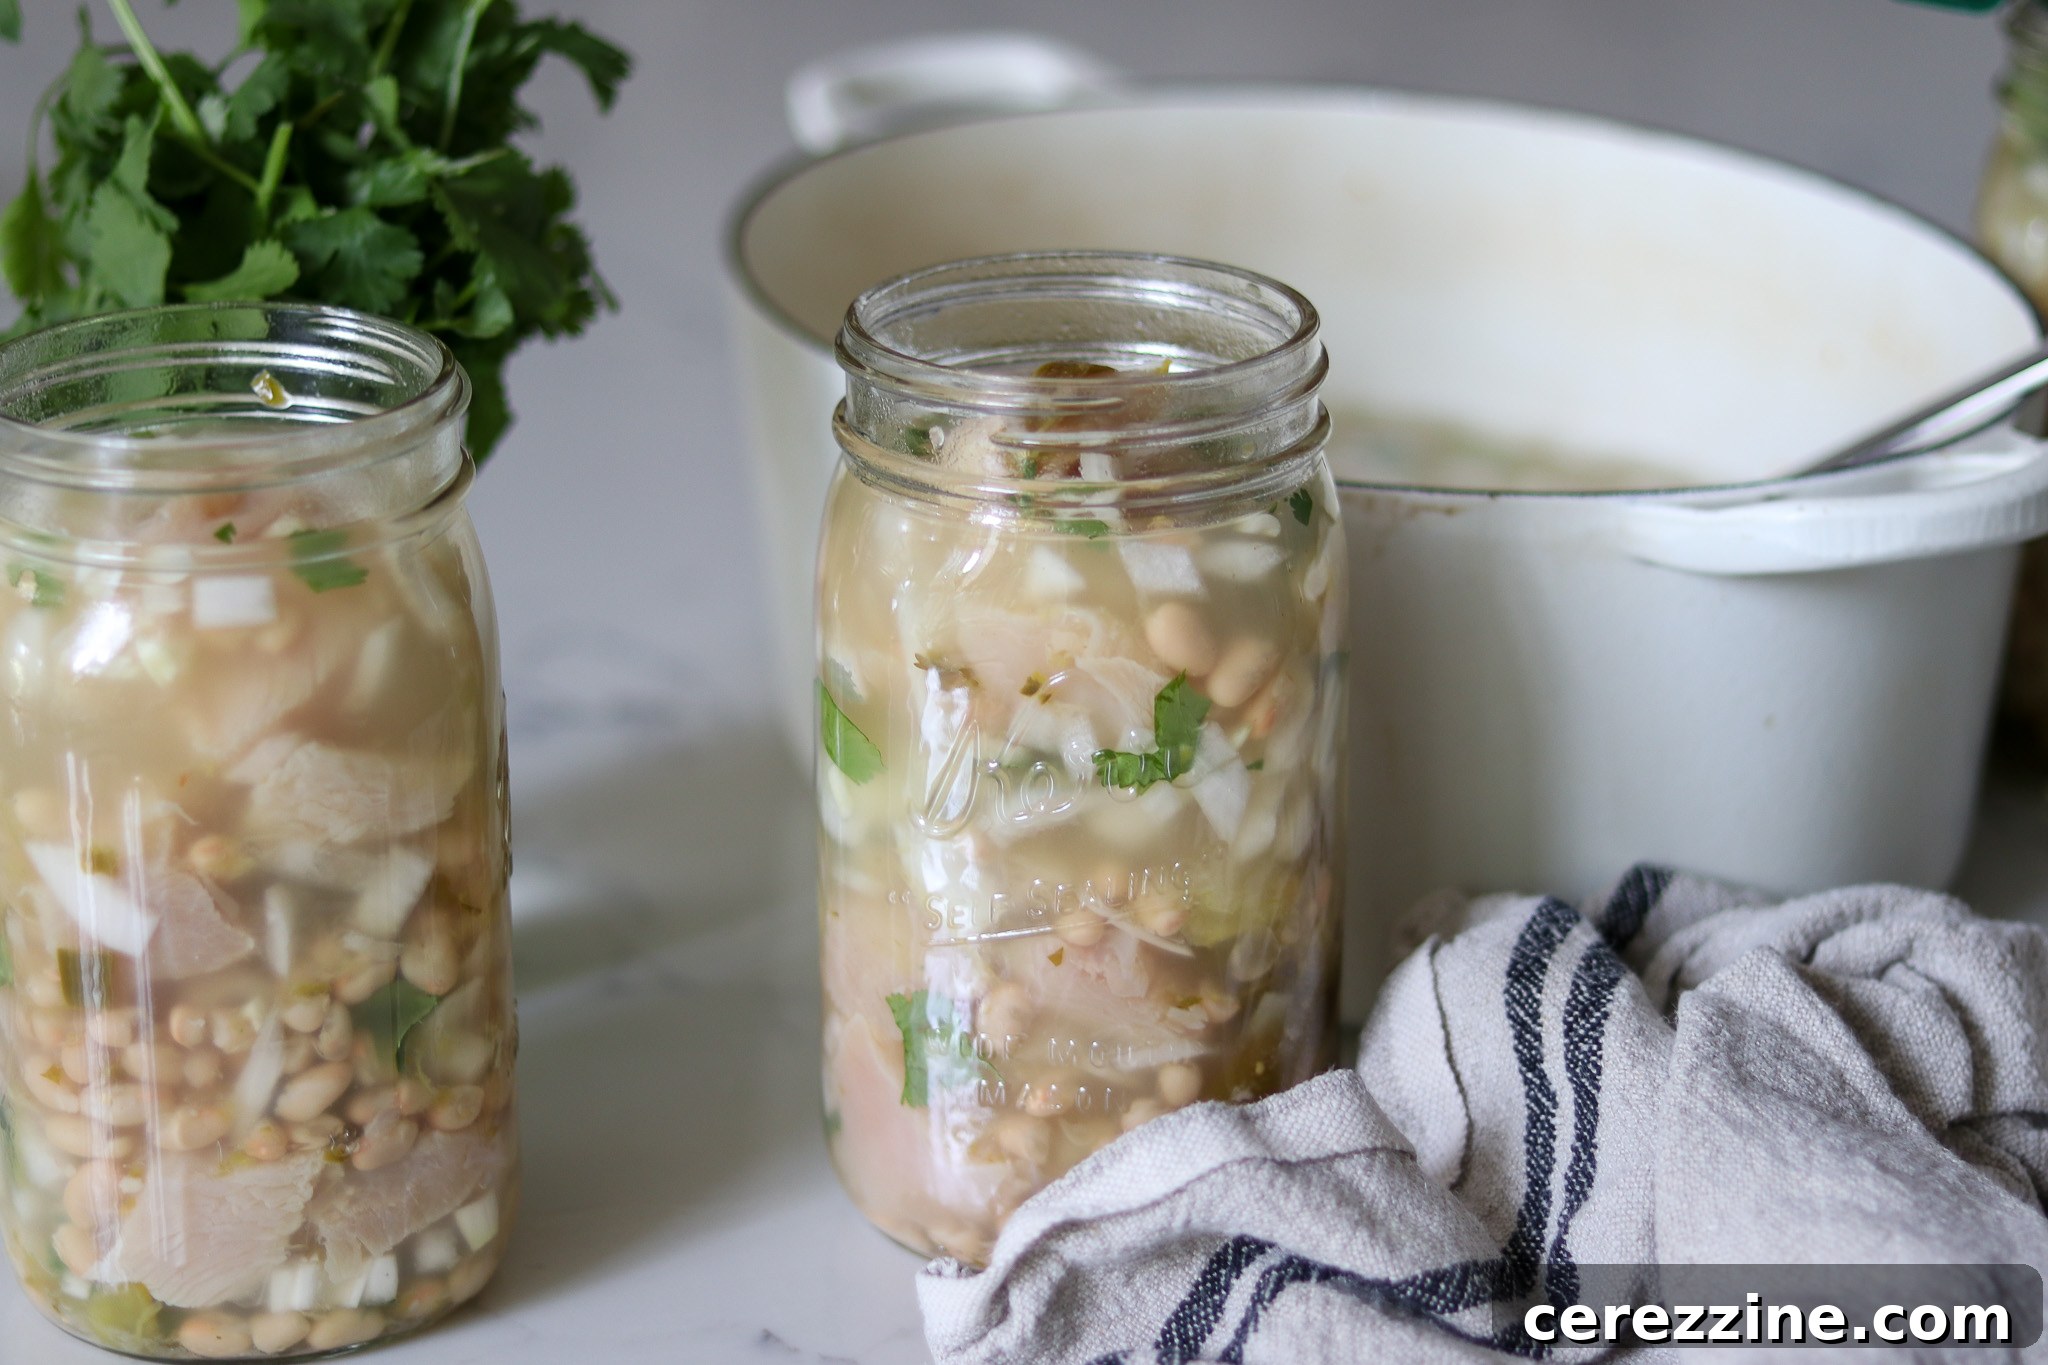
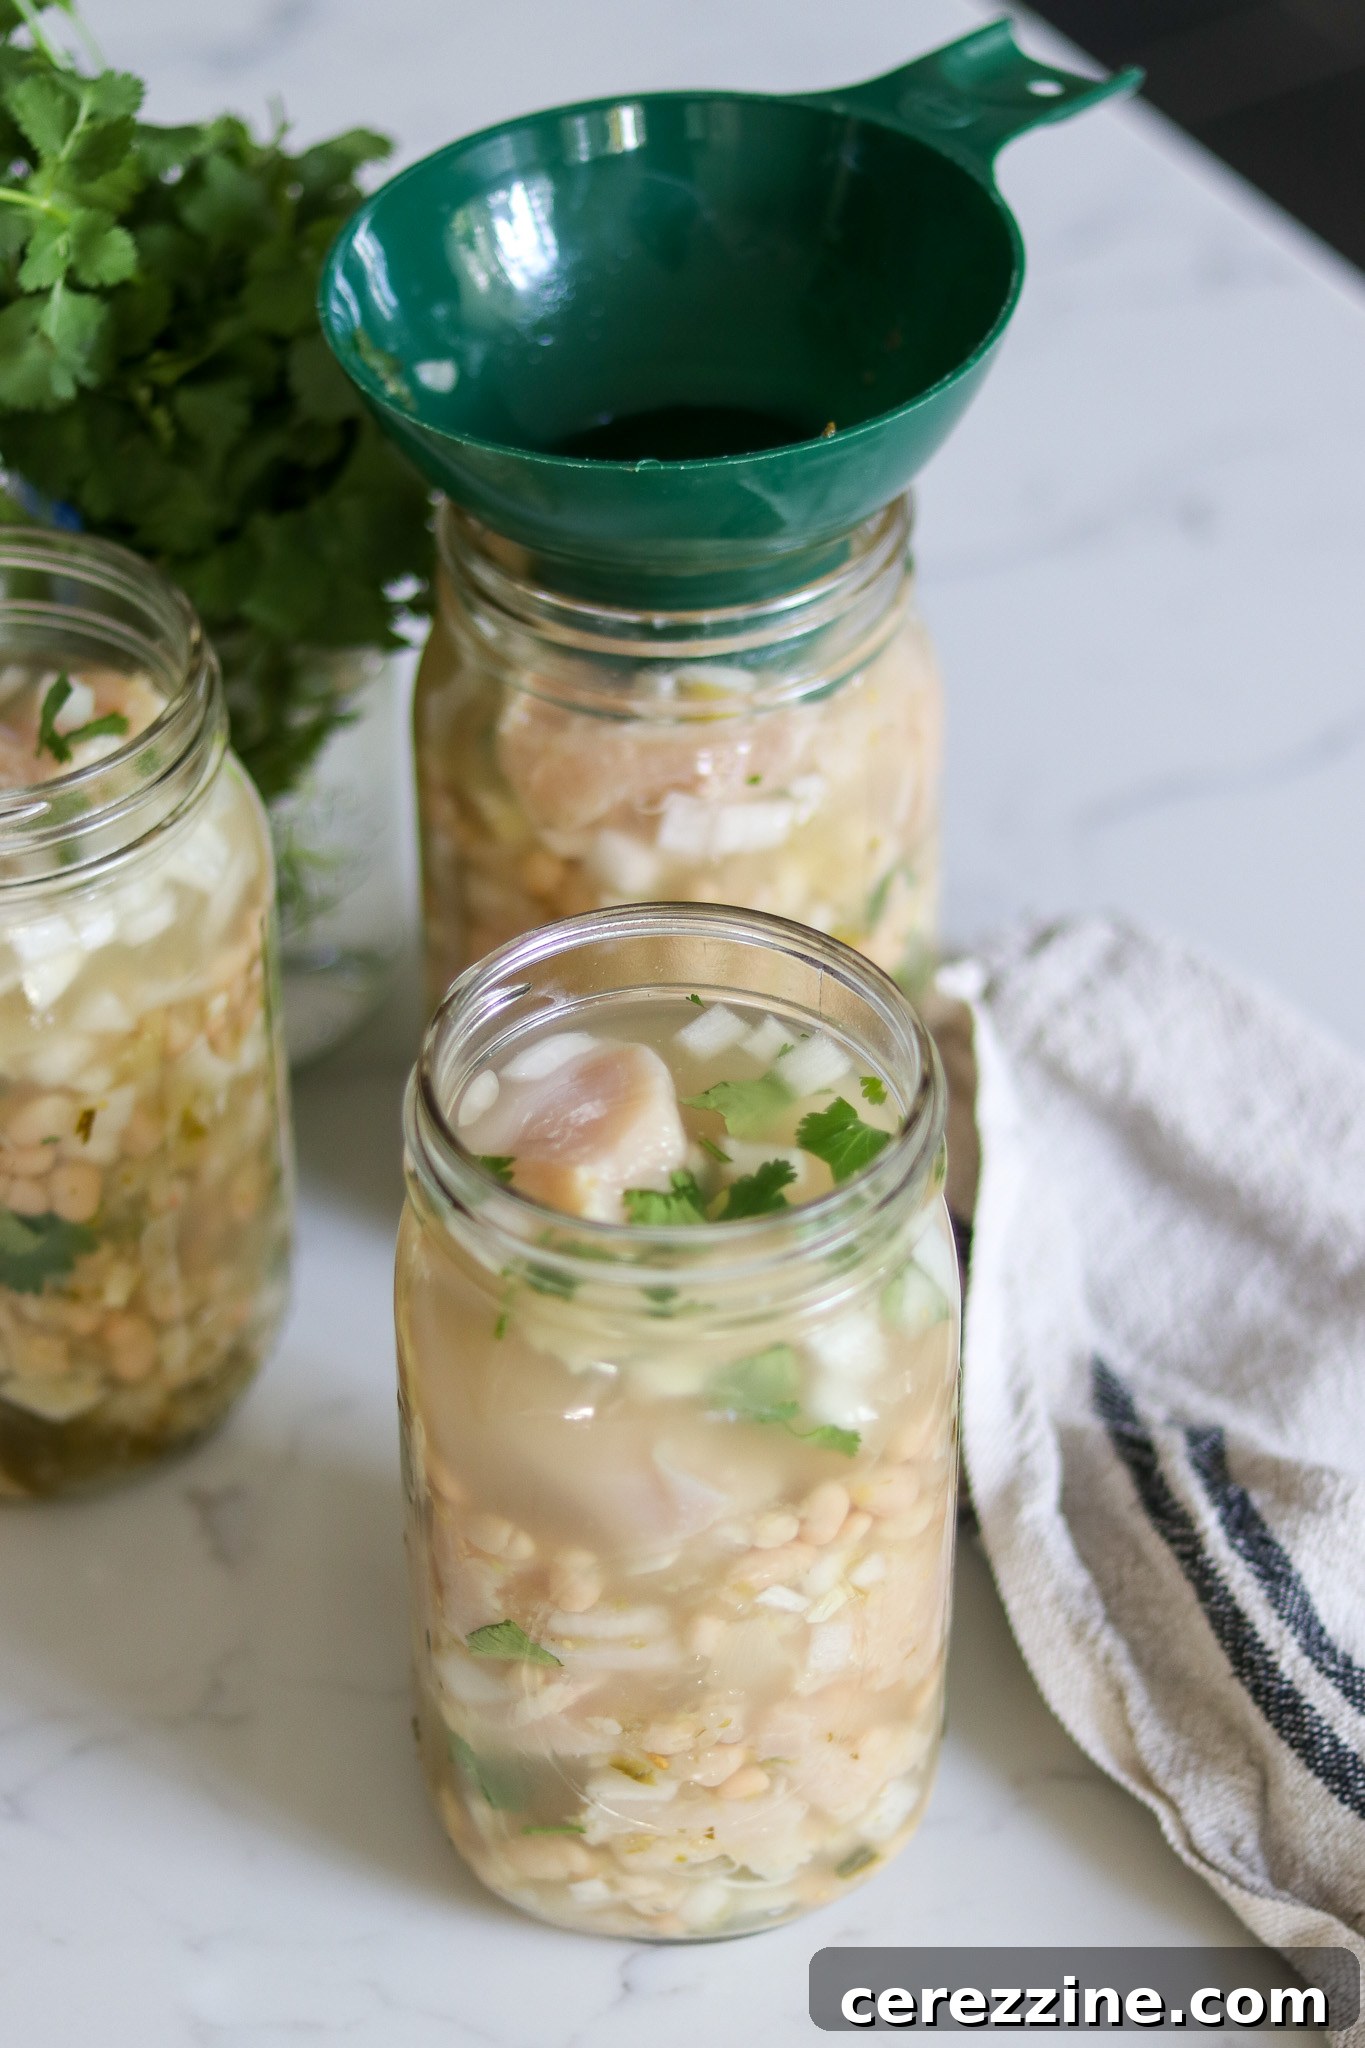
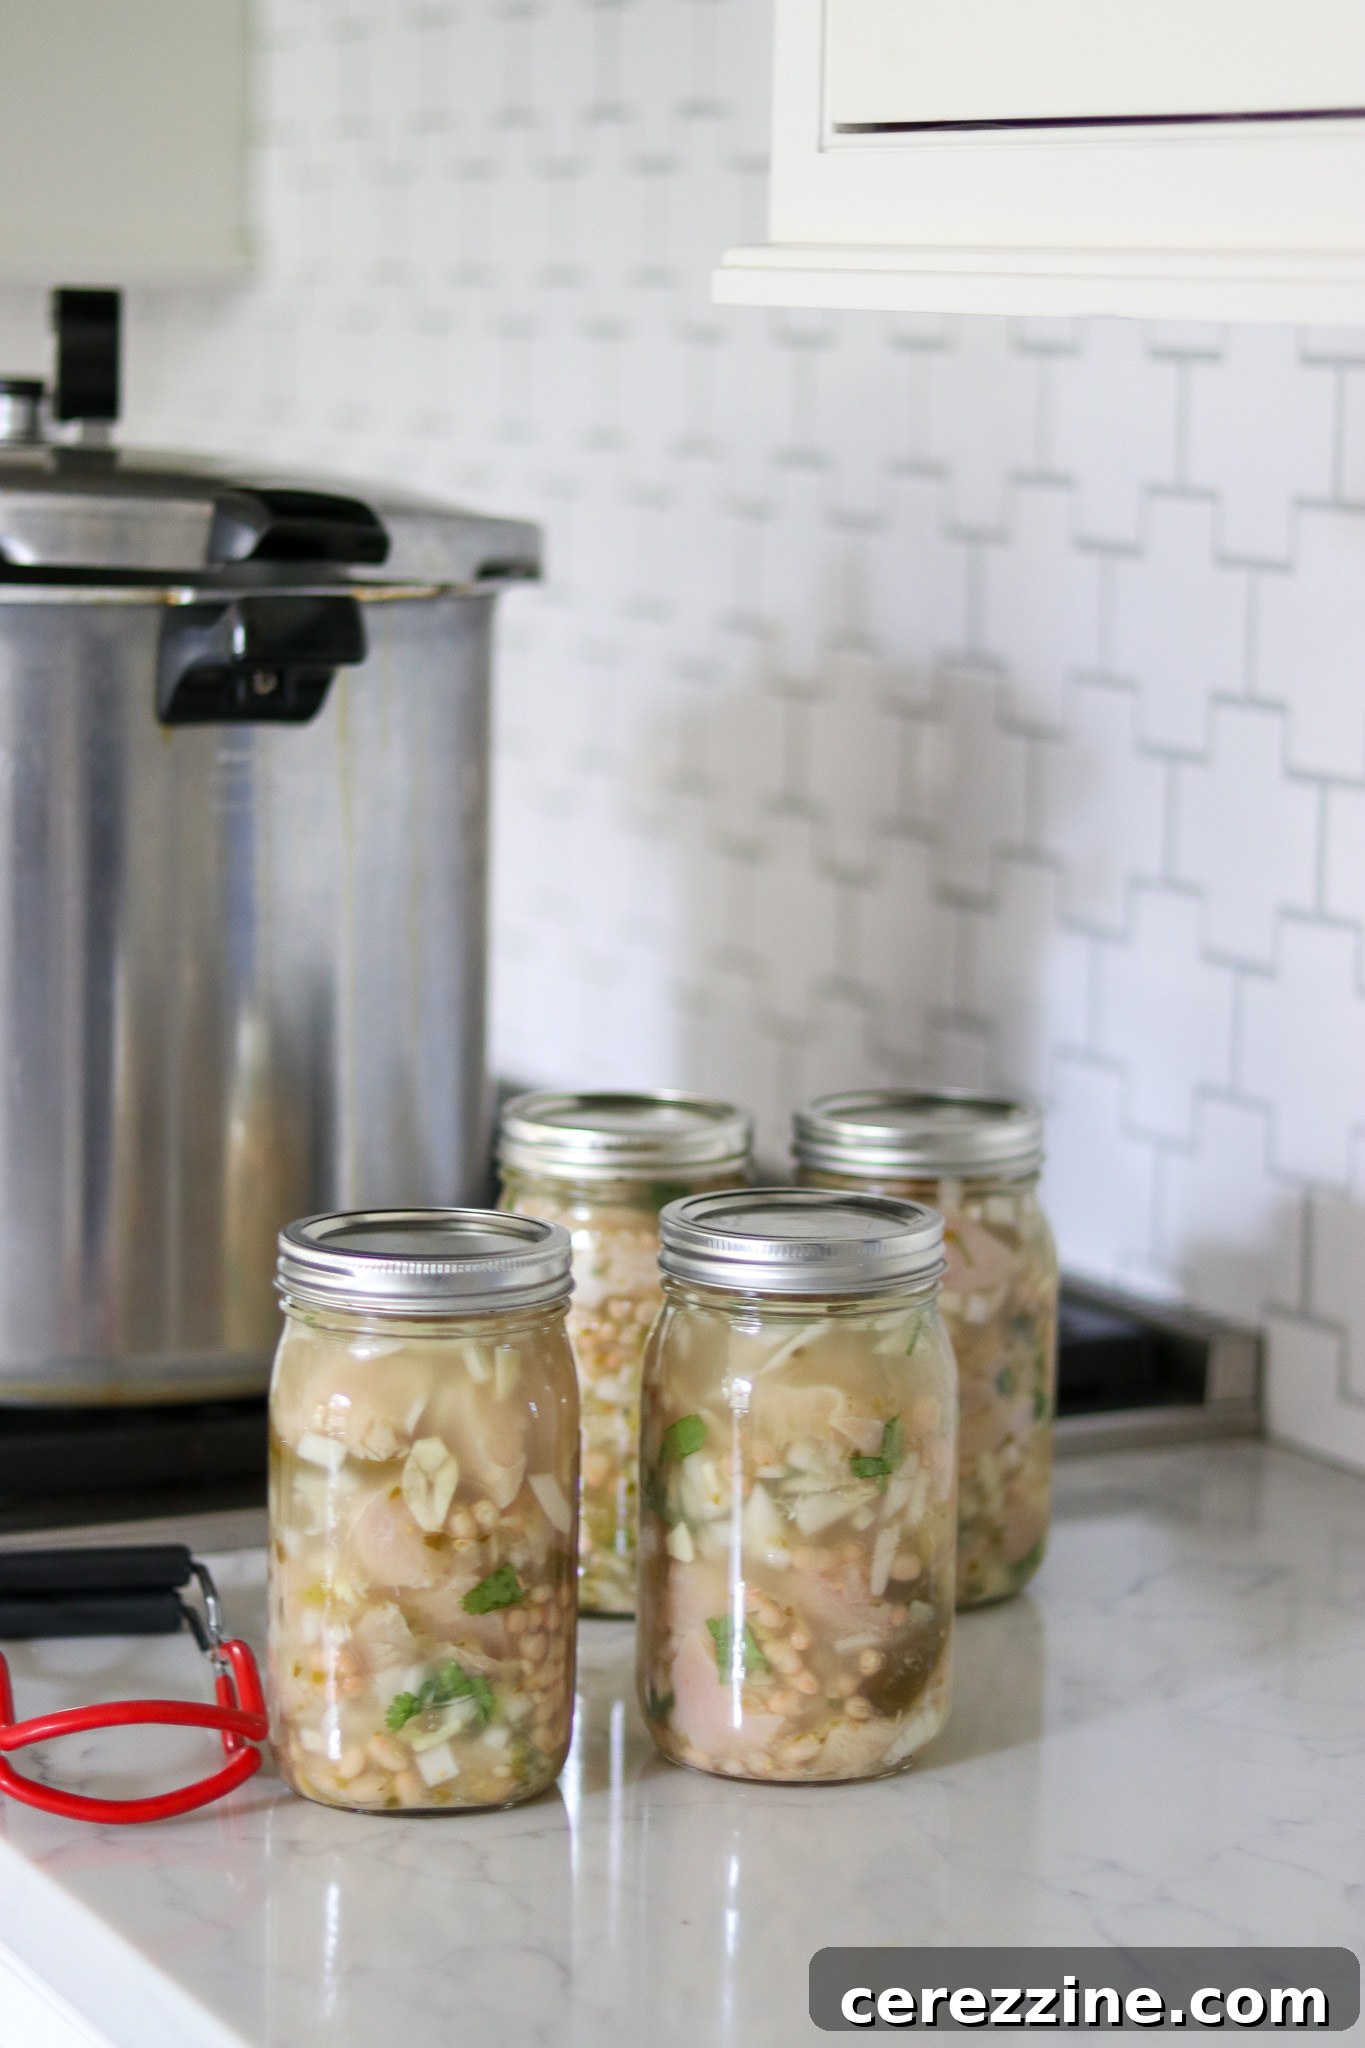
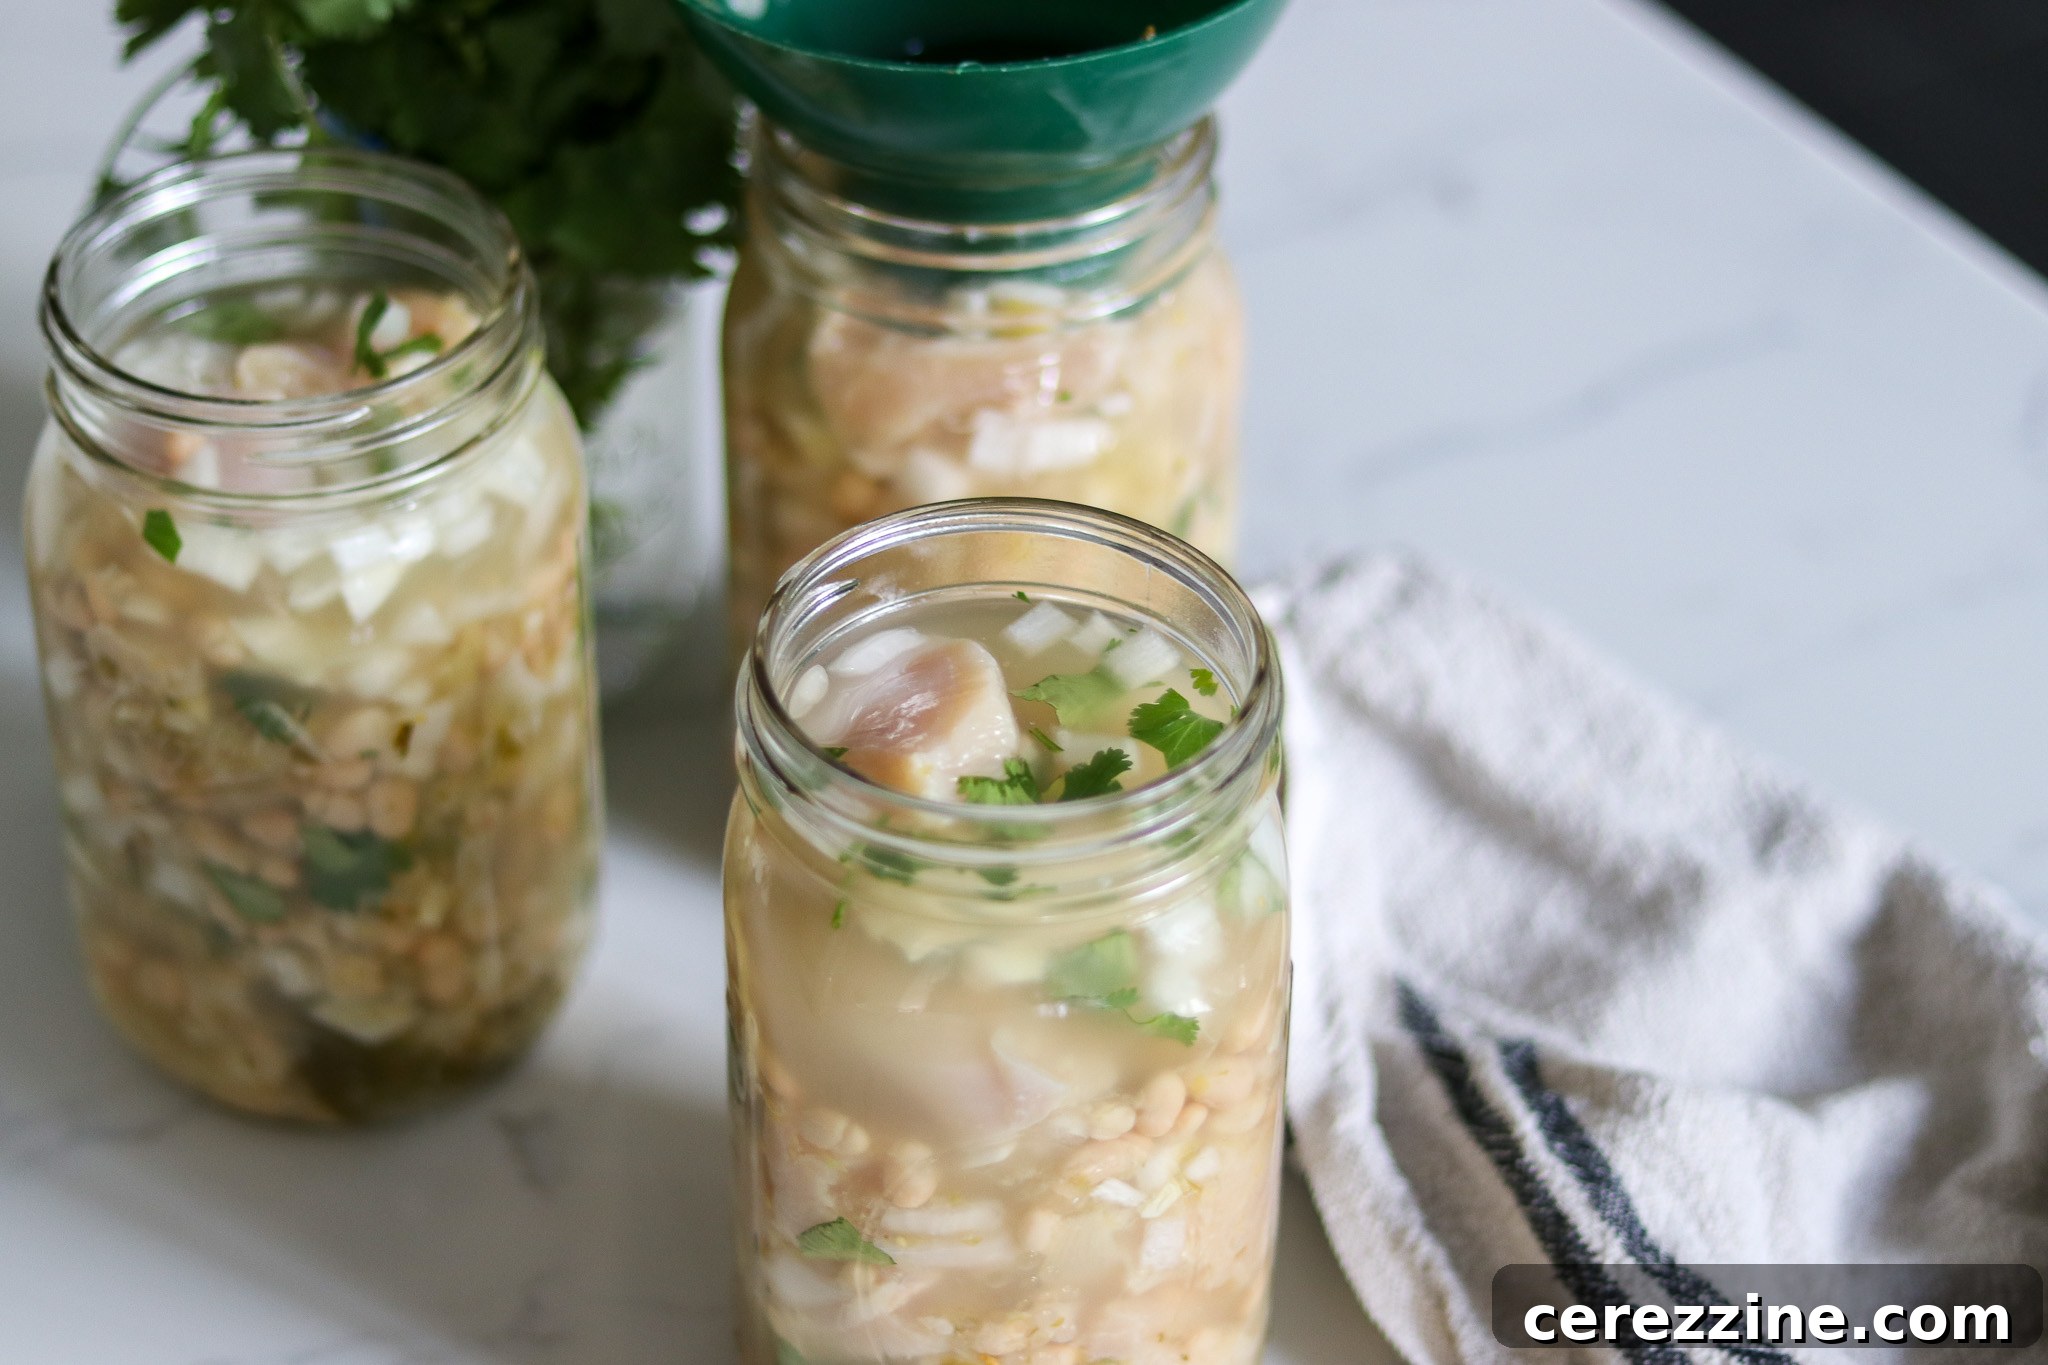
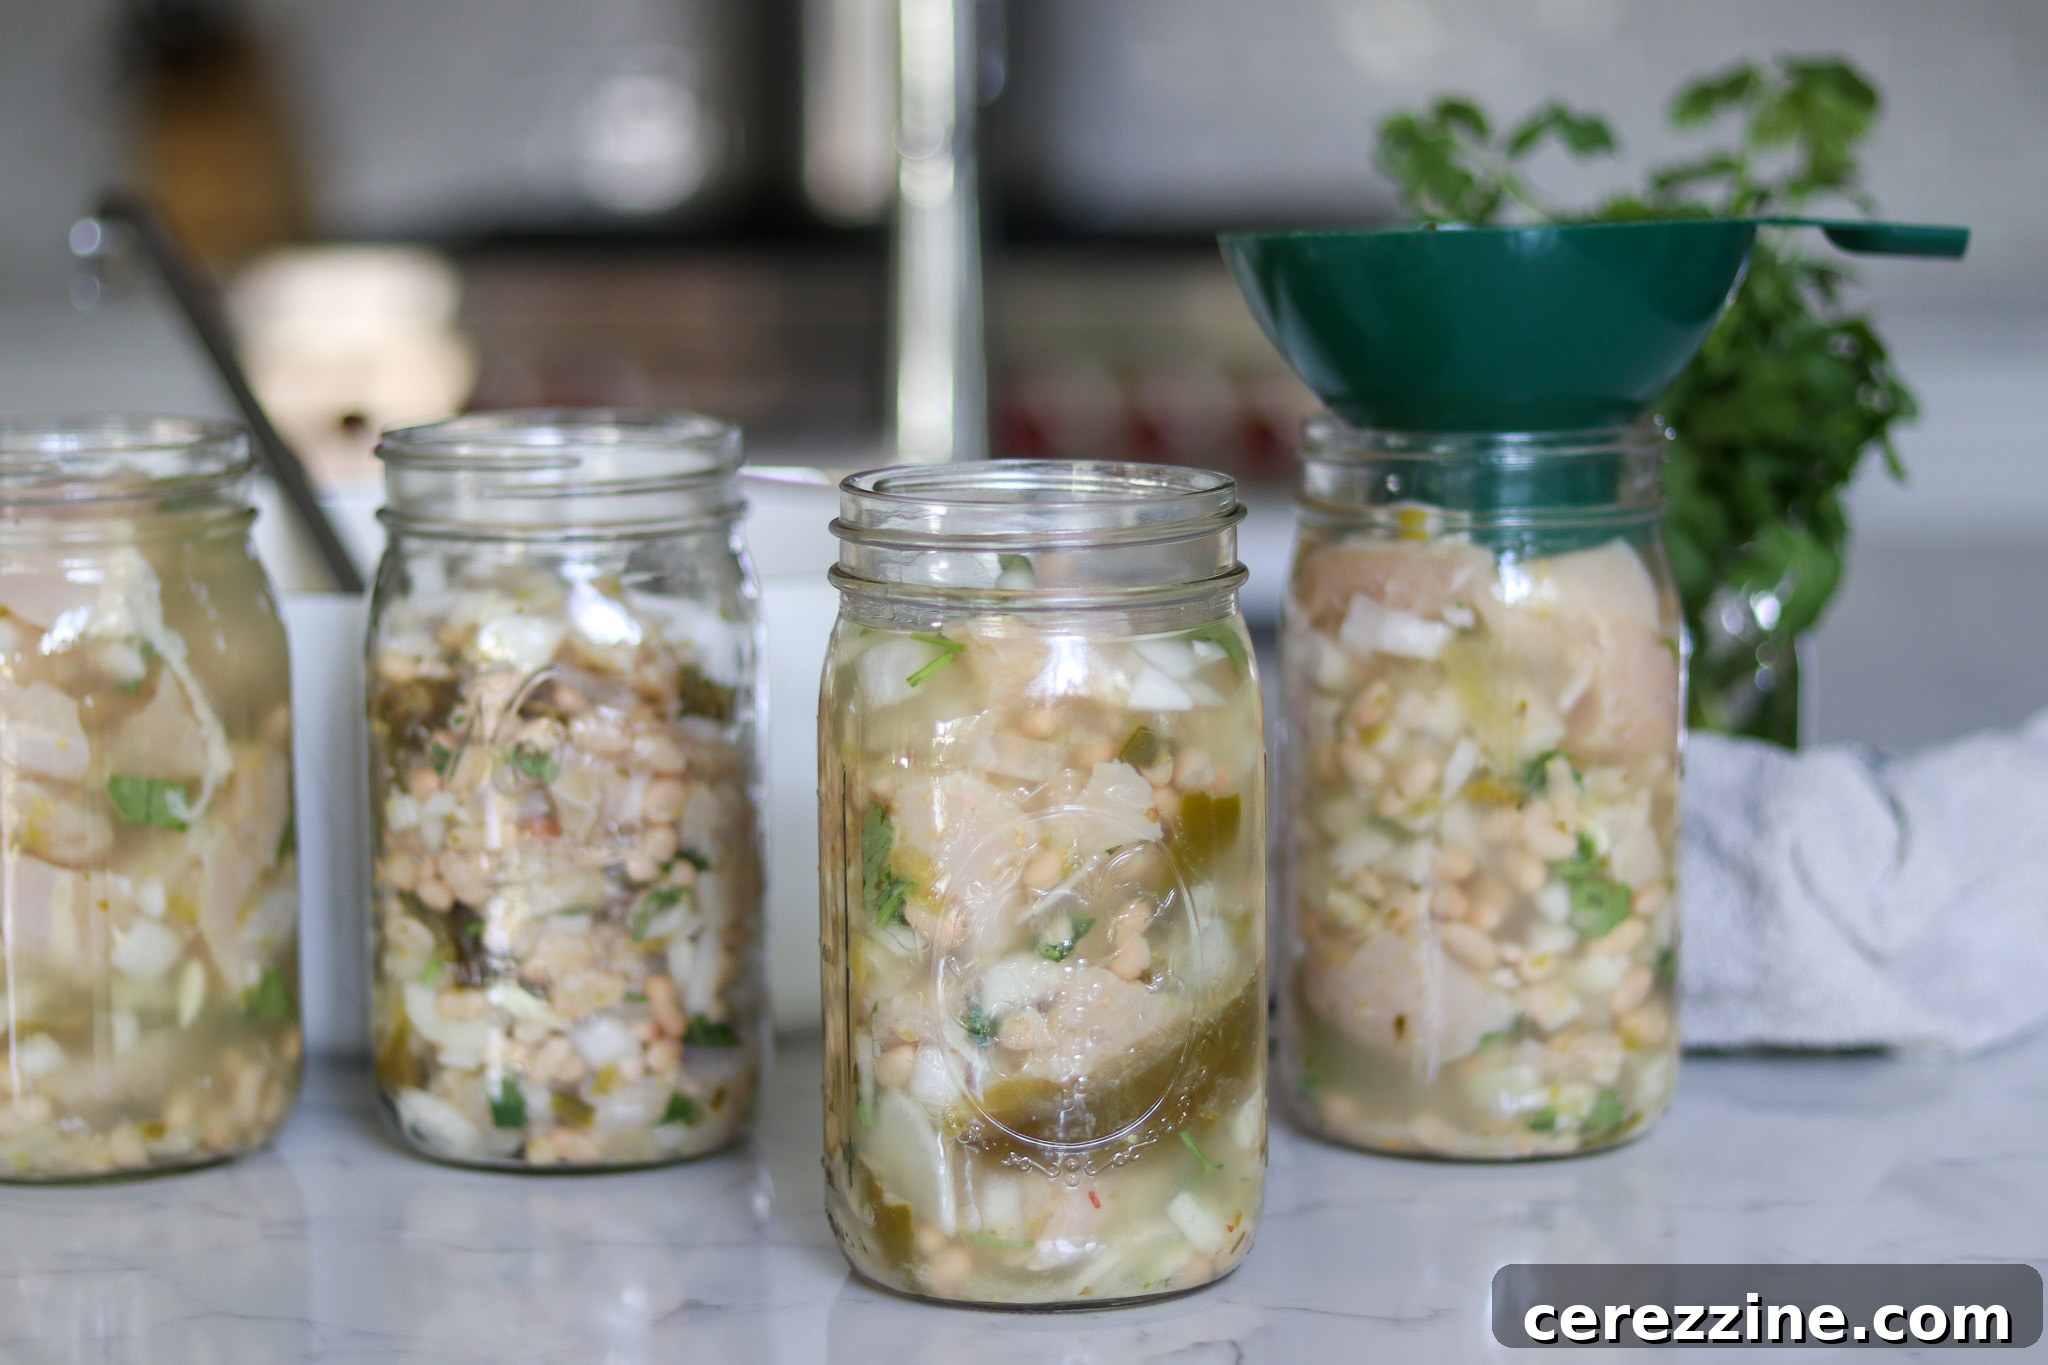
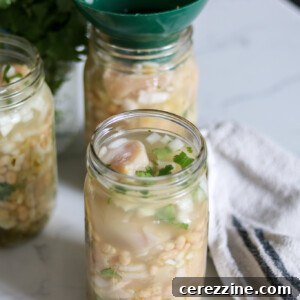
- Pack the Jars: Using a canning funnel, carefully pack the chili mixture into clean, hot canning jars. For a 4-quart batch, distribute the mixture evenly across four quart-sized jars (or eight pint-sized jars). Do not overpack the jars; the solids will not completely fill them, as much of the content should be liquid. This ensures even heat penetration during processing, which is critical for food safety.
- Add Hot Broth: Ladle the boiling hot chicken broth into each jar, covering the solid ingredients and leaving a precise 1-inch headspace from the rim of the jar. This specific headspace is crucial for proper sealing and to prevent siphoning.
- Prepare for Processing: Wipe the rims of the jars clean with a damp cloth to remove any food particles, ensuring a good seal. Place new, pre-warmed two-piece canning lids (flats and rings) onto the jars and tighten the bands fingertip-tight.
- Load the Canner: Carefully place the filled and sealed jars into the preheated pressure canner. Make sure the jars are not touching each other and are fully submerged in the warm water at the bottom (as per raw pack instructions).
- Process the Chili: Secure the lid on your pressure canner and bring it up to the required pressure. Once the desired pressure is reached and maintained, process pint jars for 75 minutes and quart jars for 90 minutes. Remember to adjust the pressure according to your altitude for safe canning.
It’s important to understand that the jars will not be entirely full of solid ingredients. A significant portion of the jar’s contents should be the chicken broth. This careful balance of solids and liquids is paramount for effective heat distribution throughout the canning process, guaranteeing that the entire contents of the jar reach a safe temperature to prevent spoilage. Resist the urge to overpack the jars; simply use the specified quantities of ingredients, divided appropriately across your chosen jar size, and fill the remaining space with the hot chicken broth.
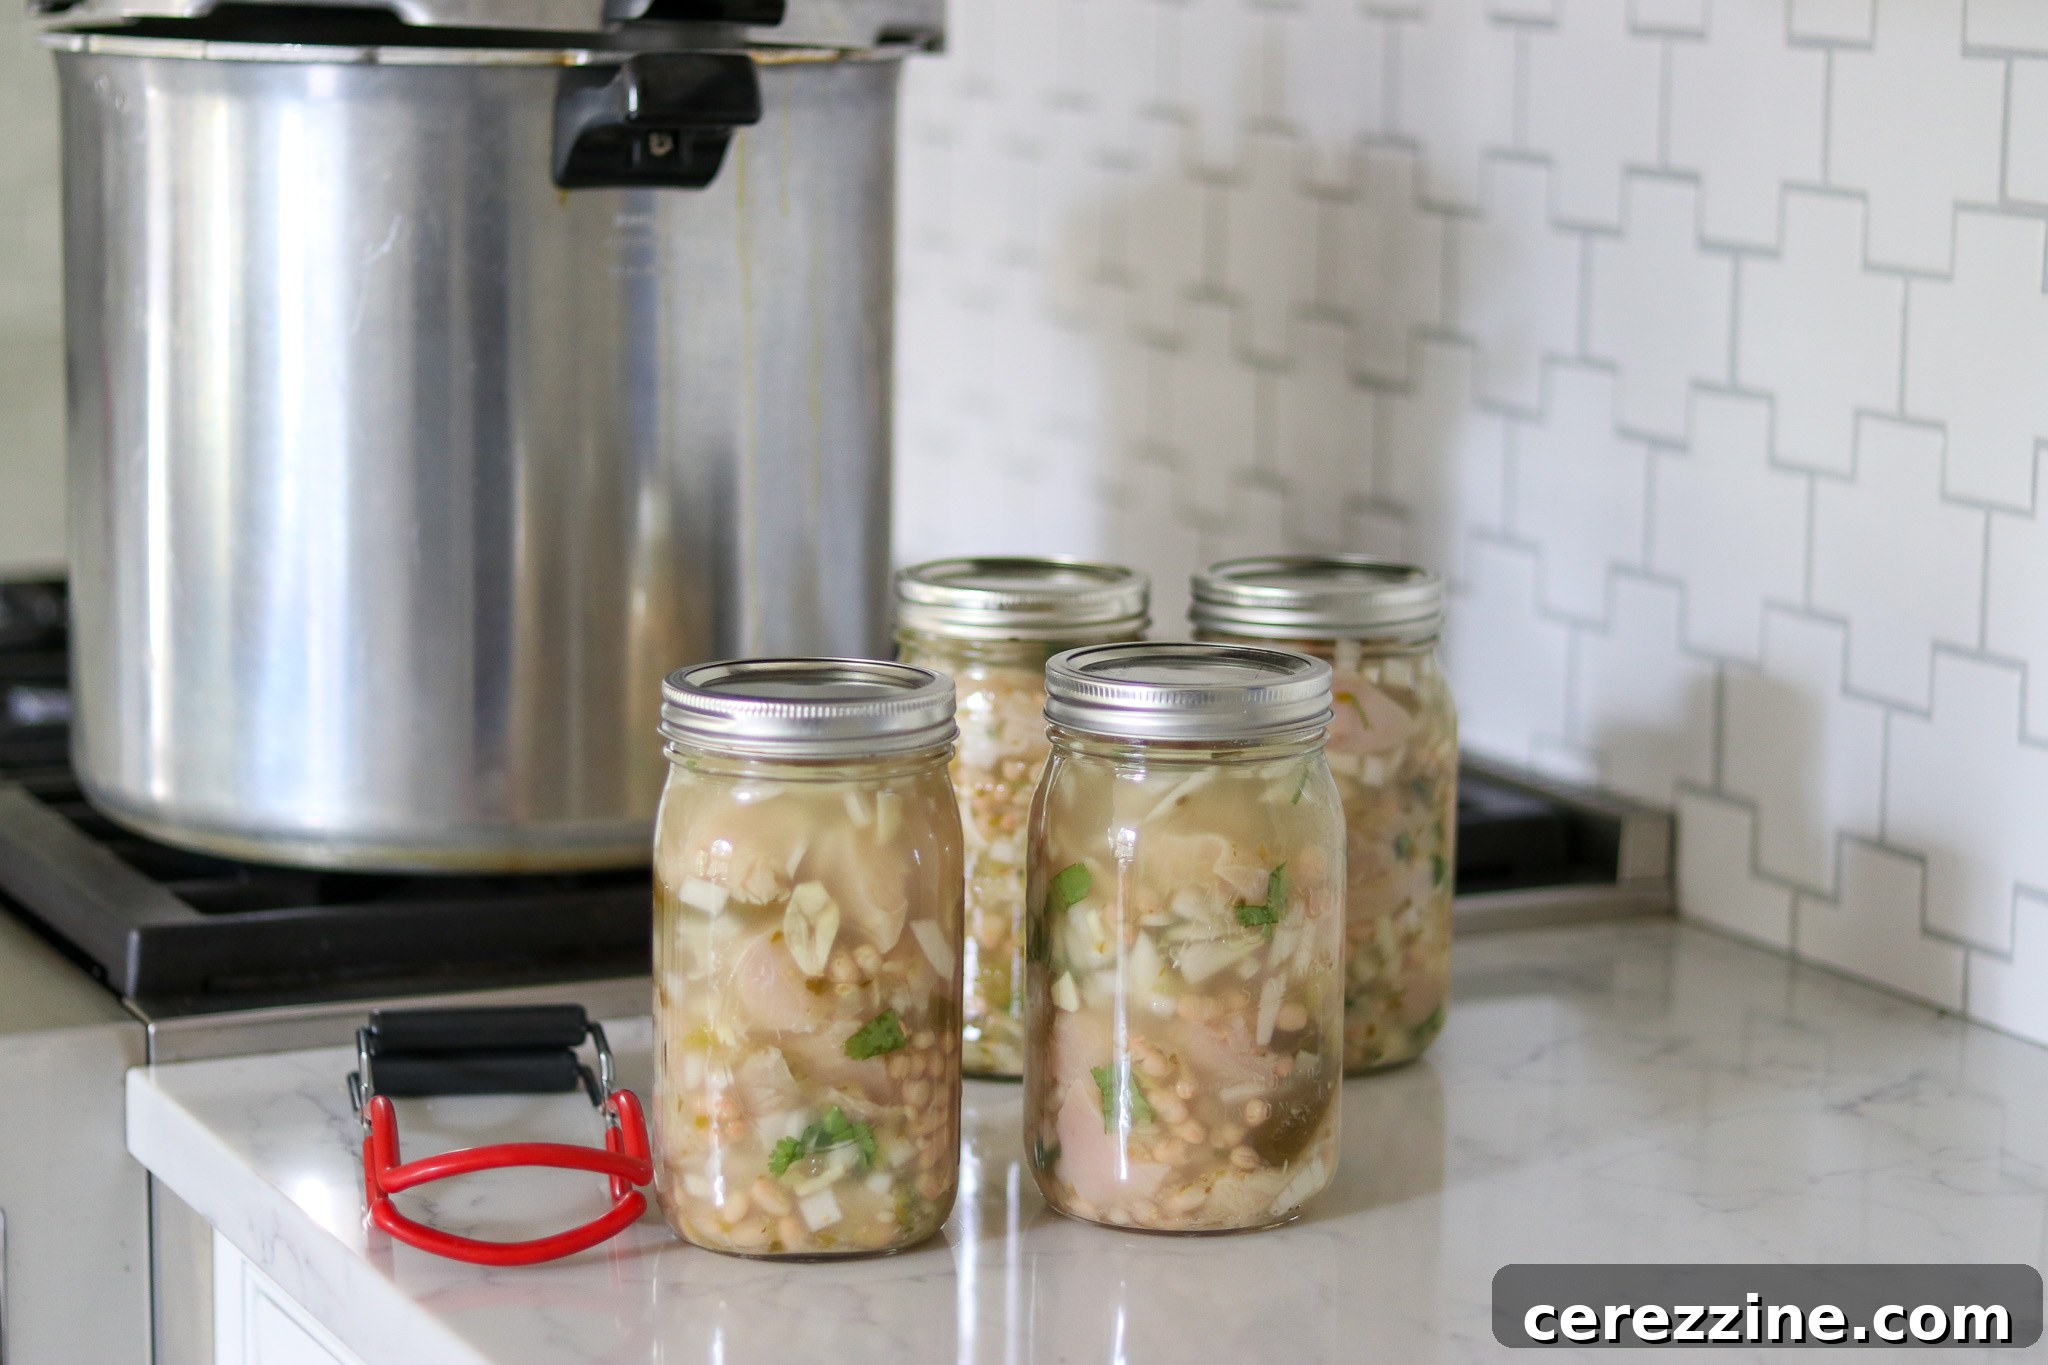
Once processing is complete, turn off the heat and allow the canner to depressurize naturally. Do not attempt to force depressurization. Once the pressure gauge reads zero, wait an additional 10 minutes before carefully removing the lid. Using a jar lifter, transfer the hot jars to a towel-lined surface, allowing them to cool undisturbed for 12 to 24 hours. During this cooling period, you should hear the satisfying “ping” sound as the lids seal. After cooling, check all seals. Any unsealed jars must be refrigerated and consumed within a few days or reprocessed using a fresh lid.
Altitude Adjustments for Safe Pressure Canning
While the processing time for pressure canning remains constant regardless of your elevation, the required canning pressure must be adjusted if you reside above 1,000 feet above sea level. This adjustment is critical to ensure proper heat penetration and safe food preservation, as boiling points change with altitude. Failing to adjust for altitude can compromise the safety of your canned goods.
For dial gauge pressure canners:
- 0 to 2,000 feet in elevation – 11 lbs pressure
- 2,001 to 4,000 feet in elevation – 12 lbs pressure
- 4,001 to 6,000 feet in elevation – 13 lbs pressure
- 6,001 to 8,000 feet in elevation – 14 lbs pressure
For weighted gauge pressure canners:
- 0 to 1,000 feet in elevation – 10 lbs pressure
- Above 1,000 feet in elevation – 15 lbs pressure
Always consult your pressure canner’s manual and up-to-date canning guidelines from reliable sources like the USDA or university extension offices for the most accurate and safe instructions.
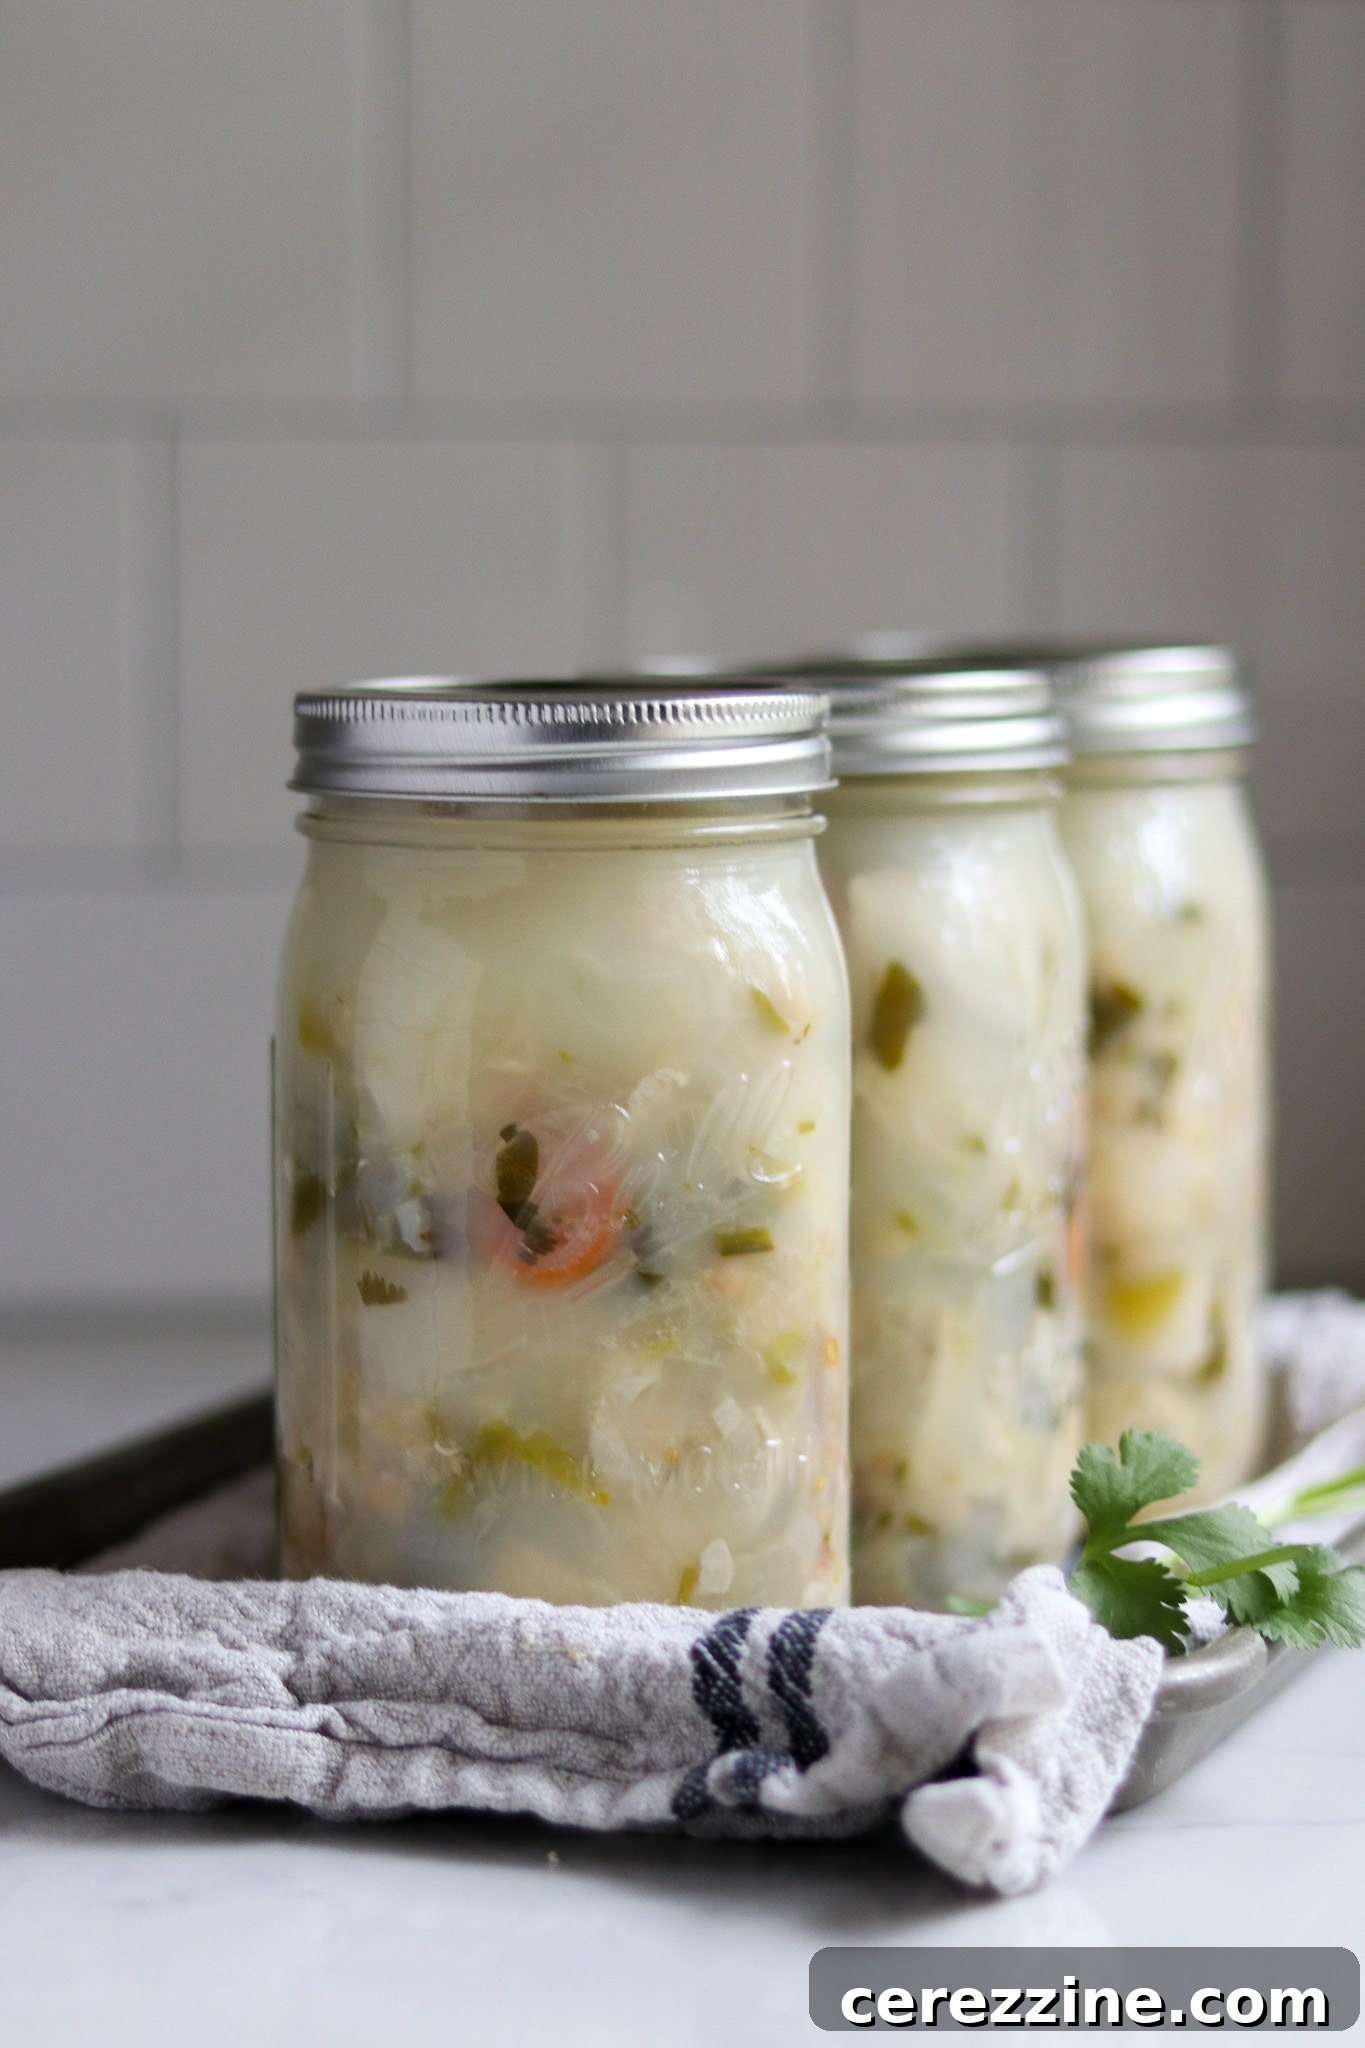
Serving Your Canned Chicken Chili Verde
Most meal-in-a-jar canning recipes offer a foundational dish that can be enhanced with fresh additions at the time of serving. Just as canned chicken soup often pairs wonderfully with freshly cooked egg noodles to create a hearty chicken noodle soup, your canned chicken chili verde is incredibly versatile.
You can simply heat and serve the chili as is for a quick and satisfying meal. For a more substantial dinner, serve it over a bed of hot, fluffy rice. The chili also complements a side of warm cornbread perfectly, creating a comforting Southern-inspired meal. For an extra touch of creaminess and a cooling contrast to the chili’s slight heat, add a dollop of sour cream or a sprinkle of shredded cheese just before serving. Freshly chopped avocado or a squeeze of lime juice can also elevate the flavors, offering a vibrant finish.
Explore More Chicken Canning Recipes
If preserving chicken-based meals is a passion of yours, here are a few more tested and delicious canning recipes to expand your pantry:
- Canning Plain Chicken: A fundamental skill for any home canner, offering versatile pre-cooked chicken.
- Canning Chicken Soup: A classic comfort food, perfect for cold days or when feeling under the weather.
- Canning Thai Red Curry (Chicken or Duck): An adventurous and flavorful meal-in-a-jar for those who enjoy exotic tastes.
5 from 1 vote
Canning Chicken Chili Verde
Equipment
-
Pressure Canner
Ingredients
- 4 lbs boneless chicken, chopped into 2” chunks
- 2 cups canned white beans, drained and rinsed
- 2 cups onions, diced
- 2 cups salsa verde, see below
- 4 tsp salt
- 4 cloves garlic, minced
- 1/2 cup sliced pickled jalapenos
- 1/2 cup fresh cilantro, chopped
- Chicken broth to fill, about 2 quarts
Instructions
-
Salsa Verde: You can use a pint jar of prepared salsa verde, either home canned or store-bought. If you need to make a quick version at home, use the salsa verde ingredients listed below in the notes. Place everything in a stock pot and simmer for about 15-20 minutes until fully cooked. Next, puree everything into a smooth salsa with a blender, food processor, or stick blender. This should make about 2 cups. Proceed with the recipe for chicken chili verde.
-
Start by preparing a pressure canner for raw pack based on the manufacturers’ instructions. That usually means adding in the bottom trivet, along with several inches of water and warming it to around 140 degrees F (very hot but not yet simmering).
-
Bring chicken broth to a boil in a pot on the stove.
-
Place all the ingredients for chicken chili verde in a large bowl and stir to distribute the spices and ingredients evenly.
-
Use a canning funnel to load the jars with the chicken mixture, distributing it evenly across 4 quart jars or 8 pints. It will not completely fill the jars.
-
Top with hot chicken broth to fill, leaving 1” headspace.
-
Cap with 2 part canning lids and load into preheated pressure canner.
-
Process the jars for 75 minutes for pints, and 90 minutes for quarts, adjusting for altitude (see notes).
Notes
Salsa Verde
To make 1 pint of quick salsa verde, combine the following ingredients, then simmer 20 minutes, and puree:
1 1/2 lbs tomatillos, husks removed, diced
1/2 medium onion, diced
1 jalapeno, sliced
2 garlic cloves, peeled and minced
3 Tbsp lime juice
2 tbsp fresh cilantro, chopped
1/2 tsp salt
1/2 tsp pepper
Altitude Adjustments
For dial gauge pressure canners:
- 0 to 2,000 feet in elevation – 11 lbs pressure
- 2,001 to 4,000 feet in elevation – 12 lbs pressure
- 4,001 to 6,000 feet in elevation – 13 lbs pressure
- 6,001 to 8,000 feet in elevation – 14 lbs pressure
For weighted gauge pressure canners:
- 0 to 1,000 feet in elevation – 10 lbs pressure
- Above 1,000 feet – 15 lbs pressure
Nutrition
Nutrition information is automatically calculated, so should only be used as an approximation.
Explore More Meal-in-a-Jar Canning Recipes
Keep your pressure canner busy and your pantry well-stocked with even more meal-in-a-jar canning recipes. These convenient options are perfect for simplifying meal prep and ensuring you always have a delicious, homemade solution for any occasion.
- Canning Thai Red Curry (Chicken or Duck)
- Canning Beef Stew
- Canning Boston Baked Beans