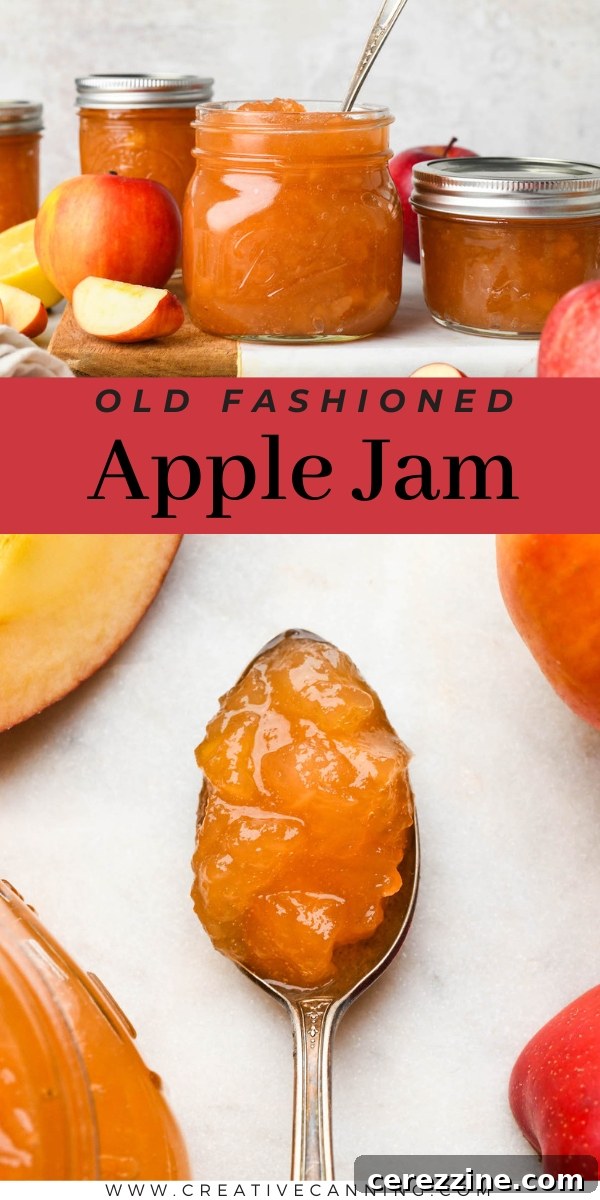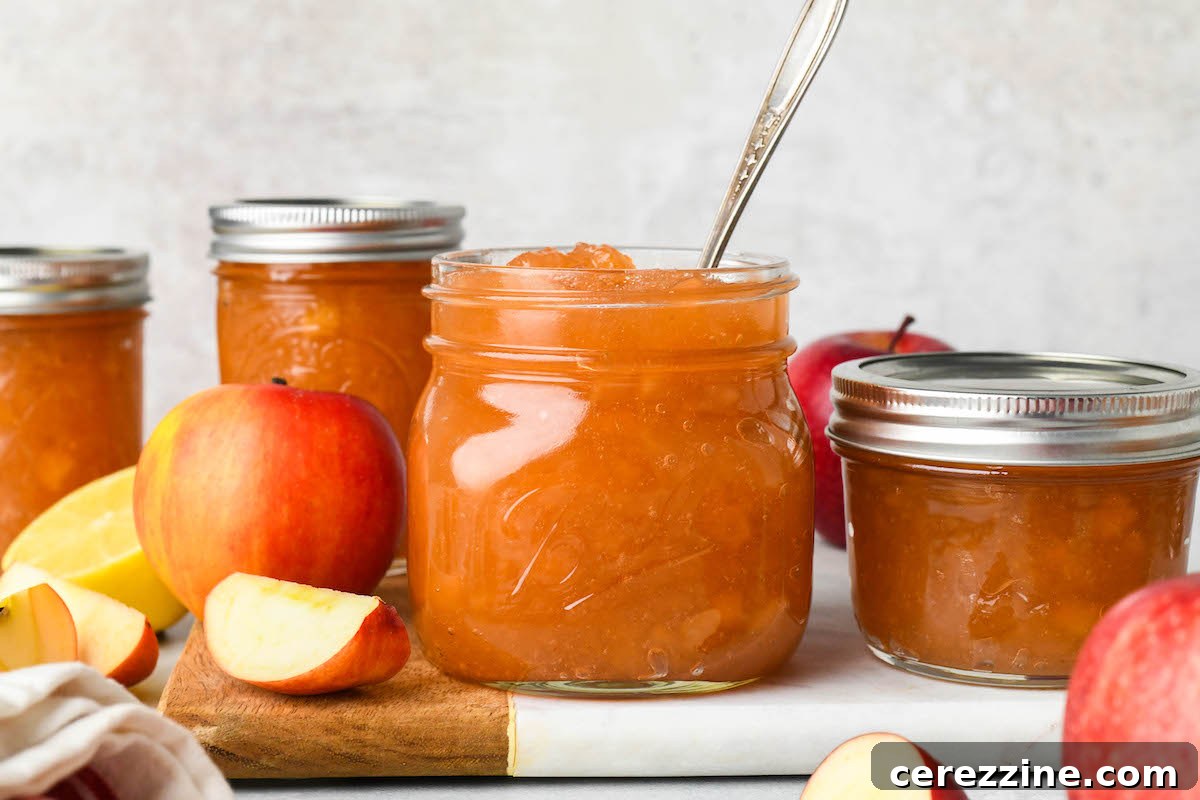
Delightfully old-fashioned and bursting with natural flavor, homemade apple jam is a truly special preserve. Requiring just three simple ingredients, this sweet yet pleasantly tart spread captures the essence of autumn in every spoonful. Learn how to effortlessly make and preserve this classic jam, ensuring your family can savor the comforting taste of crisp apples all year long!
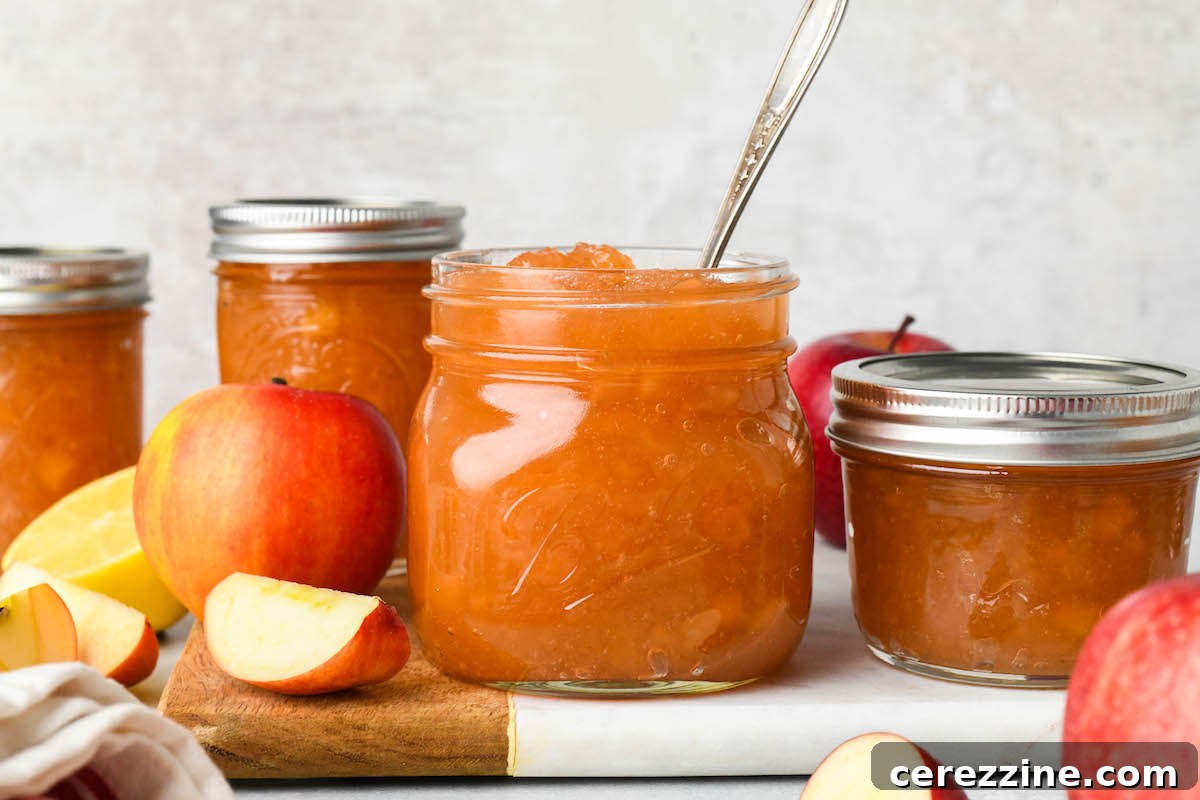
Mastering Homemade Apple Jam: A Timeless Recipe for Preserving Autumn’s Sweetness
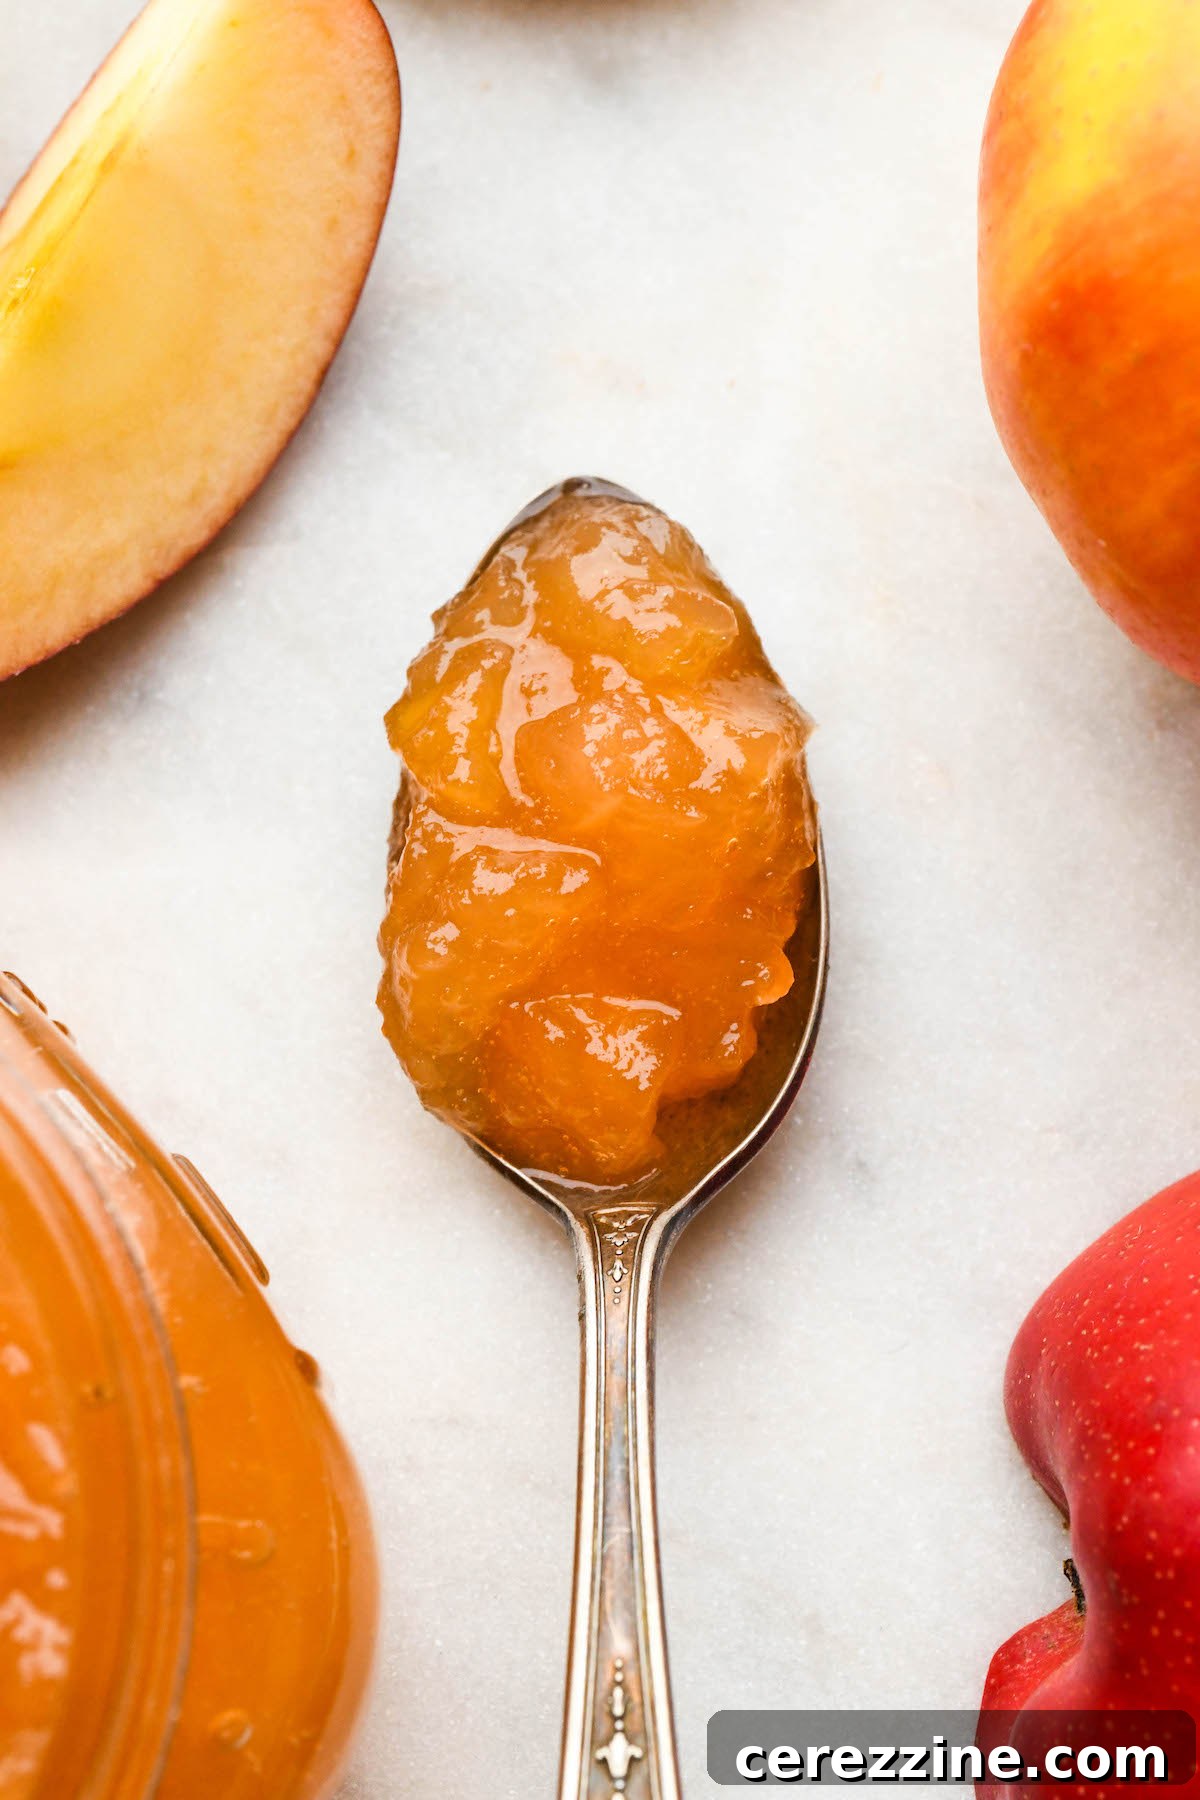
For too long, apple jam has been overshadowed by its more famous relatives like apple jelly, apple butter, and applesauce. Yet, this slightly out-of-fashion cousin truly deserves a place in every pantry. Unlike its smoother counterparts, apple jam offers a delightful texture, thanks to the way fresh apples are carefully prepared before cooking. When you taste homemade apple jam, it’s not just an apple flavor; it’s a genuine, wholesome apple experience.
Finding authentic, old-fashioned apple jam in today’s grocery stores can be a challenge. Thankfully, crafting and preserving your own apple jam at home is far simpler than you might imagine. With minimal ingredients and basic kitchen tools, you can create a preserve that rivals any store-bought option, often surpassing it in flavor and quality. This comprehensive guide will walk you through every step, from selecting the perfect apples to mastering the art of water bath canning, ensuring your delicious apple jam is ready for personal enjoyment or as a thoughtful homemade gift.
Essential Ingredients for Your Homemade Apple Jam
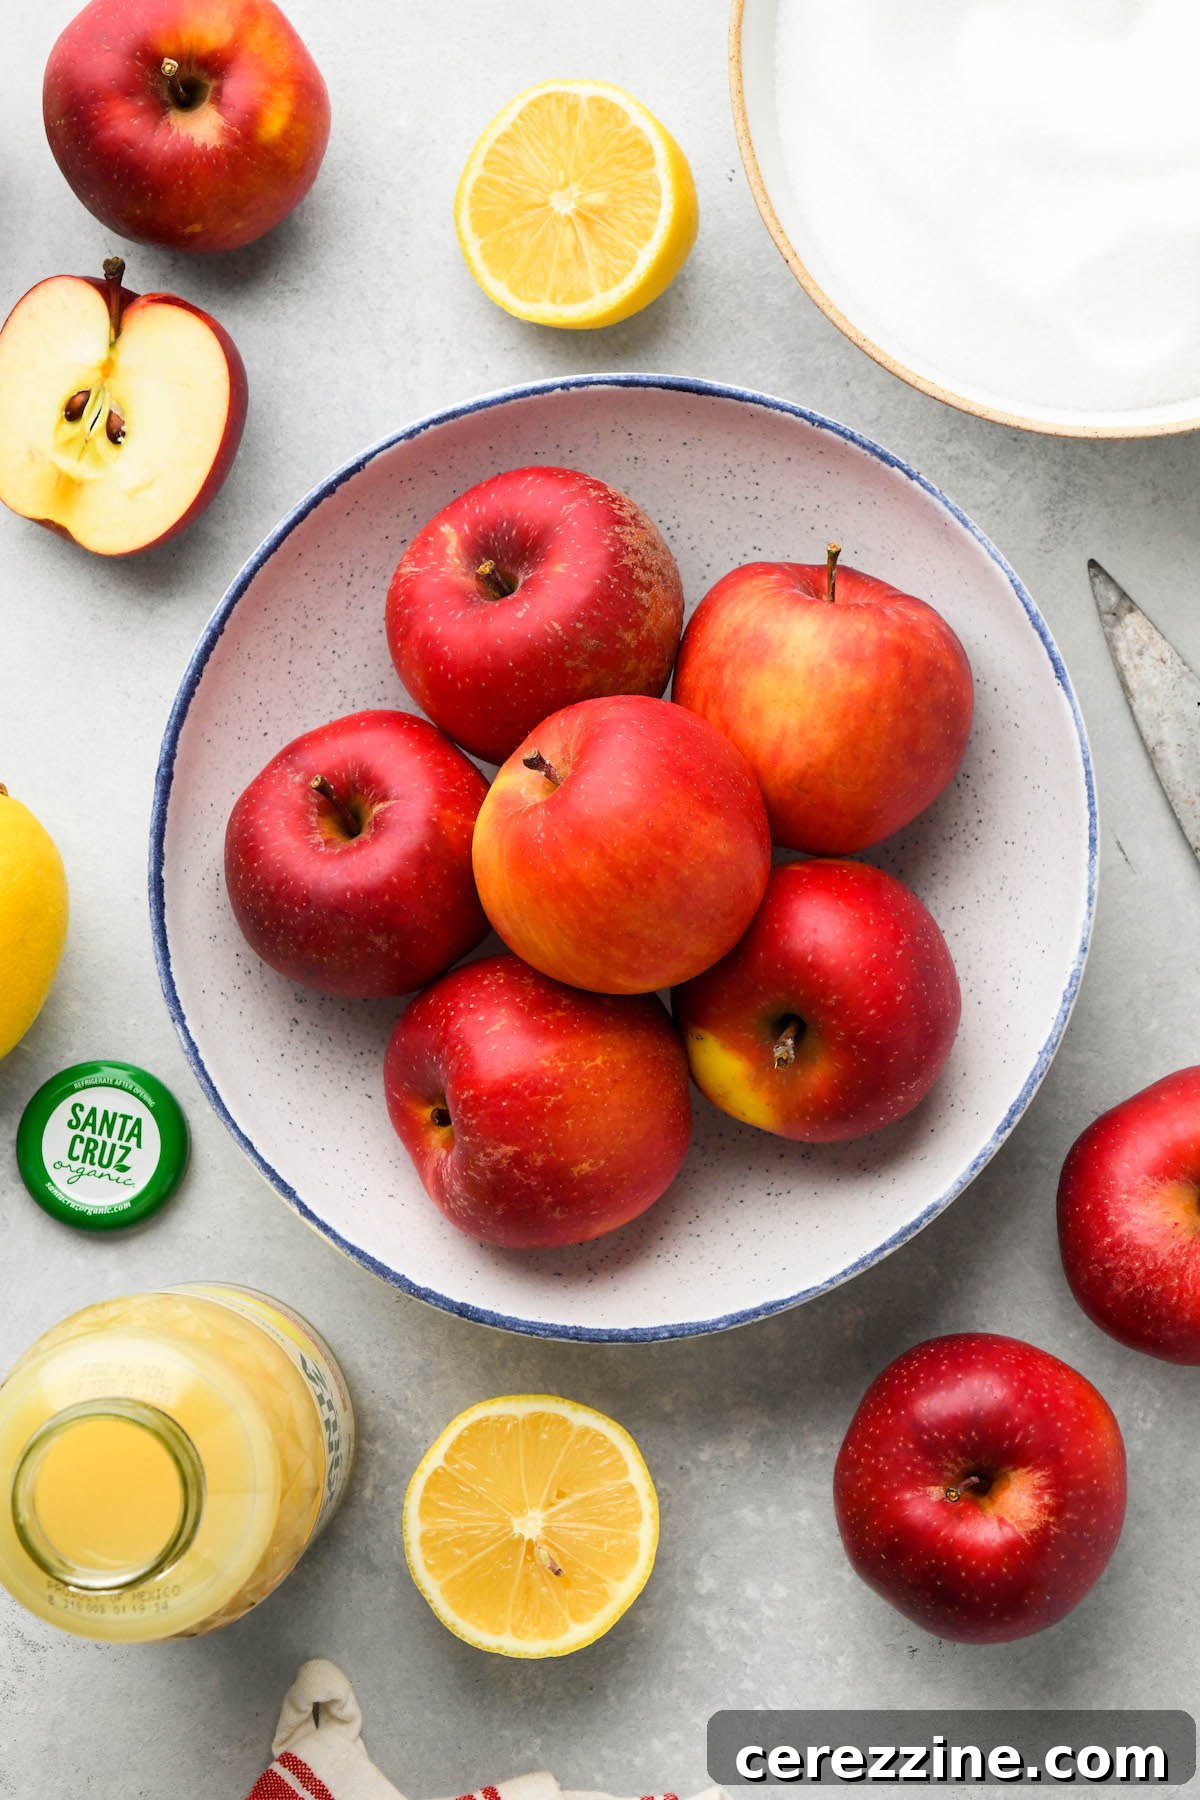
One of the many beauties of this apple jam recipe is its simplicity. It calls for only three common ingredients, and thanks to the natural pectin found in apples, there’s no need for any store-bought pectin. To make a batch of this delightful apple jam ready for canning, you will need:
- Apples: Approximately 6 pounds (yields about 4 pounds of prepared diced apples or 16 cups).
- Granulated Sugar: Essential for sweetness and aiding in the gelling process.
- Bottled Lemon Juice: This is crucial for both flavor balance and food safety, especially when canning. While fresh lemon juice can be used, bottled lemon juice offers a consistent acidity level vital for safe home canning.
Choosing the Best Apples for Jam
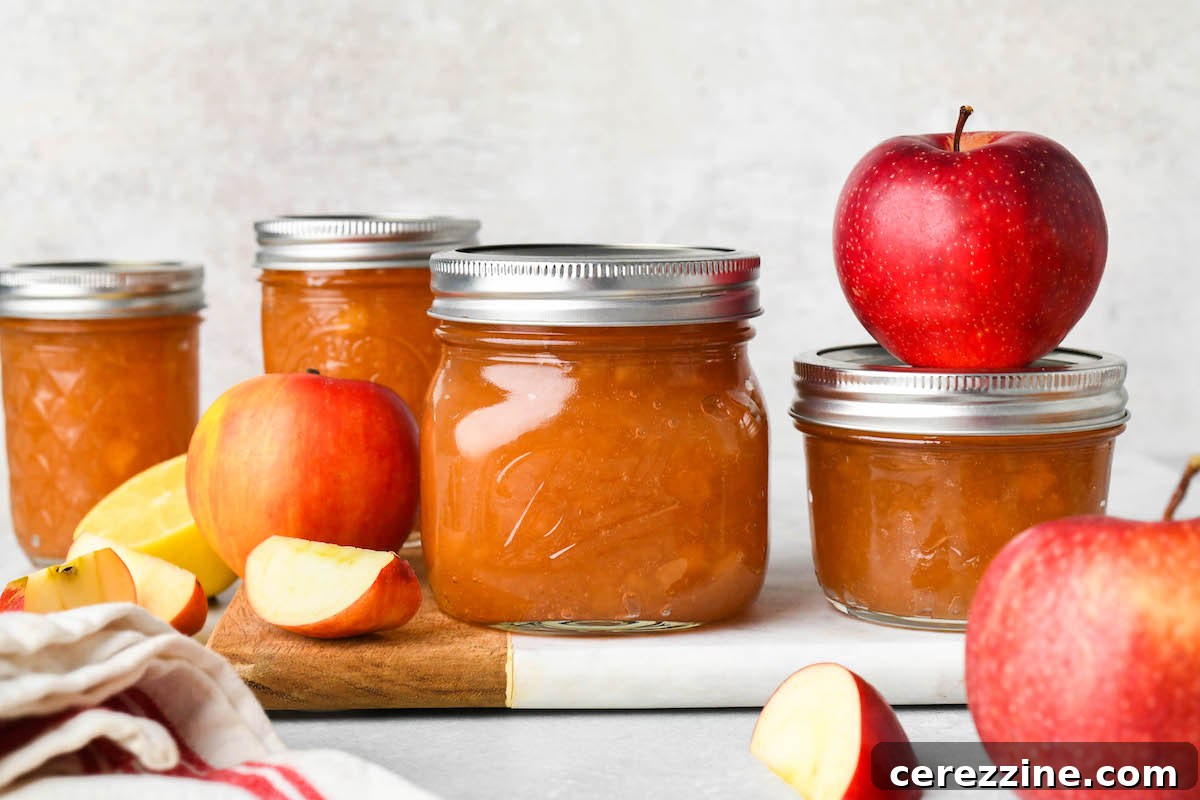
The type of apple you choose significantly impacts the final flavor and texture of your jam. I highly recommend selecting firm-fleshed apple varieties that are traditionally used for baking pies. These apples strike a perfect balance between tartness and sweetness, and their firm texture holds up beautifully during the cooking process. Excellent choices include Empire, Granny Smith, Honeycrisp, or a combination of these. The beautiful apples showcased in the photographs are Cosmic Crisp, a wonderfully sweet and crisp variety known for its slow-browning quality.
Conversely, I advise against using softer apple varieties such as Golden Delicious or Jonagolds. These apples tend to break down too easily during cooking, potentially resulting in a consistency closer to applesauce than a true jam. While delicious in its own right, applesauce isn’t the goal here! Opting for firmer apples ensures you achieve that signature jam texture with discernible apple pieces.
Step-by-Step Guide to Crafting Delicious Apple Jam
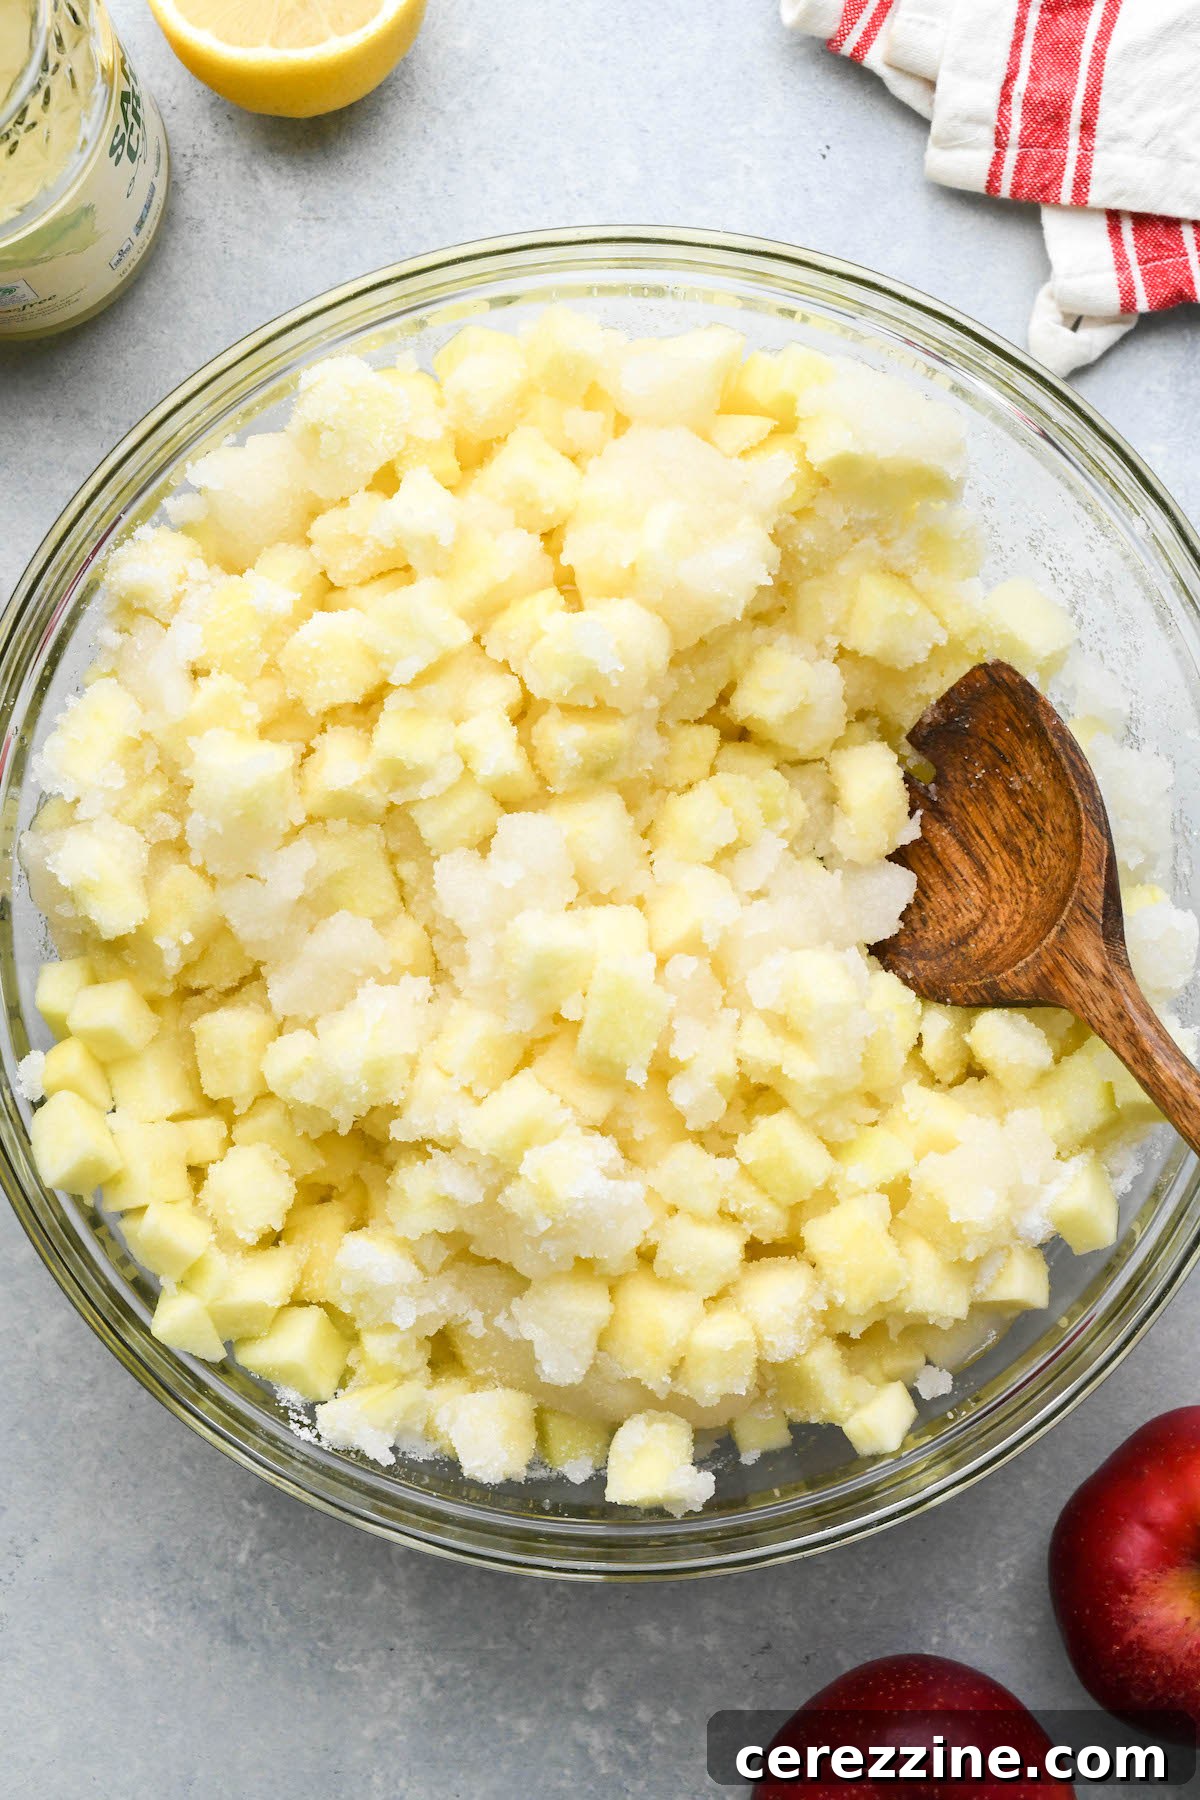
The secret to a perfectly textured apple jam, studded with tender apple pieces, lies in a simple overnight maceration process. This technique involves soaking diced apples in a mixture of lemon juice and granulated sugar, which draws out liquid from the fruit. This natural process firms up the apple pieces, preventing them from dissolving into a mush during cooking and ensuring they maintain their delightful integrity in the finished jam.
Preparation is Key
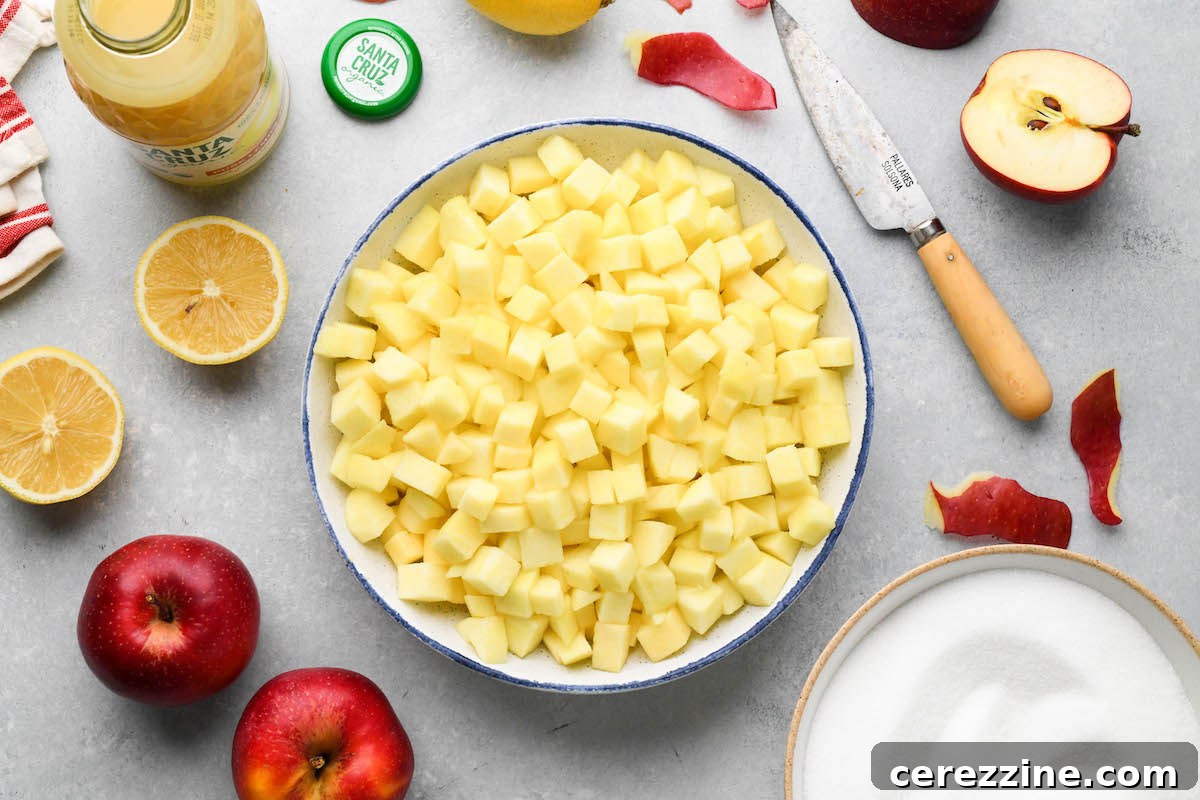
To begin your apple jam journey, first prepare your apples. This involves peeling, coring, and dicing them into uniform pieces, roughly 1/4 to 1/2 inch in size. Resist the urge to cut them too small, as they will soften slightly during cooking, and you want them to remain distinct in the jam. Starting with 6 pounds of whole apples will typically yield about 4 pounds (or approximately 16 cups) of prepared diced apples. The general rule for this recipe is to use 1 cup of granulated sugar for every pound of prepared apples. So, for 4 pounds of prepared apples, you’ll need 4 cups of sugar.
Maceration Process
Once your apples are diced, transfer them to a large, non-reactive bowl. Sprinkle them evenly with 4 cups of granulated sugar and 1/2 cup of bottled lemon juice. Gently stir or toss the mixture to ensure every apple piece is thoroughly coated. Cover the bowl and refrigerate it overnight. If you’re pressed for time, a minimum of four hours in the fridge will still yield good results, but overnight maceration is highly recommended for the best texture and flavor development.
Cooking Your Jam
The next day, or after at least four hours, retrieve the macerated apples from the refrigerator. Strain the fruit through a large fine-mesh sieve set over a deep jam pot or heavy-bottomed saucepan. This separates the liquid, which will form the jam base, from the apple pieces. Set the diced apple pieces aside, keeping them close by for the next step.
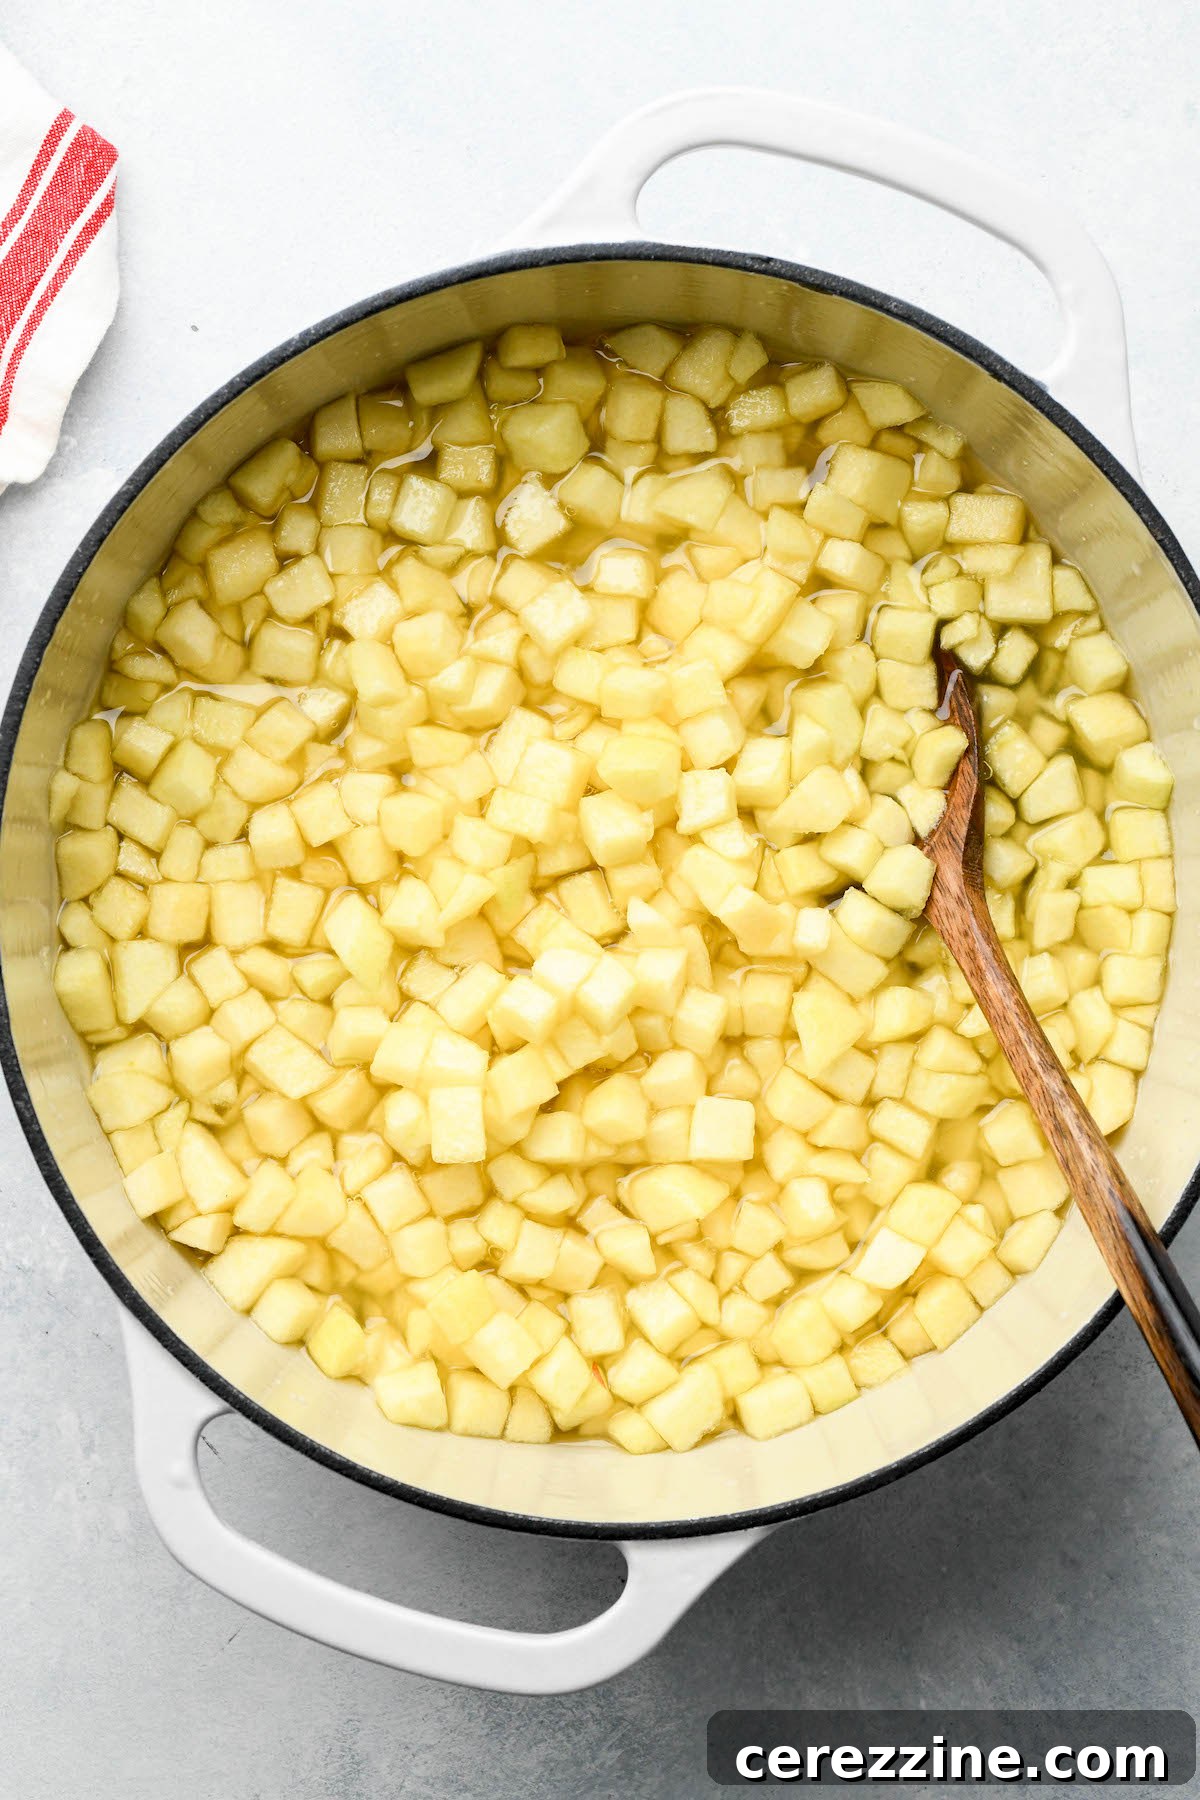
Bring the reserved apple-sugar juices to a rolling boil in your saucepan over medium-high heat. Once boiling vigorously, carefully add the reserved diced apple pieces. Exercise caution during this step to avoid splashes of hot syrup.
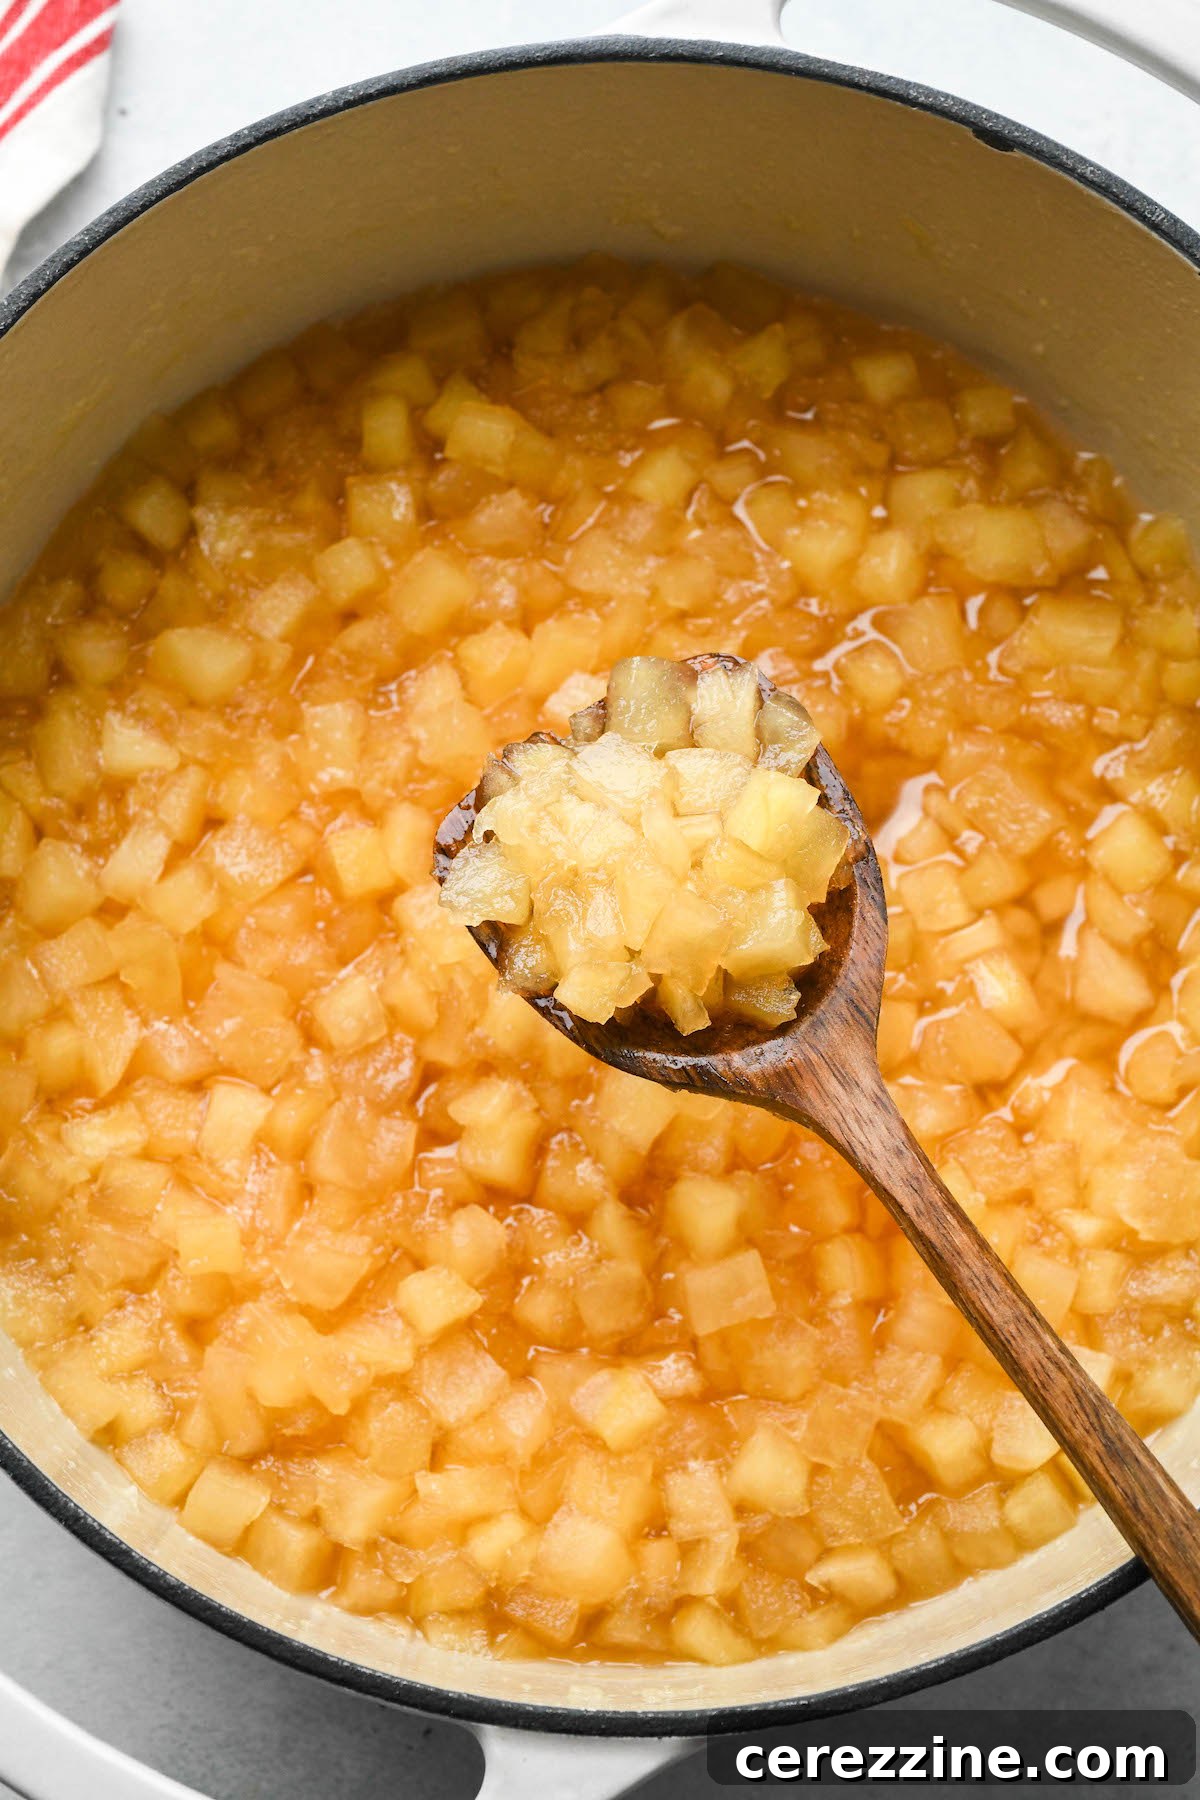
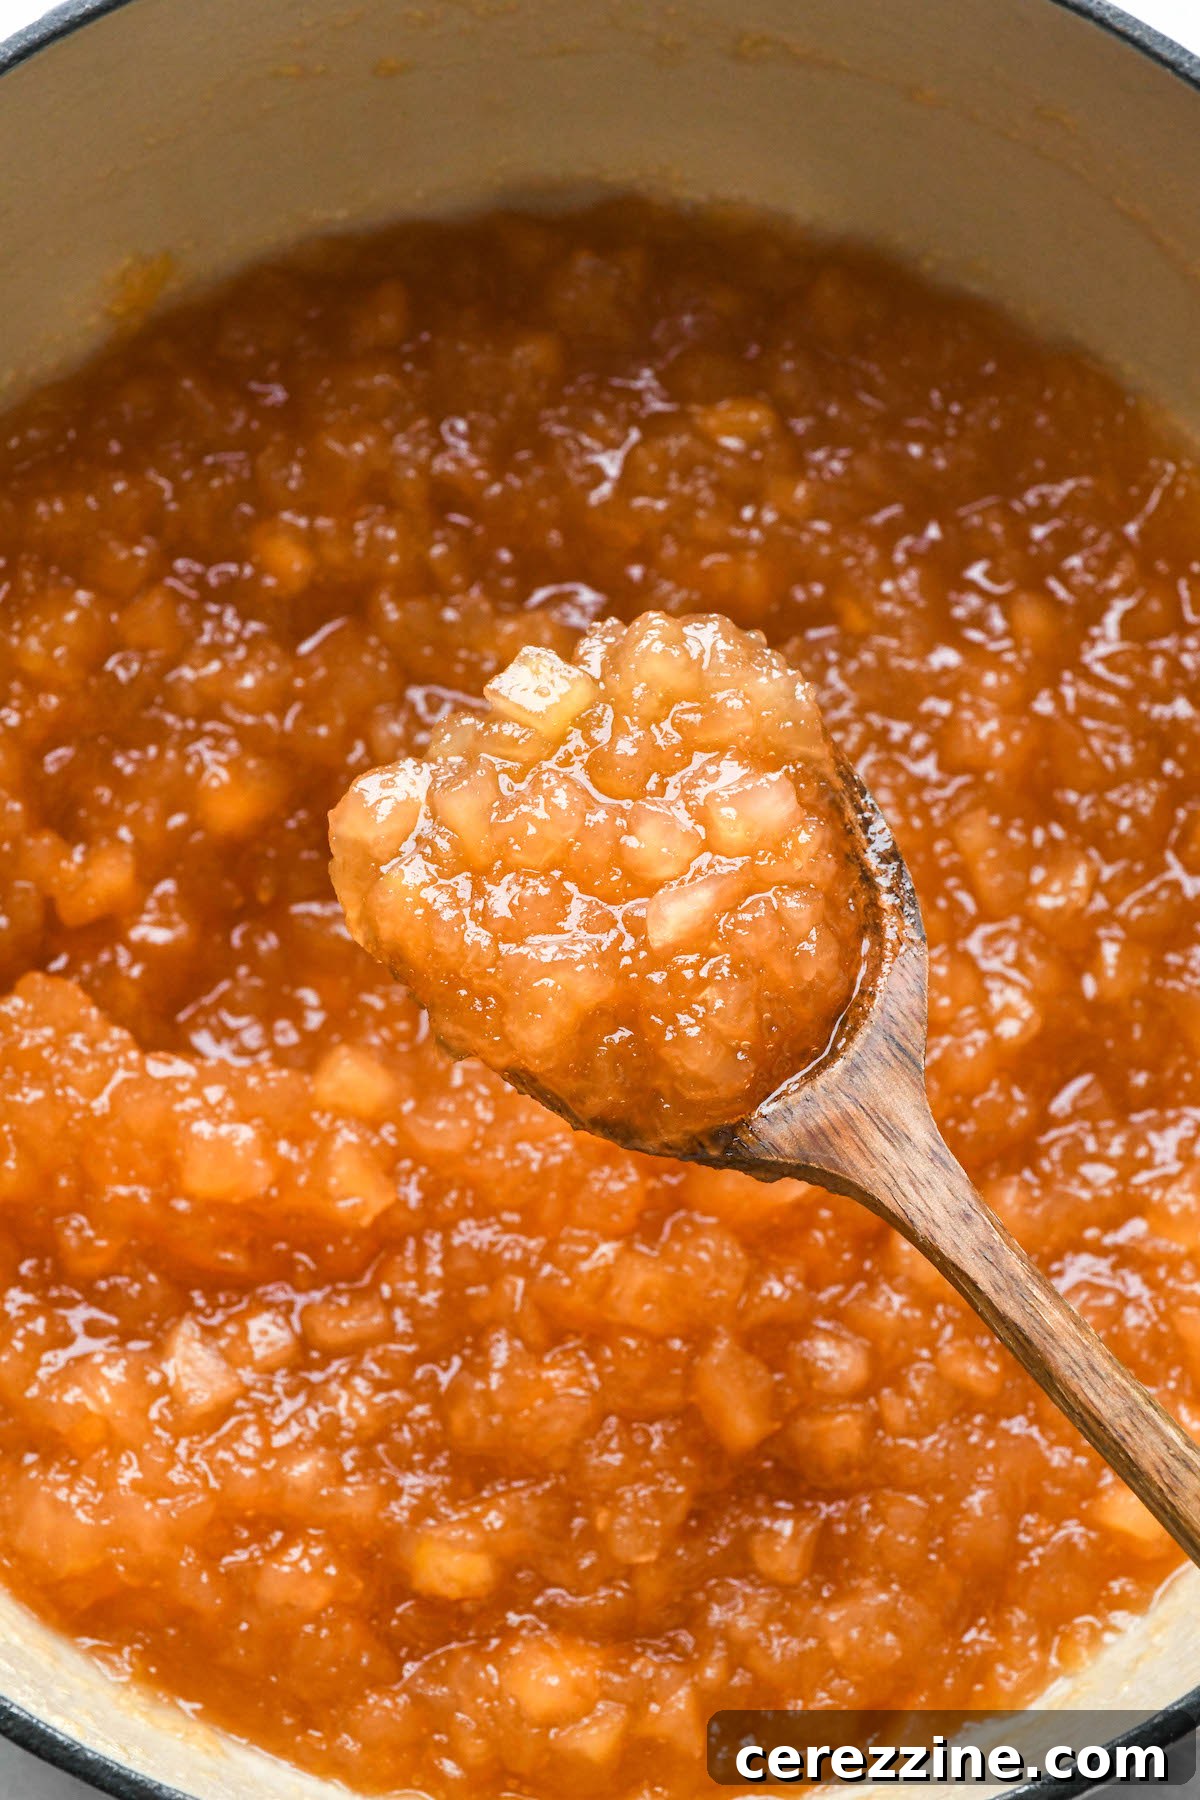
Continue to cook the apples over medium-high heat, stirring frequently to prevent scorching, especially as the jam thickens. The cooking process usually takes between 20 to 30 minutes. Around the 20-minute mark, you can begin testing the jam for its gel consistency. Don’t be disheartened if it takes a few attempts to reach the desired thickness, as gelling times can vary.
The Gel Test
To test for gelling, place a small plate in the freezer at least an hour before you start cooking. Drizzle a small amount of the hot jam onto the chilled plate. Allow it to cool for a moment, then gently push the jam with your finger. If it wrinkles and forms a distinct line, it has reached its gel point. If it’s still too runny, continue cooking and re-test every few minutes. Once your apple jam has reached your preferred viscosity – whether you like it thick and spreadable or slightly looser – remove the saucepan from the heat immediately. Your next step will be preparing your canning station.
Elevate Your Jam: Exciting Apple Jam Variations
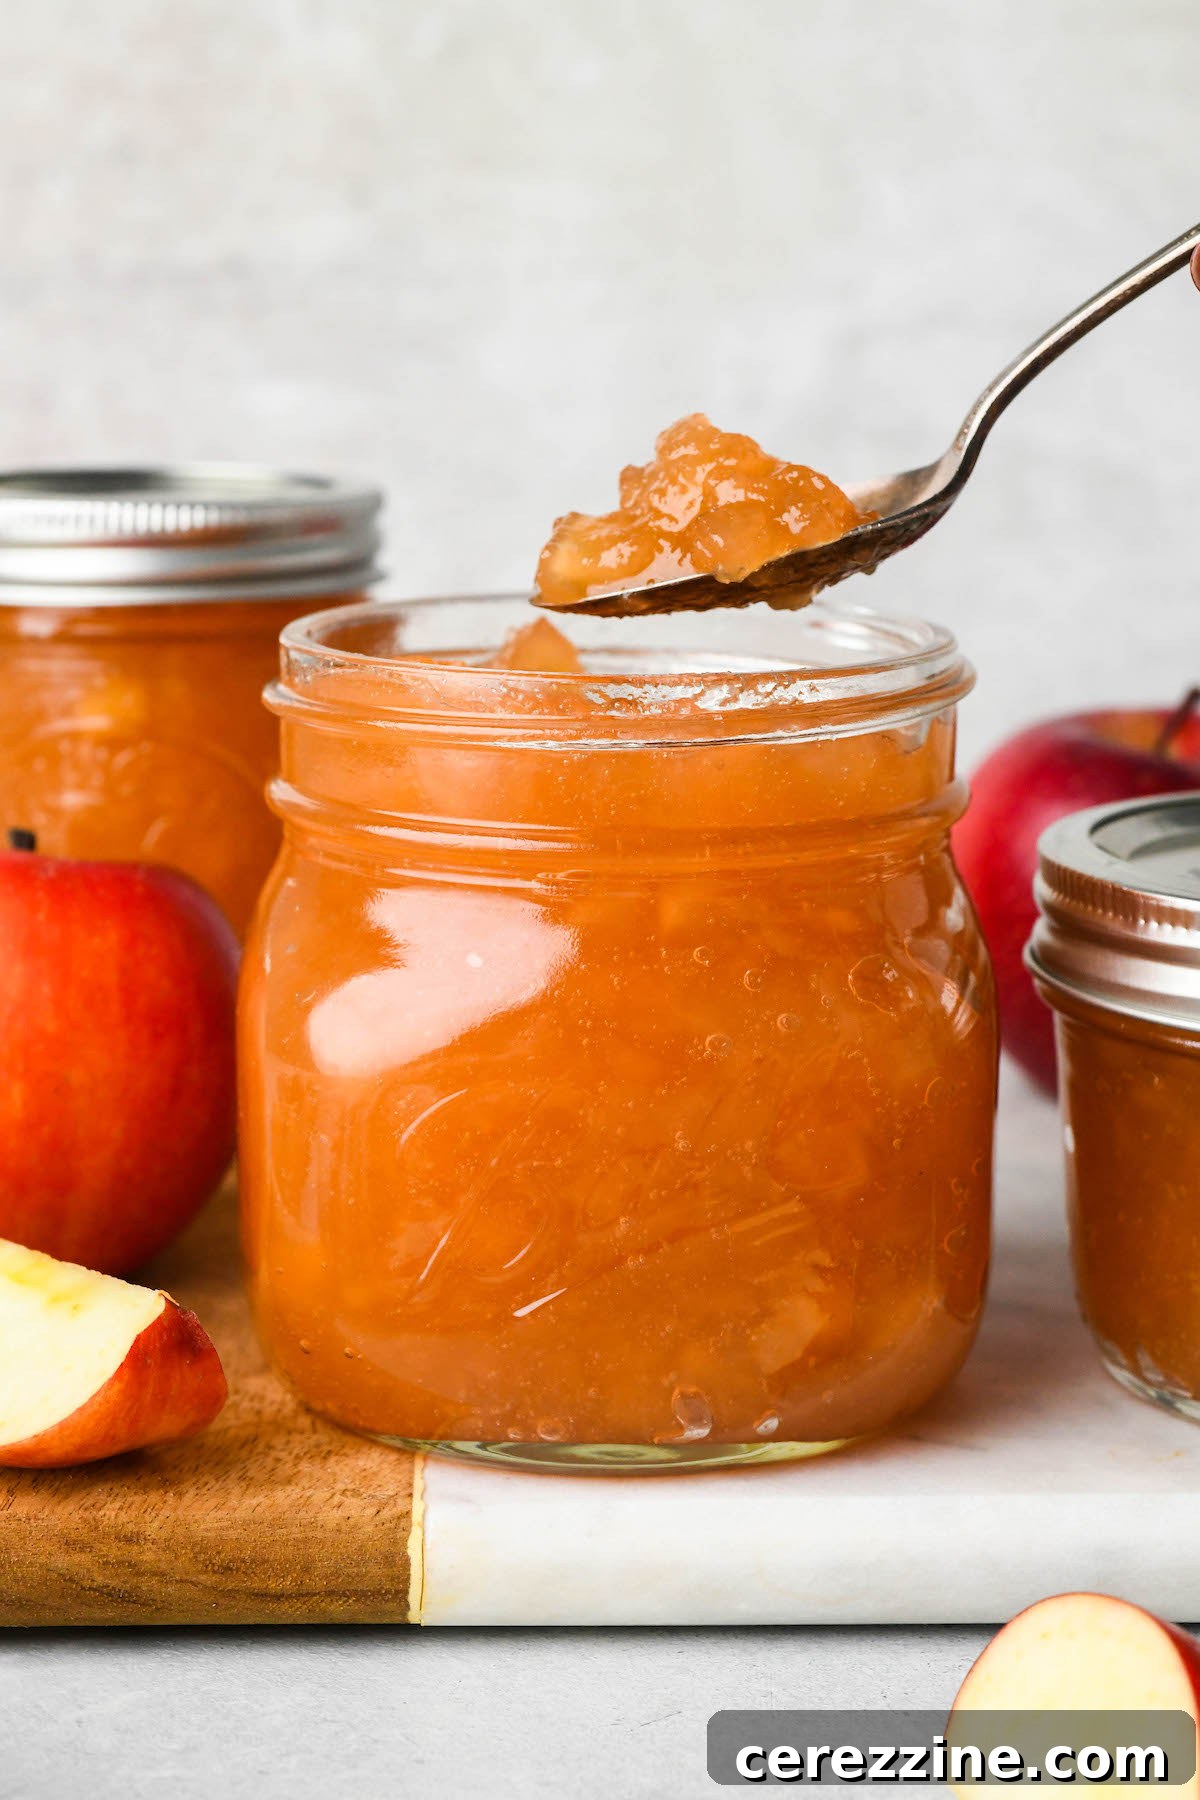
While classic apple jam is a star in its own right, sometimes it’s fun to introduce new dimensions of flavor. If you’re working with exceptionally flavorful apples, letting their natural taste shine is often the best approach. However, if you wish to add a unique twist and enhance your apple jam, consider incorporating these complementary additions:
- Split Vanilla Bean: For a warm, aromatic note, add a split vanilla bean during the last few minutes of cooking. Remove it before canning.
- Cardamom Pods: Introduce 3 to 4 crushed cardamom pods at the beginning of the cooking process for an exotic, fragrant undertone. Their subtle spice pairs wonderfully with apples.
- Cinnamon Stick: A classic pairing, a cinnamon stick added at the start of cooking will infuse the jam with cozy, autumnal warmth. Remove it before jarring.
- Crystallized Ginger: For a delightful zing, finely chop and add crystallized ginger at the beginning of cooking. It brings a gentle heat and chewy texture.
- Splash of Rum or Brandy: A small amount (1-2 tablespoons) of rum or brandy added during cooking can deepen the jam’s complexity and add a sophisticated edge. Ensure it cooks off slightly.
The Art of Preserving: Canning Your Apple Jam
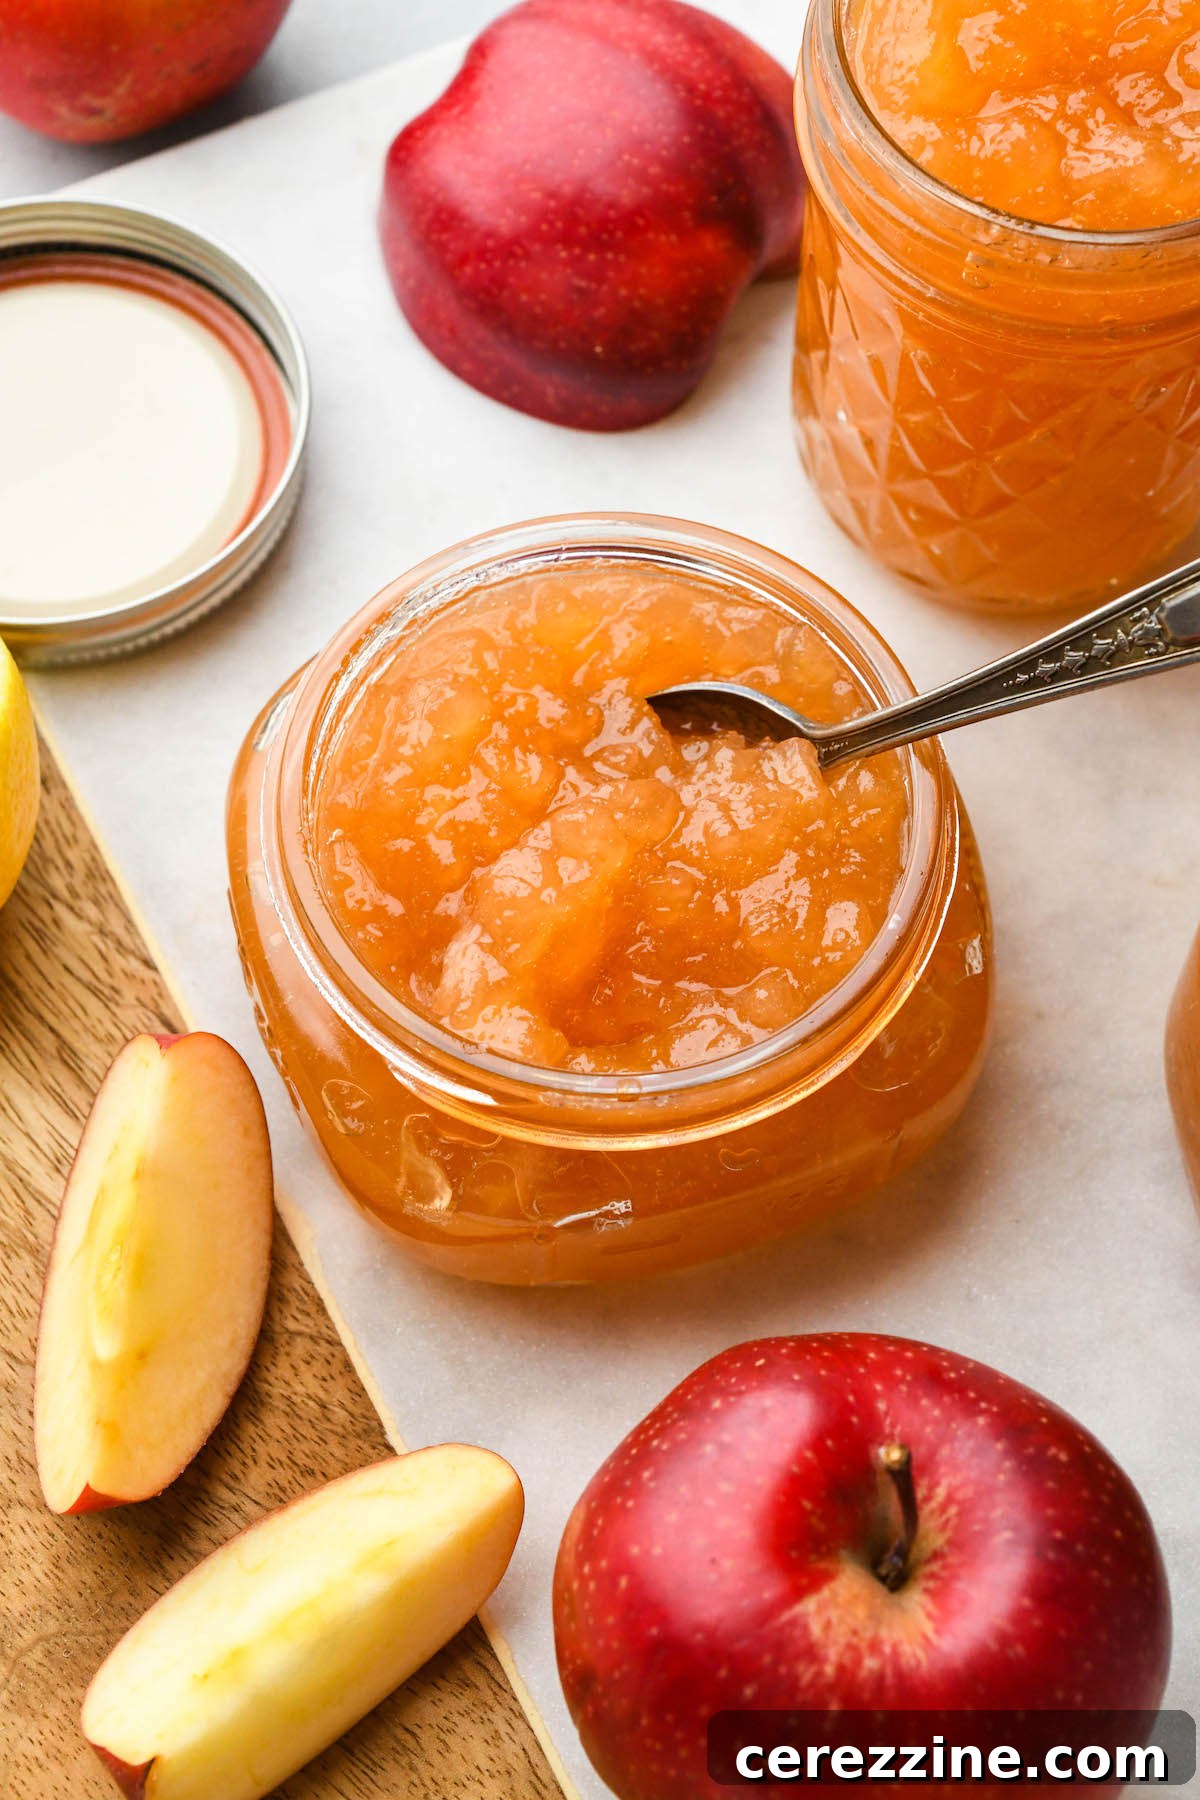
Water bath canning is a safe and effective method for preserving your homemade apple jam, allowing you to enjoy it for months to come. Always ensure your jars and lids are properly sterilized and ready before you begin filling. This recipe typically yields enough jam to fill 4 to 5 half-pint jars.
Filling and Sealing Jars
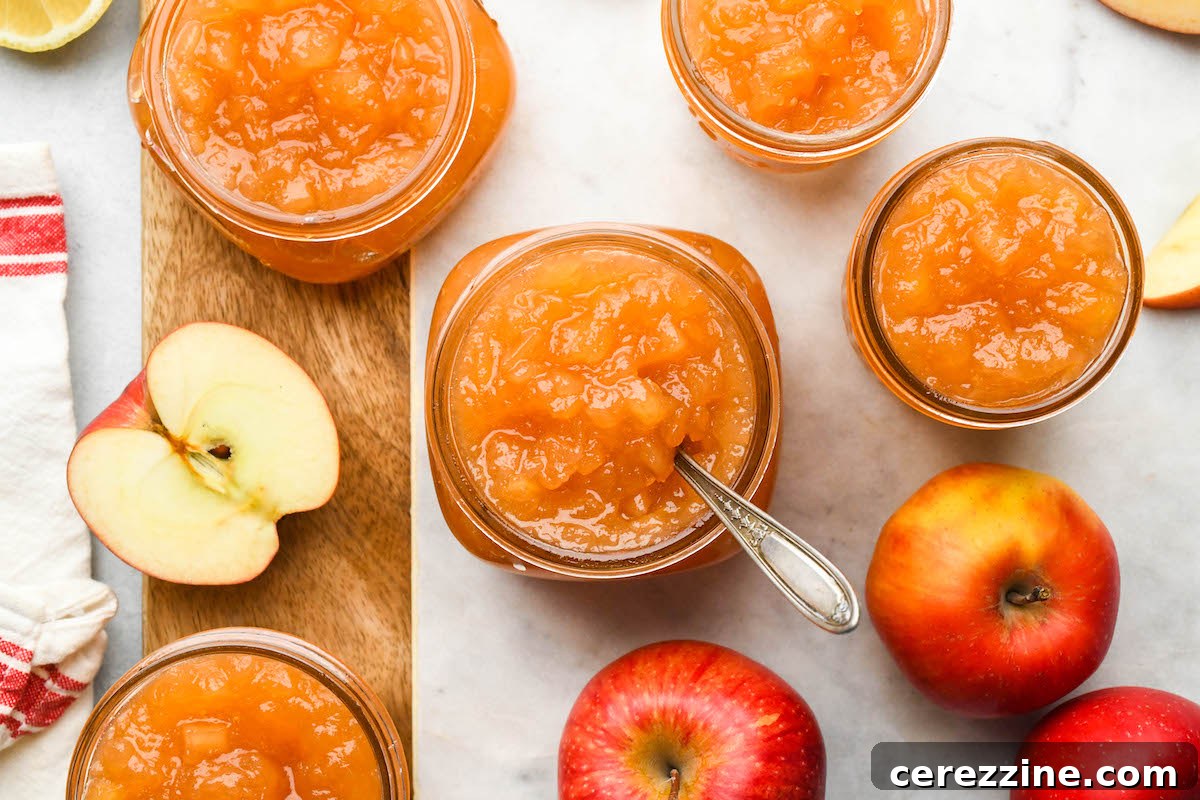
Carefully ladle the hot apple jam into your prepared half-pint canning jars, leaving 1/4-inch headspace at the top. This headspace is crucial for proper sealing. A canning funnel with headspace measurements can be incredibly helpful for accuracy. Since apple jam is quite thick, use a rubber spatula or a chopstick to remove any air bubbles trapped within the jam. Gently press the jam against the sides of the jar to release bubbles, refilling if necessary to maintain the 1/4-inch headspace.
Once filled and debubbled, wipe the rims of the jars with a clean, damp kitchen towel to remove any jam residue. This ensures a proper seal. Apply two-piece canning lids, adjusting the ring piece until it is fingertip tight – meaning snug, but not overtightened.
Water Bath Processing
Carefully lower the filled and sealed jars into a boiling water bath canner, ensuring they are fully submerged by at least one inch of water. Bring the water back to a full, rolling boil and process the jars for 10 minutes. Once the processing time is complete, turn off the heat and allow the jars to remain in the hot water for an additional 5 minutes. This crucial resting period helps the jam cool down gradually, which can significantly prevent siphoning (when liquid is drawn out of the jar during cooling), saving you from a messy cleanup.
After the resting period, carefully remove the jars from the canner and place them on a clean surface lined with a clean dish towel. Ensure there is at least one inch of space between each jar to allow for even cooling. Let the jars cool undisturbed at room temperature for 12 to 24 hours. During this time, you should hear the satisfying “ping” sound as the lids seal.
Storage and Enjoyment
Once fully cooled, check the seal on each jar. A properly sealed lid will be concave (curved inwards) and will not flex when pressed. Any jars that have not sealed correctly should be moved to the refrigerator and consumed within 1 to 2 weeks. Sealed jars of homemade apple jam can be stored in a cool, dry, and dark location, away from direct sunlight, for up to 18 months, allowing you to enjoy the taste of autumn well into the next season!
Beyond Toast: Creative Ways to Enjoy Apple Jam
While spreading apple jam on a piece of warm toast or a scone is undeniably delicious, this versatile condiment has a much wider range of uses, extending far beyond traditional breakfast fare. Its unique balance of sweet and tart, combined with a pleasant texture, makes it suitable for both sweet and savory applications. Get creative and try incorporating your homemade apple jam in these delightful ways:
- Baked Goods: Layer it into cakes, muffins, or scones for a fruity burst.
- Sandwiches & Paninis: Pair it with nutty cheeses like aged cheddar or gouda, or slather it on a grilled cheese for an unexpected flavor twist. It’s also excellent with nut butters.
- Breakfast Bowls: Swirl a spoonful into your morning oatmeal, yogurt, or overnight oats for natural sweetness and apple chunks.
- Stuffed French Toast: Create an indulgent breakfast by stuffing apple jam between slices of bread before dipping and frying your French toast.
- Pancake & Waffle Topping: A spoonful of warm apple jam is a fantastic alternative to maple syrup.
- Cheese & Charcuterie Boards: Serve it alongside a selection of cheeses, cured meats, and crackers. Its sweetness perfectly complements savory flavors.
- Baked Brie Topping: Spoon warm apple jam over a wheel of baked brie for an elegant appetizer.
- Dessert Fillings: Use it as a delectable filling for apple fritters, doughnuts, or turnovers.
- Savory Accompaniment: Its tartness makes it an excellent relish served alongside roasted pork, game meats like wild boar, or even chicken.
- Classic Tarts: Spooned into small pastry shells, it makes delightful jam tarts.
- Sticky Buns: Roll it into sticky bun dough before baking for a sweet, gooey treat.
- Cocktail Enhancer: A surprising but delicious addition to cocktails, particularly those with whiskey or gin, for a fruity, autumnal note.
Explore More Apple Canning Recipes
Homemade Apple Butter
Canning Fresh Apple Cider
Sweet & Tart Cranberry Apple Jam
Additional Ways to Preserve Apples
Extend the delightful flavors of autumn apples throughout the year with these creative and effective preservation methods:
- How to Dehydrate Apples at Home
- Making Your Own Apple Cider Vinegar
- Crafting Homemade Apple Sugar
Classic Apple Jam Recipe
A sweet and tangy apple jam made with only three ingredients!
By Ashley Adamant
Servings: 24 servings, Makes 4 to 5 half-pint jars
Prep Time: 4 hours (includes maceration)
Cook Time: 30 minutes
Additional Time: 10 minutes (for cooling in canner)
Total Time: 4 hours 40 minutes
Ingredients
- 6 lbs apples, makes about 16 cups apple pieces peeled, cored & cut into 1/4 to 1/2-inch dice (4 lbs prepared, from about 6 lbs whole apples as purchased)
- 4 cup granulated sugar
- 1/2 cup bottled lemon juice, for consistent acidity in canning
Instructions
- Add diced apples to a large bowl. Sprinkle with sugar and lemon juice, gently stir to combine. Cover bowl and place it in the fridge for at least 4 hours or overnight for best results (maceration).
- Drain the macerated fruit in a large fine mesh sieve set over a jam pot or heavy-bottomed saucepan, reserving the liquid.
- Bring the reserved liquid from the fruit to a full, rolling boil in the saucepan over medium-high heat.
- Carefully add the diced apples to the boiling liquid. Reduce heat to medium-high and cook for 20 to 30 minutes or until the desired gel texture is achieved. Stir occasionally to prevent scorching. Use the freezer plate test to check for gelling (see article above for details).
- Once the jam reaches the desired consistency, remove from heat. Pack hot jam into prepared half-pint jars, leaving 1/4-inch headspace. Debubble the jam with a spatula or chopstick and adjust headspace as needed. Wipe jar rims clean and apply two-piece canning lids until fingertip tight.
- Load jars into a hot water bath canner, ensuring they are covered by at least 1 inch of water. Bring water to a rolling boil and process for 10 minutes. When the timer goes off, turn off the heat and let the jars sit in the hot water for another 5 minutes to prevent siphoning.
- Remove jars from the water canner and transfer them to a clean surface lined with a kitchen towel, leaving 1 inch of space between each jar. Let the jars cool undisturbed to room temperature for 12 to 24 hours.
- Test the seal on each jar. Any improperly sealed jars should be stored in the fridge for 1 to 2 weeks and consumed promptly. Properly sealed jars of apple jam can be stored in a cool, dry, and dark location away from direct light for up to 18 months.
Nutrition Information (Approximate)
Calories: 188 kcal, Carbohydrates: 49g, Protein: 0.3g, Fat: 0.3g, Saturated Fat: 0.03g, Polyunsaturated Fat: 0.1g, Monounsaturated Fat: 0.01g, Sodium: 2mg, Potassium: 127mg, Fiber: 3g, Sugar: 45g, Vitamin A: 62IU, Vitamin C: 7mg, Calcium: 7mg, Iron: 0.2mg
Nutrition information is automatically calculated, so should only be used as an approximation.
More Classic No-Pectin Jam Recipes
If you appreciate the traditional method of making jam without added boxed pectin, explore these other delicious recipes:
- Homemade Raspberry Jam
- Sweet Persimmon Jam
- Unique Green Tomato Jam
- Tangy Apricot Jam