The Ultimate Guide to Homemade Pineberry Jam: A Tropical Twist on Classic Preserves
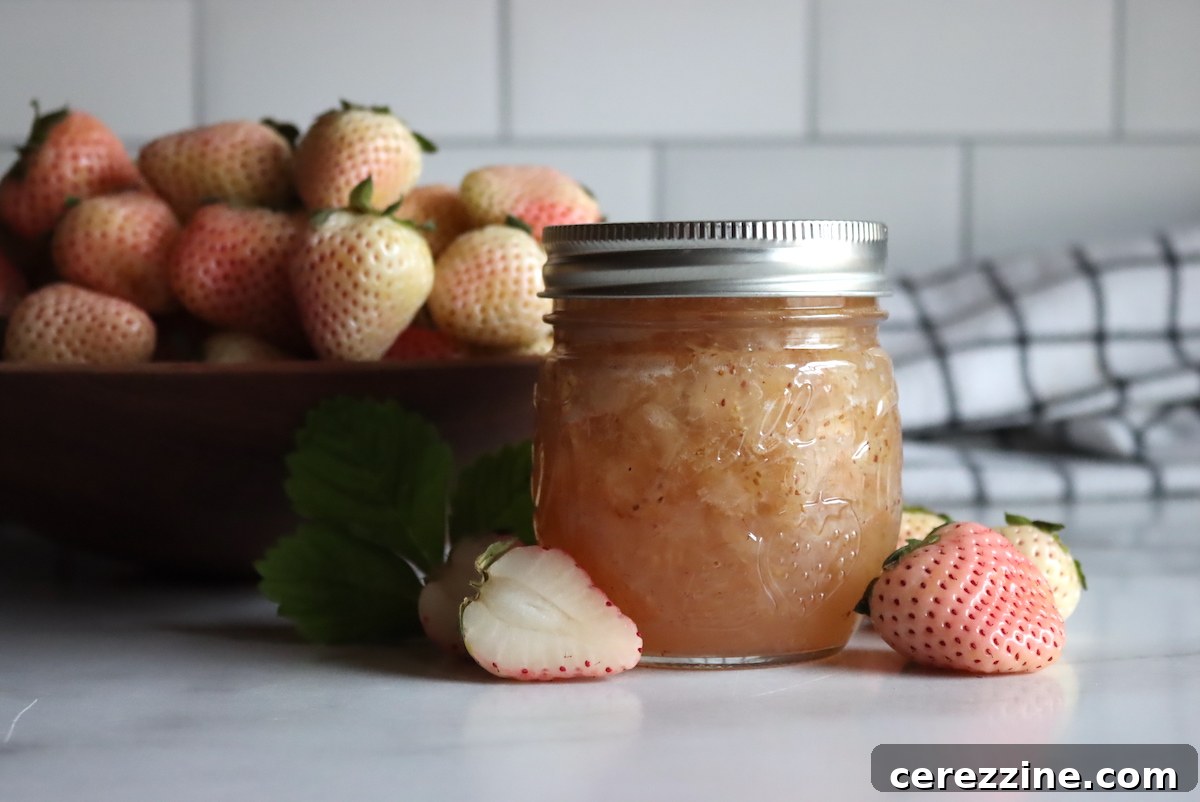
Imagine a fruit that embodies the refreshing sweetness of a strawberry yet whispers the exotic tang of a pineapple. This intriguing combination is precisely what you get with pineberries, and transforming them into a vibrant, homemade jam is an experience every food enthusiast should savor. Pineberry jam offers a delightful culinary adventure, allowing you to capture the fleeting essence of these unique berries in a jar, ready to brighten any meal. This comprehensive guide will walk you through every step of making a delectable pineberry jam, from selecting the perfect fruit to long-term preservation, ensuring your kitchen is filled with the aroma of tropical sunshine.
Discovering Pineberries: The White Strawberry with a Pineapple Kiss
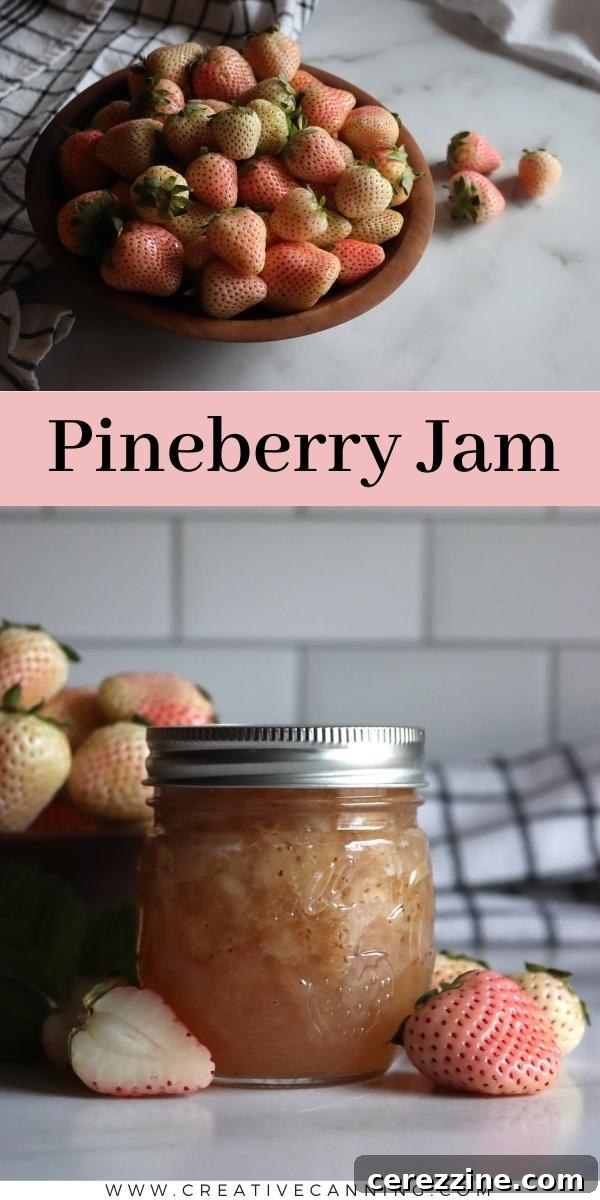
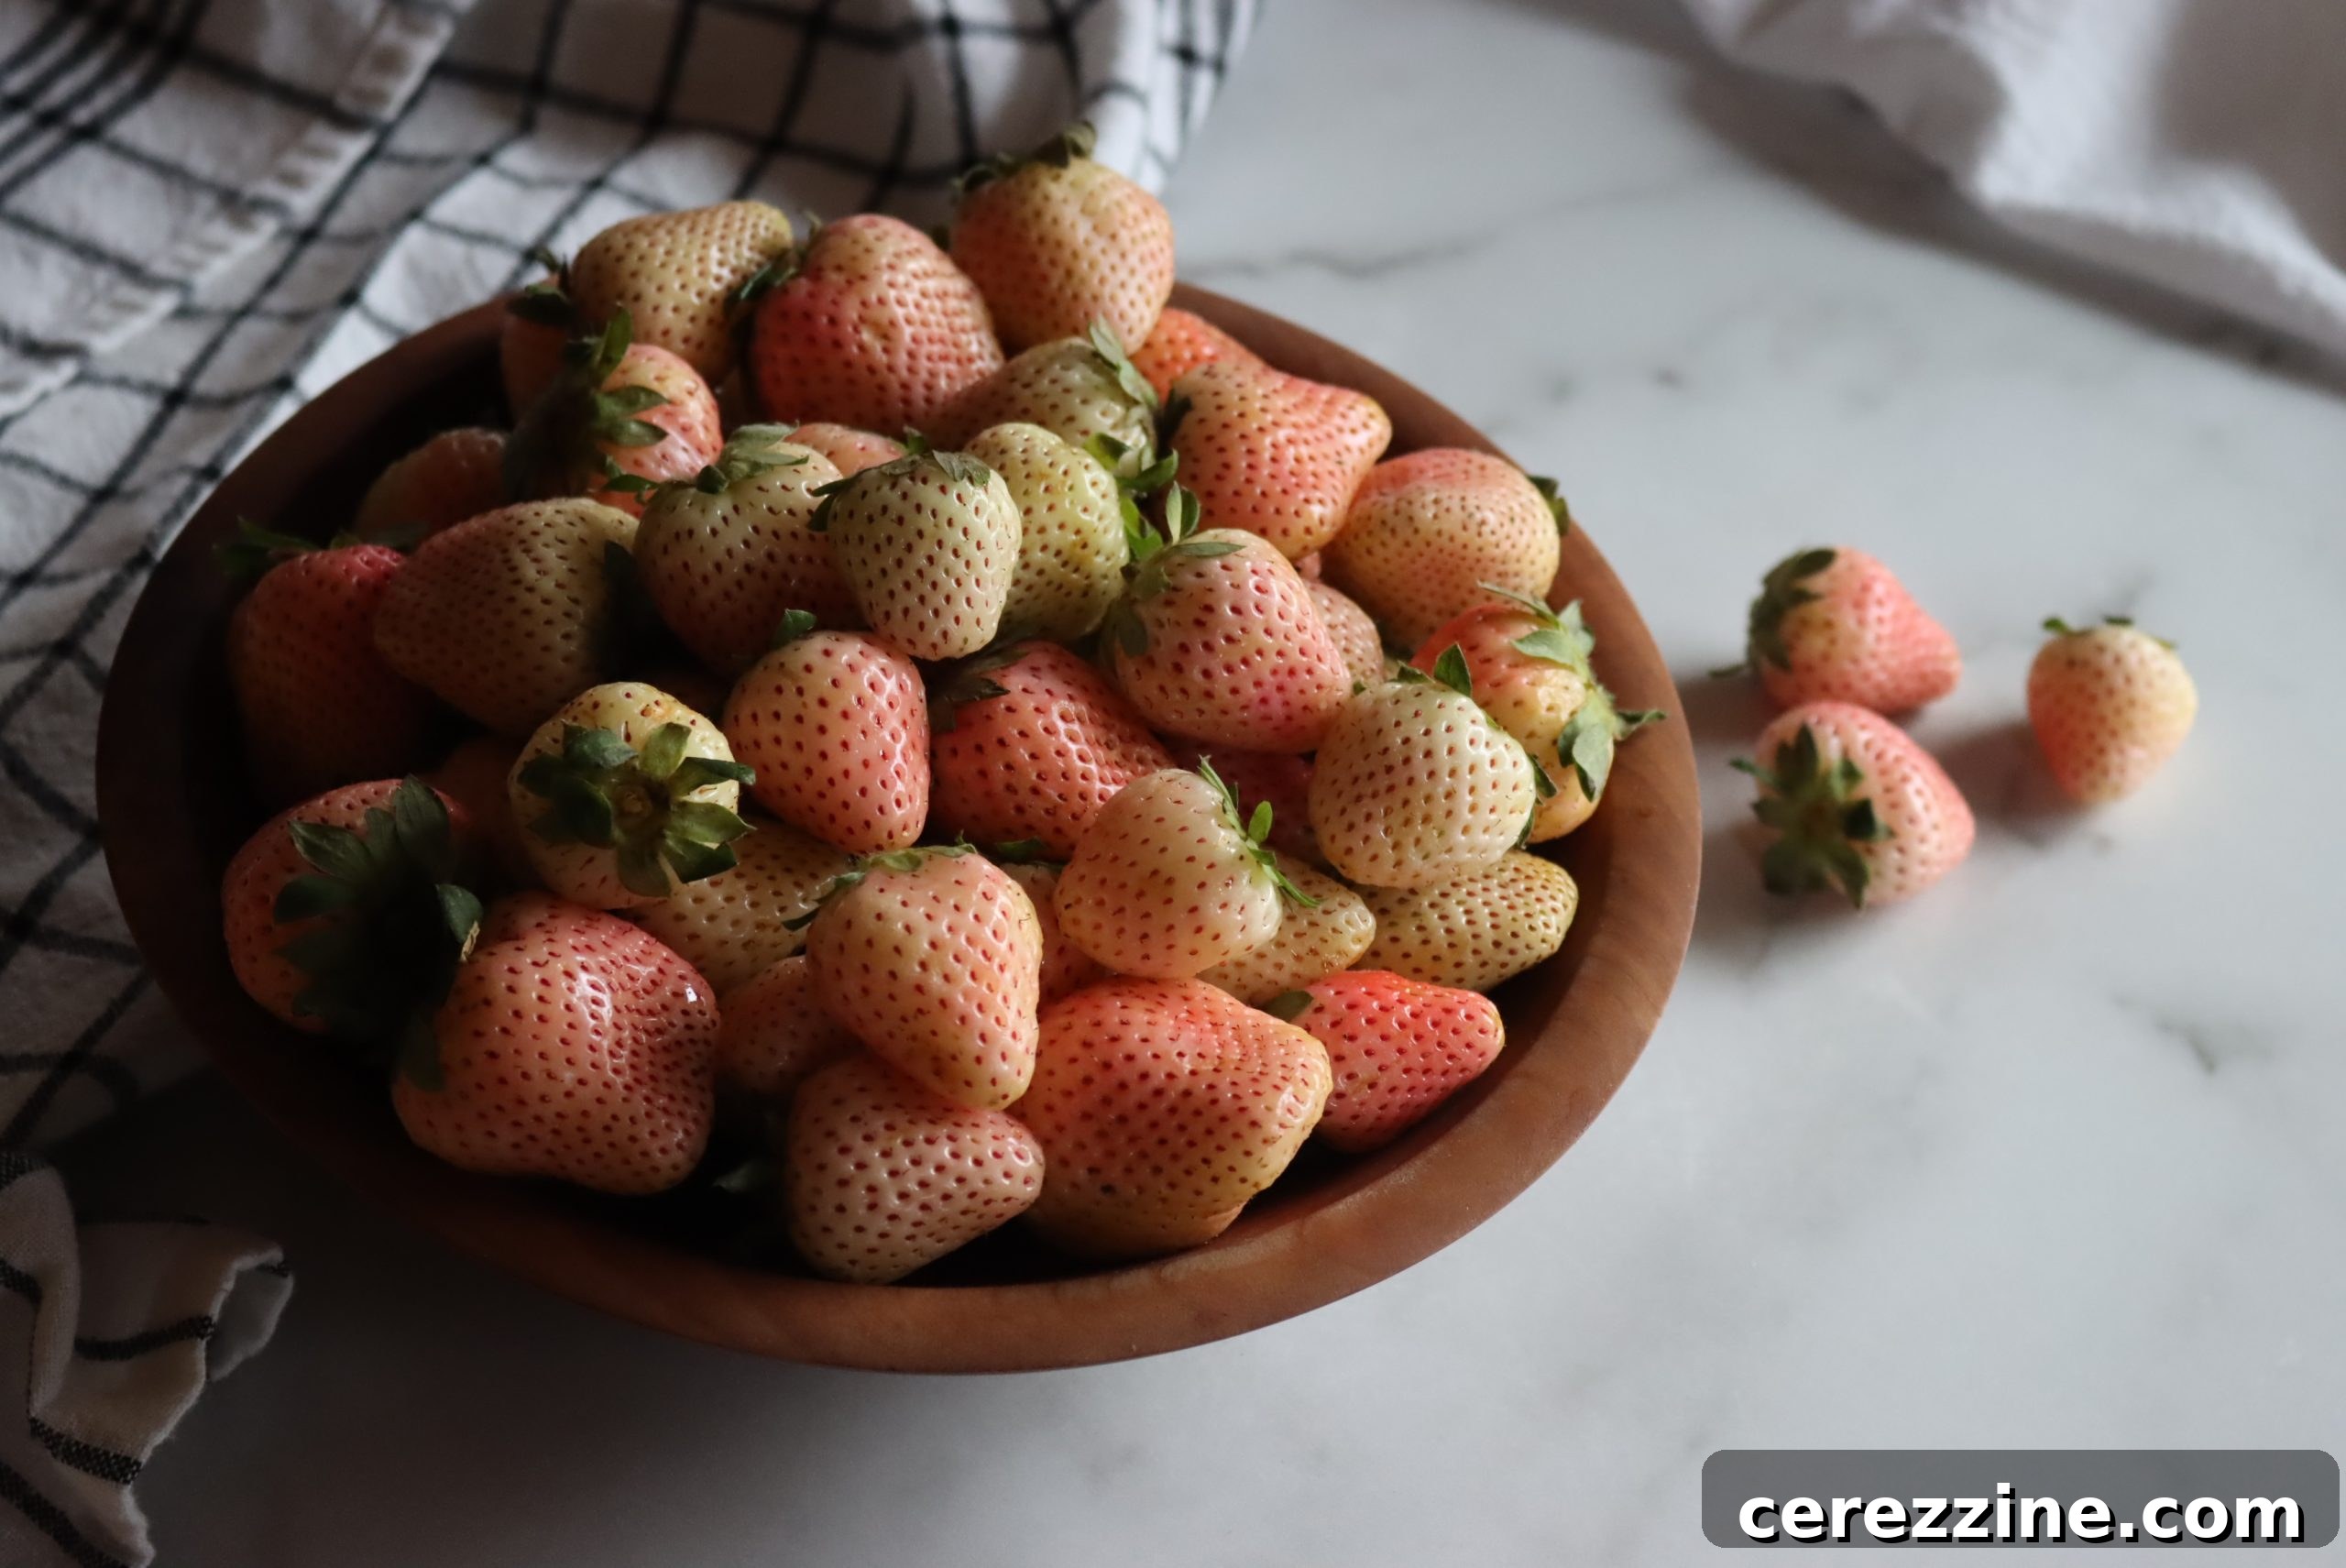
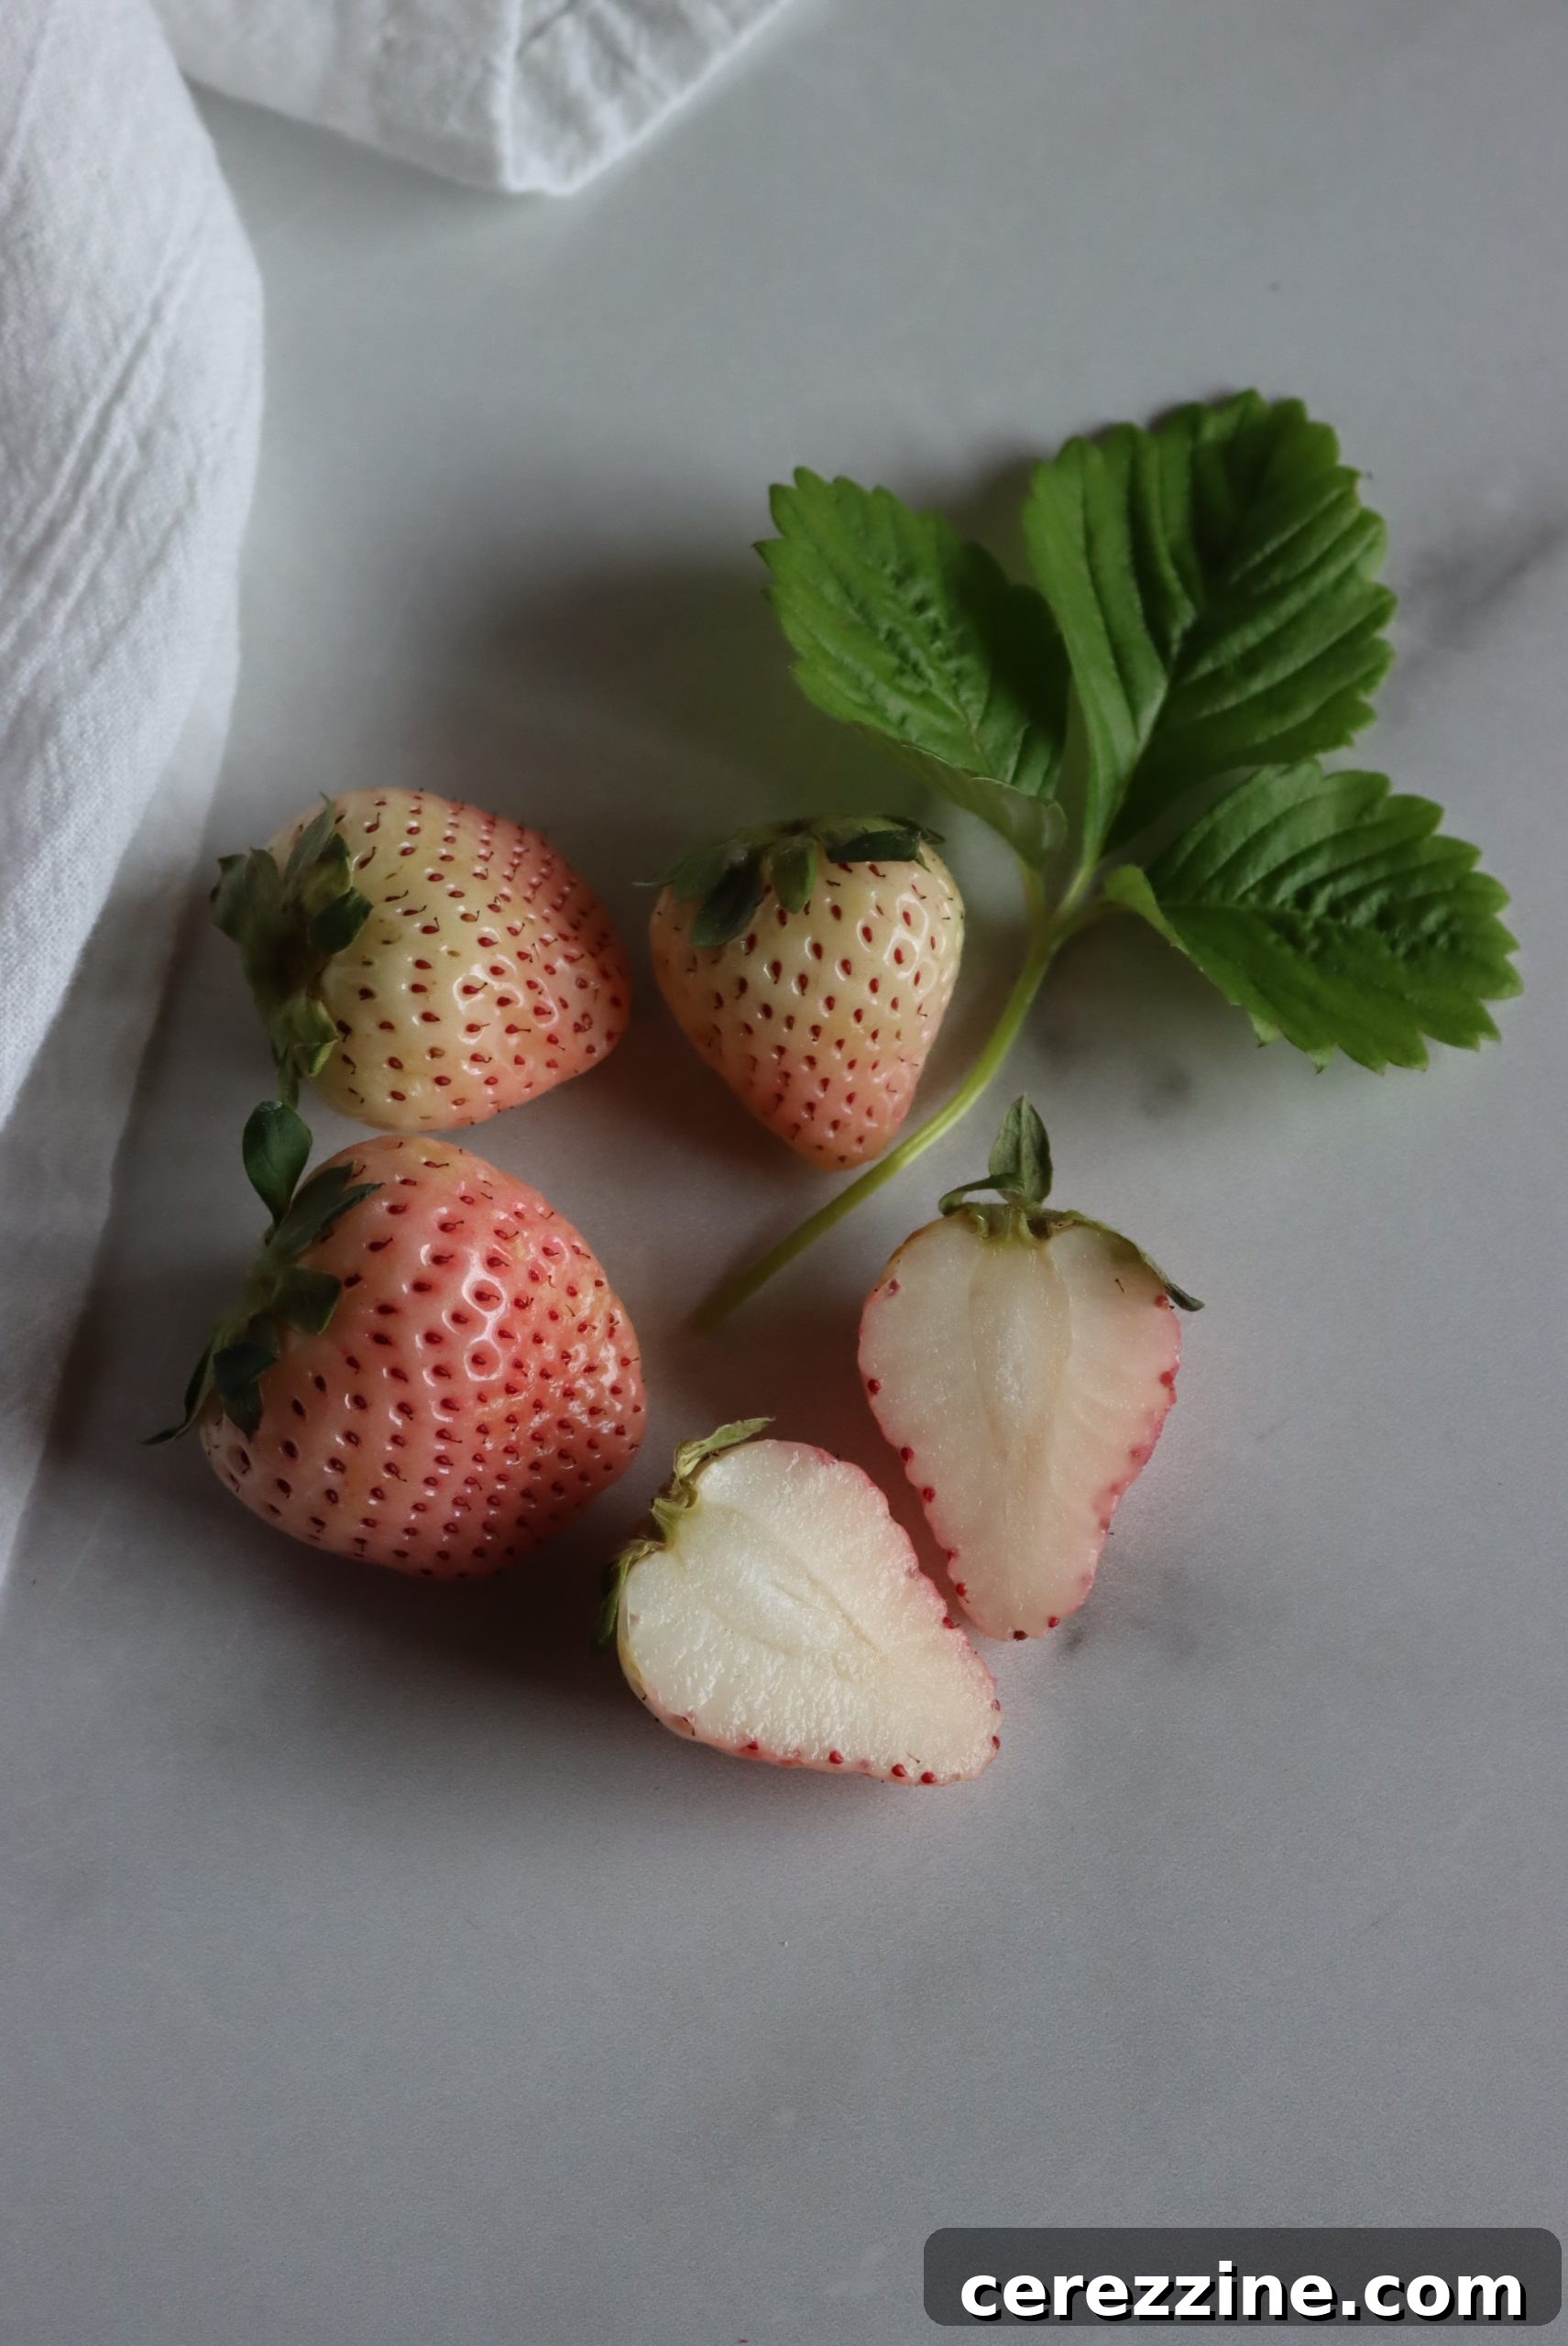
Pineberries are not just a whimsical name; they are a distinct and fascinating variety of strawberry (Fragaria x ananassa) known for their strikingly pale, sometimes even white, flesh adorned with vibrant red seeds. This inverted color palette is their most apparent visual trait, but it’s their flavor that truly captivates. Bite into a ripe pineberry, and you’ll immediately notice the familiar sweetness of a strawberry, quickly followed by unmistakable notes of pineapple. Some palates even detect hints of apricot, pear, or a general tropical fruit medley, making them a truly unique berry experience.
Originally cultivated in South America and later refined in Europe, pineberries have gained significant popularity in recent years, moving from specialty farmers’ markets to mainstream grocery stores. Their intriguing appearance and distinctive taste make them a favorite for decorating elegant desserts, tarts, and salads, adding both visual appeal and an unexpected burst of flavor. For those with a green thumb, pineberries are also a joy to grow in a home garden, providing a bountiful harvest for fresh eating and, of course, jam making. If fresh pineberries are a rarity in your local market, don’t despair; they are increasingly available through online retailers, making this delightful fruit accessible to everyone.
Why Pineberry Jam is a Must-Try Culinary Delight
While traditional strawberry jam holds a special place in our hearts, pineberry jam elevates the classic preserve to a new level of sophistication. The natural acidity of pineberries, coupled with their inherent sweetness and subtle pineapple undertones, creates a jam that is both familiar and excitingly exotic. It’s lighter in flavor profile than its red counterparts, offering a brighter, more nuanced sweetness that avoids being cloying. This makes it incredibly versatile, perfect for spreading on toast, swirling into yogurt, or even as an unexpected ingredient in gourmet recipes.
Crafting pineberry jam at home allows you to control the quality of your ingredients and tailor the sweetness to your preference. There’s an undeniable satisfaction in transforming fresh, seasonal fruit into a pantry staple, especially when that fruit is as unique as the pineberry. Beyond its incredible taste, homemade pineberry jam makes a thoughtful gift, a delightful treat for family, and a wonderful way to enjoy the distinctive flavor of pineberries long after their short season has passed. It’s an easy, rewarding project that yields truly exceptional results.
Essential Ingredients for Crafting Perfect Pineberry Jam
Making a batch of exquisite pineberry jam requires only a few core ingredients, but the quality and preparation of each component significantly impact the final product. This recipe is designed to yield approximately 7 to 8 half-pint (8 oz) jars of jam, a perfect amount for enjoying and sharing. For a smaller batch, you can easily halve the recipe: use 4 cups of fruit, 3 cups of sugar, and 1 tablespoon of lemon juice to make about four jars. Remember, it’s generally not recommended to double jam recipes, as larger quantities can heat unevenly in the pan, leading to inconsistent setting and potential failure.
To embark on your pineberry jam-making journey, gather the following:
- 8 cups mashed pineberries (this typically requires about 4 quarts of fresh pineberries, or roughly 4.5 to 5 pounds)
- 6 cups granulated sugar
- 2 tablespoons lemon juice (freshly squeezed or bottled)
Selecting and Preparing Your Pineberries
The secret to exceptional jam begins with selecting perfectly ripe pineberries. Unlike red strawberries, whose vibrant color signals ripeness, pineberries remain white, making visual assessment a bit trickier. The key indicator for pineberry ripeness lies in their seeds. Look for berries with visibly dark red seeds; this is your cue that they are at their peak flavor and sugar content. Avoid berries that are overly soft or mushy, as these are past their prime and can negatively affect the jam’s texture and shelf life. A few slightly underripe berries are acceptable, as they contribute beneficial pectin, but the majority should be perfectly ripe.
Once selected, pineberries need proper preparation. Like their red cousins, they have a green hull attached to the stem, which also extends into a small core. To prepare them for jam, you’ll need to “hull” each berry. While specialized hulling tools or even a straw can be used, a small paring knife often offers the most precise and waste-efficient method. Insert the knife at an angle around the base of the green stem, making a small circular cut to remove the green hull and the tough inner core. This should leave a slight hollow in the berry. After hulling, give the pineberries a gentle rinse under cool, clean water to remove any dirt or debris.
Finally, it’s time to mash your pineberries. In a large bowl, use a potato masher or a sturdy spoon to crush the berries. Working in smaller batches can make this process easier and more consistent. Continue mashing until you have exactly 8 cups of prepared, mashed pineberries.
The Critical Role of Sugar and Lemon Juice
In traditional, pectin-free jam recipes, sugar plays a dual role: it acts as a sweetener, enhancing the pineberries’ natural flavors, and critically, it helps the jam set. The high sugar content helps draw out the fruit’s natural pectin and works with the fruit’s acids to create the desired gel consistency. The quantity specified in this recipe is balanced to achieve a perfect set and flavor profile with pineberries.
Lemon juice is another indispensable ingredient, and it should never be skipped. Pineberries are naturally less acidic than red strawberries. The added lemon juice provides essential acidity, which is crucial for both setting the jam and ensuring its safety, especially if you plan to water bath can it. Additionally, lemon juice contributes natural pectin, further aiding in the gelling process. If using fresh lemons, ensure you extract a full two tablespoons of juice. Bottled lemon juice is slightly more concentrated, so the same amount will be sufficient.
Low-Sugar Pineberry Jam Alternatives
This traditional pineberry jam recipe relies on a significant amount of sugar to achieve its classic set and flavor without added pectin. However, if you prefer a lower-sugar option, it’s certainly possible with a few adjustments. You will need to use a specialized low-sugar pectin product, such as Sure-Jel Low Sugar or Pomona’s Universal Pectin. When using these products, it is vital to follow the instructions provided on the pectin package specifically for strawberry jam, as the ratios of fruit, sugar, and pectin will differ from this recipe. While this recipe offers a wonderfully balanced sweetness, having a low-sugar alternative ensures everyone can enjoy homemade pineberry jam.
Step-by-Step Guide to Making Your Pineberry Jam
With your pineberries prepped and ingredients measured, you’re ready to transform them into a luscious jam. This process, while requiring attention, is incredibly rewarding.
- Combine Ingredients: In a large, heavy-bottomed saucepan or Dutch oven, combine the 8 cups of mashed pineberries, 6 cups of granulated sugar, and 2 tablespoons of lemon juice. Stir the mixture well to ensure all ingredients are thoroughly combined.
- Initial Cooking: Place the saucepan over medium-high heat. Stir frequently as the sugar begins to dissolve and the fruit mixture gradually becomes more liquid. Continue stirring to prevent scorching, especially as the mixture heats up.
- Bring to a Boil and Manage Foam: As the mixture heats, it will eventually come to a gentle boil. Pineberries, much like red strawberries, tend to produce foam on the surface as they boil. Keeping the heat at medium-high and stirring regularly helps to minimize excessive foaming that could boil over the edges of your pot. If a significant amount of foam accumulates, you can gently skim it off with a metal spoon.
- Achieving the Gel Stage: Continue to boil the jam gently, stirring often, until it reaches the critical “gel stage.” This is the point where the jam has cooked down sufficiently and developed enough pectin to set properly. This can take anywhere from 45 minutes to over an hour, depending on the fruit’s natural pectin content and the intensity of your heat. Patience is key during this phase.
- Testing for the Gel Stage: There are two reliable methods to test if your jam has reached the gel stage:
- Cold Plate Test: Before you start cooking, place a couple of small ceramic plates or saucers in your freezer. When you think the jam might be ready, remove a plate from the freezer. Drop about a tablespoon of hot jam onto the cold plate, then return the plate to the freezer for 1-2 minutes. Take the plate out and gently push the edge of the jam dollop with your fingertip. If the jam has formed a “skin” on top and wrinkles when pushed, it has reached the gel stage. If your finger slides right through it, it needs more cooking.
- Candy Thermometer Test: For a more precise method, use a candy thermometer. Cook the jam until it reaches 220°F (104°C). At this temperature, the sugar concentration is typically high enough for the jam to set.
- Prepare Jars/Containers: While your jam is cooking, prepare your chosen storage containers. If you plan to water bath can the jam, sterilize your jelly jars by heating them in a hot water bath. If you intend to refrigerate or freeze the jam, prepare appropriate freezer-safe containers.
- Fill Jars: Once the jam reaches the gel stage, carefully ladle or pour it into your prepared jars or containers. Leave approximately ¼ inch of headspace at the top of each jar. This space is crucial for proper sealing and to prevent containers from cracking during freezing or canning.
- Seal and Store: Wipe the rims of your containers with a clean, damp cloth to ensure a tight seal. Apply lids securely. If canning, use a two-part lid system (flat lid and screw band).
Your freshly made pineberry jam can be enjoyed in various ways: store it in the refrigerator for up to a month for immediate use, or freeze it for up to 6 months for longer enjoyment. For extended shelf life, follow the canning instructions provided below.
Preserving Your Pineberry Jam: Canning for Long-Term Enjoyment
Water bath canning is a fantastic method for preserving your pineberry jam, extending its shelf life significantly and allowing you to savor its unique flavor for months. Properly canned jam can last up to 18 months or even longer when stored in a cool, dry pantry.
Is Canning Pineberry Jam Safe? Understanding Acidity
A common concern with canning newer fruit varieties like pineberries is their acidity level. For safe water bath canning, fruits must have a pH level of 4.6 or below to inhibit the growth of harmful bacteria like Clostridium botulinum. While traditional red strawberries typically have a pH of around 3.5 (well within the safe range), white fruit variants are sometimes less acidic than their colored counterparts (e.g., white peaches are less acidic than yellow peaches).
As pineberries are a relatively new commercial fruit, extensive scientific studies specifically testing their average pH for canning safety are not yet widely available. However, given that pineberries are still a type of strawberry and our recipe includes 2 tablespoons of lemon juice, the acidity is significantly boosted. This added lemon juice not only aids in the gel set but also helps ensure the pH drops to a safe level for water bath canning. While we’ve taken precautions, it’s always wise to exercise your best judgment. If you have any concerns, opt to preserve your pineberry jam as a refrigerator or freezer preserve, which does not rely on specific acidity levels for long-term safety.
The Water Bath Canning Process
Before you begin the canning process, ensure all your canning equipment is clean and prepared. This includes a water bath canner with a rack, glass canning jars, new two-part canning lids (flats and bands), a jar lifter, a canning funnel, and a timer. For those new to canning, it’s highly recommended to consult a comprehensive guide on water bath canning for beginners before starting.
- Prepare Jars: Heat your empty canning jars in the hot water bath canner while it comes to a simmer.
- Fill Jars: Using a canning funnel, ladle the hot pineberry jam into the hot jars, leaving ¼ inch of headspace at the top. The funnel often has markings on its lip to help you measure this precisely.
- Clean Rims: Wipe the rims of the filled jars with a clean, damp cloth to remove any jam residue. This is crucial for achieving a good seal.
- Apply Lids: Place a new flat lid on each jar, centering it carefully. Then, screw on the metal bands until finger-tight. (Modern canning lids do not require preheating, but some still prefer to dip them in hot water for habit or perceived better seal.)
- Process Jars: Carefully lower the filled and lidded jars into the preheated water bath canner, ensuring they are fully submerged by at least 1-2 inches of water. Bring the canner to a full rolling boil. Once boiling, process pint jars for 10 minutes. If you are at an altitude above 6,000 feet, increase the processing time to 15 minutes.
- Cool Down: After the processing time has elapsed, turn off the heat. Leave the jars in the hot water bath for an additional 5 minutes. This prevents “siphoning” (loss of liquid from the jars) caused by a too-rapid temperature change.
- Remove and Cool: Using a jar lifter, carefully remove the hot jars from the canner and place them upright on a towel-lined counter. Leave several inches of space between jars to allow for proper airflow and cooling.
- Check Seals: Allow the jars to cool undisturbed for 12-24 hours. After cooling, check the seals: the center of the lid should be concave and should not flex when pressed. If any jars have not sealed, store them in the refrigerator for immediate use.
Store your properly sealed and cooled pineberry jam in a cool, dark, dry place like a pantry. Once a jar is opened, refrigerate it and consume within a few weeks.
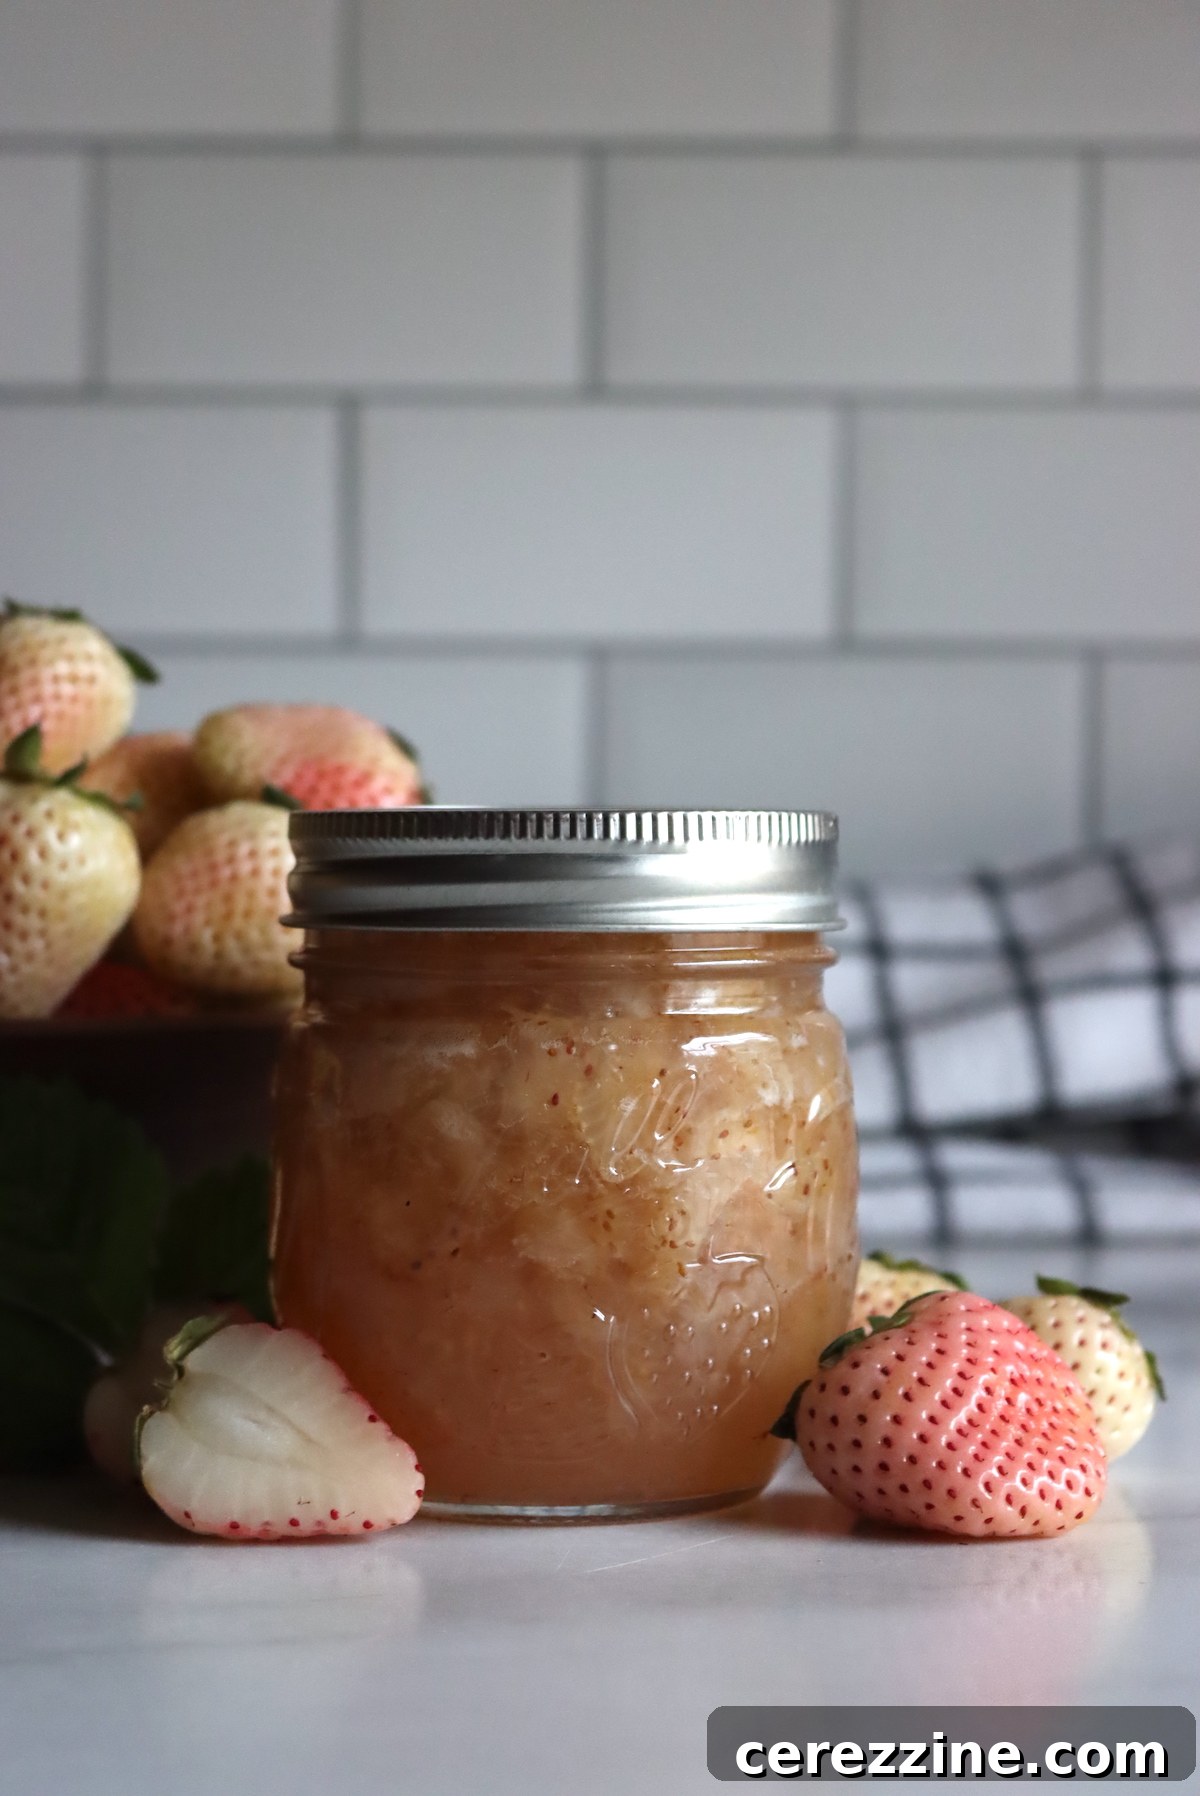
Creative Ways to Savor Your Homemade Pineberry Jam
The beauty of pineberry jam lies not just in its unique flavor but also in its versatility. It can be enjoyed in all the classic ways you would use traditional strawberry jam, but its tropical notes open up a world of new culinary possibilities:
- Breakfast Staple: A generous dollop on warm buttered toast, flaky croissants, or fluffy pancakes and waffles is an ideal way to start your day.
- Yogurt and Oatmeal Enhancement: Swirl it into plain Greek yogurt or hot oatmeal for an instant flavor and texture boost.
- Baking Adventures: Use it as a delightful filling for thumbprint cookies, pastry tarts, crepes, or even layer cakes. It can also be incorporated into muffins or quick breads for a burst of fruity flavor.
- Dessert Topping: Spooned over vanilla ice cream, panna cotta, or cheesecake, pineberry jam transforms simple desserts into elegant treats.
- Cheese Pairings: Its sweet and tangy profile makes it an excellent accompaniment to a cheese board, especially with soft cheeses like brie or goat cheese.
- Beverage Mixer: A spoonful can add a unique twist to cocktails, mocktails, or even sparkling water.
Explore More Fruit Preserving & Jam Recipes
If you’ve enjoyed making this unique pineberry jam, you might be inspired to explore other fruit preserving projects. Here are some additional recipes to expand your canning and jam-making repertoire:
Unique Pineberry Recipes to Try
Beyond jam, pineberries can star in various dishes:
- Pineberry Tart
- Pineberry French 75 Cocktail
- Pineberry Muffins
Classic No-Pectin Jam Recipes
For those who love making jam the old-fashioned way, celebrating the natural pectin in fruit:
- Raspberry Jam
- Cranberry Apple Jam
- Nectarine Jam
- Apricot Jam
- Persimmon Jam
Essential Fruit Canning Resources
Planning to preserve more of summer’s bounty? Explore these trusted fruit canning recipes and guides:
- Fruit Canning Recipes (General Guide)
- Canning Peaches
- Canning Plums
- Canning Blueberries
- Canning Blackberries
- Canning Raspberries
32 servings, Makes 7 to 8 half pint (8 oz) jars
Pineberry Jam
20 mins
45 mins
10 mins
1 hr 15 mins
Equipment
-
Water Bath Canner
Ingredients
- 8 cups pineberries, mashed, about 4 quarts fresh pineberries
- 6 cups granulated sugar
- 2 Tbsp. lemon juice
Instructions
-
Carefully pick through your pineberries, hull them, and rinse with cool, clean water.
-
Mash pineberries in a bowl using a masher or durable spoon. Measure out 8 cups of mashed fruit.
-
Place the mashed pineberries, sugar, and lemon juice into a large saucepan.
-
Cook the fruit mixture over medium-high heat, stirring often to dissolve the sugar, bringing the jam to a slow boil.
-
Continue to cook the mixture at a slow boil, stirring often. Skim any foam from the top with a metal spoon as needed.
-
Cook the jam until it has reached the gel stage, which typically takes approximately 45 minutes or potentially longer.
-
Test the jam for the gel stage using the cold plate test, or cook until a candy thermometer reads 220°F.
-
Ladle or pour the hot jam into prepared jars or containers, leaving ¼ inch headspace.
-
Preserve the jam using a hot water bath canning method, or once cooled, refrigerate for up to 1 month or freeze for up to 6 months.
Notes
Nutrition
Carbohydrates: 40g,
Protein: 0.2g,
Fat: 0.2g,
Saturated Fat: 0.01g,
Polyunsaturated Fat: 0.1g,
Monounsaturated Fat: 0.02g,
Sodium: 1mg,
Potassium: 57mg,
Fiber: 1g,
Sugar: 39g,
Vitamin A: 4IU,
Vitamin C: 22mg,
Calcium: 6mg,
Iron: 0.2mg
Nutrition information is automatically calculated, so should only be used as an approximation.
Like this? Leave a comment below!