
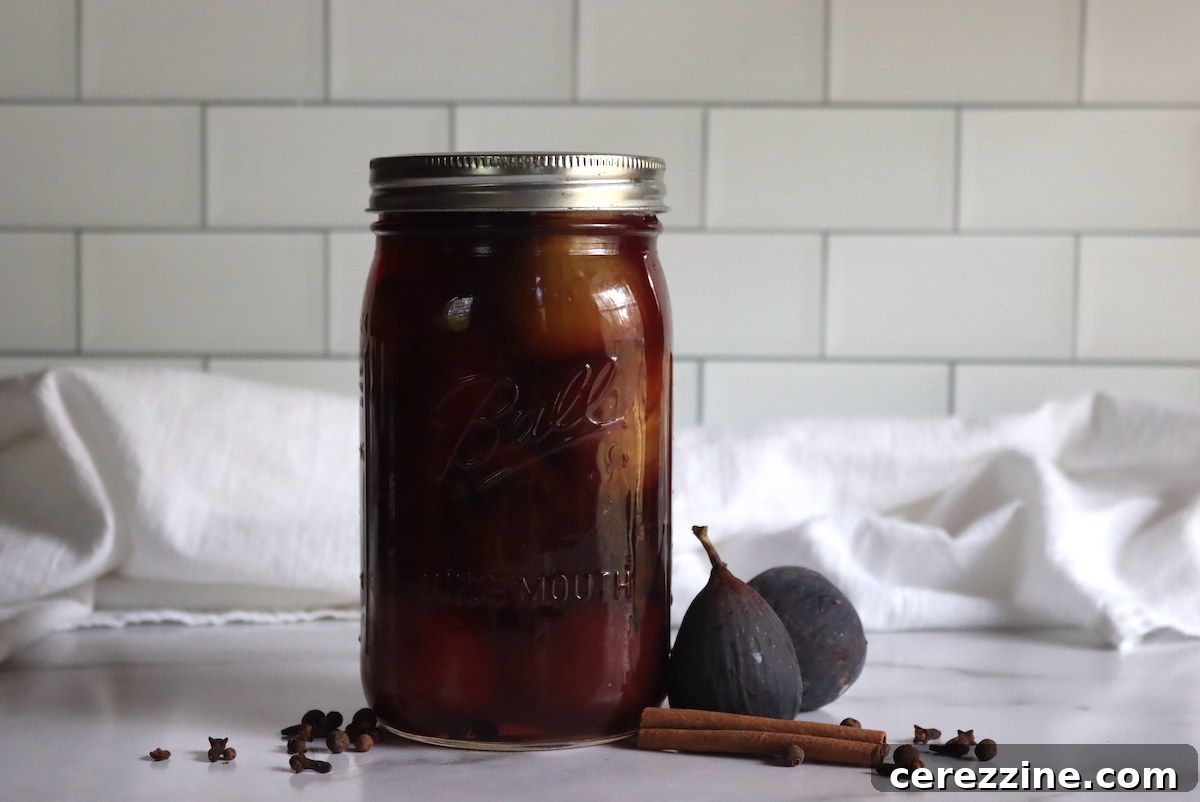
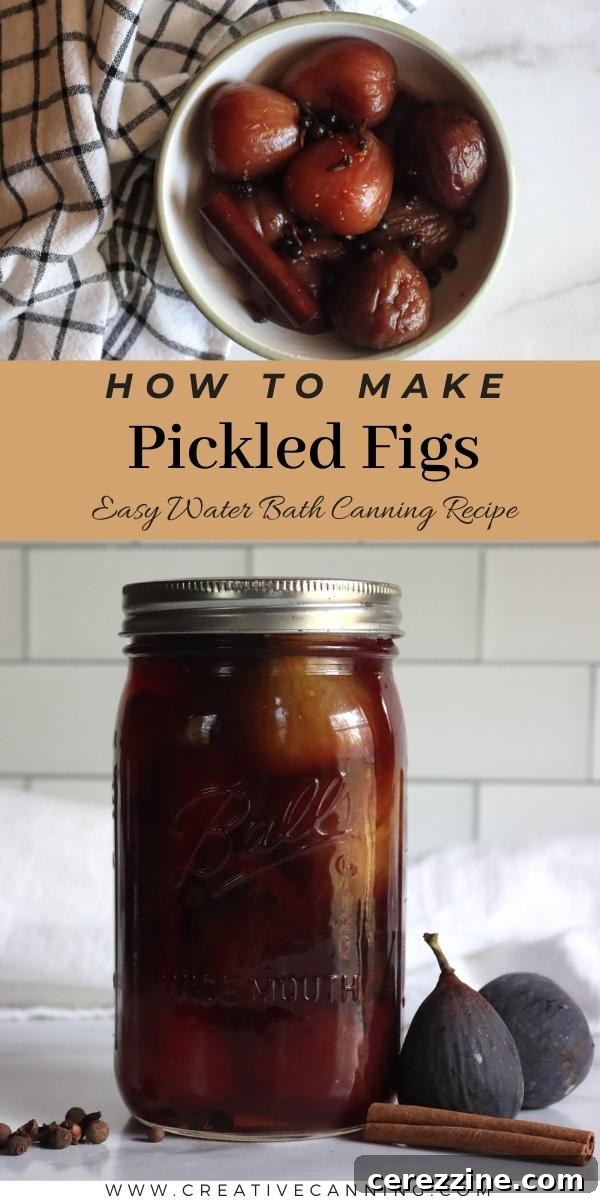
Pickled figs are a cherished, old-fashioned delight that evokes fond childhood memories for many. Infused with the comforting warmth of cinnamon, cloves, and allspice, these sweet and tangy preserves truly taste like a jar of Christmas, ready to brighten any season.
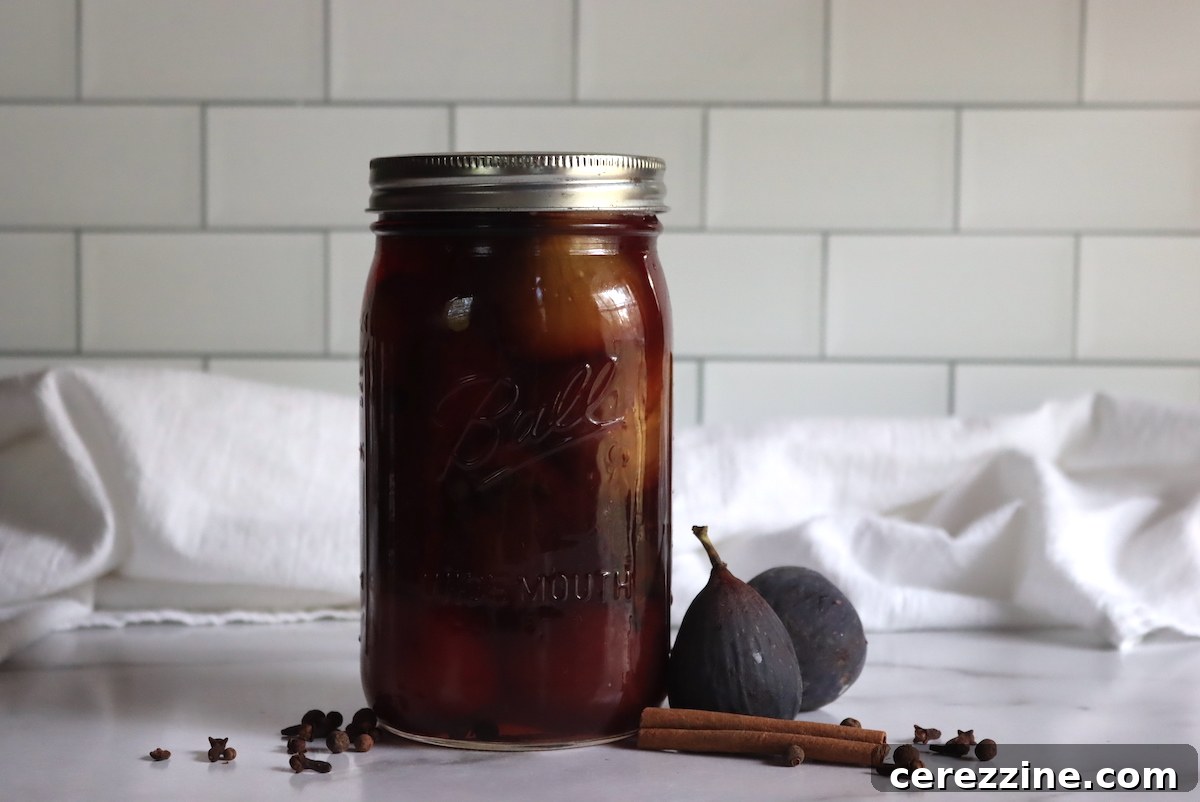
The Enchanting Appeal of Homemade Pickled Figs
While the notion of “pickled figs” might initially sound unconventional, these sweet, savory, and subtly spiced treats are incredibly delicious and uniquely captivating. Fresh figs are naturally low in acid and remarkably high in sugar, which can sometimes result in a sweetness that lacks complexity. This is precisely where the art of pickling transforms the fruit. By introducing the bright, acidic tang of apple cider vinegar, the fig’s inherent sweetness is perfectly balanced, creating a harmonious and truly elevated flavor profile that will surprise and delight your palate.
Unlike traditional savory pickles that make your mouth pucker, pickled figs are crafted to be a sweet indulgence. This recipe incorporates ample sugar, resulting in a luscious, almost candy-like fig experience. The vinegar serves a critical dual purpose: it acts as a powerful, natural preservative, allowing you to enjoy the bountiful harvest of figs long after their short season concludes, and it imparts an intriguing complexity that prevents the fruit from being merely sweet. The interplay of sweet, tart, and aromatic spice notes creates a sophisticated condiment or dessert component that stands out from typical jams and preserves.
What truly sets pickled figs apart and gives them their nostalgic, comforting charm are the warm, aromatic spices. A carefully selected blend of cinnamon sticks, whole cloves, and allspice infuses the figs with a cozy, festive essence that is simply irresistible. Many enthusiasts describe their taste as “Christmas in a jar,” a sentiment that resonates deeply with the spirit of the holidays. Sweet fig-based confections and preserves have historically been a beloved part of festive traditions, and once you experience the delightful taste of homemade pickled figs, they are sure to become a cherished and anticipated staple on your holiday table and throughout the year.
Selecting the Perfect Figs for Pickling Success
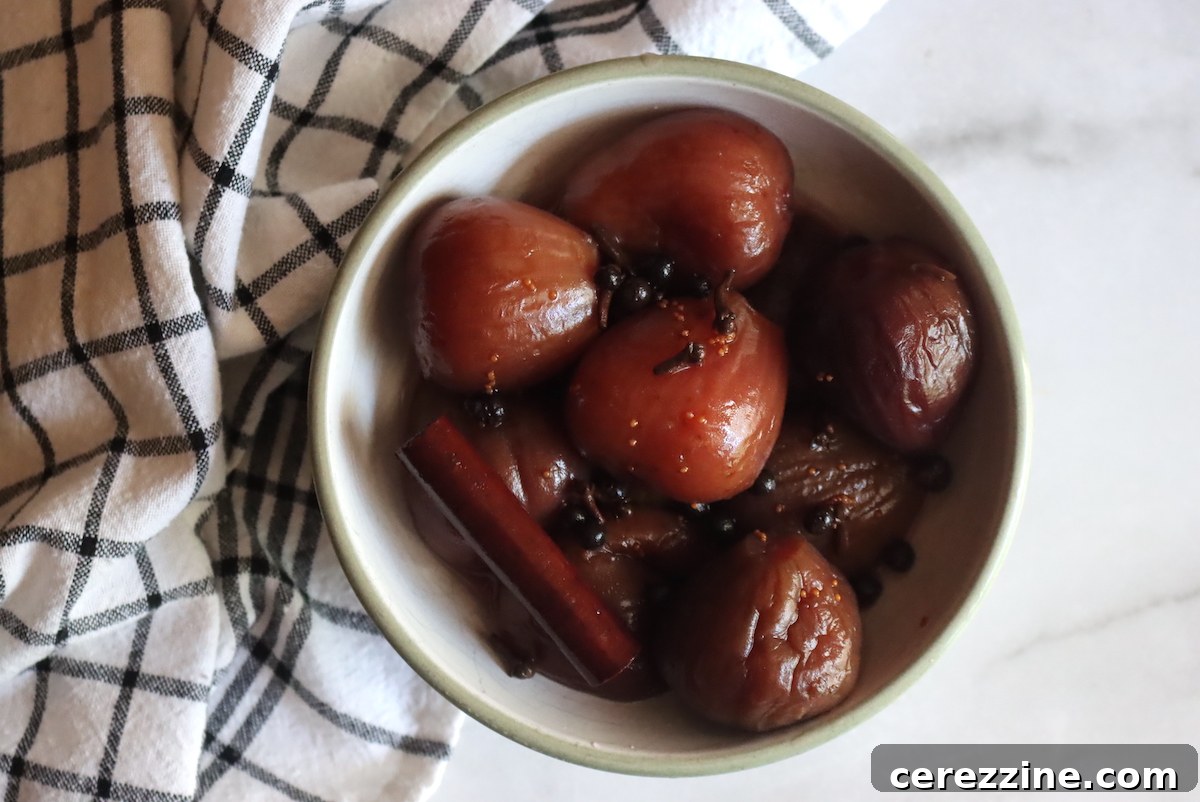
The foundation of an outstanding batch of pickled figs begins with the careful selection of your fruit. For this recipe, aim for firm-ripe figs. They should feel plump and yield slightly to a gentle squeeze, indicating ripeness, but they should not be overly soft, mushy, or bruised. Overripe figs tend to lose their shape and disintegrate during the cooking process, while underripe figs might be too tough, lack their full sweetness, and won’t absorb the pickling syrup effectively.
Many varieties of figs are suitable for pickling, each contributing its own subtle nuances. Common choices include Black Mission figs, known for their deep color and honeyed sweetness; Brown Turkey figs, which are robust and hold their shape well; and Kadota figs, often green, firm, and excellent for maintaining their integrity throughout the pickling process. Regardless of the variety you choose, ensure your figs are free from any blemishes, mold, or insect damage. Freshness is key for both flavor and texture in your final product. Buying figs in season, typically late summer to early fall, guarantees the best quality and flavor for your preserves.
Essential Ingredients for Your Pickled Fig Recipe
Crafting exceptional pickled figs is less about an overly complicated list of exotic ingredients and more about understanding the precise, multi-step process. While the vinegar-to-water ratio, sugar content, and seasoning are undeniably crucial for flavor and safety, the true artistry unfolds in the preparation steps. This recipe is designed to yield approximately 8 pint jars (or 4 quarts) of delectable pickled figs, perfect for sharing or stocking your pantry.
- 4 quarts firm-ripe figs: As previously discussed, selecting plump, firm figs is paramount. This quantity allows for a substantial batch, ideal for canning.
- 5 cups sugar, divided: Sugar plays a multifaceted role here, providing sweetness, contributing to the thick, glossy syrup, and acting as a preservative. Dividing the sugar ensures optimal absorption and helps achieve the desired texture without making the figs overly soft too quickly.
- 2 quarts water (8 cups): This forms the foundational liquid for your pickling syrup, dissolving the sugar and carrying the flavors.
- 2 cinnamon sticks: These provide a warm, sweet, and woody aroma that is quintessential to the “Christmas in a jar” flavor profile. Choose good quality, fresh cinnamon sticks for the best fragrance.
- 1 tablespoon whole allspice: Offering complex notes reminiscent of cloves, cinnamon, and nutmeg, allspice adds significant depth and warmth to the overall spice blend, making the flavor more rounded.
- 1 tablespoon whole cloves: Delivering a pungent, intensely sweet, and aromatic warmth, cloves pair beautifully with figs and other autumnal spices, enhancing the festive character.
- 3 cups vinegar (5% acidity): Apple cider vinegar is highly recommended for its pleasant fruity undertones that wonderfully complement the figs. It is absolutely crucial that your vinegar is standardized to 5% acidity, which is a non-negotiable requirement for safe water bath canning. Distilled white vinegar can also be used for a cleaner, sharper tang, if preferred. Never use vinegars with lower acidity as this can compromise the safety of your canned goods.
It’s tempting to simply glance at an ingredients list and assume the rest of the preparation. However, with pickled figs, the sequential steps and their meticulous execution are paramount. Simply combining figs with a cold brine, as you might for many other types of pickles, will not yield the desired results and, more importantly, could compromise the safety and stability of your preserves. Figs, being naturally low in acid, require a specific, heat-intensive processing method to ensure the vinegar adequately penetrates the fruit, guaranteeing a safe, shelf-stable, and delicious canned product. Therefore, it is absolutely imperative to meticulously follow the detailed instructions provided in the next section.
Crafting Homemade Pickled Figs: A Step-by-Step Guide
Preparing pickled figs is a methodical process that ensures both a delectable flavor and safe, long-term preservation. Follow these steps carefully to create your own batch of this timeless and delicious treat, paying close attention to each detail.
- Prepare the Figs: Peeling or Soaking for Optimal Texture and Flavor
Your first crucial step involves preparing the figs. Figs contain a milky sap that can impart a bitter taste, and their skins can sometimes be quite tough or fibrous. You have two primary options, depending on the fig variety and its ripeness:
- Peel the figs: This method works best for very firm figs with noticeably thicker skins, such as some green fig varieties, especially if they are slightly underripe. If the skins come off easily with a paring knife and the figs appear to hold their shape well, peeling is a straightforward and effective choice.
- Pour boiling water over unpeeled figs and soak: For more delicate figs with thinner skins, such as Black Mission figs, or if you find peeling to be difficult, it’s best to leave the skins on. Place the unpeeled figs in a large, heatproof bowl or pot, then cover them completely with freshly boiled water. Allow them to stand in this hot water until it cools down to room temperature. This soaking process effectively leaches out the bitter sap from beneath the skin and gently softens the fig skins, making them more tender and allowing the pickling brine to penetrate more thoroughly during later steps. Drain the figs thoroughly after soaking.
- Initiate the Sugar Syrup: The Foundation of Flavor
In a large, heavy-bottomed stockpot or a spacious Dutch oven, combine 3 cups of sugar (note that this is only a portion of the total sugar required for the recipe) with 2 quarts (equivalent to 8 cups) of water. Place the pot over medium-high heat and bring this mixture to a rolling boil. Stir the mixture occasionally but thoroughly until all the sugar is completely dissolved, forming a clear, smooth syrup. This initial syrup will gently cook the figs and begin the flavor infusion process.
- Gentle Simmering of Figs: Preserving Shape and Texture
Carefully add the prepared figs (either peeled or soaked and drained) into the boiling sugar syrup. Once the figs are in, reduce the heat significantly to a gentle simmer. Allow the figs to simmer quietly for approximately 30 minutes. During this stage, the figs will begin to cook through, soften slightly, and gradually become more translucent. It is vitally important to avoid stirring them frequently or vigorously during this simmering period, as this can cause the delicate figs to break apart and lose their attractive whole shape.
- Introduce Remaining Sugar and Vinegar: Balancing Sweetness and Tang
After the initial 30 minutes of simmering, carefully add the remaining 2 cups of sugar along with the full 3 cups of vinegar to the pot. Stir the mixture very gently to ensure that the newly added sugar dissolves completely and the vinegar is evenly distributed throughout the syrup. The addition of vinegar at this stage is absolutely critical for both food safety (by increasing the overall acidity) and for developing the complex, tangy flavor of the pickled figs. It allows the vinegar to slowly infuse into the cooked figs.
- Spice Infusion: Unleashing Aromatic Warmth
Gather your cinnamon sticks, whole allspice, and whole cloves. Tie these dry whole spices securely into a small piece of cheesecloth to create a neat spice bag. Add this spice bag directly to the simmering fig mixture in the pot. Using a cheesecloth bag is a clever technique that allows for maximum flavor extraction from the spices while enabling easy removal later, preventing any gritty texture or pieces of whole spice from remaining in your finished pickled figs.
- Final Simmer for Transparency: Achieving the Perfect Pickled Fig
Return the mixture to a gentle simmer and continue to cook for another 15 to 20 minutes, or until the figs appear fully transparent and deeply infused with the syrup. The sugar in the syrup will help the figs remain firm yet tender, but it is still advisable to avoid excessive stirring. Keep the heat consistently low to prevent the syrup from scorching or burning. Once the figs reach the desired translucent appearance and tender texture, turn off the heat and carefully remove the spice bag from the pot.
- The Essential 24-Hour Infusion: A Critical Step for Flavor and Texture
***This step is absolutely critical for optimal flavor development, fruit texture, and proper syrup absorption: Cover the pot containing the figs and syrup, and let them stand undisturbed for a full 24 hours.***
You have a couple of options for this prolonged resting period: you can leave the covered pot on your stove at room temperature, provided your kitchen environment is cool and stable. However, if kept at room temperature, do not extend this resting period beyond 24 hours. For more flexibility, especially if you have a busy schedule, you can safely refrigerate the covered pot for 2-3 days before proceeding with the canning process. This extended rest period is where the magic truly happens. It allows the figs to fully absorb the flavorful syrup, plump up beautifully, and develop their characteristic chewy yet tender texture, making an immense difference in the quality of the final pickled product.
- Prepare for Canning or Refrigeration: Your Choice for Preservation
The next day, after the figs have completed their essential 24-hour infusion and have rested sufficiently, it’s time to prepare for either long-term canning or immediate refrigeration. If you prefer to enjoy your pickled figs sooner and don’t require shelf-stable storage, you can simply pack the cooled pickled figs into clean, airtight jars and store them in the refrigerator. These “fridge pickles” will maintain excellent quality for several months under refrigeration, though they will, of course, occupy valuable fridge space.
Water Bath Canning Pickled Figs for Shelf-Stable Storage
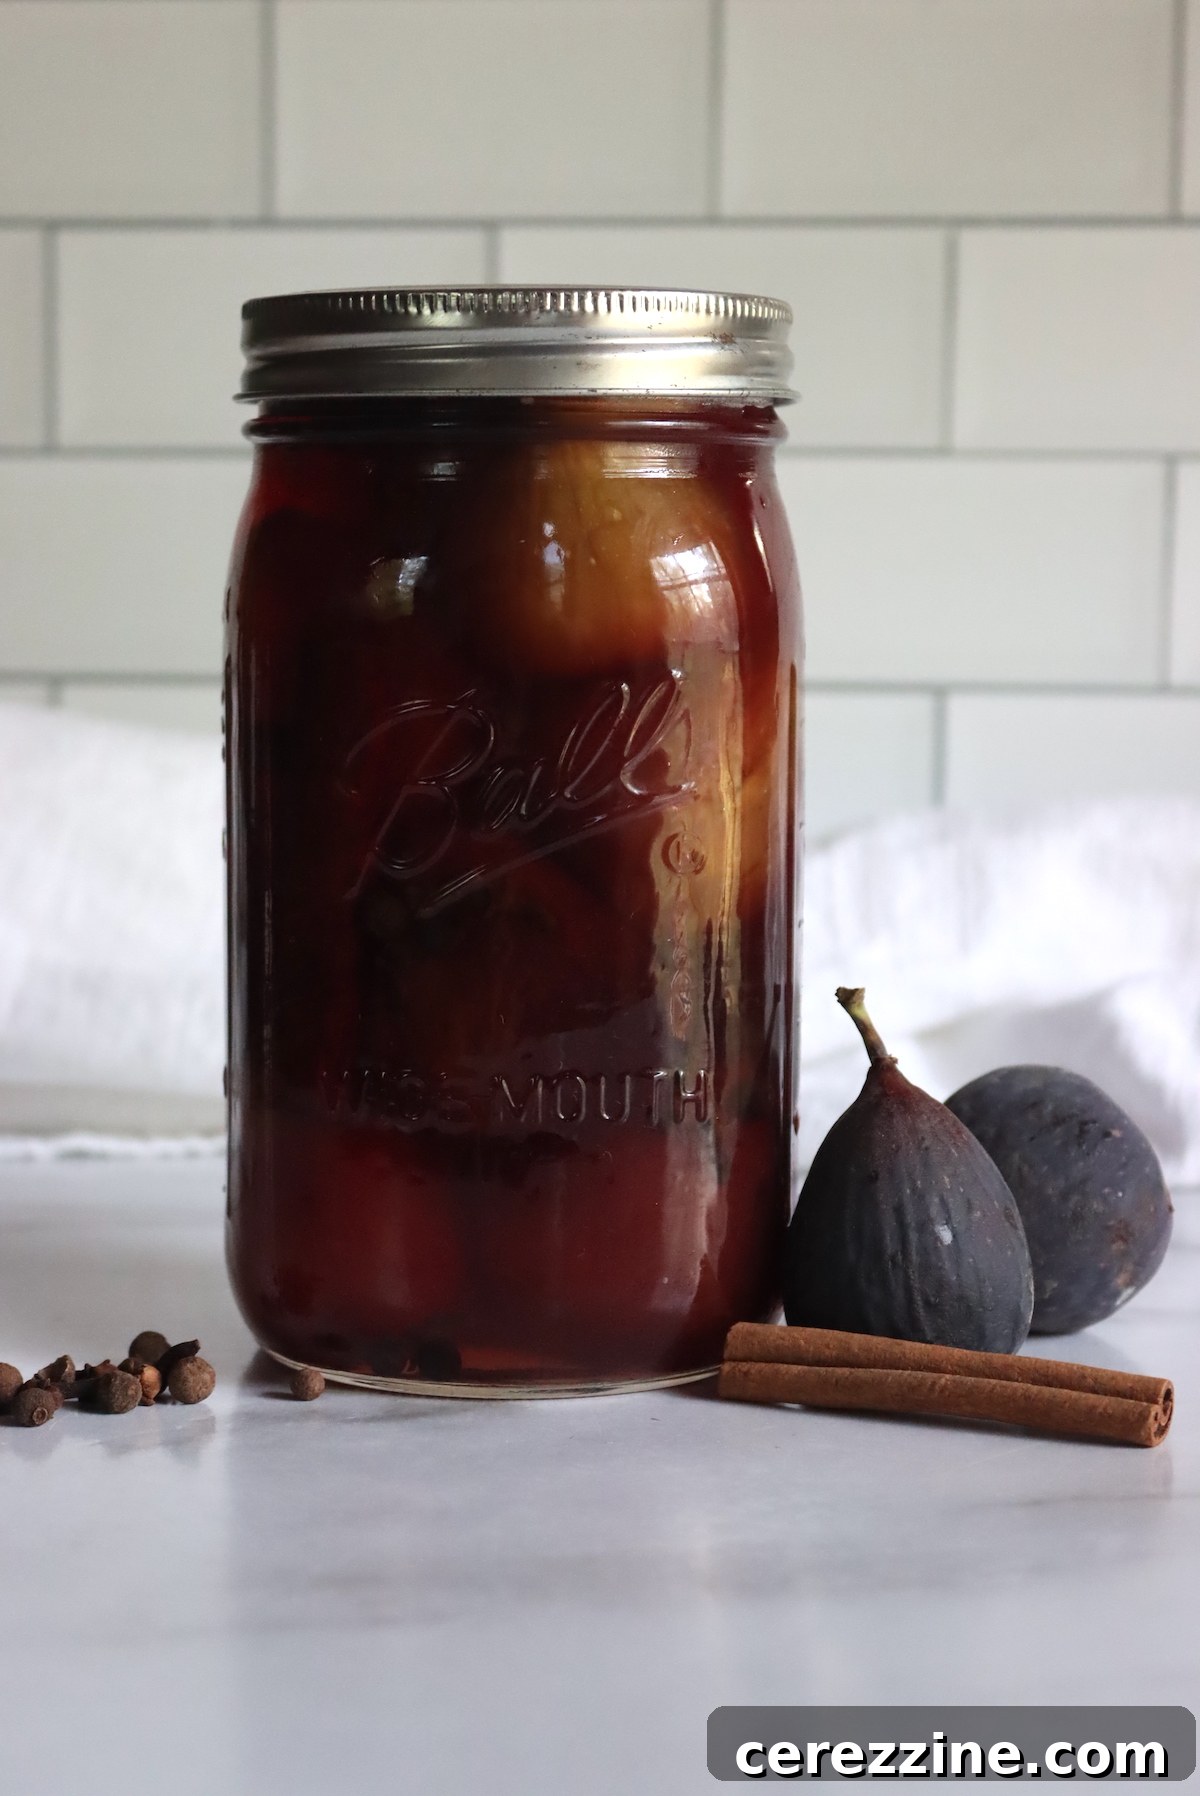
For long-term, pantry-stable storage, water bath canning is the proven and recommended method for preserving your delicious pickled figs. This process ensures food safety by creating a vacuum seal and significantly extends the shelf life of your preserves.
- Prepare Your Canning Equipment Meticulously:
Before you begin the canning process, ensure all your equipment is thoroughly prepared. Fill your water bath canner with enough water to cover your jars by at least one inch once they are submerged. Place it on the stove and heat the water to a gentle simmer (around 180°F or 82°C). Wash your canning jars (pint or quart sizes are ideal for this recipe) and their two-part lids (flats and screw bands) thoroughly with hot, soapy water. Keep the empty jars hot in the canner or a separate pot of hot water to prevent thermal shock, which could cause them to crack, when you fill them with hot figs. New canning lids (the flat inserts) should be warmed according to the manufacturer’s instructions, typically in simmering water; screw bands can be reused indefinitely as long as they are in good condition.
- Reheat Figs and Fill Hot Jars:
Return the entire fig mixture (figs and syrup) to the stove and gently reheat it to just barely simmering. Once simmering, carefully pack the hot figs into the hot, prepared canning jars. Leave a precise 1/2 inch of headspace, which is the empty space between the top of the food (figs and syrup) and the very rim of the jar. This specific headspace is crucial for proper vacuum sealing and prevents siphoning during processing.
- De-bubble, Adjust, and Ensure a Clean Seal:
Using a non-metallic tool, such as a plastic spatula or a dedicated de-bubbler tool, gently slide it around the inside of each jar, between the food and the glass. This action releases any trapped air bubbles, which can prevent a proper seal. If necessary, after de-bubbling, add a little more hot syrup to restore the 1/2 inch headspace. Next, thoroughly wipe the rims of the jars with a clean, damp cloth or paper towel to remove any food particles, syrup residue, or fingerprints that could interfere with the lid’s ability to seal properly. Center a warmed canning lid (the flat sealing disc) on each jar, then apply a screw band and tighten it “finger-tight” – this means tightening just until resistance is met, without overtightening, which can actually prevent a seal from forming.
- Process Jars in the Water Bath Canner:
Carefully lower the filled and lidded jars into the simmering water bath canner, ensuring they are fully submerged under at least one inch of water. Place the canner lid on. Bring the water in the canner back to a rolling boil. Once the water is boiling vigorously, begin your processing time. Process pint jars for 15 minutes, and quart jars for 20 minutes. Remember that processing times must be adjusted for your specific altitude if you live above 1,000 feet (consult a reliable canning guide, such as those from the USDA or university extension, for precise altitude adjustments).
- Cool Jars and Check Seals:
Once the processing time is complete, turn off the heat source and carefully remove the canner lid. Allow the jars to rest undisturbed in the hot water within the canner for 5 minutes. This helps to equalize the temperature and prevent siphoning. After 5 minutes, carefully lift the jars out of the canner using a jar lifter and place them upright on a clean towel or cooling rack on your counter. Ensure there is adequate space between the jars for air circulation. Let them cool completely, undisturbed, for 12 to 24 hours. As they cool, you should hear a distinctive “ping” sound as the lids seal. After cooling completely, check the seals: the center of each lid should be concave (curved inwards) and should not flex or move when pressed. If any jars have not sealed properly, store them immediately in the refrigerator for prompt consumption.
Properly canned and sealed jars of pickled figs will maintain their peak quality on the pantry shelf in a cool, dark place for up to 18 months, and they will remain safe to eat for even longer. Once a jar has been opened, always remember to refrigerate any remaining pickled figs to ensure freshness and prevent spoilage.
Creative Culinary Uses for Your Pickled Figs
Beyond being a delightful standalone snack or a unique addition to your breakfast toast, pickled figs offer incredible versatility in the kitchen. Their unique sweet, tangy, and spicy flavor profile makes them a fantastic accompaniment to a wide variety of dishes, both sweet and savory:
- Elevate Cheese Boards and Charcuterie Platters: The vibrant and complex flavor of pickled figs pairs exceptionally well with a range of cheeses, from creamy goat cheese and delicate brie to sharp cheddar and pungent blue cheese. They add a sophisticated, gourmet touch and a burst of unexpected flavor to any appetizer or grazing board.
- Dessert Enhancements: Spoon these luscious figs generously over scoops of vanilla bean ice cream, plain Greek yogurt, or a silky panna cotta for an instant upgrade. For baking enthusiasts, chopped pickled figs can be incorporated into cakes, tarts, muffins, or even a simple pound cake batter for a burst of unique flavor and moist texture.
- Savory Culinary Pairings: Do not limit these delights to sweet applications! Pickled figs are surprisingly excellent alongside roasted meats such as tender pork loin, succulent chicken, or rich duck breast. They can be pureed or chopped and added to glazes for ham or duck, or simply served as a vibrant relish with grilled fish or lamb. They also make a fantastic accompaniment to pâté.
- Breakfast and Brunch Indulgences: Serve them as a sophisticated alternative to maple syrup with fluffy pancakes, crispy waffles, or golden French toast. They are also incredibly delicious stirred into warm oatmeal, overnight oats, or even blended into a morning smoothie for an extra layer of flavor and nutrition.
- Gourmet Salad Additions: Chop the pickled figs and toss them into a mixed green salad. They pair beautifully with ingredients like crumbled goat cheese, toasted walnuts or pecans, and a light vinaigrette, adding an explosion of flavors and textures that will elevate any simple salad into a gourmet experience.
More Fig Canning & Preservation Recipes
Explore More Pickled Fig Varieties and Tips
Canning Figs in Light Syrup: A Classic Method
Classic Fig Jam Recipe for Sweet Spreads
Other Fantastic Ways to Preserve Figs
If you find yourself with an abundance of fresh figs and are eager to explore more preservation techniques beyond pickling, here are some excellent options to extend the enjoyment of your fig harvest:
- Dehydrating Figs for Sweet Snacks and Baking
- Freeze Drying Figs: An Innovative Approach to Long-Term Storage
- Freezing Figs for Future Culinary Creations and Smoothies
- Fig Jelly (Recipe Coming Soon!)
- Homemade Fig Syrup (Recipe Coming Soon!)
- Savory Fig Chutney (Recipe Coming Soon!)
Pickled Figs Recipe Card
Author: Ashley Adamant
Summary: This recipe for pickled figs takes the sweet, rich flavor of fresh figs and expertly balances it with a blend of warm spices and a delightful vinegar tang. The result is a perfectly balanced seasonal snack or condiment that truly captures the essence of Christmas in a jar.
Preparation & Cooking Times:
- Prep Time: 1 hour
- Cook Time: 1 day (this includes the crucial 24-hour standing period)
- Canning Time (Optional): 15-20 minutes (for pints or quarts, adjust for altitude)
- Total Time: Approximately 1 day, 1 hour, and 15-20 minutes
Yields: Approximately 32 servings, resulting in 8 pint jars or 4 quart jars
Equipment You’ll Need:
- Water Bath Canner (essential if you plan to can for shelf-stable storage)
- Large Stockpot or Dutch Oven
- Canning Jars (Pint or Quart sizes) with Lids and Screw Bands
- Cheesecloth (for the spice bag)
- Non-metallic spatula or de-bubbler tool
- Jar Lifter
Ingredients:
- 4 quarts firm-ripe figs
- 5 cups granulated sugar, divided
- 2 quarts water (equivalent to 8 cups)
- 2 whole cinnamon sticks
- 1 tablespoon whole allspice berries
- 1 tablespoon whole cloves
- 3 cups vinegar (must be 5% acidity, apple cider vinegar recommended)
Instructions:
- Prepare Figs: Peel figs if they are very firm and have thick skins. If figs are delicate or thin-skinned, leave them unpeeled; instead, place them in a bowl and pour boiling water over them. Let stand until the water cools to room temperature, then drain well. This step removes bitter sap and softens skins.
- Begin Syrup: In a large stockpot or Dutch oven, combine 3 cups of sugar and 2 quarts of water. Bring the mixture to a boil over medium-high heat, stirring until the sugar is completely dissolved.
- Simmer Figs in Syrup: Carefully add the prepared figs to the boiling syrup. Reduce the heat to a gentle simmer and cook for 30 minutes. Try not to stir the figs during this time to help them maintain their shape.
- Incorporate Remaining Sweetness & Acidity: After 30 minutes, gently stir in the remaining 2 cups of sugar and the 3 cups of vinegar. Continue stirring until the sugar dissolves and the vinegar is well distributed.
- Add Spices: Place the cinnamon sticks, whole allspice, and whole cloves into a small piece of cheesecloth, tying it securely to form a spice bag. Add this spice bag to the simmering pot with the figs.
- Final Simmer: Continue to gently simmer the mixture for another 15 to 20 minutes, or until the figs appear translucent. Turn off the heat and carefully remove the spice bag.
- Crucial 24-Hour Infusion: Cover the pot and allow the figs to stand in the syrup for a full 24 hours. They can be left covered on the stove at room temperature for this period, or refrigerated for up to 2-3 days if preferred for scheduling convenience. This step is essential for maximum flavor absorption and optimal texture.
- Prepare for Canning or Refrigeration: The next day, after the figs have infused, prepare your water bath canner and sterilize your jars if you plan to can. Alternatively, you can pack the cooled figs into clean jars and store them as “fridge pickles” in the refrigerator for several months.
- Reheat & Pack Jars for Canning: Return the figs and syrup to the stove and heat to just barely simmering. Carefully pack the hot figs into hot, prepared jars, leaving exactly 1/2 inch of headspace.
- Ensure Proper Seal: Using a non-metallic tool, remove any air bubbles from the jars. Adjust headspace if needed by adding more hot syrup. Wipe the rims of the jars thoroughly with a clean, damp cloth. Center a warmed lid on each jar, then apply a screw band and tighten it “finger-tight.”
- Water Bath Process: Carefully place the filled jars into the water bath canner, ensuring they are covered by at least 1 inch of water. Bring the water to a rolling boil. Process pint jars for 15 minutes or quart jars for 20 minutes, remembering to adjust processing time for your altitude (if applicable).
- Cool & Check Seals: After processing, turn off the heat and remove the canner lid. Let jars rest in the hot water for 5 minutes. Then, carefully lift jars out and place them on a clean towel on your counter, allowing them to cool undisturbed for 12-24 hours. Check seals once completely cool (lids should be concave and not flex).
- Storage Guidelines: Store any unsealed jars in the refrigerator for immediate use. Properly canned and sealed jars of pickled figs will maintain peak quality on a cool, dark pantry shelf for 18 months, and remain safe to eat for much longer.
- Refrigerate After Opening: Once an opened jar, always store any remaining pickled figs in the refrigerator.
Important Notes for Success:
- Process is Key: It is crucial to follow the multi-step cooking and soaking process outlined in this recipe. Do not attempt to simply combine figs and brine in a jar without proper pre-processing. This method is essential for ensuring food safety and achieving the superior quality of the finished product.
- Vinegar Acidity: Always use vinegar that is standardized to 5% acidity for any canning recipe. While apple cider vinegar is often preferred for its complementary flavor with figs, distilled white vinegar can also be safely used.
- Spice Flexibility: The dry whole spices in this recipe can be adjusted, substituted, or omitted according to your personal taste preferences. However, it is critically important that you do NOT alter the specified amounts of sugar or vinegar, as these ingredients are precisely measured for the safe canning and preservation of this recipe.
Estimated Nutrition Facts (per serving):
- Calories: 214 kcal
- Carbohydrates: 54g
- Protein: 1g
- Fat: 0.5g
- Saturated Fat: 0.1g
- Polyunsaturated Fat: 0.2g
- Monounsaturated Fat: 0.1g
- Sodium: 5mg
- Potassium: 280mg
- Fiber: 4g
- Sugar: 50g
- Vitamin A: 170 IU
- Vitamin C: 2mg
- Calcium: 49mg
- Iron: 1mg
Nutrition information is automatically calculated based on ingredients and serves as an approximation only. Actual values may vary.
This is a thoroughly tested canning recipe, meticulously adapted from the authoritative guide “So Easy to Preserve” by the University of Georgia cooperative extension. This ensures the reliability and safety of your home canning efforts, allowing you to preserve with confidence.