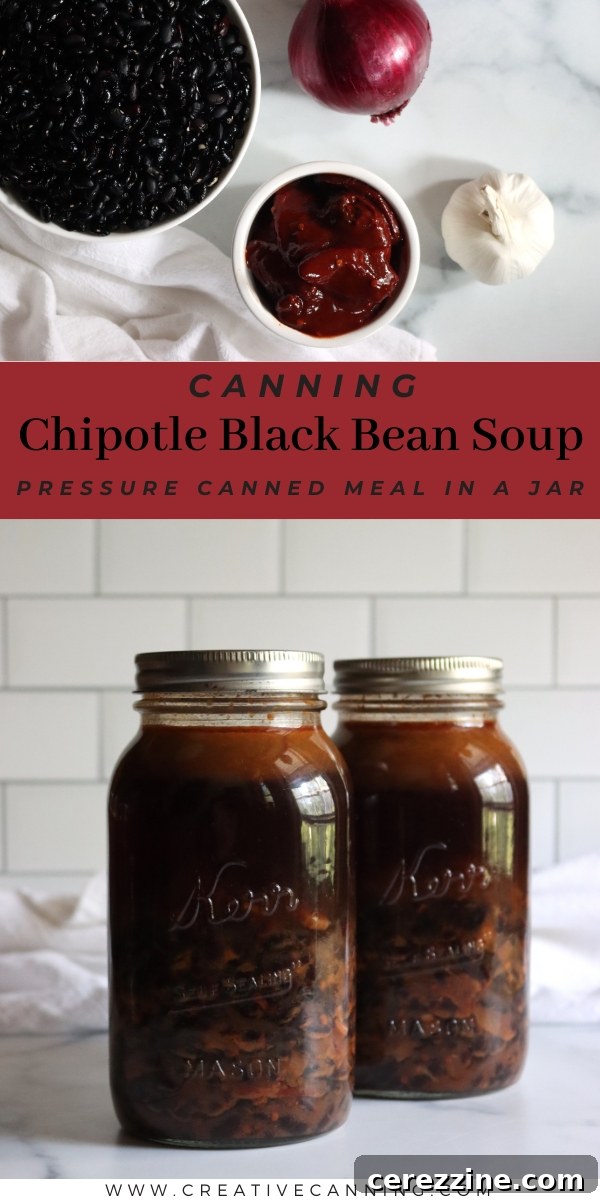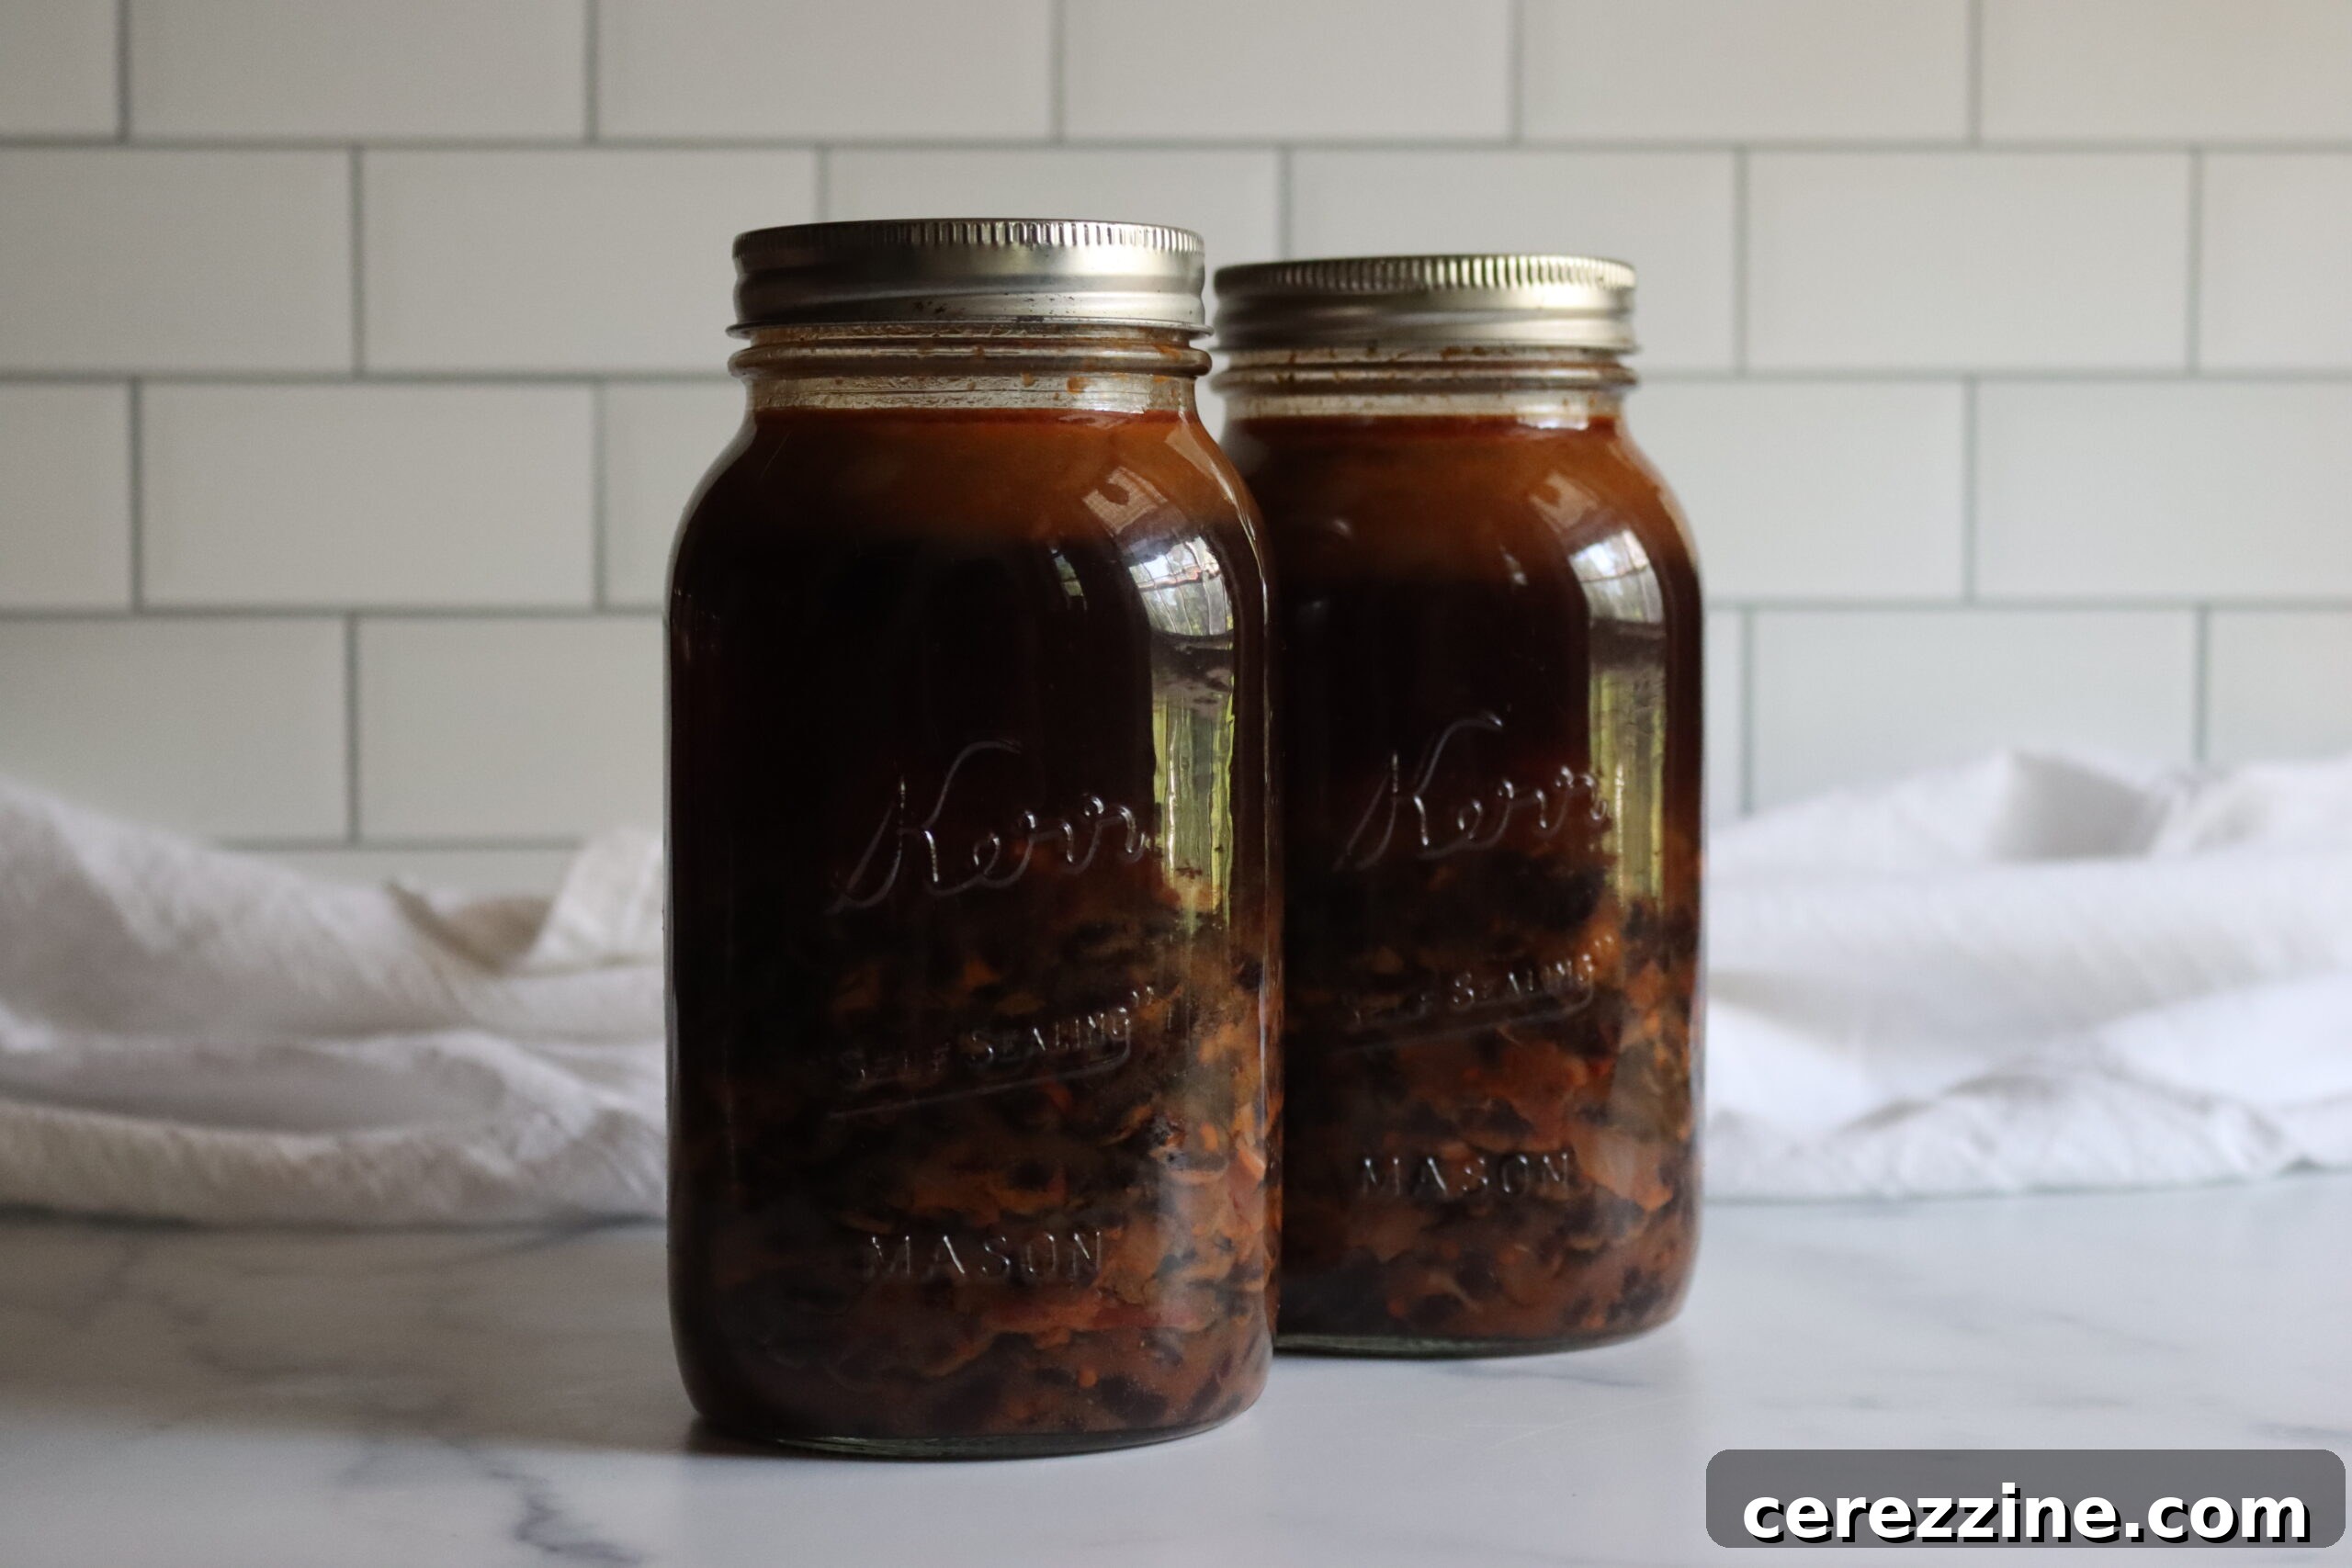
In the realm of home food preservation, few methods offer the convenience and satisfaction of canning a hearty, homemade soup. Among the most cherished recipes for a well-stocked pantry is a robust black bean soup, and this particular rendition, featuring the distinctive smoky notes of chipotle, stands out as a true family favorite. Imagine having a wholesome, protein-rich meal ready to heat and enjoy on even the busiest of days. This Chipotle Black Bean Soup is not just easy to prepare for canning; it’s an exceptionally satisfying vegetarian option that meat-eaters will also adore, never missing a thing.
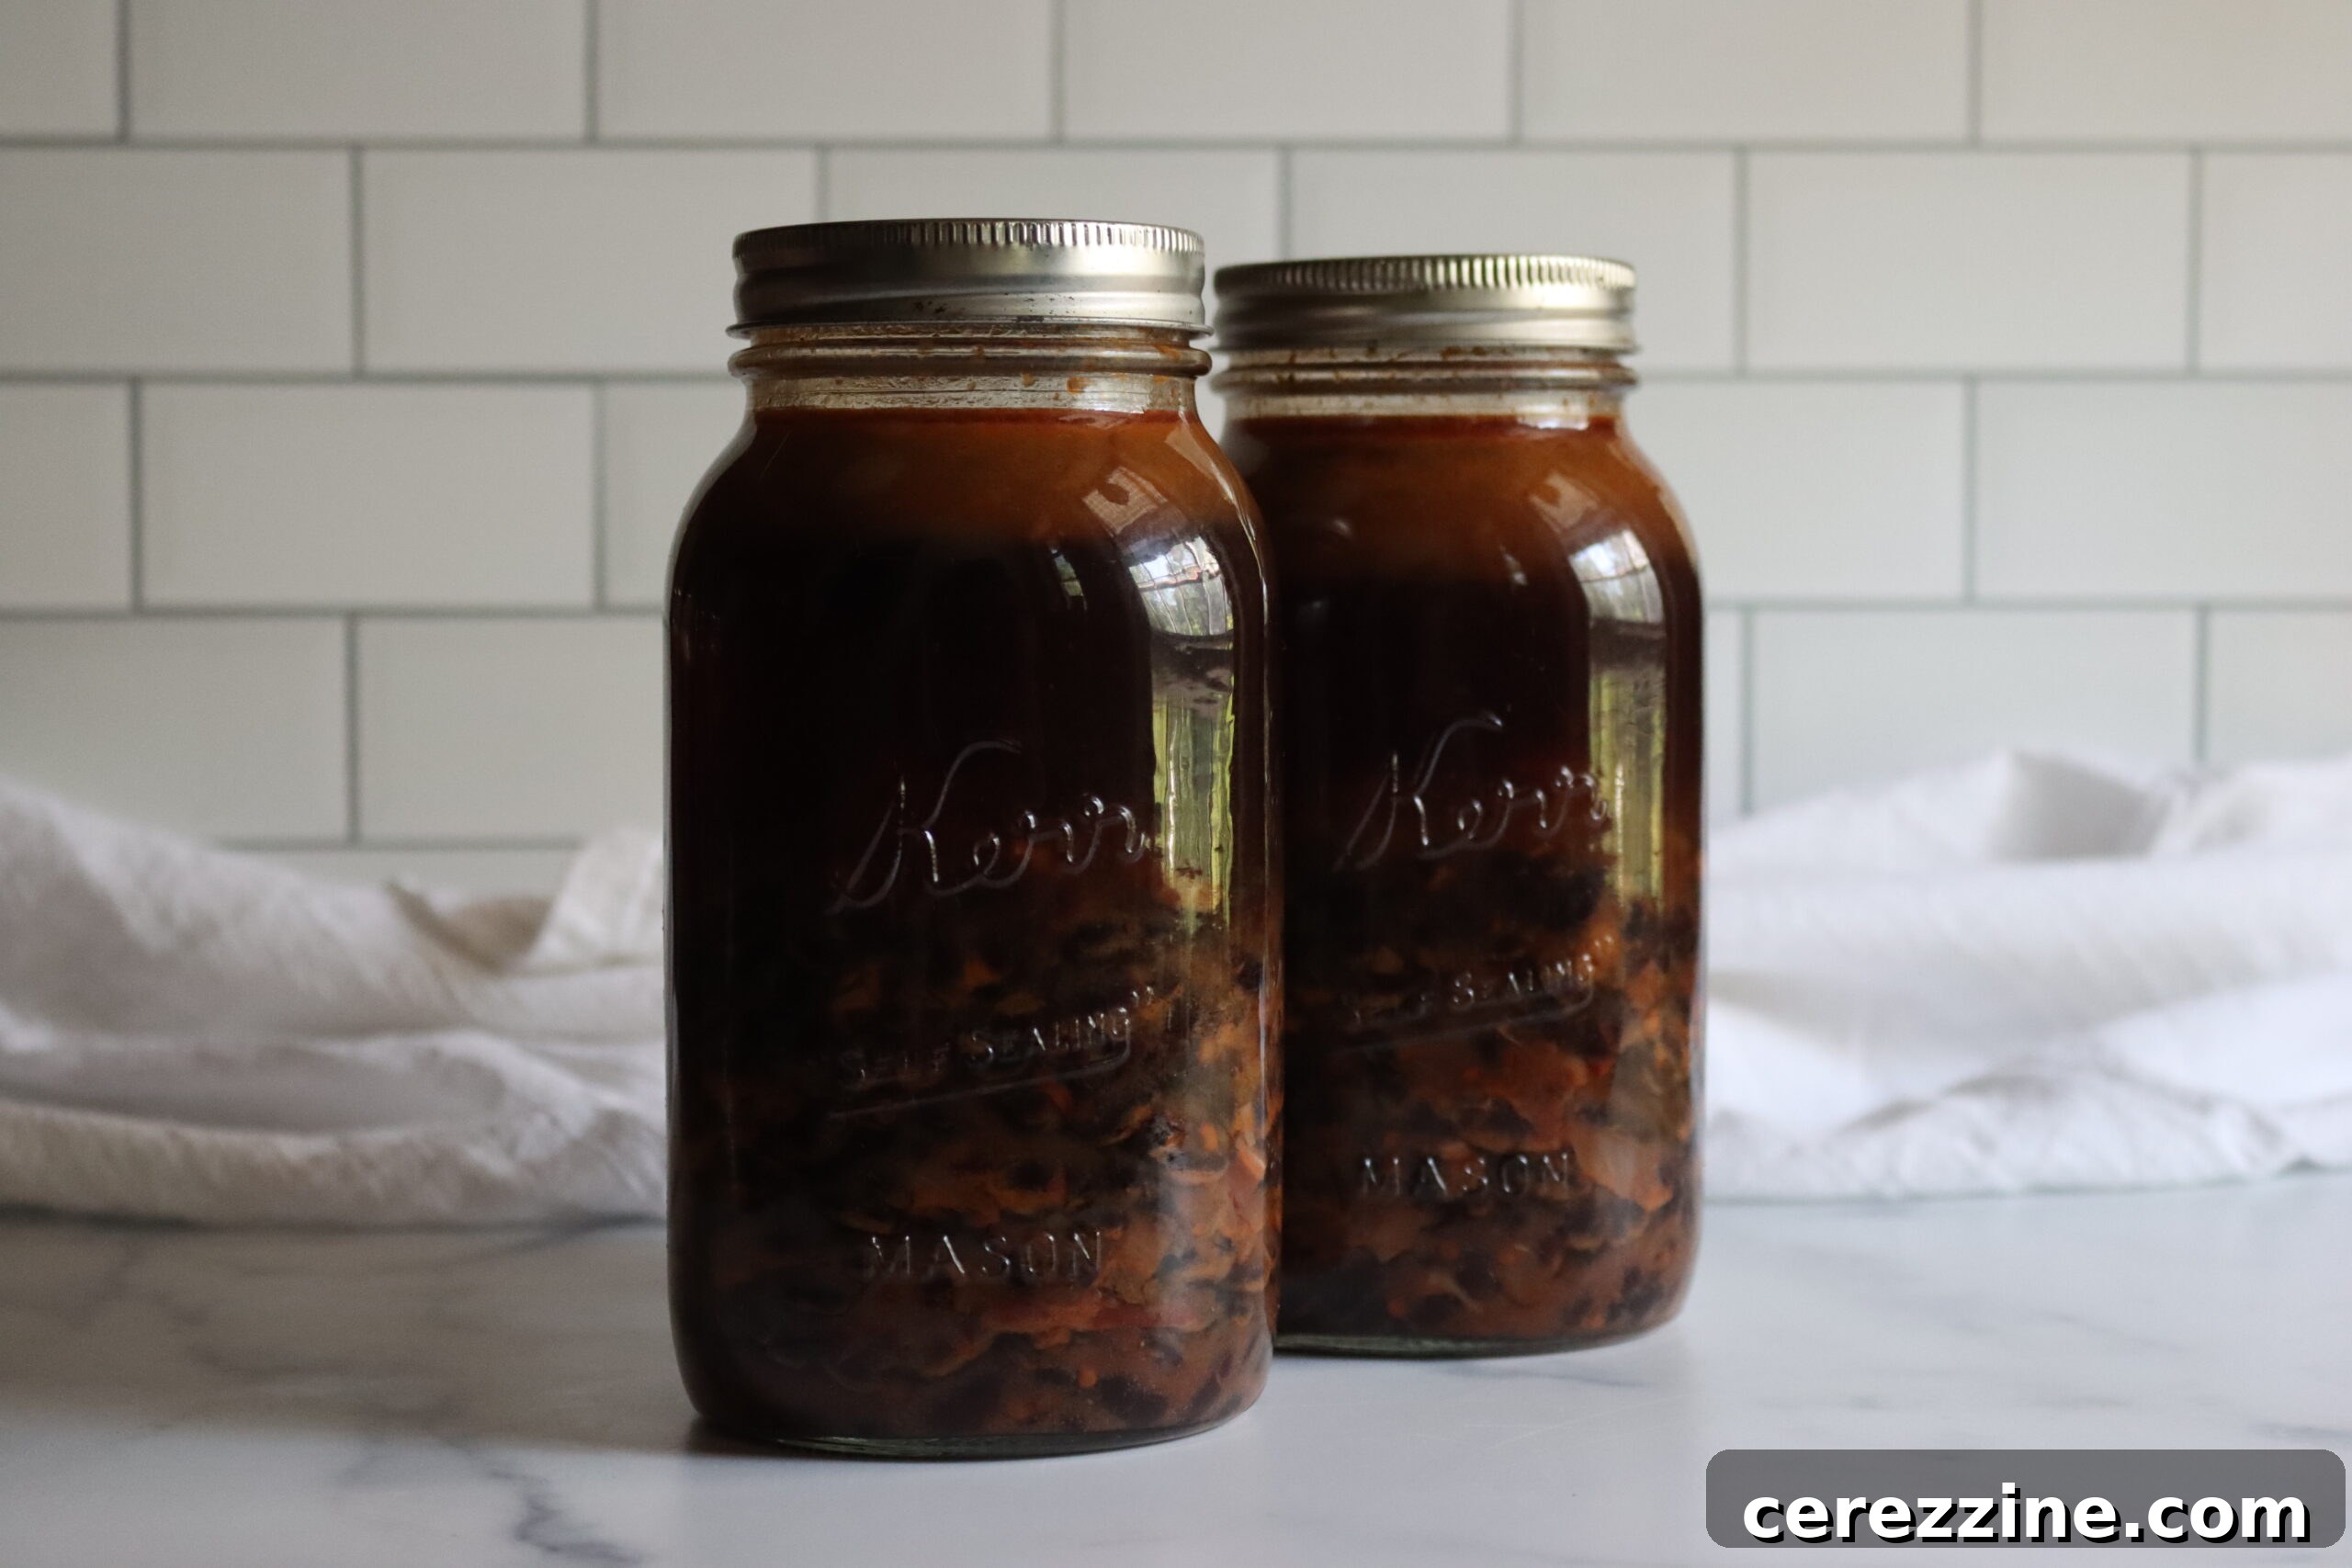
Black bean soup is a versatile dish, offering endless possibilities for flavor customization. This recipe harnesses the power of chipotles in adobo sauce to infuse a remarkable smokiness and a gentle warmth, creating a depth of flavor that is both comforting and exciting, without being overwhelmingly spicy. The beauty of this recipe lies in its adaptability and its transformation into a shelf-stable meal through the art of pressure canning.
When it comes to canning black bean soup, adherence to tested, safe methods is paramount. Historically, a foundational recipe for canning black bean soup originated from a University Extension in California, known as “Cuban Black Bean Soup.” While delicious, this traditional recipe typically includes smokey pork, making it unsuitable for vegetarians or vegans. For those seeking plant-based options in their home canning endeavors, finding thoroughly tested vegetarian soup canning recipes can sometimes be a challenge.
This recipe builds upon that well-established canning framework, meticulously adapting it with approved canning substitutions. By omitting the meat and carefully adjusting the spices, we’ve crafted a delightful vegan black bean soup recipe that remains completely safe for pressure canning, strictly adhering to all USDA guidelines. This ensures that you can confidently preserve this flavorful soup, providing nutritious, ready-to-eat meals for months to come. The emphasis on safety and quality allows home canners to enjoy the benefits of homemade convenience without compromise.
Ingredients for Canning Chipotle Black Bean Soup
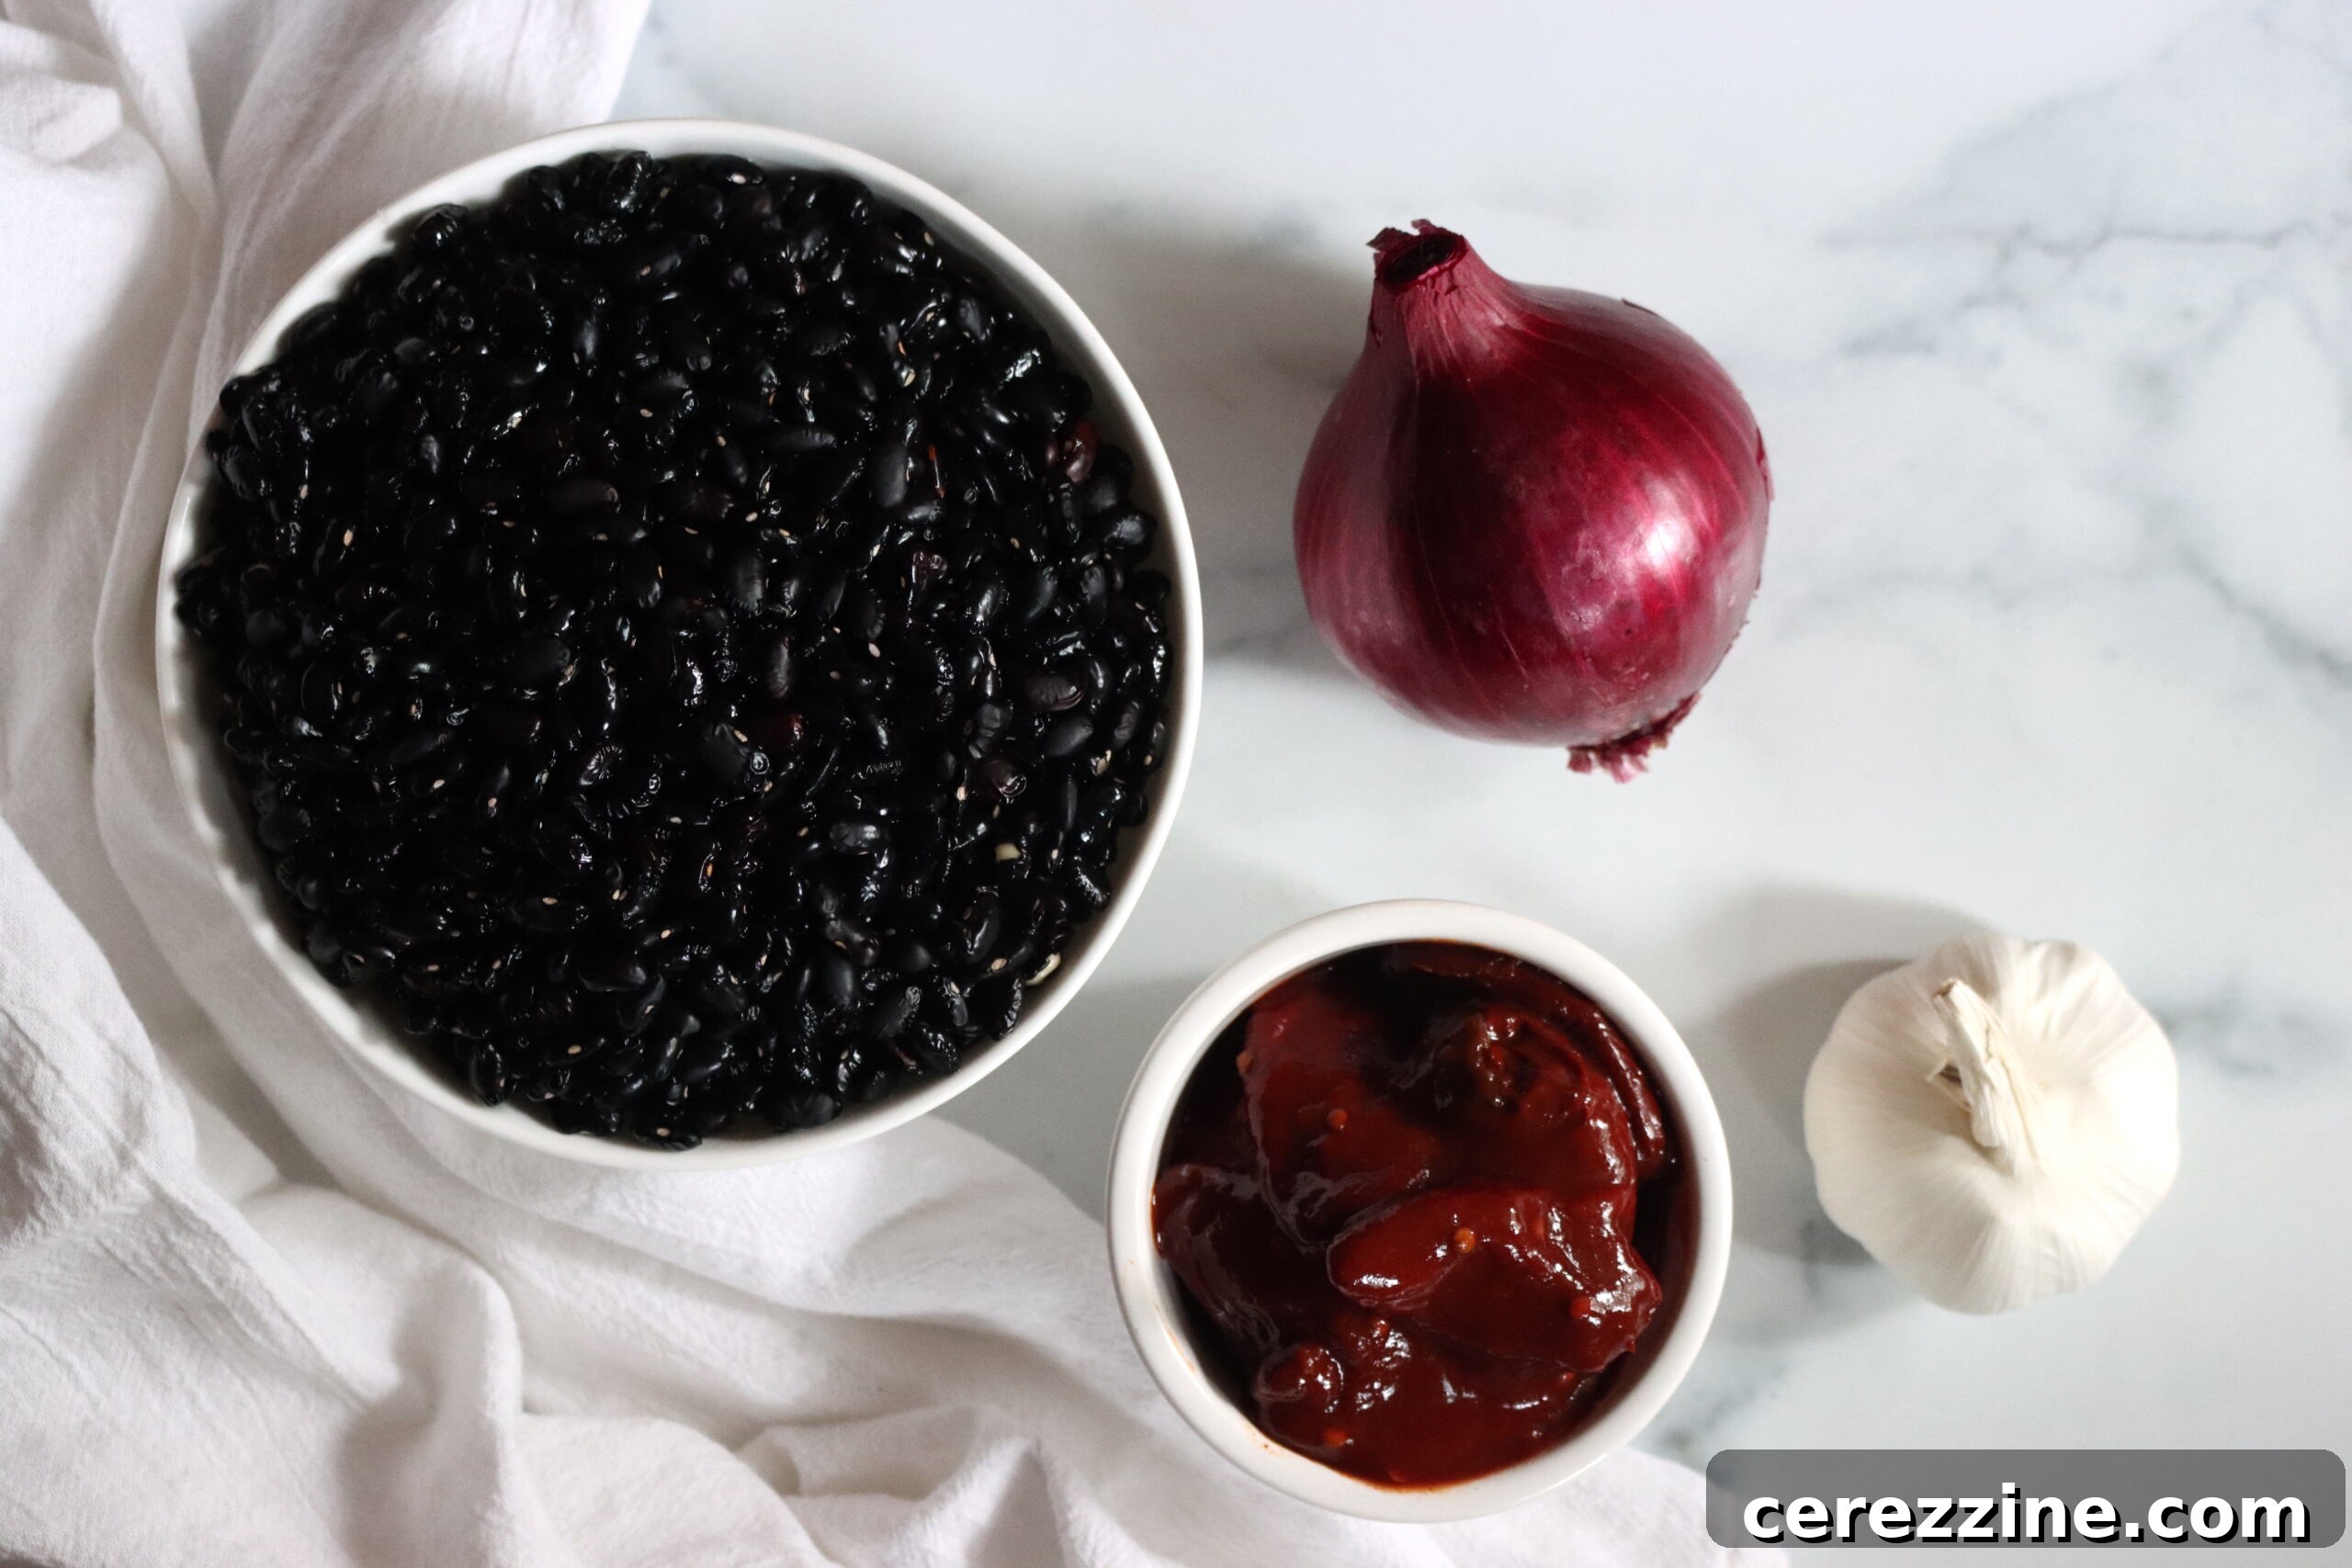
To prepare a canner batch yielding approximately 7 quarts of this savory black bean soup, gather the following high-quality ingredients:
- 2 pounds dried black beans (approximately 5 cups)
- 2 cups onions, chopped (about 250 g)
- 1 can (7 ounces) chipotles in adobo sauce (typically 6 to 8 chipotles and 2 to 4 tablespoons of adobo sauce)
- 6 tablespoons garlic, minced or finely chopped
- 2 tablespoons cooking oil (such as olive oil or vegetable oil)
- 1 ½ tablespoons salt (preferably canning or kosher salt)
- 1 ½ tablespoons ground cumin
- 1 tablespoon dried oregano
- ¼ cup red wine vinegar or apple cider vinegar
- 16 cups vegetable broth (low sodium is recommended for better flavor control)
- Water (for soaking beans and topping off jars as needed)
One of the advantages of this recipe is its flexibility. Feel free to adjust the spices to match your family’s preferences. If you prefer a milder flavor, or simply want to add more texture, regular diced bell peppers can be substituted for some or all of the chipotles in adobo. For those not strictly adhering to a vegetarian diet, a meat-based stock or broth can easily replace the vegetable broth without affecting the canning time. Surprisingly, black beans require a longer processing time in the pressure canner than most meats, so the type of broth used does not alter the safety critical canning duration.
The addition of vinegar in this canning recipe serves primarily as a flavor enhancer, providing a bright, acidic counterpoint that truly rounds out the rich, earthy notes of the black bean soup. While it contributes to the overall taste profile, it is not critical for the preservation safety of this low-acid food, which is achieved through pressure canning. If you prefer, it can be omitted, but its inclusion is highly recommended for a more complex and balanced flavor.
Preparing Chipotle Black Bean Soup for Canning
Proper preparation is key to both the flavor and safety of your home-canned soup. Begin by thoroughly washing and sorting your dried black beans, discarding any small stones or shriveled beans. Place the sorted beans in a large pot and cover them with 12 cups (3 quarts) of water. Bring the water to a rolling boil and maintain the boil for 2 minutes. After 2 minutes, remove the pot from the heat and let the beans stand, covered, for at least 1 hour. This quick-soak method is efficient, but you can also opt for a longer soak of 8 to 12 hours (or overnight) if preferred, ensuring the beans are fully hydrated.
Once the beans have soaked, drain them thoroughly and rinse them under cool, running water. This step helps to remove any indigestible sugars that can cause discomfort. Set the rinsed beans aside while you prepare the aromatic base for your soup.
In a large stockpot or Dutch oven, heat 2 tablespoons of oil over medium heat. Add the chopped onions and garlic, and sauté them gently for approximately 5 to 7 minutes. Stir frequently until the onions become translucent and the kitchen fills with a wonderfully fragrant aroma. This step is crucial for developing the foundational flavors of the soup.
While the onions and garlic are cooking, carefully open the can of chipotles in adobo. Remove the chipotle peppers from the sauce and finely chop them into ½-inch pieces. Once your aromatic vegetables are tender, add the chopped chipotles and the adobo sauce from the can to the pot. Stir well to combine, allowing the flavors to meld for another minute.
Finally, incorporate the pre-soaked and rinsed black beans, salt, ground cumin, dried oregano, red wine or apple cider vinegar, and the 16 cups of vegetable broth into the stockpot. Bring the entire mixture to a vigorous boil and continue to boil for a full 5 minutes. This ensures all ingredients are well-heated and flavors are fully integrated before canning. During this time, it’s a good idea to bring about 4 cups of water to a boil in a separate kettle, as you may need this hot water to top off your canning jars later.
Canning Instructions for Black Bean Soup
Pressure canning is the only safe method for preserving low-acid foods like black bean soup. Before you begin, ensure your pressure canner is in good working order and that you have all necessary canning equipment, including clean quart jars, new two-part canning lids (flats and rings), and a jar lifter. Preheat your pressure canner according to the manufacturer’s instructions, typically by adding 2-3 inches of water and bringing it to a simmer.
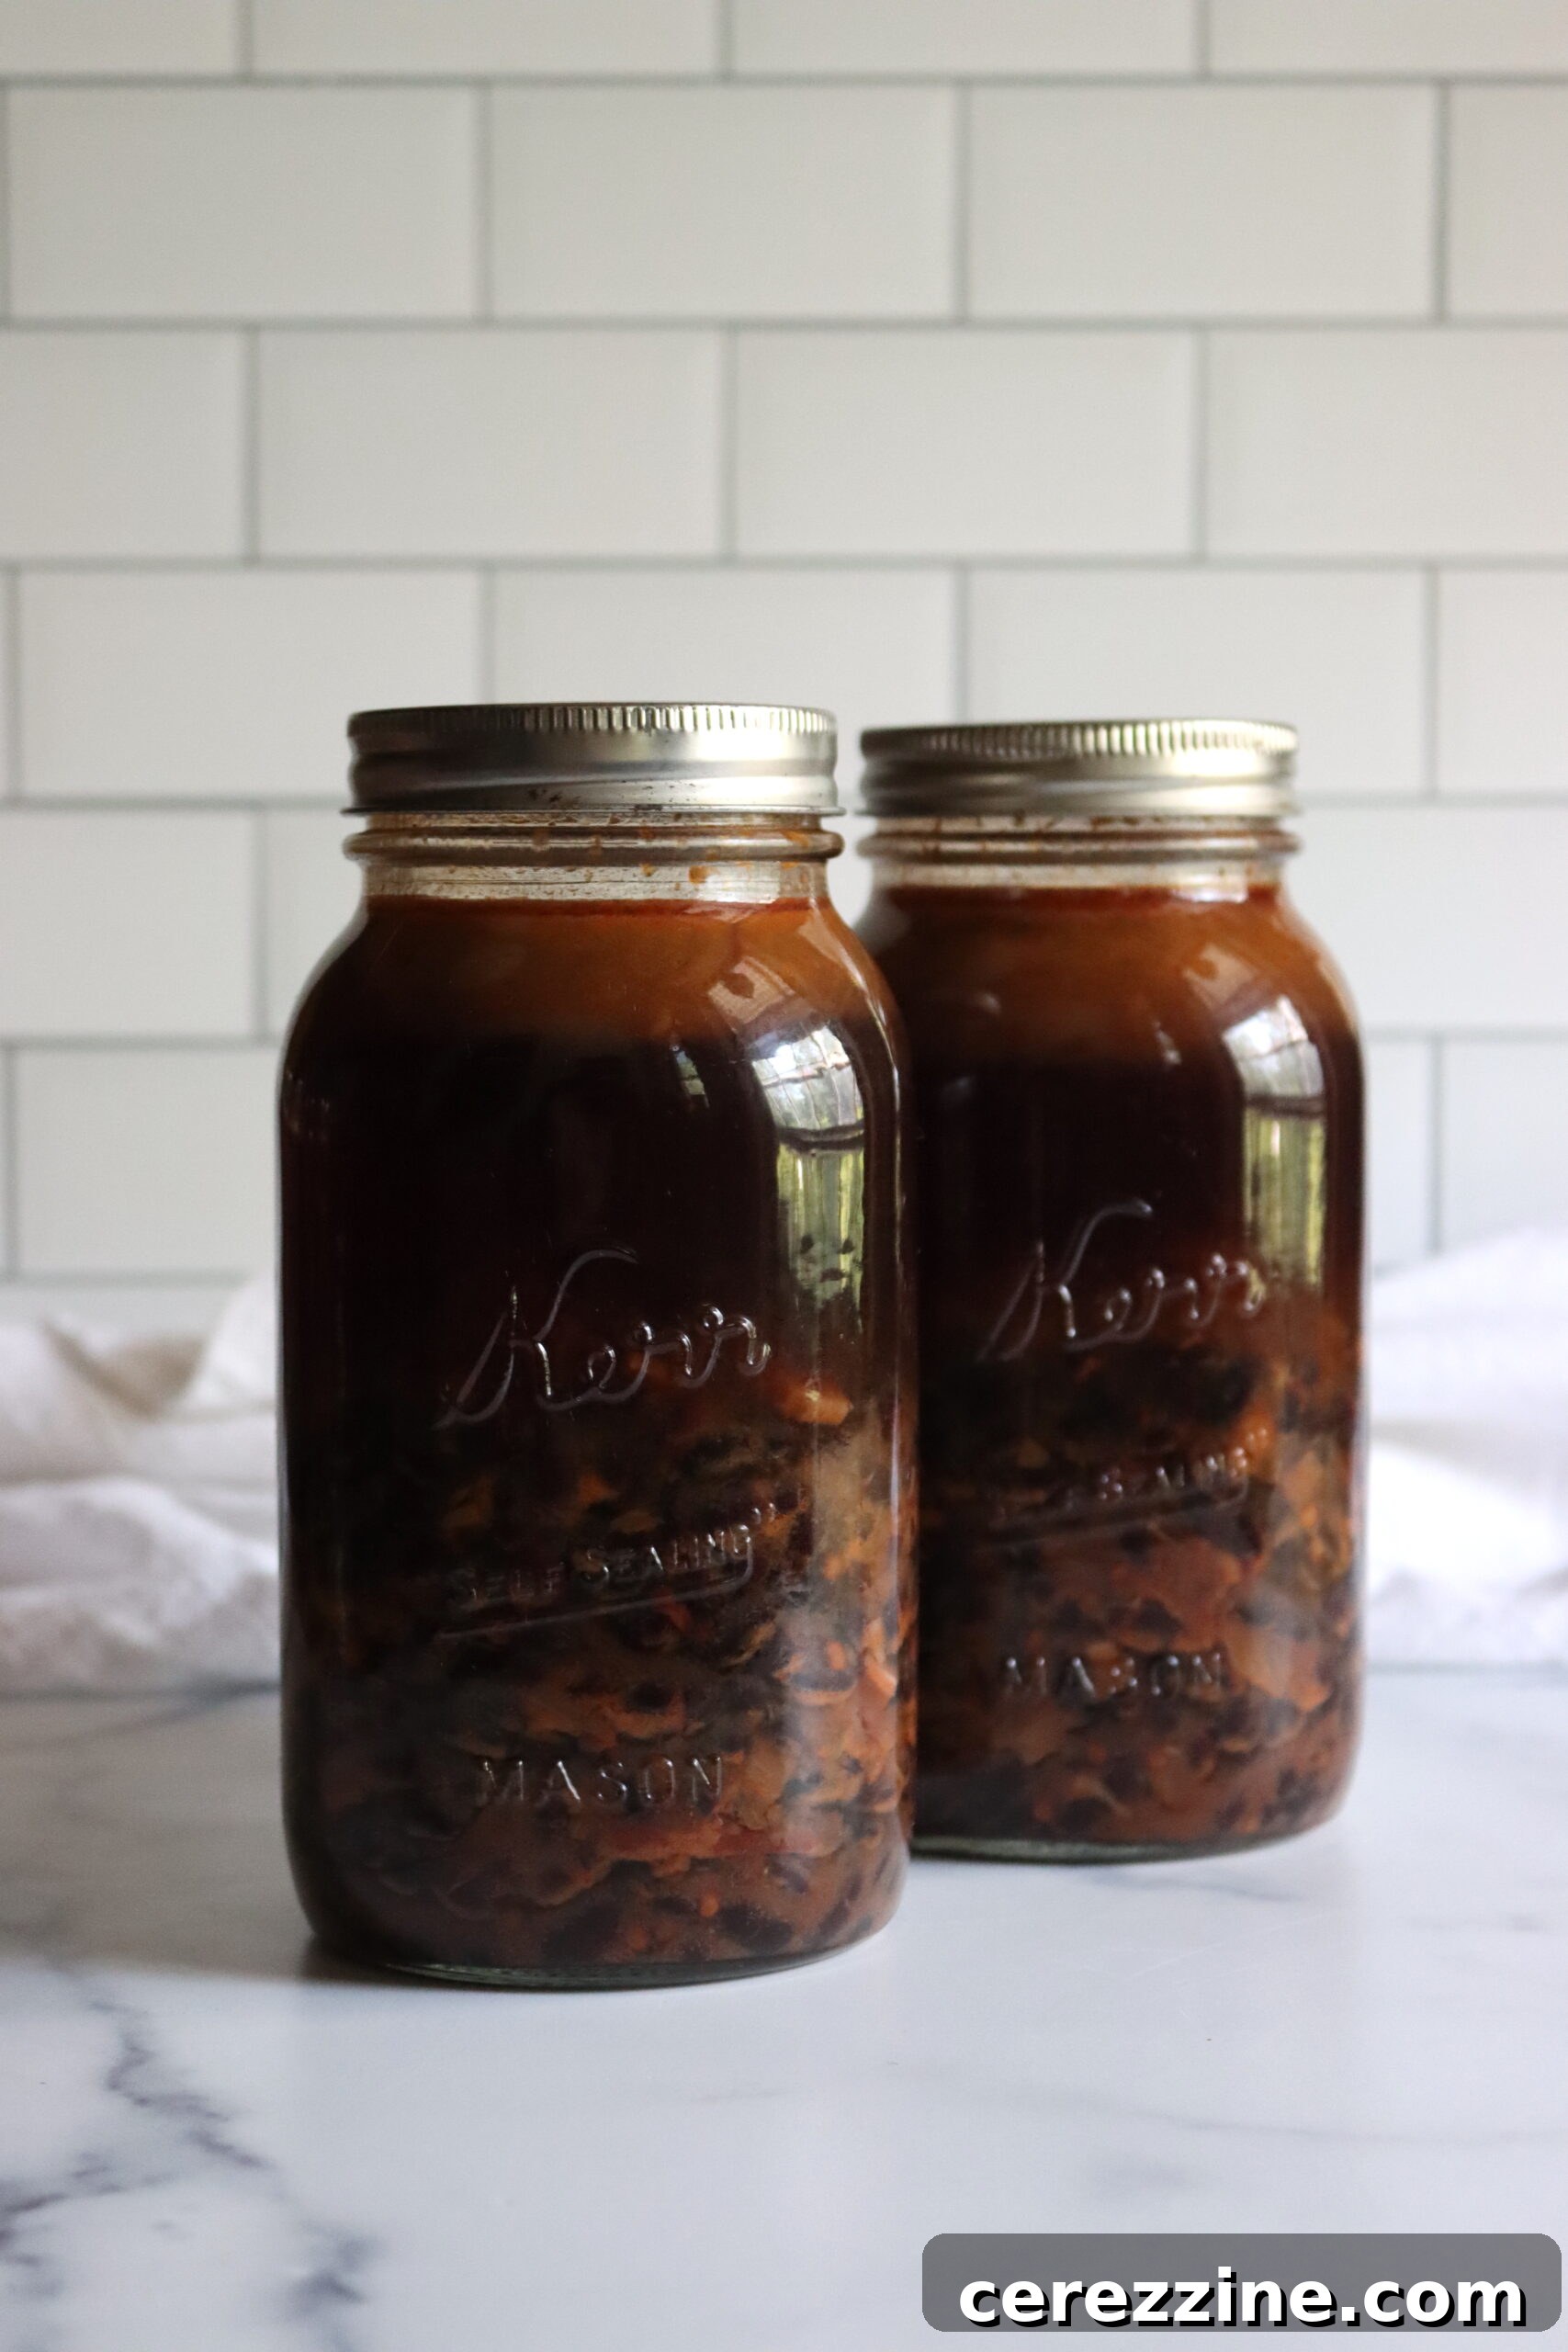
Using a slotted spoon, carefully ladle the solids of the hot soup into your clean, hot 7-quart jars. It is essential to distribute the black beans and other vegetables as evenly as possible among the jars. The solids should only fill each jar about halfway. This is a critical point; do not be tempted to overpack the jars with solids, as black beans expand significantly during the pressure canning process. Overpacking can lead to siphoning (liquid loss) or even jar breakage.
Once the solids are distributed, pour the hot broth evenly over the contents of each jar, ensuring that you maintain a precise 1-inch headspace from the rim of the jar. This headspace is vital for a proper seal and safe processing. If needed, use the pre-boiled water from your side kettle to achieve the exact 1-inch headspace in each jar. Carefully remove any air bubbles by sliding a non-metallic spatula or chopstick along the inside of each jar. Wipe the rims of the jars clean with a damp cloth to remove any food particles that could interfere with the seal.
Place new, clean two-part canning lids onto the jars, and then screw on the bands finger-tight. This means tightening until resistance is met, then a slight quarter-turn more. Avoid overtightening, as this can prevent air from escaping during processing and lead to buckle lids or seal failures.
Carefully load the prepared jars into your preheated pressure canner. Secure the canner lid, but do not yet add the canning weight or regulator. Turn the heat to high and allow steam to freely vent from the canner’s vent port for a full 10 minutes. This critical “venting” step purges air from the canner, ensuring that the desired temperature for safe processing is reached.
After venting for 10 minutes, place the appropriate canning weight or regulator onto the vent port. Allow the canner to come up to the recommended pressure for your altitude and canner type (refer to the altitude adjustments section below). Once the desired pressure is reached, begin your processing time. Process quart jars for 75 minutes. If you are canning in pint jars, process for 60 minutes.
When the full processing time is complete, turn off the heat source. Do NOT rush to open the canner. Allow the pressure canner to cool down naturally and completely, until the pressure gauge reads zero and no steam is escaping. This gradual cooling prevents siphoning and helps ensure strong seals. Once cooled, carefully remove the lid, tilting it away from your face to avoid residual steam. Use a jar lifter to remove the hot jars and place them on a towel-lined surface, ensuring there is space between them for air circulation. Let the jars cool undisturbed for 12 to 24 hours. After cooling, check all seals by pressing on the center of each lid – if it doesn’t flex, the jar is sealed. Any unsealed jars must be refrigerated and consumed within a few days. Properly canned and sealed jars can be stored in a cool, dark pantry for 12 to 18 months, maintaining optimal quality and safety.
Altitude Adjustments for Pressure Canning
When pressure canning, it’s crucial to adjust the pressure according to your altitude to ensure food safety. While processing times remain consistent regardless of elevation, the required pressure changes to achieve the correct internal temperature. Please consult the following guidelines:
For Dial Gauge Pressure Canners:
- 0 to 2,000 feet in elevation – 11 lbs pressure
- 2,001 to 4,000 feet in elevation – 12 lbs pressure
- 4,001 to 6,000 feet in elevation – 13 lbs pressure
- 6,001 to 8,000 feet in elevation – 14 lbs pressure
For Weighted Gauge Pressure Canners:
- 0 to 1,000 feet in elevation – 10 lbs pressure
- Above 1,000 feet – 15 lbs pressure
Serving Home Canned Black Bean Soup
Once your Chipotle Black Bean Soup is safely canned and stored, enjoying a delicious, homemade meal is incredibly simple. To serve, pour the entire contents of a jar into a saucepan. Bring it to a gentle simmer over medium heat and allow it to cook for about 10 minutes, ensuring it is heated thoroughly throughout. The beans will have softened further during storage, resulting in a rich, comforting texture.
For those who prefer a velvety-smooth soup, an immersion blender (stick blender) can be used to puree about half of the soup directly in the saucepan. Alternatively, transfer a portion to a regular blender, process until smooth, and then return it to the pot to combine with the remaining chunky soup. This creates a delightful contrast in textures.
Enjoy this flavorful soup as is, or elevate it with your favorite toppings. Classic additions include diced avocado for creaminess, a dollop of sour cream or a dairy-free alternative, fresh cilantro for a burst of herbaceousness, and crunchy tortilla chips or cornbread for dipping. A squeeze of fresh lime juice can also brighten the flavors beautifully. Whether you’re looking for a quick weeknight dinner or a comforting lunch, this home-canned Chipotle Black Bean Soup delivers wholesome goodness with minimal effort.
Chipotle Black Bean Soup Recipe
Chipotle Black Bean Soup is a simple vegetarian meal in a jar that’s sure to satisfy the whole family. Canning this soup ensures you always have a delicious, high-protein meal ready. It’s so good, even meat-eaters won’t miss a thing!
Recipe Details:
- Author: Ashley Adamant
- Servings: 14 servings (Makes 7 quarts)
- Prep Time: 2 hours (includes bean soak)
- Cook Time: 15 minutes
- Canning Time: 1 hour 15 minutes (for quarts)
- Total Time: Approximately 3 hours 30 minutes
Equipment
- Pressure Canner
- Large stockpot
- 7-quart canning jars with new lids and bands
- Jar lifter, canning funnel, bubble remover
Ingredients
- 2 lbs dried black beans (about 5 cups)
- 2 cups onions, chopped (250 g)
- 1 can (7 ounces) chipotles in adobo sauce (about 6 to 8 chipotles and 2 to 4 tbsp adobo)
- 6 Tbsp garlic, chopped
- 2 Tbsp Oil
- 1 ½ Tbsp Salt
- 1 ½ Tbsp ground Cumin
- 1 Tbsp dried oregano
- ¼ cup red wine vinegar, or cider vinegar
- 16 cups vegetable broth, or meat stock
- Water (for soaking and topping jars)
Instructions
- Prepare Beans: Wash and sort dried black beans. Cover with 12 cups (3 quarts) water and bring to a boil. Boil for 2 minutes, then turn off heat. Allow to stand for 1 hour. (Alternatively, soak 8 to 12 hours.)
- Drain & Rinse: Drain the beans and rinse thoroughly under cool water. Set aside.
- Sauté Aromatics: Add 2 tablespoons of oil to a large stockpot. Sauté chopped onions and garlic for 5 to 7 minutes until onions are translucent and fragrant.
- Add Chipotles: While vegetables cook, remove canned chipotles from adobo sauce and chop into ½-inch pieces. Add chopped chipotles and adobo sauce to the pot with the sautéed vegetables.
- Simmer Soup Base: Add the prepared beans, salt, cumin, oregano, vinegar, and vegetable broth to the pot. Bring the mixture to a boil and boil for 5 minutes.
- Prepare Canning Water: While the soup boils, bring about 4 cups of water to a boil in a separate kettle for topping off jars if needed.
- Fill Jars with Solids: Using a slotted spoon, ladle the hot soup solids evenly into 7 clean, hot quart jars. Ensure solids fill each jar only about halfway. Do not overpack, as beans will expand.
- Add Broth & Headspace: Distribute the hot broth evenly across the jars, leaving a precise 1-inch headspace from the rim of each jar. Use additional hot water from your kettle if necessary to achieve the exact headspace. Remove air bubbles and wipe jar rims.
- Seal Jars: Cap each jar with a new two-part canning lid, tightening the bands to finger-tight.
- Prepare Pressure Canner: Load jars into a preheated pressure canner. Secure the canner lid. Turn heat to high and allow steam to vent freely for 10 minutes to purge air.
- Pressure Process: Place the canning weight/regulator on the vent. Bring the canner up to the recommended pressure for your altitude (refer to Altitude Adjustments).
- Process Time: Once at pressure, process quart jars for 75 minutes (or 60 minutes for pint jars).
- Cool & Check Seals: When processing is complete, turn off heat and let the canner cool naturally until pressure drops to zero. Remove lid, then carefully remove jars and place them on a towel-lined surface to cool for 12-24 hours. Check seals. Refrigerate any unsealed jars. Store sealed jars in a cool, dark pantry.
Notes
Serving
To serve, pour the contents of the jar into a saucepan and simmer for 10 minutes. For a creamy soup, you can puree about half the contents with a stick blender, if desired. Enjoy as is, or top with avocado, sour cream, cilantro, tortilla chips, cornbread, or whatever you like!
Altitude Adjustments
With pressure canning, the processing times stay the same at higher altitudes, but the pressures change. Here are the altitude adjustments for pressure canning:
For dial gauge pressure canners:
- 0 to 2,000 feet in elevation – 11 lbs pressure
- 2,001 to 4,000 feet in elevation – 12 lbs pressure
- 4,001 to 6,000 feet in elevation – 13 lbs pressure
- 6,001 to 8,000 feet in elevation – 14 lbs pressure
For weighted gauge pressure canners:
- 0 to 1,000 feet in elevation – 10 lbs pressure
- Above 1,000 feet – 15 lbs pressure
Nutrition Information (Approximate per serving)
Nutrition information is automatically calculated, so should only be used as an approximation.
- Calories: 270 kcal
- Carbohydrates: 48 g
- Protein: 15 g
- Fat: 3 g
- Saturated Fat: 0.4 g
- Polyunsaturated Fat: 1 g
- Monounsaturated Fat: 1 g
- Trans Fat: 0.01 g
- Sodium: 1828 mg
- Potassium: 1025 mg
- Fiber: 11 g
- Sugar: 5 g
- Vitamin A: 598 IU
- Vitamin C: 3 mg
- Calcium: 103 mg
- Iron: 4 mg
Explore More Bean Canning Recipes
If you’ve enjoyed the process of preserving black beans and are eager to expand your pantry, here are some other fantastic ways to put up delicious beans in a jar:
- Cuban Black Bean Soup
- Canning Boston Baked Beans
- Canning White Bean and Greens Soup
- Butternut Squash and White Bean Soup
- Cajun Red Beans and Sausage
Other Inspiring Soup Canning Recipes
The world of home-canned soups is vast and rewarding. Beyond beans, countless delicious recipes can be safely preserved to provide comforting meals all year long. Consider adding these diverse soup canning recipes to your growing collection:
- Sausage, Potato, and Kale Soup
- Carrot Soup
- Split Pea Soup
- Chicken Soup