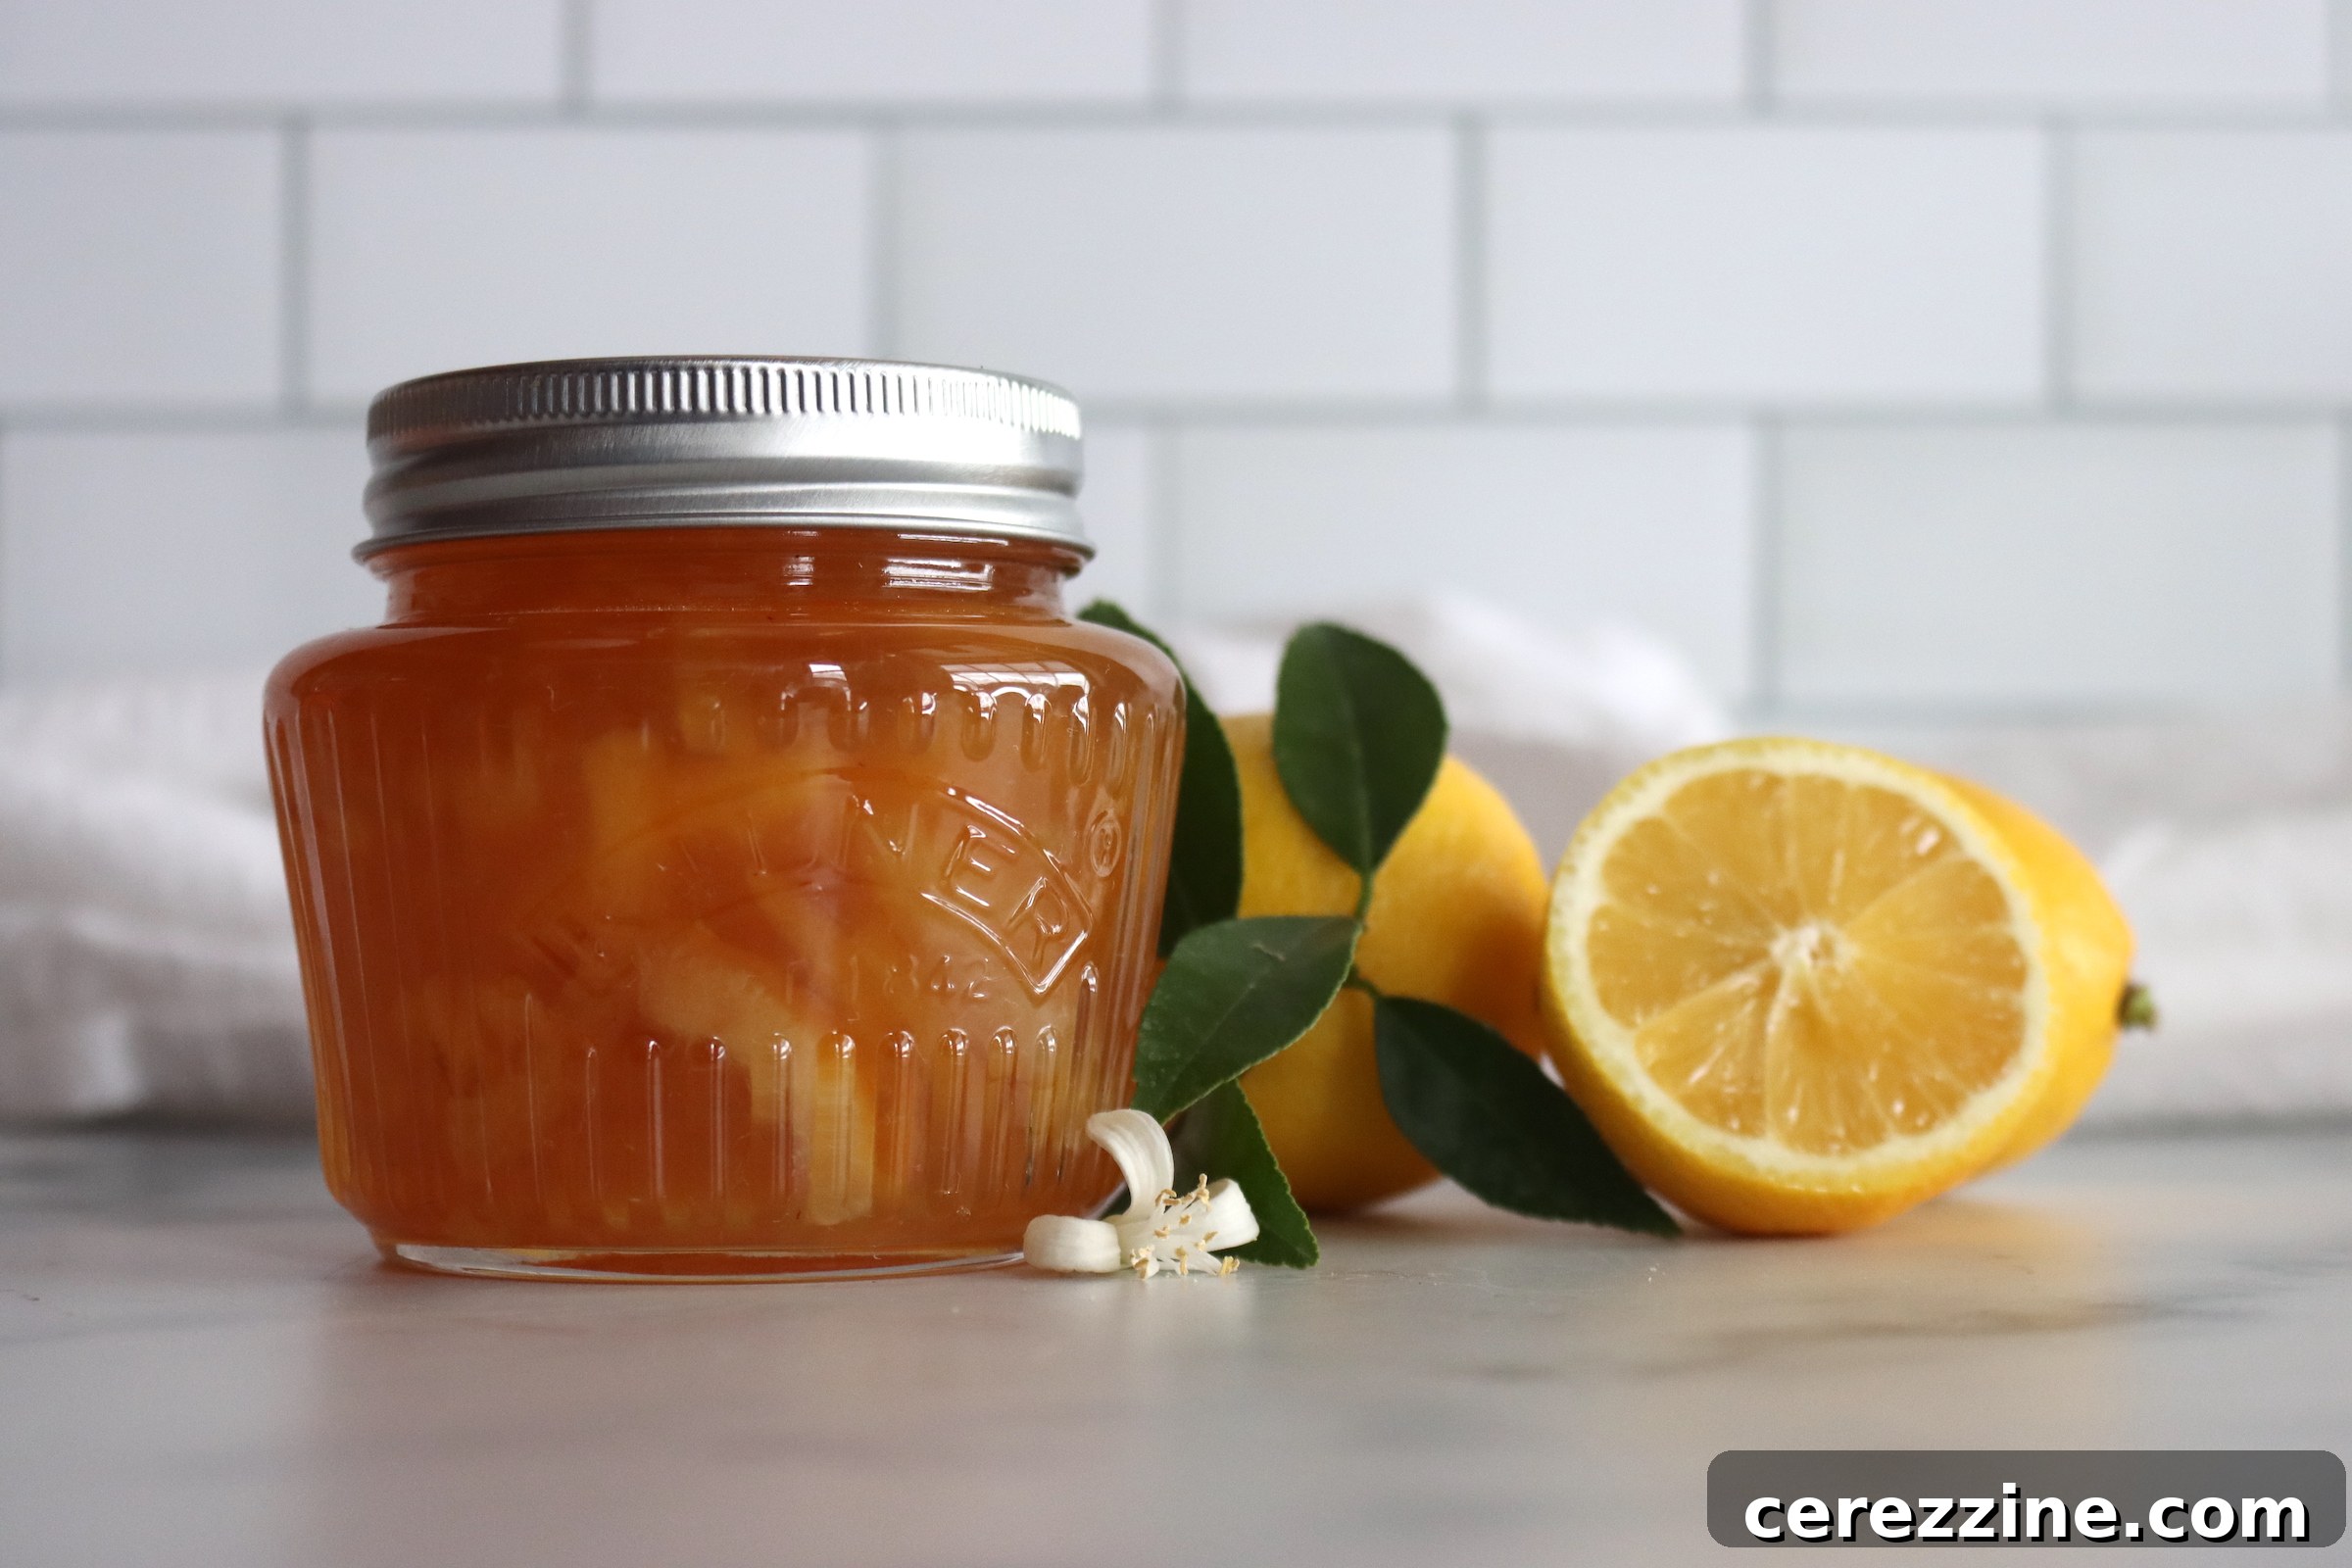
Traditional Lemon Marmalade: A Zesty Homemade Delight
Lemon marmalade is a timeless preserve, celebrated for its vibrant, tangy flavor and delightful texture. This classic creation perfectly marries the bright acidity of fresh lemons with the comforting sweetness of sugar, while the thinly sliced peels introduce a pleasant bitterness and satisfying chew that keeps every spoonful interesting. Far more than just a spread for toast, homemade lemon marmalade is a versatile ingredient that can elevate both sweet and savory dishes, offering a concentrated burst of citrus that brightens any recipe.
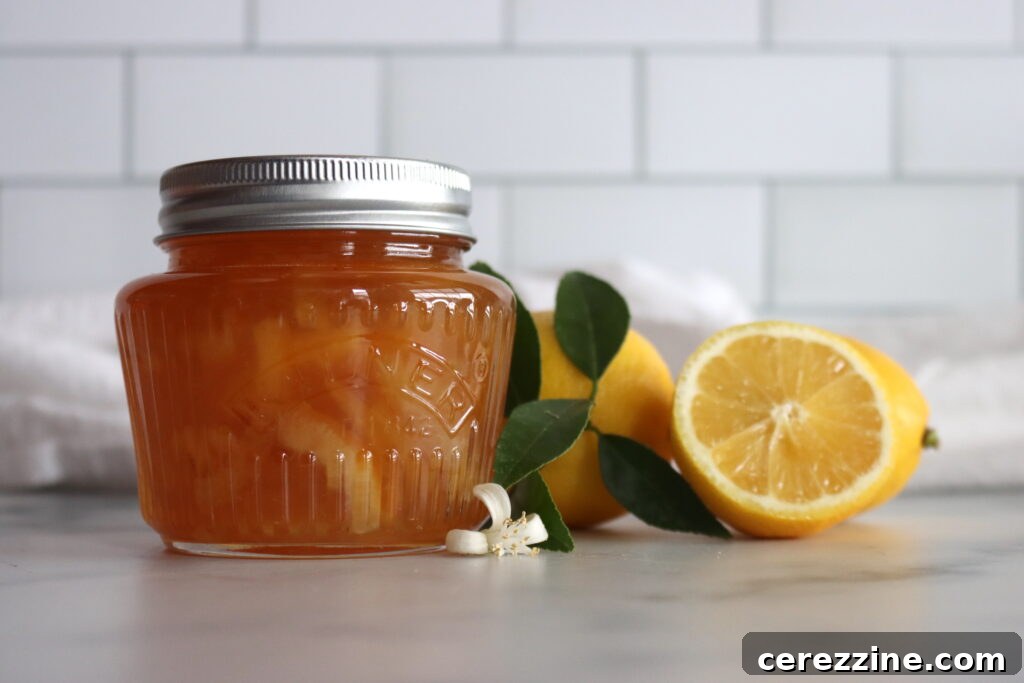
Why Choose Traditional Lemon Marmalade?
The journey to crafting authentic lemon marmalade is a rewarding one, rooted in a traditional three-day method designed to extract maximum flavor and achieve that coveted gel-like consistency without the need for added commercial pectin. Lemons are truly exceptional for marmalade making, primarily due to their naturally high pectin content. Pectin, a soluble fiber found in fruit, is the magic ingredient responsible for the setting power of jams and jellies. Lemons, especially the peel and seeds, are rich in this natural gelling agent, making them ideal for a pectin-free recipe.
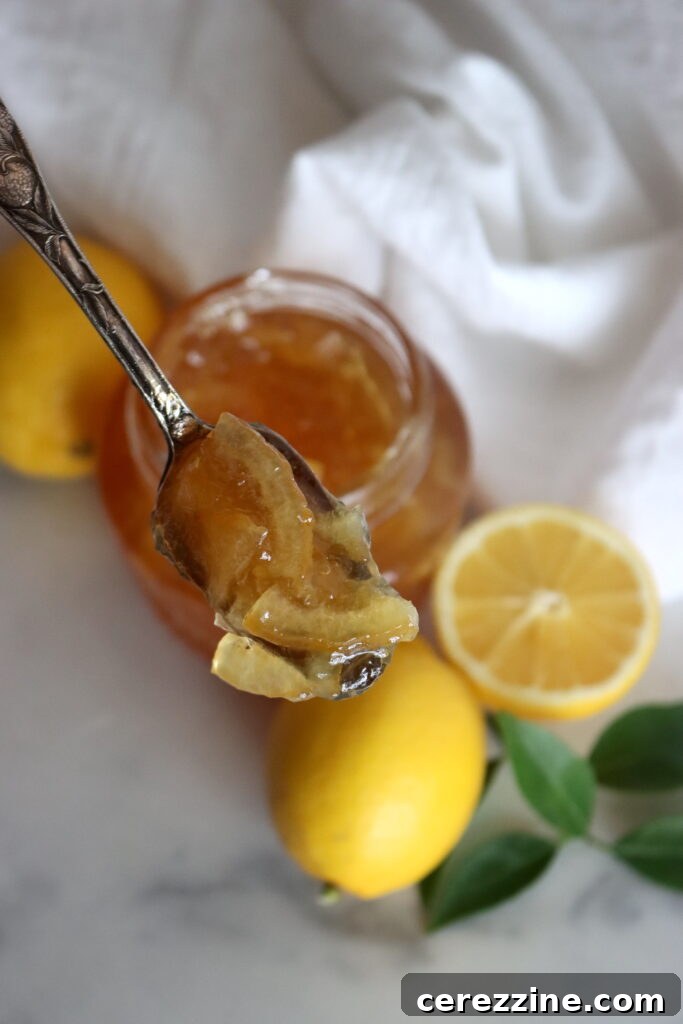
Beyond their gelling properties, lemons offer a complex flavor profile that is both tart and refreshing, with a unique sharpness that distinguishes lemon marmalade from its citrus counterparts. The slow-cooking, multi-day process employed in this recipe is crucial. It allows the lemon peels to soften thoroughly, their essential oils to infuse the liquid, and the inherent bitterness to mellow into a sophisticated, well-rounded taste. This patient approach results in a marmalade with deep flavor and a perfectly tender, translucent peel that is a hallmark of quality homemade preserves.
Essential Ingredients for Your Homemade Lemon Marmalade
This recipe yields a generous batch of approximately ten 8-ounce jars of exquisite lemon marmalade, perfect for sharing or stocking your pantry. The quality of your lemons is paramount here; opt for fresh, firm, and unblemished fruit, ideally a variety known for its robust flavor and good pectin content, such as Lisbon lemons. While this is a substantial recipe, it can easily be halved to produce a smaller batch of about five jars if you prefer.
Detailed Ingredient List
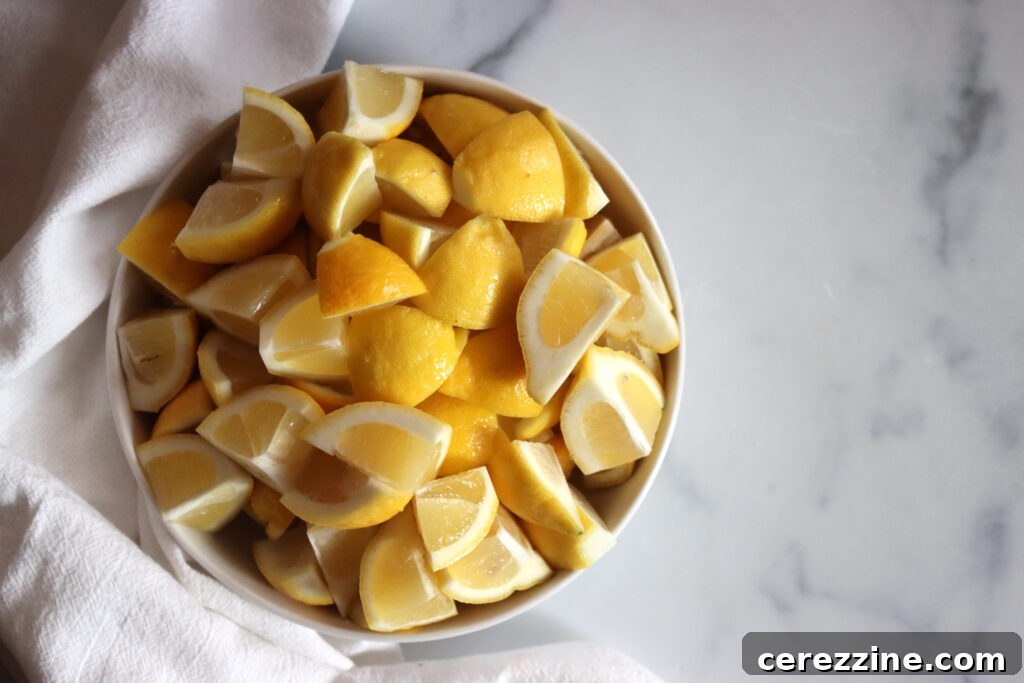
- 2 lbs Lemons (preferably Lisbon), cut into eighths: This first group of lemons will be used to extract pectin-rich juice, forming the jelly base of your marmalade. You can cut them coarsely and leave the seeds in, as they will be strained out later.
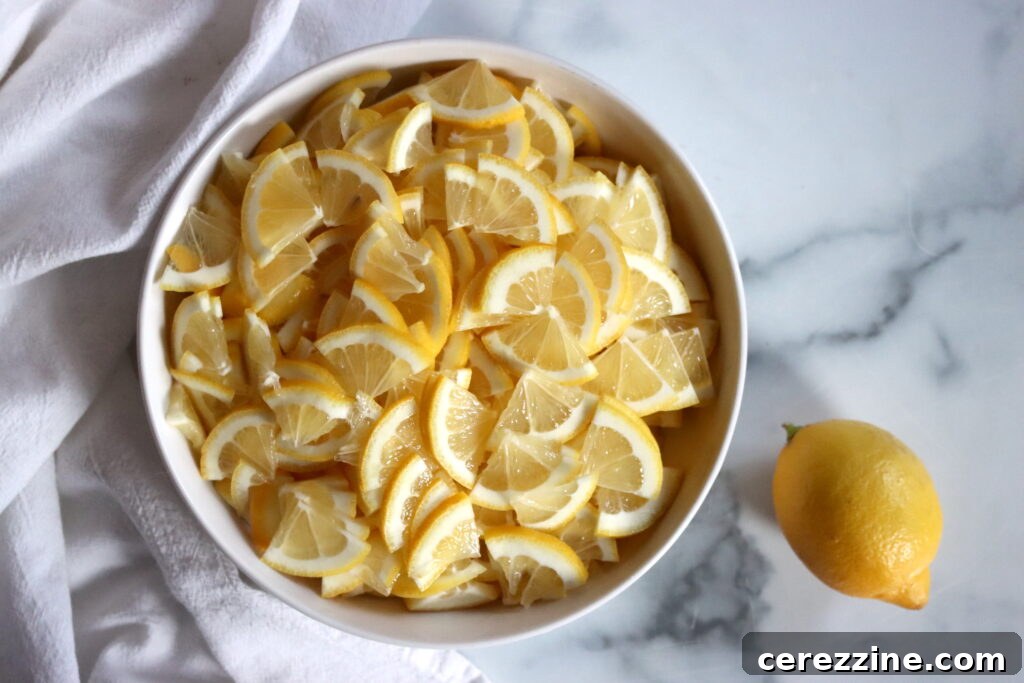
- 2 lbs Lemons (seeded), cut into eighths and sliced thinly: This second group of lemons will provide the delicious, textured peel that defines marmalade. Pay close attention to cutting them evenly and meticulously removing all seeds, as these will remain in the final product.
- 4 lbs White Cane Sugar: This traditional recipe relies on a significant amount of sugar not only for sweetness but also to achieve the proper set due to its interaction with natural pectin.
- 1 to 2 extra lemons for 2 ounces (approx. 1/4 cup) of freshly squeezed lemon juice: This additional fresh lemon juice provides a final vibrant acidic boost and helps ensure a good set.
Understanding Sugar’s Role and Alternative Options
It’s important to note that the substantial amount of sugar in this recipe is not just for taste; it’s critical for the marmalade to set properly. The sugar works in conjunction with the lemons’ natural pectin to create that desired thick, spreadable consistency. If you wish to reduce the sugar content, you will likely need to incorporate commercial boxed pectin to achieve a firm set. For those interested in a lower-sugar option, you can adapt a recipe like our low-sugar orange marmalade recipe with pectin, simply substituting lemons for oranges.
The Art of Making Lemon Marmalade: A Three-Day Journey
This traditional method spans three days, allowing for optimal flavor development and pectin extraction, which is key to a perfectly set marmalade. While a three-day process is recommended for the best results, it can be condensed into two days if time is a constraint. If you choose a two-day method, ensure you strain the lemon jelly portion for a minimum of 1-2 hours instead of overnight, and complete all lemon slicing and preparation on Day 1 so everything is ready for the final boil on Day 2.
Day 1: The Initial Soak
The first day is all about beginning the softening process for the first batch of lemons and initiating pectin extraction. This initial soak is crucial for tenderizing the fruit and drawing out its natural gelling agents.
- Prepare Lemons: Take the first 2 lbs of lemons, cut into eighths (leaving seeds in), and place them snugly in a single layer in a large, nonreactive saucepan. Stainless steel or enamel-coated pots are ideal.
- Soak Overnight: Add enough cold water to the saucepan to ensure the lemon pieces float freely. Cover the pot tightly with a lid and let it rest at room temperature overnight. This long soak helps to soften the peels and encourages the pectin to release into the water.
Day 2: Pectin Extraction and Peel Preparation
Day two focuses on extracting the valuable pectin from the first batch of lemons to create a rich lemon jelly base, and separately preparing the thinly sliced peels that will give the marmalade its signature texture.
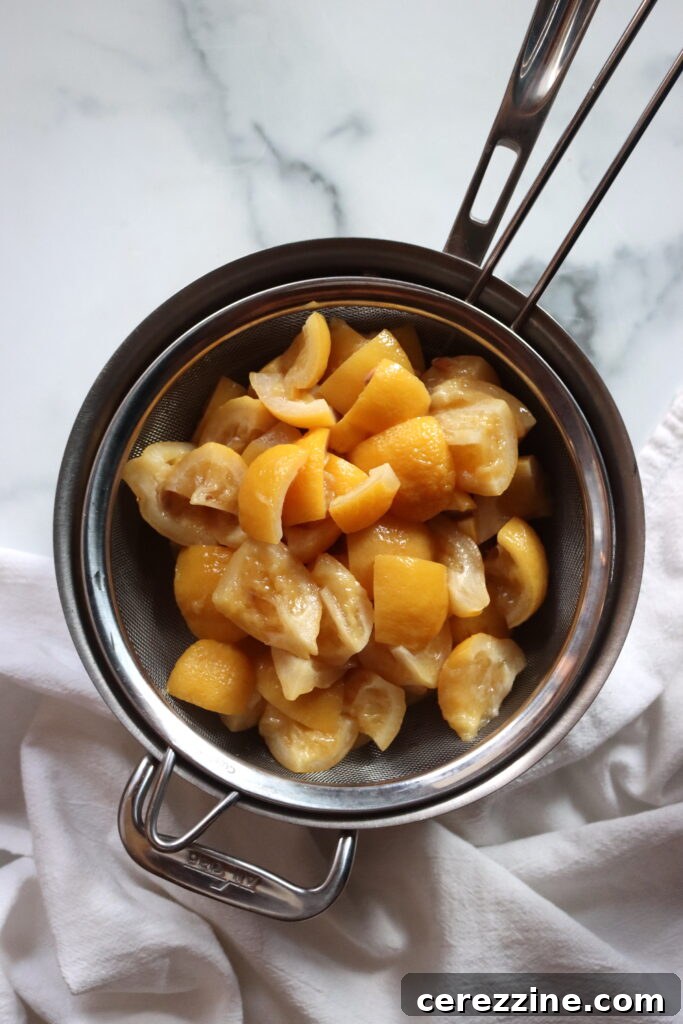
- Cook Lemon Eighths: Bring the saucepan with the soaked lemon eighths to a rapid boil over high heat. Reduce the heat to medium and allow the fruit to simmer vigorously, covered, for 2 to 3 hours. The goal is for the lemons to become exceptionally soft and the liquid to thicken slightly, becoming syrupy. Throughout this process, gently press down on the lemons every 30 minutes to aid in juice and pectin release. Add a little more water if necessary to keep the fruit submerged.
- Strain for Lemon Juice: Once cooked, carefully pour the hot fruit and its liquid into a medium strainer or colander lined with cheesecloth, placed over another nonreactive saucepan. Cover this setup with plastic wrap and let it drain completely overnight at room temperature. This slow drip ensures you collect all the pectin-rich liquid, resulting in approximately 4 cups of strained lemon juice (jelly base). Avoid pressing the solids, as this can release cloudiness and bitterness.
- Prepare Sliced Lemons: While the first batch of lemons drains, begin preparing your second group of lemons. Place the thinly sliced, deseeded lemons in a wide stainless-steel kettle. Cover them with cold water, bring to a boil over high heat, then reduce the heat and simmer for 5 minutes. Drain and discard this initial liquid; this step helps to reduce bitterness in the peels.
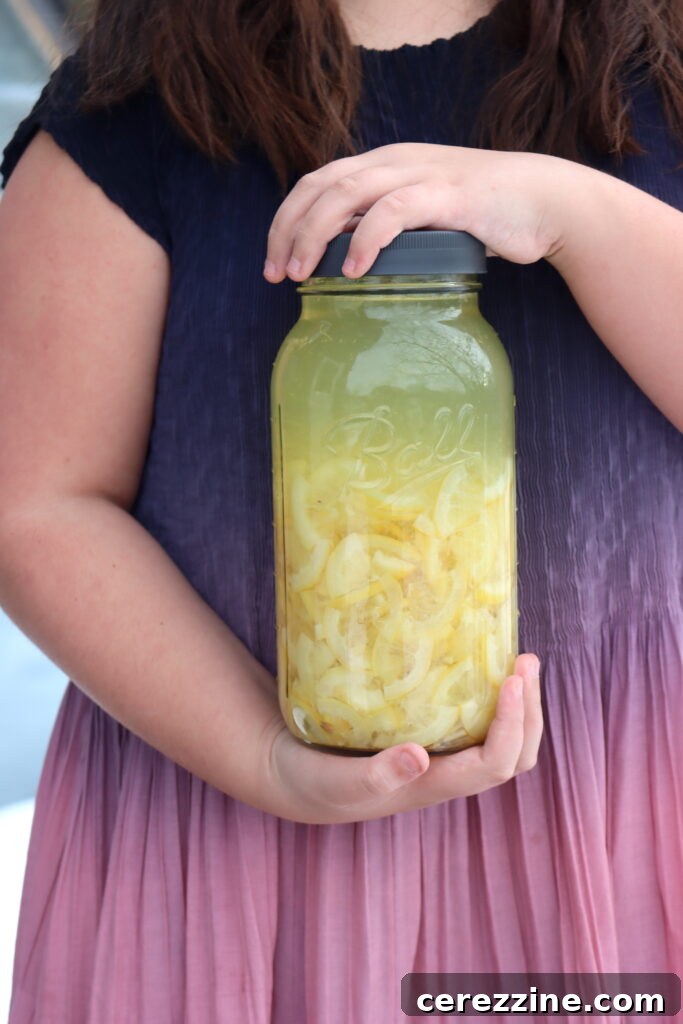
- Soft-Cook Sliced Lemons: Return the drained slices to the kettle. Cover them again with about 1 inch of fresh cold water. Bring to a boil, then reduce heat and simmer for 30 to 40 minutes, or until the fruit is very tender and translucent. Stir every 15 minutes, adding more water if needed to keep the slices submerged. Remove from heat, cover tightly, and let rest overnight at room temperature. This final soak ensures the peels are perfectly tender for the marmalade.
Day 3: The Grand Boil and Setting the Marmalade
The final day is when all the prepared ingredients come together for the concentrated boil that transforms them into glorious lemon marmalade. Precision and attention are key during this stage.
- Prepare for Testing: Before you start cooking, place a small saucer with five metal teaspoons in the freezer. These will be essential for testing the marmalade’s set later.
- Combine Ingredients: Remove the plastic wrap from the strained lemon juice (the jelly base) and strain it once more through a very fine-mesh sieve to ensure no lingering solids remain. In a large mixing bowl, combine the white cane sugar, the now perfectly clear cooked lemon juice, the additional freshly squeezed lemon juice, and the tender sliced lemons along with their liquid. Stir everything well until the sugar begins to dissolve.
- Begin the Boil: Transfer the entire mixture to an 11- or 12-quart preserving pan. Bring the mixture to a rapid boil over high heat. The marmalade needs to cook at a vigorous, rolling boil until it reaches its setting point. This typically takes a minimum of 25 minutes, but the exact time can vary depending on your stove, pan, and altitude.
- Monitor and Stir: Initially, the mixture will bubble gently. As moisture evaporates and the sugar concentration increases, it will begin to foam. Do not stir during the gentle bubbling stage. Once foaming begins, stir gently every few minutes with a heatproof rubber spatula to prevent sticking. As the mixture nears completion and thickens significantly, stir slowly every minute or two to ensure it doesn’t scorch on the bottom of the pan.
Achieving the Perfect Set: Testing Your Marmalade
Determining when your marmalade has reached the ideal gel consistency is crucial for success. There are several reliable methods to test for the perfect set:
Instant Read Thermometer Method
Using an instant-read thermometer is a highly accurate way to gauge doneness. Marmalade typically sets at approximately 220°F (104.4°C) at sea level. This temperature corresponds to about 8°F (4.5°C) above the boiling point of water. Keep in mind that the boiling point of water decreases with altitude, so your target set point will drop by about 1°F (0.5°C) for every 500 feet (150 meters) above sea level. For example, at an elevation of 1,000 feet, the marmalade would set at around 218°F (103.3°C). A consistent temperature reading at the desired set point indicates readiness.
Cold Plate Test Method
This classic method relies on chilling a small sample of the marmalade to see if it sets. To use it, simply retrieve one of the chilled plates from the freezer. Drop a small spoonful of the boiling marmalade onto the cold plate and let it rest for a few seconds. Then, gently push your finger through the marmalade. If it wrinkles and holds its shape without immediately running back together, it has reached its setting point. If it remains liquid or flows back readily, continue cooking for a few more minutes and retest with a fresh cold plate.
Cold Spoon Test Method
Similar to the cold plate test, the cold spoon method is another effective way to check for set. Take one of the frozen metal teaspoons from the freezer. Scoop a small amount of marmalade onto the spoon and allow it to sit for 1 to 2 minutes, letting it cool. Feel the underside of the spoon; it should be neither warm nor cold, indicating the marmalade has cooled sufficiently. Now, tilt the spoon. If the marmalade holds its shape and has thickened to a jelly-like consistency, it is done. If it still runs freely or seems thin, return it to the boil for a few more minutes and retest with another frozen spoon.
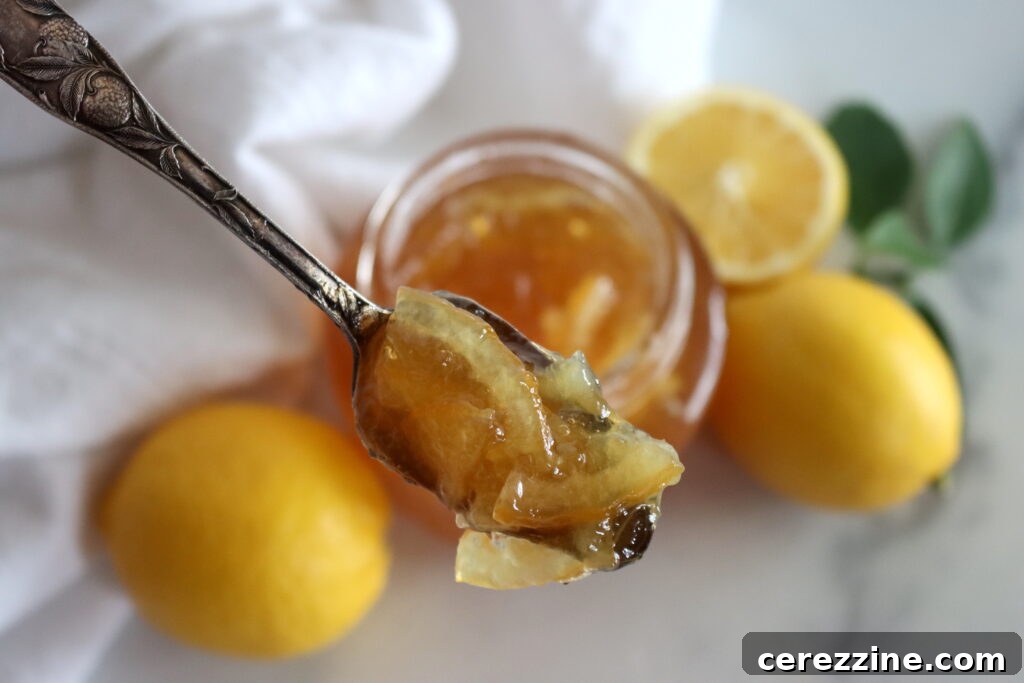
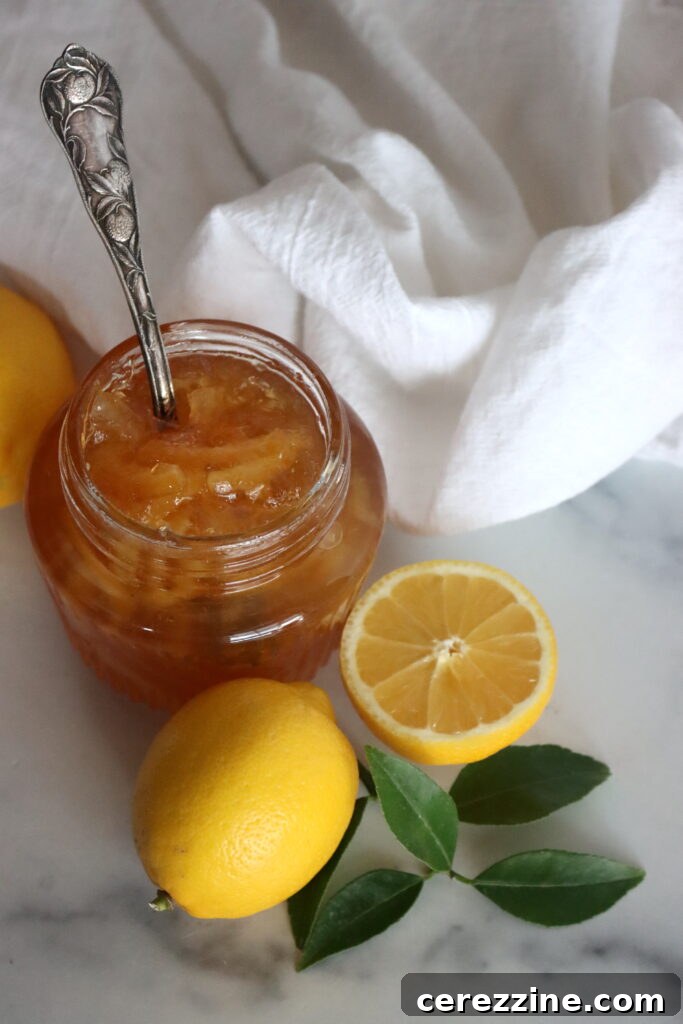
Once your marmalade has reached the perfect set, turn off the heat immediately. Do not stir the marmalade after turning off the heat. Using a clean stainless-steel spoon, carefully skim off any foam that has risen to the surface and discard it. This ensures a clear, beautiful finished product. Promptly ladle the hot marmalade into your prepared, sterilized jars, leaving a precise 1/4-inch headspace at the top of each jar.
Preserving Your Lemon Marmalade: Canning Instructions
Canning your lemon marmalade is an excellent way to ensure its long-term stability and enjoy the bright flavors of summer year-round. While optional, processing your jars in a water bath canner creates a vacuum seal, preventing spoilage and maintaining peak quality for months. Make sure to prepare your water bath canner and sterilize your jars and lids before you begin the final cooking stage of the marmalade on Day 3.
- Prepare Jars: Fill the hot, sterilized jars with the hot marmalade, maintaining a 1/4-inch headspace.
- Clean Rims and Seal: Wipe the rims of the jars thoroughly with a clean, damp cloth to remove any marmalade residue. Center canning lids on the jars and apply screw bands until finger-tight.
- Process in Water Bath: Carefully place the filled jars into a boiling water canner, ensuring they are fully submerged by at least 1 inch of water. Bring the water to a rolling boil and process the jars for 10 minutes. If you are at an altitude above 6,000 feet, increase the processing time to 15 minutes to account for lower boiling temperatures.
- Cool and Check Seals: After processing, turn off the heat and carefully remove the jars from the canner. Place them on a towel-lined surface, ensuring there is space between each jar for air circulation. Allow them to cool undisturbed for 12 to 24 hours. After cooling, check the seals: the center of the lid should be concave and not flex when pressed. Any jars that have not sealed properly should be stored in the refrigerator and consumed within a few weeks.
Properly canned and sealed jars of lemon marmalade will retain their peak quality and flavor on your pantry shelf for 12-18 months, allowing you to savor the taste of fresh lemons long after their season has passed.

48
servings (about 10 half-pint jars)
Traditional Lemon Marmalade
Traditional lemon marmalade is a bright, tangy preserve that perfectly balances sweetness with tart lemons and plenty of citrus flavor. Made the old-fashioned way with fresh lemons, sugar, and a slow-cooking process, it creates a luscious spread that’s perfectly balanced and sets without added pectin.
3
d
50
mins
10
mins
3
d
1
hr
Ingredients
-
2
lbs
lemons,
preferably Lisbon, cut into eighths (for pectin extraction) -
2
lbs
lemons,
cut into eighths and sliced thinly, seeds removed (for peel texture) -
4
lbs
white cane sugar,
about 8 cups -
1/4
cup
freshly squeezed lemon juice,
from 1 to 2 extra lemons
Instructions
Day 1: Initial Soak
-
Place the first 2 lbs of lemon eighths (with seeds) in a nonreactive saucepan, fitting them snugly in a single layer.
-
Add enough cold water to allow the fruit to float freely. Cover the pot tightly and let it rest overnight at room temperature.
Day 2: Pectin Extraction and Peel Preparation
-
Bring the pan with the lemon eighths to a boil over high heat. Reduce heat to medium and cook covered at a lively simmer for 2-3 hours, or until lemons are very soft and the liquid is slightly syrupy. Press lemons gently every 30 minutes, adding water if needed.
-
Strain the hot fruit and liquid through a colander (or cheesecloth-lined strainer) into a nonreactive saucepan. Cover with plastic wrap and let it drain overnight at room temperature to collect about 4 cups of strained liquid.
-
Meanwhile, place the thinly sliced, deseeded lemons (the second 2 lbs) in a wide stainless-steel kettle. Cover with cold water, bring to a boil, and simmer for 5 minutes. Drain and discard the liquid.
-
Return the slices to the kettle, cover with 1 inch of cold water, bring to a boil again, then simmer for 30-40 minutes until the fruit is very tender and translucent. Stir every 15 minutes, adding water if necessary.
-
Remove from heat, cover tightly, and let the softened lemon slices rest overnight at room temperature with their liquid.
Day 3: Final Boil and Canning
-
Place a saucer with five metal teaspoons in the freezer for testing. Sterilize your jars and prepare your water bath canner.
-
Strain the lemon juice from Day 2 through a very fine-mesh sieve into a large mixing bowl.
-
Add the sugar, the fresh lemon juice, and the prepared sliced lemons (with their liquid) to the bowl. Stir well to combine. Transfer the mixture to an 11- or 12-quart preserving pan.
-
Bring the mixture to a rapid boil over high heat. Cook at a vigorous boil, stirring gently once foaming begins, until the marmalade reaches its setting point (minimum 25 minutes, or when it reaches 220°F at sea level, adjusting for altitude).
-
Test for doneness using the cold plate or cold spoon method.
-
Once set, turn off the heat. Skim off any foam from the surface.
-
Carefully ladle the hot marmalade into hot, sterilized jars, leaving 1/4-inch headspace. Wipe rims, apply lids and bands finger-tight.
-
Process jars in a boiling water canner for 10 minutes (or 15 minutes if above 6,000 feet in elevation). Remove from canner and let cool undisturbed for 12-24 hours before checking seals and storing.
Nutrition
Calories:
157
kcal
,
Carbohydrates:
41
g
,
Protein:
0.4
g
,
Fat:
0.2
g
,
Saturated Fat:
0.01
g
,
Polyunsaturated Fat:
0.03
g
,
Monounsaturated Fat:
0.004
g
,
Sodium:
1
mg
,
Potassium:
54
mg
,
Fiber:
1
g
,
Sugar:
39
g
,
Vitamin A:
8
IU
,
Vitamin C:
21
mg
,
Calcium:
10
mg
,
Iron:
0.2
mg
Nutrition information is automatically calculated, so should only be used as an approximation.
Like this? We’d love to hear your thoughts! Leave a comment below!
Serving Suggestions and Storage
Once cooled and set, your homemade lemon marmalade is ready to be enjoyed! This versatile preserve shines in countless ways. Spread it generously on warm buttered toast, freshly baked biscuits, or flaky croissants for a classic breakfast or brunch treat. It also pairs wonderfully with scones and clotted cream for a traditional afternoon tea. Beyond the breakfast table, get creative! Use lemon marmalade as a glaze for roasted chicken or ham, stir it into yogurt or oatmeal, or layer it in parfaits. Its tangy kick makes it an unexpected but delicious addition to marinades for fish or salad dressings, bringing a bright, zesty note. For desserts, swirl it into cheesecakes, fill tart shells, or simply serve alongside vanilla ice cream for a refreshing twist. Unsealed jars should be kept refrigerated and consumed within 3-4 weeks. Properly canned and sealed jars can be stored in a cool, dark pantry for up to 18 months.
Beyond Lemons: Explore More Marmalade Recipes
After mastering this delightful traditional lemon marmalade, you might find yourself inspired to explore the wider world of citrus preserves. The techniques you’ve learned here are transferable to many other fruits, allowing for endless flavor adventures in your kitchen.
Broaden your horizons with these other fantastic marmalade recipes:
- Try the delicate sweetness of Meyer Lemon Marmalade, known for its less acidic, floral notes.
- Embrace the bold and slightly bitter flavors of Grapefruit Marmalade for a truly invigorating spread.
- For those monitoring sugar intake, our Low Sugar Orange Marmalade (with pectin) is an excellent and equally delicious alternative.
- If you’re feeling adventurous, give Kumquat Marmalade a go – it’s a unique and intensely flavorful way to preserve these tiny, edible-skin fruits.
Remember, you can always experiment with our foundational Marmalade with Any Citrus recipe to create your own bespoke flavor combinations, from limes to tangerines and beyond! Happy preserving!