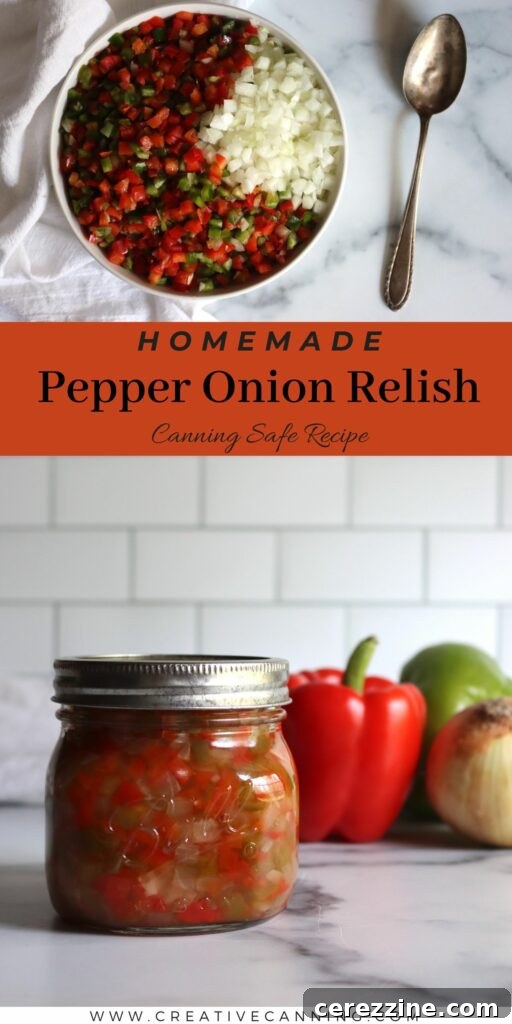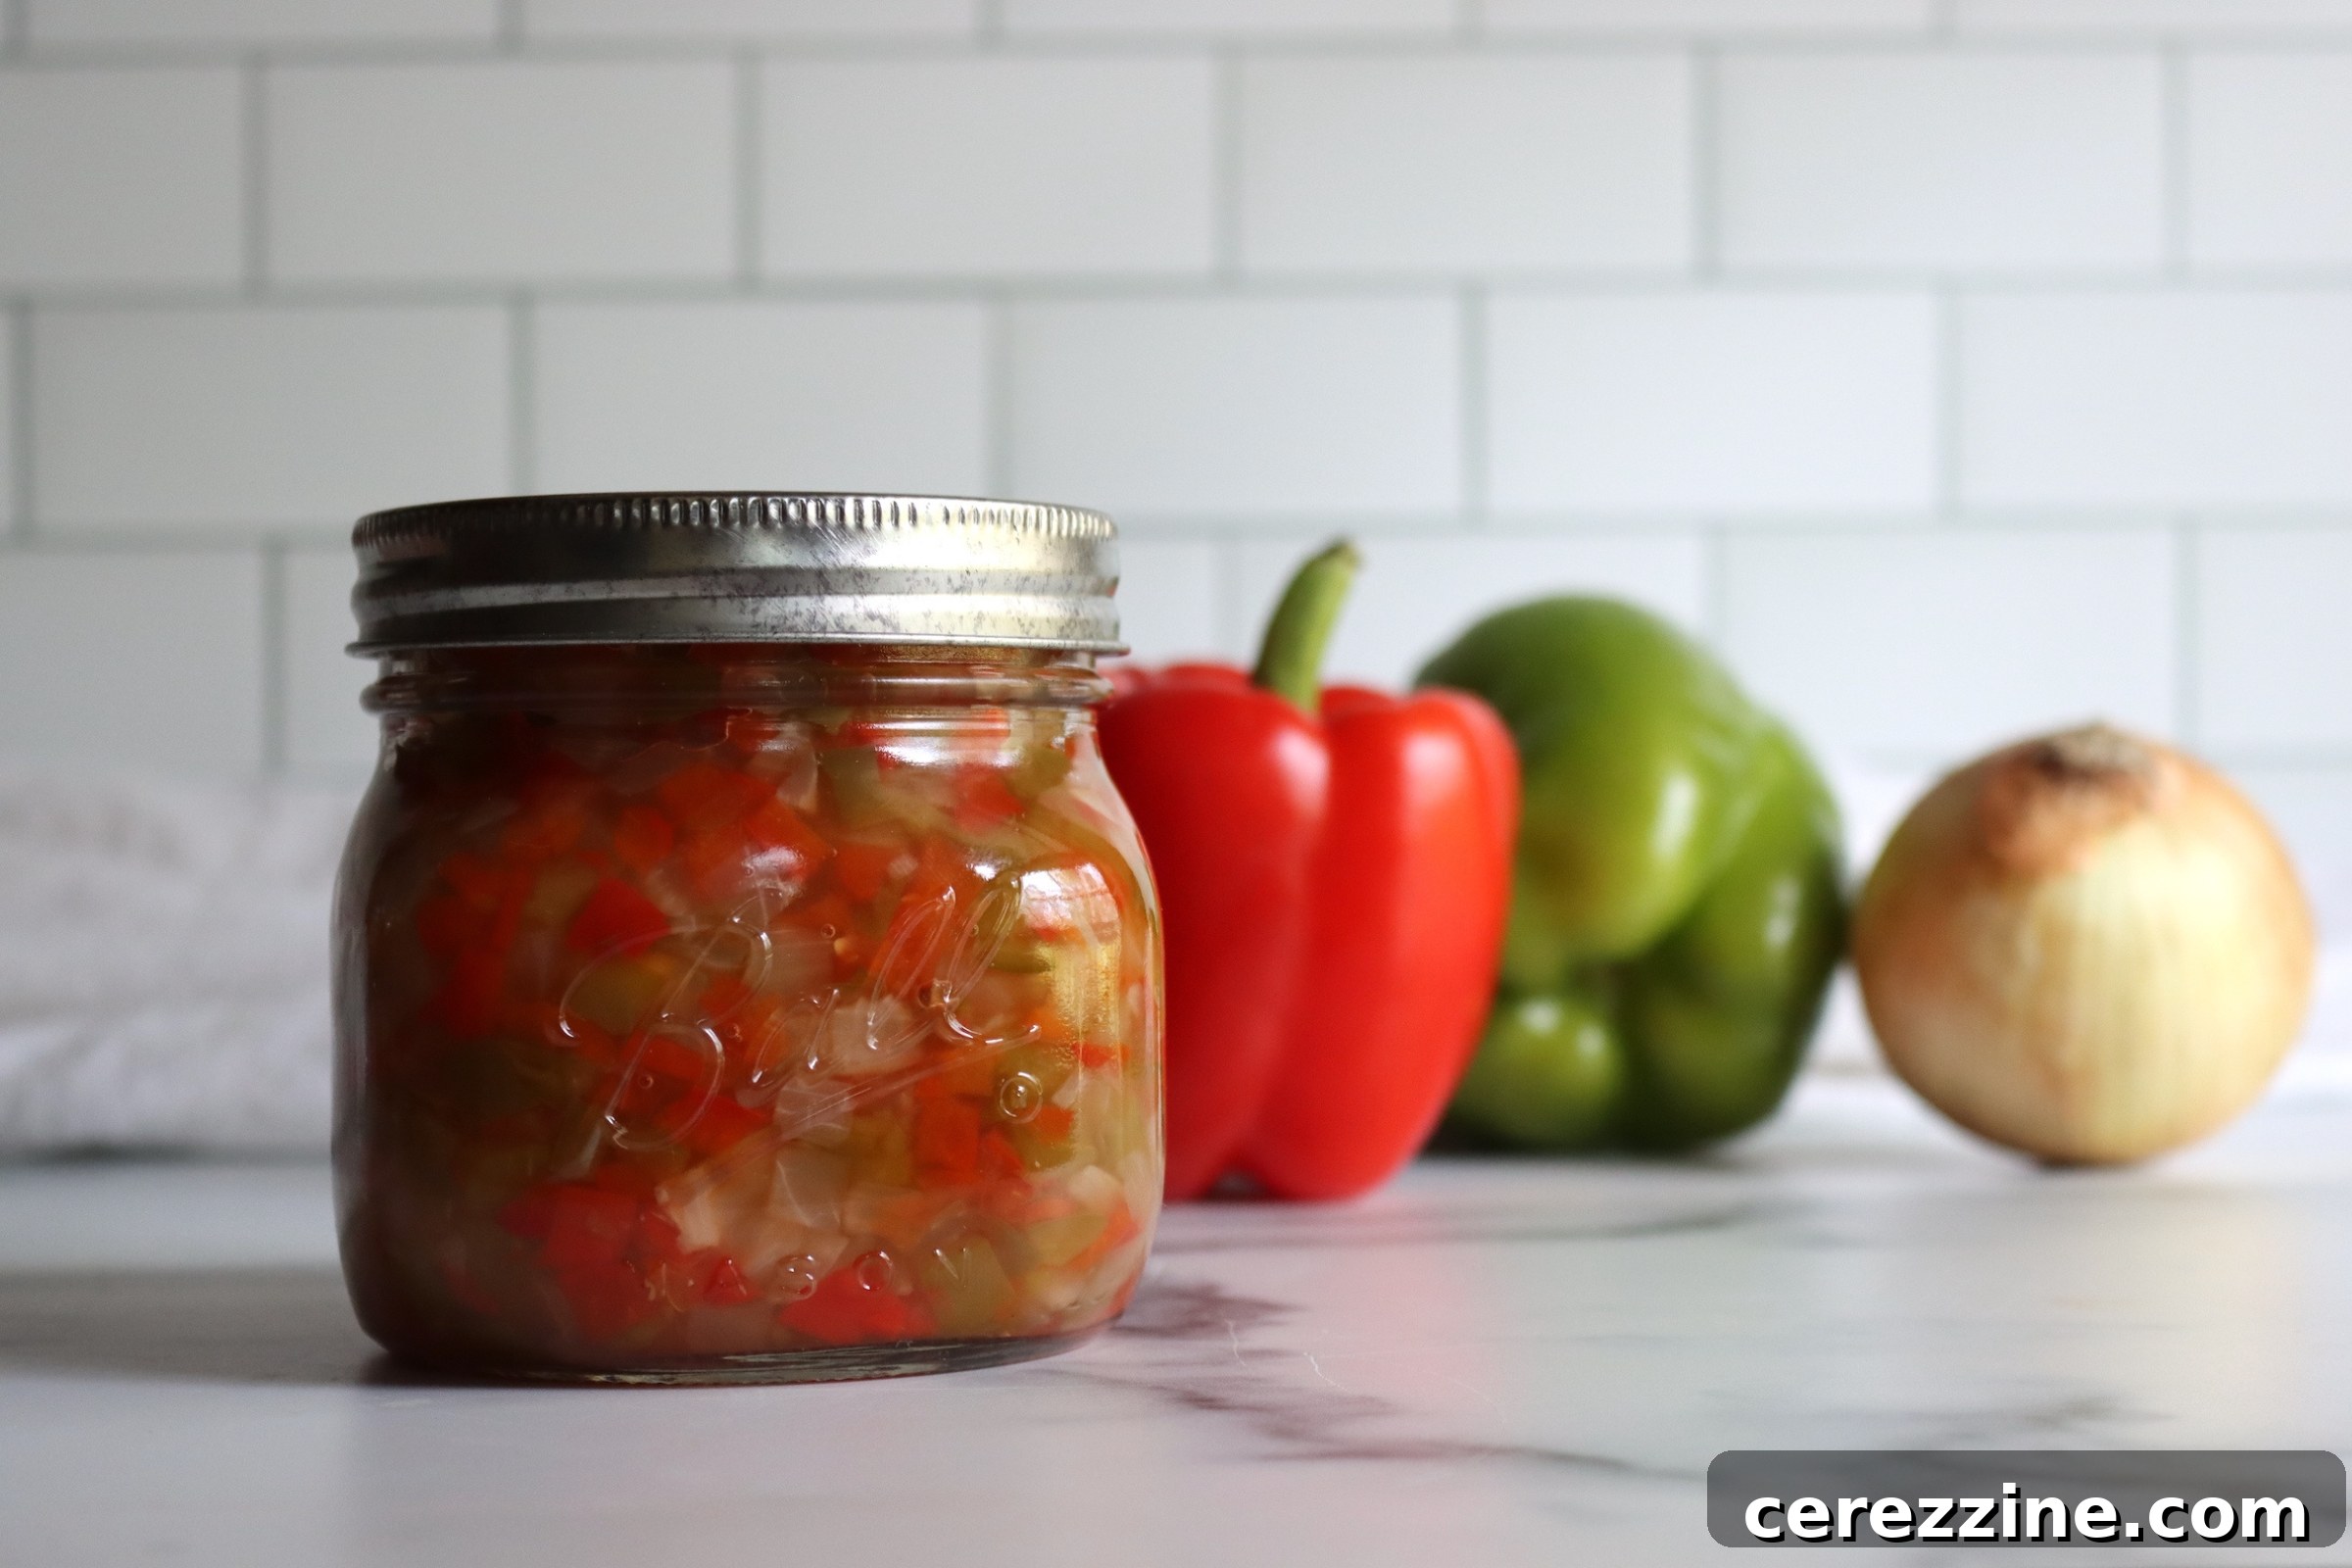
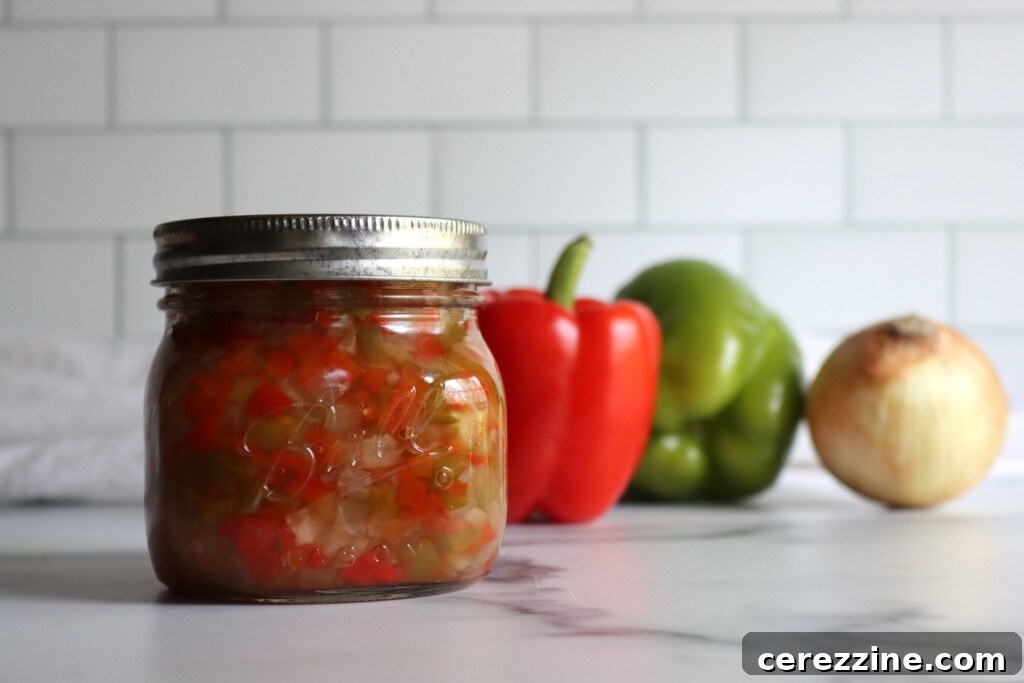
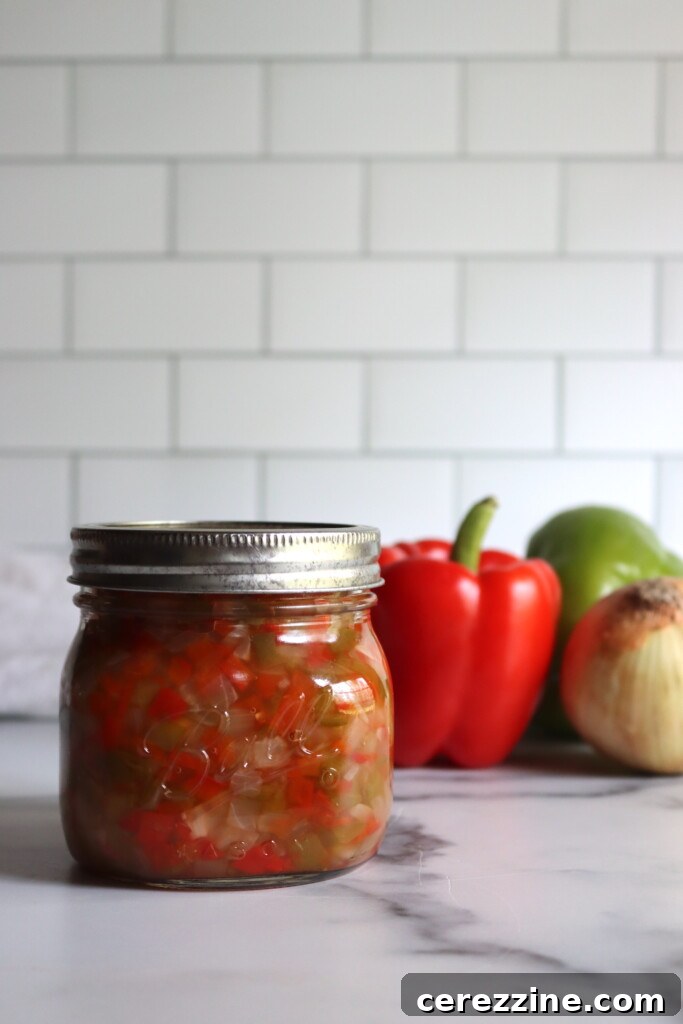
Welcome to the vibrant world of homemade condiments! This comprehensive guide will walk you through crafting a delicious, shelf-stable **pepper onion relish**. Bursting with the sweet tang of red and green bell peppers, savory onions, and a perfectly balanced vinegar brine, this relish is more than just a condiment—it’s a celebration of garden-fresh flavors, easily preserved for year-round enjoyment. Forget store-bought options; our easy-to-follow recipe ensures a bright, colorful, and zesty addition to virtually any meal, from classic hot dogs and burgers to sophisticated cheese boards and grilled delicacies.
Why You’ll Love This Homemade Pepper Onion Relish Recipe
There’s an unparalleled satisfaction that comes with making your own condiments from scratch, and this pepper onion relish is a perfect example. It’s a simple, yet incredibly rewarding, project that brings together sweet bell peppers and crisp onions in a lightly tangy brine, creating a flavor profile that is both refreshing and deeply satisfying. This classic recipe, inspired by trusted sources like So Easy to Preserve and the National Center for Home Food Preservation, is designed to be straightforward for home cooks, even those new to canning.
Unlike many spicy hot pepper relishes that pack a fiery punch, this version is intentionally mild, focusing on the natural sweetness of red and green bell peppers. A careful balance of vinegar and a touch of sugar ensures not only safe preservation for pantry storage but also a mellow, balanced flavor that appeals to a wide range of palates. The onions add a foundational savory depth, complementing the sweetness of the peppers beautifully. This recipe is an absolute game-changer, especially during peak harvest seasons when you find yourself with an abundance of bell peppers from your garden or local market. It’s an ideal way to transform a generous yield into a gourmet pantry staple.
Beyond its delicious taste, this homemade relish boasts a vibrant, appealing appearance with a pleasant, slightly crunchy texture. Its mild, versatile flavor makes it a fantastic gateway recipe for those venturing into home canning. You won’t need any exotic spices or complex techniques here—just common ingredients and a reliable water bath canning process. Plus, it’s easily scalable, making it suitable for small batches to try out, or larger quantities for sharing with friends and family. Once you’ve experienced the ease and incredible flavor of this relish, it’s sure to earn a permanent spot on your pantry shelf.
The Essential Ingredients for a Perfect Pepper Onion Relish
The beauty of this relish lies in its simplicity and the quality of its fresh ingredients. By keeping the spice profile minimal, we allow the natural, sweet-tangy flavors of the peppers and onions to truly shine through the vinegar brine. Here’s a closer look at what you’ll need and why each component is crucial:
- Red Bell Peppers: These provide a rich, sweet, and deeply flavored base for the relish. Their vibrant red color also adds a beautiful visual appeal, making the finished product truly pop in the jar. Aim for firm, unblemished peppers.
- Green Bell Peppers: Offering a slightly more bitter and bright note, green bell peppers perfectly balance the sweetness of their red counterparts. This combination creates a well-rounded flavor profile and a lovely two-toned appearance.
- Onions: Finely diced onions are essential for providing a savory base and adding a subtle pungency that rounds out the overall flavor of the relish. Yellow or white onions work best for their mild sweetness when cooked.
- Vinegar: This is arguably the most critical ingredient for safe canning and flavor. You must use white or cider vinegar with a guaranteed 5% acidity. The acidity level is non-negotiable for proper preservation, ensuring that your relish is safe for long-term storage at room temperature. Do not substitute with lower acidity vinegars.
- Sugar: While this is a savory relish, a measured amount of sugar is vital. It lightens the sharp acidity of the vinegar and helps the flavors mellow beautifully as the relish ages in the jar. It creates that irresistible sweet and sour balance.
- Canning Salt: Specifically designed for canning and preserving, canning salt (or pickling salt) is free from anti-caking agents and iodine. These additives, found in regular table salt, can cloud your brine and discolor your vegetables, affecting both the appearance and quality of your relish.
Mastering the Craft: How to Make and Can Pepper Onion Relish Safely
Making this pepper onion relish is a rewarding experience, and following these steps carefully will ensure a safe and delicious product. Precision in preparation and strict adherence to canning guidelines are key for both flavor and longevity.
Preparing Your Vegetables
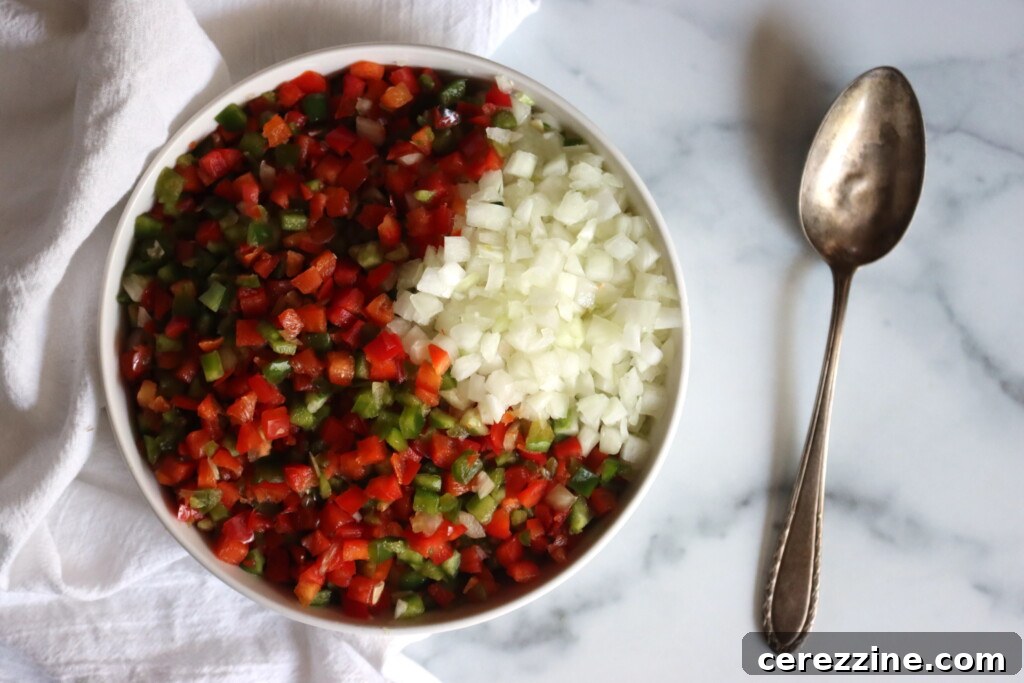
Begin by thoroughly washing your red and green bell peppers and onions. For the peppers, carefully remove the stems, seeds, and any white membranes, as these can impart bitterness. Then, chop both the peppers and onions into uniform ¼-inch dice. Consistency in size is important because it ensures that all vegetables cook evenly and results in a visually appealing relish with a uniform texture. Unevenly chopped vegetables can lead to some pieces being overcooked and mushy while others remain too firm.
Setting Up Your Canning Station
Before you start cooking, prepare your water bath canner. Ensure it’s filled with enough water to cover your jars by at least an inch once they are submerged. Sterilize your canning jars, lids, and rings according to standard canning practices. Jars can be sterilized by simmering them in boiling water for at least 10 minutes, or by running them through a hot cycle in a dishwasher. Keep them hot until ready to fill to prevent thermal shock when adding hot relish.
Cooking the Relish
In a large, non-reactive stockpot (stainless steel or enamel-coated are ideal), combine the vinegar, sugar, and canning salt. Bring this mixture to a full boil over high heat, stirring occasionally to dissolve the sugar and salt. Once boiling, add all the chopped bell peppers and onions to the pot. Return the mixture to a full boil, then reduce the heat to a steady simmer. Allow the relish to cook for approximately 5 minutes, stirring frequently. This simmering time ensures the vegetables begin to soften slightly and become thoroughly coated in the hot, flavorful brine, which is crucial for proper preservation.
Filling and Sealing Jars
Once the relish has simmered, use a slotted spoon to carefully ladle the hot vegetable mixture into your prepared, hot canning jars, leaving ½ inch of headspace. Headspace is the empty space between the top of the food and the rim of the jar, essential for creating a strong vacuum seal. After filling with vegetables, ladle the hot brine over the top, ensuring all the vegetables are completely submerged in the liquid while still maintaining that ½ inch of headspace. It’s important that no vegetables float above the brine, as this can lead to discoloration or spoilage.
Next, use a non-metallic utensil (like a plastic spatula or chopstick) to gently remove any air bubbles trapped within the jar. Run the utensil along the inside of the jar, pressing the vegetables to release air. Recheck the headspace and add more brine if necessary. Finally, wipe the rims of each jar thoroughly with a clean, damp cloth to remove any food particles that could interfere with the seal. Place a sterilized two-part canning lid (flat lid and ring) on each jar and screw the rings on to fingertip tight—just snug enough to hold the lid in place, but not too tight, allowing air to escape during processing.
Water Bath Processing
Carefully lower the filled jars into your boiling water bath canner, ensuring they are fully submerged by at least one inch of water. Bring the water back to a rolling boil and process the jars for 10 minutes. This processing time is for both pint and half-pint jars. It’s crucial to adjust this processing time if you are canning at higher altitudes, as boiling points change with elevation.
After the processing time is complete, turn off the heat and let the jars sit in the canner for an additional 5 minutes. This allows the internal temperature of the jars to equalize slowly, which can help prevent siphoning (liquid loss) and promote a stronger seal. Carefully remove the jars from the canner and place them on a clean towel or cooling rack, ensuring there’s space between each jar for air circulation. Let them cool undisturbed for 12 to 24 hours. During this time, you should hear the satisfying “ping” sound as the lids seal. After cooling, check all seals by pressing the center of each lid; if it doesn’t flex, the jar is sealed. Any unsealed jars should be refrigerated and consumed within a few weeks.
Altitude Adjustments for Safe Canning
For safe water bath canning, it is critical to increase your processing time based on your elevation above sea level:
- 0 to 1,000 feet: Process for 10 minutes.
- 1,001 to 6,000 feet: Process for 15 minutes.
- Above 6,000 feet: Process for 20 minutes.
Creative Ways to Enjoy Your Homemade Relish: Serving Suggestions
Once you’ve made a batch of this delightful pepper onion relish, you’ll discover just how versatile it is in the kitchen. Its gentle sweetness, vibrant acidity, and subtle crunch can elevate a vast array of savory dishes, adding a gourmet touch with minimal effort.
Beyond the obvious pairings, try stirring a spoonful into your scrambled eggs or omelets for a bright morning kick. It’s fantastic mixed into classic egg salad, tuna salad, or chicken salad, adding both flavor and texture. For a simple yet elegant appetizer, serve it alongside goat cheese or cream cheese with crackers, or as part of a charcuterie board. You can also incorporate it into warm grain bowls with roasted vegetables and protein, or use it as a flavorful base for marinades and glazes for grilled chicken or fish. Don’t limit yourself to main courses; this relish can also be a secret ingredient in savory muffins, cornbread, or even as a unique topping for baked potatoes. Its simple, balanced flavor profile truly pairs with almost anything you can imagine, making it a beloved pantry staple for creative cooks.
Frequently Asked Questions About Canning Pepper Relish
What kind of peppers can I use?
While this recipe specifically calls for red and green bell peppers for their balanced sweetness and color, you can experiment with other sweet varieties like yellow or orange bell peppers. Avoid hot peppers unless you are intentionally making a spicy relish, and understand that substituting with very mild peppers might slightly alter the final flavor profile.
Can I make it spicy?
Absolutely! To add a kick, you can include a small amount of finely minced jalapeño or serrano peppers (adjust to your heat preference) along with the bell peppers and onions. Alternatively, a pinch of red pepper flakes added to the brine can provide a subtle warmth without overpowering the main flavors. Remember to handle hot peppers with gloves to avoid skin irritation.
How long does homemade relish last?
Properly canned and sealed pepper onion relish, stored in a cool, dark place, can last for at least 12-18 months. Once opened, it should be refrigerated and consumed within 2-3 weeks for optimal freshness and safety.
What is canning salt?
Canning salt, also known as pickling salt, is a pure granular salt specifically designed for pickling and canning. It is free from anti-caking agents and iodine, which are common in table salt. These additives can cloud the liquid and darken the vegetables in your relish, affecting its appearance and potentially its flavor over time. Always use canning salt for best results in preserving.
Tips for Relish Making Success
- Uniform Chopping: Taking the time to dice your peppers and onions into consistent ¼-inch pieces ensures even cooking and a beautiful, professional-looking relish.
- Accurate Measurements: Canning is a science, especially when it comes to acidity. Always measure your vinegar, sugar, and salt precisely as specified in the recipe.
- Don’t Skimp on Vinegar: The 5% acidity of the vinegar is crucial for inhibiting bacterial growth and ensuring your relish is safe for canning. Do not reduce the amount or substitute with lower acidity liquids.
- Use Proper Canning Equipment: A reliable water bath canner, quality jars, and new lids are essential for successful and safe home canning. Always inspect jars for cracks or chips before use.
- Check Seals: After the jars have cooled completely (12-24 hours), check each lid to ensure it has sealed properly. The lid should be concave and not flex when pressed. Store sealed jars without the rings to prevent false seals.
64 servings, makes about 4 pints
Pepper Onion Relish
10
10
10
30
Equipment
-
Water Bath Canner
Ingredients
- 5 cups red bell peppers, chopped into ¼-inch dice (from 3–4 lbs as purchased)
- 5 cups green bell peppers, chopped into ¼-inch dice (from 3–4 lbs as purchased)
- 1½ cups onion, chopped into ¼-inch dice (from about 1½ lbs)
- 6 cups white or cider vinegar, 5% acidity
- 1½ cups sugar
- 2 tablespoons canning salt
Instructions
-
Wash peppers and onions. Remove stems and seeds from the peppers, then chop all vegetables into uniform ¼-inch dice.
-
Prepare a water bath canner and sterilize jars, lids, and rings.
-
In a large pot, combine vinegar, sugar, and salt. Bring to a boil over high heat. Add chopped vegetables and return to a boil, then reduce heat and simmer for 5 minutes. Stir frequently to ensure all vegetables are coated in hot brine.
-
Use a slotted spoon to pack hot vegetables into jars, leaving ½ inch headspace. Ladle hot brine over the vegetables, ensuring all contents are submerged and maintaining ½ inch headspace.
-
Debubble, adjust headspace, wipe rims, and cap with two-part canning lids.
-
Process in a boiling water bath canner for 10 minutes, adjusting for altitude.
-
Let jars cool undisturbed for 12–24 hours. Check seals before storing.
Notes
- 0–1,000 ft: 10 minutes
- 1,001–6,000 ft: 15 minutes
- Above 6,000 ft: 20 minutes
Nutrition
Calories: 29kcal
,
Carbohydrates: 6g
,
Protein: 0.3g
,
Fat: 0.1g
,
Saturated Fat: 0.02g
,
Polyunsaturated Fat: 0.03g
,
Monounsaturated Fat: 0.002g
,
Sodium: 220mg
,
Potassium: 51mg
,
Fiber: 1g
,
Sugar: 6g
,
Vitamin A: 408IU
,
Vitamin C: 25mg
,
Calcium: 4mg
,
Iron: 0.1mg
Nutrition information is automatically calculated, so should only be used as an approximation.
Making your own pepper onion relish is more than just a culinary task; it’s an enjoyable way to savor the bounty of the harvest and stock your pantry with a versatile, flavorful condiment. We encourage you to try this recipe and experience the satisfaction of homemade goodness. Don’t forget to share your creations and serving ideas!