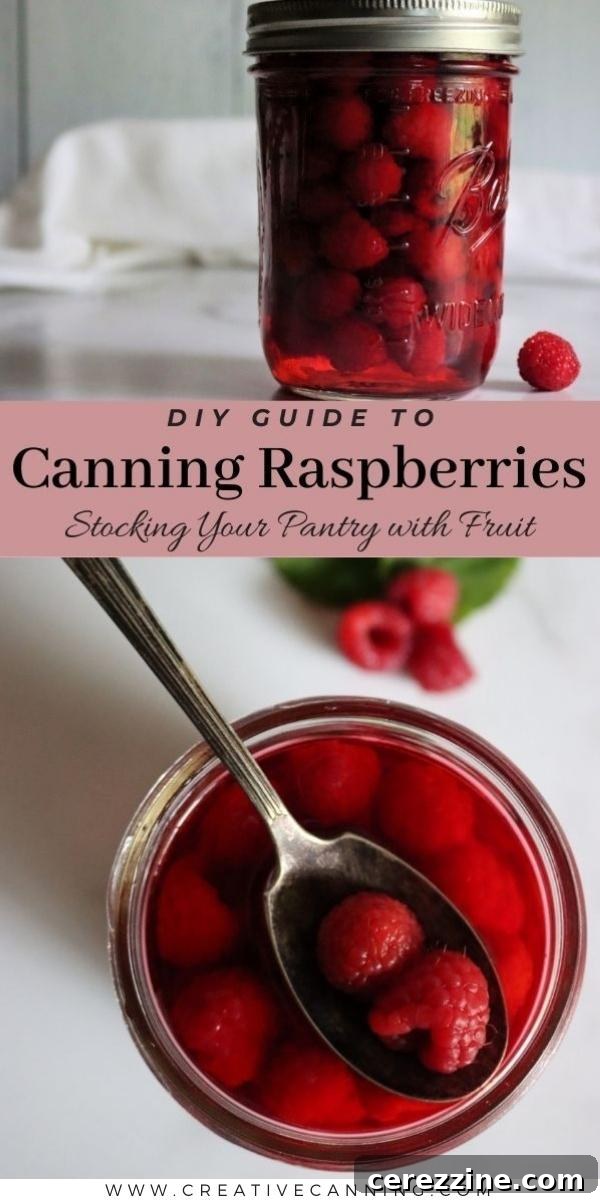
The Ultimate Guide to Canning Raspberries: Preserving Summer’s Sweetness
There’s nothing quite like the taste of fresh raspberries, and preserving them through canning allows you to enjoy that vibrant flavor long after the summer season ends. Canning raspberries is a wonderfully simple and effective way to store these delicate berries right on your pantry shelf, ready to transform everyday meals into something special. Whether you’re baking up a batch of muffins, crafting a delicious cobbler, or simply looking for an exquisite topping for yogurt or ice cream, home-canned raspberries are an unparalleled choice.
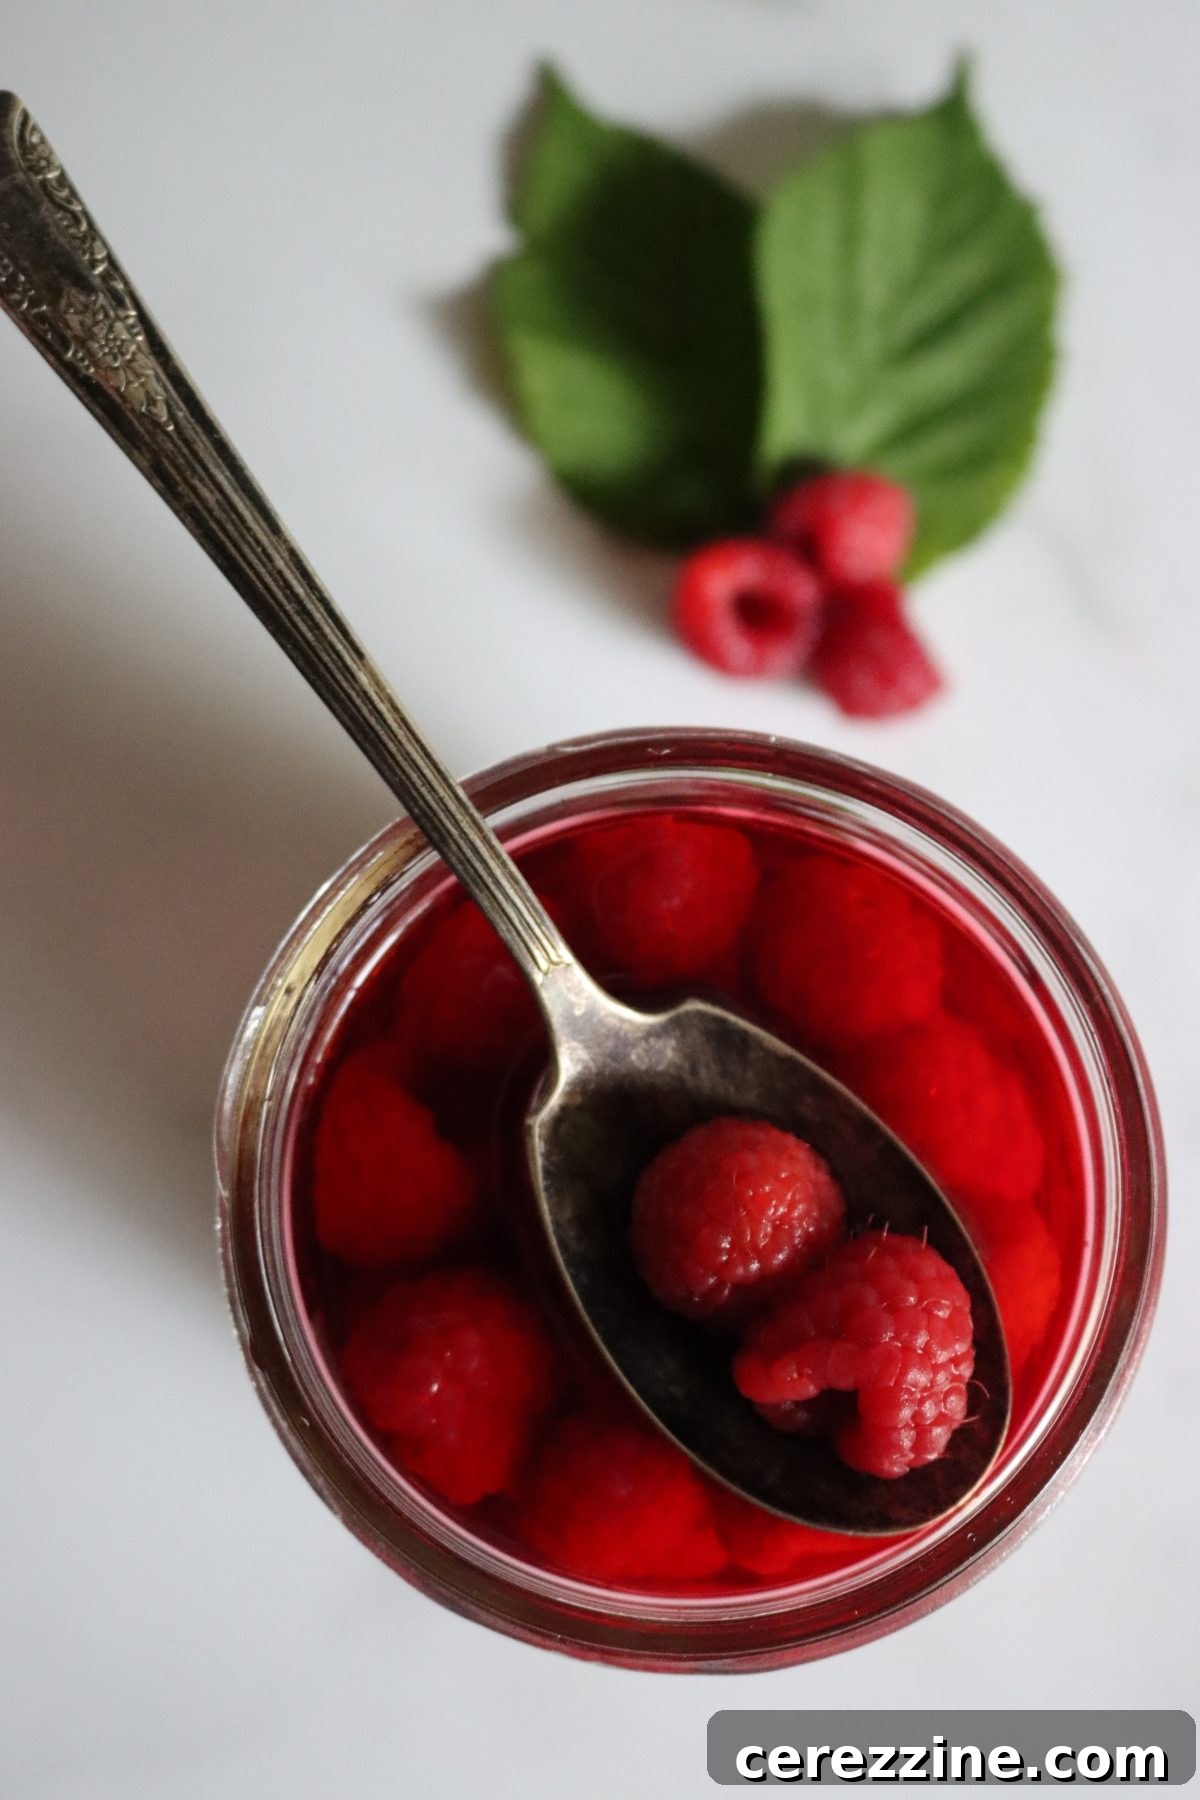
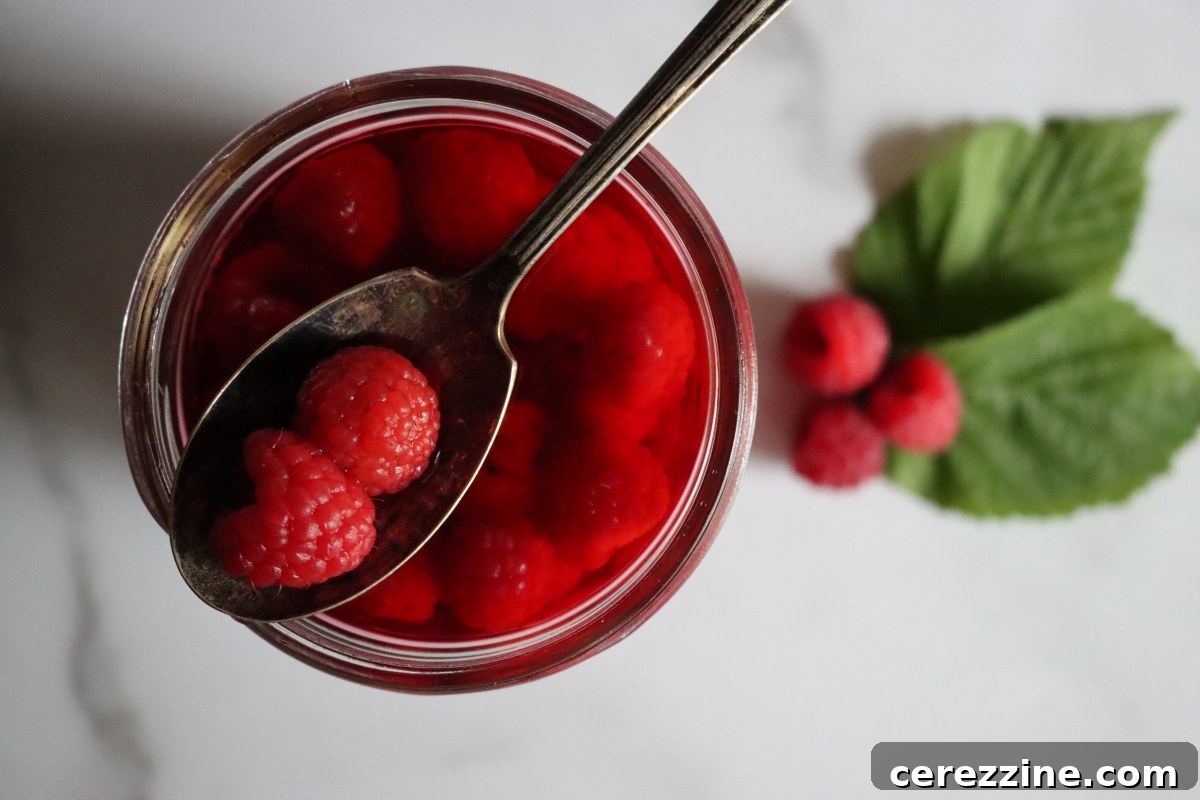
And let’s be honest, sometimes the best way to enjoy them is straight out of the jar with a spoon – a pure burst of summer in every bite!
Why Choose Canning for Raspberries? A Sweet Alternative
While many home preservers opt for freezing or dehydrating raspberries, canning offers distinct advantages, particularly when it comes to maintaining their delicate texture and natural sweetness. It’s a method that perhaps doesn’t receive as much attention, but once you discover the benefits, it quickly becomes a favorite.
Comparing Preservation Methods: Canning vs. Freezing vs. Dehydrating
Dehydrating raspberries is certainly a viable option, resulting in a portable, shelf-stable snack perfect for granola, trail mix, or cereals. However, dehydrated berries often become too dry for baking applications and lack the juicy plumpness needed for toppings on desserts like ice cream or yogurt.
Freezing, another popular method, can sometimes alter the flavor profile of raspberries. In my experience, frozen raspberries tend to accentuate their tartness, often diminishing their inherent sweetness. When used in baking, such as muffins, they can create pockets of intense sourness that might overwhelm an otherwise balanced flavor. Even berries that tasted perfectly sweet when fresh can develop this tart quality after freezing – a mystery of preservation that many home cooks have observed.
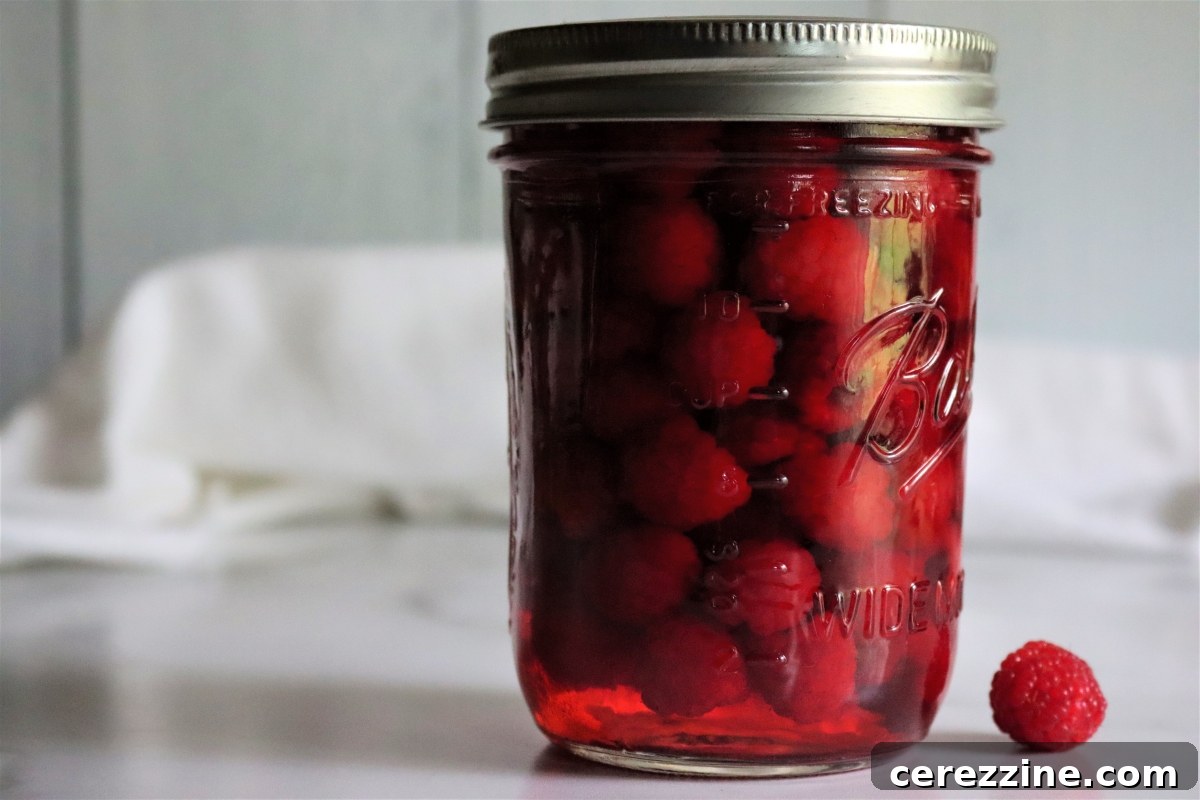
Canned raspberries, on the other hand, truly shine in versatility and flavor retention. By canning them in a light syrup, their sweetness is meticulously preserved, preventing that undesirable tartness often associated with freezing. They emerge from the jar plump and juicy, making them ideal for muffins, pies, cobblers, or as a delightful topping for virtually anything. Essentially, anywhere you would use fresh raspberries, you can confidently substitute their home-canned counterparts, often with even better results due to their tender, slightly sweetened state.
The Secret to Perfectly Canned Raspberries: Handling with Care
You might be wondering, “Don’t raspberries tend to fall apart during the canning process?” It’s a valid concern, as these berries are quite delicate. However, with the right technique and careful handling, you can achieve surprisingly intact and beautiful canned raspberries.
Harvesting Directly into Jars: Minimizing Damage
The first crucial step lies in the harvesting process. I advocate for selecting only the most perfect, firm-ripe berries – those that hold their shape well directly off the canes – and harvesting them straight into your canning jars. This method significantly minimizes handling, which is paramount for delicate fruits like raspberries, preventing bruising and preserving their integrity.
By bringing the jars directly to the raspberry patch, you ensure that the berries are canned at their peak freshness. They move directly from the plant into the jar and then quickly into the canner, often within the hour. This rapid processing locks in flavor and texture, far surpassing what you can achieve with store-bought berries that have already endured days of travel and handling.
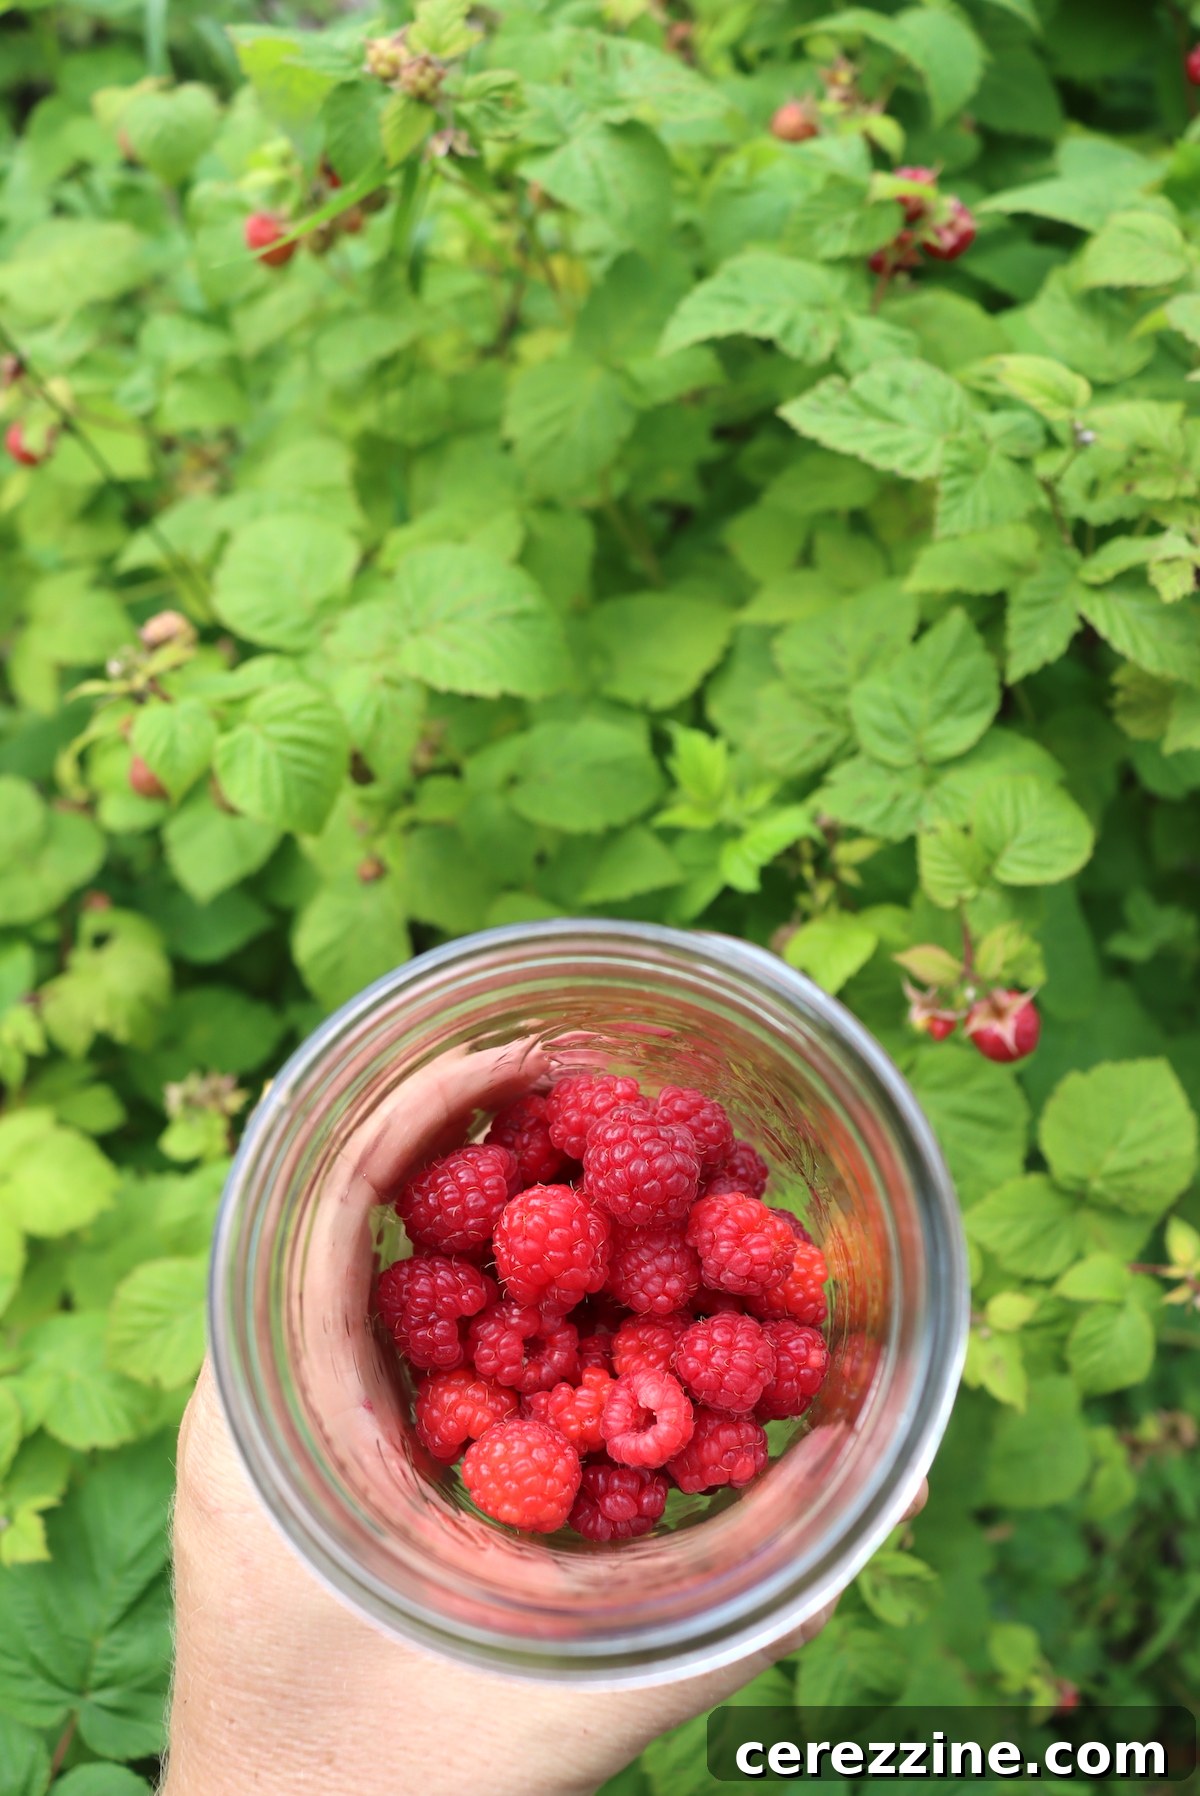
For those fortunate enough to have a raspberry patch nearby, carrying a flat of jars to your garden makes this process incredibly convenient. Even if your own patch isn’t bountiful, don’t despair! Many “pick your own” farms are amenable to this method. Always ask first, but since they typically charge by weight or volume, picking directly into your own pint jars can save them the cost of cardboard containers, reduce waste, and ensure you get the freshest, highest-quality berries for your canning project.
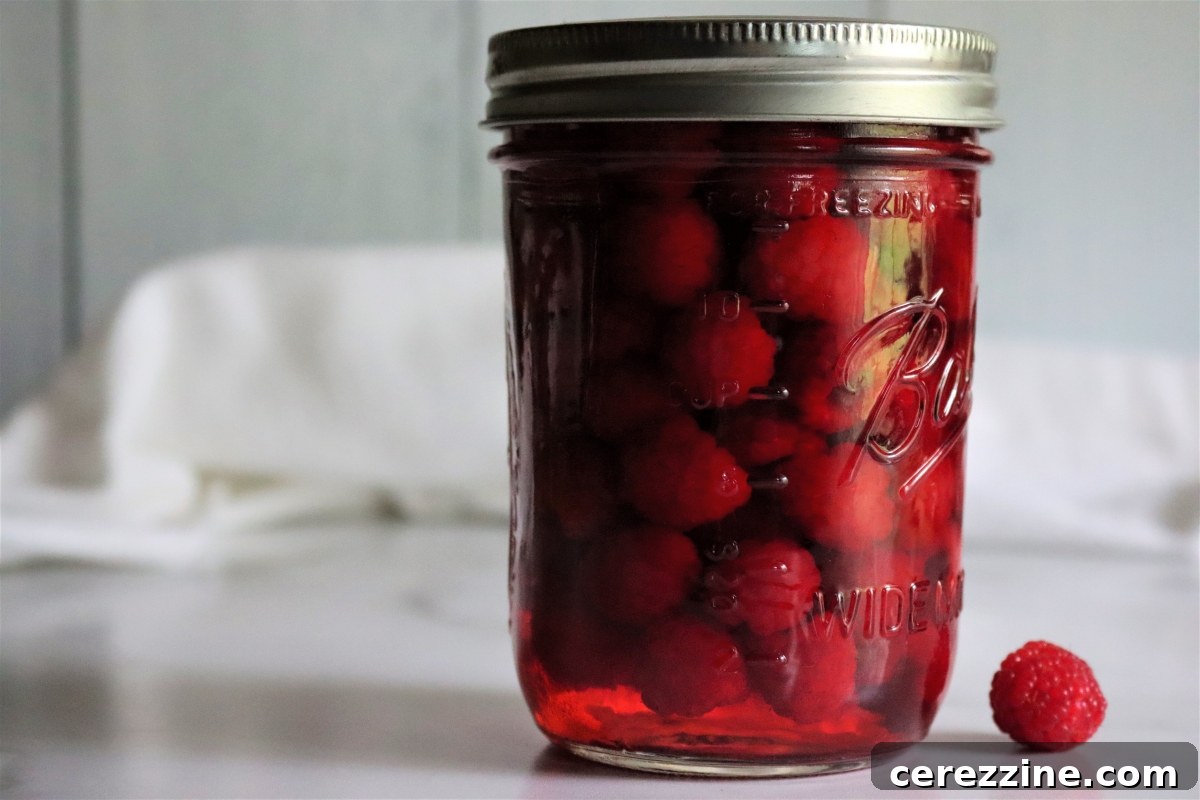
When treated with such care, these delicate berries emerge from the canner remarkably intact and are, quite frankly, divine straight from the jar.
Choosing the Right Raspberry Variety
The variety of raspberry also plays a significant role in how well they hold up to canning. Some types are inherently more crumbly and simply not suited for maintaining a whole shape. Varieties like ‘Latham’, which were developed for commercial production, tend to be firmer and more robust, designed to withstand the rigors of picking and transport. Many commercial varieties possess these desirable characteristics for canning. However, even the “right” variety from a grocery store might be a week or more old by the time it reaches your kitchen, making it prone to falling apart in the canner. For the best results, always aim for fresh, firm berries.
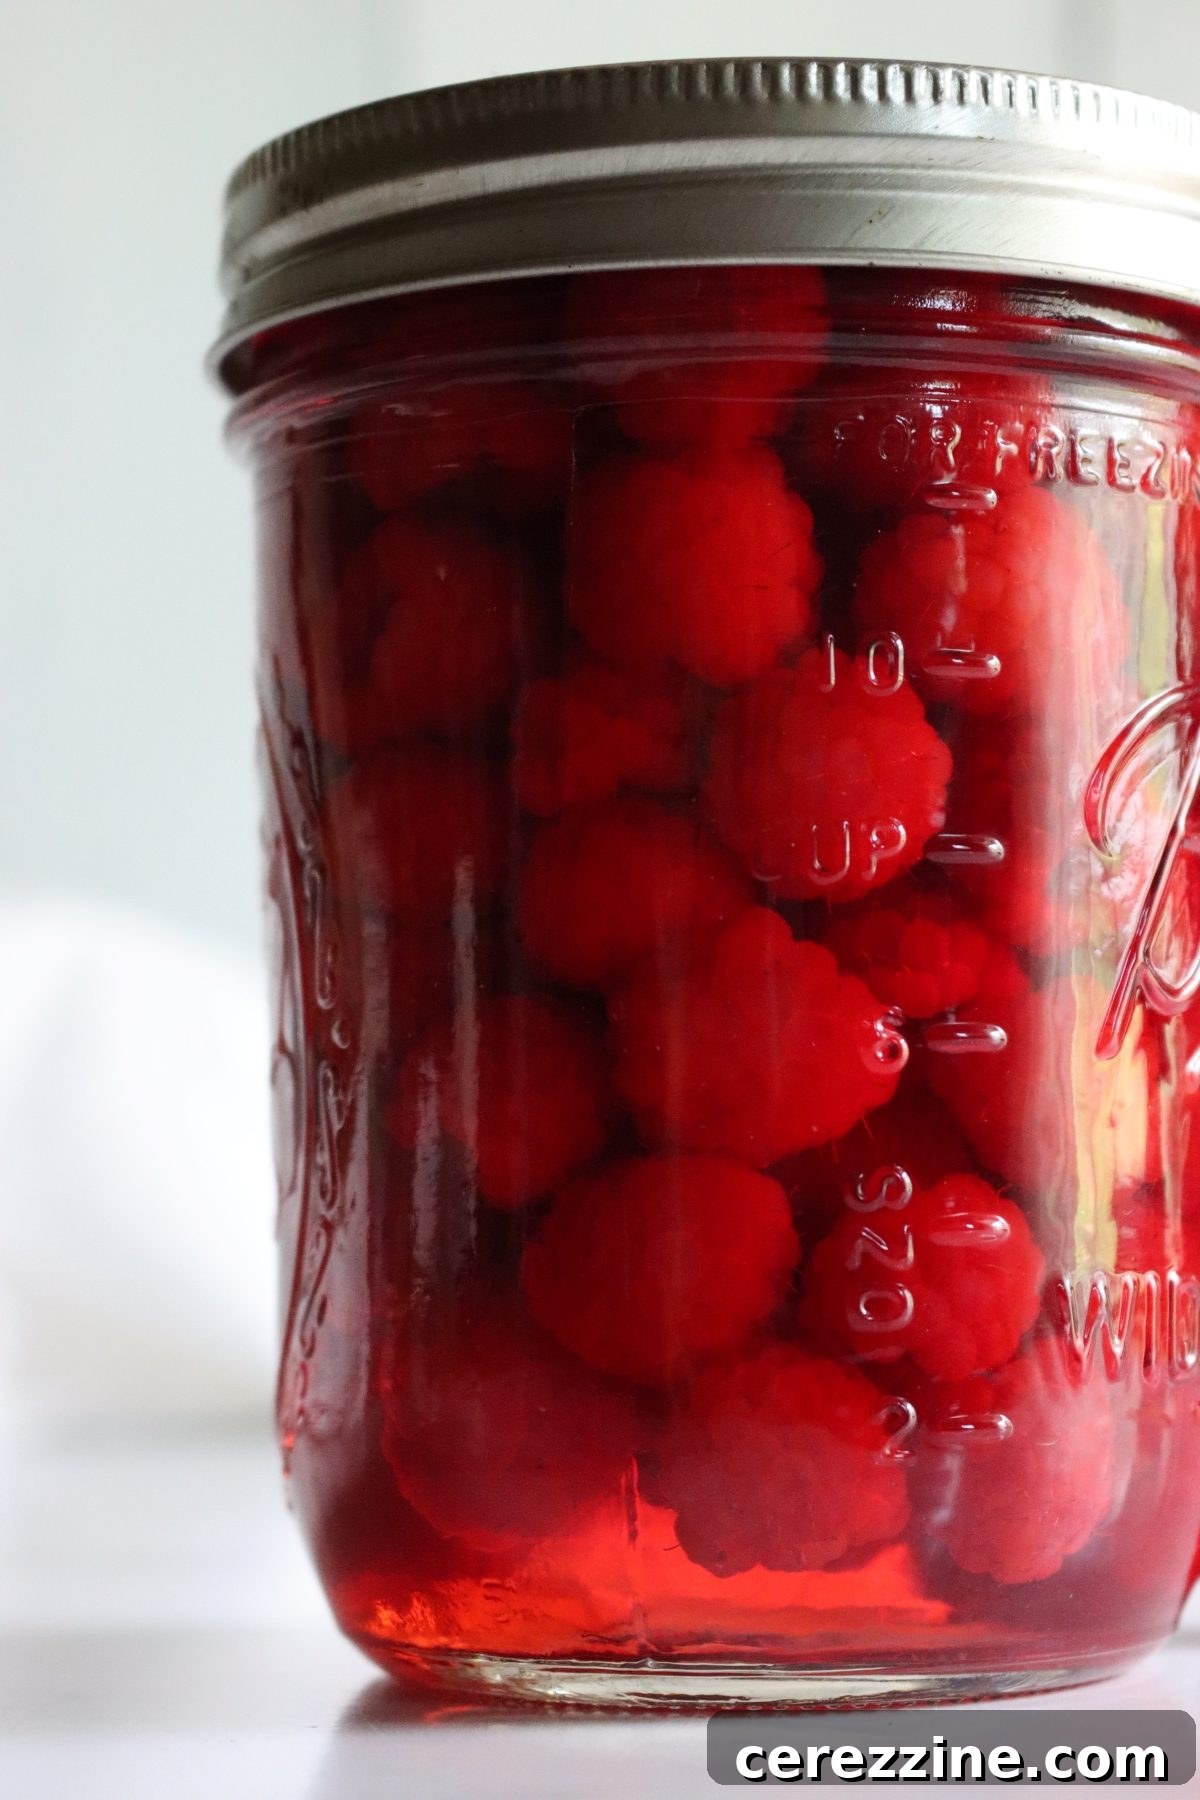
Should your raspberries soften during processing, don’t let it deter you! Even if they fall apart, they are still absolutely delicious canned. The flavor remains, making them perfect for homemade jams or, for a more adventurous culinary pursuit, a delightful raspberry wine. If they do hold their shape, however, they look absolutely stunning in the jar and make for impressive, much-complimented gifts.
Step-by-Step: How to Water Bath Can Raspberries
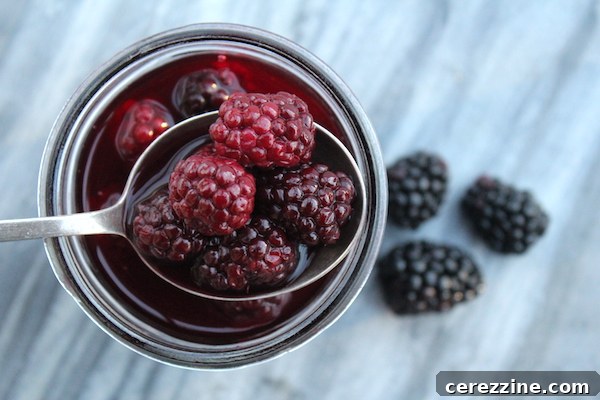
Canning raspberries using the water bath method is a straightforward process, quite similar to canning blackberries or canning blueberries. In fact, the USDA guidelines for processing times and headspace are identical for these berries.
While I often hot pack blueberries to account for their shrinkage, and sometimes pack blackberries in a delicious brandy syrup, raspberries call for a slightly different approach due to their delicate nature.
For raspberries, I highly recommend a raw pack in a simple light syrup. This method best preserves their delicate texture and fresh flavor. As mentioned earlier, harvesting very firm fruit directly into the canning jars is key to minimizing handling and achieving optimal results.
Choosing the Right Jar Size
When canning raspberries, you can use half-pints, pints, or quarts. However, for best quality and to preserve the delicate structure of the berries, I strongly advise against using quarts. The longer processing time required for quart jars can be harsh on the fruit, leading to a softer, more broken-down product. Stick to smaller jars – half-pints or pints – as their shorter processing times help the berries maintain their shape and integrity. This principle also applies to other delicate items, such as canning dill pickles, where smaller jars prevent sogginess.
Below, you’ll find instructions for both raw and hot pack methods, as well as guidance on jar sizes, so you can make an informed decision for your home canning needs.
(If you’re new to water bath canning, I highly recommend consulting a comprehensive beginner’s guide to water bath canning before you start.)
Raw Pack vs. Hot Pack for Raspberries
- Raw Pack Canning Raspberries: Gently pack fresh, firm-ripe berries directly into clean canning jars, leaving 1/2 inch of headspace. Pour boiling syrup, water, or fruit juice over the berries, ensuring they are fully covered while maintaining the 1/2 inch headspace. Process in a water bath canner according to the time specified in the table below. This method is generally preferred for delicate fruits like raspberries as it minimizes cooking time prior to processing, helping them retain their shape and texture.
- Hot Pack Canning Raspberries: While generally not recommended for raspberries due to their delicate nature, a hot pack involves simmering the berries in water or syrup for approximately 30 seconds to heat them through and release some trapped air. Strain the berries with a slotted spoon and pack them into canning jars, leaving 1/2 inch headspace. Cover with the boiling liquid (their blanching liquid or chosen syrup/juice). Process in a water bath canner as per the table below. Hot packing is usually more suitable for firmer berries like blueberries or gooseberries.
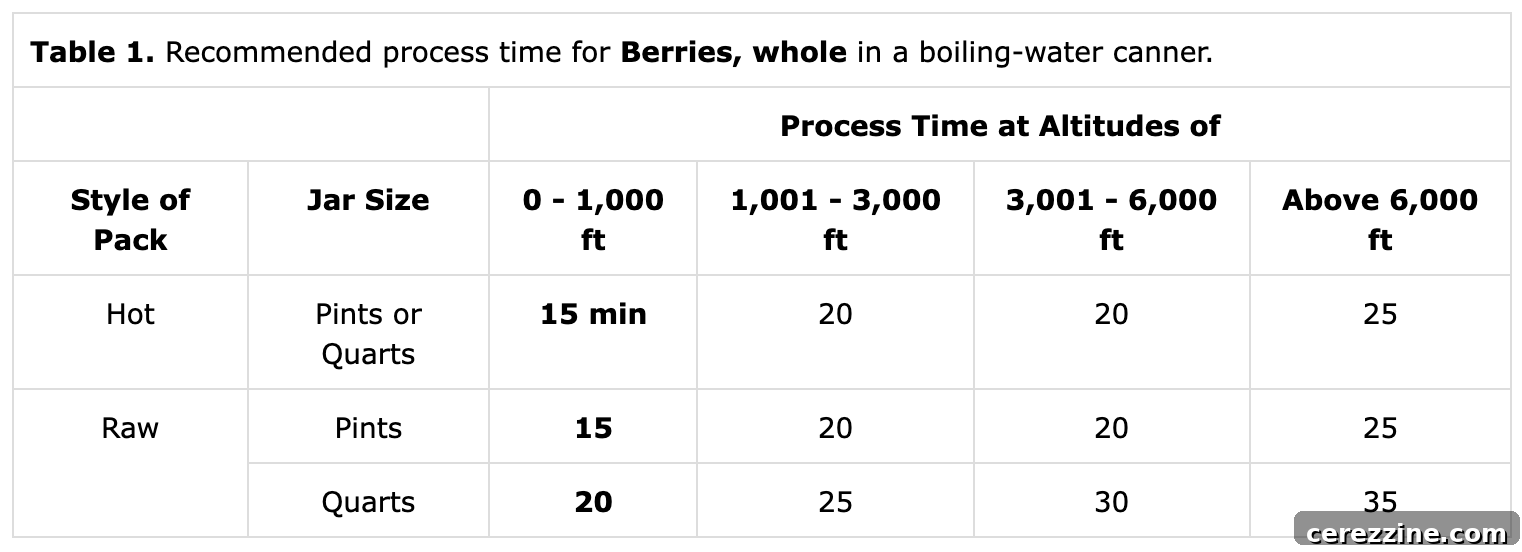
It’s important to note that for raw-packed raspberries, the canning time for quarts is longer than for pints. However, for pints, the processing time is the same whether you hot pack or raw pack. For this reason, I consistently recommend raw packing in pints or half-pints (which share the same processing time as pints) to minimize the overall cooking time and yield the best possible results.
Considering Pressure Canning for Raspberries
While it is possible to pressure can raspberries, I generally do not recommend it. The high temperatures and pressures involved in pressure canning can often lead to a significantly softer, more broken-down product, sacrificing the delicate texture that makes home-canned raspberries so enjoyable. Raspberries are a high-acid fruit, making them perfectly safe and suitable for water bath canning, which is a gentler method. However, for those who prefer or are equipped only with a pressure canner, you can use it for water bath canning by simply filling it with water and not engaging the pressure lid. If you are absolutely determined to pressure can raspberries, here are the general processing times and pressures (always consult current USDA guidelines for safety):
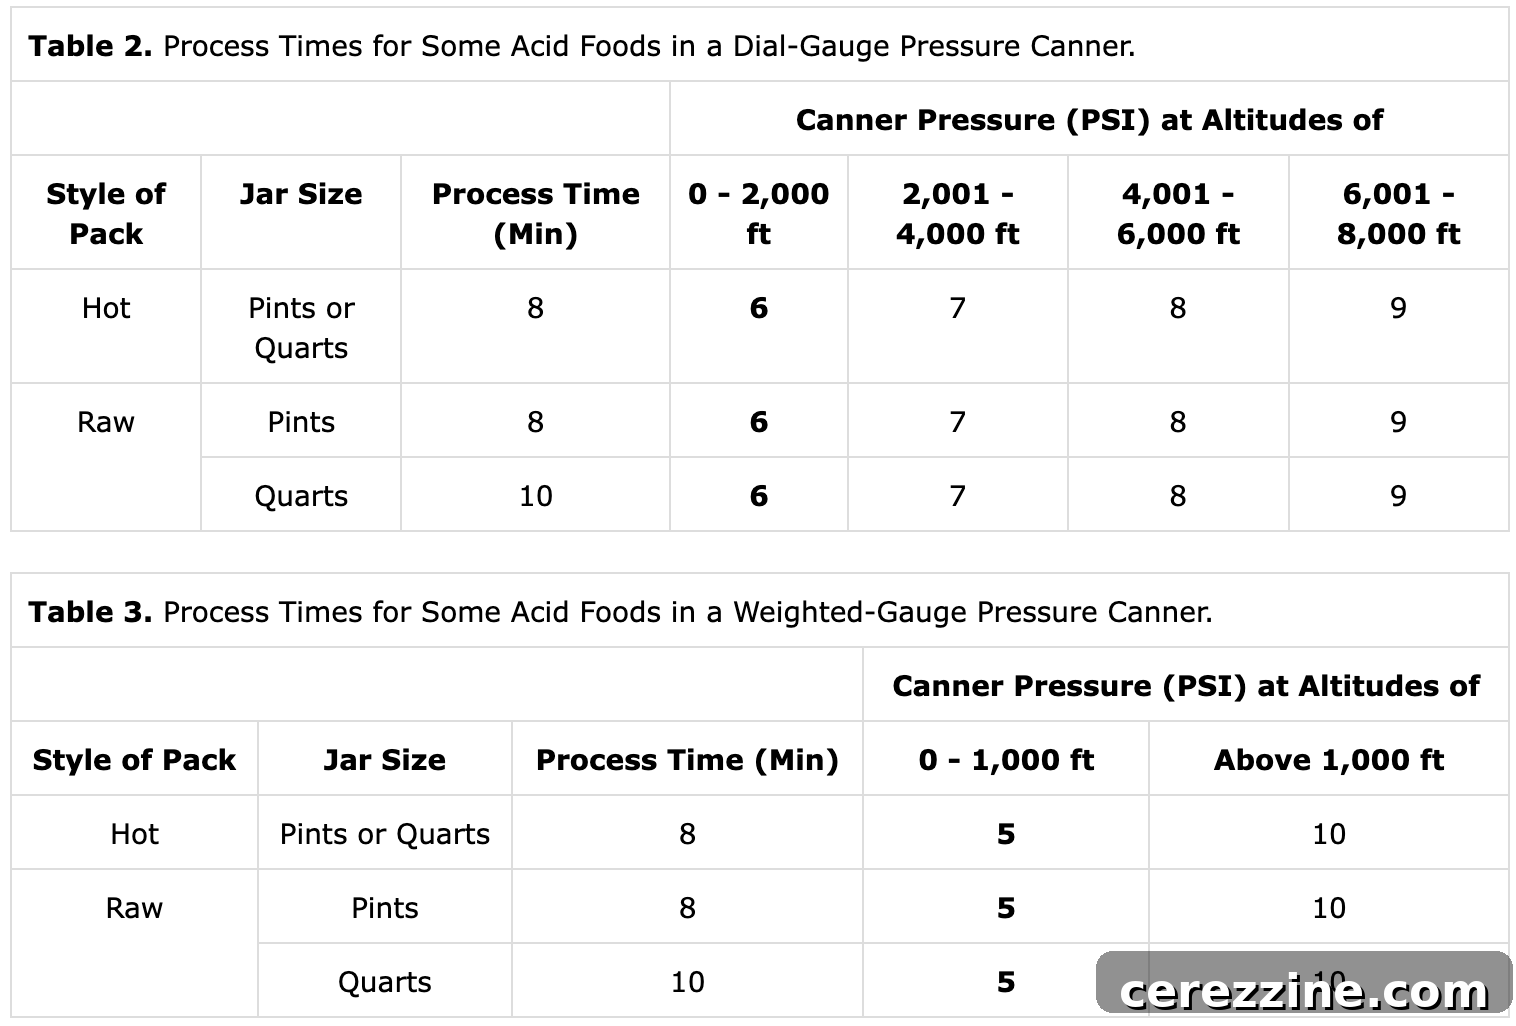
After processing in a pressure canner, always allow it to cool completely and naturally depressurize before opening. For water bath canning, once the processing time is complete, turn off the heat and let the jars remain in the canner for an additional 5 minutes. This gradual cooling helps prevent siphoning (liquid loss from the jars) caused by thermal shock when jars are removed too quickly. You can learn more about preventing this common canning mishap in my article on canning apple pie filling.
Syrup for Canning Raspberries: Enhancing Natural Flavor
The liquid you choose for canning raspberries plays a crucial role in their final flavor and appearance. You have several options: plain water, fruit juice, or sugar syrup.
I generally advise against using plain water, as it can dilute and wash out the natural, vibrant flavor of the raspberries. Fruit juices, such as apple or cherry juice, are excellent natural sweetening options and can add an interesting complementary note. However, be aware that the berries will absorb some of the juice’s flavor, subtly altering their pure raspberry taste.
For maintaining the authentic, delicate taste of raspberries, I find an extra light syrup to be the superior choice. This syrup mirrors their natural sweetness, ensuring the berries don’t lose flavor to the canning liquid, nor do they become excessively sweet. It provides the perfect balance, preserving their intrinsic character.
To prepare an extra light syrup suitable for a 9-pint canner load, you will typically need 6 1/2 cups of water and 3/4 cup of sugar. For those who prefer different levels of sweetness, ranging from very light to extra heavy syrup, you can consult a detailed table of canning syrups to find the precise sugar-to-water ratios.
Raspberry Canning Recipe: Raw Pack in Light Syrup
Canning Raspberries
Canning plain raspberries in light syrup is a versatile and effective way to preserve them for your pantry.
Cook Time: 15 mins
Total Time: 25 mins
Yields: 32 servings, Makes 9 Pints
Equipment
- Water Bath Canner
- Canning jars, lids, and rings
- Jar lifter
- Funnel
- Bubble remover/headspace tool
Ingredients
- 9 to 10 pints fresh raspberries, firm ripe
- 6 1/2 cups water
- 3/4 cup sugar
Instructions
- Prepare your water bath canner by filling it with water and heating it to approximately 140°F (60°C) for raw pack canning (not yet simmering). Wash and sterilize canning jars, lids, and rings as per manufacturer’s instructions.
- In a separate saucepan, combine 6 1/2 cups water and 3/4 cup sugar to create the extra light syrup. Bring this mixture to a rolling boil.
- Gently pack the fresh, firm-ripe raspberries into your prepared canning jars, being careful not to bruise the fruit. Leave a consistent 1/2 inch of headspace at the top of each jar.
- Carefully pour the boiling syrup over the raspberries in the jars, ensuring all berries are covered. Use a bubble remover tool to release any trapped air bubbles. Recheck and adjust the headspace, adding more syrup if necessary, to maintain 1/2 inch.
- Wipe the rims of the jars clean with a damp cloth. Center the lids on the jars and apply the screw bands finger-tight.
- Load the sealed jars into the prepared water bath canner, ensuring they are fully submerged in water by at least 1 inch.
- Bring the canner to a full, rolling boil. Once boiling vigorously, start your timer. Process pint jars for 15 minutes, and quart jars for 20 minutes. (Refer to the notes below for altitude adjustments.)
- When the processing time is complete, turn off the heat. Allow the jars to remain in the canner for an additional 5 minutes to cool slightly. This helps prevent siphoning.
- Carefully remove the jars from the canner using a jar lifter and place them on a towel on your counter, spaced apart, to cool completely for 12-24 hours. Do not disturb them during this time.
- After 24 hours, check all jar seals. Lids should be concave and not flex when pressed. Any unsealed jars should be refrigerated and consumed within a week. Properly sealed jars can be stored in a cool, dark pantry for 12-18 months.
Notes
- Canning Syrup: This recipe uses an extra light syrup. For different sweetness levels, refer to a reliable canning syrup table for sugar amounts. You can also use plain water (though not recommended for flavor) or fruit juice (apple, berry, cherry).
- Raw Pack vs. Hot Pack: While these instructions detail the raw pack method, which is best for raspberries, hot packing is an alternative. For hot pack, simmer berries in your chosen liquid for 30 seconds before packing. Hot pack canning times for both pints and quarts are typically 15 minutes, adjusted for altitude.
- Altitude Adjustments for Water Bath Canning:
- Below 1,000 feet: 15 minutes for pints/half-pints, 20 minutes for quarts.
- 1,000 – 3,000 feet: 20 minutes for pints/half-pints, 25 minutes for quarts.
- 3,001 – 6,000 feet: 20 minutes for pints/half-pints, 30 minutes for quarts.
- 6,001 feet and above: 25 minutes for pints/half-pints, 35 minutes for quarts.
Nutrition
Nutrition information is an approximation and can vary based on ingredients and preparation methods.
- Serving Size: 0.5 cup
- Calories: 87 kcal
- Carbohydrates: 21g
- Protein: 2g
- Fat: 1g
- Saturated Fat: 0.03g
- Polyunsaturated Fat: 0.5g
- Monounsaturated Fat: 0.1g
- Sodium: 4mg
- Potassium: 201mg
- Fiber: 9g
- Sugar: 11g
- Vitamin A: 44 IU
- Vitamin C: 35mg
- Calcium: 35mg
- Iron: 1mg
Looking for more delightful raspberry canning recipes?
- Old Fashioned Raspberry Jelly (no pectin added)
- Classic Raspberry Jam (no pectin added)
- Mixed Berry Jam ~ Coming Soon
- Mixed Berry Jelly ~ Coming Soon
If you found this guide helpful and delicious, please consider leaving a comment or sharing your canning experiences below!
More Summer Canning Recipes
Are you planning to preserve more than just raspberries this season? Explore these other essential summer canning recipes to fill your pantry:
- Canning Peaches
- Canning Corn
- Canning Tomatoes (Whole or Halves)
- Canning Peas
For a complete collection of my favorite canning recipes, regardless of the season, visit my canning recipes page.