Homemade Cucumber Relish: Your New Favorite Sweet & Tangy Preserve
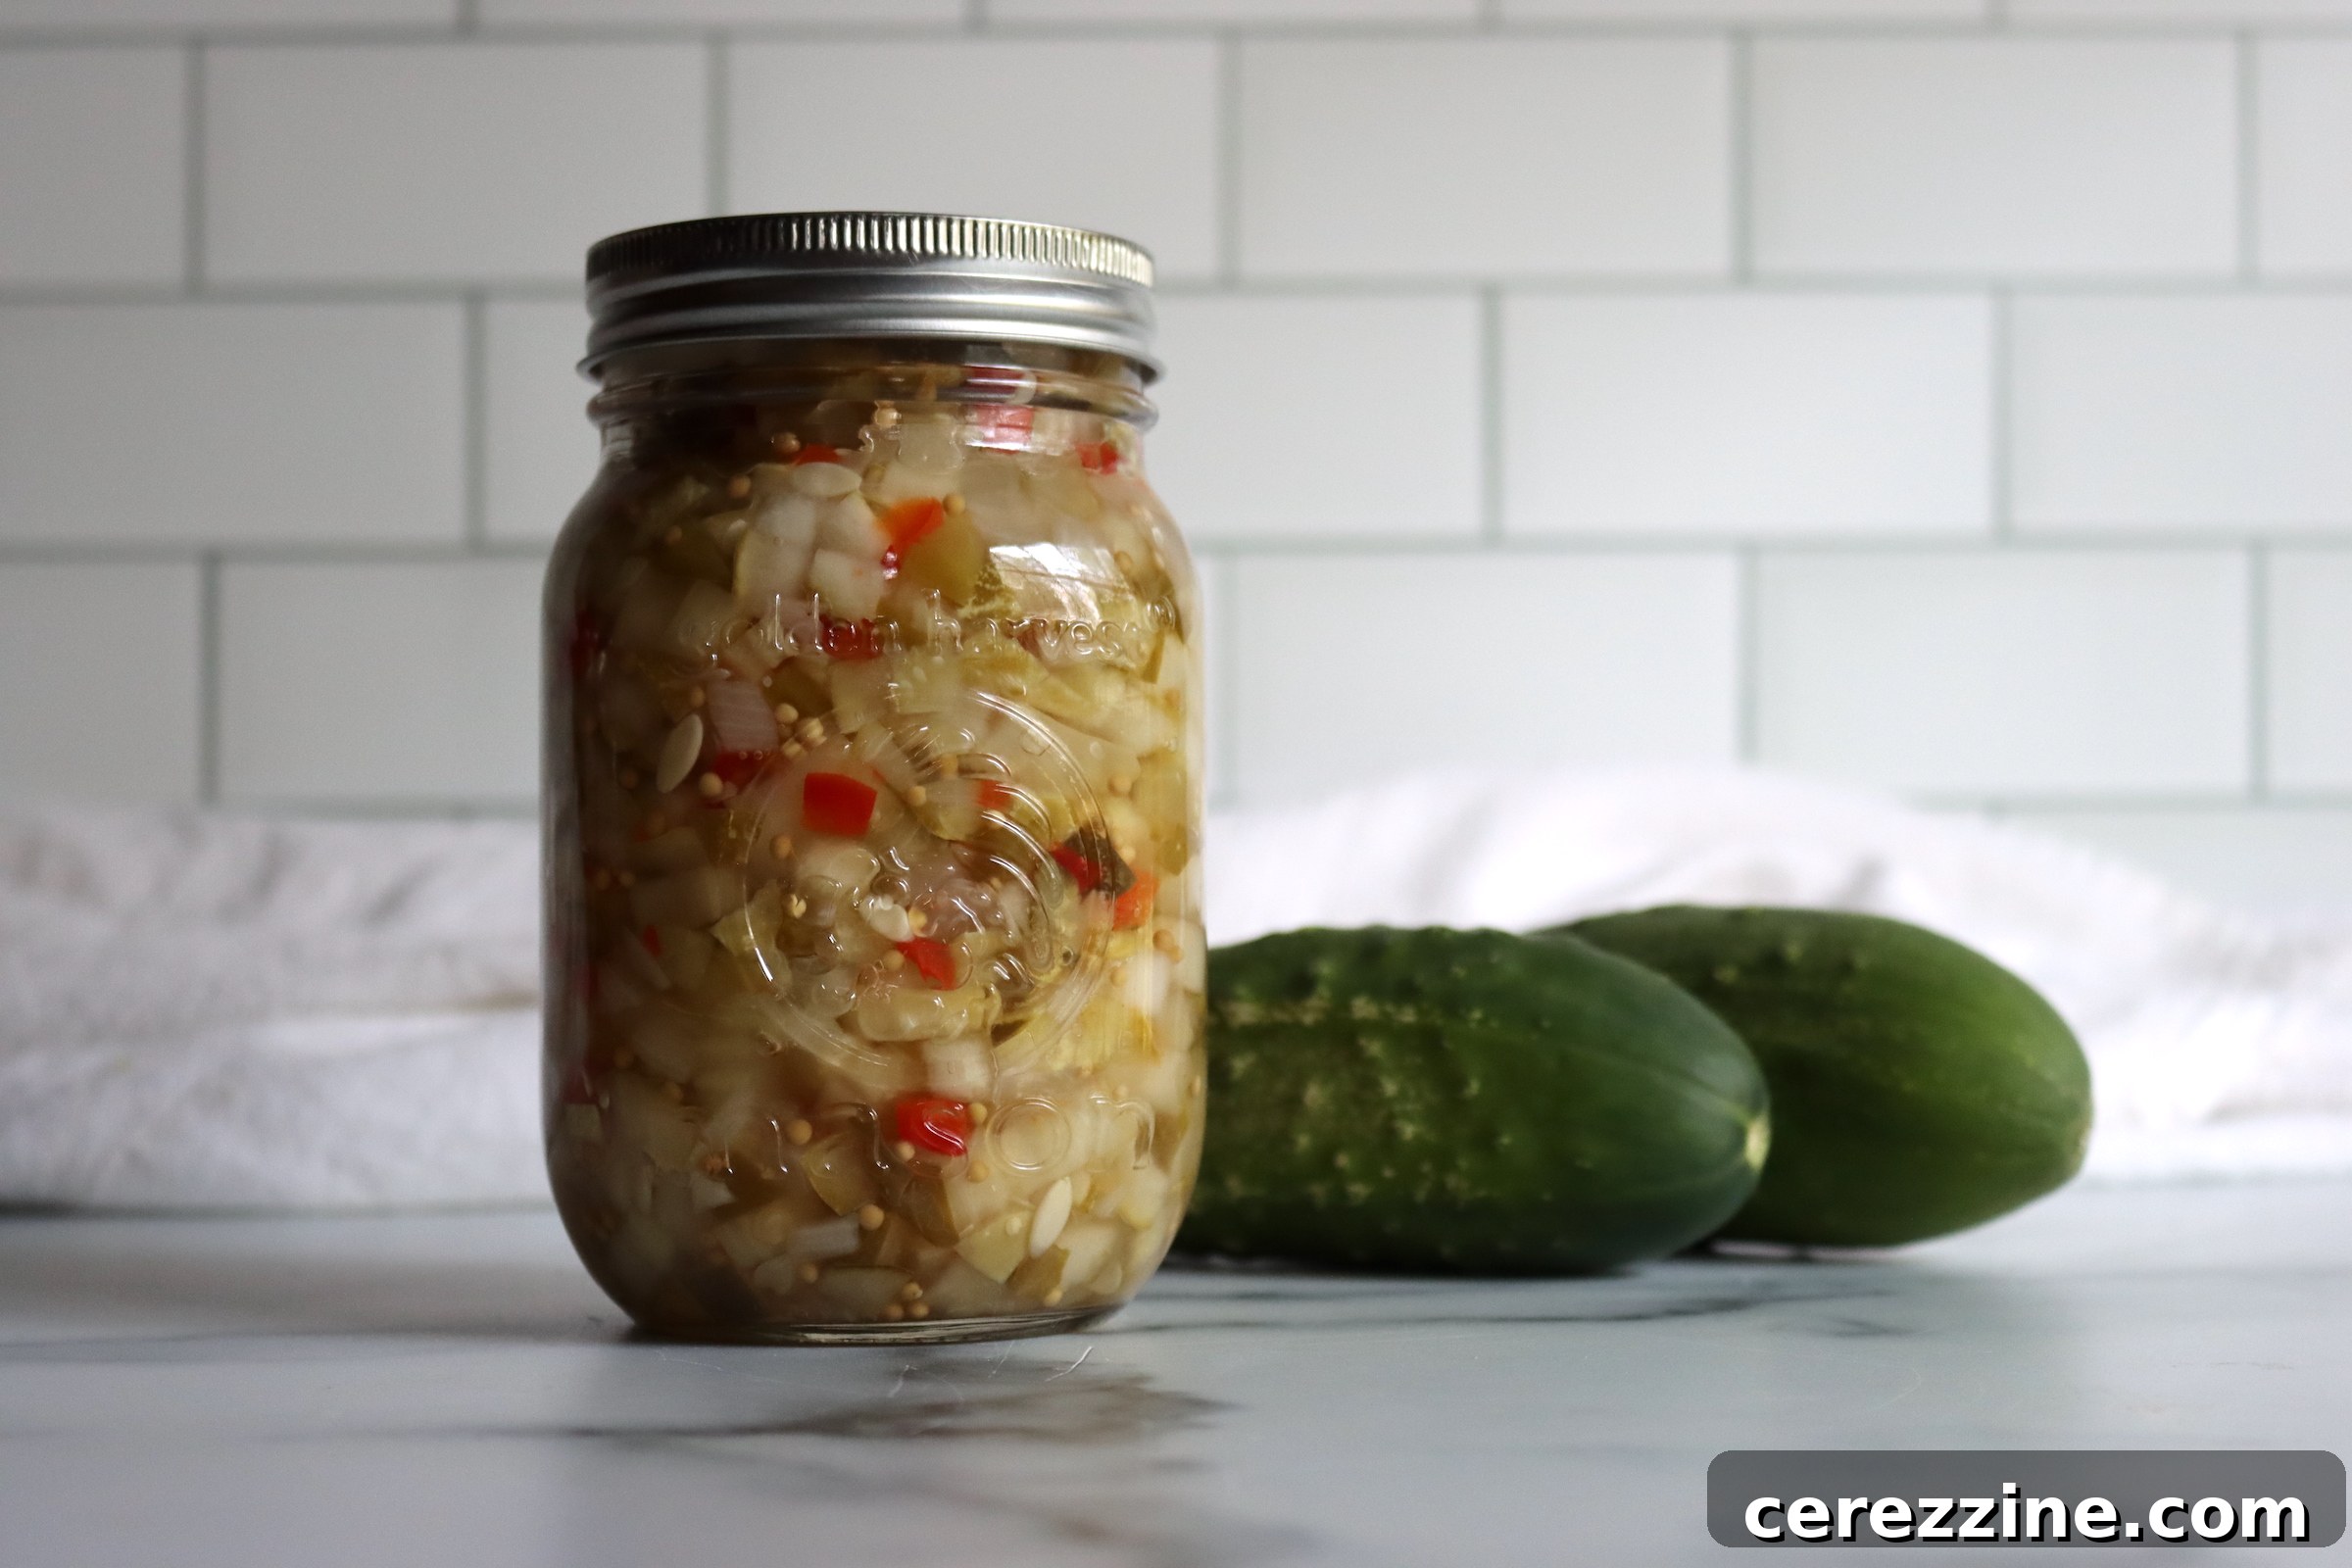
Step aside, traditional dill and sweet pickle relishes! This vibrant cucumber relish recipe offers a refreshing take on a beloved classic. It’s a delightful way to capture the essence of summer, combining crisp cucumbers, colorful sweet bell peppers, crunchy celery, and zesty onion in a perfectly balanced, lightly sweetened vinegar brine. Unlike its more heavily spiced counterparts, this relish shines with a clean, fresh flavor, accentuated by just a touch of mustard and celery seed. The result is a crisp, tangy, and visually appealing condiment that’s simply irresistible on everything from backyard burgers and hot dogs to picnic salads and deli sandwiches. It’s a timeless pantry staple that brings bright garden flavors to your table all year long.
Why Homemade Cucumber Relish is a Must-Have
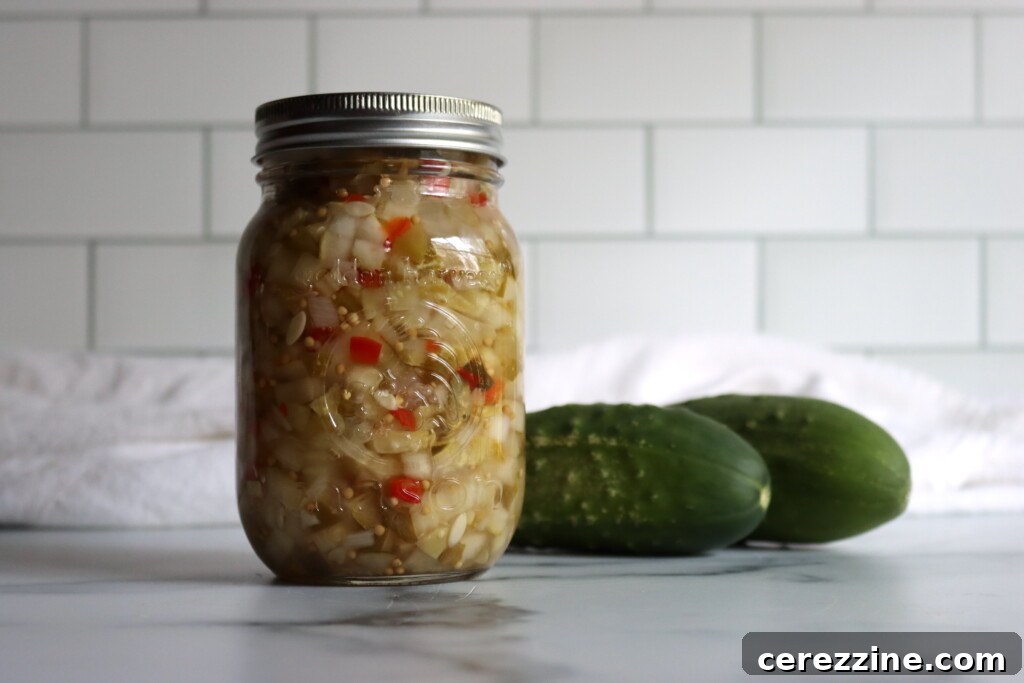
There’s something incredibly satisfying about opening a jar of homemade relish, knowing you’ve preserved the peak flavors of summer with your own hands. This particular homemade cucumber relish stands out because it avoids the often overpowering flavors of dill or traditional pickling spices. Instead, it lets the natural sweetness and freshness of the garden vegetables take center stage. This makes it incredibly versatile – a condiment that enhances, rather than overwhelms, your favorite dishes.
This tried-and-true recipe, thoughtfully adapted from the authoritative Ball Complete Book of Home Preserving, incorporates a crucial step: a salt soak. This technique is key to drawing out excess moisture from the vegetables, ensuring your finished relish maintains a pleasant, crisp texture and doesn’t become watery in the jar. After a thorough rinse to remove most of the salt, the chopped vegetables are briefly simmered in a harmonious blend of lightly sweetened vinegar and subtle spices. The ease of preparation and the stunning visual appeal of its vibrant colors make this recipe an ideal choice for anyone looking to transform a bountiful cucumber harvest into a shelf-stable, flavor-packed preserve.
If you’re new to the world of canning, or even just new to making your own relish, this recipe is an excellent starting point. It requires no complex timing or exotic ingredients – just straightforward garden vegetables and a simple, accessible canning process. The satisfaction of crafting your own preserves is immense, and the finished jars of canned cucumber relish make thoughtful, much-appreciated gifts for friends and family. More importantly, they become an endlessly useful ingredient in your everyday cooking, elevating simple meals with a burst of homemade goodness.
Essential Ingredients for the Perfect Cucumber Relish
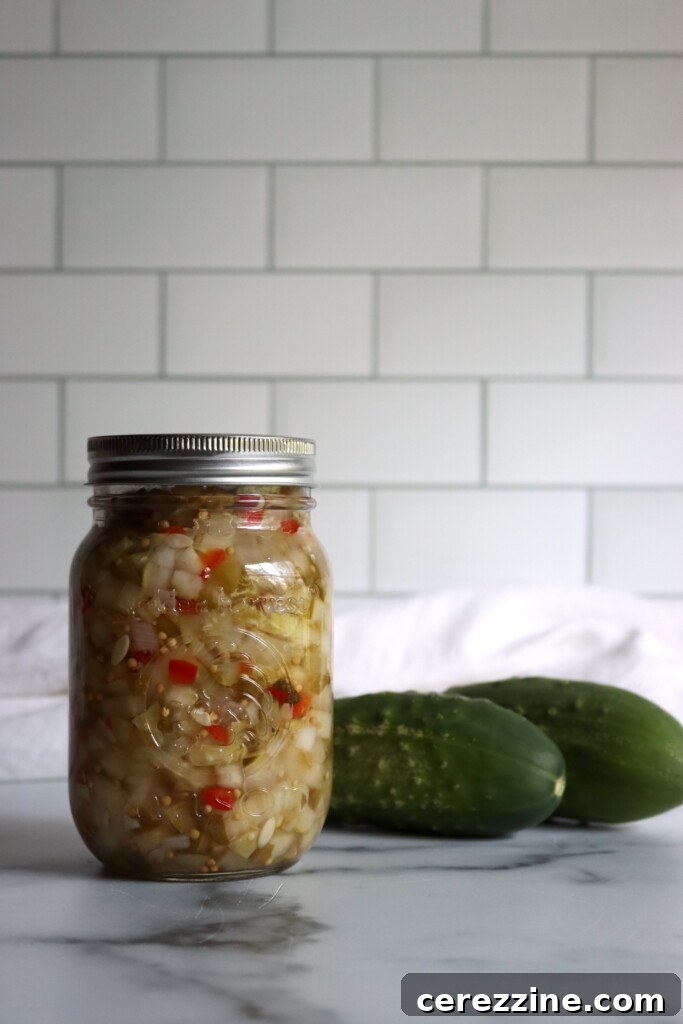
This recipe celebrates the pure taste of fresh vegetables, offering a clean, sweet, and mildly spiced flavor profile distinct from typical dill or pickle relishes. Here’s a closer look at what you’ll need to create this fantastic sweet cucumber relish:
- Cucumbers: These are the star of our relish! Peeled and finely chopped, they absorb the flavorful brine beautifully, providing the bulk and signature crunch. For best results, use pickling cucumbers or English cucumbers, which have fewer seeds and firmer flesh.
- Green and Red Bell Peppers: Beyond adding a delightful crunch, these peppers introduce a mild sweetness and a burst of vibrant color, making the relish visually appealing and enhancing its garden-fresh taste.
- Celery: Finely chopped celery provides a lovely textual contrast and a subtle earthy flavor that complements the other vegetables, preventing the relish from being too soft.
- Onion: A finely chopped onion is essential for adding depth and a savory undertone, rounding out the overall flavor profile of the relish.
- Canning Salt (Pickling Salt): Crucial for the initial soaking step. It effectively draws out excess moisture from the vegetables, which is vital for maintaining a crisp texture in the finished product and preventing a watery consistency. Don’t worry about it being too salty; most of it is rinsed away before canning. Avoid iodized table salt, as it can darken your relish.
- White Vinegar (5% acidity): This is the preserving agent and a non-negotiable for canning safety. Always use vinegar with at least 5% acidity to ensure proper preservation. While white vinegar provides a classic tang, you can experiment with white wine vinegar or apple cider vinegar for a slightly milder or fruitier flavor profile, as long as they meet the 5% acidity requirement.
- Sugar: Balances the tartness of the vinegar beautifully and contributes to that traditional sweet relish flavor we all love. Adjusting the amount slightly is possible for taste, but be mindful not to reduce it too drastically if relying on sugar for some of the preservative qualities.
- Celery Seed: A warm, earthy spice that naturally enhances the celery flavor in the mix, adding a layer of subtle complexity.
- Mustard Seed: These small seeds impart a gentle heat and a characteristic mild spice that is quintessential to many relishes, without overwhelming the fresh vegetable flavors.
While this recipe provides a perfectly balanced flavor, don’t hesitate to personalize it! Feel free to incorporate other spices you enjoy, such as a pinch of turmeric for color and earthy notes, a touch of ginger for warmth, or even a few finely minced hot peppers if you prefer a spicier relish. Remember, however, to always maintain the specified vinegar amount and the ratio of low-acid vegetables for safe canning.
Step-by-Step Guide: How to Make & Can Cucumber Relish
Making homemade cucumber relish is a rewarding process. Follow these steps carefully to ensure a delicious and safely preserved product:
Preparing the Vegetables and Salt Soak
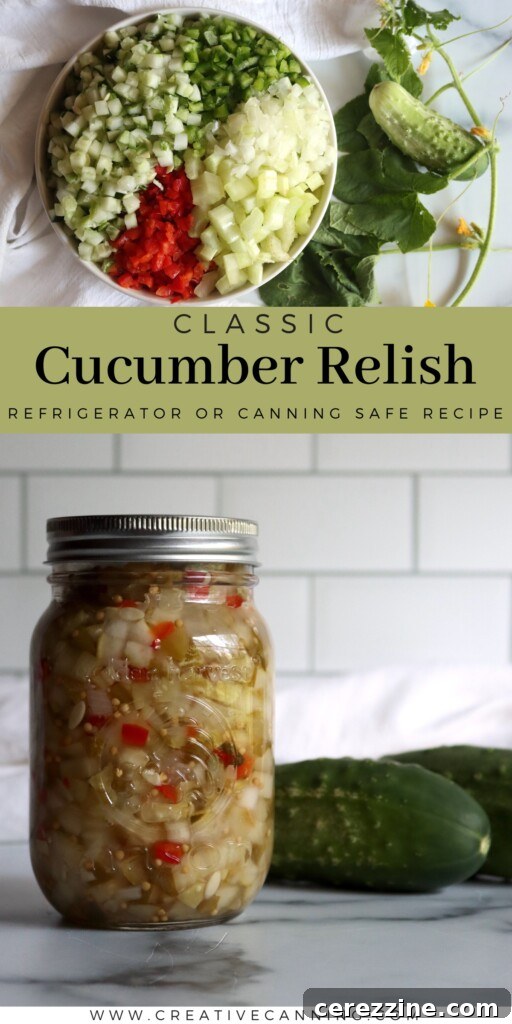
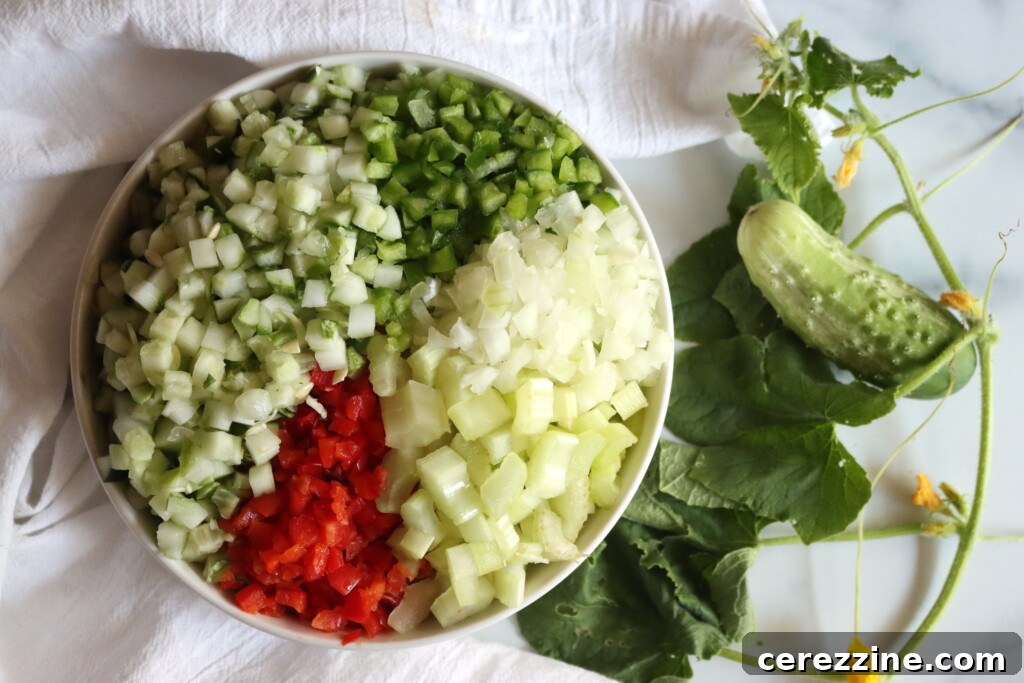
The first crucial step is preparing your vegetables. Begin by peeling and finely chopping the cucumbers. Then, finely dice the green and red bell peppers, celery, and onion. Uniformly chopped vegetables not only look better but also ensure even cooking and texture in the relish. In a very large non-reactive bowl (glass or food-grade plastic), combine all the chopped vegetables with the canning salt. Stir thoroughly to ensure the salt is evenly distributed. Cover the bowl and let the mixture sit in a cool place for at least 4 hours, or even overnight. This extended soaking time is essential, as it draws out excess liquid from the vegetables, preventing the final relish from becoming watery in the jar and helping to maintain its desired crisp texture.
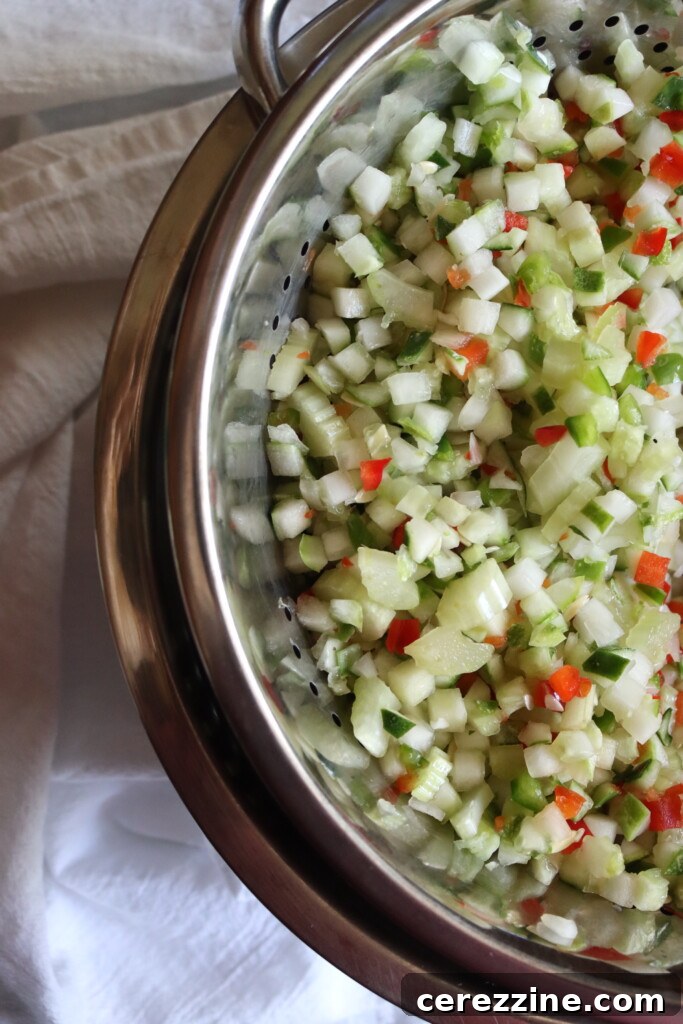
Once the soaking period is complete, transfer all the vegetables to a large colander. Rinse them thoroughly under cool running water for several minutes to wash away most of the salt. This step is critical to prevent your relish from being overly salty. After rinsing, allow the vegetables to drain completely. Then, using your hands, squeeze out as much remaining moisture as you possibly can. This may seem like a lot of effort, but it’s key to a perfectly textured relish. Set the drained and squeezed vegetables aside.
Preparing for Canning and Cooking the Relish
While your vegetables are soaking or draining, prepare your boiling water bath canner. Fill it with water, ensuring there’s enough to cover your jars by at least an inch. Place a rack at the bottom of the canner. Begin heating the water. Simultaneously, wash your canning jars, lids, and rings in hot, soapy water. Sterilize the jars by placing them in the boiling water bath canner for at least 10 minutes. Keep them hot until ready to fill. Lids can be simmered in a separate small saucepan of hot (not boiling) water to soften the sealing compound.
In a large, non-reactive pot (stainless steel is ideal), combine the white vinegar, sugar, celery seed, and mustard seed. Bring this mixture to a rolling boil over medium-high heat, stirring occasionally to dissolve the sugar. Once boiling, stir in the drained and squeezed vegetables. Return the mixture to a boil, then reduce the heat to a gentle simmer. Cook for approximately 5 minutes, stirring occasionally. This brief simmering allows the flavors to meld and ensures the vegetables are thoroughly heated before canning.
Filling Jars and Water Bath Processing
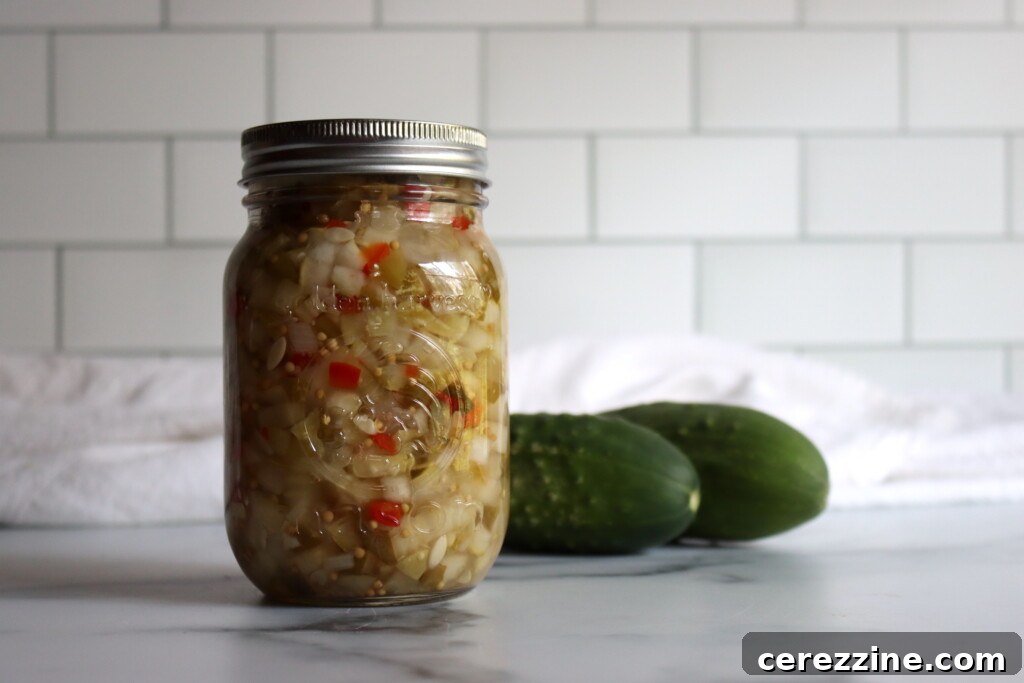
Carefully ladle the hot relish into your prepared, hot canning jars, leaving ½ inch of headspace (the space between the relish and the rim of the jar). This headspace is critical for proper sealing. Use a clean, non-metallic utensil (like a plastic spatula or chopstick) to remove any air bubbles trapped in the relish. Add more relish if necessary to maintain the ½ inch headspace. Wipe the rims of the jars thoroughly with a clean, damp cloth to remove any food residue, as this can prevent a proper seal. Center the warm lids on the jars and apply the screw bands finger-tight. Do not overtighten.
Carefully place the filled jars onto the rack in your boiling water bath canner, ensuring they are not touching each other or the sides of the canner. The water should cover the jars by at least 1 inch. Bring the water back to a full, rolling boil. Once boiling vigorously, begin your processing time. Process the jars for 10 minutes. After the processing time is complete, turn off the heat and let the jars rest in the canner for an additional 5 minutes. This helps to equalize the pressure and reduces the chance of siphoning. Finally, carefully remove the jars from the canner and place them on a towel-lined surface, allowing them to cool undisturbed for 12-24 hours. You should hear a “ping” sound as the lids seal. Check seals by pressing the center of the lid; it should not flex. Store properly sealed jars in a cool, dark place for up to a year. Refrigerate after opening.
Altitude Adjustments for Safe Canning
For safe water bath canning, it is crucial to increase your processing time based on your elevation above sea level:
- 0 to 1,000 feet: Process for 10 minutes.
- 1,001 to 6,000 feet: Process for 15 minutes.
- Above 6,000 feet: Process for 20 minutes.
Creative Serving Ideas for Cucumber Relish
This sweet and tangy cucumber relish is incredibly versatile and can brighten up a multitude of dishes. Here are some inspiring serving ideas to get you started:
- Classic Condiment: The absolute best pairing for grilled sausages, bratwurst, hot dogs, and juicy hamburgers. Its crisp texture and balanced flavor cut through the richness of meats perfectly.
- Salad Enhancer: Stir it into your favorite potato salad, macaroni salad, or egg salad for an added burst of freshness, tang, and crunch. It’s also fantastic in tuna salad or chicken salad sandwiches.
- Sandwich & Wrap Spread: Spread a generous layer onto sandwiches, wraps, or even grilled cheese for an unexpected twist. It pairs wonderfully with deli meats like ham or turkey.
- Deviled Eggs: Mix a spoonful into the yolk filling for deviled eggs to give them a tangy, slightly sweet kick.
- Alongside Roasted Meats: Serve as a vibrant side condiment for roasted chicken, pork chops, or even grilled fish.
- Cheese & Charcuterie Boards: A small bowl of cucumber relish adds a delightful pop of flavor and texture to a gourmet cheese board, especially alongside sharp cheeses or creamy pâtés.
- Savory Muffins or Scones: Fold a little relish into savory muffin or scone batter for a unique breakfast or brunch item.
- As a Glaze Base: Experiment by mixing it with a bit of mustard or honey to create a glaze for ham or pork loin.
Especially during the warmer months, when fresh, vibrant toppings are most desired, this cucumber relish truly shines. It’s a simple addition that makes a significant impact on flavor.
94
servings, Makes 6 Pints
Cucumber Relish
4 hrs
20 mins
10 mins
4 hrs 30 mins
Equipment
-
Water Bath Canner
-
Colander
Ingredients
- 8 cups cucumbers, peeled and finely chopped
- 4 cups green bell peppers, finely chopped
- 4 cups red bell peppers, finely chopped
- 2 cups celery, finely chopped
- 1 cup onion, finely chopped
- ½ cup pickling or canning salt
- 3 cups white vinegar, 5% acidity
- 2 ¼ cups sugar
- 3 Tbsp celery seeds
- 3 Tbsp mustard seeds
Instructions
-
In a large bowl, combine cucumbers, green and red peppers, celery, onion, and canning salt. Cover and let sit in a cool place for 4 hours. Drain the vegetables in a colander, rinse well with cool water, and drain thoroughly. Squeeze out excess moisture.
-
Prepare a water bath canner and sterilize jars, lids, and rings.
-
In a large saucepan, combine vinegar, sugar, celery seed, and mustard seed. Bring to a boil. Add the drained vegetable mixture, return to a boil, then reduce heat and simmer for 5 minutes.
-
Ladle the hot relish into prepared jars, leaving ½ inch headspace. Remove air bubbles, wipe rims, adjust headspace, and apply 2-part canning lids.
-
Process in a boiling water bath canner for 10 minutes, adjusting for altitude. Let jars rest in the canner for 5 minutes before removing to cool completely. Store sealed jars in a cool, dark place. Refrigerate after opening.
Notes
Nutrition
Carbohydrates: 6g,
Protein: 0.3g,
Fat: 0.2g,
Saturated Fat: 0.02g,
Polyunsaturated Fat: 0.1g,
Monounsaturated Fat: 0.1g,
Sodium: 605mg,
Potassium: 54mg,
Fiber: 0.4g,
Sugar: 5g,
Vitamin A: 240IU,
Vitamin C: 14mg,
Calcium: 9mg,
Iron: 0.2mg
Nutrition information is automatically calculated, so should only be used as an approximation.
Frequently Asked Questions About Cucumber Relish
- Can I reduce the amount of sugar in this recipe?
- While a slight reduction in sugar for taste preference might be acceptable, it’s generally not recommended to significantly alter the sugar content in canning recipes. Sugar contributes to the overall flavor balance and texture. For safety in water bath canning, the acidity (vinegar) is the primary preservative, but drastically changing other ingredients can affect the final product’s quality and, in some cases, safety.
- What kind of cucumbers are best for relish?
- Pickling cucumbers (like Kirby or Gherkin varieties) are ideal due to their crisp texture and relatively small seeds. English or hothouse cucumbers can also work, but they may need more peeling and deseeding. Avoid large, seedy slicing cucumbers, as they tend to become watery and lose texture.
- How long does homemade cucumber relish last?
- When properly processed and sealed, canned cucumber relish can last for up to one year in a cool, dark place. Once opened, store the jar in the refrigerator and consume within a few weeks for the best quality.
- Do I have to peel the cucumbers?
- Peeling the cucumbers is recommended for this recipe, especially if using larger or thicker-skinned varieties. This ensures a more tender texture and prevents any bitterness from the peel. For very thin-skinned pickling cucumbers, you might get away with not peeling, but the texture might be slightly different.
- Can I make this relish without canning it?
- Yes, you can prepare this relish as a “refrigerator relish.” Skip the water bath canning step and simply store the hot relish in clean jars in the refrigerator once cooled. It will last for several weeks (typically 3-4 weeks) but will not be shelf-stable.
Explore More Homemade Relish Recipes
If you’ve enjoyed the process of making this delightful cucumber relish, you’ll be thrilled to discover the wide world of homemade preserves. Canning relish is a fantastic way to extend the bounty of your garden and enjoy unique flavors year-round. Here are some other relish recipes to inspire your canning adventures:
- My Corn Relish is a wonderfully sweet and tangy pantry staple, perfect for adding a burst of sunshine to winter meals.
- For those with an abundance of zucchini, Zucchini Relish offers a clever and delicious solution to transform your bumper crop.
- If you prefer a more traditional flavor, my classic Dill Relish or the robust English-style Piccalilli (also known as mustard pickles) are excellent choices.
- Dive into regional favorites with the savory and slightly sweet profiles of Southern Chow Chow and New England Chow Chow, each bringing its own distinct character.
- And for a hearty, mixed vegetable preserve that truly celebrates the harvest, be sure to try the rich flavors of Amish Chow Chow.
Each of these recipes offers a unique way to enjoy garden-fresh ingredients, bringing delicious homemade goodness to your kitchen.