
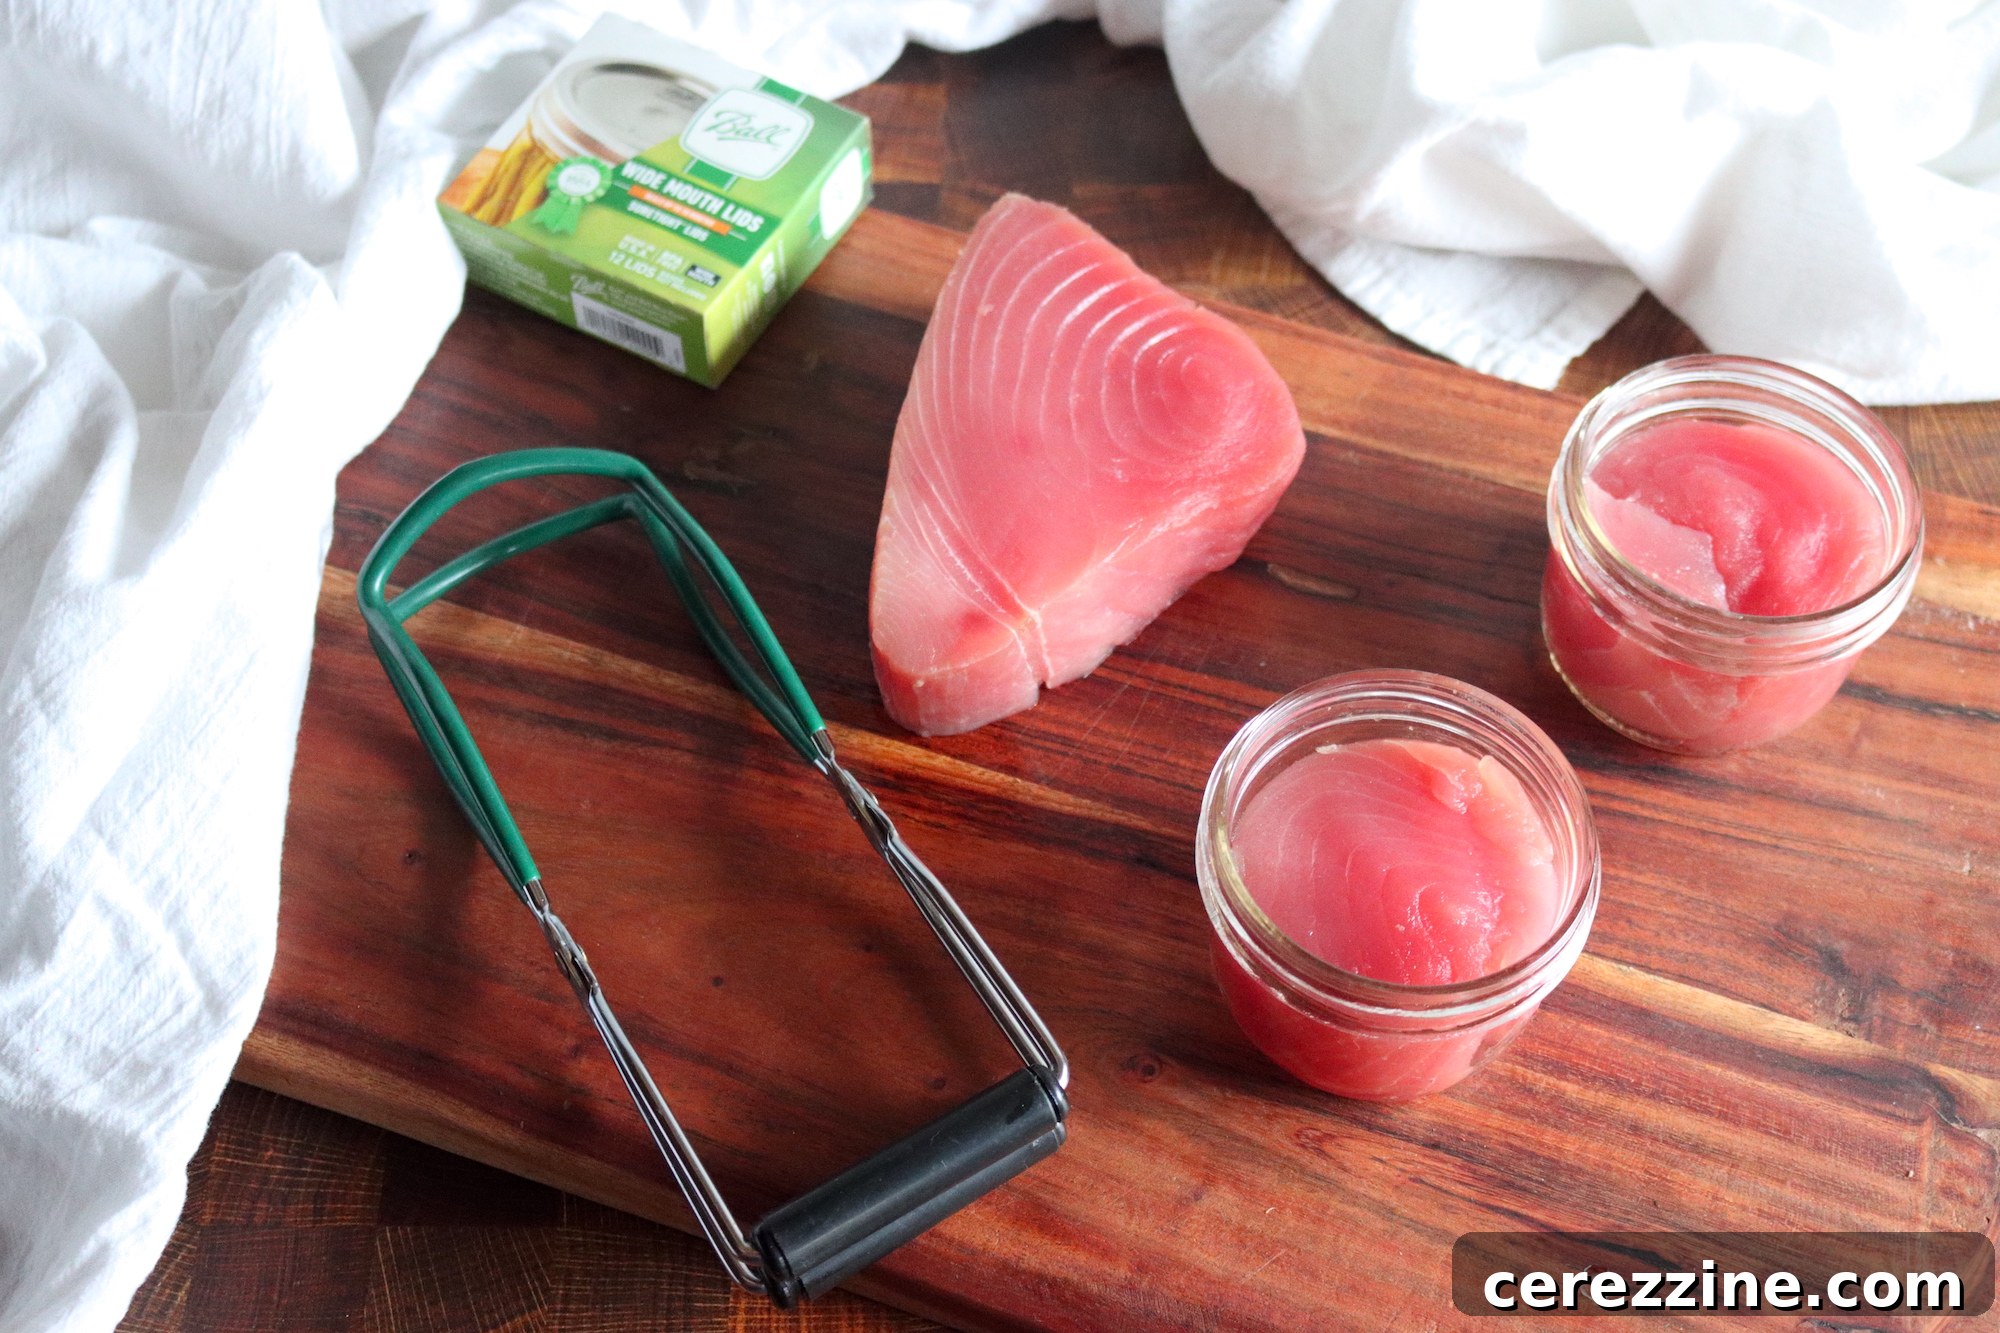
Imagine having a pantry stocked with delicious, high-quality tuna, ready whenever you crave it. For avid fishermen and home cooks alike, learning how to safely preserve tuna in a pressure canner is a game-changer. This guide will walk you through the simple, rewarding process of canning tuna at home, allowing you to enjoy fresh, additive-free flavor any time. Say goodbye to store-bought cans and embrace the superior taste and peace of mind that comes with knowing exactly what’s in your food.
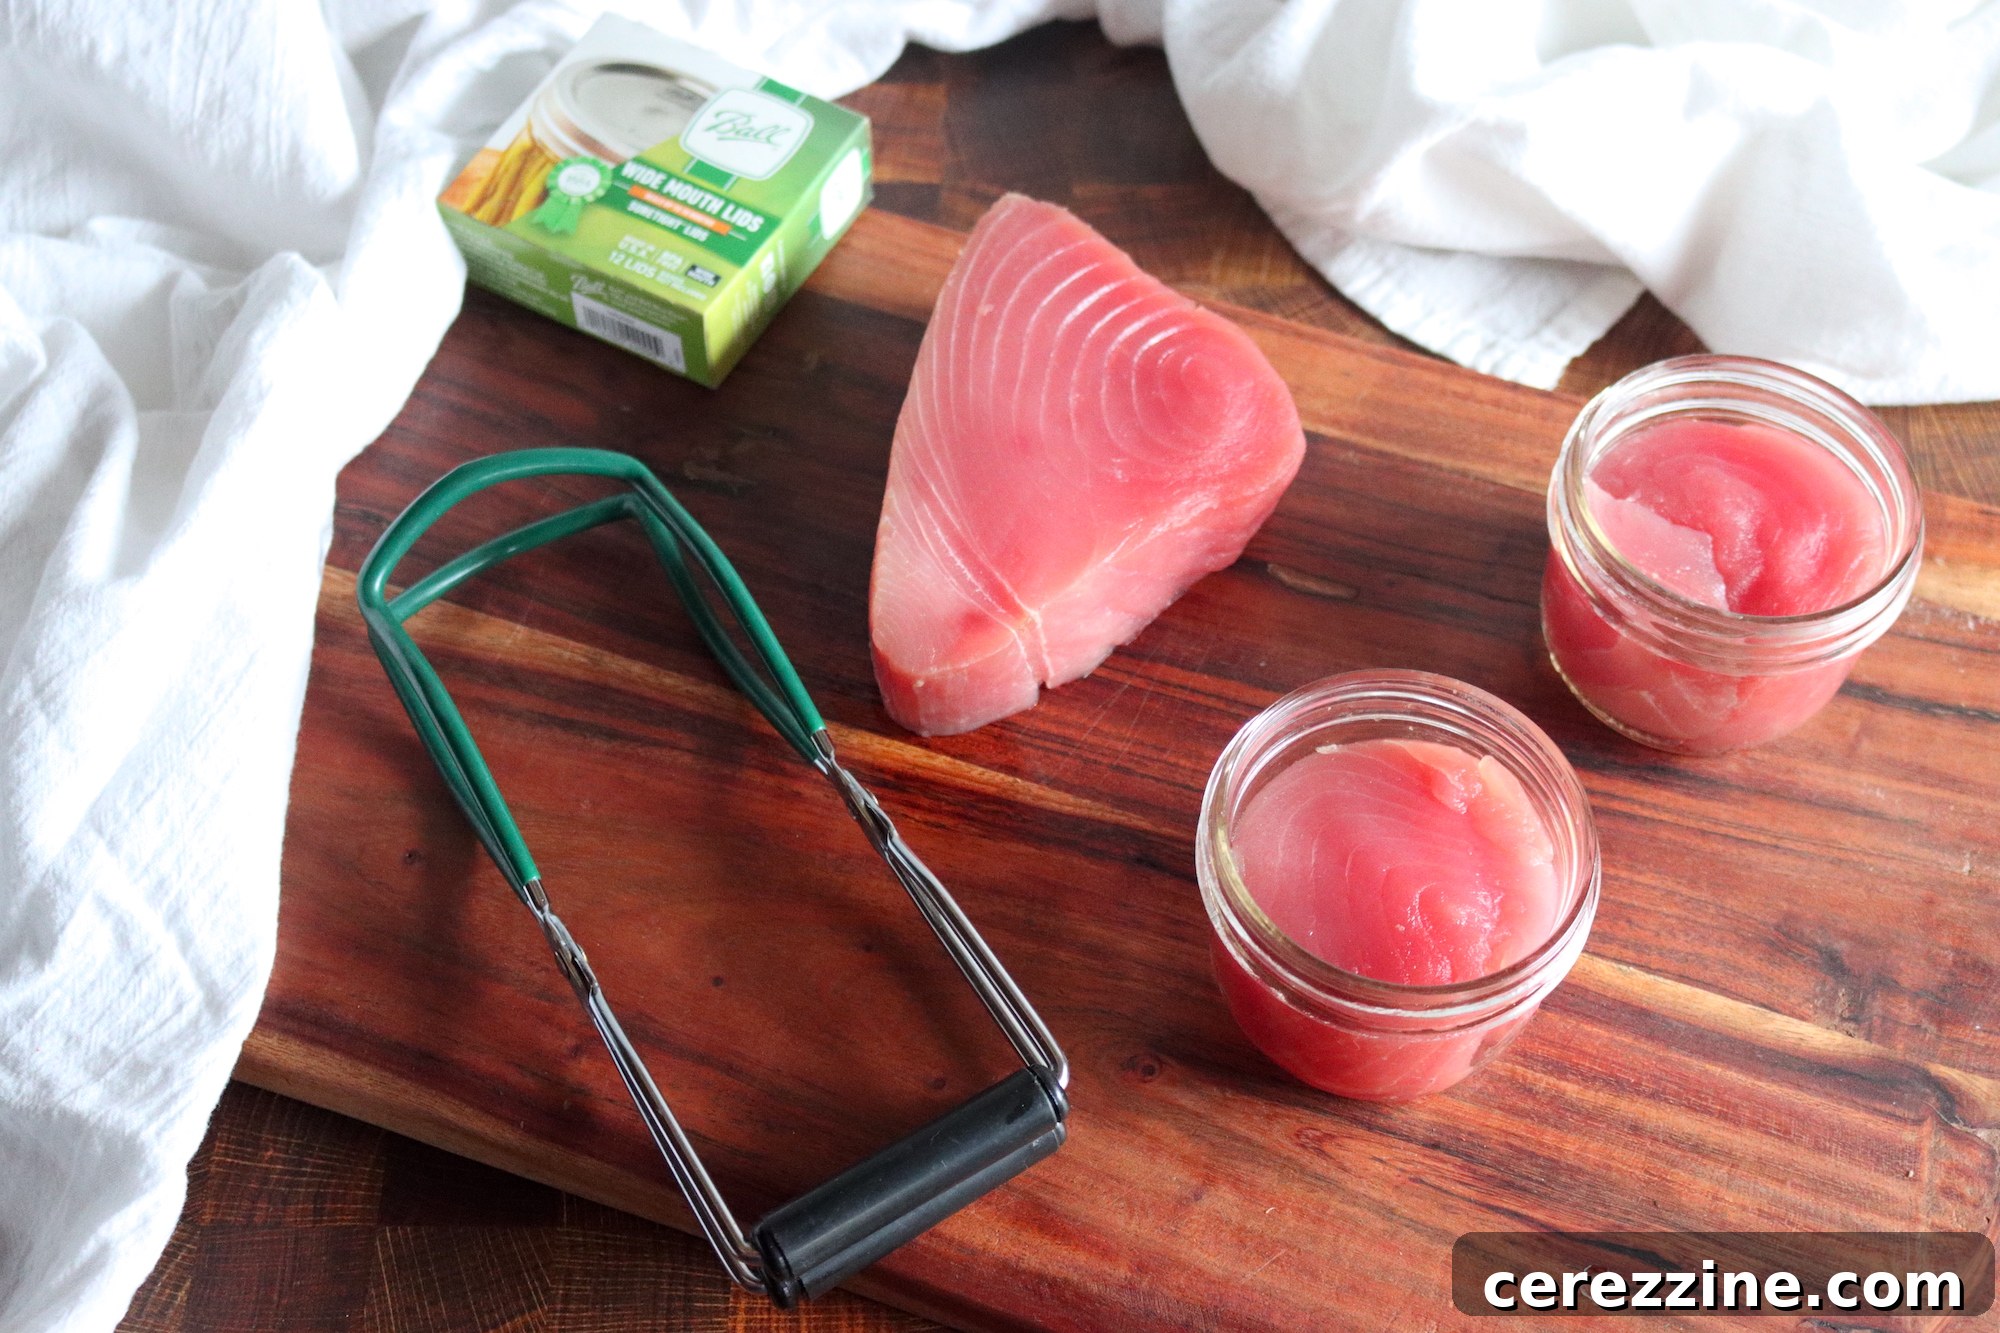
The convenience of a tuna fish sandwich for lunch is undeniable, but what if you could elevate that experience with freshly caught tuna, preserved by your own hands? Home canning tuna is not just a practical skill; it’s a culinary journey that promises unparalleled flavor and complete control over your food’s ingredients.
This method ensures a consistent supply of high-quality protein, free from the preservatives and additives often found in commercially processed options. It’s a rewarding process that, once mastered, becomes an invaluable part of your home food preservation repertoire. Whether you prioritize healthy eating, sustainable living, or simply desire the best possible flavor, canning your own tuna is an endeavor worth pursuing.
In the following sections, we will delve into every detail of canning tuna, from selecting your fish and gathering supplies to the preparation methods, the crucial pressure canning process, and even creative ways to enjoy your delicious homemade canned tuna.
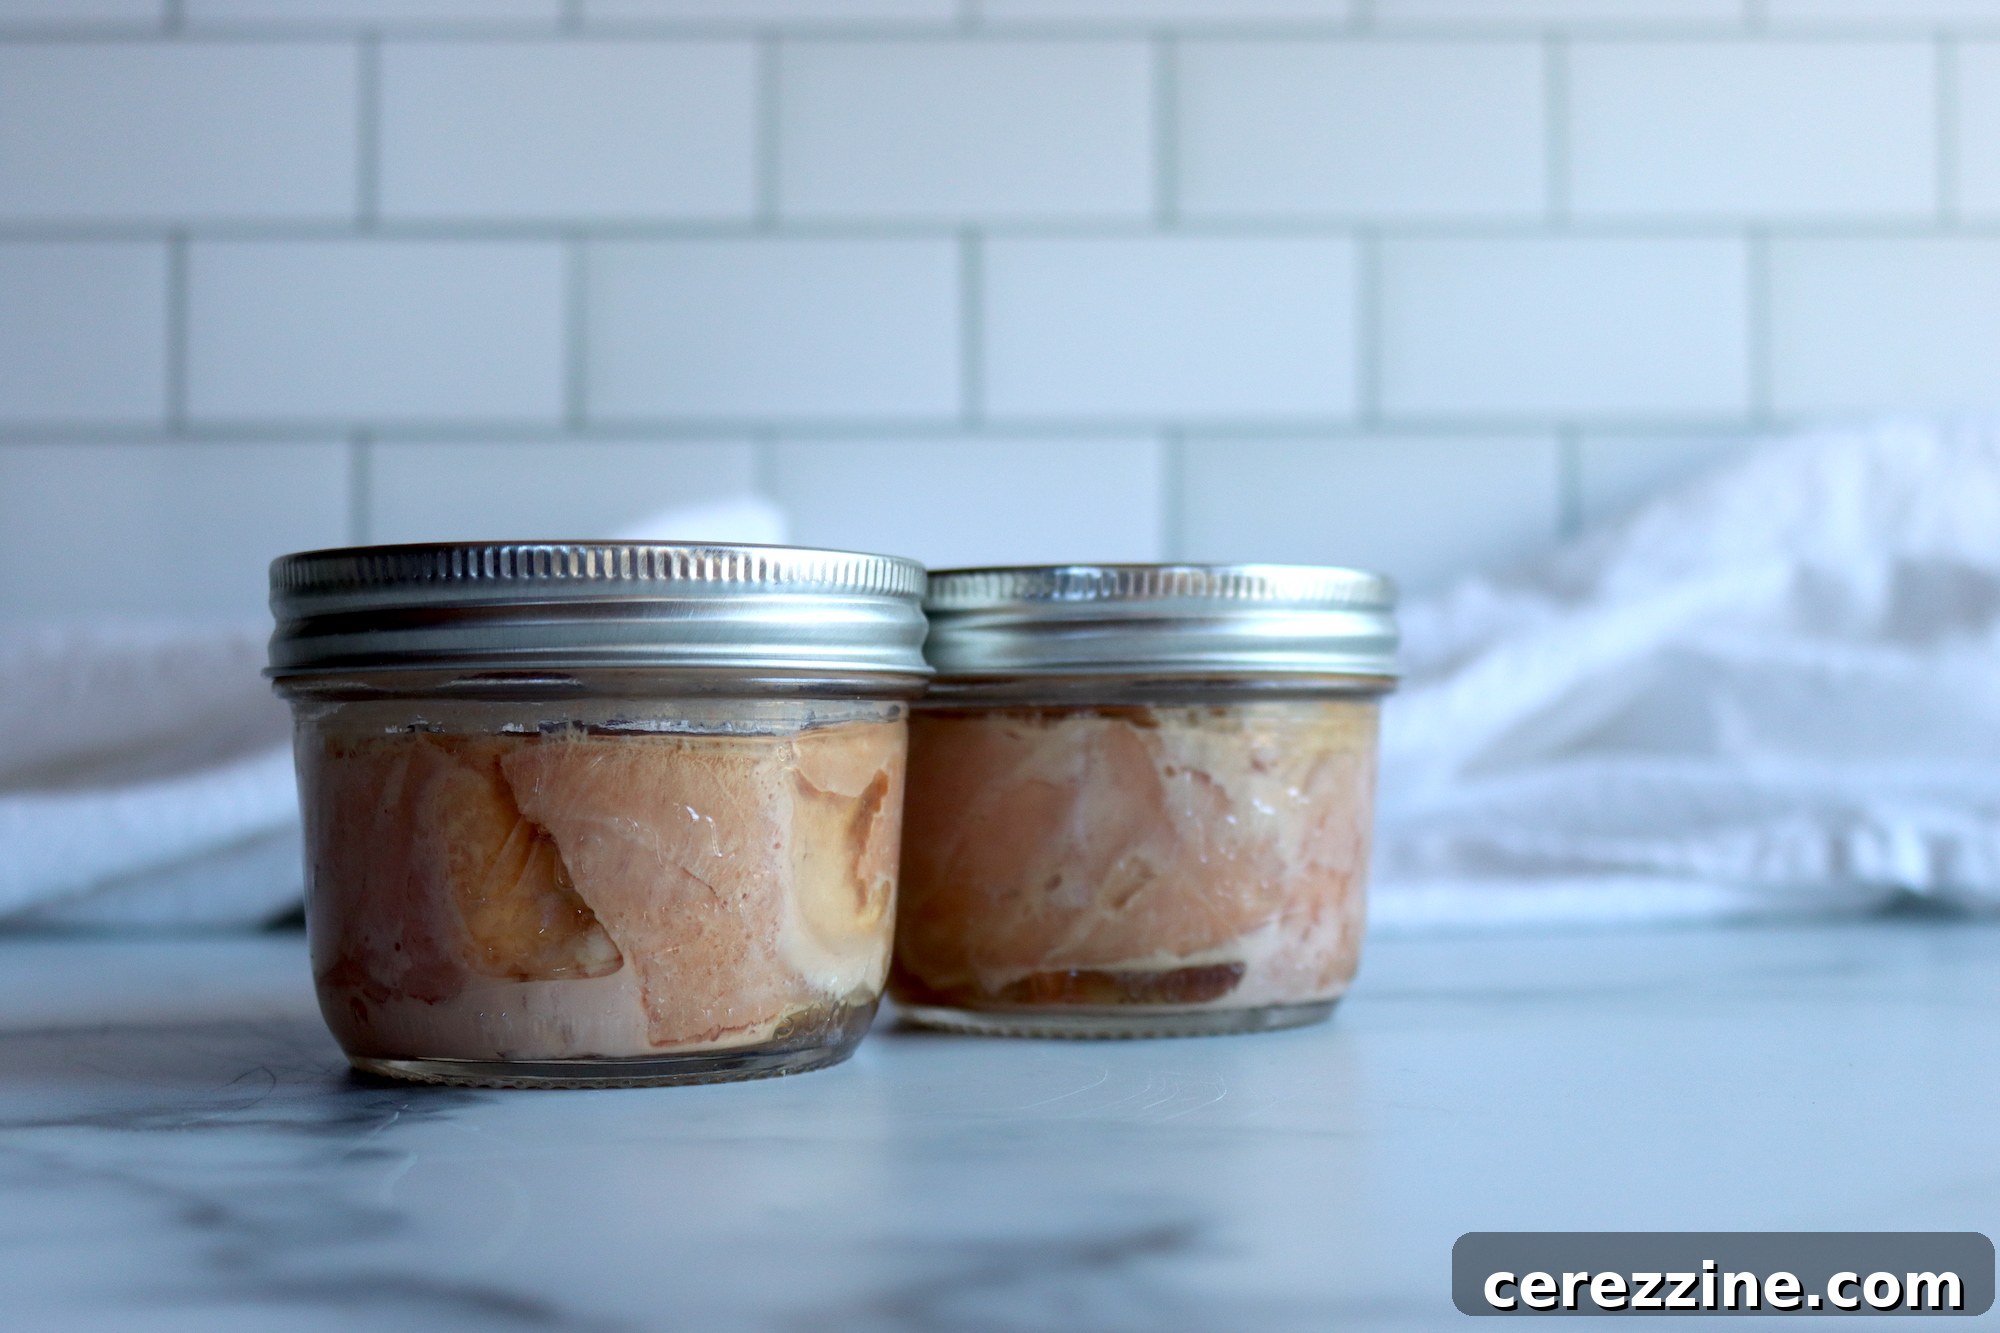
Why Can Your Own Tuna? The Benefits of Home Preservation
There are numerous compelling reasons to undertake the process of canning tuna in your own kitchen:
- Unmatched Quality and Flavor: Home-canned tuna, especially when prepared using the raw pack method, retains more of its natural oils and flavors. This results in a product far superior in taste and texture to most store-bought varieties.
- Control Over Ingredients: When you can tuna at home, you dictate what goes into the jar. No mysterious ingredients, no artificial preservatives, just pure tuna and optional salt. This is ideal for those with dietary restrictions or who prefer a clean-eating lifestyle.
- Cost-Effectiveness (for fishermen): If you’re a fisherman, canning your catch is an excellent way to utilize your bounty and avoid waste, turning a hobby into a sustainable food source.
- Pantry Staple: Home-canned tuna is shelf-stable, making it a perfect emergency food supply or a convenient ingredient for quick meals. It’s a versatile protein source that can be used in countless recipes.
- Rewarding Experience: The satisfaction of processing and preserving your own food is immense. It connects you to traditional culinary skills and fosters a deeper appreciation for your meals.
Essential Equipment for Home Canning Tuna
Successful and safe home canning relies on having the right tools. Here’s what you’ll need for canning tuna:
- Pressure Canner: This is non-negotiable for canning low-acid foods like tuna. A pressure canner reaches temperatures high enough to destroy harmful bacteria. Ensure yours is in good working order and has a reliable gauge (dial or weighted).
- Canning Jars: Choose pint or half-pint glass canning jars with two-piece lids (flat lid and screw band). Always use jars specifically designed for canning. Quart jars are generally not recommended for tuna due to density and heat penetration issues.
- New Lids: Flat lids are single-use items in canning to ensure a proper seal. Screw bands can be reused as long as they are not rusty or bent.
- Basic Canning Tools: A jar lifter (to safely move hot jars), a canning funnel (to keep jar rims clean), a headspace tool (to measure the crucial space at the top of the jar), and a bubble remover (plastic knife or spatula to release trapped air).
- Large Stock Pot or Dishpan: For washing and preparing jars.
- Sharp Fillet Knife: Essential for efficiently preparing the tuna.
- Cutting Board: A sturdy, clean surface for processing the fish.
- Clean Towels: For wiping jar rims and general clean-up.
Ingredients for Canning Tuna
The beauty of home-canned tuna lies in its simplicity. For a superior product, you truly only need two main ingredients, with a third being optional but often desired:
- Raw Fresh Tuna: The quality of your final product directly depends on the freshness and grade of your tuna. Opt for freshly caught fish, ideally kept on ice. Different species of tuna (e.g., albacore, skipjack, yellowfin) can be canned, with albacore often prized for its light color and mild flavor.
- Salt (Optional): While not strictly necessary for safety, salt enhances the flavor of the tuna. You can use canning salt, sea salt, or kosher salt. Avoid iodized table salt as it can discolor the tuna and may contain anti-caking agents. A common recommendation is 1/2 teaspoon per half-pint jar or 1 teaspoon per pint jar. Adjust to your personal preference or omit entirely for a sodium-free product.
These simple ingredients are all you need to begin your canning journey. The quantities will depend on how much tuna you plan to preserve. Generally, you’ll need approximately 1 pound of tuna fillets per pint jar, or about 1/2 pound per half-pint jar.
While some recipes exist for “pre-cooked tuna” that involves baking or steaming the fish before packing, it often results in a lower-quality product. This method tends to remove much of the natural flavor and beneficial oils from the fish, sometimes requiring the addition of a neutral oil to maintain moisture during canning. Our focus here is on the raw pack method, which yields the best possible quality and flavor for your home-canned tuna.
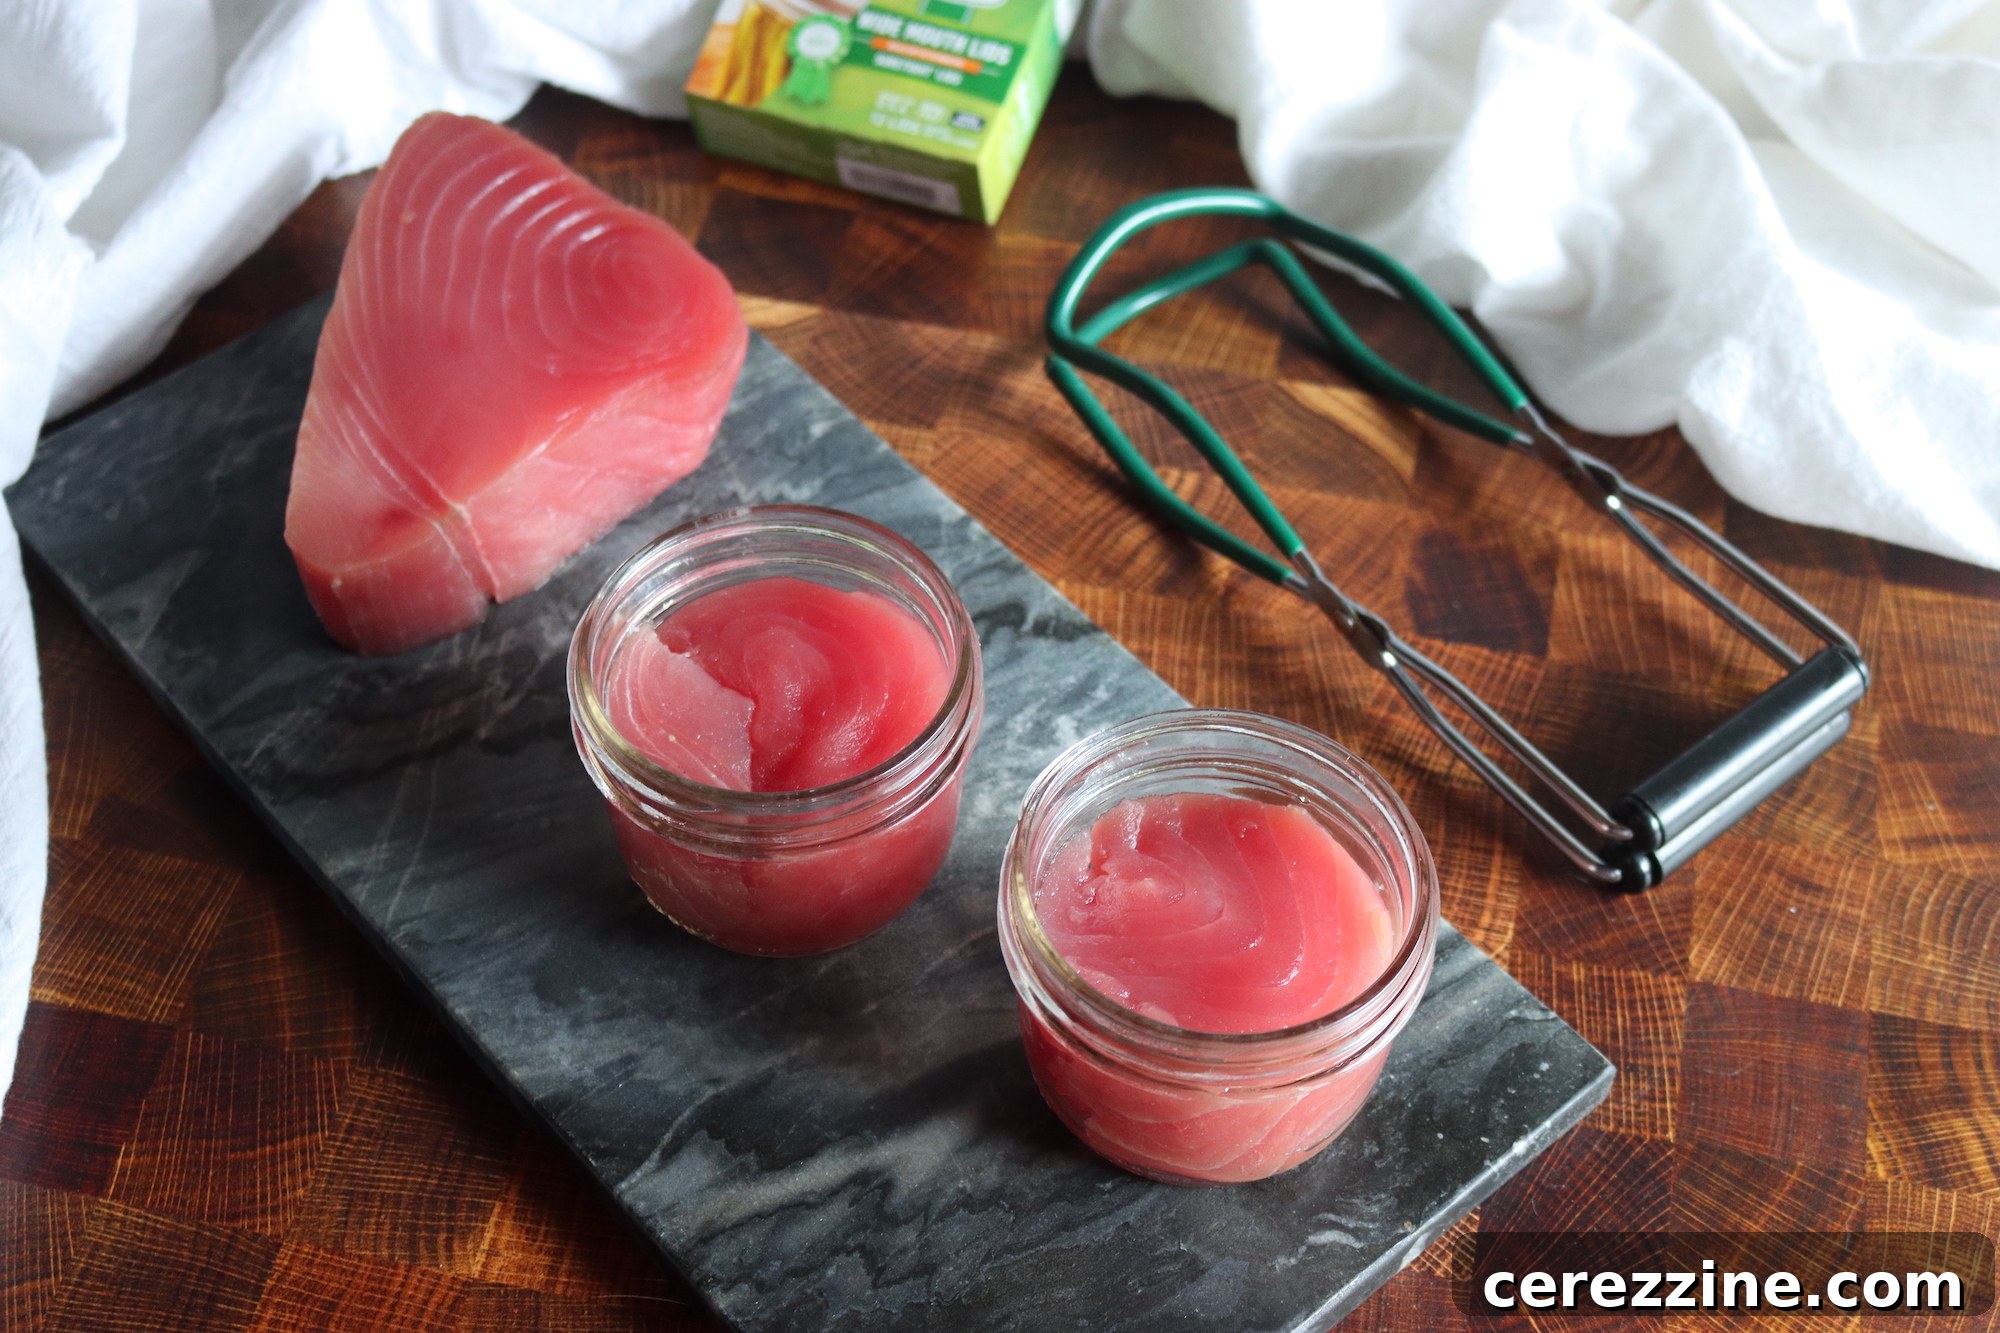
Choosing Your Canning Method: Raw Pack vs. Precooked (Hot Pack)
Tuna can be safely canned using either the raw pack (cold pack) or precooked (hot pack) method. Each approach has its distinct advantages and considerations. We will detail both, but note that the raw pack method is generally favored for its superior flavor and texture retention.
Raw Pack Tuna Canning: The Preferred Method
The raw pack method involves packing raw, prepared tuna directly into jars before processing. This is the simplest and most recommended method for high-quality tuna, as it best preserves the fish’s natural oils and delicate flavor. The tuna cooks entirely within the jar during the pressure canning process, creating its own natural juices and resulting in a moist, flavorful product.
If you have excellent, fresh tuna and prioritize retaining its natural attributes, the raw pack is definitely the way to go.
Precooked Tuna Canning: An Alternative Approach (Hot Pack)
Precooking tuna before canning (often referred to as a hot pack) is an option, particularly useful if you have lower-grade tuna or darker sections of meat that might have a stronger, more pronounced flavor. Precooking helps to render out some of these strong-flavored oils.
However, precooking has drawbacks: it adds an extra step to the process, and much of the natural, beneficial oils from the fish can be lost. When precooking, you often need to replace these lost oils with a neutral vegetable oil or simply water in the jar to maintain moisture. Many home canners find the quality of precooked tuna to be inferior to raw-packed tuna due to the flavor loss, but it remains a viable and safe method.
Step-by-Step Guide to Canning Tuna at Home
Regardless of the method you choose, the initial preparation of your canning equipment and the tuna itself is crucial for safety and quality.
Preparing the Tuna
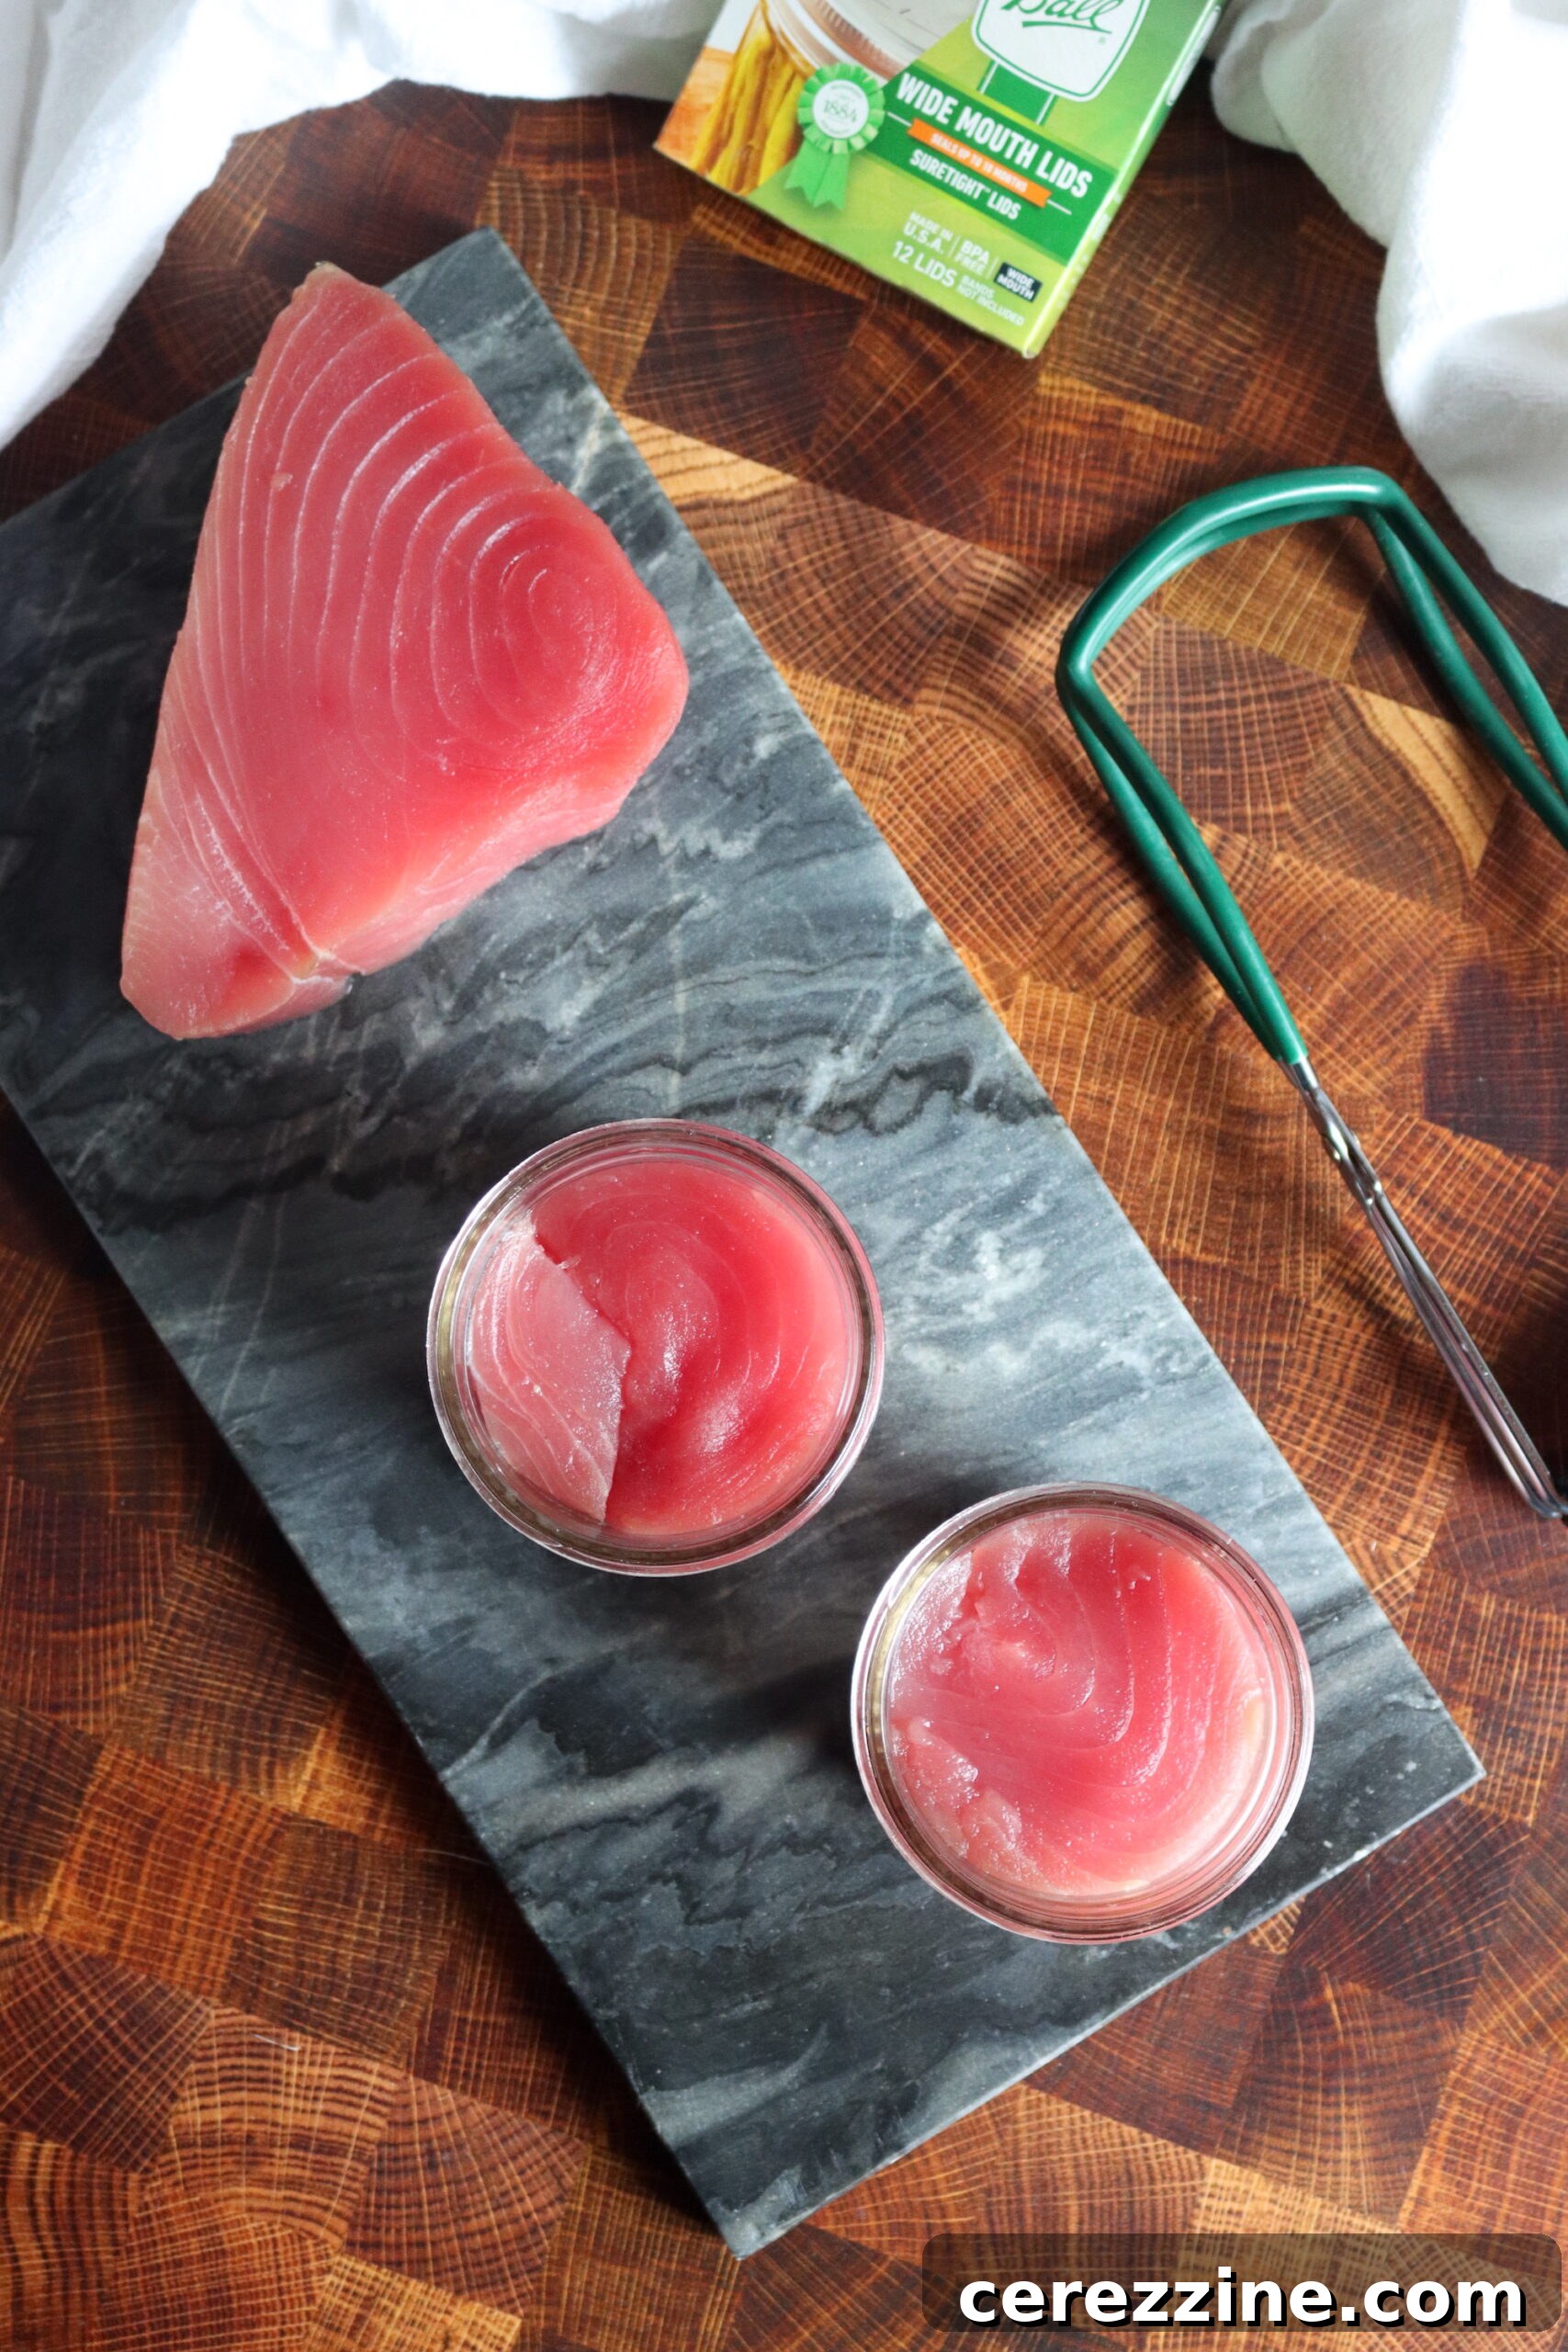
- Partial Freezing for Easier Filleting: Tuna is much easier to handle and cut into uniform pieces if it’s partially frozen. Place your tuna fillets in the freezer for about 30 to 60 minutes, or until firm but not frozen solid. This step greatly simplifies the filleting process.
- Filleting and Skinning: If starting with a whole fish, remove the viscera and wash the fish thoroughly in cold water. Allow any blood to drain. Using a sharp fillet knife, carefully skin the fish. You can do this before or after filleting, depending on your preference.
- Remove Discolored Flesh and Dark Meat: Gently scrape the surface of the fillets to remove any discolored flesh or visible blood vessels. This improves the final appearance and taste. Crucially, cut out and discard all dark red flesh, as this part of the tuna has a strong, often unpleasant, flavor that can negatively impact your canned product. This dark meat can, however, be saved and used for pet food if desired.
- Cut into Jar-Sized Pieces: Cut the clean tuna fillets into chunks or strips that will fit comfortably into your pint or half-pint jars, leaving adequate headspace. Aim for pieces that are roughly uniform in size for even processing.
Preparing Your Jars and Canner
- Wash Jars and Lids: Wash canning jars, screw bands, and new lids in hot, soapy water. Rinse thoroughly. While sterilization is not strictly required since the tuna will be processed for a long time in a pressure canner, ensuring jars are clean is essential.
- Heat Jars: Keep jars hot until ready to fill to prevent thermal shock when placed in the canner. You can do this by keeping them in hot water or a warm oven.
- Prepare Pressure Canner: Add the recommended amount of water to your pressure canner, typically 2-3 inches, or according to your canner’s instructions. Ensure the canner rack is in place at the bottom. Warm the water to approximately 140°F (60°C) – hot but not yet simmering – before adding jars.
Packing the Tuna into Jars
Once your tuna is prepped and your canning equipment is ready, it’s time to pack the jars.
- Raw Tuna Pack: For the raw pack method (our recommended approach), tightly pack the prepared tuna pieces into the hot jars, leaving a crucial 1-inch headspace. This headspace is vital for proper sealing and to prevent liquid from siphoning out during processing. Do not add any liquid (oil or water) to raw-packed tuna. The tuna will release its own juices during processing. If using salt, add 1/2 teaspoon to each half-pint jar or 1 teaspoon to each pint jar before packing the tuna.
- Precooked Tuna Pack (Optional): If you choose the precooked method, first cook the cleaned tuna. You can bake it at 225-250°F (107-121°C) for 2-4 hours, or at 350°F (177°C) for 1 hour, ensuring an internal temperature of 165-175°F (74-79°C). Alternatively, steam the tuna for 2-4 hours. After cooking, refrigerate the tuna overnight to firm up the meat, then pack it into hot jars, leaving 1-inch headspace. For half-pint jars, add 1/2 teaspoon of salt and 1-3 tablespoons of neutral oil (vegetable, soy, or cottonseed) or water. For pint jars, add 1 teaspoon of salt and 2-6 tablespoons of oil or water.
The Pressure Canning Process
- Clean Jar Rims and Apply Lids: After packing, wipe the rims of each jar thoroughly with a clean, damp cloth to remove any food residue that could prevent a proper seal. Place a new, warm lid on each jar, centered on the rim. Apply screw bands finger-tight – this means tight enough to hold the lid in place, but not so tight that air cannot escape during processing.
- Load Canner: Carefully place the filled jars onto the rack in the pre-warmed pressure canner using a jar lifter. Ensure jars are not touching each other or the sides of the canner.
- Vent the Canner: Secure the canner lid. Turn the heat to high. Allow steam to escape steadily from the vent pipe for a full 10 minutes. This “venting” step is crucial to ensure all air is expelled from the canner, creating a pure steam environment for accurate pressure.
- Process at Correct Pressure and Time: After venting, place the weighted gauge or close the petcock (for dial gauge canners). Allow the pressure to rise to the recommended level. For tuna (both raw pack and precooked), process half-pint and pint jars for 100 minutes.
- Maintain Pressure: During the 100-minute processing time, it is vital to maintain a consistent pressure. If the pressure drops below the recommended level at any point, even for a moment, you must bring the canner back up to pressure and restart the processing time from the beginning. Fluctuations can compromise food safety.
Post-Canning and Storage
- Natural Depressurization: Once the processing time is complete, turn off the heat and allow the pressure canner to depressurize naturally. Do not try to rush this process by opening the vent or cooling the canner. Rushing can cause liquid loss from jars and potentially compromise seals.
- Remove Jars: Once the pressure gauge reads zero (or no steam is escaping from a weighted gauge), wait an additional 5-10 minutes before carefully removing the canner lid, tilting it away from your face to avoid steam. Using a jar lifter, carefully remove the hot jars and place them on a clean towel or cooling rack, ensuring they are not touching.
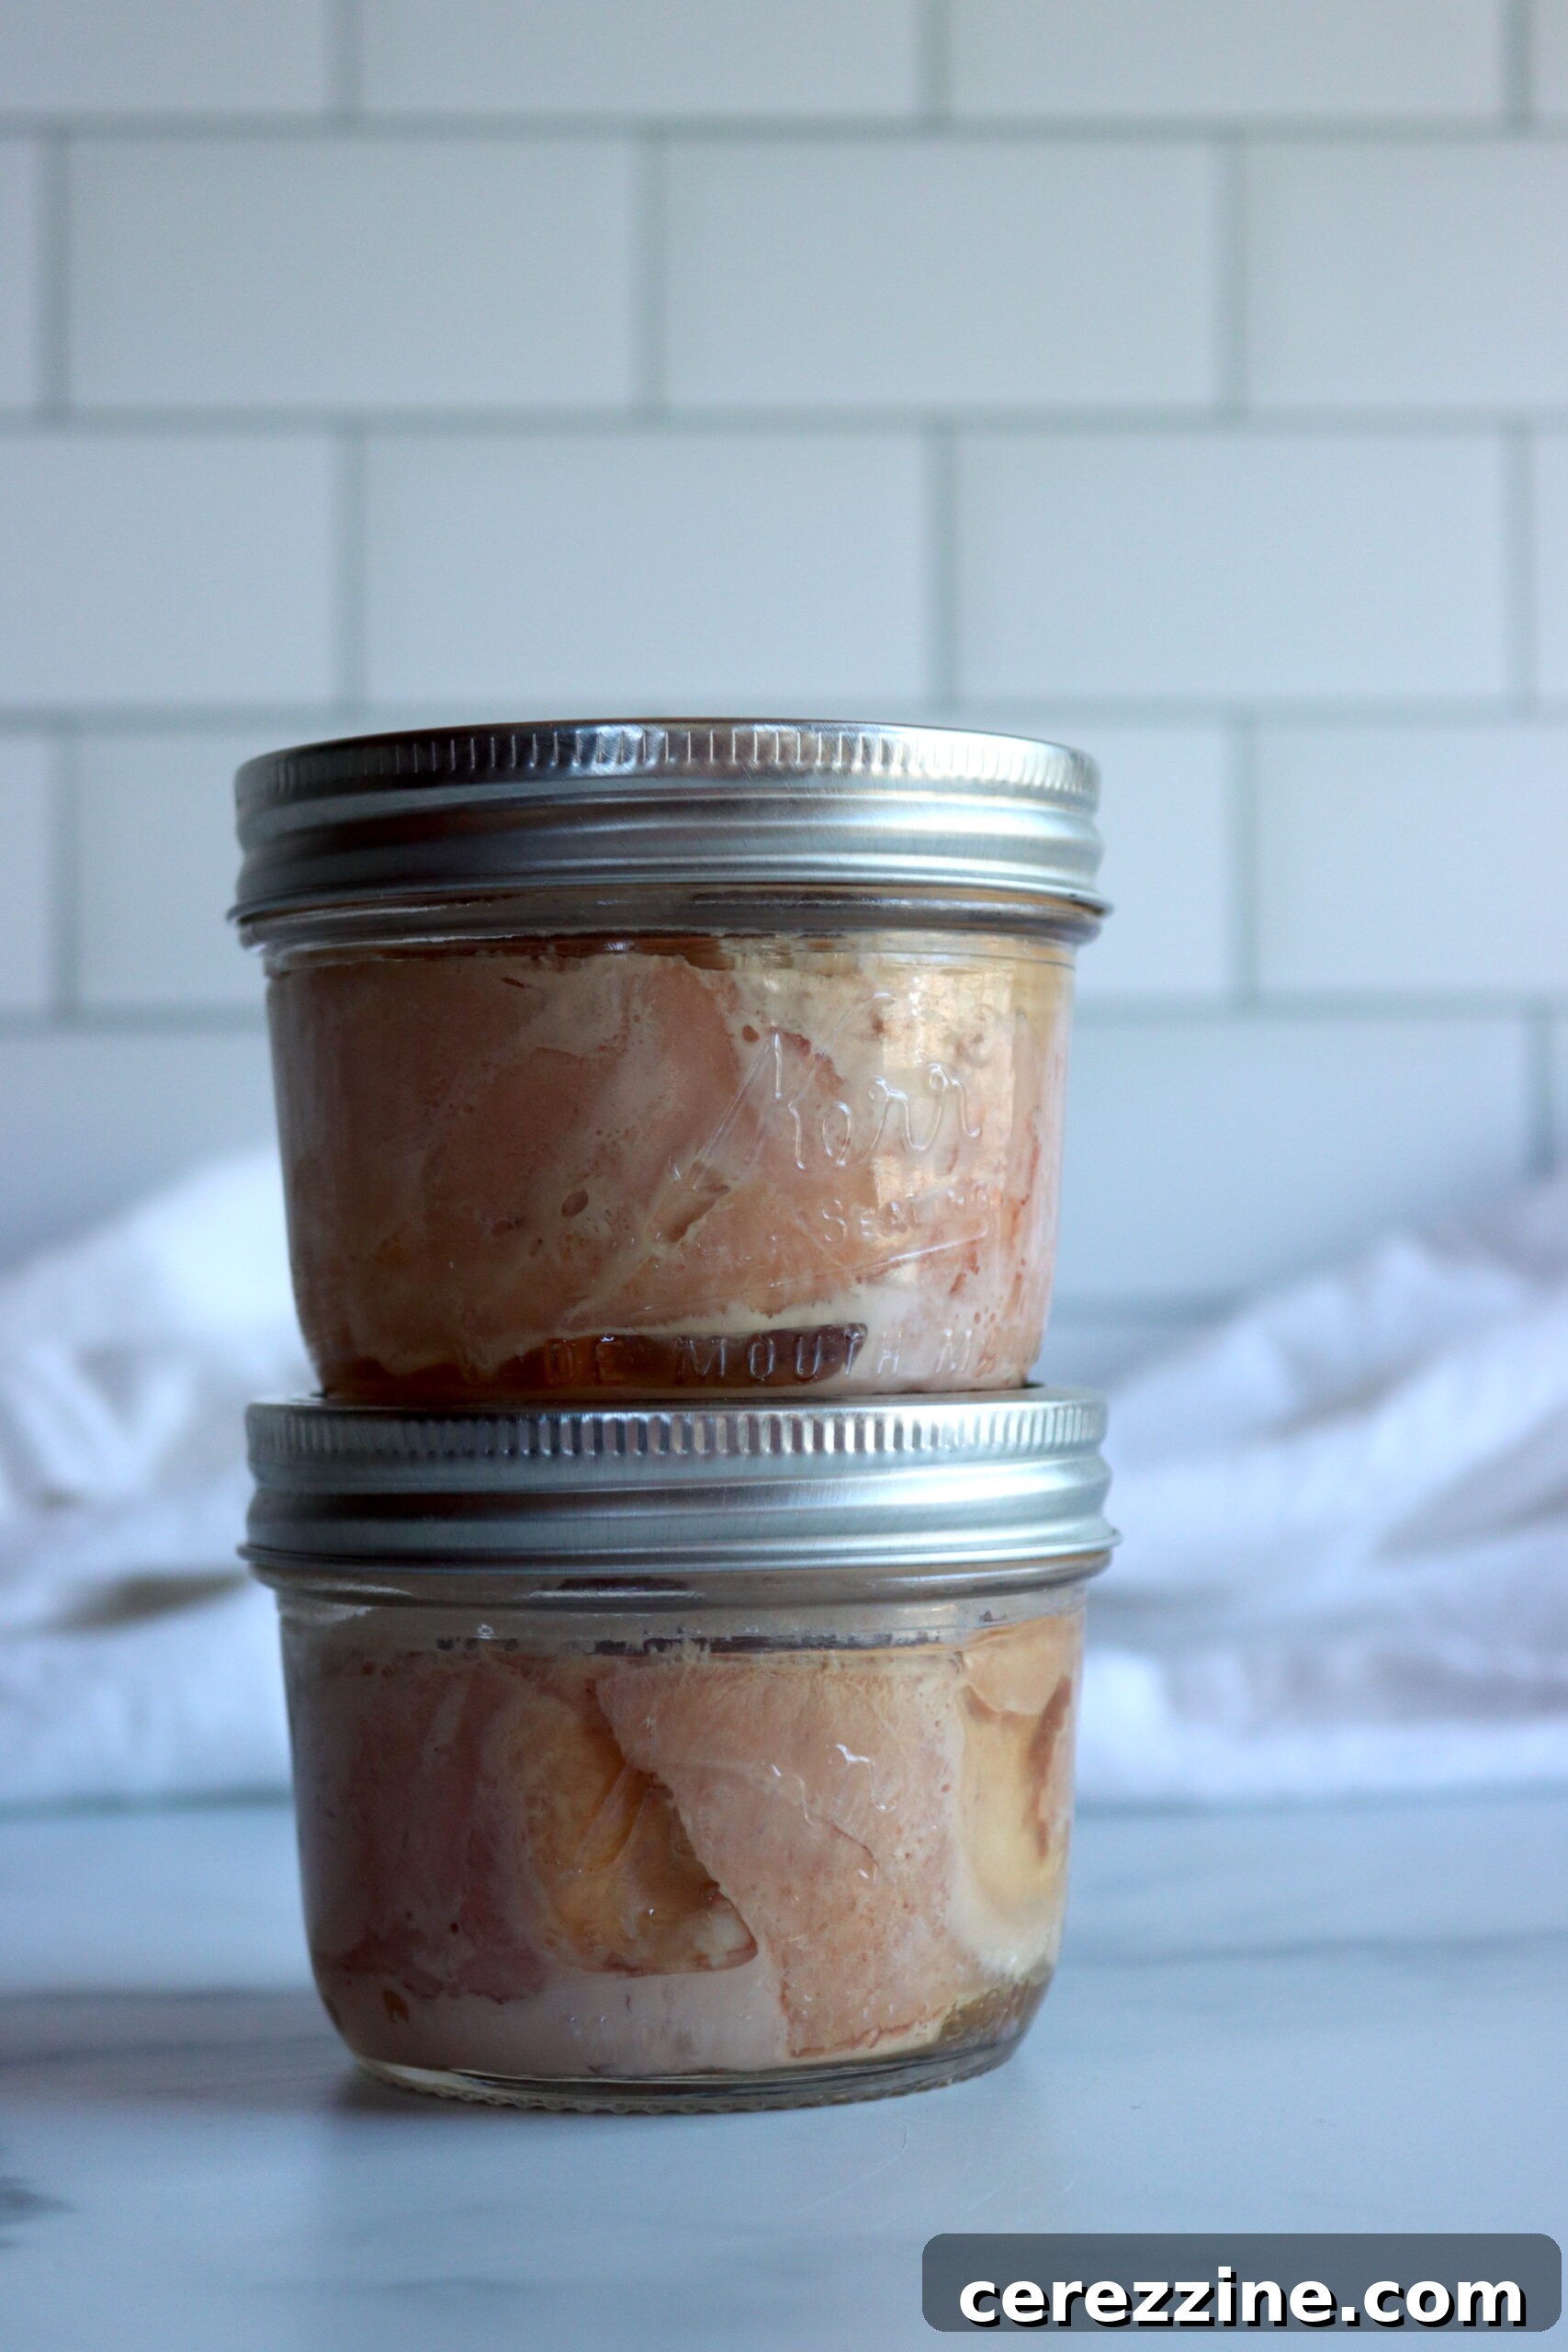
- Cooling and Checking Seals: Allow the jars to cool undisturbed for 12-24 hours. As they cool, you should hear a “pop” sound as the lids seal. After cooling, check each seal by pressing on the center of the lid; it should be concave and not flex when pressed. If a lid yields, the jar is not sealed and the contents must be reprocessed or refrigerated and consumed promptly.
- Label and Store: Once jars are sealed, remove the screw bands (these can trap moisture and cause rust, or make it hard to determine if a seal has broken later). Label your jars with the contents and date of canning. Store your home-canned tuna in a cool, dark, dry place away from direct sunlight or extreme temperature fluctuations. Properly canned tuna can last for at least a year.
Altitude Adjustments for Safe Pressure Canning Tuna
When pressure canning, it’s critical to adjust the pressure according to your altitude. The boiling point of water decreases at higher altitudes, meaning more pressure is needed inside the canner to reach the required sterilizing temperatures. Processing times remain the same, but the pounds per square inch (PSI) change. Refer to the tables below to ensure safe processing for your elevation:
For Dial Gauge Pressure Canners:
- 0 to 2,000 feet in elevation – 11 lbs pressure
- 2,001 to 4,000 feet in elevation – 12 lbs pressure
- 4,001 to 6,000 feet in elevation – 13 lbs pressure
- 6,001 to 8,000 feet in elevation – 14 lbs pressure
For Weighted Gauge Pressure Canners:
- 0 to 1,000 feet in elevation – 10 lbs pressure
- Above 1,000 feet – 15 lbs pressure
Always consult your specific canner’s manual for detailed instructions and confirm appropriate pressure settings for your altitude.
Creative Ways to Enjoy Your Home-Canned Tuna
Your homemade canned tuna is incredibly versatile and can be used in any recipe that calls for commercially canned tuna, often with a far superior taste. Here are just a few ideas to get you started:
- Classic Tuna Salad: Mix your tuna with mayonnaise, finely diced celery, red onion, and a touch of mustard for a timeless salad.
- Elevated Tuna Sandwich: Spread your tuna salad on artisan bread, add fresh lettuce, tomato, and perhaps some avocado slices for a gourmet twist.
- Hearty Tuna Melts: Pile tuna salad onto English muffins or thick bread, top with your favorite cheese, and broil until bubbly and golden.
- Quick Tuna Pasta: Toss flaked tuna with cooked pasta, olive oil, garlic, cherry tomatoes, capers, and fresh basil for a light and flavorful meal.
- Mediterranean Tuna Bowls: Combine tuna with quinoa or couscous, chopped cucumber, tomatoes, olives, feta cheese, and a lemon-herb vinaigrette.
- Spicy Tuna Wraps: Mix tuna with a dollop of sriracha mayo, chopped bell peppers, and wrap in a tortilla with crisp greens.
- Tuna Patties/Croquettes: Combine tuna with breadcrumbs, an egg, and seasonings, then pan-fry until golden brown for a delicious appetizer or main course.
- Simple Straight from the Jar: Sometimes, the best way to appreciate your hard work is to enjoy a forkful of your perfectly preserved tuna, perhaps with a squeeze of lemon and a crack of black pepper.
With an average of 69 calories, 15g of protein, and only 1g of fat per serving (approximate values for 1/2 cup), home-canned tuna is a healthy and lean protein source to incorporate into your diet.
Beyond Tuna: Explore More Fish Canning Recipes
Tuna is an excellent pantry staple, but the world of home-canned fish is vast and exciting! Once you’ve mastered canning tuna, you might be inspired to try preserving other types of seafood.
Expand your home preservation skills with other fish canning recipes. You can learn the techniques for canning crab and shrimp, or even create full, ready-to-eat meals like a rich home-canned Nordic Salmon Soup or a hearty Fish Chowder Base. The possibilities are endless for stocking your pantry with wholesome, homemade seafood.
Canning tuna at home might seem daunting at first, but with the right equipment, careful attention to detail, and adherence to tested safety guidelines, it’s a deeply satisfying and worthwhile endeavor. You gain control over your food, enjoy superior flavor, and build a valuable skill that serves you and your family for years to come. So, gather your fresh tuna, prepare your pressure canner, and embark on your journey to homemade canned tuna excellence!