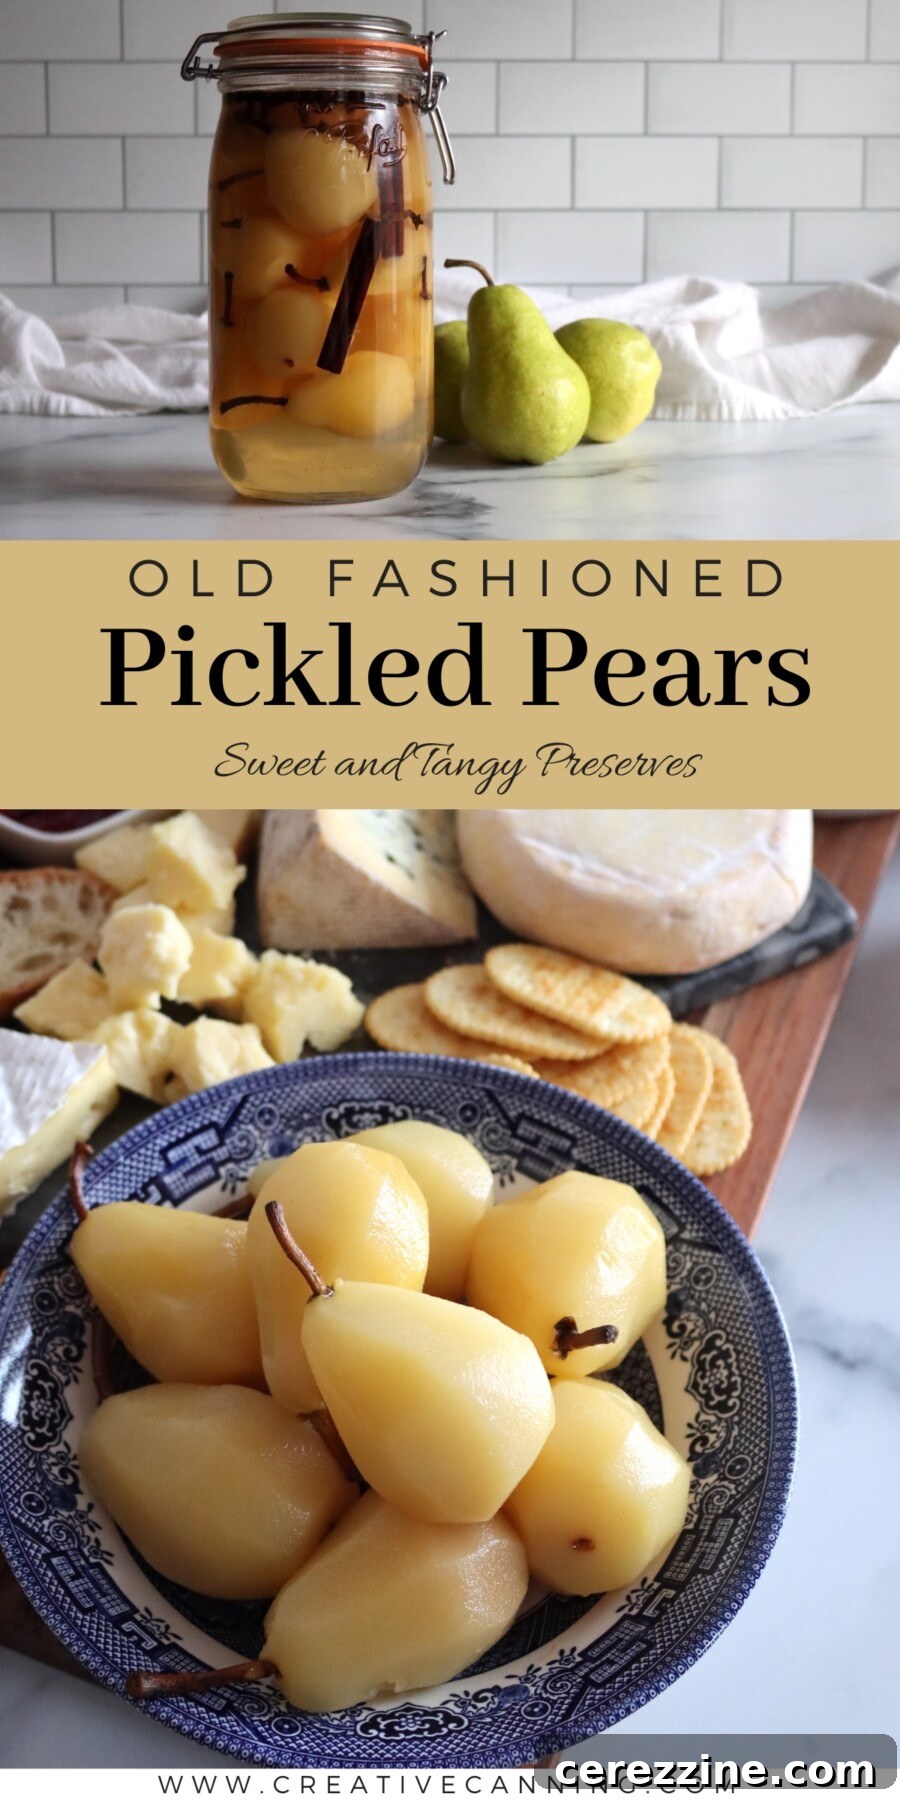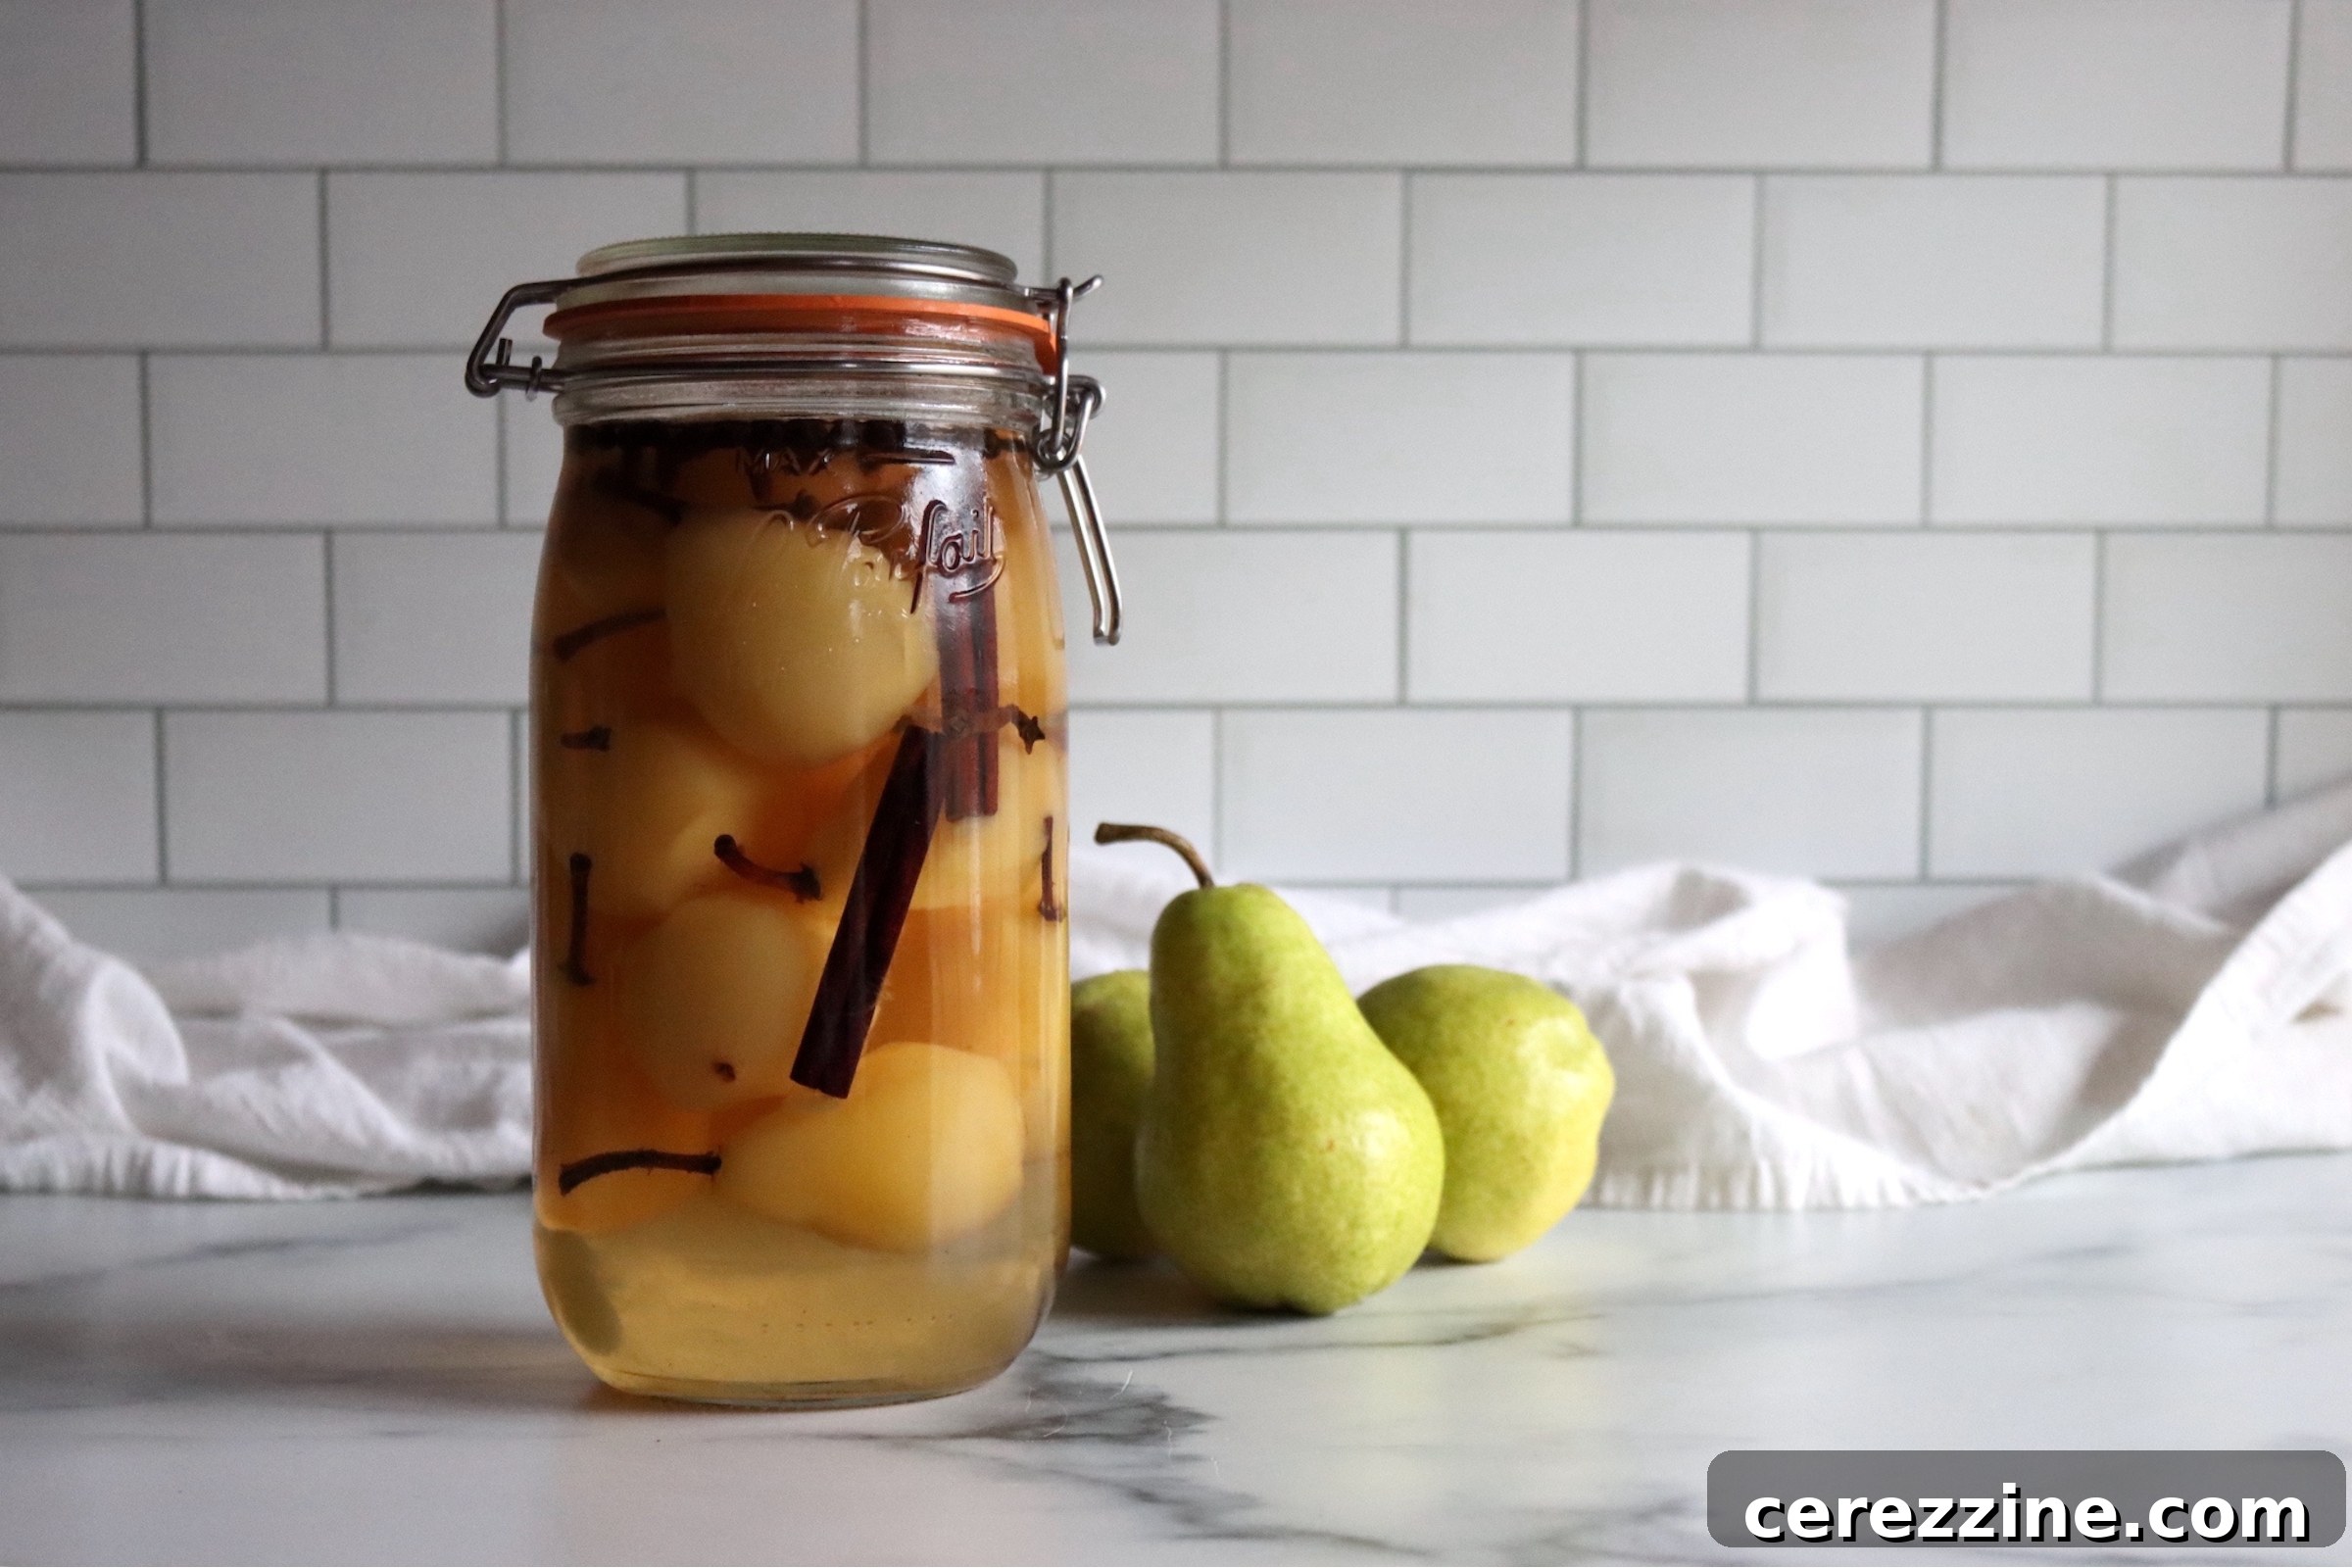
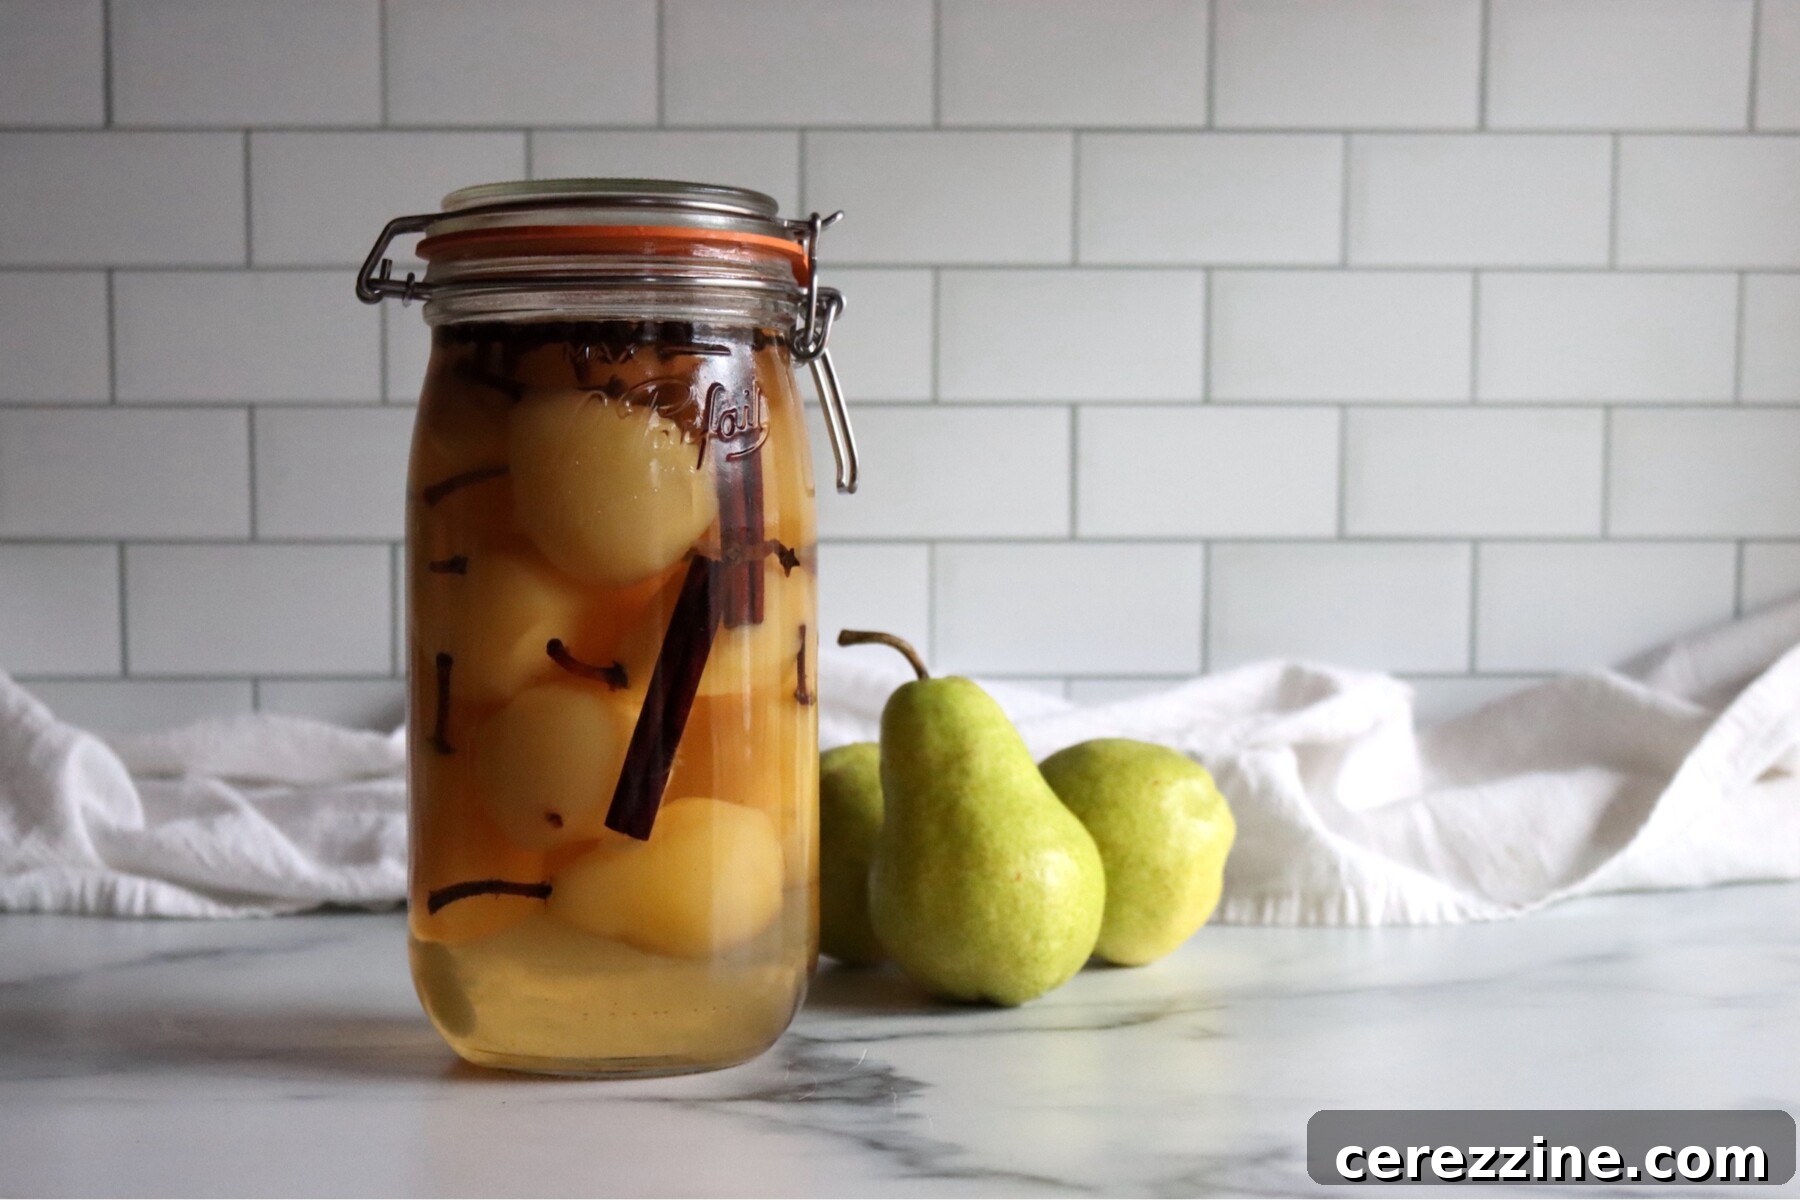
Pickled pears are a charming and timeless addition to any pantry, offering a delightful blend of flavors that elevate both simple weeknight meals and sophisticated culinary presentations. This old-fashioned canning project results in perfectly tender pears bathed in a clear, aromatic, spiced syrup that evokes the warmth of the holiday season. Their versatility makes them equally at home nestled beside a savory pork roast, gracing an elegant cheese board, or as a decadent topping for a slice of pound cake.
This recipe for pickled pears has been meticulously reviewed for safety and accuracy by a Master Food Preserver, certified through the esteemed University of Cornell Cooperative Extension, ensuring reliable results for your home canning endeavors.
The Enduring Appeal of Pickled Fruit
Fruit pickling recipes are rapidly becoming a favorite method for preserving seasonal produce. The secret lies in their surprisingly complex flavor profile and superior texture retention when compared to plain fruit canned in syrup. The addition of vinegar acts as a magical intensifier, amplifying the natural fruit flavor while perfectly balancing the sugar in the recipe. This creates a sweet-tart harmony that is both aromatic and deeply satisfying, transforming ordinary fruit into something truly special.
Pickling is a fantastic way to make even mediocre fruit shine, and it elevates already great fruit to an exceptional level. While a beautifully made pear jam offers a lovely sweet treat, pickled pears provide a more intriguing balance of sweet and tangy notes, making them a captivating and versatile staple in your home pantry.
This particular recipe for spiced pickled pears comes from the highly respected National Center for Home Food Preservation (NCHFP), a trusted authority in home canning. Their formulation achieves a perfect equilibrium of sweet, tangy, and warmly spiced flavors, ensuring the pears are never harsh or overly “vinegary.” This rigorous testing and precise balance are what make this recipe a consistent favorite for seasoned canners and beginners alike.

Why You’ll Adore This Old-Fashioned Pickled Pear Recipe

As someone who enjoys experimenting, my husband often teases that I “never met a recipe I didn’t want to change.” However, this pickled pear recipe is a rare exception – it truly is perfect exactly as written. The rich syrup ensures the pears develop that desirable glossy, preserve-like finish, while the carefully selected warm spices slowly infuse, creating a flavor that is wonderfully rounded and deep, rather than sharp or overpowering. It’s an excellent method for utilizing smaller, firm pears when they are at their peak ripeness, transforming them into a delightful treat you can enjoy months down the line. Imagine pulling a jar off the shelf to add a bright, flavorful accent to a winter roast or a luxurious wedge of cheese.
While these pears are undeniably sweet, the keen tang of the vinegar provides a crucial counterpoint, balancing the entire flavor profile beautifully. This harmonious blend makes them incredibly versatile, equally suited to accompanying hearty roast meats or enhancing a sophisticated dessert spread.

Recipe Overview: Crafting Your Pickled Pears
Before diving into the detailed steps, here’s a concise overview of what to expect when making these exquisite pickled pears:
- Recipe Name: Pickled Pears – A traditional sweet and sour preserved fruit.
- Recipe Type: This is a classic Fruit Pickling Recipe, perfect for seasonal pear abundance.
- Canning Method: Best preserved using either the reliable Waterbath Canning method or Steam Canning for pantry stability.
- Prep & Cook Time: Allocate approximately 1 hour for preparation and initial cooking before canning.
- Canning Time: The processing time in the canner is 20 minutes for pint jars.
- Yield: This recipe typically yields about 7 pint jars, depending on the size and density of your pears.
- Jar Sizes: Half-pint or pint jars are ideal. While quart times are sometimes referenced by other extensions, the NCHFP specifically tested this recipe for pint jars (see notes below for more on quart canning).
- Headspace: A crucial 1/2 inch headspace is required for proper sealing and safe preservation.
- Key Ingredients: Pears, Sugar, Vinegar (5% acidity), and a blend of warm Spices.
- Safe Canning Recipe Source: This recipe adheres to the guidelines of the National Center for Home Food Preservation (NCHFP), ensuring safety and quality.
- Difficulty: Moderate. The recipe is process-oriented, meaning adhering to each step, especially simmering the fruit in the syrup before packing, is vital for the correct texture and flavor. Do not skip or shortcut steps!
- Similar Recipes: The methodology is akin to other beloved old-fashioned fruit pickles, such as Pickled Peaches, Pickled Figs, and Pickled Watermelon Rind. These recipes all involve a similar long, slow cooking process to deeply infuse the fruit with tart, aromatic flavors.
Essential Ingredients for Your Pickled Pears
The NCHFP recipe relies on a straightforward list of ingredients, which, when combined precisely, create a delightful sweet pickled pear in a richly spiced syrup. Here’s what you’ll need:
- Sugar: This recipe utilizes a true preserve-style syrup, where sugar plays a dual role. Beyond simply sweetening, it significantly contributes to the pears’ desirable texture and helps to perfectly balance the sharp acidity of the vinegar.
- White Vinegar (5% acidity): It is imperative to use standard white vinegar or cider vinegar that is specifically labeled as 5% acidity. This exact acidity level is critical for the safety and tested efficacy of the canning recipe. While other vinegar types like white wine vinegar can be used, ensure they also meet the 5% acidity requirement.
- Water: Water serves to dilute the strong vinegar, mellowing the finished syrup into a pleasantly tangy rather than overly sharp liquid, all while maintaining the precise proportions essential for a tested and safe recipe.
- Cinnamon Sticks: Cinnamon is the cornerstone of the classic warm flavor profile in pickled pears. You’ll simmer some in the initial syrup to infuse its essence and then add a piece to each jar for both continued flavor development and a traditional, aesthetically pleasing presentation.
- Whole Cloves and Whole Allspice: These spices contribute a significant depth and that characteristic “mulling spice” aroma. Keeping them whole is key; it allows for effective infusion of flavor without introducing gritty spice bits into the finished jars, ensuring a clean and enjoyable texture.
- Pears: While Seckel pears are often considered ideal due to their small size and firm texture, any firm pickling pear variety will work wonderfully. The most important factor is selecting pears that are ripe enough to possess excellent flavor but remain firm enough to withstand the simmering and canning processes without becoming mushy.
- Optional: Ascorbic Acid Solution (to prevent browning): If you are peeling a large batch of pears, preparing an ascorbic acid bath (or simply a bowl of water with a generous splash of lemon juice) is highly recommended. This prevents the peeled pears from oxidizing and turning brown while you prepare the remaining fruit, maintaining their appealing appearance.
It’s crucial to emphasize that the vinegar in this recipe expertly balances the significant amount of sugar. I strongly recommend adhering to the ratios as written. I understand it may seem like a lot of sugar and a considerable amount of vinegar, but this specific combination is meticulously calibrated to achieve the perfect sweet-tart balance and will come together just right, I promise.
If you are seeking lower-sugar pear canning recipes, consider making pear sauce or pear butter instead, as these can be made successfully without added sugar. Similarly, when canning pear pie filling, you have more flexibility to adjust the sugar content to your preference. However, for pickled pears, attempting to significantly reduce the sugar will compromise the intended texture and flavor balance. These are designed to be a vibrant accent rather than a full course, and a single, perfectly crafted pickled pear provides ample flavor without exceeding your calorie budget.

Yield Notes & Jar Sizes: Ensuring Canning Success
This pickled pear recipe is designed to yield approximately 7 pint jars. However, it’s important to note that the actual yield can vary depending on several factors, primarily the size of your pears. Larger pears tend to pack less efficiently into jars, and you might find it more practical to halve or quarter them rather than trying to fit them whole.
The National Center for Home Food Preservation (NCHFP), the authoritative source for this recipe, has exclusively tested and developed it for canning in pint jars. This means the specified processing times are validated for pints, ensuring maximum safety and quality. While the canning times for pickled pears in pints are consistent with those for canning plain pears in syrup, the specific testing for pickled pears in quart jars is less direct.
The University of Louisiana Extension is one of the few authorities that mentions canning pickled pears in quarts. It is generally assumed that the canning times for quarts would align with those for canning plain pears in syrup in quarts. However, it’s crucial to understand that quart jar sizes have not been specifically tested for *this exact pickled pear recipe* by the NCHFP.
Although I have included suggested processing times for quarts in the recipe notes for your reference, please be aware that only pint jars have undergone explicit testing for this particular formulation. Therefore, it is essential to use your best judgment if you choose to can in quart jars, prioritizing safety above all else.
Crafting Perfection: How to Make Pickled Pears (Step-by-Step)
This recipe is highly process-oriented, meaning that each step plays a vital role in achieving the correct texture, flavor, and safety profile. You simply cannot achieve the desired results by combining all ingredients directly into jars. It is imperative to read through all the instructions thoroughly before you begin and resist any temptation to shortcut the simmering times!
1. Prepare the Spiced Syrup
Begin by preparing your aromatic spiced syrup. In a large, heavy-bottomed pot, combine the specified amounts of sugar, vinegar, water, and cinnamon sticks. To contain the smaller spices, tie the whole cloves and whole allspice securely in a clean, thin, white cloth (a reusable spice bag also works perfectly). Add this spice bundle to the pot. Alternatively, you can add the whole spices directly to the pot without a bag, and they will be included in the finished jars along with the syrup.
Bring this mixture to a rolling boil over medium-high heat, ensuring all the sugar dissolves. Once boiling, reduce the heat to a gentle simmer, cover the pot, and allow it to infuse for approximately 30 minutes. This crucial simmering period allows the syrup to absorb the rich, complex flavors of the spices, forming the foundation of your pickled pears.
2. Prepare the Pears
While your syrup is infusing, turn your attention to the pears. Wash them thoroughly under cool running water. Carefully peel each pear, removing all of the tough blossom end. You may choose to leave the stems on for a traditional appearance, or remove them if preferred.
If your pears are large, it’s best to halve or quarter them to ensure they cook evenly and fit well into the canning jars. To prevent the peeled pears from browning due to oxidation while you work, immediately place them into a cold solution. A simple bath of 2 quarts of water with 1/2 teaspoon of ascorbic acid works perfectly, or you can use a bowl of water with a generous splash of lemon juice. Drain the pears thoroughly just before you are ready to add them to the syrup.
3. Simmer Pears in the Syrup
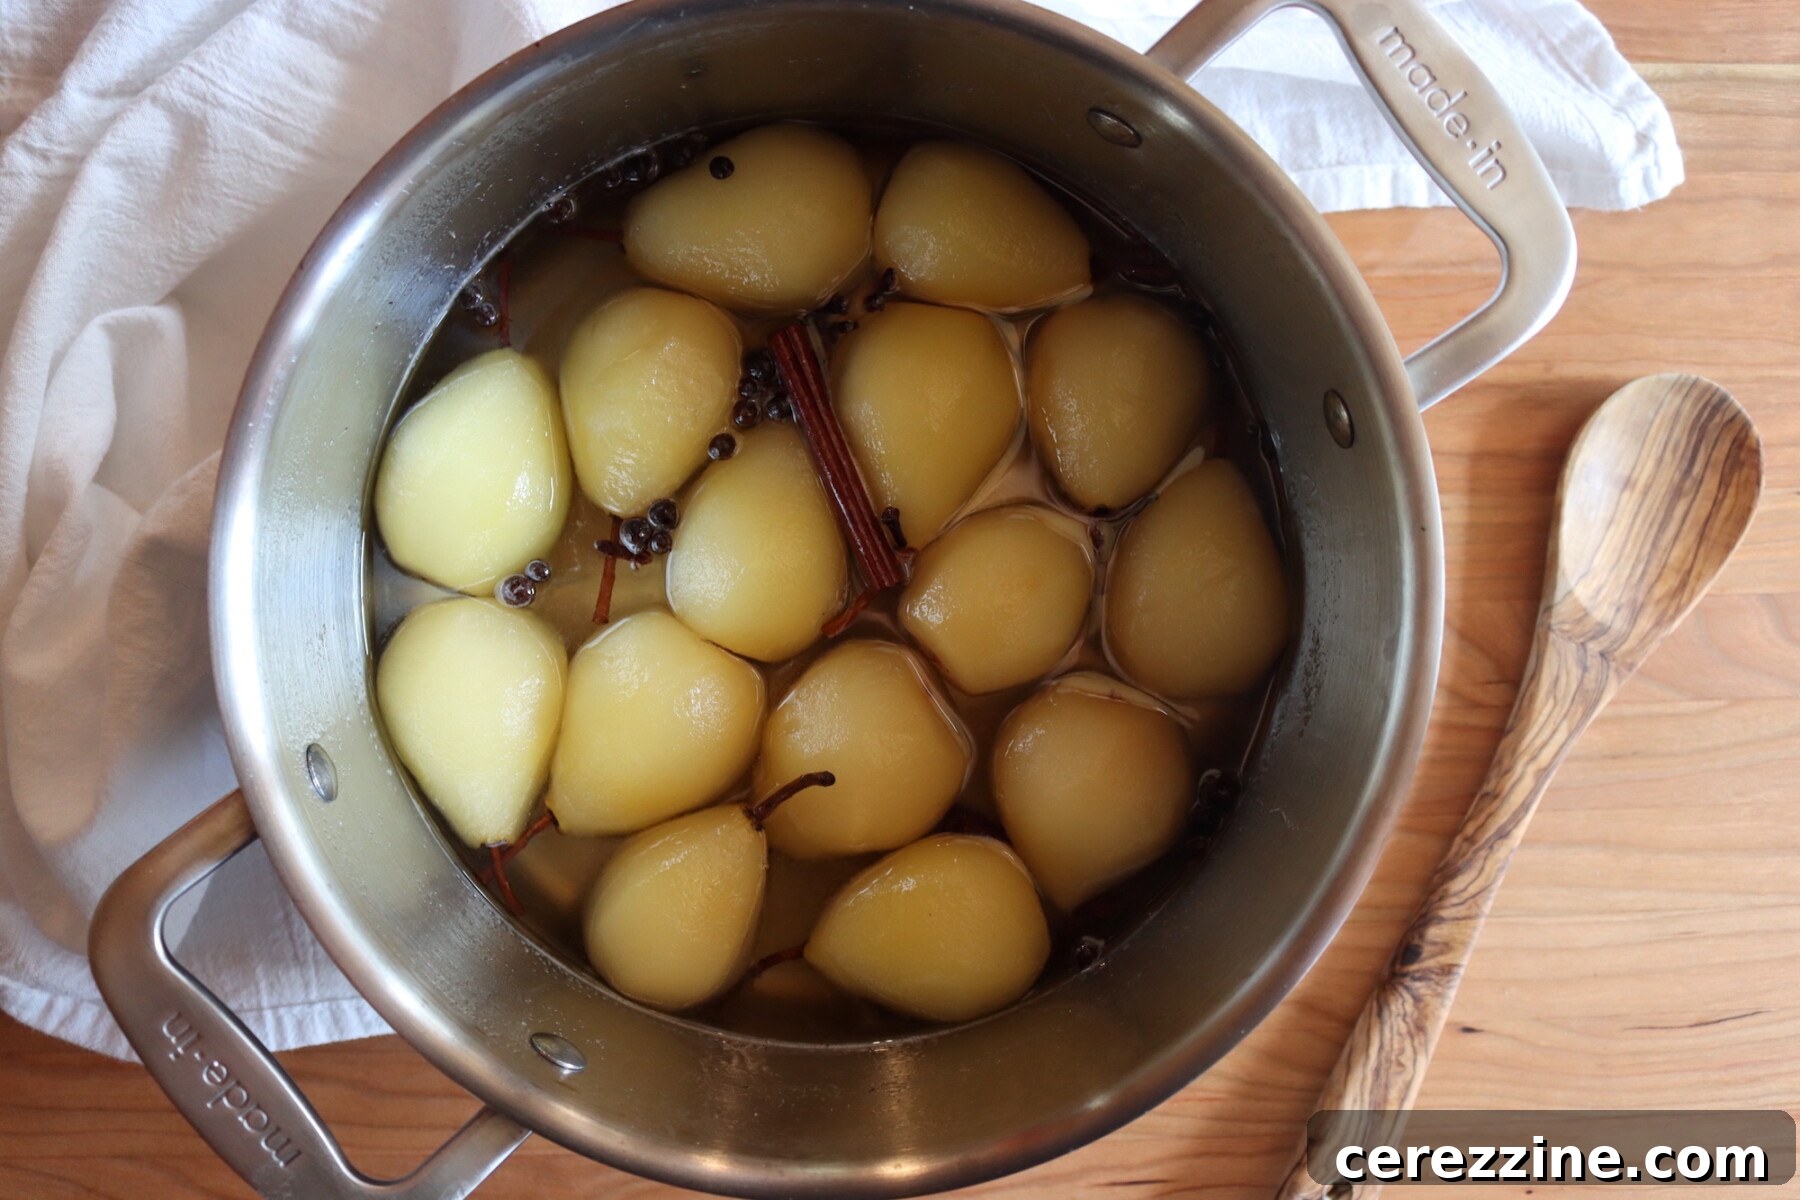
Once the spiced syrup has simmered for 30 minutes, remove the spice bag (if used). Add the drained, prepared pears to the hot, fragrant syrup in the pot. Return the mixture to a boil over medium-high heat. Once boiling again, reduce the heat to a simmer and continue cooking for another 20 to 25 minutes. During this time, the pears will heat through completely and begin to become tender.
It’s important not to overcook the pears at this stage. Remember that the pears will continue to soften slightly during the canning process. The goal is to achieve a tender texture while still maintaining their integrity and shape. They should be tender, but still pleasantly firm and intact, not mushy.
Canning Pickled Pears for Long-Term Storage
Proper canning is essential for safely preserving your delicious pickled pears. Follow these steps meticulously:
First, prepare your boiling water canner according to the manufacturer’s instructions, ensuring it contains enough water and is heating up. Simultaneously, heat your pint jars by placing them in the canner or a separate pot of hot water. Keep them hot until you are ready to fill them to prevent thermal shock.
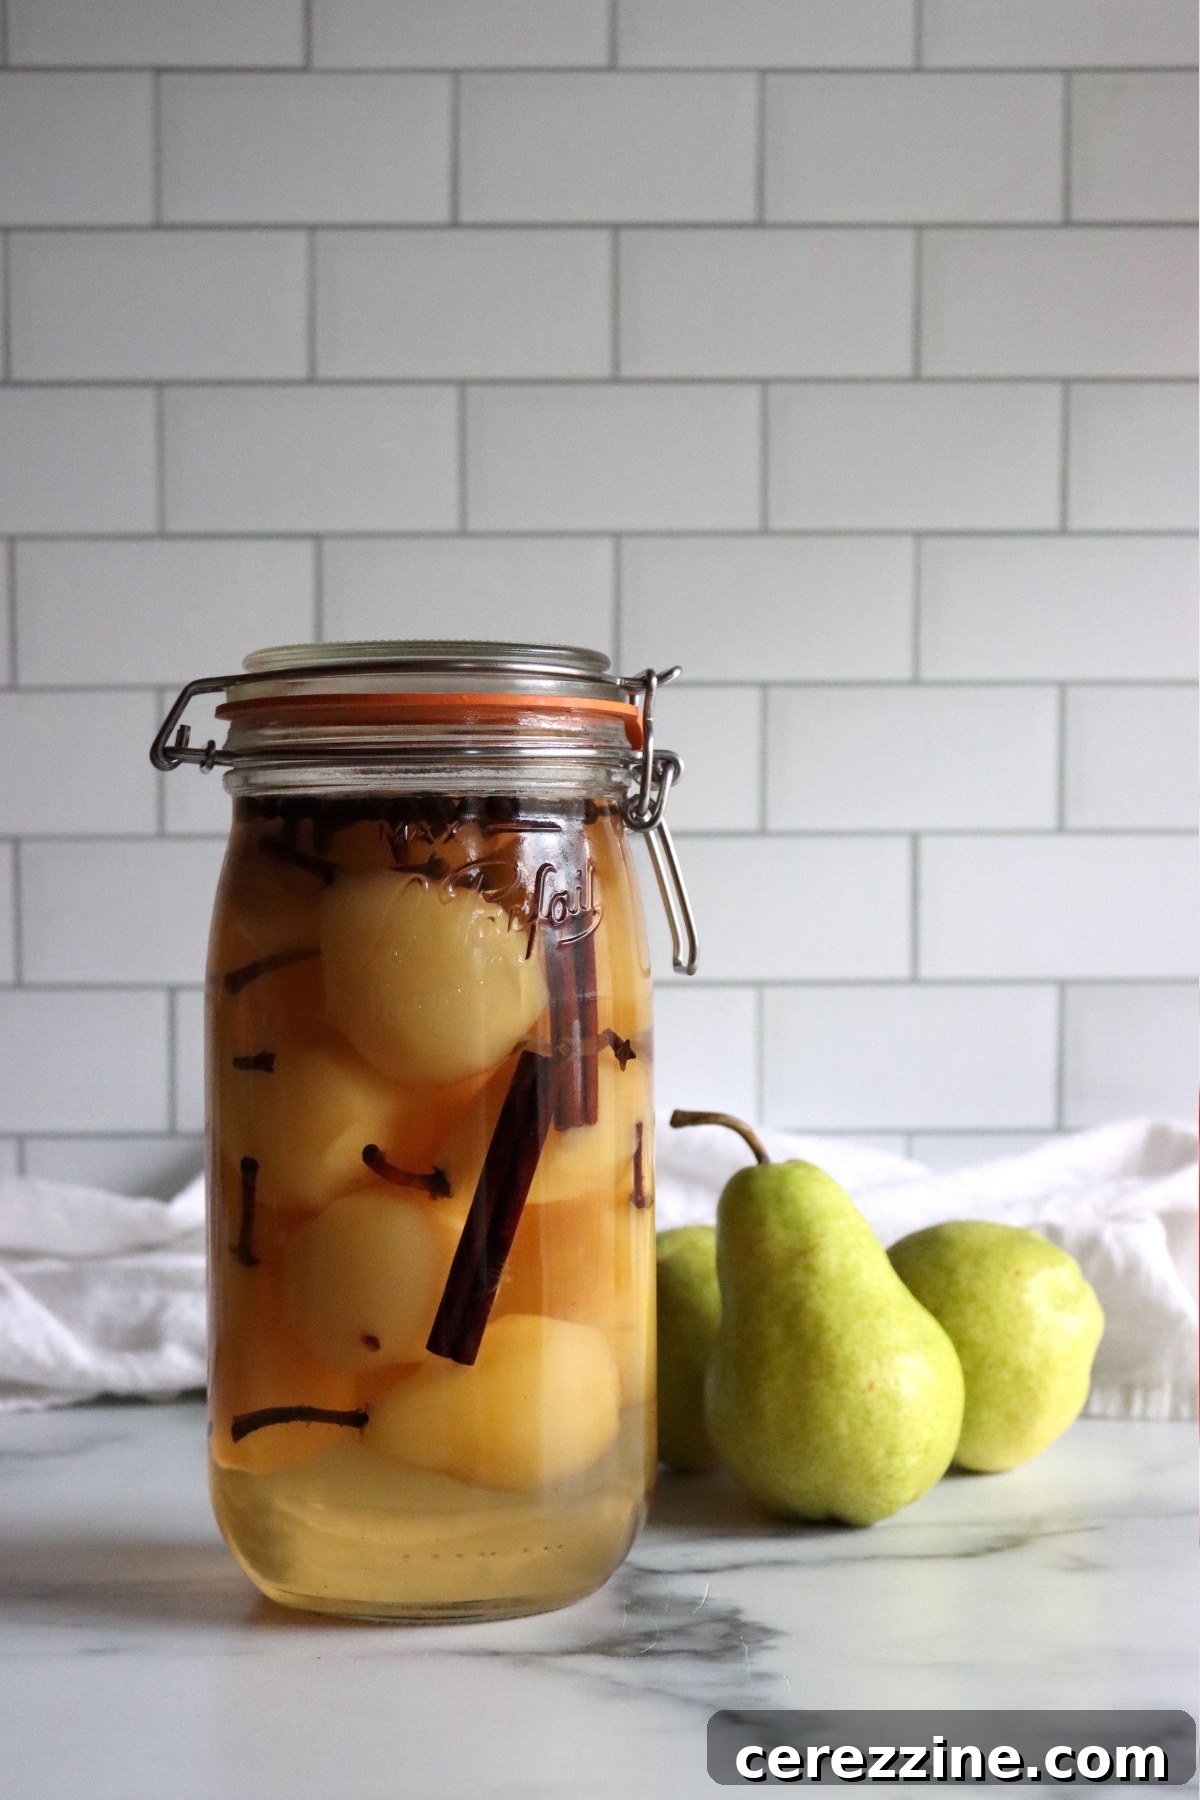
Carefully pack the hot, simmered pears into the hot pint jars. For an extra layer of flavor and aesthetic appeal, add one cinnamon stick (retrieved from the simmering syrup) to each jar before filling. Ensure the pears are packed snugly but without crushing them.
Next, ladle the boiling spiced syrup over the packed pears, making sure to cover them completely. It is critical to leave a precise 1/2-inch headspace from the rim of the jar. This headspace is vital for proper sealing. Use a non-metallic utensil (like a plastic spatula or wooden chopstick) to gently remove any trapped air bubbles from around the pears. Re-check the headspace and add more syrup if necessary to maintain the 1/2-inch measurement. Wipe the rims of the jars thoroughly with a dampened clean paper towel to remove any syrup residue. This ensures a clean seal. Finally, apply the two-piece metal canning lids, tightening them only to “fingertip tight” – firm but not overly tight.
Carefully place the filled, lidded jars into the prepared boiling waterbath canner. Ensure the water level covers the tops of the jars by at least one inch. Bring the water back to a rolling boil, then process pint jars for 20 minutes. Remember to adjust this processing time if you live at a higher altitude (refer to the altitude adjustment chart below).
Once the processing time is complete, turn off the heat under the canner. Remove the canner lid and allow the jars to rest undisturbed in the hot water for an additional 5 minutes. This helps to equalize the pressure and reduces the chance of siphoning. After 5 minutes, carefully lift the jars out of the canner and place them on a towel-lined surface, ensuring they are not touching each other, to cool completely for 12 to 24 hours. Do not disturb the jars during this cooling period. Once cooled, check that all lids have sealed (they should be concave and not flex when pressed). Label your jars with the contents and date, and store them in a cool, dark place.
Crucial Altitude Adjustments for Canning Safety
It is important to reiterate that this pickled pear recipe has been specifically tested and validated by the NCHFP for canning exclusively in pint jars. While other reputable extensions, such as the University of Louisiana Extension, do endorse canning pickled pears in quart jars, it is vital to understand that the processing times for quarts have not been explicitly laboratory tested for *this specific recipe’s* unique formulation.
That being said, the canning times for pint jars in this recipe align perfectly with those for canning plain pears in syrup. Therefore, it is generally inferred that the standard quart processing times for canning plain pears in syrup would likely be appropriate for pickled pears as well. We have included those times for your reference below, but please exercise your best judgment if you choose to use quart jars, as that size was not specifically tested during the development of this particular recipe. Always prioritize safety in home canning.
Regardless of jar size, this is strictly a hot pack recipe. It cannot be safely made as a raw pack recipe. Ensure you properly pre-simmer the fruit in the spiced syrup for the designated amount of time before packing into jars. This step is critical for safety and optimal texture.
Altitude adjustments for hot pack processing are as follows:
- 0 to 1,000 ft: 20 minutes for pints, 25 minutes for quarts
- 1,001 to 3,000 ft: 25 minutes for pints, 30 minutes for quarts
- 3,001 to 6,000 ft: 30 minutes for pints, 35 minutes for quarts
- Above 6,000 ft: 35 minutes for pints, 40 minutes for quarts
Inspiring Serving Ideas for Pickled Pears
To experience the fullest and most developed flavor, it is highly recommended to wait at least 2 weeks after canning before opening a jar of your pickled pears. This resting period allows the spices to fully infuse into the pears and syrup, creating a harmonious and deep flavor profile that truly shines. They are often even better after 2-3 months in the jar, making them perfect to make in early fall for holiday enjoyment.
These exquisitely spiced pears are a natural complement to a wide array of rich and hearty meals. Their sweet-tart profile cuts through richness beautifully, making them a fantastic accompaniment to roast pork, savory ham, or succulent turkey. They are especially delightful when paired with sharper cheeses such as aged cheddar, pungent blue cheese, or creamy goat cheese, where their sweetness provides a lovely contrast.
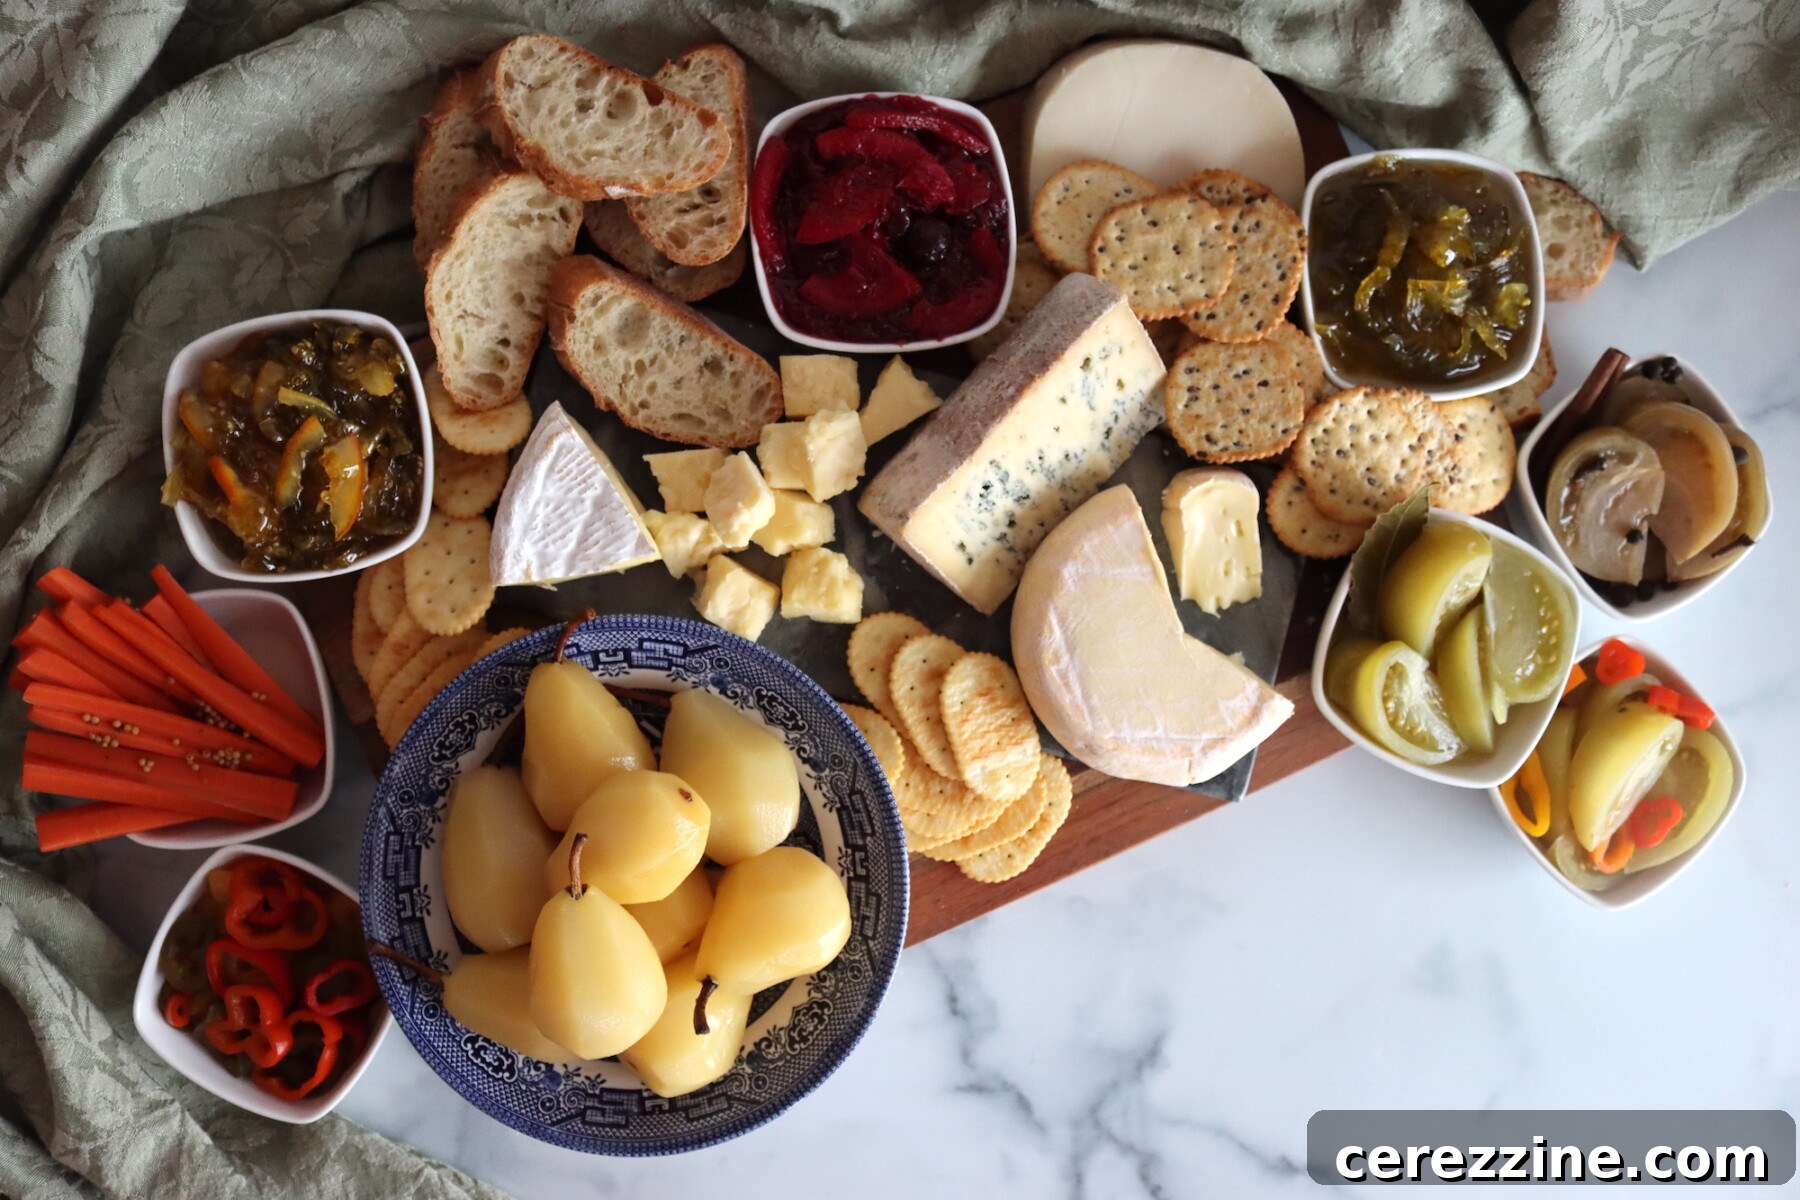
For a sophisticated touch, thinly sliced pickled pears make an effortless upgrade for green salads, adding a burst of unexpected flavor and texture. They are also an indispensable component of any elegant charcuterie board, offering a vibrant, tangy counterpoint to cured meats and other preserves. Don’t forget the spiced syrup! A spoonful drizzled over vanilla ice cream or a warm slice of pound cake transforms a simple dessert into a gourmet experience.
For my own holiday celebrations, pickled pears often take center stage on my festive charcuterie platter. I love to surround them with a diverse array of other homemade preserves and pickles, creating a truly memorable spread. Imagine them alongside vibrant Pickled Peppers, crunchy Pickled Carrots, tangy Green Tomato Marmalade, bright Cranberry Orange Marmalade, rich Italian Green Tomato Preserves, and a trio of pickled green tomatoes (including sweet, dill, and spicy varieties). This assortment offers a symphony of flavors and textures that will impress any guest.
Common Questions About Pickled Pears Answered
While you can technically open a jar of pickled pears as soon as it has cooled and sealed, the flavor profile significantly improves with a bit of patience. For the best culinary experience, I recommend waiting at least two weeks. This period allows the pears to fully absorb the complex blend of spices and for the syrup to mellow into that unmistakable “holiday” flavor. They often reach their peak flavor after about 2 to 3 months in the jar, so if you plan to serve them on a special occasion like a holiday charcuterie board, consider making them in September.
This pickled pear recipe has been rigorously tested by the National Center for Home Food Preservation (NCHFP) specifically for canning in pint jars. While other trusted Cooperative Extensions, such as the University of Louisiana Extension, do reference canning pickled pears in quart jars, it’s important to note that these specific quart times have not been independently laboratory tested for this exact recipe formulation by the NCHFP.
However, the processing times for pints in this recipe are consistent with those for canning plain pears in syrup. By logical extension, the standard quart times for pears in syrup would likely be appropriate for these pickled pears as well. I have provided the quart times for reference within the recipe notes, but since this larger jar size was not explicitly tested during the development of this particular recipe, please use your best judgment and prioritize canning safety.
Regardless of your chosen jar size, remember that this is always a hot pack recipe. It cannot be safely prepared using a raw pack method. Ensure you always pre-simmer the pears in the spiced syrup for the recommended duration before packing them into jars.
In the context of this pickled pear recipe, the sugar content is not primarily required for safe preservation (as the high acidity of the vinegar handles that). However, it is absolutely essential for the *quality* of the finished product. This recipe calls for a robust sugar-and-vinegar syrup, and this heavy syrup is what provides the pears with their appealing texture, preventing them from becoming mushy. It also gives the pickles their classic “preserve-like” mouthfeel.
If you significantly reduce the sugar, you’ll likely find that the pears do not maintain their texture as well, becoming noticeably softer. Furthermore, the finished pickles will taste much more sharply sour because the sweetness will no longer adequately balance the vinegar’s tang. If you do opt for a lower-sugar version, go into it with the expectation of a much tarter flavor profile and a softer pear texture. For truly low-sugar pear preservation, consider recipes for pear sauce or pear butter instead.
Discover More Pear Canning Recipes
Pickled Pears
Canning Pears
Canning Pear Pie Filling
If you tried this Pickled Pear Recipe, or any other recipe on Creative Canning, leave a ⭐ star rating and let me know what you think in the 📝 comments below!
And make sure you stay in touch with me by following on social media!
Pickled Pears
Sweet, tangy pickled pears simmered in a cinnamon-clove-allspice vinegar syrup, then hot-packed into jars and processed in a boiling water canner for a pantry-stable treat that’s perfect with roast meats, cheese boards, and holiday desserts.
Pin Recipe
Rate Recipe
Print Recipe
Equipment
- Water Bath Canner
Ingredients
- 8 cups sugar
- 4 cups white vinegar, or cider vinegar, 5% acidity
- 2 cups water
- 8 whole cinnamon sticks
- 2 Tbsp whole cloves
- 2 Tbsp whole allspice
- 8 Lbs Pears, Seckel, or other small firm pickling pear
Instructions
- Prepare a boiling water canner and heat pint jars. Keep jars hot until ready to fill.
- In a large pot, combine sugar, vinegar, water, and the cinnamon sticks. Tie cloves and allspice in a clean, thin, white cloth (or use a spice bag) and add to the pot.
- Bring to a boil, then reduce heat, cover, and simmer about 30 minutes.
- While the brine simmers, prepare the pears. Wash pears, peel, and remove all of the blossom end. Leave stems on if desired. Halve or quarter large pears. To prevent browning, hold peeled pears in an ascorbic acid solution (or lemon water) while you work. Drain just before cooking.
- Add drained pears to the hot syrup. Bring back to a boil, then reduce heat and simmer 20 to 25 minutes, until pears are heated through and becoming tender.
- Pack hot pears into hot pint jars. Add one cinnamon stick per jar (from the simmer syrup).
- Ladle boiling syrup over pears, leaving 1/2-inch headspace and ensuring pears are covered. Remove air bubbles, adjust headspace if needed, wipe rims, and apply lids fingertip tight.
- Process pint jars in a boiling water canner for 20 minutes, adjusting for altitude (see notes below).
- Turn off heat, remove canner lid, and let jars rest 5 minutes. Remove jars and cool 12 to 24 hours. Check seals, label, and store in a cool, dark place.
Notes
- Sugar is for quality: The sugar isn’t required for preservation safety here, but it is important for texture and balance. This is meant to be a strong sugar-and-vinegar syrup. Lower-sugar batches tend to be more sour, and the pears are more likely to turn soft.
- Choose firm pears: Use firm-ripe pears that still have structure. Overripe pears will break down quickly during the simmer and can turn mushy in the jar. Seckels hold their shape especially well.
- Don’t skip the hot-pack simmer: This is a hot pack recipe. Simmering the pears in the syrup before packing helps them heat through properly and prevents floating fruit. Raw pack isn’t recommended.
- Keep pears covered with syrup: Make sure the pears are fully submerged when filling the jars. Exposed fruit can discolor and lose quality during storage.
- Cooling and storage: After processing, let jars cool undisturbed for 12–24 hours, check seals, and store in a cool, dark place. For best flavor, wait 1–2 weeks before opening so the spices fully infuse.
Altitude Adjustments
This recipe is specifically tested by NCHFP for pint jars. Some extensions mention quarts, and the pint processing times match pears in syrup, so quart times are often assumed to be the same as for canning pears in syrup. That said, quarts haven’t been explicitly lab-tested for this exact pickled pear recipe. If you choose to can quarts, use your best judgment and understand that the larger jar size isn’t explicitly tested.
Altitude adjustments for hot pack are as follows:
- 0 to 1,000 ft: 20 minutes for pints, 25 minutes for quarts
- 1,001 to 3,000 ft: 25 minutes for pints, 30 minutes for quarts
- 3,001 to 6,000 ft: 30 minutes for pints, 35 minutes for quarts
- Above 6,000 ft: 35 minutes for pints, 40 minutes for quarts
Nutrition
Nutrition information is automatically calculated, so should only be used as an approximation.
Like this? Leave a comment below!
More Fruit Pickling Recipes to Explore
Pickled Blueberries
Spicy Pickled Pineapple
Pickled Cranberries
Find the perfect recipe
Searching for something else? Enter keywords to find the perfect recipe!