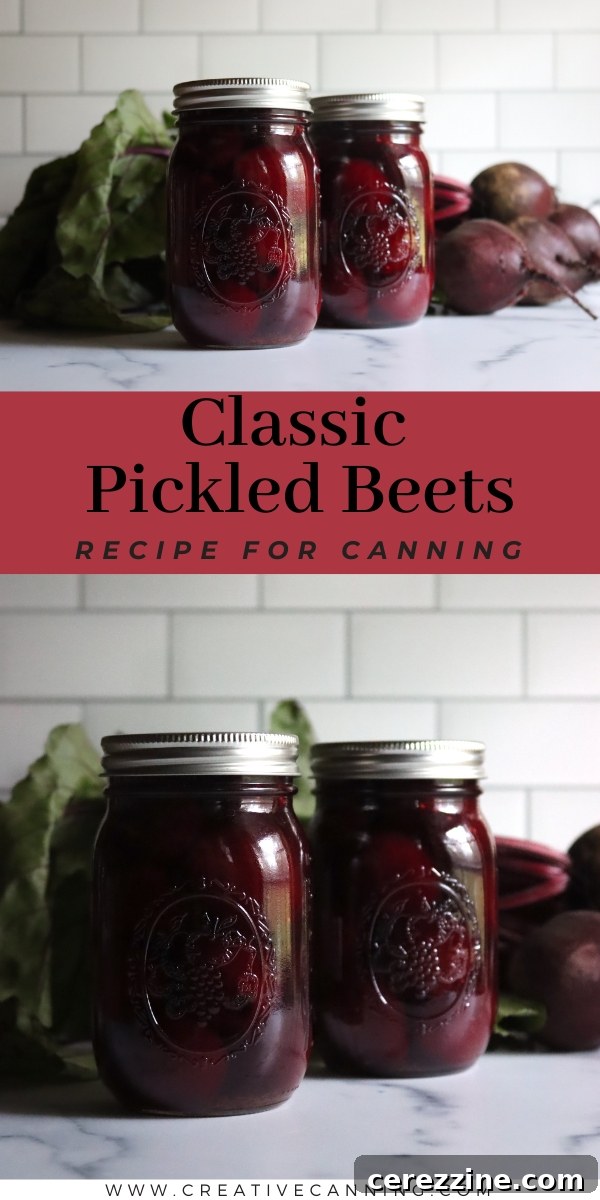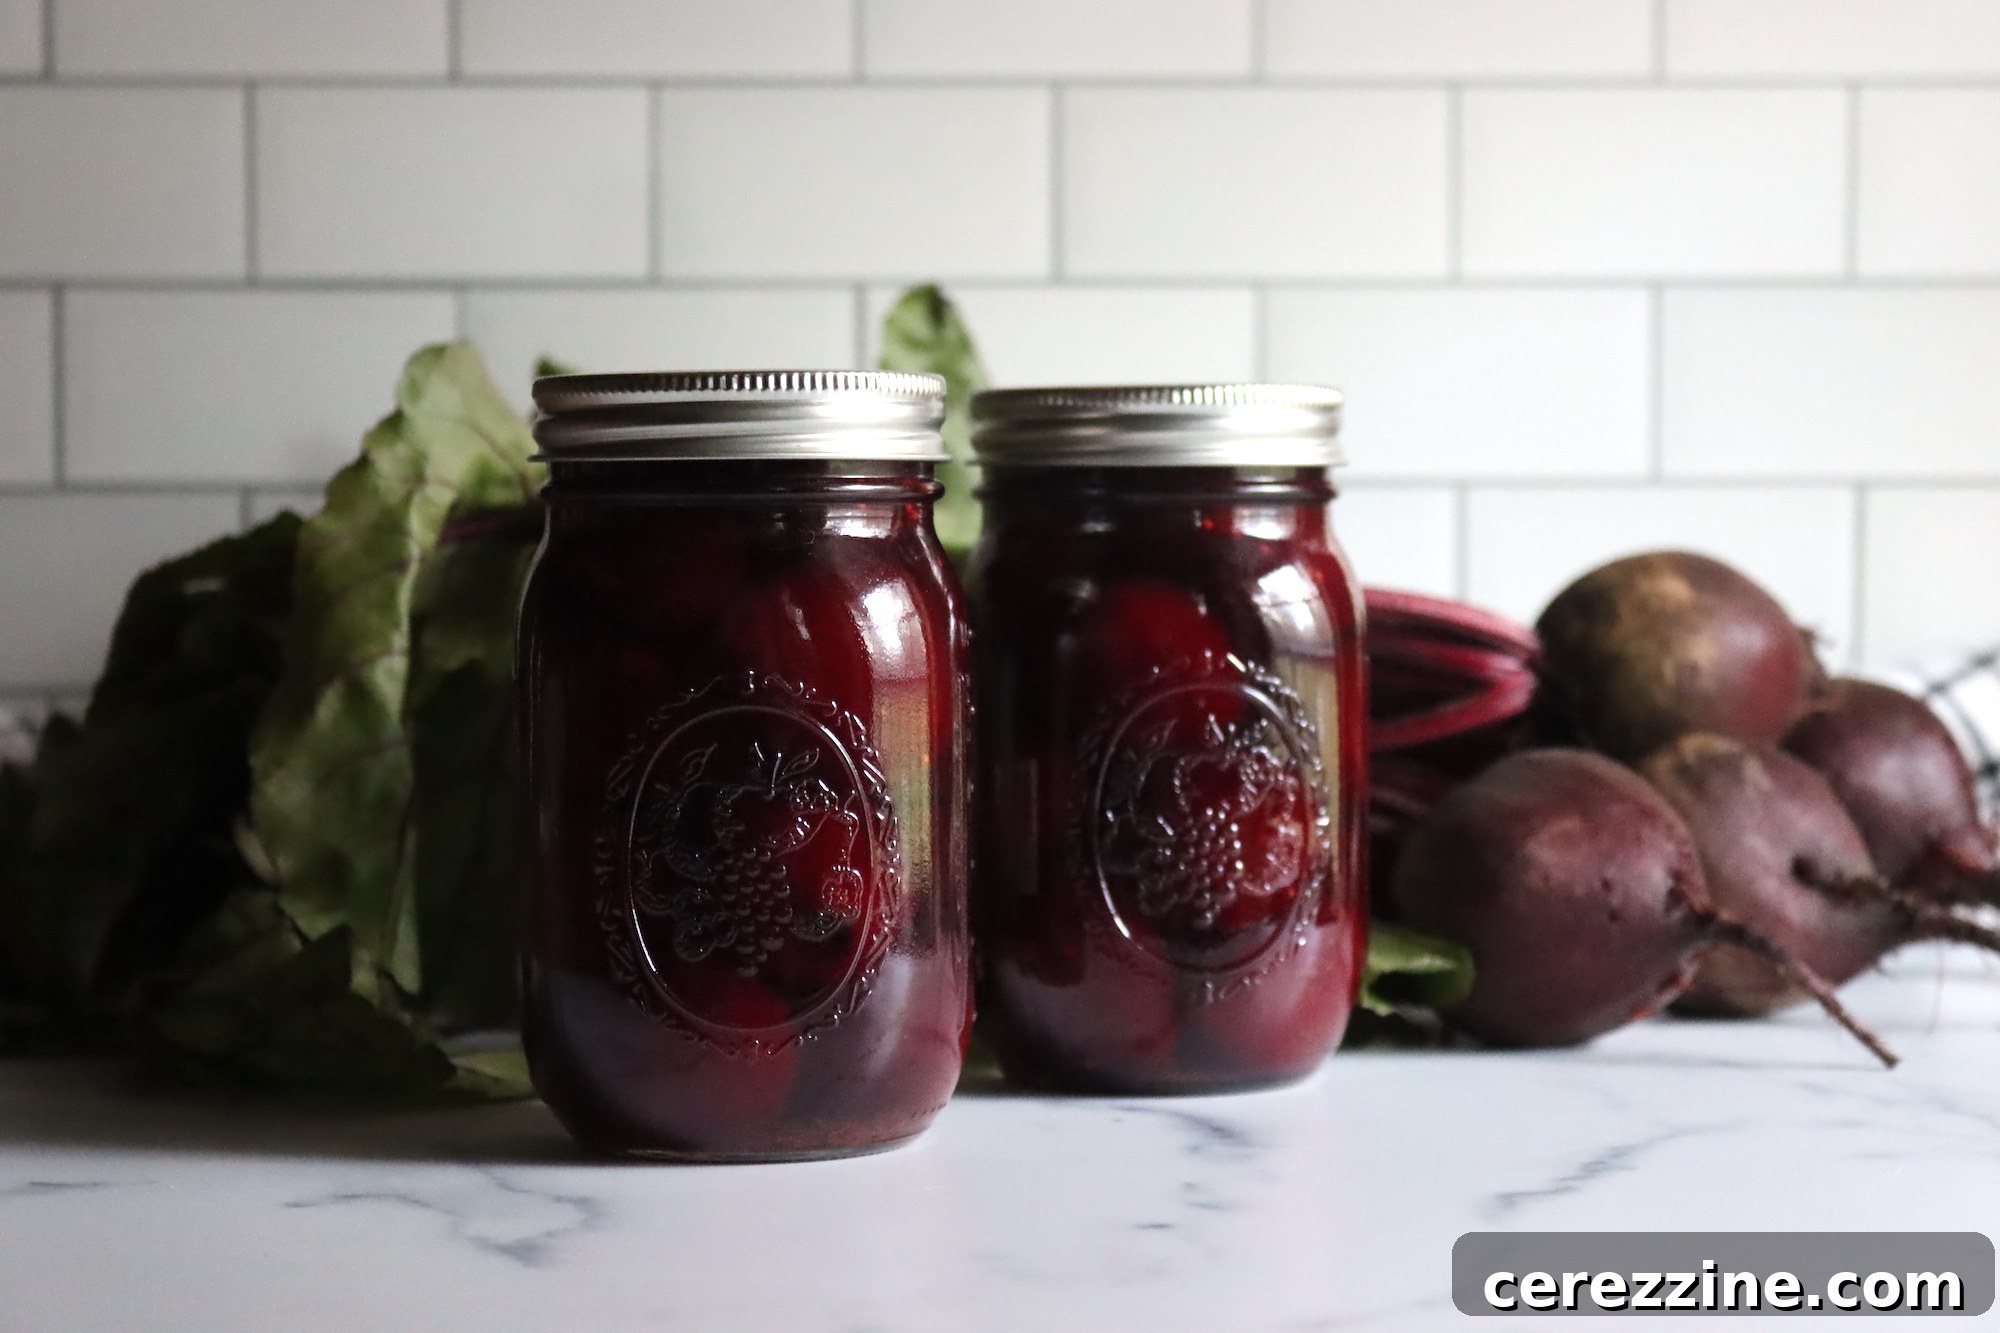
Pickled beets are a true culinary delight, a vibrant and flavorful addition to any meal, or a satisfying snack enjoyed straight from the jar. Their unique blend of earthy sweetness, tangy zest, and subtle spice makes them a perennial favorite for home cooks and food enthusiasts alike.
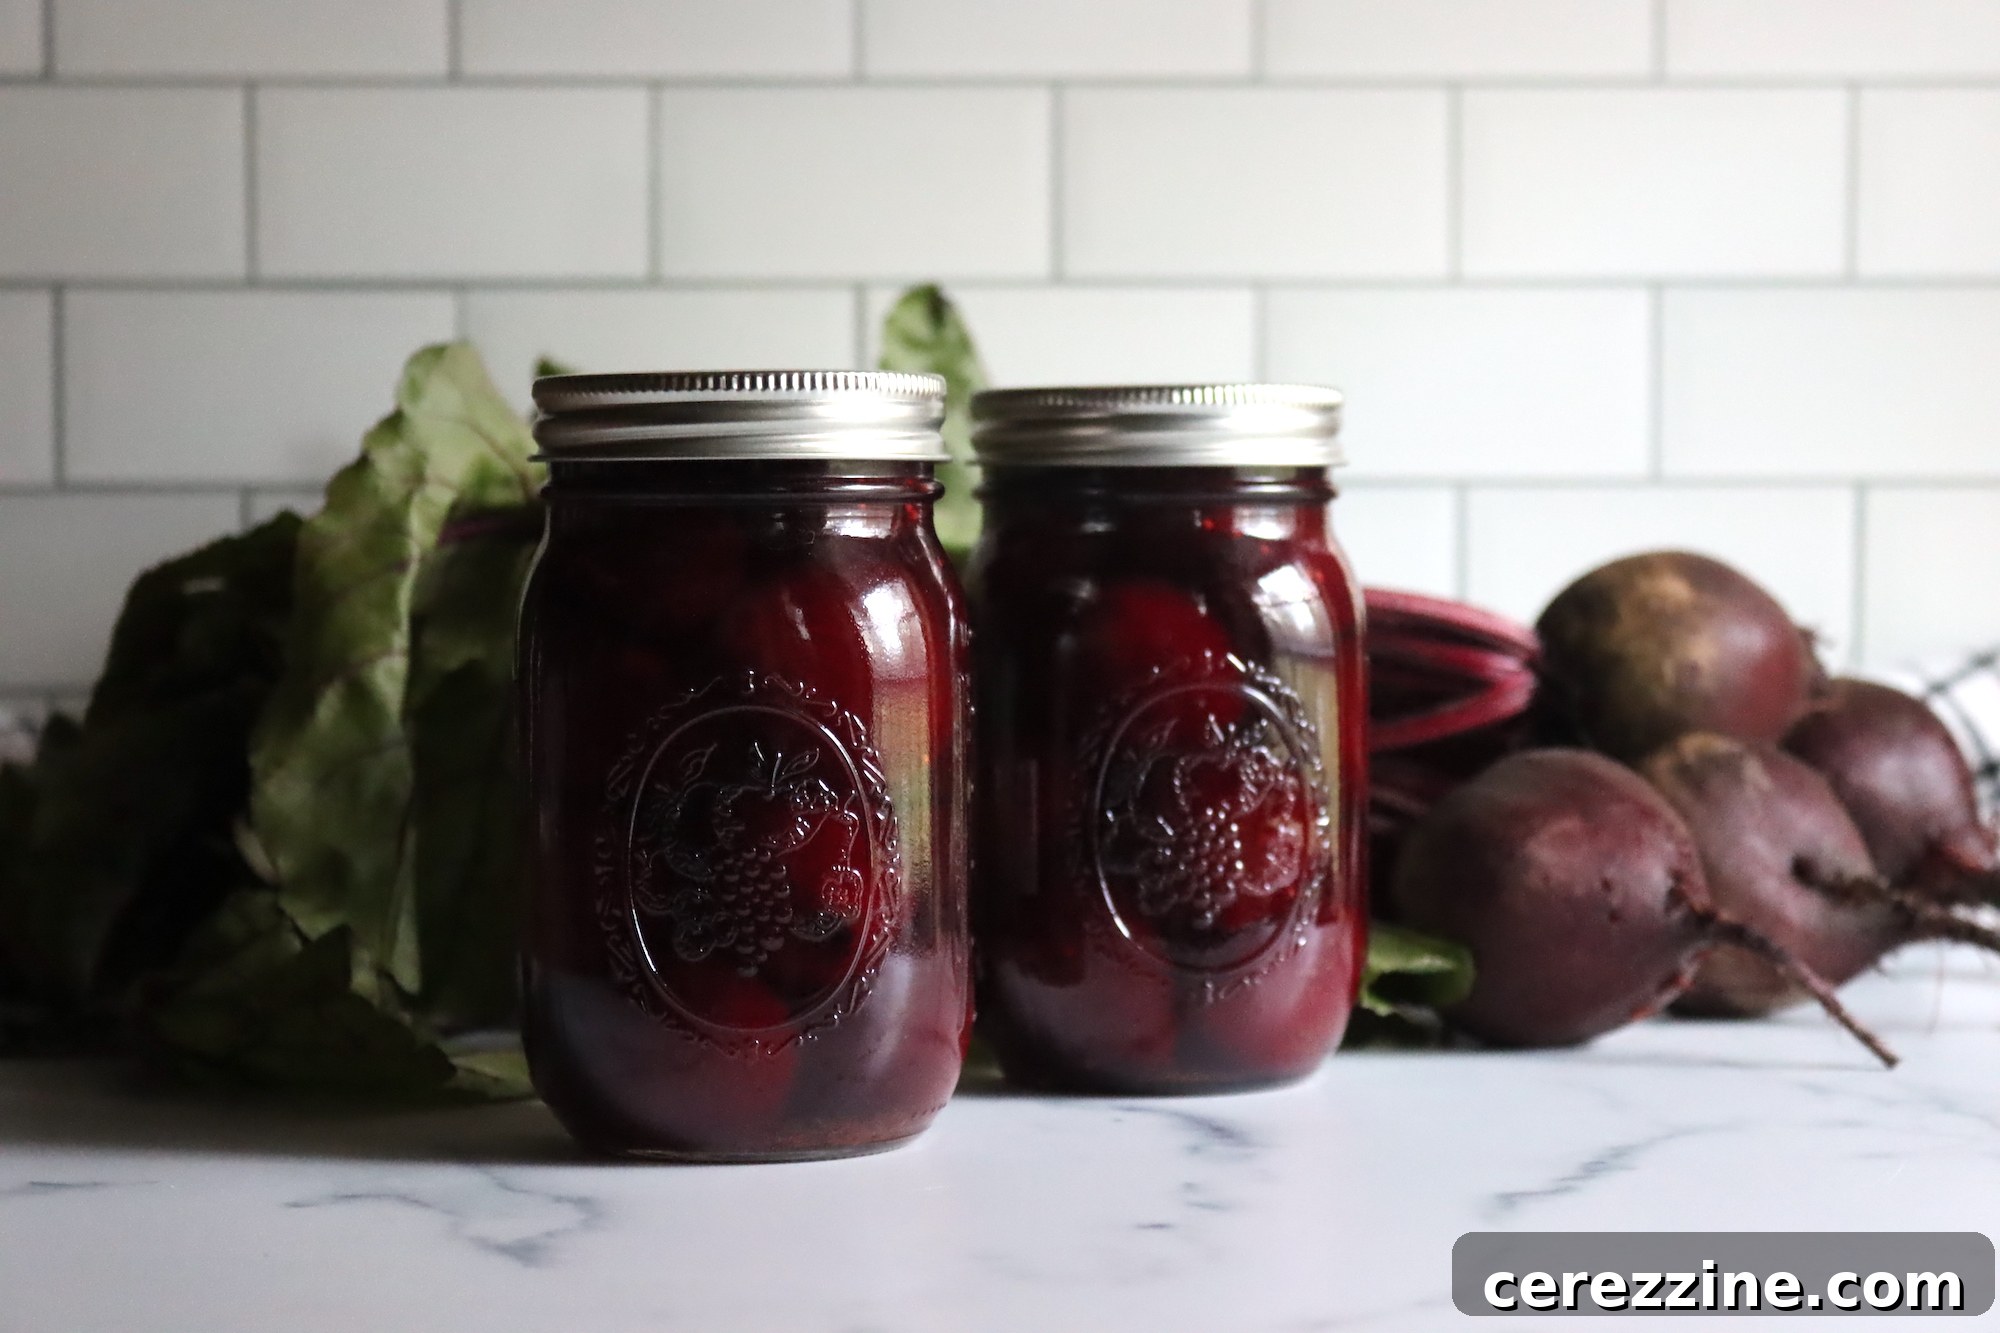
Embracing the Flavor and Benefits of Pickled Beets
If you’re seeking a delicious and wholesome way to enjoy the goodness of beets all year round, mastering the art of canning pickled beets is an excellent skill. Beyond their undeniable appeal to the taste buds, these crimson jewels offer a surprising array of health benefits. Rich in essential vitamins and minerals like folate, manganese, and Vitamin C, beets are a nutritional powerhouse. The pickling process, while preserving them, also creates a tangy, slightly sweet, and spiced flavor profile that enhances their natural goodness.
Incorporating pickled beets into your diet can support improved digestion, thanks to their dietary fiber content, and provide a boost to your immune system through various antioxidants. They are incredibly versatile, serving as a delightful side dish to savory meals, a quick and satisfying snack, or a vibrant inclusion in salads, sandwiches, and wraps. Their bright color and distinctive taste can elevate even the simplest of dishes.
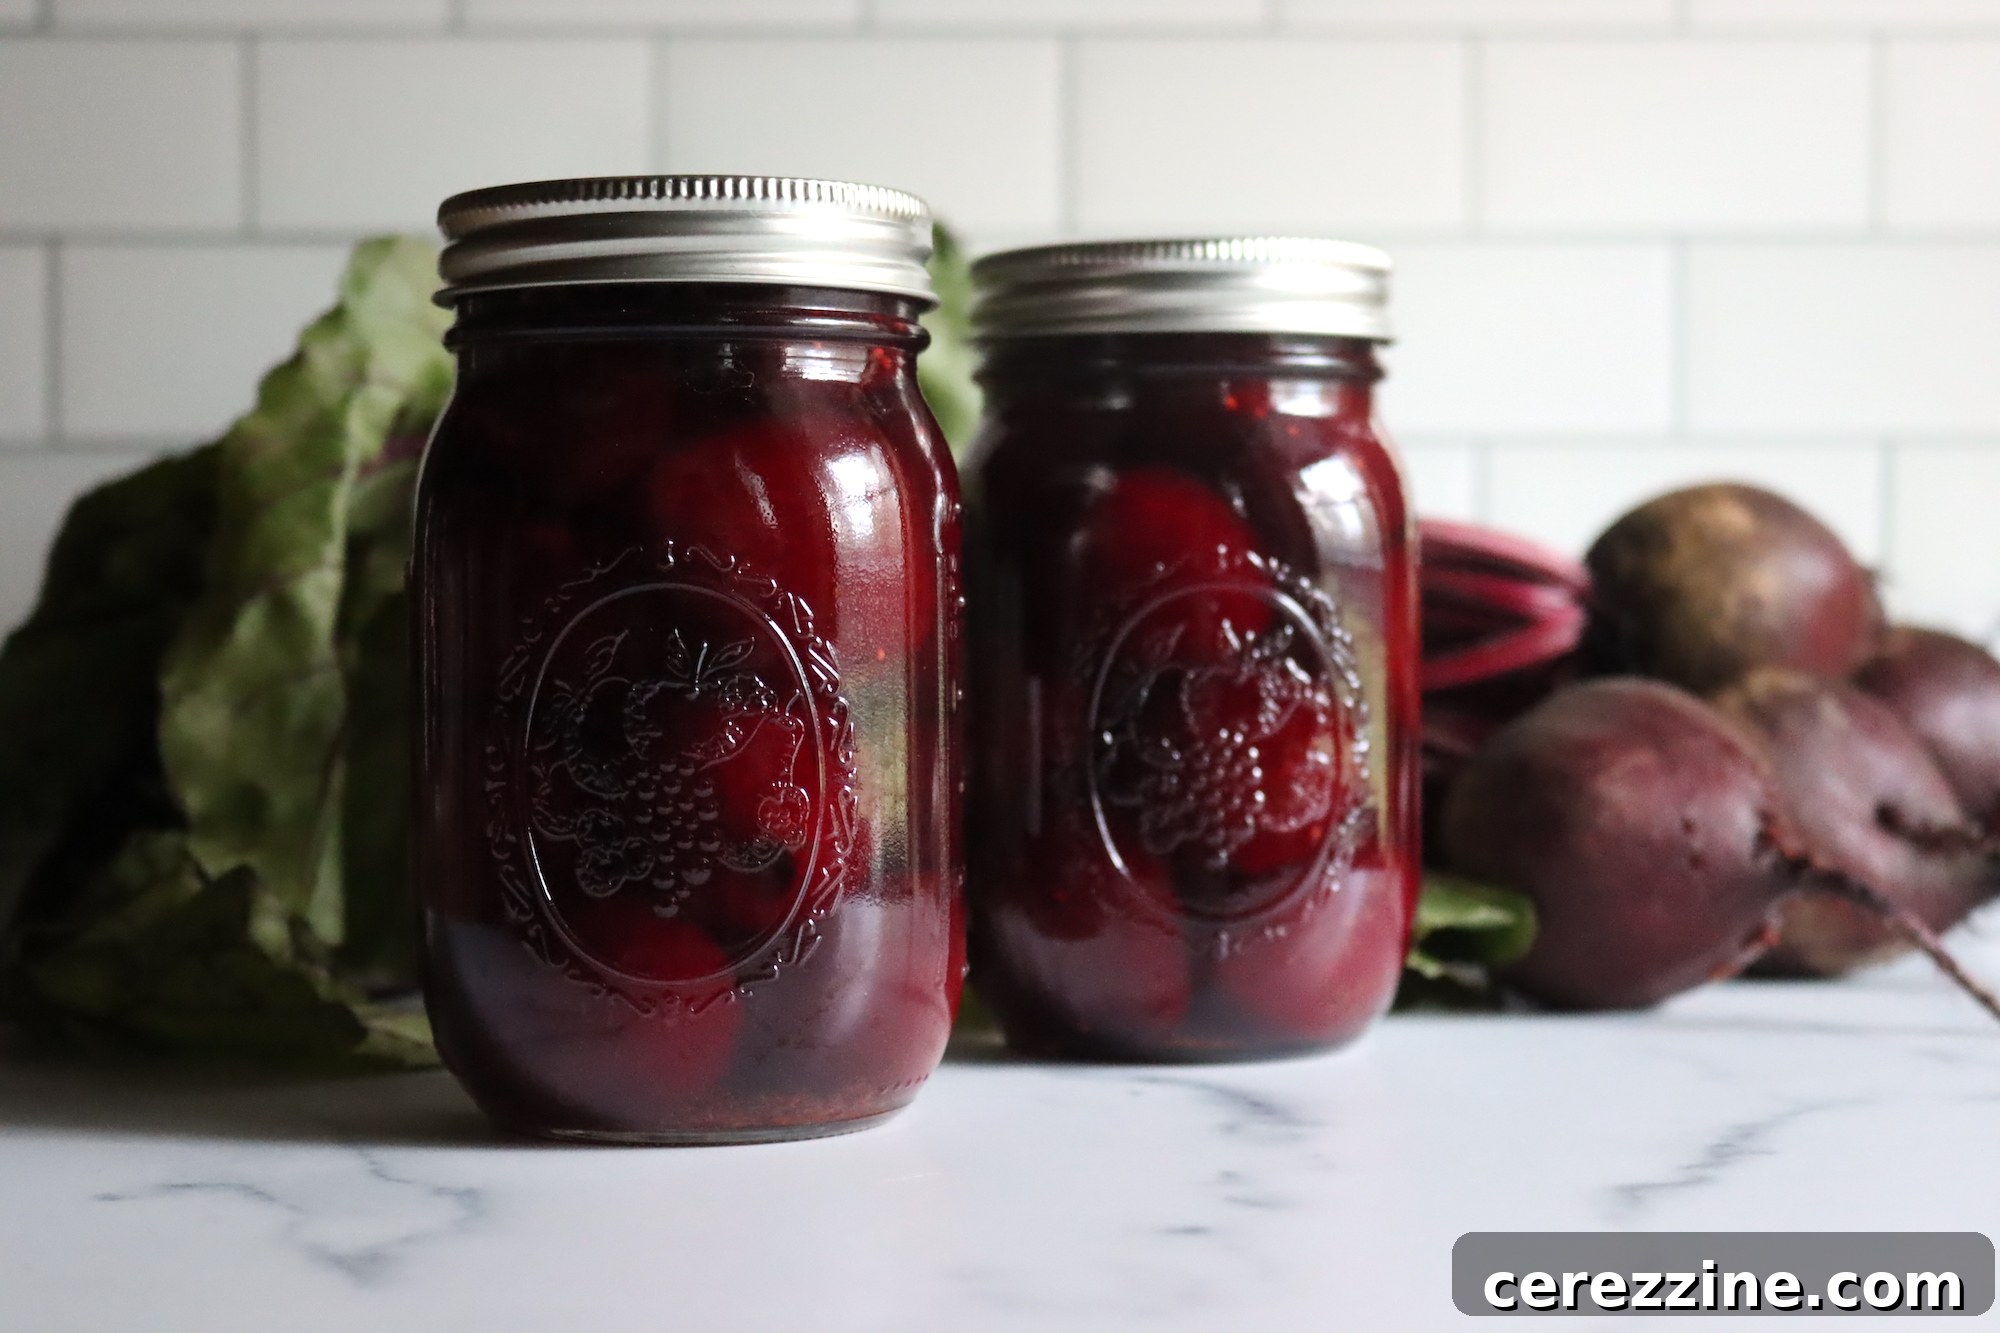
Essential Ingredients for Homemade Pickled Beets
Crafting a batch of safe and delicious pickled beets begins with high-quality ingredients and a reliable, tested recipe. This recipe is adapted from “The Complete Book of Pickling” by Jennifer MacKenzie (page 53), a trusted source for home canning. Classic pickled beet recipes typically feature a harmonious blend of warm spices, such as cloves, allspice, and cinnamon, which contribute to their distinctive aroma and flavor.
To prepare a canner batch, yielding approximately seven to eight pint (500 ml) jars, you will need the following:
- 6 lbs (3 kg) baby beets (ideally 1 to 1 ½ inches in diameter; see note below for larger beets)
- 3 cinnamon sticks, each about 3 inches (7 cm) long, broken in half
- 2 cups (500 ml) water
- 4 cups (1 L) apple cider vinegar
- 2 tsp (10 ml) whole allspice
- 1 tsp (5 ml) whole cloves
- 1 ¾ cups (425 ml) packed brown sugar
- 1 tbsp (15 ml) pickling or canning salt
Choosing and Preparing Your Beets
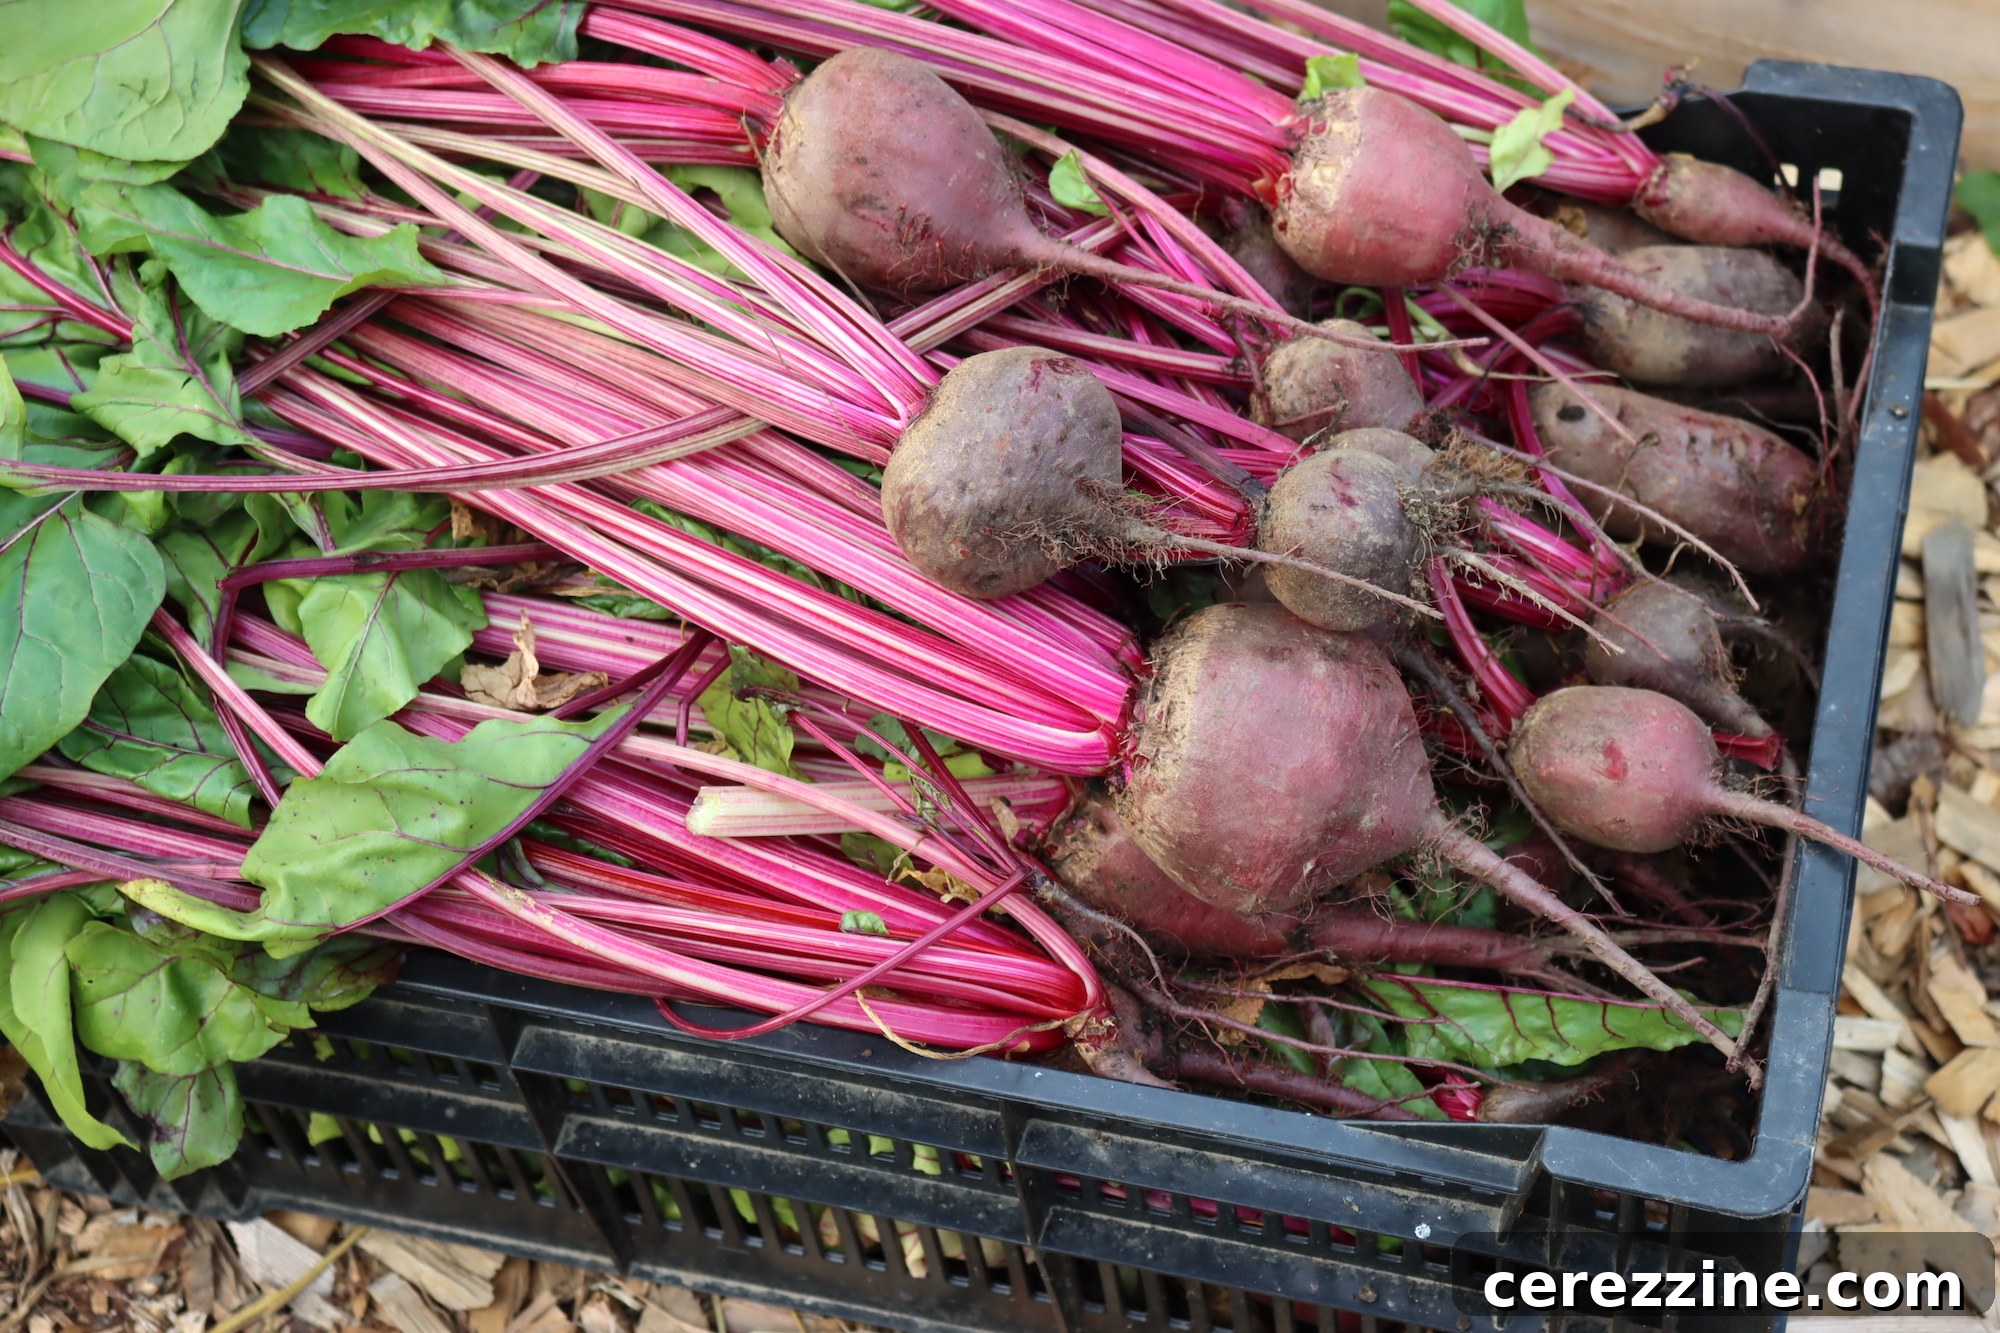
The size of your beets plays a crucial role in the pickling process. While baby beets (1 to 1 ½ inches in diameter) are often preferred for their tenderness and ease of preparation, you can certainly pickle larger beets by slicing them. For beets exceeding 1 ½ inches up to about 4 inches in diameter, it’s best to cut them into uniform slices or chunks. This ensures even cooking and allows the pickling liquid to penetrate them thoroughly. Very large beets, those over 4 inches, tend to become too tough and fibrous for optimal pickling results.
When selecting your beets, look for firm, smooth-skinned vegetables with vibrant color. Trim off the leafy tops, leaving about an inch of stem and the root intact before cooking. This helps to minimize “bleeding” of their rich color during the boiling process, ensuring your pickled beets retain their beautiful hue.
Enhancing Spice Flavor
For a more pronounced spice flavor in your finished pickled beets, consider a simple technique: instead of placing all the whole spices in a single spice bag for the brine, you can divide them directly among your prepared canning jars. This allows the spices to infuse more intensely with the beets and pickling liquid in each individual jar. Alternatively, gently toasting the whole spices in a dry pan for a minute or two before adding them to the cheesecloth bag can also unlock deeper aromas and flavors.
Step-by-Step Guide to Canning Pickled Beets
Canning pickled beets is a rewarding process that allows you to savor the taste of fresh beets for months. Follow these detailed steps to ensure a safe and successful batch of homemade pickled beets.
1. Preparing the Beets
Begin by thoroughly washing and trimming your beets, leaving about an inch of stem and the root attached to prevent color bleeding. Place the cleaned beets into a large stockpot. If you have a particularly large harvest, it’s often better to cook them in two batches to ensure consistent heat distribution and tenderness. Cover the beets with cold water, ensuring they are fully submerged, and bring them to a boil over medium-high heat. Once the water reaches a rolling boil, reduce the heat to a simmer and continue cooking for approximately 30 minutes, or until the beets are tender when pierced with a fork. The cooking time will vary depending on the size of your beets; smaller beets will cook faster.
Once tender, immediately transfer the hot beets into a large bowl filled with ice-cold water. Allow them to chill for a minimum of 30 minutes, or up to an hour, changing the water regularly to maintain its cold temperature. This cold shock stops the cooking process and makes peeling significantly easier. After chilling, the skins should slip off readily; simply peel them away and either leave small beets whole or slice larger beets into uniform pieces. Set the prepared beets aside.
2. Preparing Canning Equipment
While your beets are chilling, it’s the perfect time to prepare your canning equipment. Ensure your water bath canner, canning jars, and lids are all meticulously cleaned and sanitized. Jars should be kept hot, either in the canner filled with simmering water or in a dishwasher on a sanitize cycle, to prevent thermal shock when hot brine is added. New canning lids should be prepared according to the manufacturer’s instructions, typically by simmering in warm water.
3. Crafting the Pickling Brine
Next, gather your whole spices: cinnamon sticks, cloves, and allspice. Place these spices in the center of a square of triple-layered cheesecloth and tie it securely to form a spice bag. In a separate large, clean pot, combine the brown sugar, pickling salt, water, apple cider vinegar, and your prepared spice bag. Bring this mixture to a boil over medium heat, stirring frequently until both the salt and sugar have completely dissolved. Once boiling, reduce the heat to a gentle simmer.
Add the prepared beets to the simmering vinegar mixture. Allow them to simmer for about 10 minutes, ensuring they are thoroughly heated through before canning. This step helps the beets absorb some of the pickling flavors and ensures they are at the correct temperature for canning.
4. Filling and Processing Jars
Now, it’s time to fill your jars. Using a jar funnel, carefully pack the hot beets into your hot, sanitized jars, leaving a ½ inch of headspace at the top of each jar. Ladle the hot pickling liquid over the beets, ensuring the headspace is maintained. Use a bubble remover tool or a non-metallic spatula to remove any trapped air bubbles by gently running it around the inside of the jar. Adjust headspace if necessary by adding more liquid.
Wipe the rims of the jars clean with a damp cloth to remove any food particles that could interfere with the seal. Place the prepared lids on top, followed by the screw bands. Tighten the screw bands snugly, but avoid overtightening, as this can prevent proper air venting and sealing.
Carefully place the filled jars onto the rack in your water bath canner. Ensure the jars are covered by at least 1-2 inches of water. Bring the water to a full, rolling boil. Once boiling, begin timing the processing. Process pint and quart jars for 30 minutes at altitudes below 1,000 feet. Remember to adjust your processing time for higher altitudes (see the section below).
5. Cooling and Storing
Once the processing time is complete, turn off the heat. For best results and to prevent siphoning (liquid loss from jars), allow the jars to sit undisturbed in the canner for an additional 5 minutes before carefully removing them with a jar lifter. Transfer the hot jars to a clean towel on your countertop, leaving several inches of space between them to allow for even cooling. Do not tighten the bands further or disturb the lids during this time. Allow the jars to cool completely, undisturbed, for 12 to 24 hours.
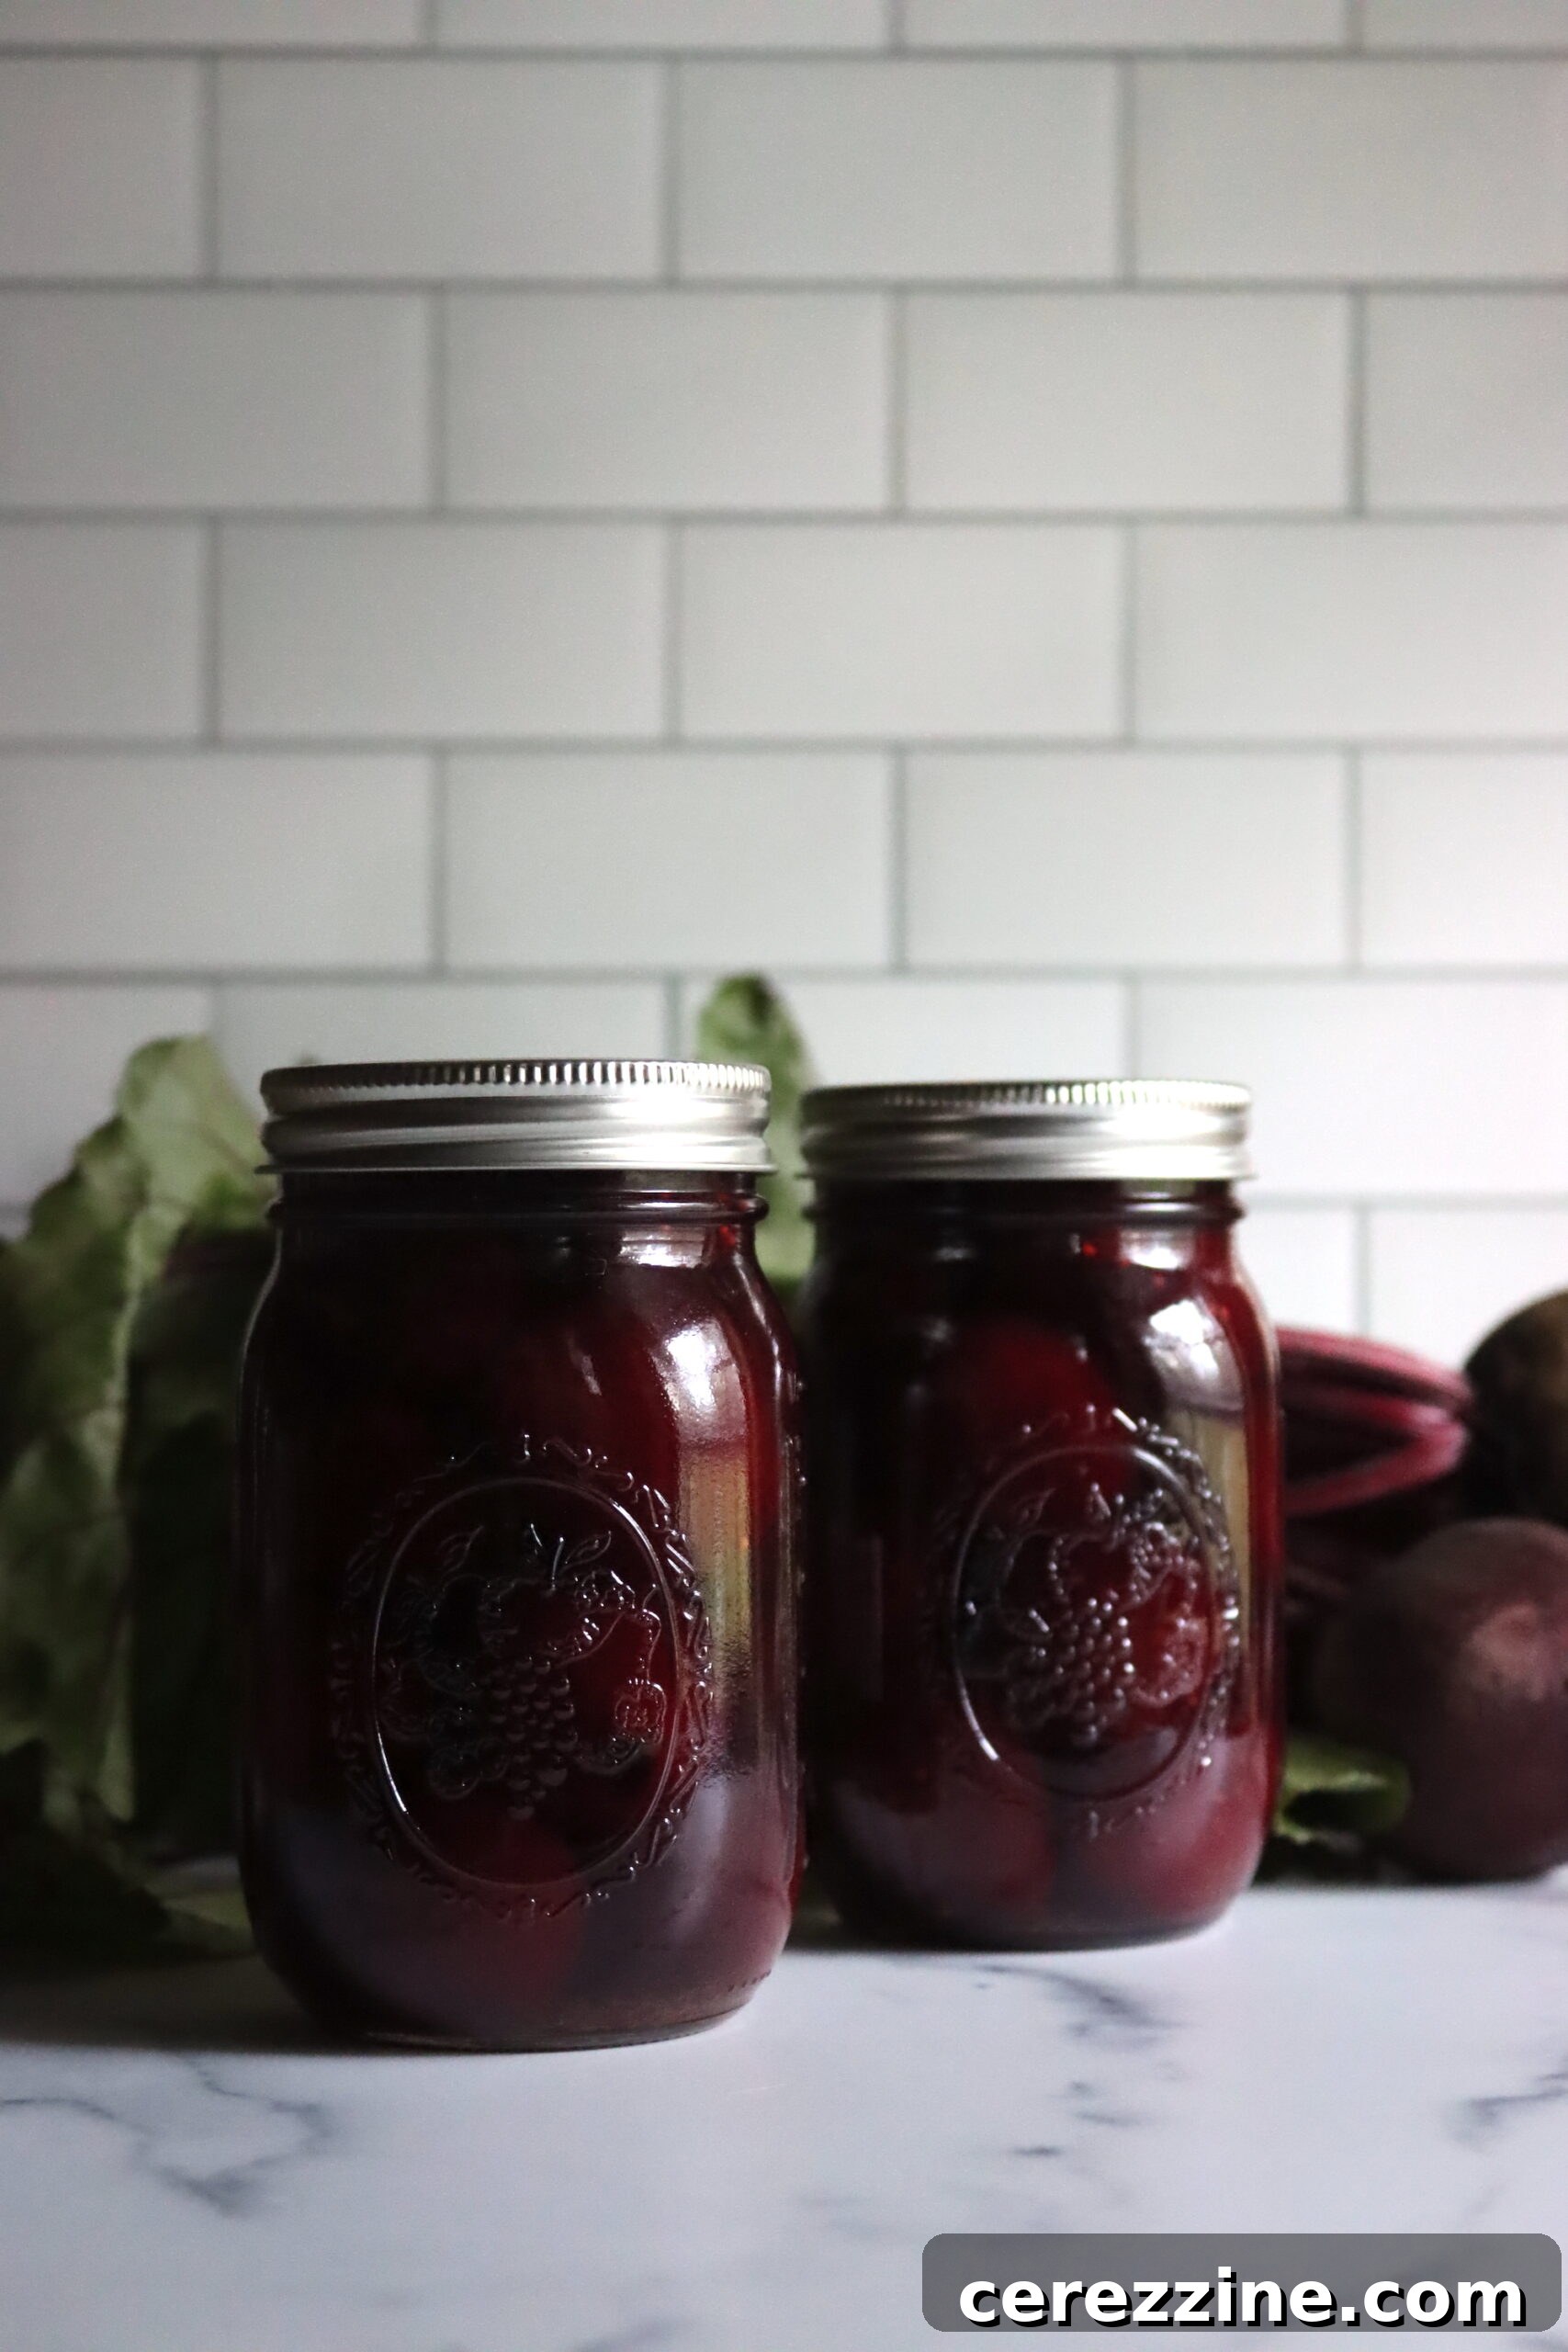
After the cooling period, check all seals. A properly sealed lid will be concave (curved inwards) and will not flex when pressed. Remove the screw bands (these can be reused). If any jars did not seal, refrigerate them and consume within a few weeks. Wipe the sealed jars clean, label them with the contents and date, and store them in a cool, dark, dry place. Properly canned pickled beets can be stored for up to a year.
Altitude Adjustments for Canning Pickled Beets
Adjusting processing times for altitude is a critical step in safe home canning. The boiling point of water decreases at higher elevations, meaning food needs to be processed for a longer duration to ensure proper sterilization. Failure to adjust for altitude can compromise the safety and shelf stability of your canned goods. The processing times for both pint and quart jars of pickled beets are the same.
- Below 1,000 Feet in Elevation: Process pints and quarts for 30 minutes
- 1,001 to 3,000 Feet in Elevation: Process pints and quarts for 35 minutes
- 3,001 to 6,000 Feet in Elevation: Process pints and quarts for 40 minutes
- Above 6,000 Feet in Elevation: Process pints and quarts for 45 minutes
After the specified processing time, turn off the heat. Allowing the jars to sit in the canner for an additional 5 minutes to partially cool (an optional but recommended step) will help to equalize the temperature inside and outside the jars. This minimizes pressure differences, which can help prevent siphoning or liquid loss when you remove the jars from the canner with a jar lifter.
Creative Ways to Enjoy Your Pickled Beets
One of the many joys of pickled beets is their ready-to-eat convenience. They offer a quick and satisfying snack or a novel addition to your lunchtime routine, providing vibrant flavor without requiring extra effort.
However, if you’re looking to elevate your culinary experience, pickled beets offer numerous possibilities. Consider incorporating them into a fresh green salad alongside crumbled goat cheese or pungent blue cheese; the creamy tang of the cheese perfectly complements the sweet and sour notes of the beets. They also shine brightly in hearty grain bowls, adding a pop of color and a burst of flavor to quinoa, farro, or rice dishes.
Beets are a fantastic inclusion for adding a tangy, slightly sweet flavor and a beautiful crimson hue to salads and sandwiches. Try slicing them thinly and layering them into a turkey sandwich with some crisp lettuce and a hint of mayonnaise, or chop them finely to create a unique relish for hot dogs or grilled sausages. For a sophisticated appetizer, serve them on a charcuterie board alongside artisanal cheeses, cured meats, and crusty bread. You can also experiment with different dressings and sauces to find your perfect flavor combination, from a simple vinaigrette to a creamy dill sauce.
Classic Pickled Beets
Rate
Equipment
-
Water Bath Canner
Ingredients
- 6 lbs baby beets, approximately 1 to 1 ½” to 4″ diameter
- 3 sticks cinnamon, broken in half (each full-length piece should be about 3″ or 7 cm long)
- 2 cups water
- 4 cups apple cider vinegar
- 2 tsp whole allspice
- 1 tsp whole cloves
- 1 ¾ cups packed brown sugar
- 1 tbsp pickling or canning salt
Instructions
-
Wash and trim your beets and place them in a large pot. Cover the beets with cold water and bring them to a boil over medium-high heat.
-
Once it starts boiling, reduce the heat and let it simmer for around 30 minutes or until tender when pierced with a fork.
-
Once they’re done, immediately plunge them into a large bowl filled with cold water and let them chill for at least 30 minutes, or up to an hour. Change the water regularly to keep them cold.
-
Peel off the skins and set the beets aside.
-
Prepare your canner, jars, and lids.
-
Put cinnamon sticks, cloves, and allspice into the center of a square of triple-layered cheesecloth and tie it into a spice bag.
-
In a clean large pot, combine brown sugar, salt, water, vinegar, and your spice bag. Bring it to a boil over medium heat, stirring often until the salt and sugar are dissolved.
-
Reduce the heat to a simmer and add your beets into the pot with the vinegar mixture. Let it simmer for around 10 minutes until the beets are heated through.
-
Fill your jars with the beets and vinegar mixture, making sure to leave a 1/2 inch of headspace. Wipe the rims of the jars and put on the lids.
-
Place your jars into the canner and make sure they’re covered by at least one or two inches of water.
-
Bring it to a boil and process the jars in a water bath canner for 30 minutes below 1,000 feet in elevation (Altitude adjustments below).
-
Remove the jars from the canner and let them cool completely.
-
Check your seals, label, and store.
Notes
Altitude Adjustments for Canning Pickled Beets
When processing jars in a water bath canner below 1,000 feet in elevation, both pint jars and quart jars are processed for 30 minutes. If you’re above 1,000 feet in elevation, the jars are processed for more time. The times are the same for both pint and quart jars, see the table below:
- Below 1,000 Feet in Elevation ~ Process pints and quarts for 30 minutes
- 1,001 to 3,000 Feet in Elevation ~ Process pints and quarts for 35 minutes
- 3,001 to 6,000 Feet in Elevation ~ Process pints and quarts for 40 minutes
- Above 6,000 Feet in Elevation ~ Process pints and quarts for 45 minutes
After the processing time, turn off the heat. Allowing the jars to sit in the canner for an additional 5 minutes to partially cool (optional) will help prevent siphoning or liquid loss when you remove the jars from the canner with a jar lifter.
Nutrition
Nutrition information is automatically calculated, so should only be used as an approximation.
Like this? Leave a comment below!
More Vegetable Pickling Recipes to Explore
If you’ve enjoyed the process of making pickled beets, consider expanding your home canning repertoire with these other fantastic vegetable pickling recipes. Preserving fresh produce is a rewarding endeavor that allows you to enjoy seasonal flavors long after their peak harvest.
- Pickled Corn Salad
- Pickled Three Bean Salad
- Pickled Green Tomatoes
- Pickled Green Beans (Dilly Beans)
- Pickled Jalapenos
- Pickled Fiddleheads
- Old Fashioned Lime Pickles (Cucumber pickles with pickling lime)