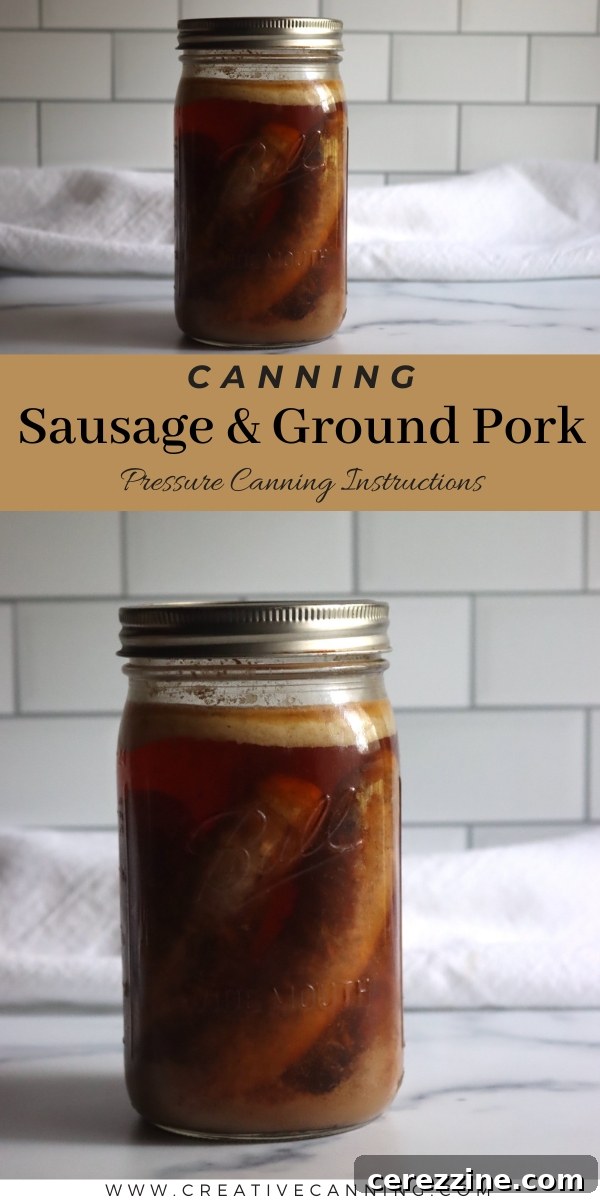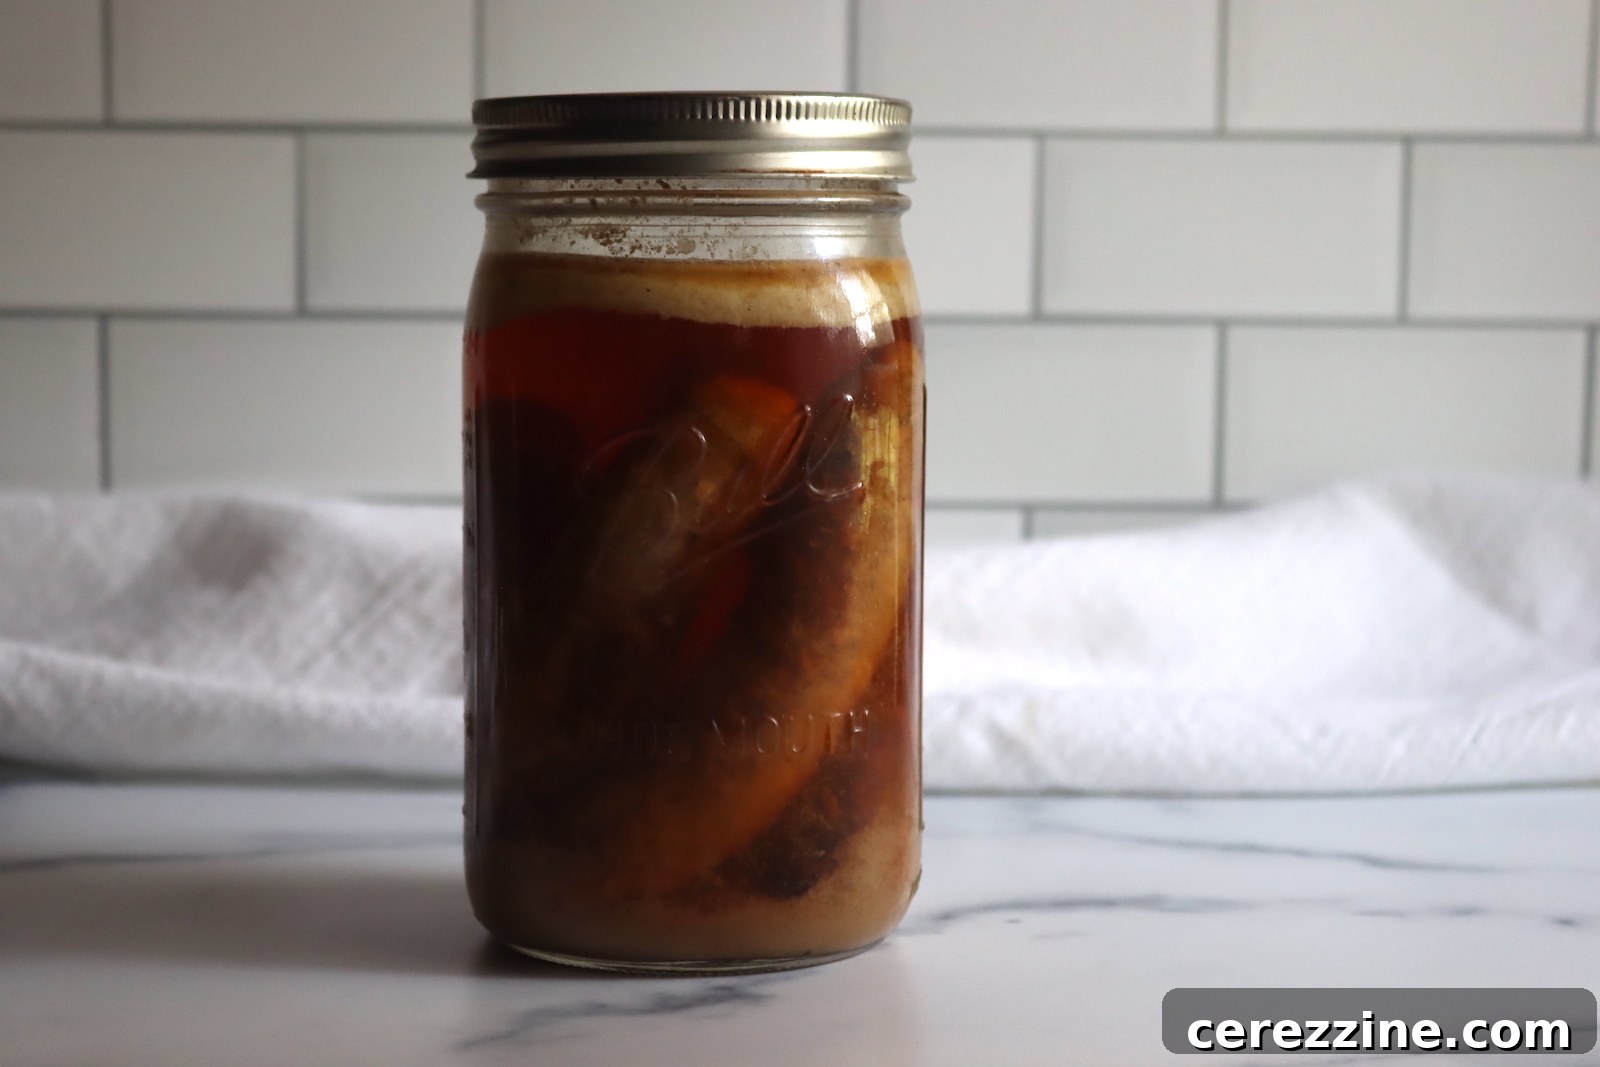
Canning sausage is an excellent method to ensure you always have flavorful, ready-to-serve meat on hand. Whether you prefer sausage links, patties, or loose ground crumbles, pressure canning offers a safe and convenient way to extend their shelf life and simplify meal preparation. Imagine grabbing a jar of perfectly seasoned sausage from your pantry, heating it up, and having a delicious meal in minutes!
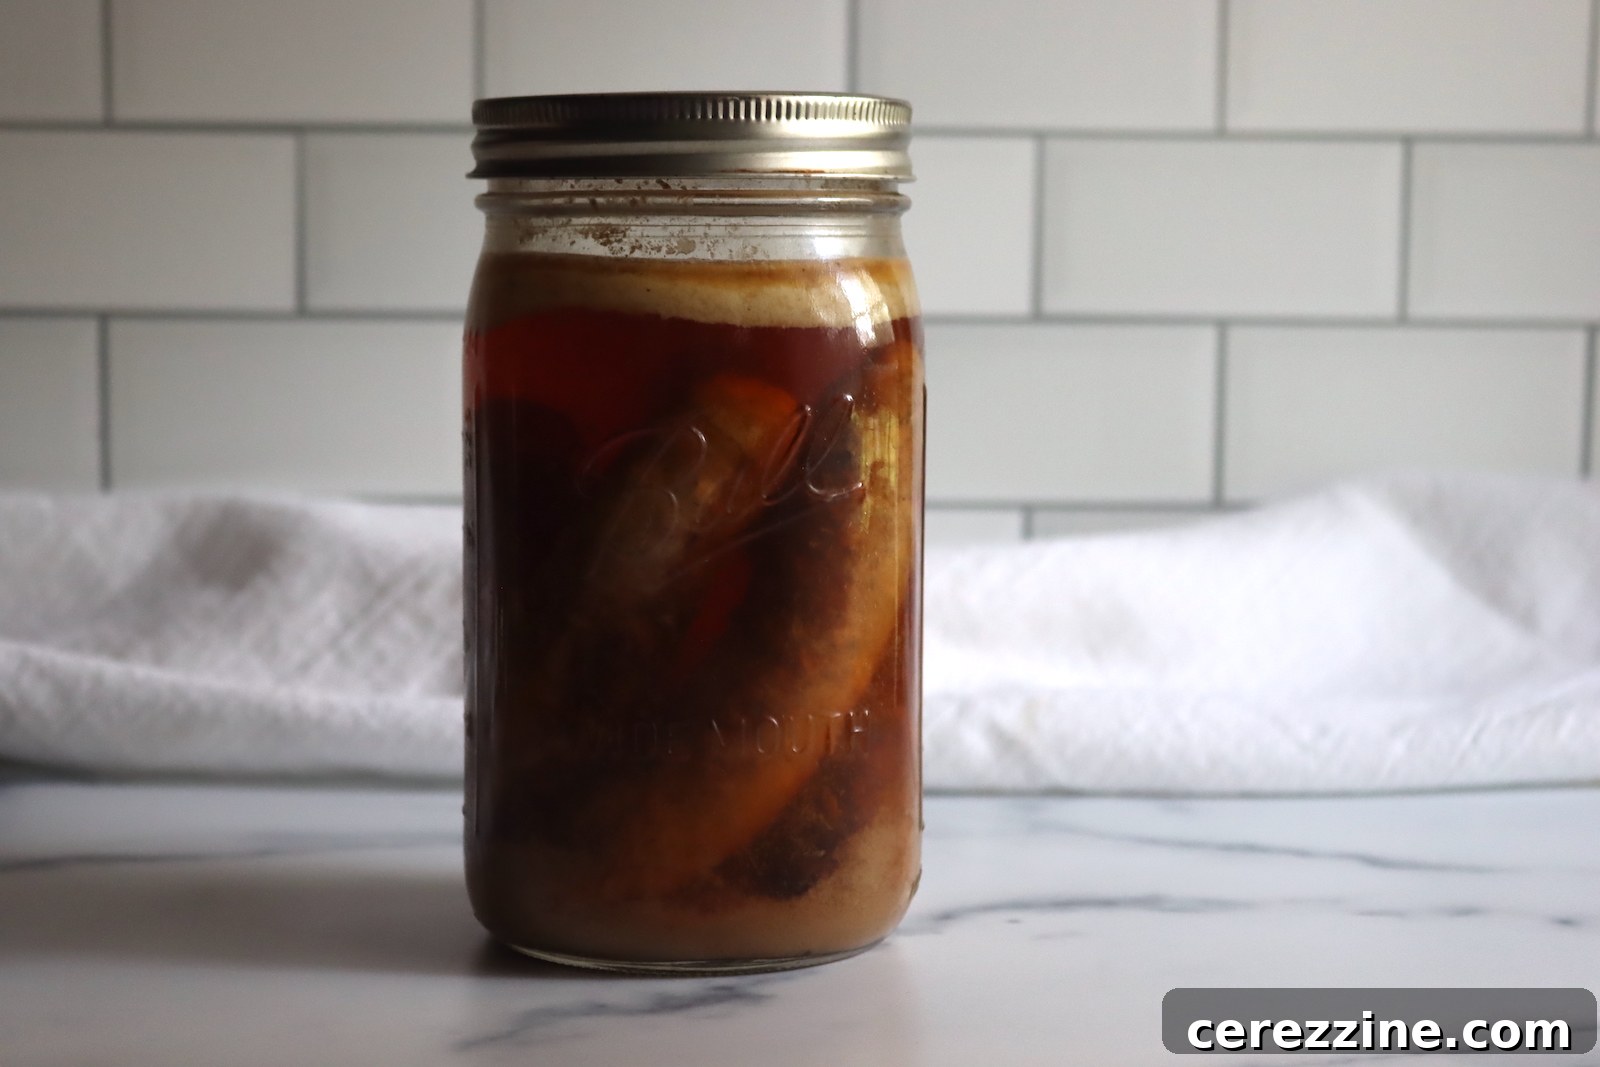
Mastering the Art of Canning Sausage: Your Comprehensive Guide
Sausage holds a special place in many kitchens – it’s incredibly versatile, starring in breakfasts, lunches, dinners, and even creative appetizers. The only downside is its relatively short shelf life. But what if you could enjoy your favorite sausage anytime, without worrying about spoilage or freezer burn?
That’s where canning sausage comes in. Pressure canning transforms fresh sausage into a shelf-stable pantry staple, offering unparalleled convenience, reducing food waste, and potentially saving you money in the long run. This guide will walk you through everything you need to know about safely and effectively canning sausage, ensuring you achieve delicious results every time.
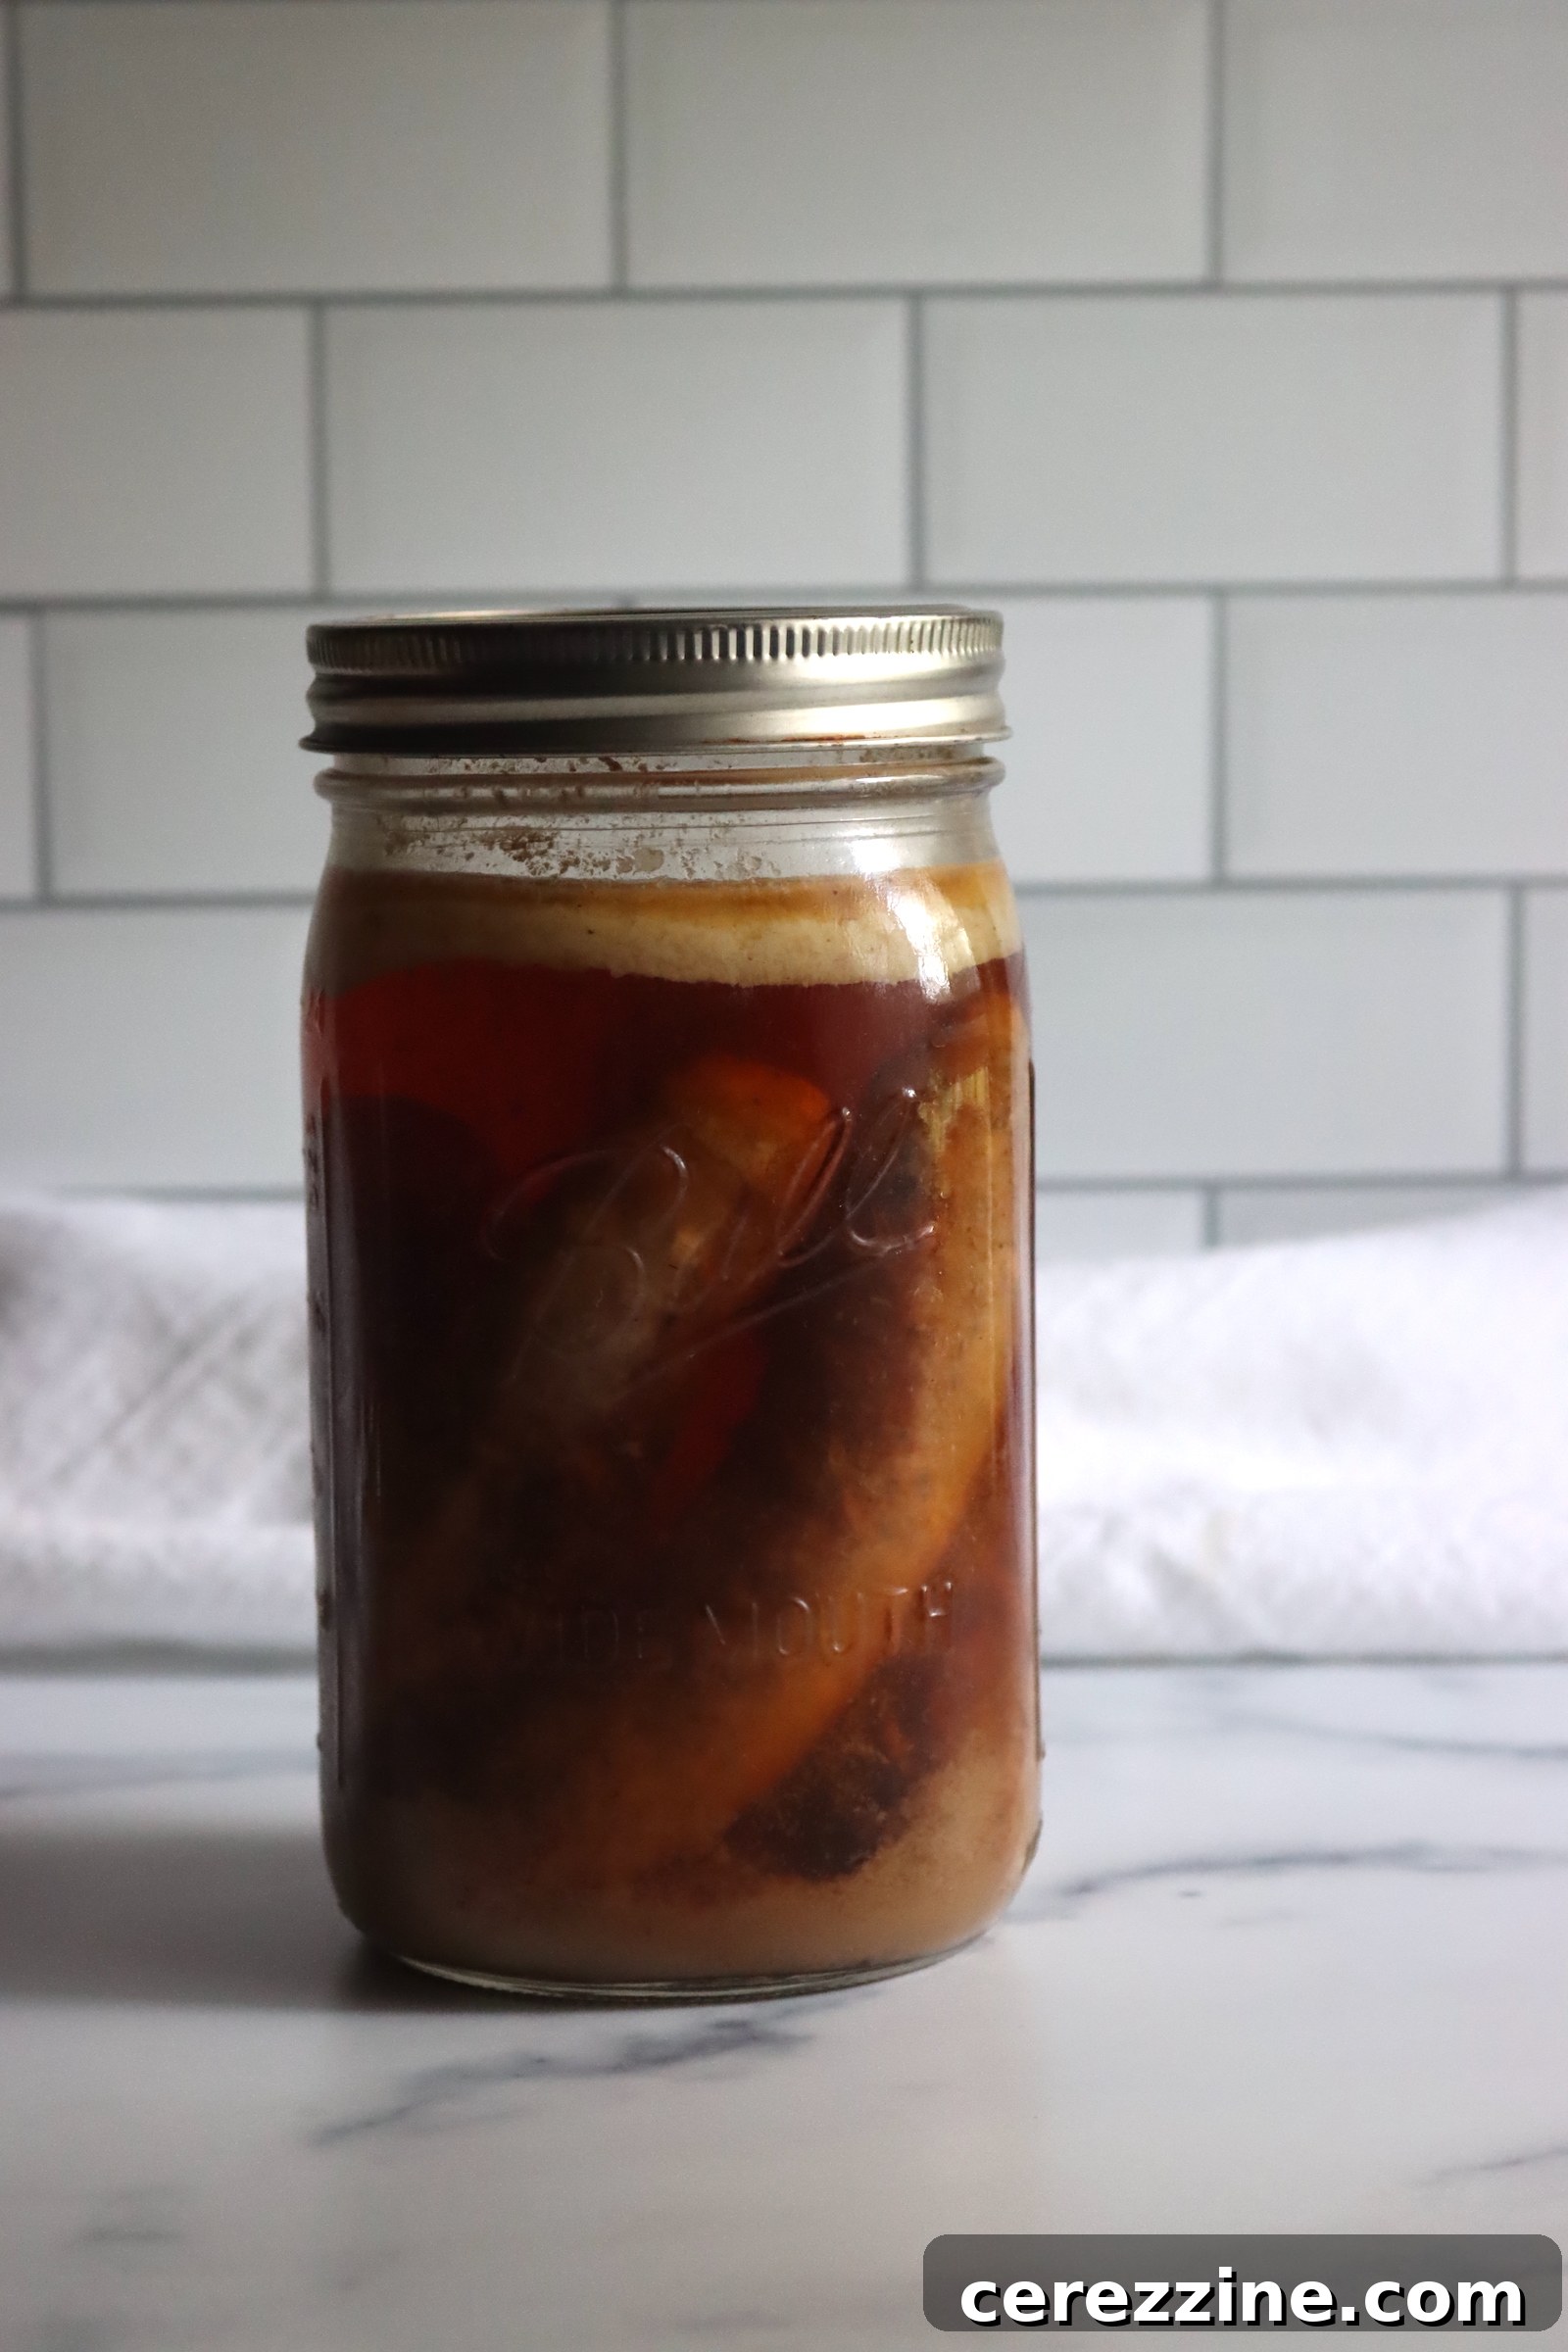
Why Can Your Own Sausage?
The benefits of canning sausage extend far beyond simple preservation. Here’s why this method is a game-changer for home cooks and preppers alike:
- Unmatched Convenience: Ready-to-eat sausage means less prep time during busy weekdays. Just open a jar, heat, and serve!
- Long-Term Storage: Properly canned sausage can last for a year or more on your pantry shelf, making it a fantastic addition to your long-term food storage plan.
- Cost Savings: Buy meat in bulk when it’s on sale, process it, and save significantly compared to purchasing smaller, fresh quantities repeatedly.
- Food Security: Having a well-stocked pantry provides peace of mind, knowing you have a supply of nutritious food regardless of external circumstances.
- Flavor Control: When you can your own sausage, you control the ingredients and seasonings, allowing you to customize flavors to your exact preferences.
- Reduced Waste: Preserve surplus sausage from hunting, bulk purchases, or garden harvests, preventing valuable food from going bad.
Essential Equipment for Pressure Canning Sausage
Before you begin, gather the necessary tools for a safe and successful canning experience. Pressure canning meat requires specific equipment to ensure food safety.
- Pressure Canner: This is non-negotiable for canning meat. A pressure canner heats food to temperatures high enough to destroy harmful bacteria like Clostridium botulinum, which thrives in low-acid environments. Do not attempt to can meat using a boiling water bath canner.
- Canning Jars: Use standard Mason jars (pint or quart size) designed for canning. Ensure they are free of chips or cracks.
- New Lids and Bands: Always use new canning lids for each batch to ensure a proper seal. Bands can be reused if they are in good condition.
- Jar Lifter: For safely moving hot jars in and out of the canner.
- Canning Funnel: To minimize mess when filling jars.
- Headspace Tool: Essential for measuring the precise headspace in each jar.
- Bubble Remover: A non-metallic utensil to release trapped air bubbles from jars.
- Large Stockpot: For preparing your broth and browning sausage.
Ingredients for Canning Sausage
This tried-and-true canning recipe is based on guidelines from reputable sources like the University of Georgia Cooperative Extension’s “So Easy to Preserve.” For a standard canner batch, yielding approximately six pint jars, you will need:
- Fresh Pork Sausage: Approximately 3 pounds. This can be in links, patties, or loose ground form.
- Broth: Enough to cover the sausage in jars (chicken, beef, or vegetable broth work well). About 4-6 cups for a batch of 6 pints.
- Salt: To taste, if not already seasoned in your sausage.
- Pepper: To taste, if not already seasoned.
- Optional Herbs and Spices: For customized flavor (e.g., sage, thyme, fennel, red pepper flakes).
Choosing Your Sausage: What Works and What Doesn’t
The type of sausage you use is crucial for safe canning. Adhere to these guidelines:
- Fresh Sausage Only: You must use fresh, uncured sausage. This means the meat should only contain ground pork (or a mixture of ground meats), seasonings, sugar, and salt.
- Avoid Cured Meats: Do NOT can cured meats such as pepperoni, salami, bologna, ham, or hot dogs. The curing agents and processing methods of these products are not suitable for standard home pressure canning.
- Check for Thickeners: If using store-bought sausage, carefully read the ingredient label. Avoid sausages that contain thickeners like flour, cornstarch, breadcrumbs, or other binders. These ingredients can interfere with heat penetration during canning and make the product unsafe.
- Form Matters: Links, patties, or loose ground sausage crumbles are all acceptable.
Flavoring Your Homemade Sausage
If you’re making your own sausage from scratch, the seasoning possibilities are endless. Even with store-bought varieties, you can often enhance the flavor by adding more herbs and spices to the broth. Consider these popular combinations:
- Classic Breakfast Sausage: Sage, thyme, black pepper, a touch of maple syrup.
- Italian Sausage: Fennel seeds, oregano, basil, marjoram, red pepper flakes (for a spicy kick), garlic powder.
- Spicy Sausage: Paprika, cayenne pepper, dried red pepper flakes, garlic powder, onion powder, a hint of cumin.
- Herby Sausage: Parsley, rosemary, chives, savory.
Remember that flavors can intensify during the canning process, so season judiciously.
Step-by-Step Guide to Pressure Canning Sausage
Follow these detailed instructions carefully to ensure a safe and delicious batch of canned sausage.
- Prepare Your Sausage:
- If starting with fresh pork, grind it using an electric or manual food grinder.
- Shape the ground pork into patties, three- to four-inch links, or leave it as loose crumbles, according to your preference. (If using pre-made store-bought sausage, proceed to the next step).
- Cook the Sausage:
- In a large frying pan, lightly brown your sausage. For patties or links, cook until they are mostly done but not fully cooked through, allowing for a slight pinkness in the center.
- If using loose pack sausage crumbles, brown the meat thoroughly until no pink remains. This is crucial because raw crumbles will clump together into a dense loaf during canning, which can impede proper heat penetration.
- Drain off any excess grease from the cooked sausage.
- Prepare the Broth: In a separate saucepan, bring your chosen broth to a boil, then reduce it to a simmer. Keep the broth hot; it will be added to the jars.
- Pack the Jars:
- While your sausage is cooking and broth is simmering, heat your canning jars. They should be hot when filled to prevent thermal shock.
- Carefully pack the browned sausage into the hot canning jars. Ensure a consistent pack, but do not compress the meat too tightly.
- Leave exactly one inch of headspace from the rim of the jar. This space is critical for proper sealing and creating a vacuum.
- Add Hot Broth: Ladle the simmering hot broth over the sausage in each jar, maintaining the one-inch headspace. The broth should cover the meat.
- Remove Air Bubbles: Use a non-metallic tool (like a plastic spatula or wooden chopstick) to gently remove any trapped air bubbles from the jars. Press the tool around the inside of the jar, especially near the bottom, to release bubbles. Check the headspace again and add more hot broth if needed to restore the one-inch headspace.
- Clean Rims and Apply Lids: Wipe the rims of the jars thoroughly with a clean, damp cloth to remove any food particles or grease. Center new, pre-warmed lids on the jars and then apply the bands, tightening them only to “fingertip tight” – firm but not overtightened.
- Load the Pressure Canner: Place the filled jars onto the rack inside your pressure canner. The canner should contain about two to three inches of simmering water (around 180°F, as per your canner’s manufacturer instructions).
- Vent the Canner: Secure the canner lid in the locked position. Turn the heat to medium-high. Allow the canner to vent a steady stream of steam for a full ten minutes. This step is crucial for removing all air from the canner, ensuring the internal temperature reaches the required level.
- Process the Jars: After venting, place the weighted gauge (or put the dial gauge into position) on the vent pipe. Bring the pressure up to 10 pounds (psi) for weighted gauge canners, or 11 pounds (psi) for dial gauge canners (at elevations up to 1,000 feet).
- Process pint jars for 75 minutes.
- Process quart jars for 90 minutes.
Maintain consistent pressure throughout the processing time. If the pressure drops below the recommended level at any point, you must bring it back up to pressure and restart the timing from the beginning.
- Cool Down: Once the processing time is complete, turn off the heat and allow the canner to cool naturally until the pressure gauge reads zero. Do not rush this process by opening the canner early or cooling it with water.
- Remove Jars: After the pressure has returned to zero (and for weighted gauge canners, after the rocker stops jiggling completely), wait at least five minutes before carefully removing the lid. Open the lid away from your face to avoid steam burns. Let the jars sit in the canner for another 10 minutes to equalize temperature before carefully removing them with a jar lifter.
- Final Cooling and Storage: Place the hot jars on a clean towel or cooling rack on your countertop, ensuring they are not touching each other, to cool undisturbed for 12 to 24 hours. Do not retighten the bands if they appear loose during cooling. After 12-24 hours, check the seals: lids should be concave and not flex when pressed. Remove the bands, wipe the jars clean, label with contents and date, and store in a cool, dark, dry place.
Sausage Canning Altitude Adjustments
Altitude affects the boiling point of water and therefore the pressure required for safe canning. While processing *times* remain the same, you must adjust the pressure settings to compensate for higher elevations. Consult these guidelines:
For Dial Gauge Pressure Canners:
- 0 to 2,000 feet in elevation – 11 lbs pressure
- 2,001 to 4,000 feet in elevation – 12 lbs pressure
- 4,001 to 6,000 feet in elevation – 13 lbs pressure
- 6,001 to 8,000 feet in elevation – 14 lbs pressure
For Weighted Gauge Pressure Canners:
- 0 to 1,000 feet in elevation – 10 lbs pressure
- Above 1,000 feet – 15 lbs pressure
Serving Your Canned Sausage
Once your jars are sealed, labeled, and stored, you’ve got a fantastic, versatile ingredient ready whenever you need it. Canned sausages are best consumed within six to eight months for optimal flavor and quality, though they can last safely for up to a year or more.
Serving canned sausage couldn’t be simpler. Think of it like a convenient canned soup or stew – no extra ingredients are necessary for preparation. Just open a jar, transfer the contents to a saucepan or microwave-safe dish, and gently heat until warmed through. The broth in the jar will add moisture and flavor, preventing the sausage from drying out.
Creative Ways to Enjoy Canned Sausage:
- Breakfast Classic: Serve alongside scrambled eggs, grits, hash browns, or toast for a hearty morning meal.
- Quick Lunches: Add to pasta dishes, rice pilafs, or simple stir-fries for a protein boost.
- Soups and Stews: Chop the sausage into smaller pieces and add it directly to your favorite soups, stews, or chili recipes. It’s already cooked, so it just needs to warm up.
- Sandwiches and Wraps: Crumble the sausage and mix with some sauce for a quick sandwich filling.
- Gravy Base: The savory broth can be used as a flavorful base for gravies, perfect over biscuits or mashed potatoes.
- Skillet Meals: Combine with sautéed vegetables like onions, peppers, and potatoes for a rustic skillet dinner.
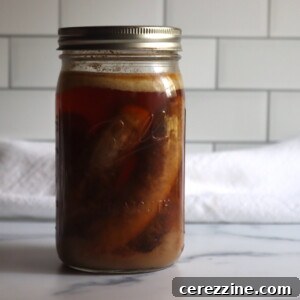
Canning Sausage Recipe
By Ashley Adamant
Prep Time: 10 mins | Cook Time: 10 mins | Additional Time: 1 hr 30 mins | Total Time: 1 hr 30 mins
Ingredients
- Fresh Pork Sausage (Links, Patties or Loose Pack Ground)
- Broth (Chicken, Beef, or Vegetable)
- Salt (to taste)
- Pepper (to taste)
- Other herbs as desired (optional, e.g., sage, fennel, oregano)
Instructions
- Grind your fresh pork with an electric or manual food grinder. Measure out the ground pork into the quantities you want for canning. Shape the pork into patties or into three- to four-inch links, or use as loose ground. (Pre-made store-bought fresh sausage is also fine, provided it’s uncured and free of thickeners like flour or cornstarch.)
- Cook the sausage in a frying pan, lightly browning them until nearly done but not fully cooked through. Drain any excess grease. (Brown loose-pack crumbles thoroughly until no pink remains.)
- In a separate pan, bring the broth to a boil, then reduce to a simmer, keeping it hot.
- Pack the browned sausages into hot, clean canning jars, leaving about one inch of headspace.
- Ladle the hot broth over the sausages, ensuring the meat is covered and maintaining one inch of headspace.
- Remove any air bubbles using a non-metallic utensil. Check headspace again and adjust with more hot broth if necessary. Clean the rims of the jars with a damp cloth.
- Center new, warm canning lids on the jars and apply bands, tightening them to fingertip tight.
- Place the jars on the rack in a pressure canner, which should contain 2-3 inches of simmering water (180°F).
- Secure the canner lid and turn the heat to medium-high.
- Allow the canner to vent a steady stream of steam for ten minutes to exhaust all air.
- Place the weighted gauge (or engage the dial gauge) on the vent pipe. Bring the canner pressure to 10 lbs (for weighted gauge at 0-1,000 ft elevation, or adjust for altitude).
- Process pint jars for 75 minutes, or quart jars for 90 minutes. Maintain consistent pressure. If pressure drops, restart timing from zero once pressure is restored.
- When processing is complete, turn off the heat and allow the canner to cool naturally until the pressure returns to zero. Wait at least five minutes after zero pressure before opening.
- Carefully remove the canner lid. Let the jars sit in the canner for another 10 minutes to temper before carefully removing them with a jar lifter. Do not retighten bands.
- Place jars on a towel or cooling rack, spaced apart, to cool undisturbed for 12-24 hours.
- After cooling, check seals. Lids should be concave. Remove bands, wipe jars, label with contents and date, and store in a cool, dark, dry place.
Notes
Sausage Canning Altitude Adjustments
Processing times for pressure canning remain constant, but the required pressure changes with altitude. Adjust your pressure settings as follows:
For Dial Gauge Pressure Canners:
- 0 to 2,000 feet in elevation – 11 lbs pressure
- 2,001 to 4,000 feet in elevation – 12 lbs pressure
- 4,001 to 6,000 feet in elevation – 13 lbs pressure
- 6,001 to 8,000 feet in elevation – 14 lbs pressure
For Weighted Gauge Pressure Canners:
- 0 to 1,000 feet in elevation – 10 lbs pressure
- Above 1,000 feet – 15 lbs pressure
Expand Your Pantry: More Meat Canning Recipes
Sausage is just the beginning! Diversify your pantry with other delicious home-canned meats. Here are some additional recipes to keep your shelves stocked:
- Canning Beef Chunks
- Canning Ground Beef
- Canning Leftover Turkey
- Canning Beef Pot Pie Filling