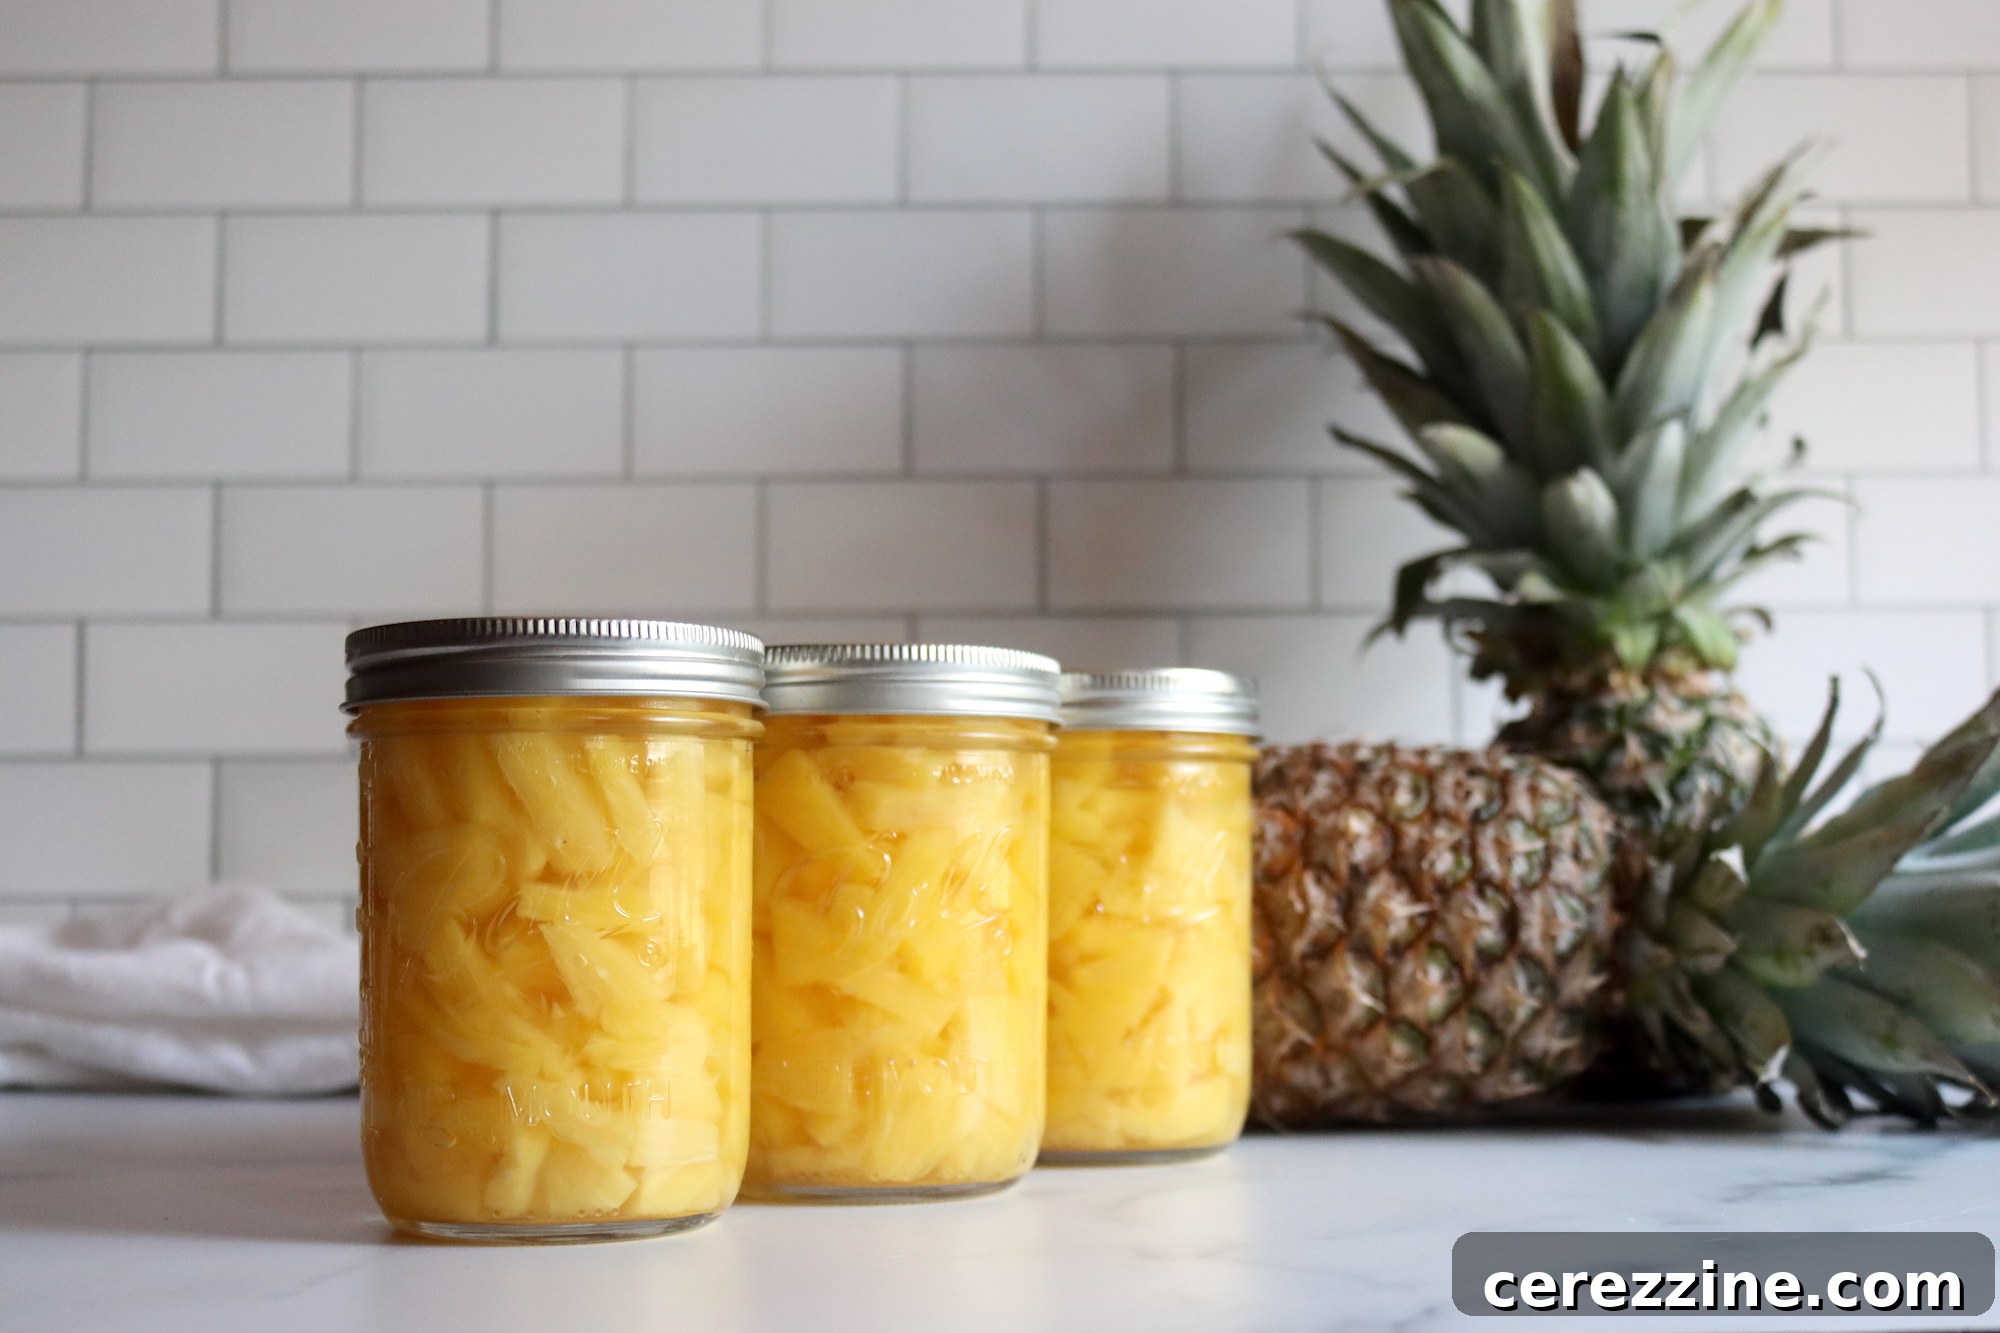
Canning Pineapple: Enjoy Tropical Sweetness All Year Round
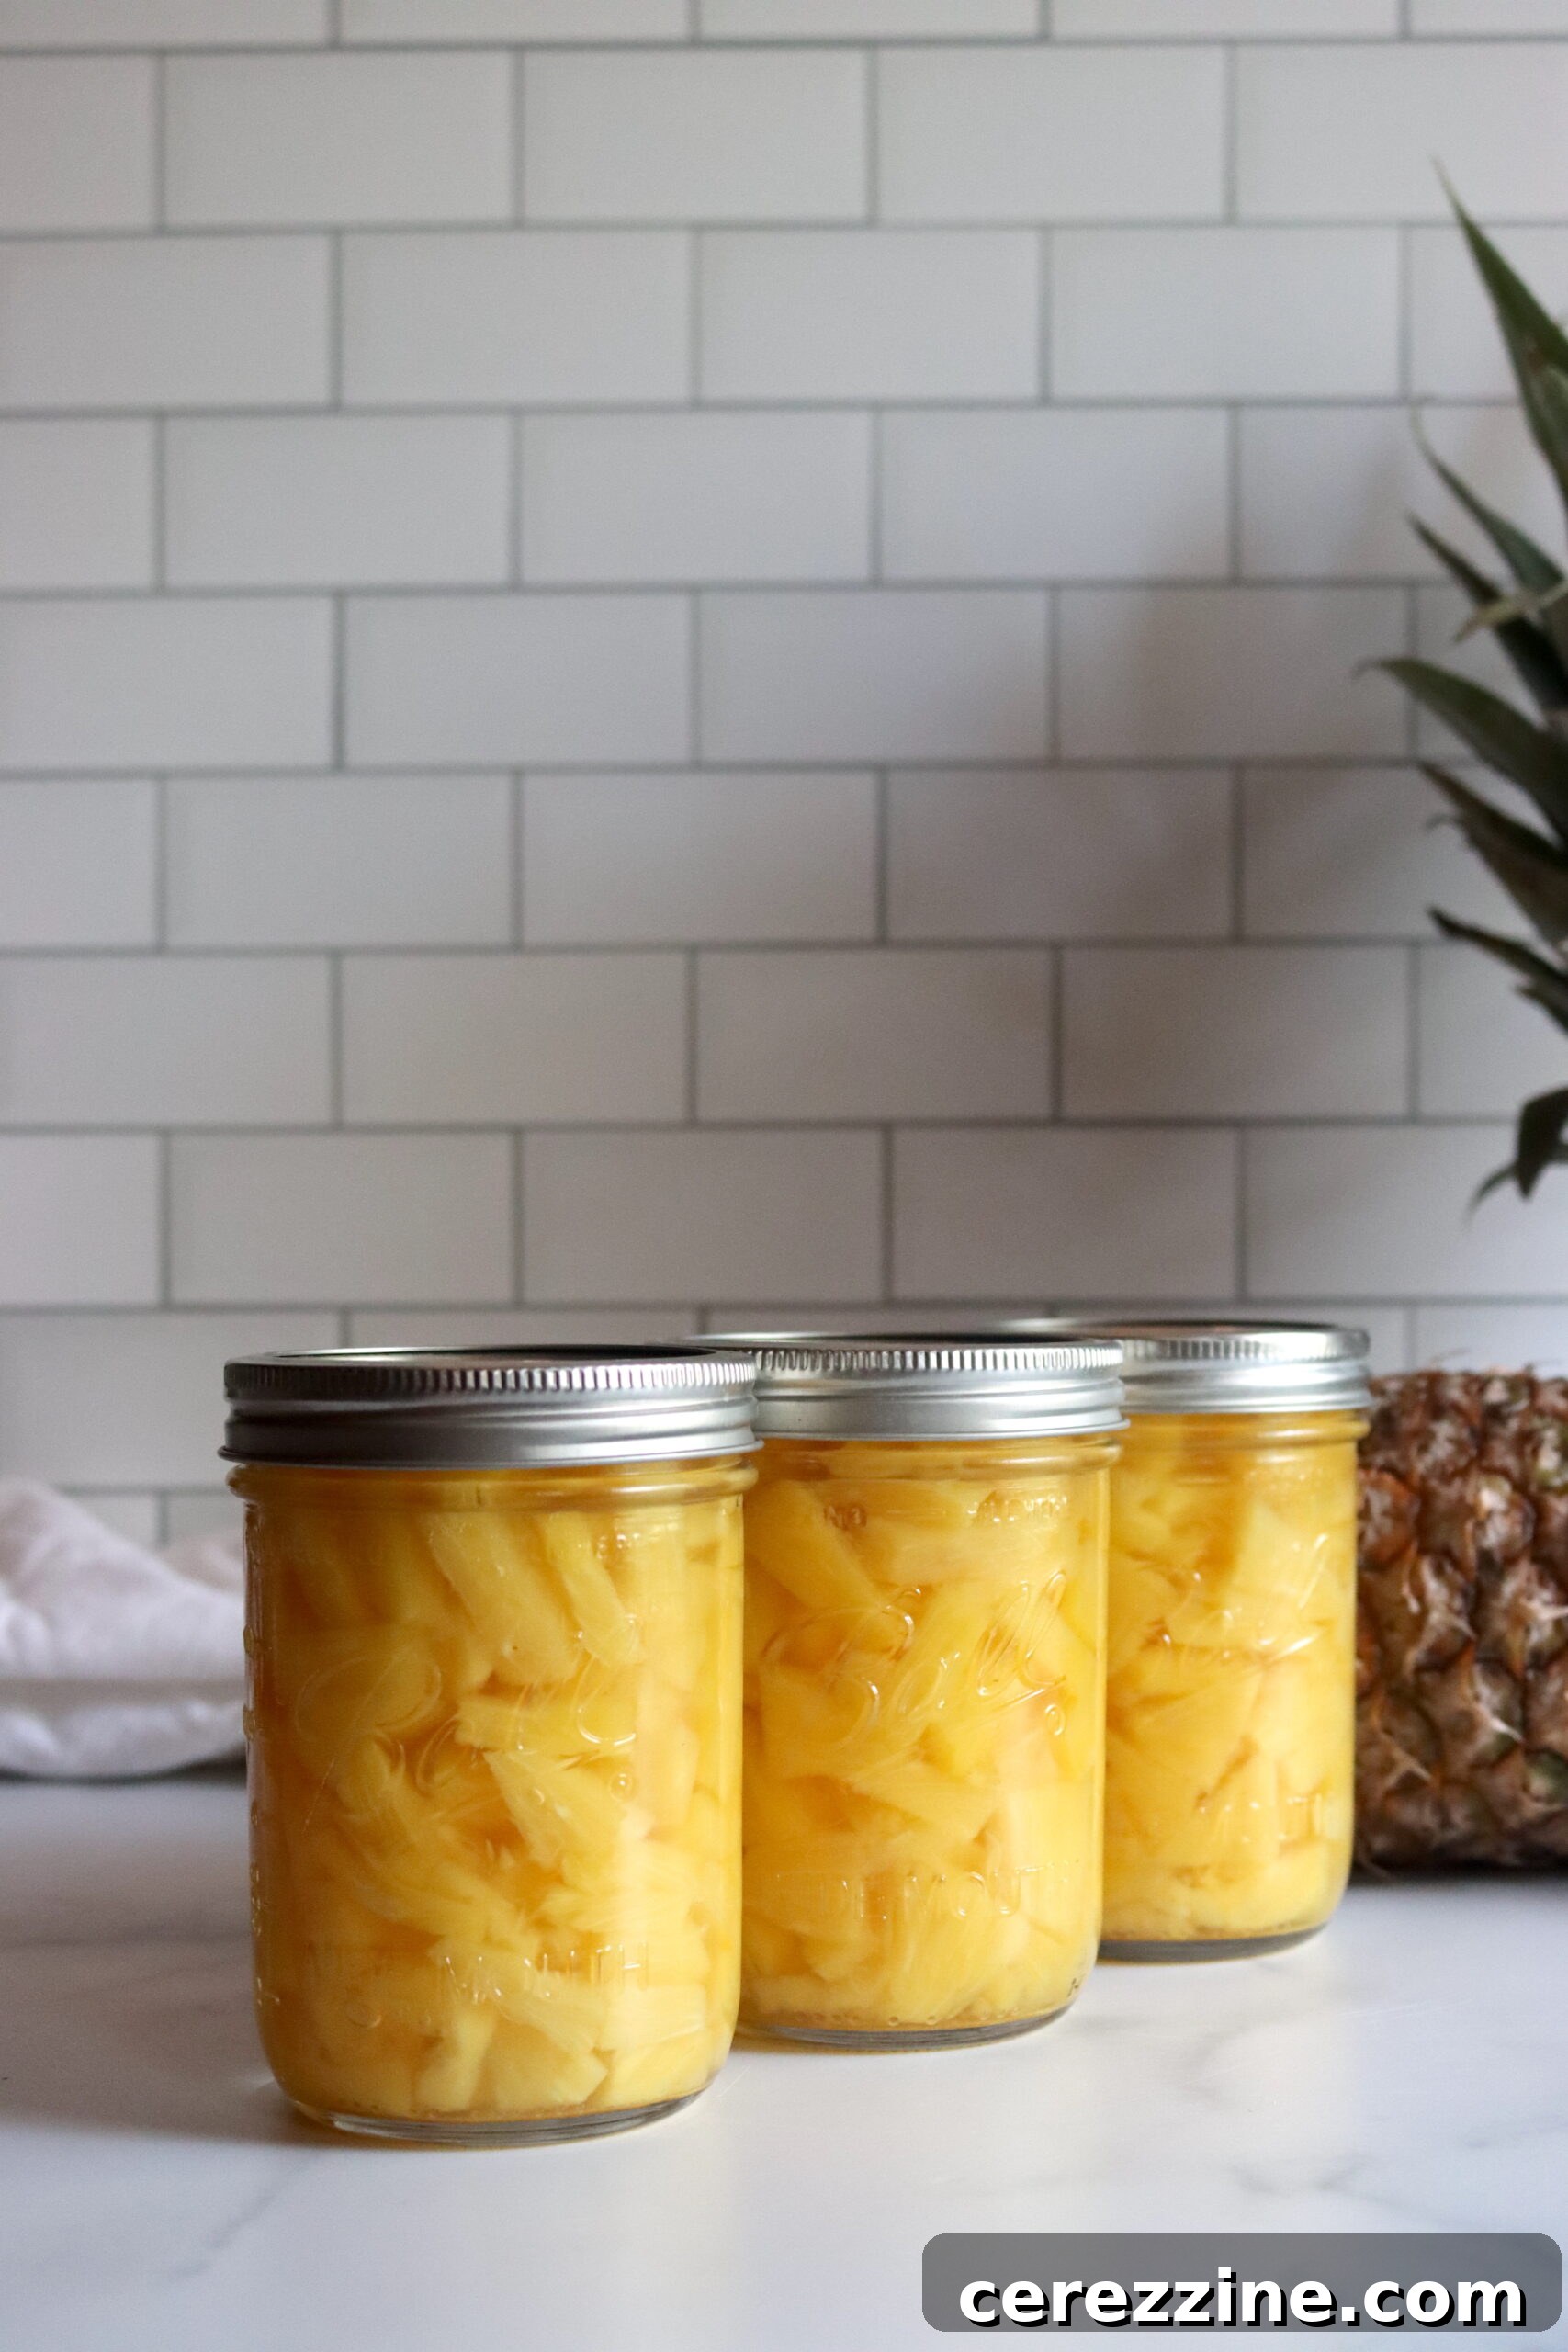
Unlock the vibrant flavor of fresh pineapple any time of the year by learning how to properly preserve it at home. Home-canned pineapple offers a superior taste experience compared to its store-bought counterparts, making it a rewarding project for any home preserver. Imagine serving sweet, juicy pineapple that tastes as fresh as the day it was picked, straight from your pantry!
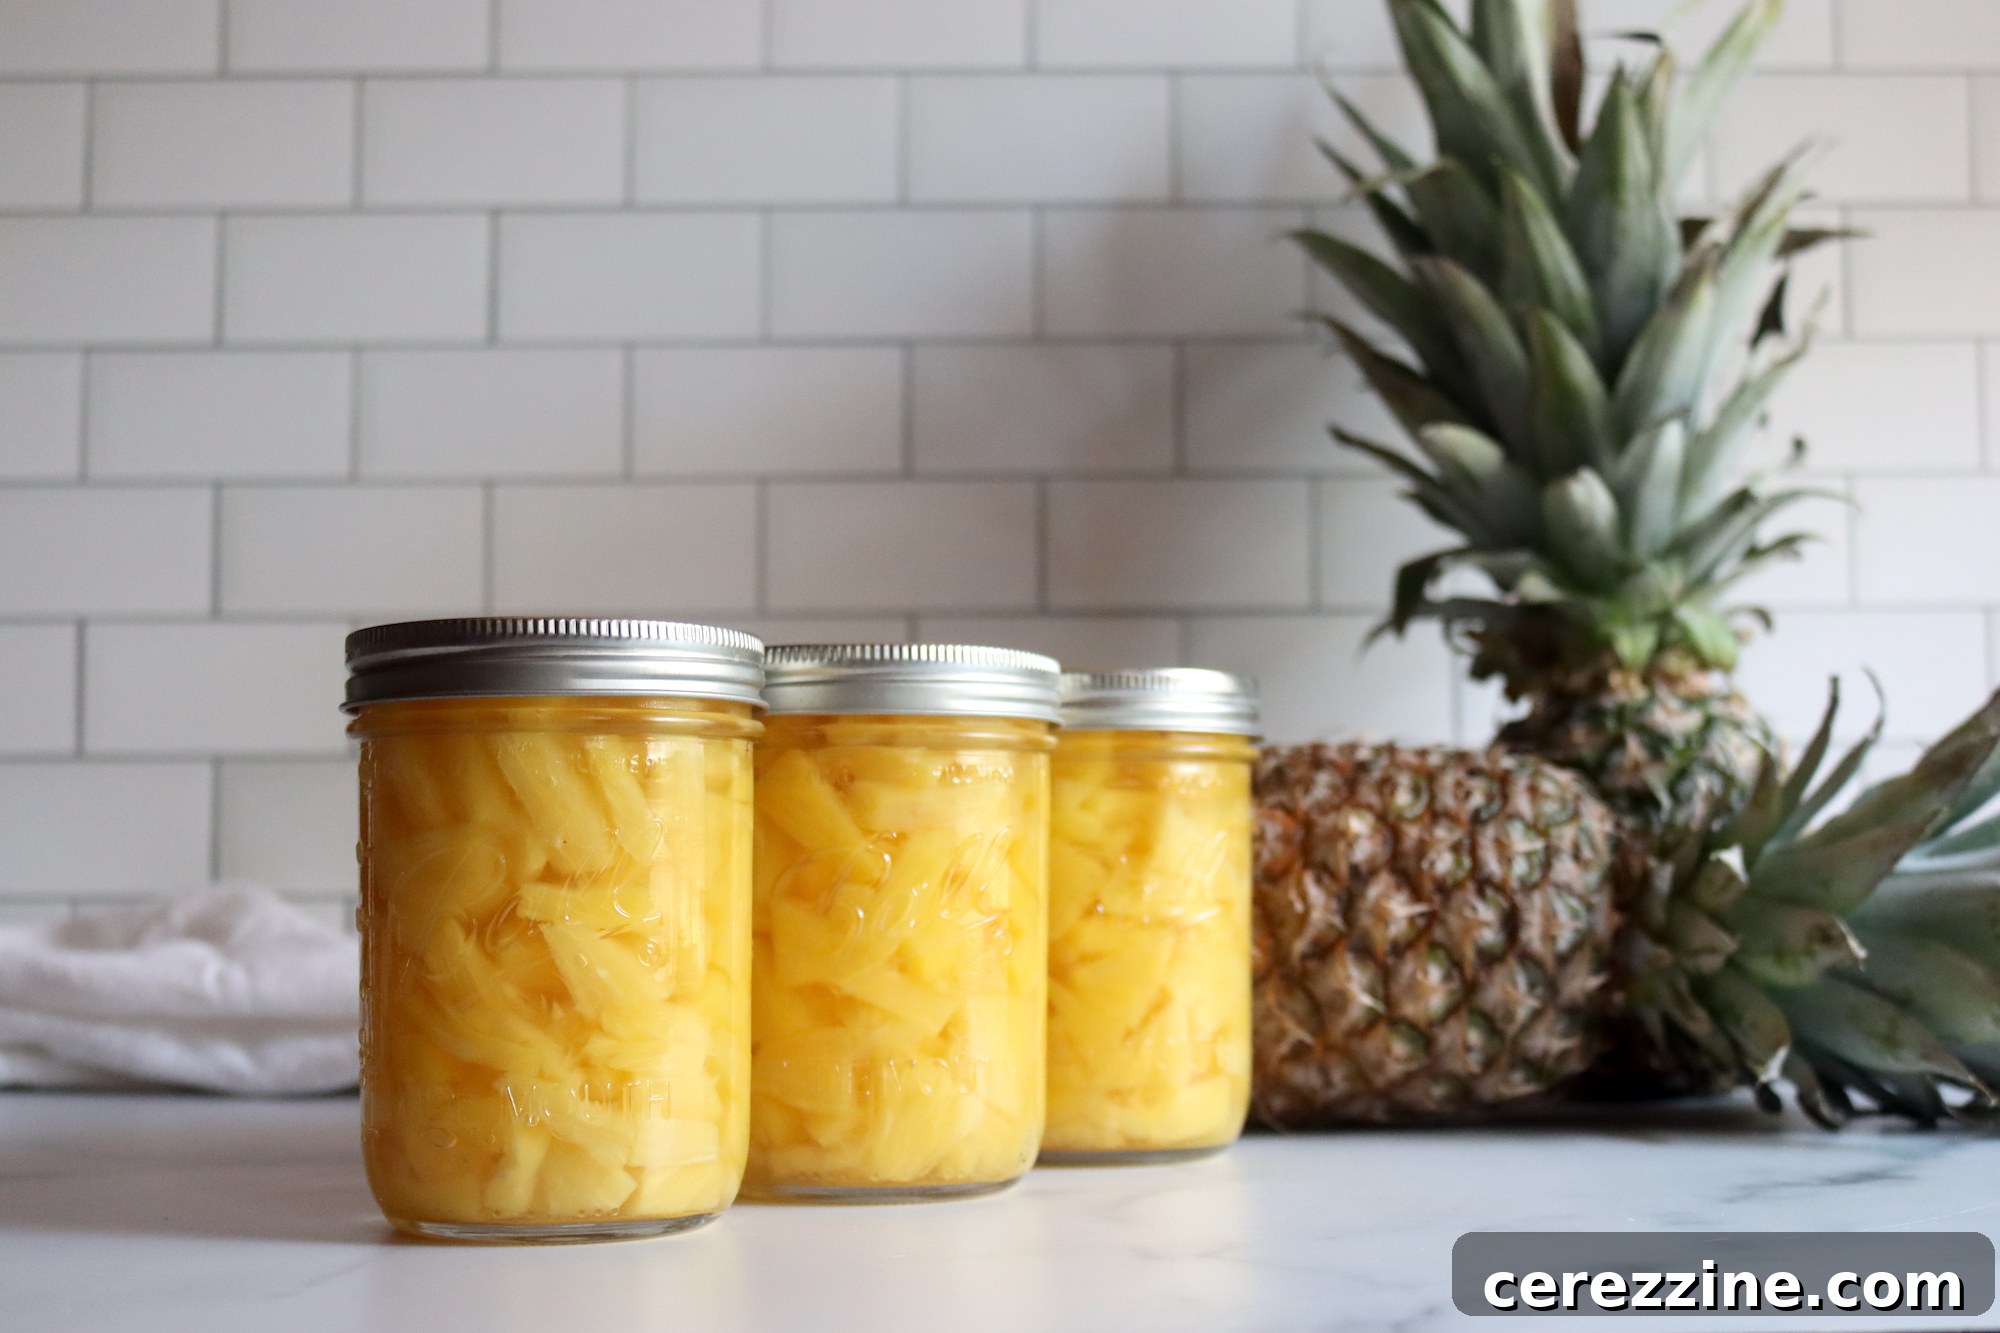
Why Home-Canned Pineapple Triumphs Over Store-Bought
While most of us aren’t growing pineapples in our backyards, there are compelling reasons to take on the satisfying task of canning this delightful tropical fruit. The primary motivation? Unparalleled taste.
The flavor of home-canned pineapple is a world apart from the often bland, metallic taste of commercially tinned varieties. Store-bought pineapple often uses lower-quality, sometimes under-ripe fruit that wouldn’t sell well in the fresh produce section. This results in a product that can be pale, watery, and lacking in true pineapple essence. Even “premium” canned pineapples, while an improvement, still don’t capture the bright, sweet, and tangy profile of fresh or properly home-canned fruit.
The Problem with Metal Cans
One significant factor contributing to the inferior taste of commercial pineapple is the packaging itself. The natural acidity of pineapple reacts with the metal of traditional cans, imparting a distinct “tinned” or metallic flavor to the fruit. This chemical interaction compromises the delicate tropical notes, leaving you with a less-than-ideal experience. This is precisely why acidic foods like cucumber pickles are almost exclusively found in glass jars; the same principle applies when you’re canning pineapple and canning pineapple juice. By canning pineapple in glass jars, you eliminate this metallic interference, allowing the fruit’s natural sweetness and acidity to shine through, delivering a truly fresh and juicy taste that will have your family eating it straight from the jar.
For the best results and savings, consider buying pineapples during their peak season, typically April, when they are often on sale for prices as low as 99 cents each. Stocking up on a few cases during this time allows you to preserve a significant bounty, not just for simple canned pineapple, but also for exciting culinary creations like home-canned pineapple mango salsa, spicy pickled pineapple, or even warm cinnamon-spiced pickled pineapple.
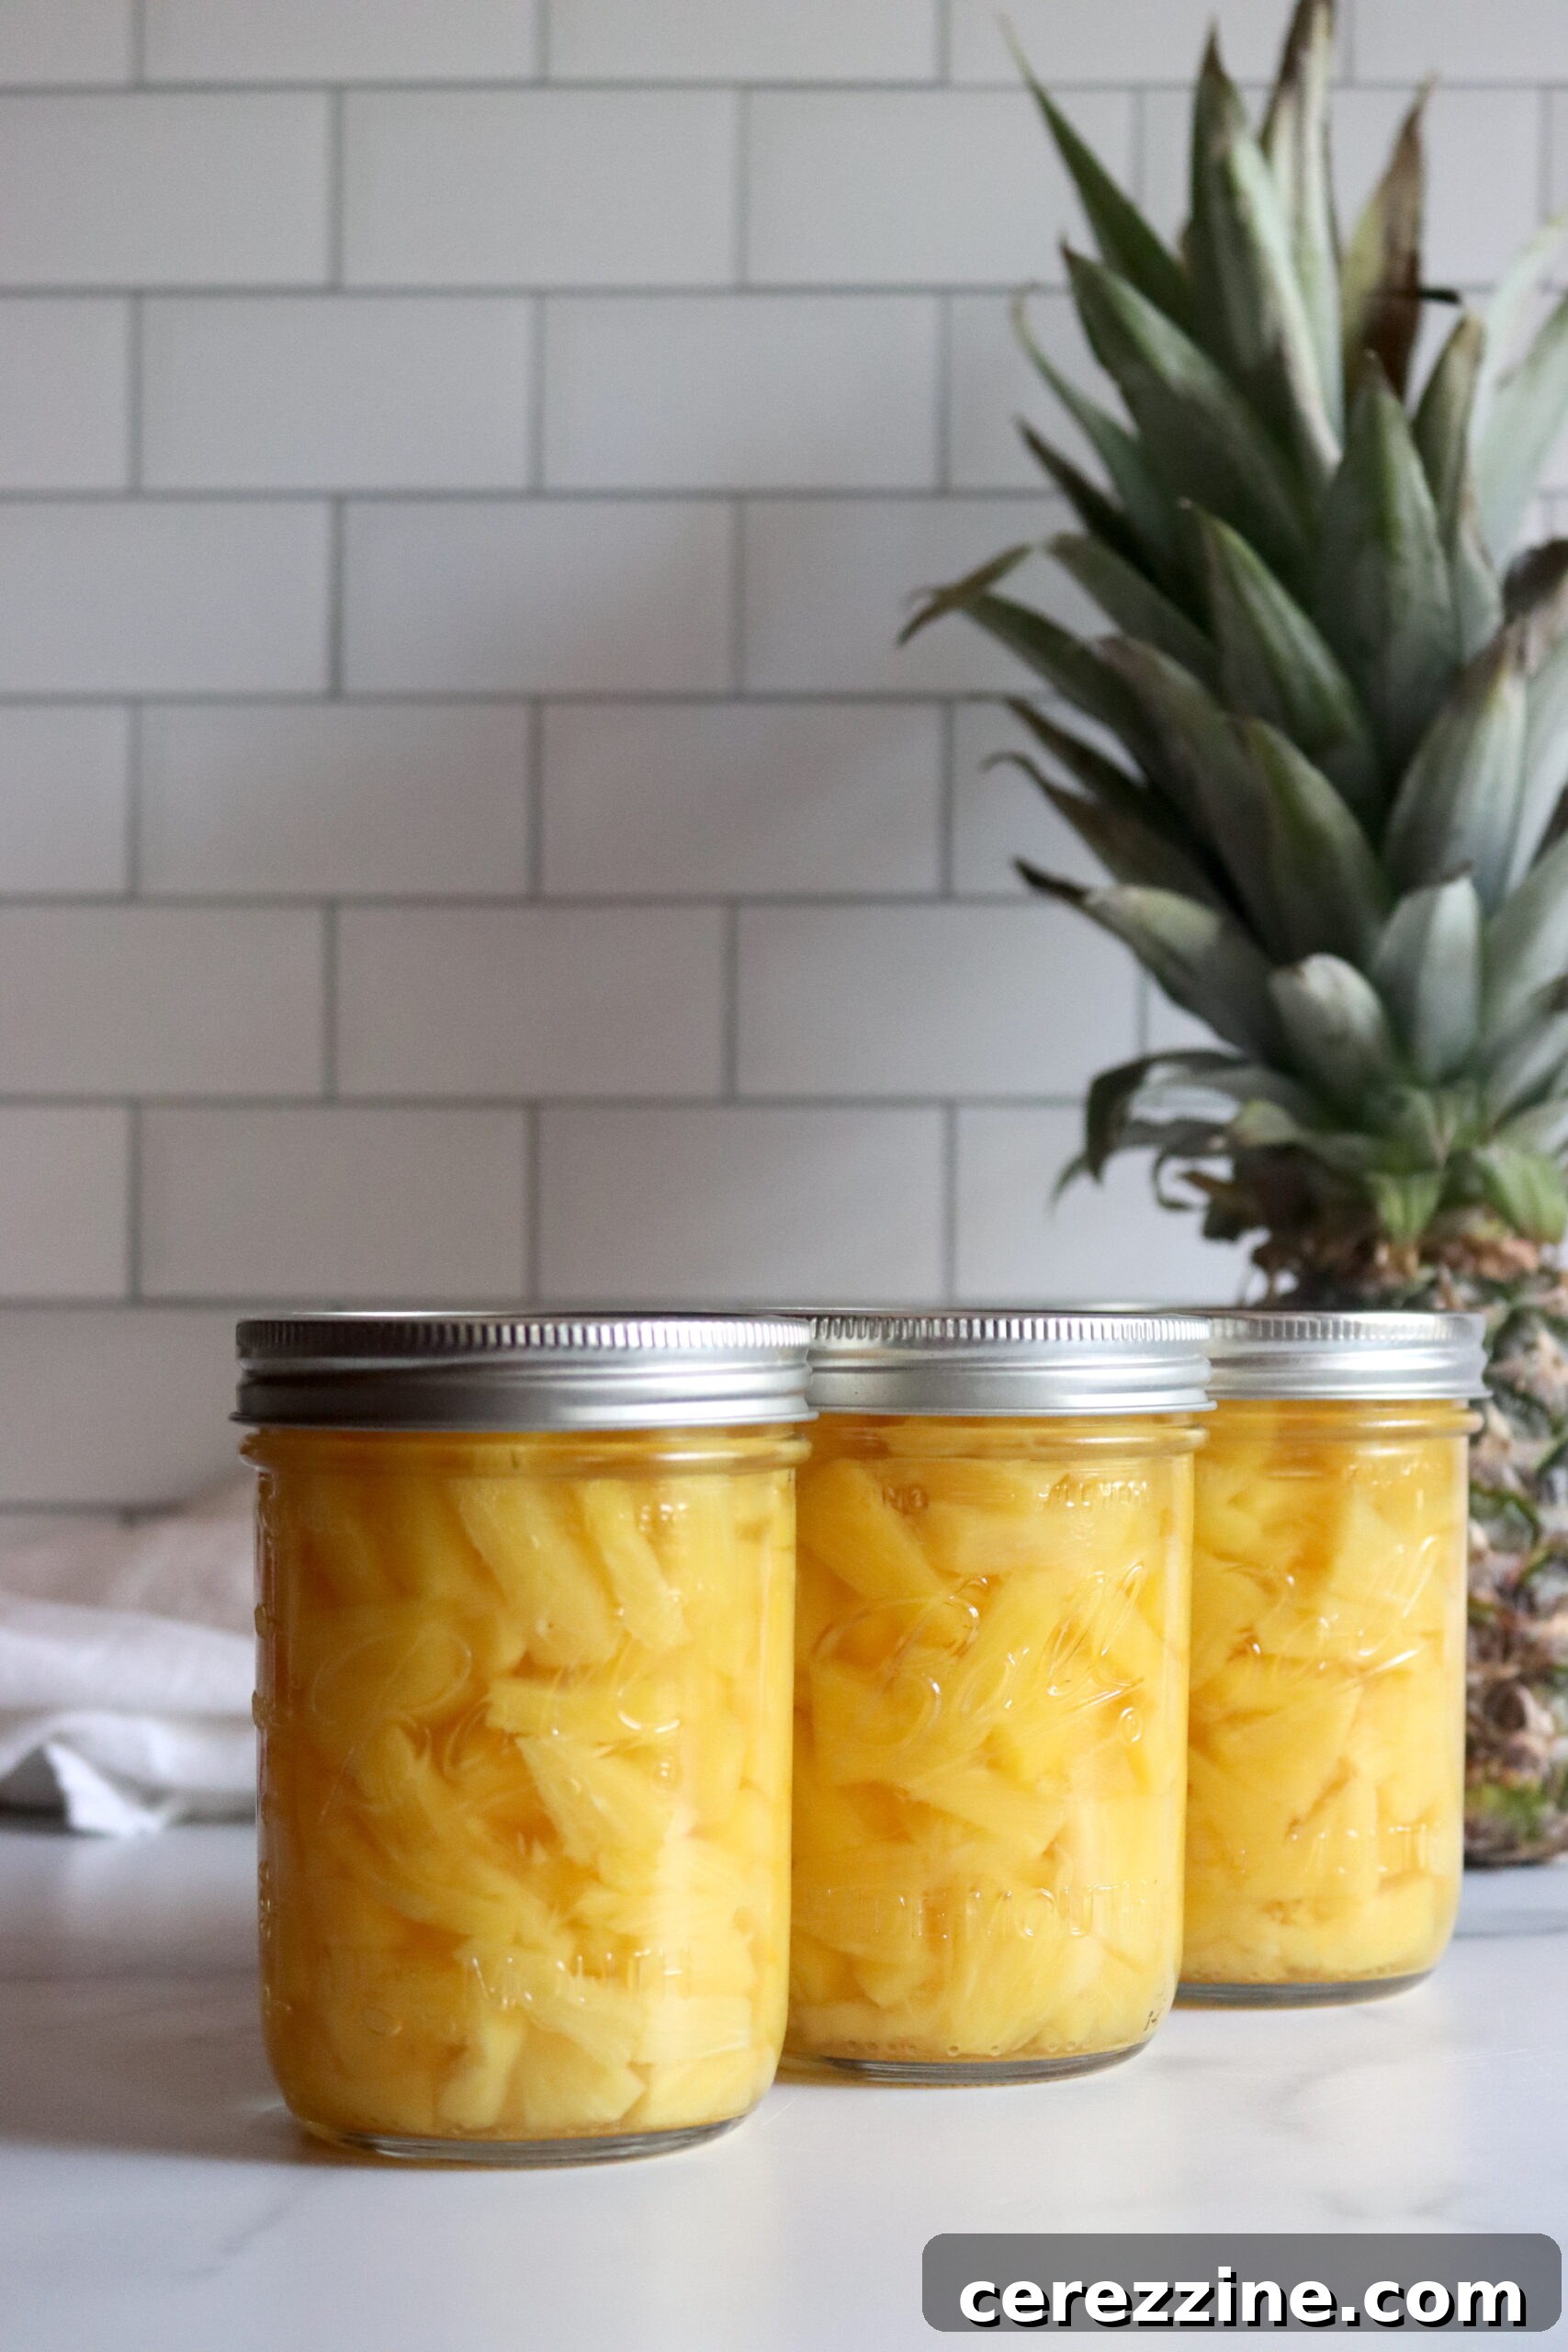
Essential Ingredients for Canning Pineapple
Preparing to can pineapple is straightforward, requiring only a few key components. The quality of your ingredients directly impacts the final product, so choose wisely.
- Pineapples: Select firm, ripe pineapples. A ripe pineapple will have a sweet aroma at its base and yield slightly to pressure. Avoid green, hard fruits or those with soft spots. You’ll need approximately 21 pounds of fresh pineapple for a full canner load of 7 quart jars, or about 13 pounds for 9 pint jars. On average, plan for about 3 pounds of pineapple per quart jar, or 1.5 pounds per pint jar (weighed as purchased).
- Syrup or Liquid for Packing: This liquid is crucial for maintaining the fruit’s quality and flavor during storage. You have several excellent choices:
- Water: A simple, calorie-free option that allows the natural pineapple flavor to dominate.
- Pineapple Juice: For an intense pineapple flavor, using freshly extracted pineapple juice (from one of your canning pineapples or simmered cores) is highly recommended.
- Apple Juice or White Grape Juice: These offer a subtly sweet and complementary flavor profile without overpowering the pineapple.
- Sugar Syrup: You can choose from various sugar syrup concentrations (extra light, light, medium, or heavy) to adjust the sweetness. For pineapple, which is already quite sweet, an extra light syrup is usually sufficient and preferred by many.
- Canning Jars and Lids: Ensure your jars are clean, sterilized, and free from chips or cracks. Always use new canning lids for each batch to guarantee a proper, safe seal.
- A Boiling Water Canner: This essential piece of equipment creates the necessary high-heat environment to safely process your pineapple jars, ensuring long-term preservation.
My personal preference for canning pineapple is to pack it in its own juice. This method maximizes the fruit’s natural flavor. You can achieve this by juicing one of your pineapples (typically one sacrificial pineapple for every six you plan to can) or, more economically, by simmering the tough pineapple cores in a bit of extra light syrup to extract their concentrated flavor. The latter allows you to preserve all the edible pineapple pieces while still utilizing the cores for a flavorful packing liquid.
If you opt for a sugar syrup, I recommend an extra light syrup to complement the pineapple’s inherent sweetness. For a 9-pint canner batch, you’ll need approximately 6 ½ cups of pineapple juice or water combined with ¾ cup of sugar. For a 7-quart batch, you’ll need about 10 ½ cups water and 1 ¼ cups sugar.
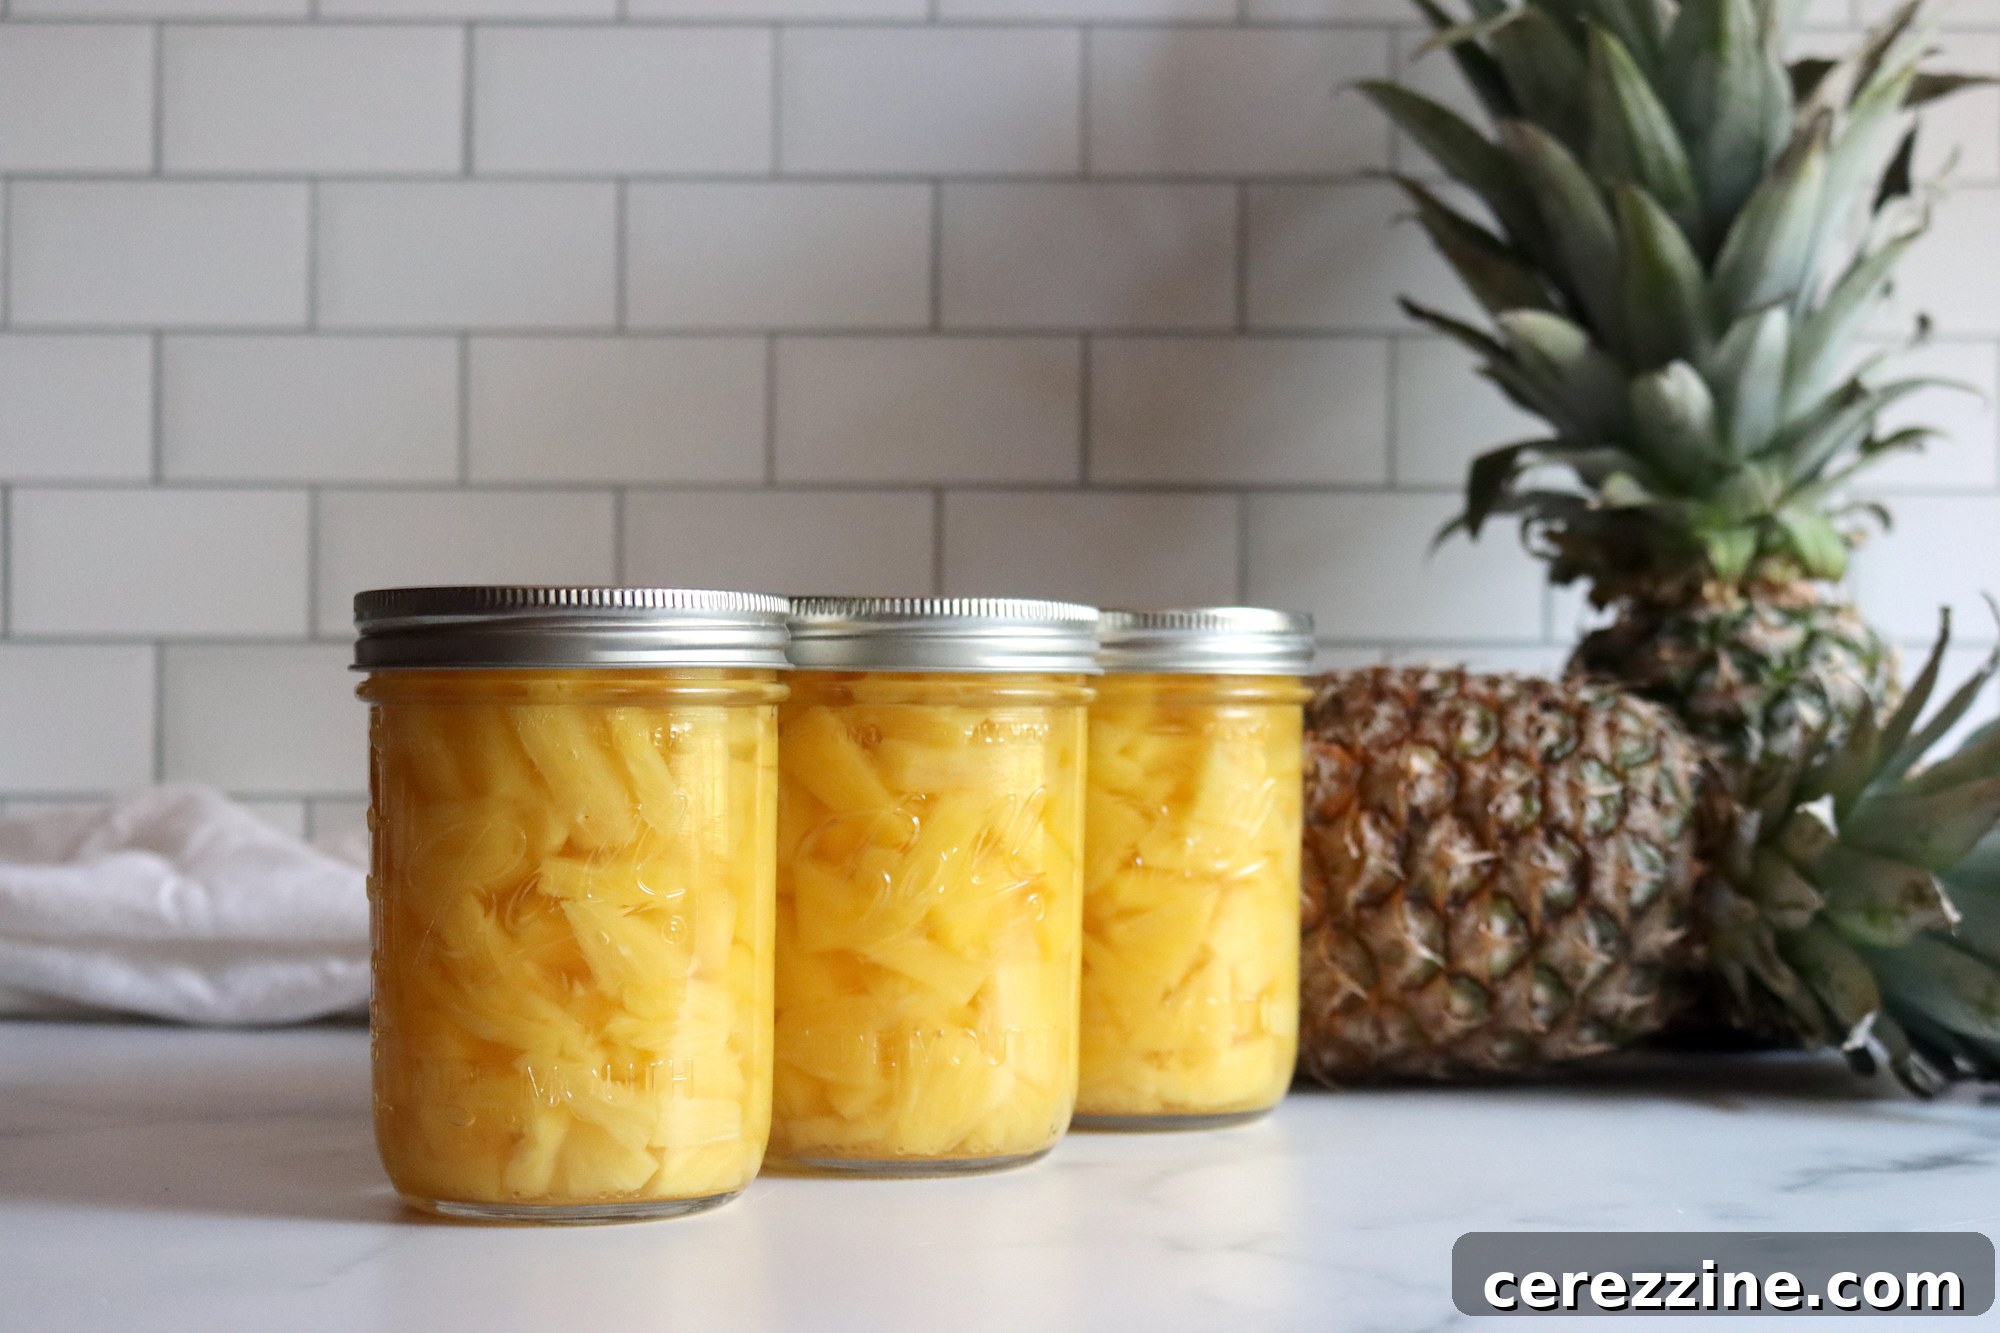
Step-by-Step Instructions for Canning Pineapple
Follow these detailed steps to successfully can your own delicious pineapple.
- Prepare the Pineapples: Begin by thoroughly washing your fresh pineapples. Using a sharp paring knife, carefully peel off the tough outer skin. Remove any remaining “eyes” (the small, spiky brown bits) from the fruit. Cut out the fibrous central core. Once peeled and cored, slice or cube the pineapple into uniform, bite-sized pieces. Remember to save the cores if you plan to make your own juice from them.
- Make Pineapple Core Juice (Optional): If you’re using cores for juice, place them in a saucepan and cover them with water. Simmer gently for about 10 minutes to extract their flavor. Strain the liquid, discarding the softened cores. If desired, you can add sugar to this juice to create an extra light syrup; for a 9-pint batch, combine 6 ½ cups of this core juice with ¾ cup of sugar. This natural juice will enhance the pineapple flavor in your jars.
- Hot Pack the Pineapple: In a large, non-reactive saucepan, combine the prepared pineapple pieces with your chosen syrup, water, or juice. Heat the mixture to a gentle simmer for approximately 10 minutes. This critical “hot pack” step softens the pineapple slightly and drives out trapped air from the fruit tissues. Pineapple tends to contain a lot of air, and skipping this step can cause the fruit to float or break apart during the canning process, leading to a less appealing final product and potentially compromised seals.
- Prepare Jars and Fill: While the pineapple simmers, ensure your canning jars are clean and sterilized. Carefully ladle the hot pineapple pieces into the prepared jars, leaving a consistent ½-inch headspace at the top. This headspace is vital for proper sealing and to allow for expansion during processing. Pour enough of the hot cooking liquid over the fruit to completely cover it, maintaining the same ½-inch headspace.
- Clean Rims and Seal: Wipe the rims of each jar thoroughly with a clean, damp cloth to remove any food residue. Residue on the rim can prevent a proper seal. Place new, pre-warmed canning lids on top of the jars, followed by the screw bands. Tighten the bands “fingertip tight”—meaning snug, but not overly tight. Overtightening can prevent air from escaping during processing, leading to seal failure.
- Process in a Boiling Water Canner: Carefully place the filled jars into your boiling water canner, ensuring they are fully submerged in water (at least 1-2 inches above the jar tops). Bring the water to a rolling boil and begin timing. Refer to the processing times table below, adjusting for your specific elevation to ensure food safety.
- Cool and Check Seals: Once the processing time is complete, carefully remove the hot jars from the canner using a jar lifter. Place them upright on a towel-lined counter or wire rack, allowing sufficient space between jars for air circulation. Let them cool undisturbed for 12-24 hours. As the jars cool, you should hear satisfying “ping” sounds, indicating that the lids are sealing. After cooling, check each seal by pressing on the center of the lid. If it doesn’t flex up and down, the jar is properly sealed.
Boiling Water Canning Times for Pineapple
Accurate processing times are crucial for safety in boiling water canning. Adjust your times based on your elevation above sea level:
| Jar Size | 0 – 1,000 ft | 1,001 – 3,000 ft | 3,001 – 6,000 ft | Above 6,000 ft |
|---|---|---|---|---|
| Pints | 15 minutes | 20 minutes | 20 minutes | 25 minutes |
| Quarts | 20 minutes | 25 minutes | 30 minutes | 30 minutes |
These times apply to the hot pack method, where pineapple is heated in the syrup or liquid before being transferred to canning jars.
Tips for Successful Pineapple Canning
- Choose Perfectly Ripe Fruit: The secret to delicious home-canned pineapple starts with the fruit itself. Select pineapples that are fully ripe but still firm. Overly soft fruit will become mushy during processing, while under-ripe fruit will lack the desired sweetness and vibrant flavor. Look for a strong, sweet aroma at the base and vibrant green leaves.
- Optimize Juice Extraction: If you prefer to can pineapple in its own juice, you have options. While juicing a whole pineapple yields pure juice, simmering the discarded cores in a saucepan with water is a fantastic way to minimize waste and still extract a flavorful, natural juice for your packing liquid. This method is both economical and boosts the pineapple flavor in your final product.
- Understand Headspace: Always leave a precise ½-inch headspace in your jars. This space is crucial for allowing the contents to expand during heating and for creating a strong vacuum seal as the jars cool. Too little headspace can cause siphoning (liquid loss), and too much can lead to seal failure.
- Adjust for Your Elevation: Water boils at a lower temperature at higher altitudes, meaning food needs longer processing times to achieve the same level of safety. Always consult and follow an altitude adjustment chart for your specific location to ensure your canned goods are safe for consumption.
- Proper Storage for Longevity: Once your jars are cool and sealed, remove the screw bands, wipe down the jars, and store them in a cool, dark, and dry place. Optimal storage conditions help maintain the quality and safety of your home-canned pineapple for 12 to 18 months. Always check the seal before opening and consuming any jar. If the seal is compromised (lid pops up), discard the contents.
Canning Pineapple Recipe
Author: Ashley Adamant
Canning pineapple is an easy and rewarding way to preserve this tropical fruit, allowing you to enjoy it long after it’s out of season. With this simple method, you’ll have jars of sweet, tangy pineapple ready to brighten up any dish—or just to enjoy on its own.
Yields: Approximately 9 pints (36 servings)
Prep time: 20 minutes
Cook time: 10 minutes (simmering pineapple) + processing time
Ingredients
- 13 lbs fresh Pineapple (approx. 1 ½ lbs per pint jar for a 9-pint batch, weighed as purchased)
- Canning liquid: your choice of water, pineapple juice, apple juice, white grape juice, or extra light sugar syrup
Instructions
- Wash the pineapples thoroughly. Peel off the tough outer skin and remove the spiky eyes using a paring knife. Remove the tough central core, then slice or cube the pineapple into bite-sized pieces. Set aside the cores if you plan to use them for juice.
- To create your own juice from cores (optional): Add the pineapple cores to a saucepan and cover with water. Simmer for about 10 minutes, then strain the mixture, discarding the cores. If desired, add sugar to create an extra light syrup: for a 9-pint batch, combine 6 ½ cups of this core juice/water with ¾ cup of sugar.
- In a large saucepan, add the prepared pineapple pieces to your chosen syrup, juice, or water. Heat the mixture to a simmer and cook for 10 minutes. This hot pack method softens the pineapple slightly and expels trapped air, which is essential for preventing the fruit from breaking apart during canning and ensuring a good seal.
- While the pineapple is simmering, prepare and sterilize your canning jars. Ladle the hot pineapple pieces into the jars, leaving ½-inch headspace. Pour in enough of the hot syrup or juice to completely cover the fruit, maintaining the ½-inch headspace.
- Wipe the rims of the jars with a clean, damp cloth to ensure they are free of any food residue. Place new lids on top and secure them with canning rings, tightening just until fingertip-tight. Avoid overtightening.
- Fill a boiling water canner with water and bring it to a rolling boil. Carefully lower the filled jars into the canner, ensuring they are fully submerged by 1-2 inches of water. Process the jars according to the altitude chart provided above. Standard processing times for elevations under 1,000 feet are 15 minutes for pints and 20 minutes for quarts.
- After the processing time has elapsed, carefully remove the jars from the canner using a jar lifter. Place them upright on a towel-lined counter or wire rack to cool completely, undisturbed, for 12-24 hours.
- Once cool, check the seals by pressing down on the center of each lid. If the lid does not flex or pop back, the jar is properly sealed.
Storage Notes
Store sealed jars in a cool, dark, and dry place. While home-canned pineapple does not spoil as long as the jars are sealed, its peak quality is best maintained within the first 12-18 months. Refrigerate after opening.
Recipe Notes
Yield
You’ll need about 21 pounds of fresh fruit for a canner load of 7 quarts or 13 pounds for 9 pints. On average, it takes about 3 pounds of pineapple per quart jar, or roughly 1 ½ pounds of pineapple per pint (weighed as purchased).
Syrup or Liquid for Packing
You can pack the pineapple in water, pineapple juice, apple juice, white grape juice, or your choice of sugar syrup (extra light, light, medium, or heavy).
If making syrup, I suggest using extra light syrup as pineapple is already quite sweet. To make enough extra light syrup for a canner batch of 9 pints, you’ll need 6 ½ cups water and ¾ cup sugar. For a canner batch of 7 quarts, you’ll need 10 ½ cups water and 1 ¼ cups sugar.
Pineapple Canning Altitude Adjustments
The altitude adjustments for water bath canning pineapple are as follows:
- Under 1,000 Feet in Elevation: 15 minutes for pints, 20 minutes for quarts
- 1,001 to 3,000 Feet in Elevation: 20 minutes for pints, 25 minutes for quarts
- 3,001 to 6,000 Feet in Elevation: 20 minutes for pints, 30 minutes for quarts
- Above 6,001 Feet in Elevation: 25 minutes for pints, 35 minutes for quarts
Note that for pints between 1,000 feet and 6,000 feet, the processing time does not increase, but for quarts, it does. This is due to the slightly longer time required for heat to penetrate to the center of larger jars at these altitudes.
Nutrition Information (Approximate per serving)
- Calories: 82 kcal
- Carbohydrates: 21g
- Protein: 1g
- Fat: 0.2g
- Saturated Fat: 0.01g
- Polyunsaturated Fat: 0.1g
- Monounsaturated Fat: 0.02g
- Sodium: 2mg
- Potassium: 179mg
- Fiber: 2g
- Sugar: 16g
- Vitamin A: 95 IU
- Vitamin C: 78mg
- Calcium: 21mg
- Iron: 0.5mg
Nutrition information is automatically calculated and should be used as an approximation.
More Pineapple Canning Recipes
Once you’ve mastered basic pineapple canning, you might be eager to explore more creative ways to preserve this versatile fruit. Here are a few additional recipes to inspire your canning adventures:
Spicy Pickled Pineapple
Pineapple Mango Salsa
Canning Pineapple Juice
- Spiced Pickled Pineapple
- Pineapple Jam
- Canning Zucchini in Pineapple Juice
Explore Other Fruit Canning Recipes
If you’re eager to expand your fruit preservation repertoire, explore these other popular fruit canning recipes to stock your pantry with homemade goodness:
- Canning Peaches
- Canning Cherries