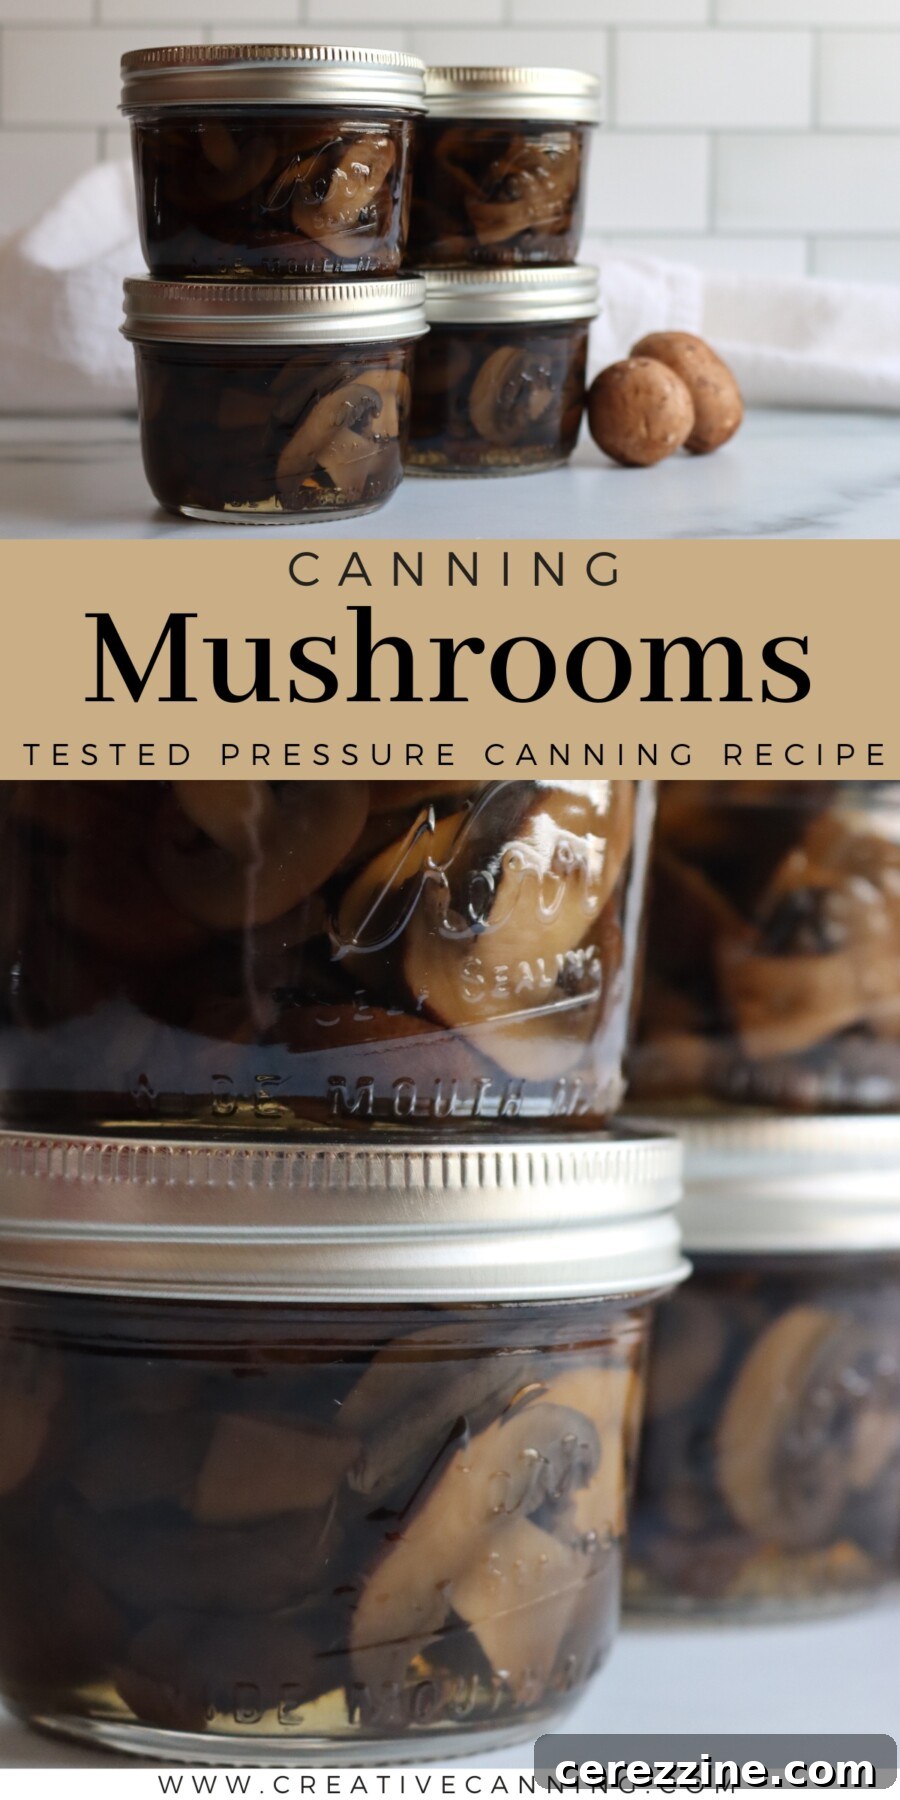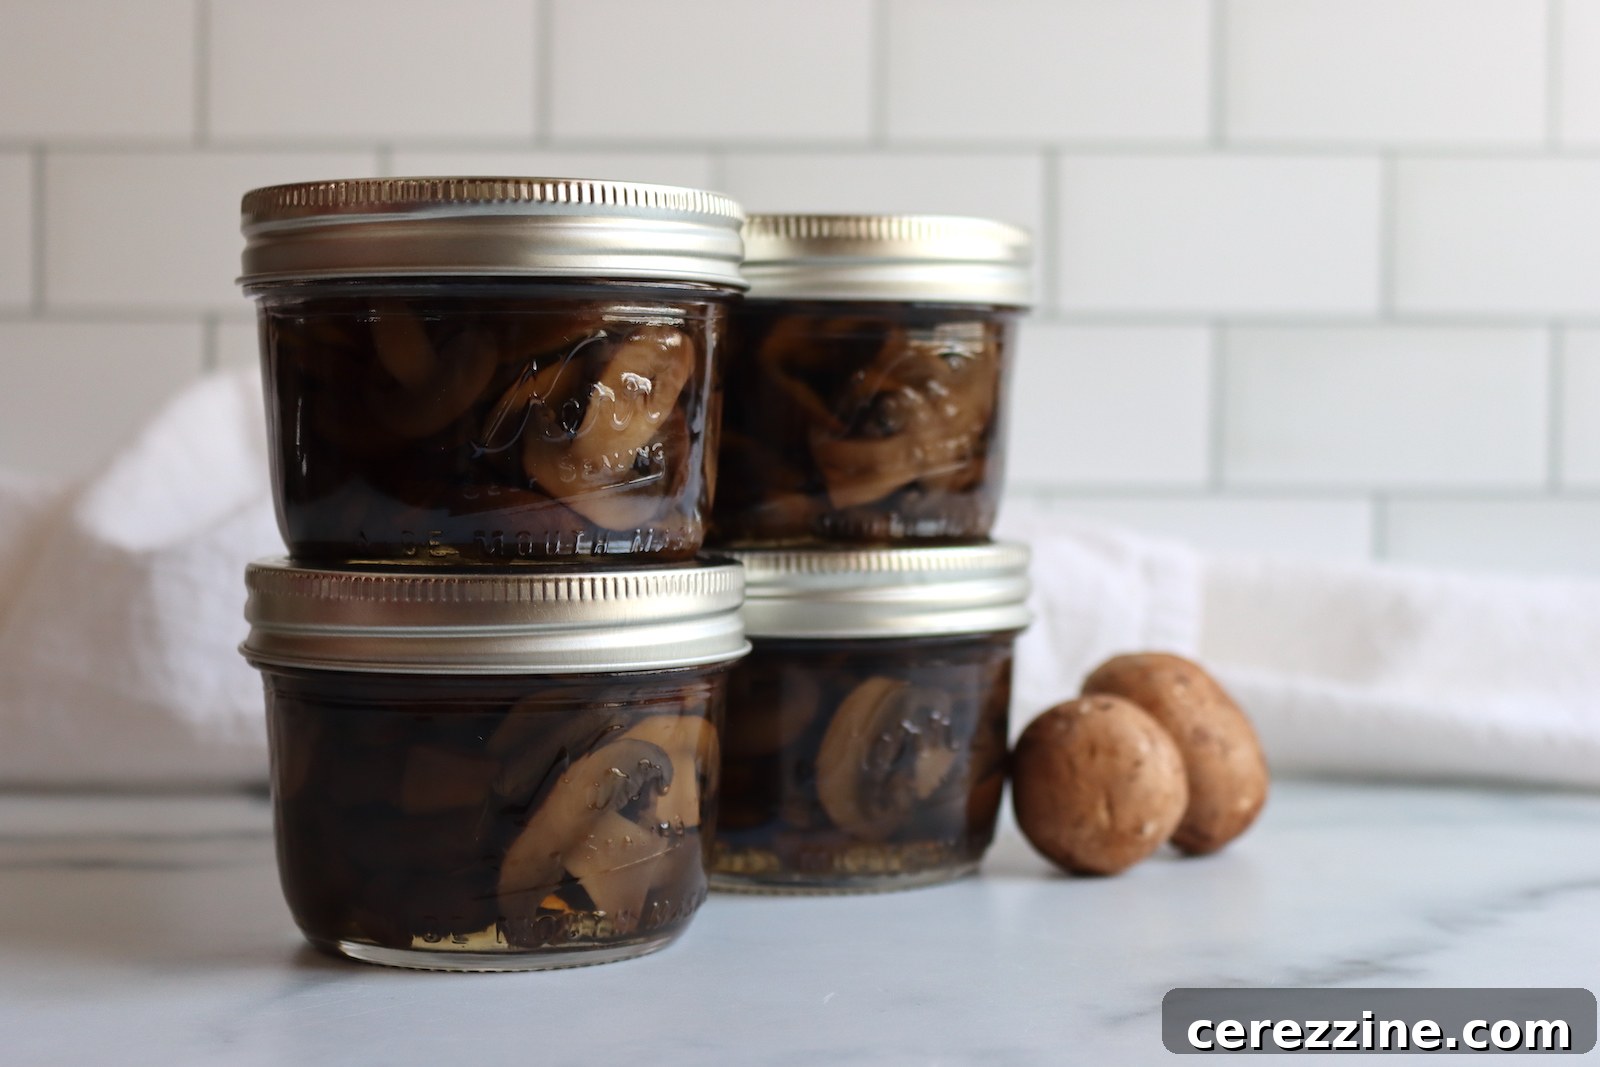
Canning mushrooms transforms a perishable ingredient into a versatile pantry staple, ready to elevate your culinary creations at a moment’s notice. Imagine having perfectly cooked mushrooms at your fingertips, anytime you need them for hearty soups, rich sauces, creamy risottos, or savory pasta dishes – all without any last-minute chopping or sautéing. These simple jars of preserved goodness won’t spoil like fresh mushrooms in your fridge, offering unparalleled convenience and a secret weapon for busy weeknights.
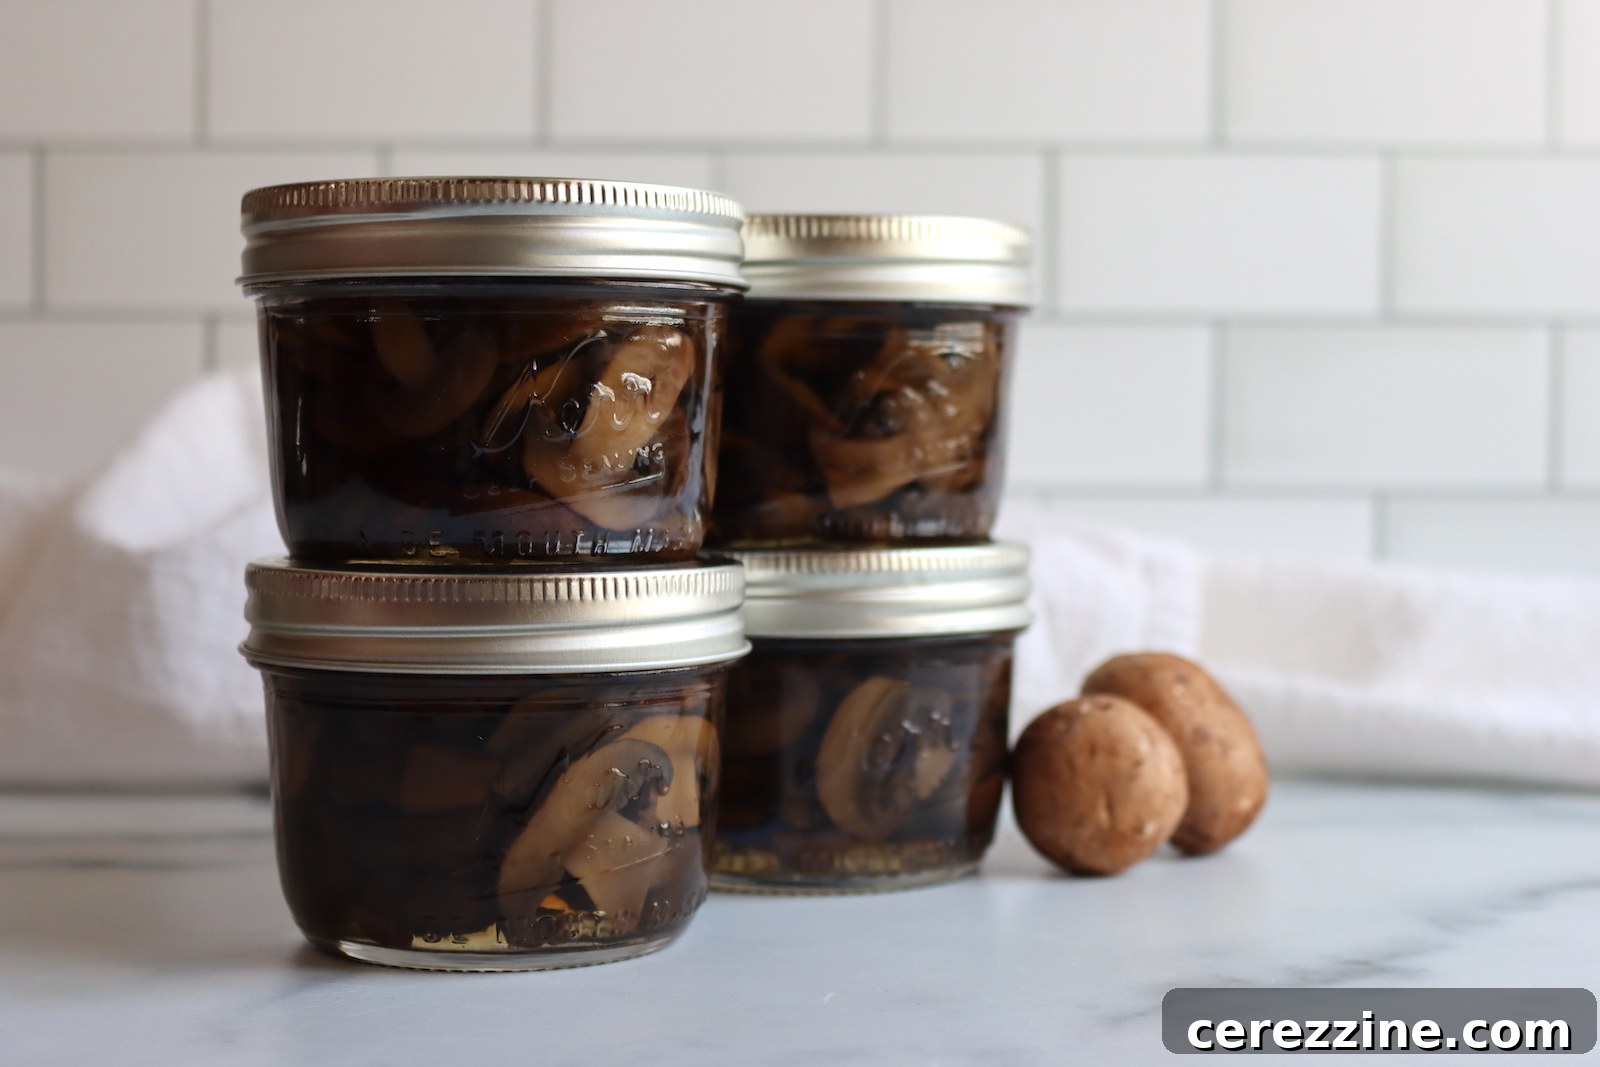
This recipe has been meticulously reviewed for safety and accuracy by a Master Food Preserver, certified through the esteemed University of Cornell Cooperative Extension.
Why Can Mushrooms? Benefits and Unmatched Convenience
In the world of home food preservation, canning mushrooms stands out as a smart and rewarding project. The primary benefit is transforming a highly perishable vegetable into a shelf-stable ingredient. Fresh mushrooms typically last only a few days in the refrigerator before they start to degrade, becoming slimy or discolored. By pressure canning them, you extend their shelf life significantly, allowing you to store them in your pantry for up to 12-18 months, or even longer, without refrigeration.
Beyond extended storage, the convenience factor is immense. Canned mushrooms are already cooked and ready to use. This means no washing, trimming, or pre-cooking when you’re in the middle of preparing a meal. They simply need to be drained and warmed through. This convenience makes them an invaluable asset for quick weeknight dinners, meal prepping, or when you simply don’t have fresh produce on hand. They are ideal for adding depth to gravies, enhancing stir-fries, or providing a meaty texture to vegetarian dishes. It’s a small effort upfront for a tremendous payoff in future kitchen efficiency.
Ensuring Safety: NCHFP Guidelines for Canning Mushrooms
When it comes to home canning, safety is paramount. This recipe adheres strictly to the National Center for Home Food Preservation (NCHFP) guidelines for canning mushrooms, which are adapted from the comprehensive USDA Complete Guide to Home Canning. These guidelines are developed through rigorous testing to ensure that canned foods are safe from harmful bacteria, particularly Clostridium botulinum, which thrives in low-acid, anaerobic environments like canned vegetables.
Choosing the Right Mushroom Variety for Canning
The NCHFP specifically recommends “domestic mushrooms” for canning and issues a strong caution against canning wild mushrooms. This distinction is crucial for safety. The processing times established by the NCHFP were meticulously developed based on the density, texture, and heat penetration characteristics of common cultivated mushrooms. Primarily, this refers to button (Agaricus bisporus, white) and crimini (also Agaricus bisporus, brown, sometimes called “baby bellas”) mushrooms.
The updated NCHFP language further refines this, describing suitable mushrooms as those that are “brightly colored, small to medium-size, with short stems, tight veils, and no discoloration.” This precise description perfectly fits button and crimini mushrooms and intentionally excludes more unusual cultivated varieties such as oyster, lion’s mane, or chanterelle mushrooms.
The reason for this strict guideline isn’t that these other mushrooms are inherently unsafe to eat fresh. Rather, it’s because specialty cultivated mushrooms often possess significantly different textures and densities compared to the standard button mushroom used in testing. These variations can alter how heat penetrates the mushroom during the canning process, potentially leading to under-processing and an unsafe product. For instance, very woody or extremely dense mushrooms like reishi and chaga are particularly problematic due to their resistance to heat penetration. Similarly, delicate varieties like oyster mushrooms would likely break down into an unappetizing mush during the prolonged heat of pressure canning.
For consistent, safe, and high-quality results, always stick to button mushrooms or crimini when canning, as this recipe is specifically formulated for them.
Notes from My Canning Kitchen

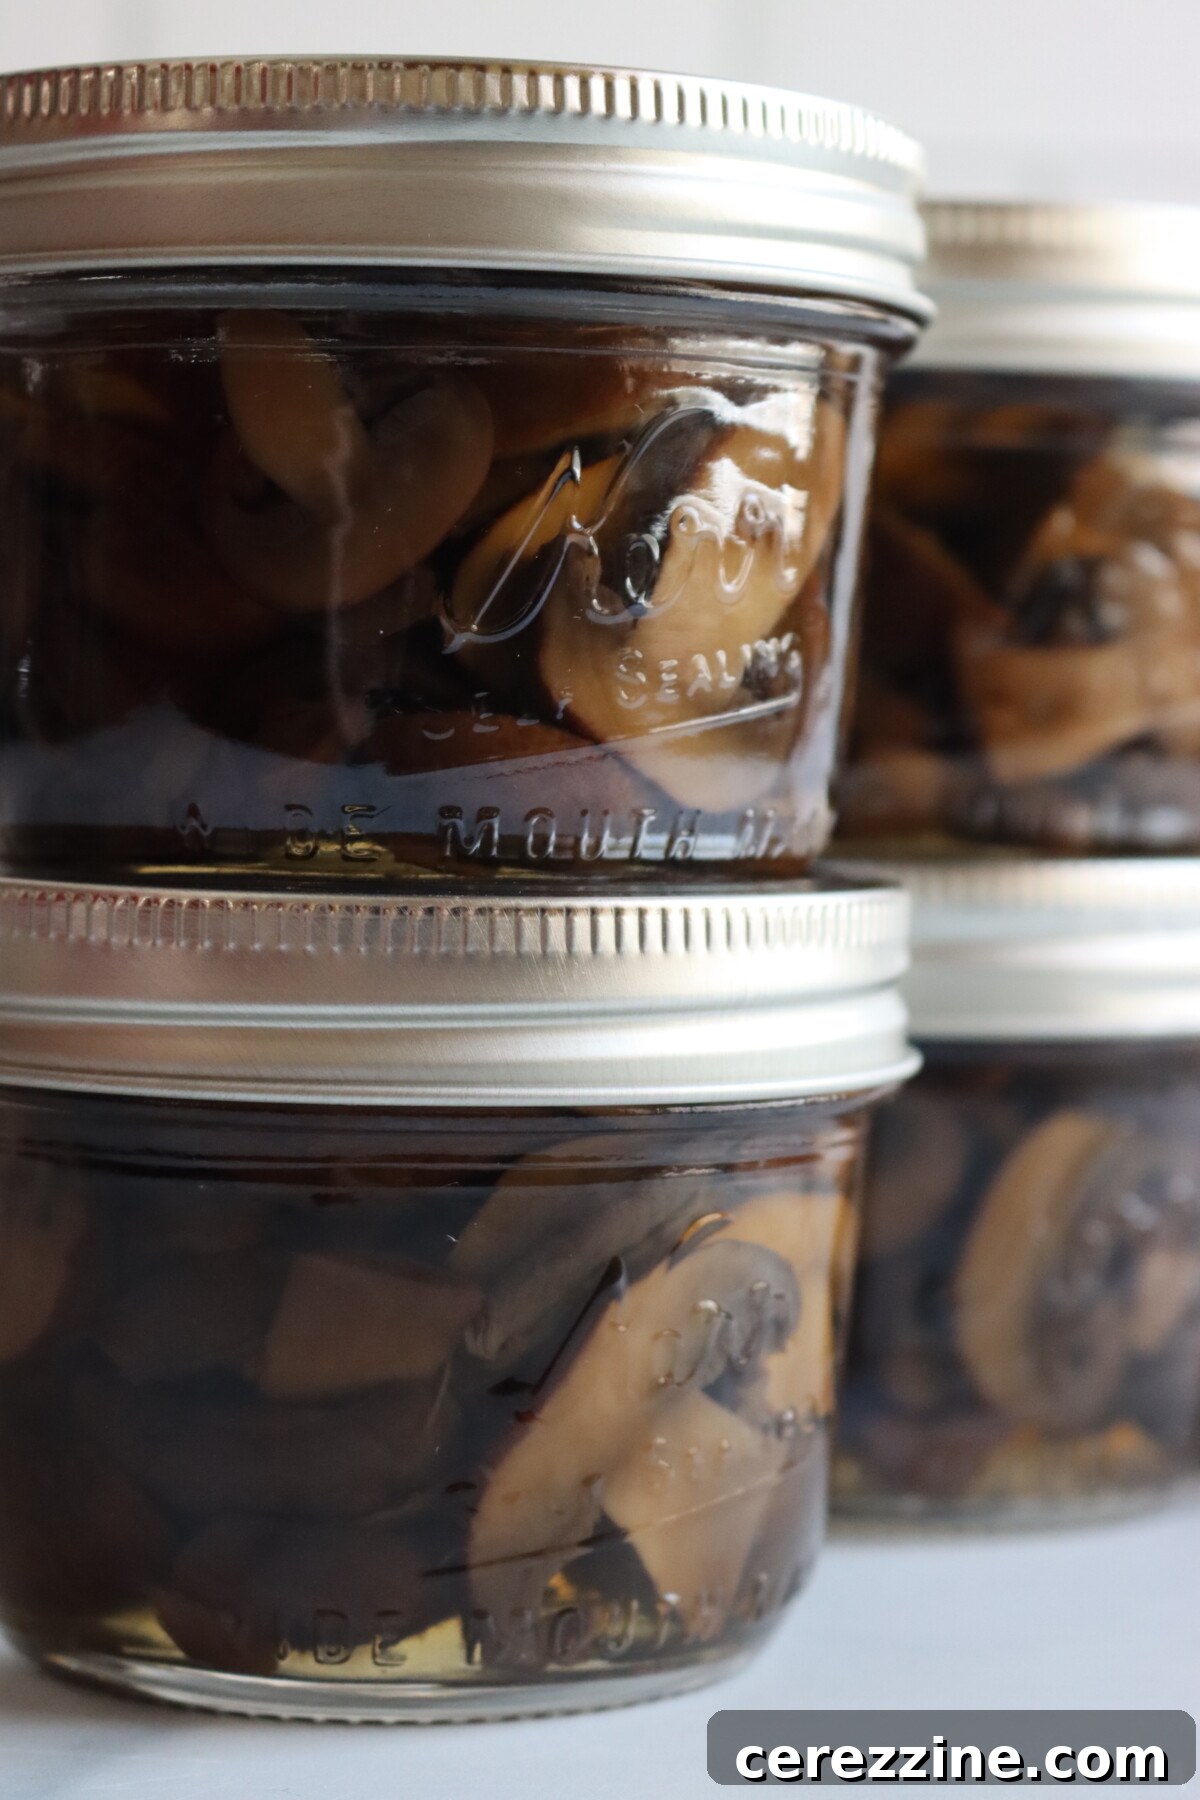
From my own canning experience, I consistently choose crimini mushrooms over white button mushrooms for this recipe, and the difference in flavor is truly remarkable. While both are the same species, Agaricus bisporus, criminis are harvested slightly older, giving them a darker color and a noticeably earthier, richer taste. This robust flavor holds up exceptionally well through the pressure canning process, resulting in a more flavorful end product.
Another practical advantage of criminis is their tendency to discolor less during slicing compared to white button mushrooms. This is one of the reasons I often opt to skip the ascorbic acid in my own canning, a topic I’ll delve into further in the ingredients section.
Jars of these pressure-canned mushrooms are frequently opened in my kitchen. A half-pint seamlessly disappears into a simmering pasta sauce without a second thought, while a full pint enriches a hearty soup or stew. I find them particularly excellent for augmenting recipes like my canned beef stroganoff, where I open a jar of each at serving for an extra boost of mushroom goodness. These are truly one of those pantry items that seem to vanish faster than anticipated, a clear indicator of a canning project that is well worth the effort.
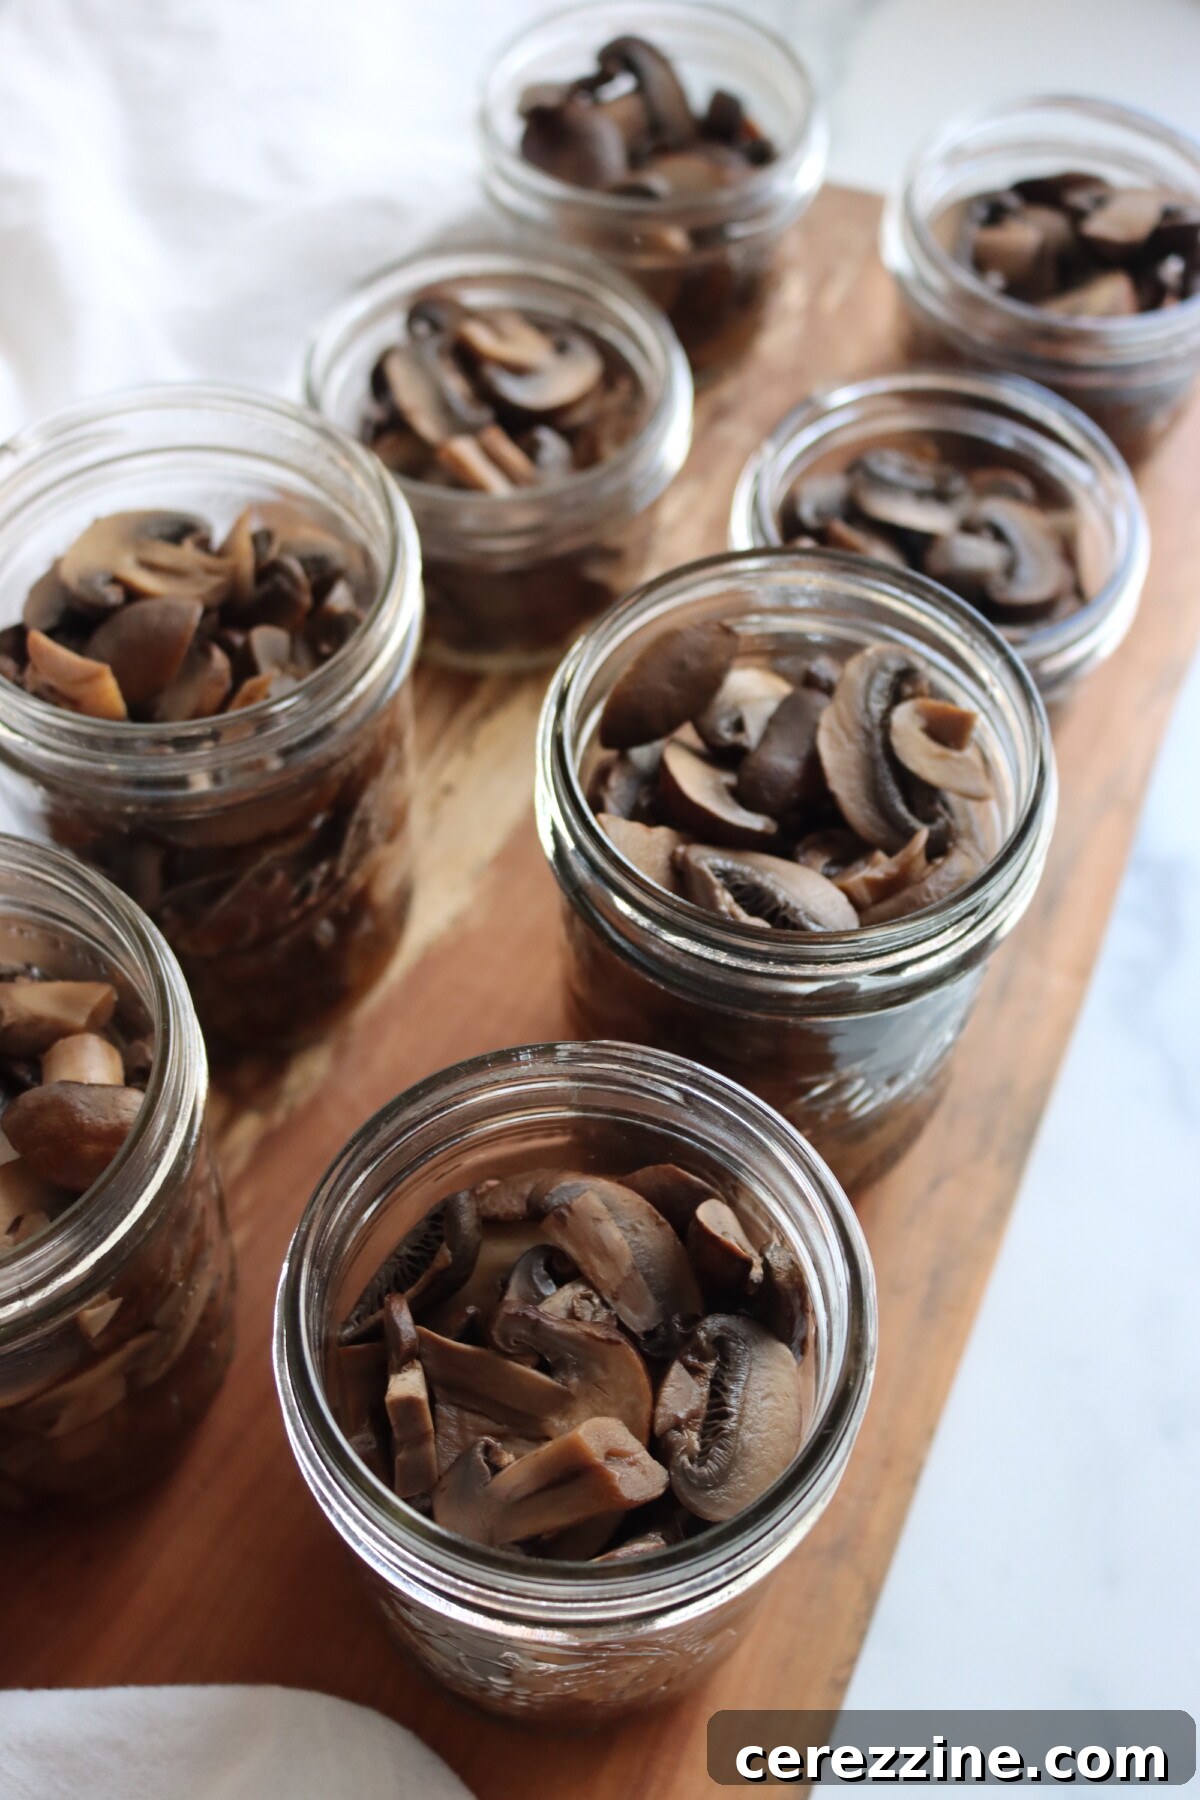
Quick Look at the Recipe: Canning Mushrooms
- Recipe Name: Canning Mushrooms
- Recipe Type: Pressure Canning Recipe
- Canning Method: Pressure Canning
- Preparation & Cook Time: Approximately 25 minutes active time (20 mins prep, 5 mins cook)
- Canning Processing Time: 45 minutes for half-pints and pints
- Yield: Roughly 1 pint per pound of fresh, prepared mushrooms (e.g., 6 pounds yields 6 pints)
- Recommended Jar Sizes: Half-pints or Pints (Do NOT use quart jars)
- Required Headspace: 1 inch
- Key Ingredients: Crimini mushrooms, water, optional salt, optional ascorbic acid
- Safe Canning Recipe Source: National Center for Home Food Preservation, adapted from the USDA Complete Guide to Home Canning
- Difficulty Level: Easy. The process involves soaking, trimming, a brief boil, packing, and processing – making it one of the more straightforward pressure canning projects.
- Complements Well With: Canned mushrooms are a natural companion to other preserved meals such as Beef Stew with Mushrooms, Beef Stroganoff, and Chicken and Mushrooms. For an extra rich meal, consider combining a jar of plain canned mushrooms with a jar of these pre-made meals at serving.
Essential Ingredients for Perfectly Canned Mushrooms
This recipe boasts one of the simplest ingredient lists you’ll encounter in canning, highlighting the natural goodness of the mushrooms themselves. The quality of your fresh mushrooms will, therefore, play the most significant role in the final product’s flavor and texture.
- Crimini Mushrooms: These are the undisputed stars of this recipe. While white button mushrooms also work, criminis are highly recommended for their superior flavor. They are the same species as white buttons (Agaricus bisporus) but are harvested at a slightly more mature stage. This maturity imbues them with a deeper, earthier, and richer flavor profile that not only stands up beautifully to the pressure canning process but is also enhanced by it. When selecting, look for small to medium-sized mushrooms with tight, unopened caps, short stems, and no signs of soft spots, sliminess, or discoloration. As a general guide, plan on using approximately 1 pound of fresh, unprepared mushrooms to fill one pint jar after processing.
- Water: This is used both for the initial boiling of the mushrooms and for filling the jars. You’ll need about 1½ cups of water for every pound of mushrooms you purchase for the boiling pot. It’s crucial to bring this water to a hard, rolling boil *before* adding the mushrooms. During the boiling phase, the mushrooms will release considerable foam; skim this foam off as needed to maintain a clean cooking liquid.
- Salt (Optional): You may add half a teaspoon of canning salt per pint jar, or a quarter teaspoon per half-pint jar. It’s important to understand that salt in this recipe is purely for flavor enhancement and plays absolutely no role in the safety or preservation of the mushrooms. If you prefer to manage the sodium levels in your cooking or if you have dietary restrictions, feel free to skip it entirely or adjust the amount to your personal preference.
- Ascorbic Acid Powder (Optional): An eighth of a teaspoon of ascorbic acid powder (or a crushed 500mg vitamin C tablet) can be added per jar. The NCHFP includes this as an option primarily to prevent the natural darkening or discoloration that occurs when mushrooms are sliced and exposed to air. White button mushrooms tend to discolor more noticeably than criminis. In my experience, I often omit it entirely because I find it can subtly alter the delicate flavor of the finished mushrooms in a way I don’t prefer. Furthermore, the color difference is purely cosmetic and has absolutely no impact on the quality, safety, or nutritional value of the canned product. If you’re canning white button mushrooms and strongly desire them to retain a very pale color, then adding ascorbic acid might be worthwhile. However, if you’re using criminis, or if a slight darkening doesn’t bother you, it’s generally not necessary.
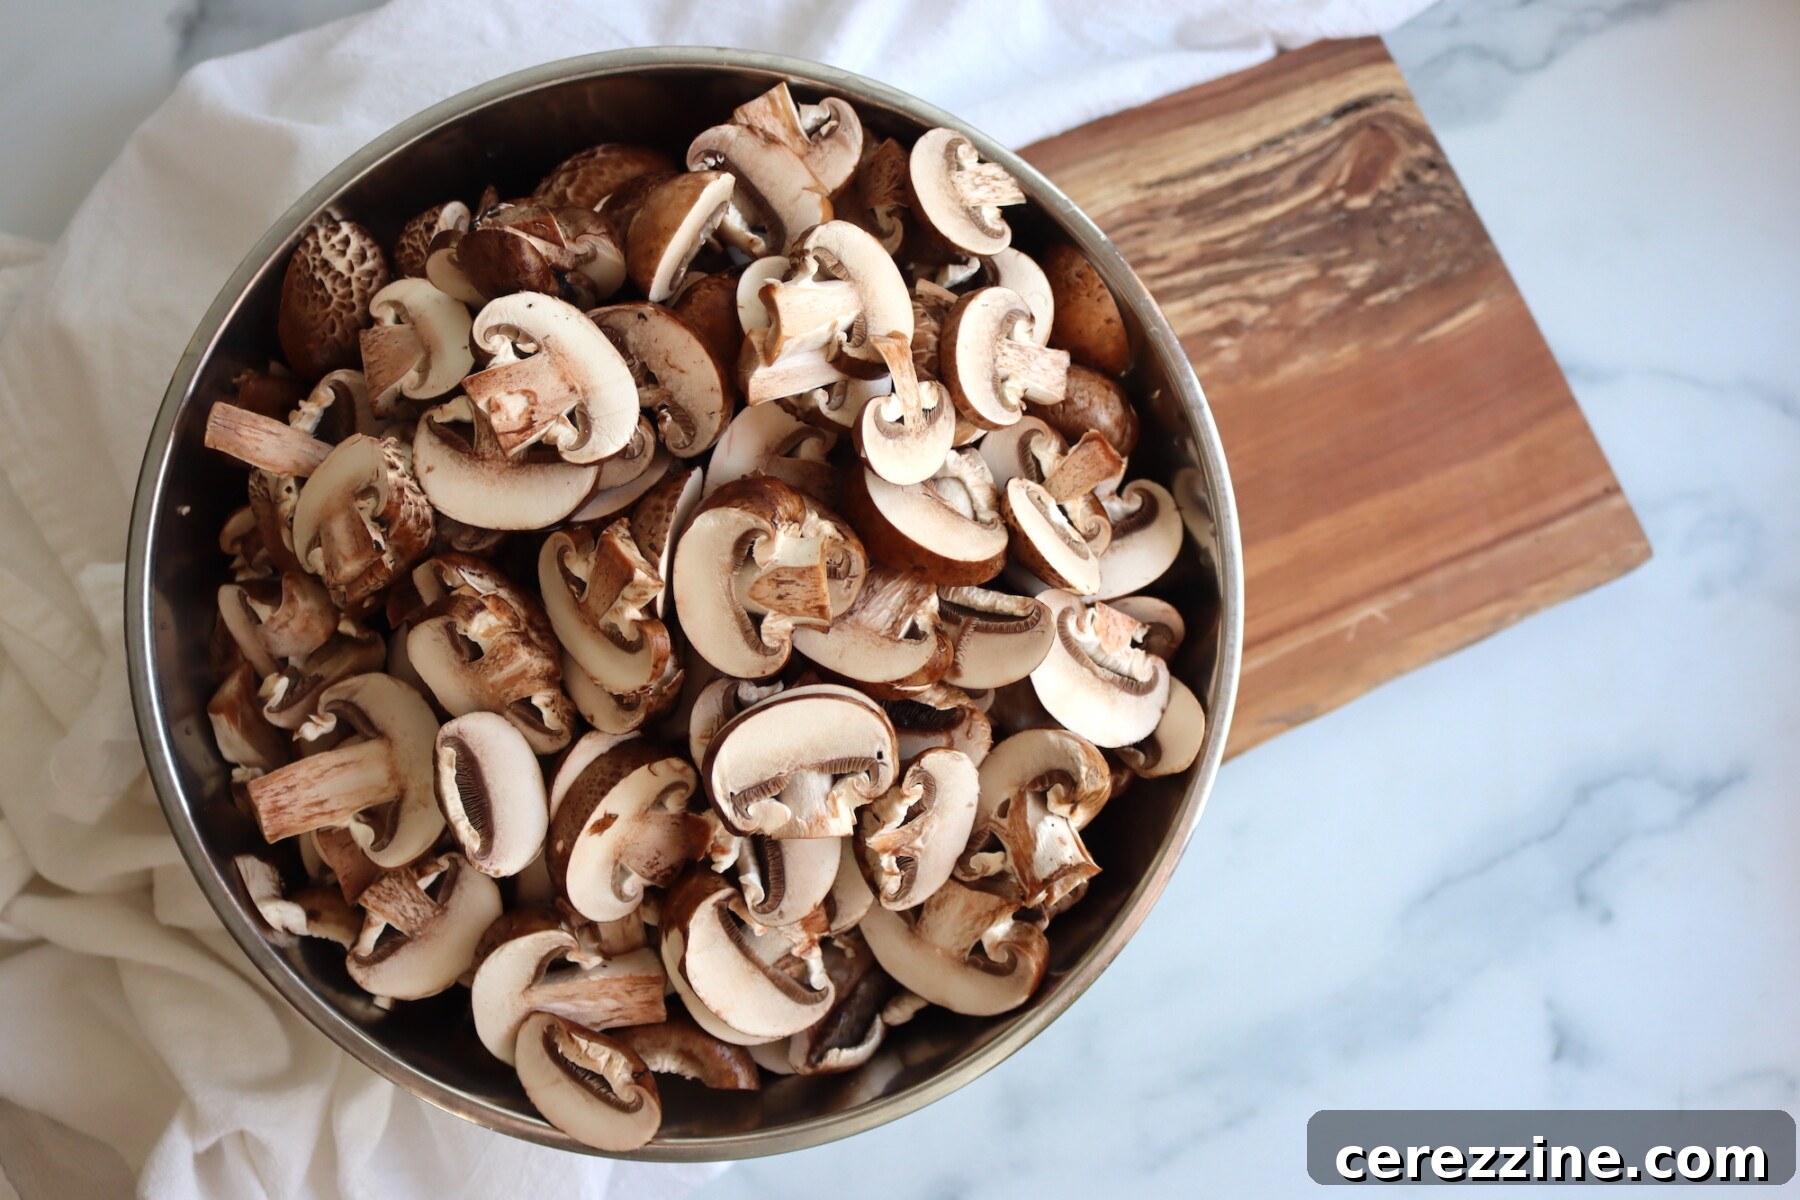
A final note on mushroom variety: as reiterated, the NCHFP guidelines explicitly specify domestic mushrooms with tight caps, short stems, and no discoloration, which in practice translates to button or crimini varieties. This stringent requirement is not necessarily because other cultivated mushrooms are unsafe to eat, but because the processing times were painstakingly developed based on the specific density and texture of standard cultivated button-type mushrooms. Extremely dense or woody mushrooms, such as reishi or chaga, possess fundamentally different heat penetration characteristics and are therefore unsuitable for this particular canning recipe. To ensure consistent and safe results, always choose button mushrooms or criminis.
Yield Expectations and Mushroom Shrinkage
It’s important to be aware that fresh mushrooms, composed primarily of air and water, undergo a dramatic reduction in volume during cooking. For instance, one pound of fresh crimini mushrooms, which might initially fill approximately 6 cups when sliced, will cook down to roughly 2 cups after just 5 minutes of boiling. This significant shrinkage is entirely normal and expected.
Expect a final yield of about 1 pint of canned mushrooms for every pound of fresh, prepared mushrooms. Therefore, if you process 6 pounds of mushrooms, you should yield approximately 6 pints of canned mushrooms. If you find yourself with extra mushroom cooking liquid after packing and filling your jars, do not discard it! This flavorful liquid can be safely processed separately as mushroom broth. The NCHFP permits canning vegetable broths using the same processing time as the corresponding vegetable itself, meaning your delicious mushroom broth will also be processed for 45 minutes.
Step-by-Step Canning Process: From Prep to Pantry
Follow these detailed instructions carefully to safely and successfully pressure can your mushrooms. Precision in preparation and processing is key for food safety.
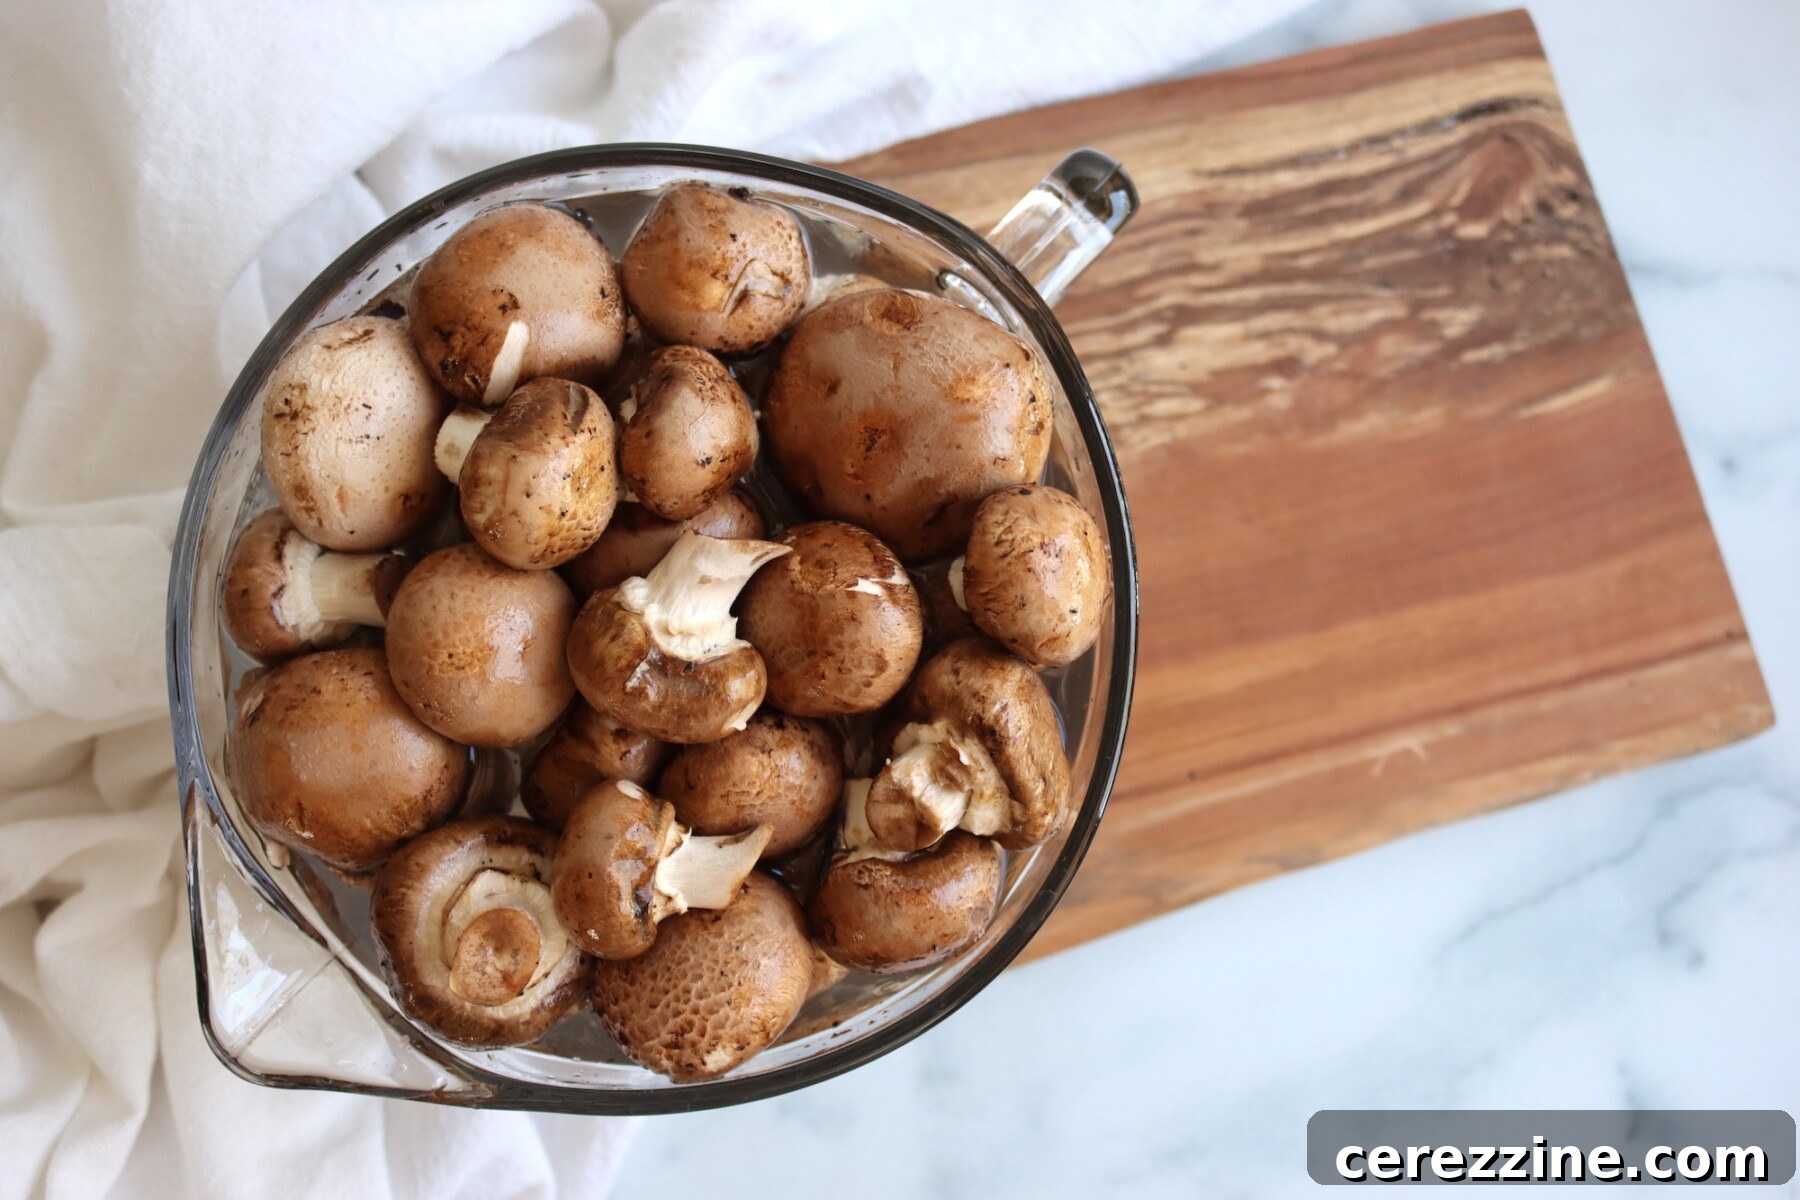
- Prepare Equipment & Mushrooms: Begin by thoroughly cleaning and preparing your pressure canner, ensuring all parts are in good working order. Wash and sterilize your canning jars, keeping them hot until they are ready to be filled. Prepare new lids by washing them (do not boil unless manufacturer instructions specify), and have your bands ready. Next, meticulously trim the very ends of the mushroom stems and remove any discolored or damaged parts. Place the mushrooms in a bowl of cold water and let them soak for about 10 minutes; this helps to loosen any clinging dirt. After soaking, rinse them very well under clean running water, gently rubbing off any remaining debris.
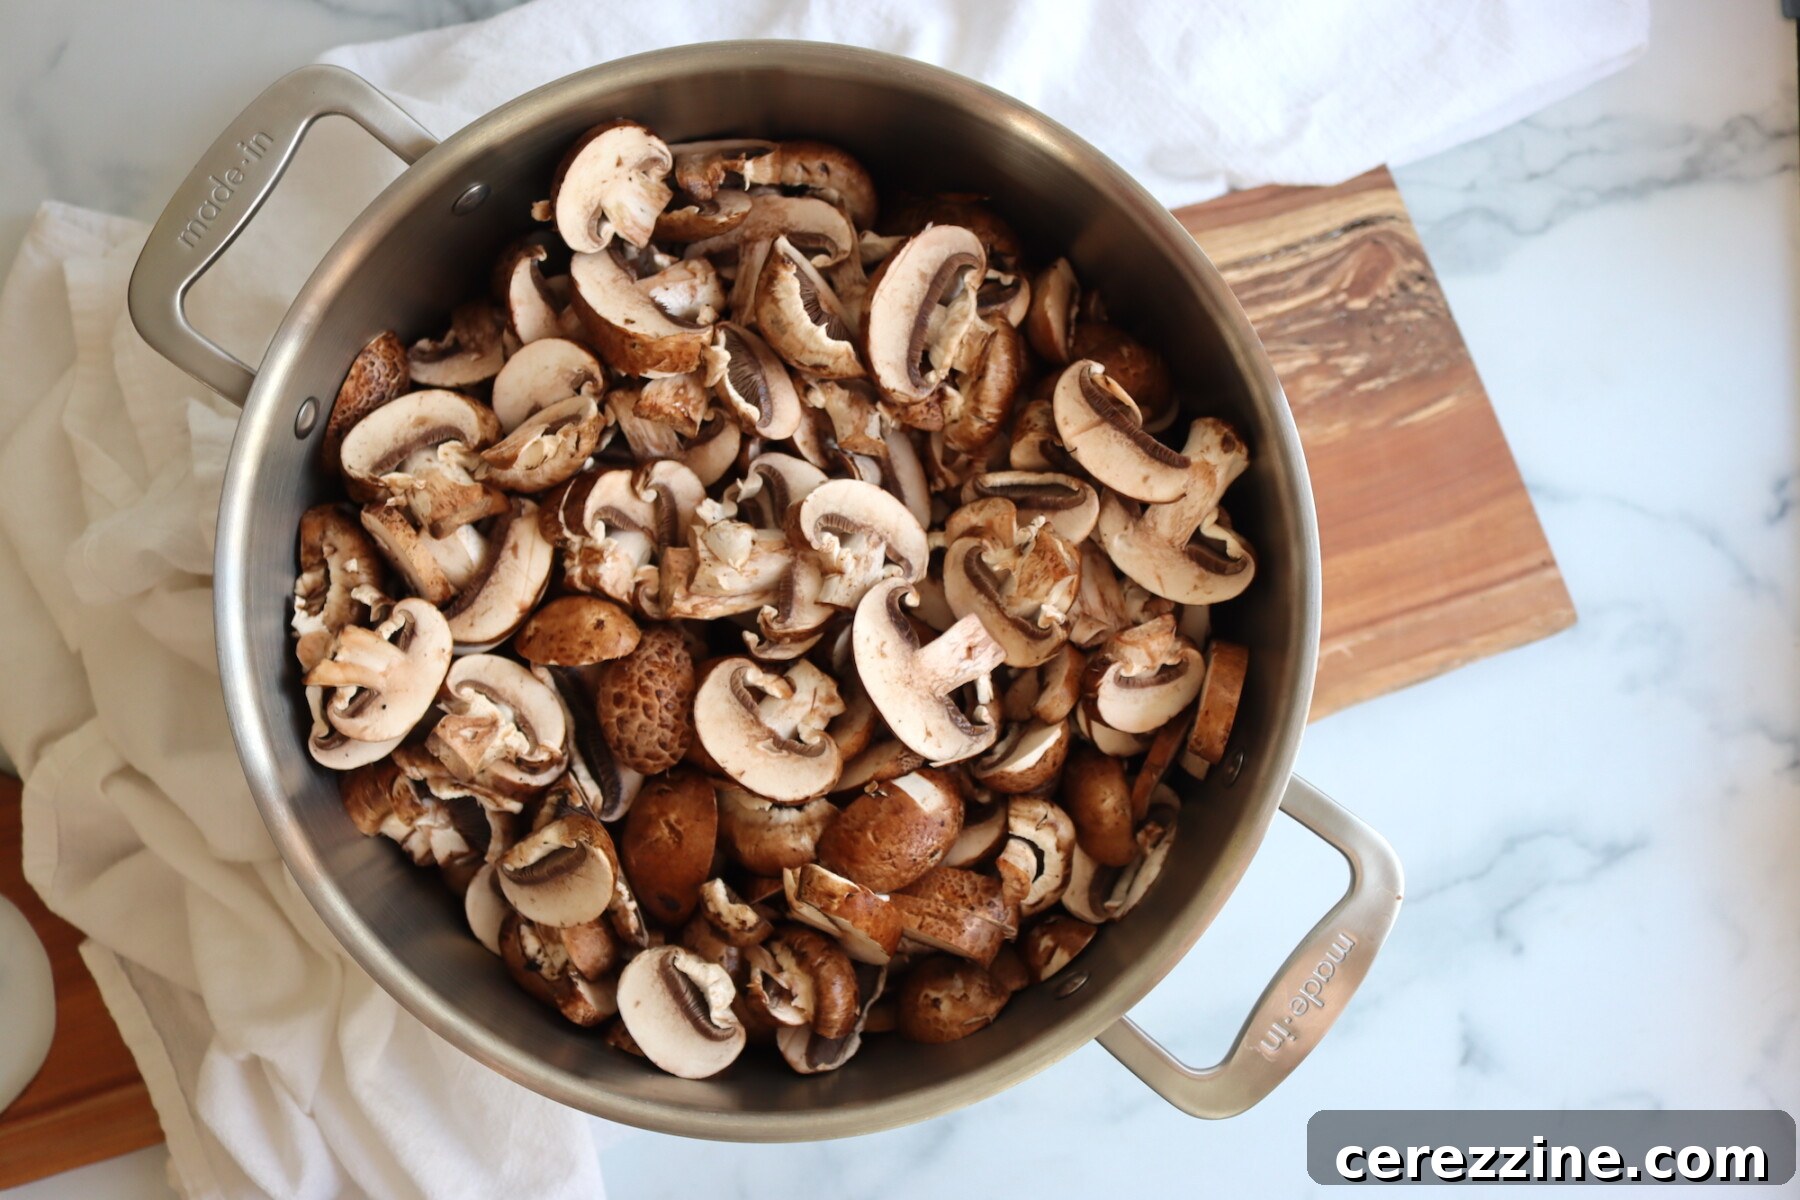
- Size & Slice: Decide whether to can your mushrooms whole or sliced. Small mushrooms can be left whole. For larger mushrooms, slice them or halve them to ensure they pack compactly into the jars and that heat penetrates them evenly during the processing phase. Uniform sizing is key for consistent cooking and safe heat distribution within the jars.
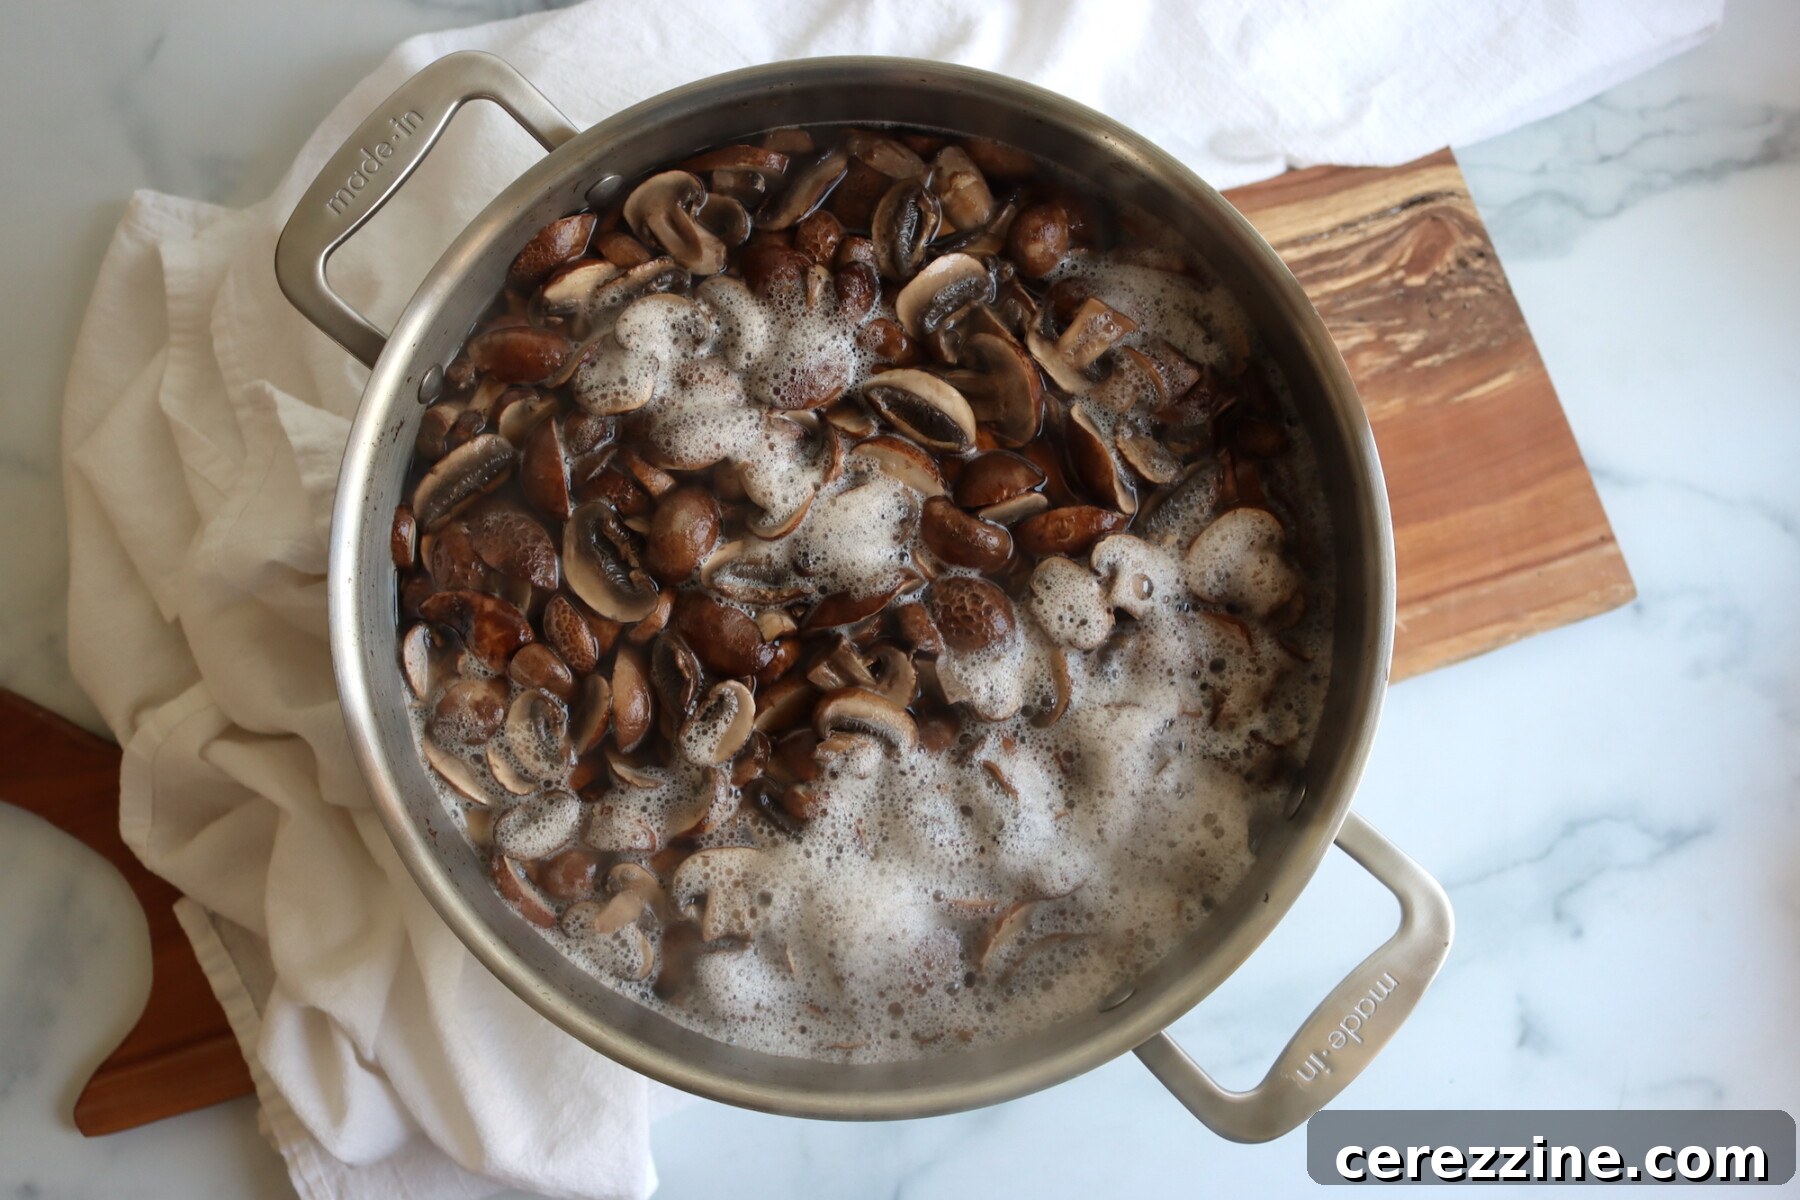
- Pre-cook Mushrooms (Hot Pack Method): Measure out 1½ cups of fresh water for every pound of prepared mushrooms you are using into a large saucepan. Bring this water to a vigorous, hard boil. Once boiling, add the prepared mushrooms to the pot. Continue to boil the mushrooms for exactly 5 minutes. During this time, you’ll observe foam rising to the surface; use a slotted spoon to skim this foam off as needed. This pre-cooking step, known as hot packing, is essential as it drives out air, reduces shrinkage, and ensures proper heat penetration during pressure canning.
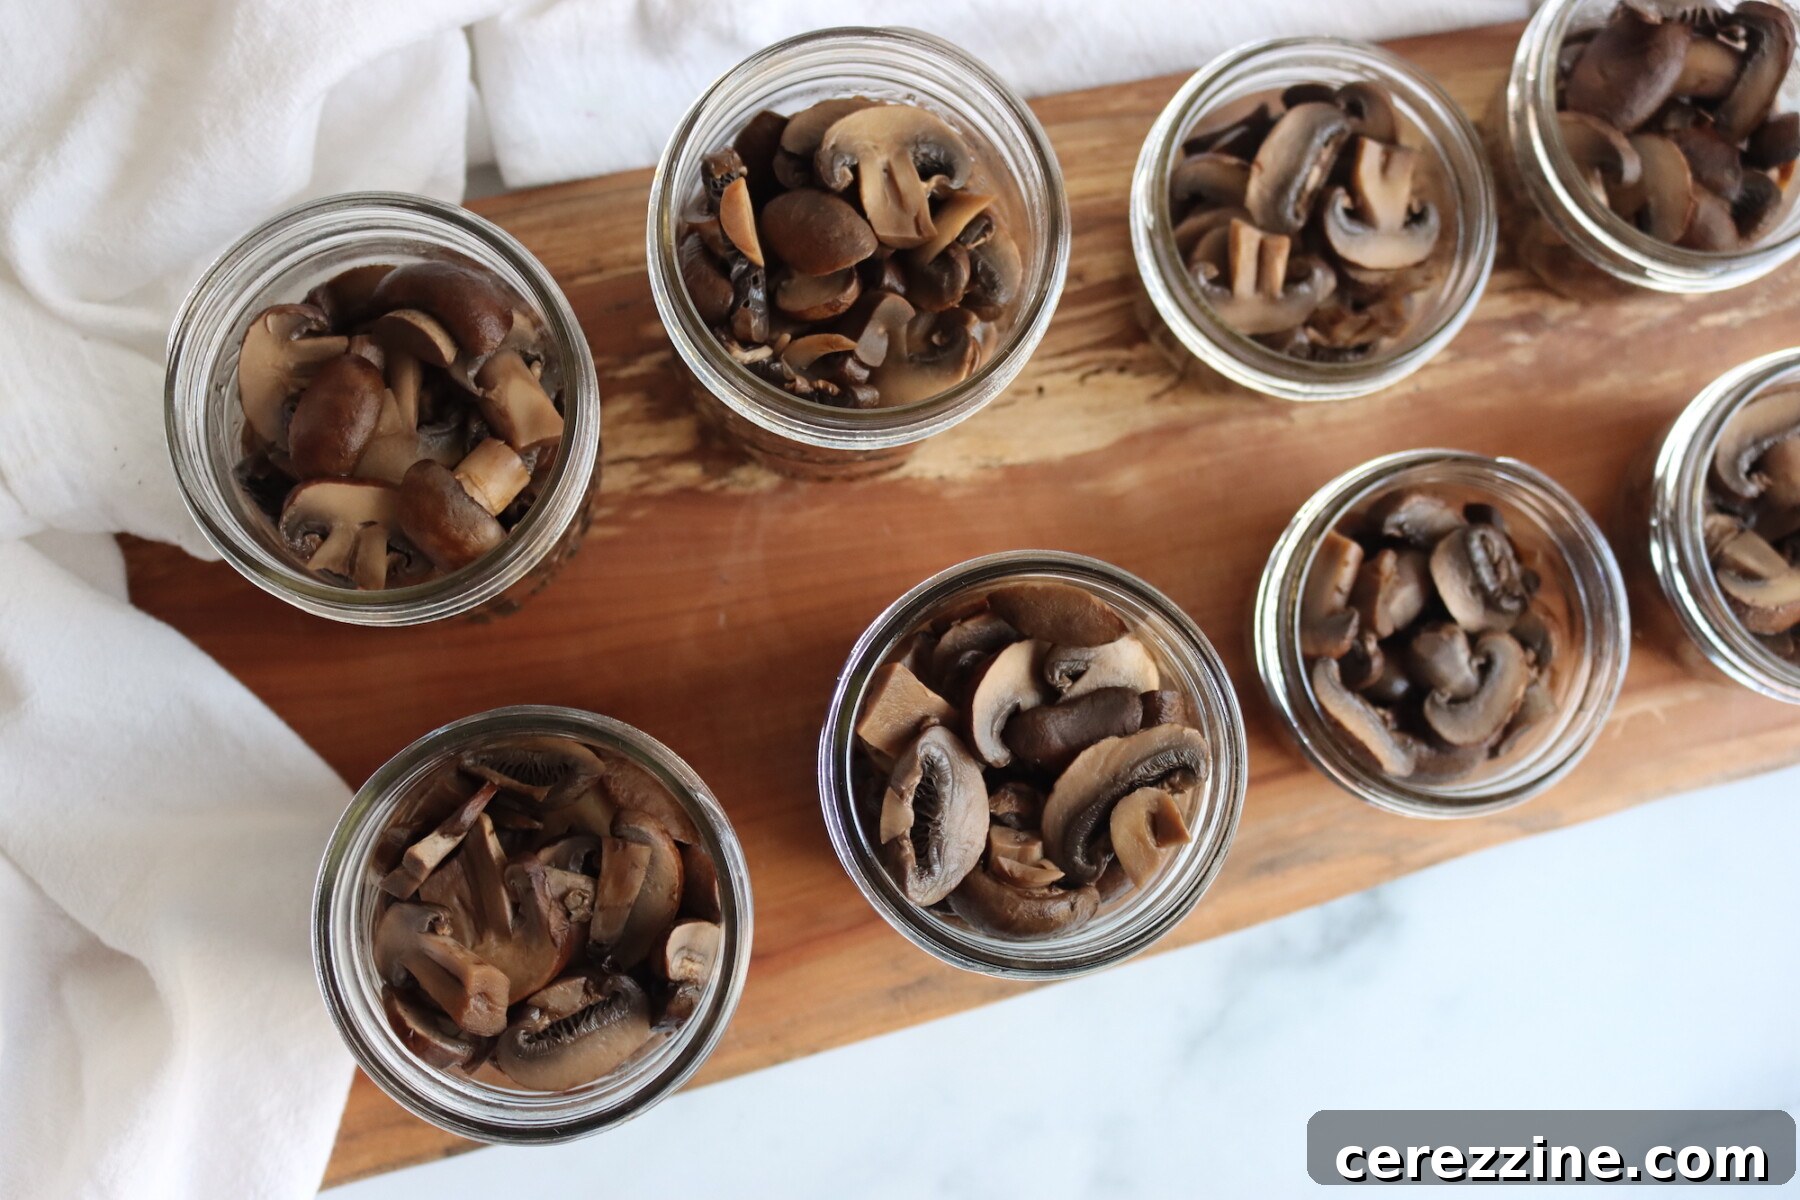
- Pack Jars & Seal: Using a slotted spoon, firmly pack the hot, pre-cooked mushrooms into your hot, sterilized jars, leaving a precise 1-inch headspace. If you are using salt, add ½ teaspoon per pint jar (or ¼ teaspoon per half-pint). If you opt for ascorbic acid, add ⅛ teaspoon per jar. Next, ladle the hot mushroom boiling liquid over the mushrooms, maintaining the crucial 1-inch headspace. Using a debubbling tool or a thin, non-metallic utensil, gently remove any air bubbles trapped within the jar. Wipe the rims of the jars thoroughly with a clean, damp cloth to ensure a perfect seal. Center a clean lid on each jar, and then apply the bands, tightening them to “fingertip tight” – just until resistance is met.
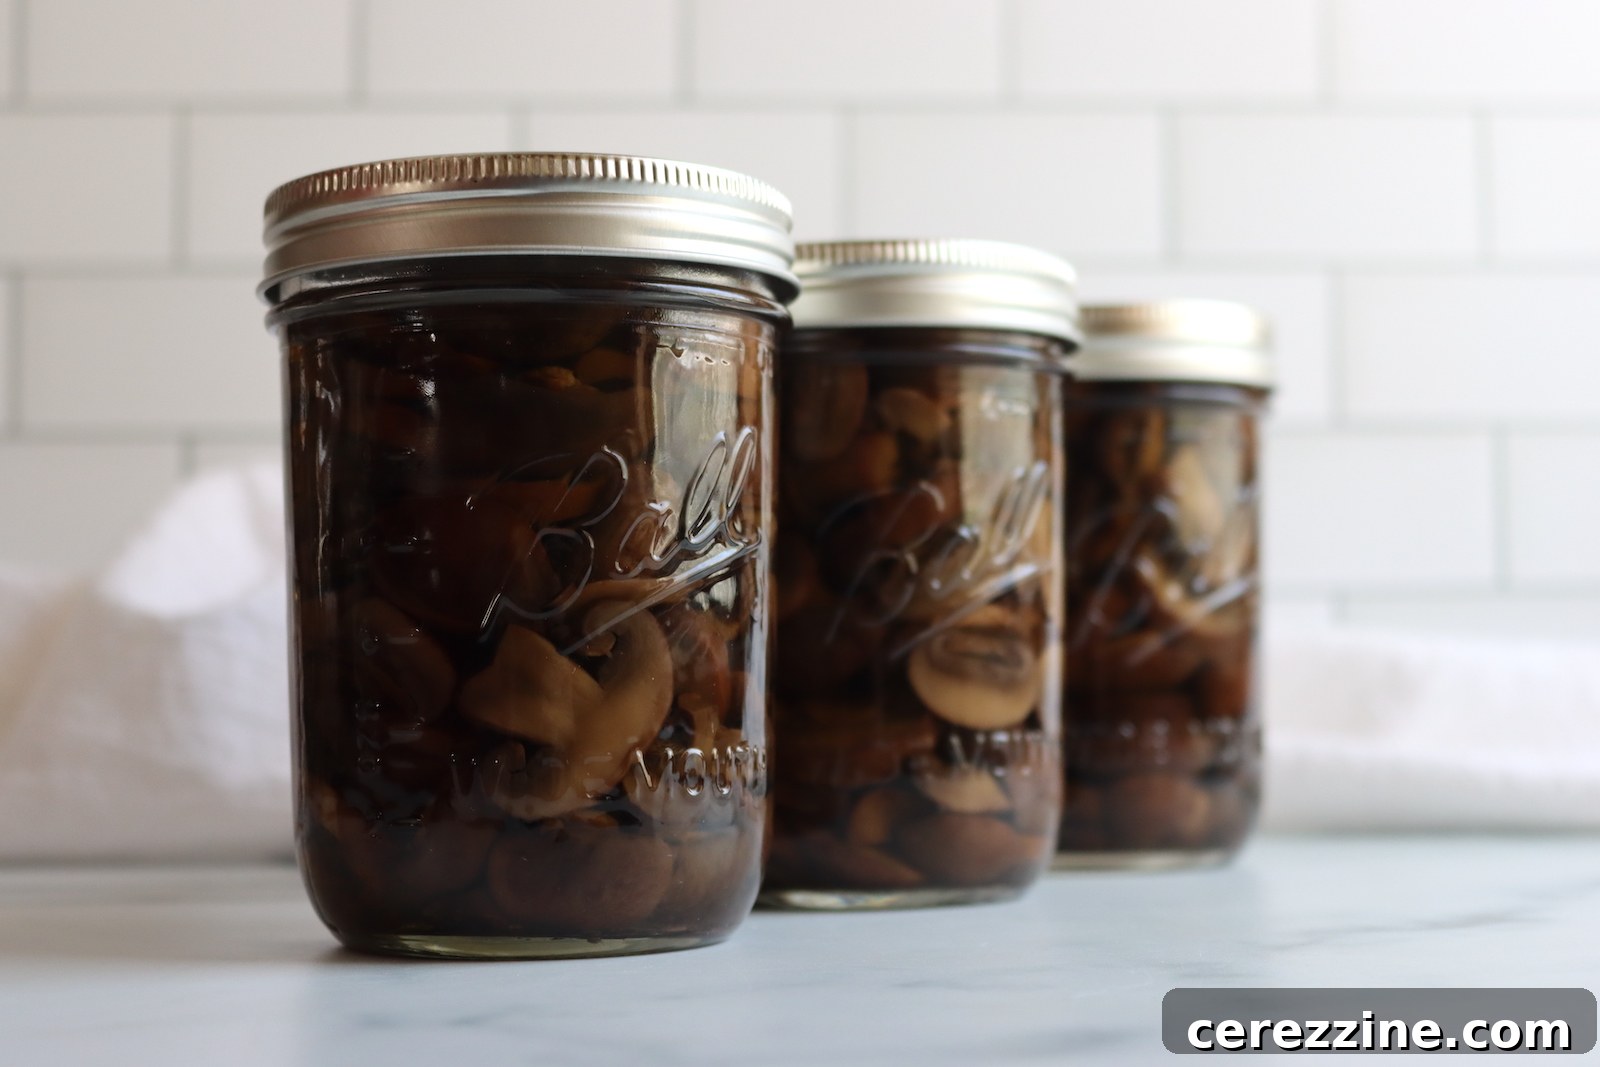
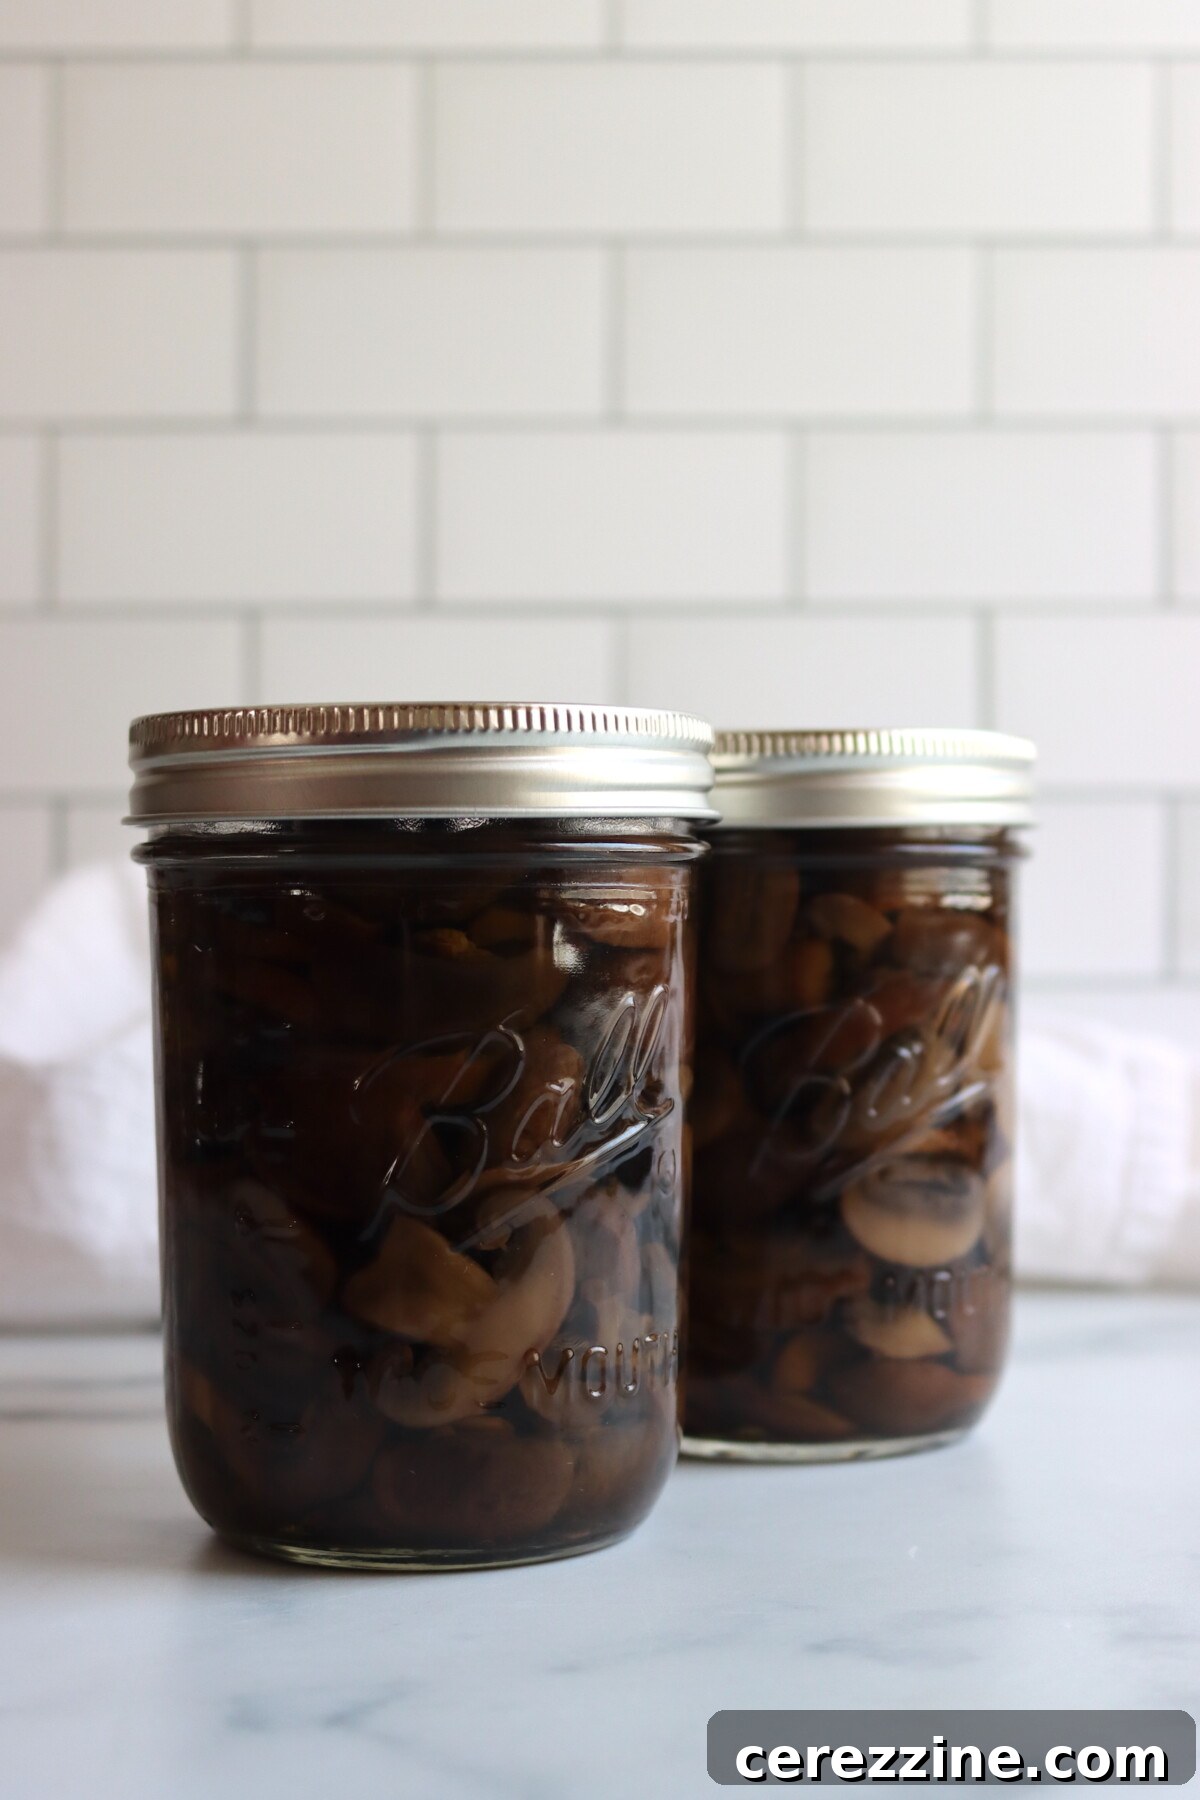
- Pressure Can & Cool: Carefully load the filled, lidded jars into your preheated pressure canner. Securely lock the canner lid. Bring the canner to a boil and allow it to vent for a full 10 minutes to ensure all air is expelled and replaced with steam. After venting, close the vent and bring the canner up to the appropriate pressure for your altitude (refer to the altitude adjustment chart below). Process both half-pints and pints for 45 minutes. Once the processing time is complete, turn off the heat and allow the pressure canner to depressurize naturally and completely without rushing it. Do not attempt to open the canner until the pressure gauge reads zero. Once depressurized, remove the jars using a jar lifter and place them on a towel-lined counter, spaced apart, to cool undisturbed for 12 to 24 hours. After cooling, check all seals. If any jar did not seal, refrigerate and use promptly. Label sealed jars and store them in a cool, dark, dry pantry.
Critical Pressure Canning Details for Mushrooms
Understanding the specifics of pressure canning mushrooms is essential for both safety and quality. This is strictly a hot pack recipe, meaning the mushrooms are boiled for 5 minutes prior to being packed into jars. It is imperative that you do not raw pack mushrooms for pressure canning. The initial boiling step is critical; it expels trapped air from the mushrooms, which helps them pack more densely and ensures efficient and uniform heat distribution throughout the jar during the processing cycle. This prevents potential cold spots that could harbor harmful bacteria.
Mushrooms are well-known for their significant shrinkage. They will shrink dramatically during the initial 5-minute boiling period, and often again slightly during the pressure canning process. Fresh crimini mushrooms, for example, might start as approximately 6 cups per pound, but will reduce to roughly 2 cups after boiling. This reduction is normal. Pack the boiled mushrooms firmly into the jars to achieve the proper fill, and they will settle further once processed.
As noted previously, if you have any leftover mushroom cooking liquid after filling your jars, it can be safely processed separately as mushroom broth. The NCHFP confirms that vegetable broths can be canned using the same processing time as the vegetable from which they were derived. Therefore, your mushroom broth will also require a 45-minute processing time.
For safe preservation, process both half-pints and pints for a duration of 45 minutes. This should be done at 10 pounds of pressure in a weighted gauge canner, or 11 pounds of pressure in a dial gauge canner. Always remember to adjust the pressure according to your specific altitude above sea level.
Crucially, do not can mushrooms in quart-sized jars! Jars larger than pint size for mushrooms have not been tested by the NCHFP, and using them could result in an unsafe product due to insufficient heat penetration to the center of the jar. Stick to half-pints or pints for verified safety.
Mastering Altitude Adjustments for Safe Pressure Canning
For safe pressure canning, it is absolutely vital to adjust the pressure according to your elevation above sea level. This ensures that the internal temperature within the canner reaches a high enough point (240°F or higher) to destroy harmful microorganisms. While the processing times remain constant at higher altitudes, the required pressure increases. Refer to these charts for accurate altitude adjustments when pressure canning mushrooms:
For dial gauge pressure canners:
- 0 to 2,000 feet in elevation: 11 lbs pressure
- 2,001 to 4,000 feet in elevation: 12 lbs pressure
- 4,001 to 6,000 feet in elevation: 13 lbs pressure
- 6,001 to 8,000 feet in elevation: 14 lbs pressure
For weighted gauge pressure canners:
- 0 to 1,000 feet in elevation: 10 lbs pressure
- Above 1,000 feet: 15 lbs pressure
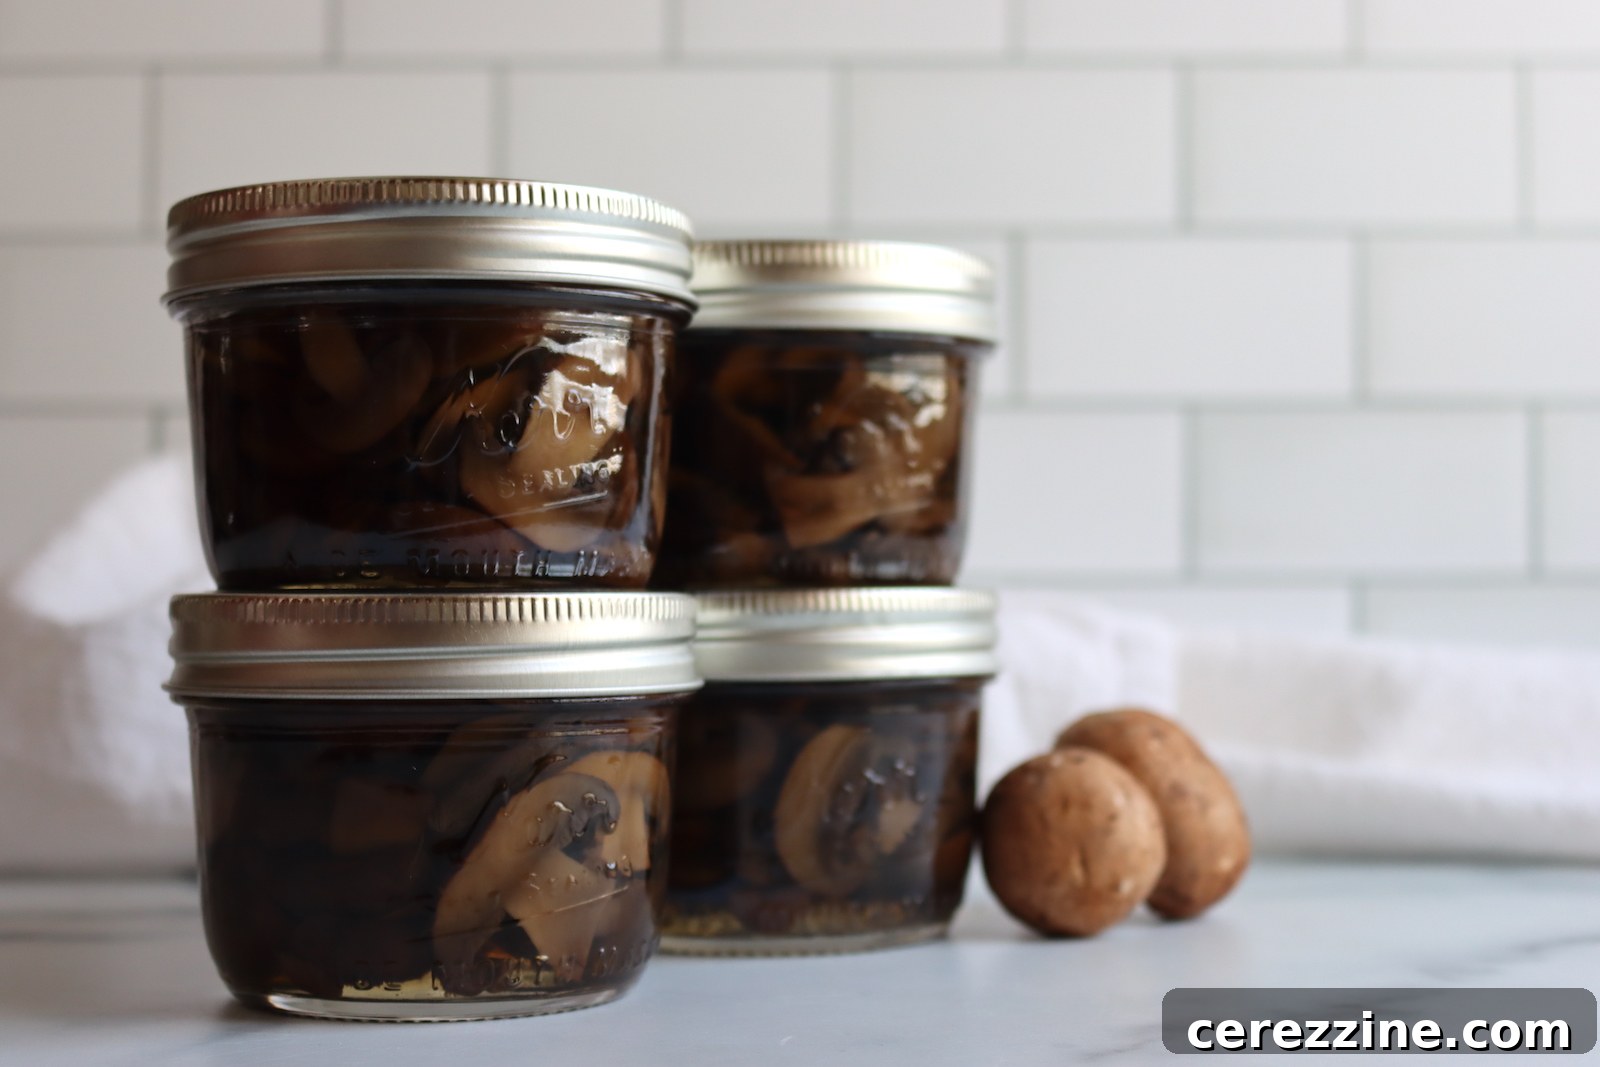
Creative Ways to Enjoy Your Canned Mushrooms
The true beauty of a jar of homemade canned mushrooms lies in the fact that all the hard work is already done for you. Once you open a half-pint or pint, you simply drain the liquid, and the mushrooms are ready to be incorporated directly into your dish. There’s no need for cleaning, slicing, or waiting for them to cook down; they are already fully cooked and just require heating through. This characteristic makes them incredibly useful for various culinary applications, especially when you’re relying on pantry ingredients and short on time.
- Soups and Stews: Canned mushrooms are a natural fit for almost any soup or stew. Add them to beef stew, chicken noodle soup, or a creamy mushroom soup for extra flavor and texture. Their earthy notes deepen the overall profile of the dish.
- Pasta Sauces: Stir drained mushrooms into your favorite marinara, alfredo, or creamy mushroom pasta sauce. They bulk up the sauce and add a delightful umami punch. A half-pint is often the perfect amount for a single batch of sauce for two.
- Savory Fillings: Incorporate them into quiches, omelets, frittatas, or even savory crepes. They blend seamlessly and add moisture and flavor.
- Quick Meal Boosts: Elevate a simple dish with a jar of mushrooms. For example, combine a pint jar with a jar of canned beef stroganoff for a more substantial meal. Or, for a quick “hamburger helper” style dish, mix canned ground beef with a jar of mushrooms and a creamy sauce.
- Pizza Topping & Casseroles: They make a convenient topping for homemade or store-bought pizzas. They’re also excellent when folded into casseroles, adding a rustic, hearty element.
- Scrambled Eggs & Omelets: For a quick and nutritious breakfast or brunch, simply warm and stir them into scrambled eggs or use them as a filling for omelets.
- Gravies and Pan Sauces: Purée some with a bit of the canning liquid for an intense mushroom gravy, or add them whole to pan sauces for meat dishes.
Half-pint jars tend to be the most practical size for many household uses, providing just the right quantity to enhance a meal without leaving a partially used jar in the refrigerator. However, if you often cook for larger groups or make big batches of soup, pints can be equally useful.
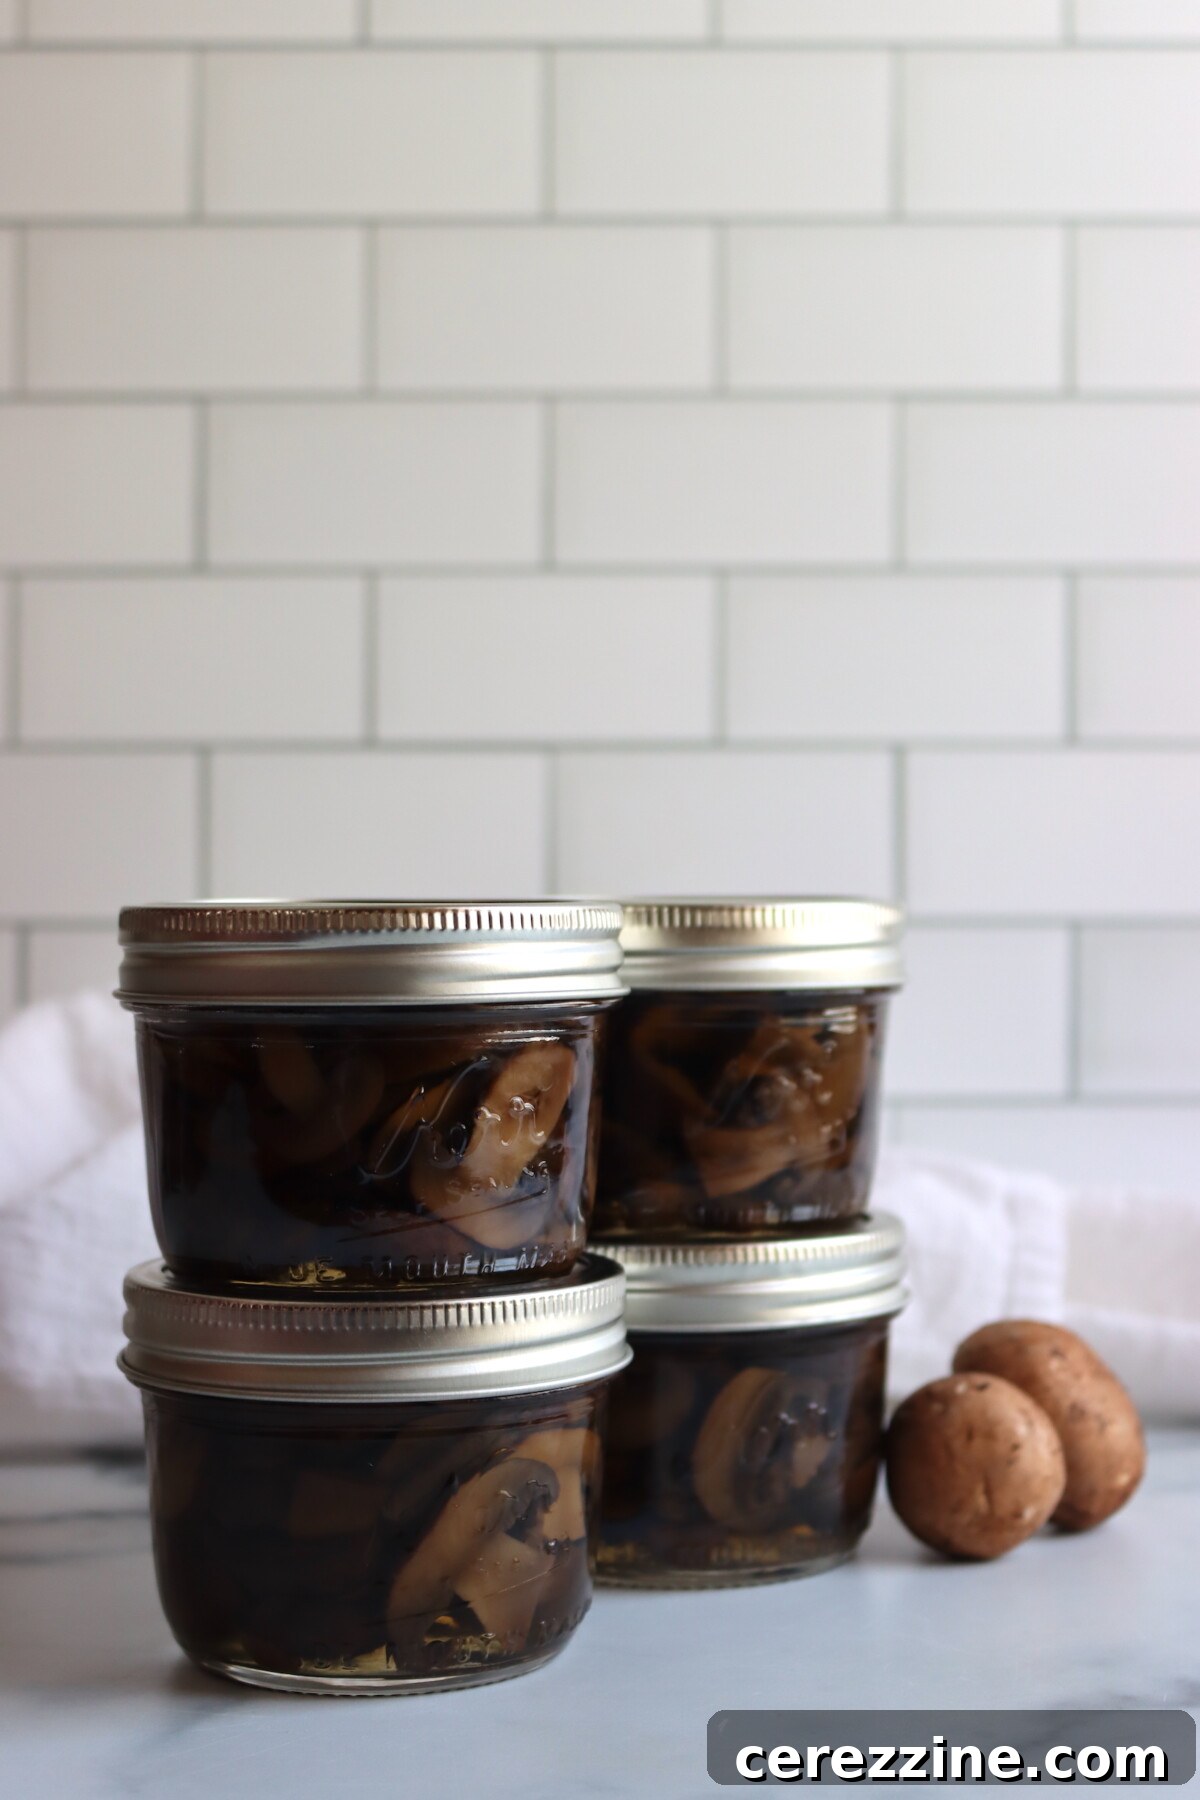
Canning Mushrooms FAQs: Your Questions Answered
No, the NCHFP guidelines explicitly recommend using only domestic mushrooms that are brightly colored, small to medium-sized, with tight caps, short stems, and no discoloration. This effectively means button mushrooms or criminis. This restriction is not because other cultivated varieties are unsafe to eat fresh, but because the established processing times were developed specifically for the density and texture of standard button-type mushrooms. Very dense or woody mushrooms (like reishi or chaga) have different heat penetration characteristics that haven’t been tested for safety in canning. Similarly, very delicate specialty mushrooms such as oyster or lion’s mane would likely break down significantly and result in an unappetizing texture during the rigorous pressure canning process, making the quality not worth the effort, even if safety wasn’t a concern.
No, using ascorbic acid (vitamin C) when canning mushrooms is completely optional and purely for cosmetic reasons. The NCHFP recipe lists it as an optional ingredient. Its purpose is to prevent the natural darkening or browning that can occur when sliced mushrooms are exposed to air. White button mushrooms tend to discolor more noticeably than criminis. If preserving a pale color is important to you, especially when using white buttons, then it’s worth adding. However, if you’re using crimini mushrooms, or if you don’t mind a slight natural darkening, feel free to skip it. It has no impact whatsoever on the flavor, safety, or overall quality of the preserved mushrooms, only their appearance.
Mushrooms are classified as a low-acid vegetable. This means they have a pH level well above the safe threshold (pH 4.6) required for water bath canning. Water bath canning only reaches temperatures of 212°F (100°C), which is insufficient to destroy harmful bacteria like Clostridium botulinum, a microorganism that can produce a deadly toxin in low-acid, oxygen-free environments. Pressure canning, on the other hand, reaches much higher temperatures, typically 240°F (116°C) or more, which is the temperature necessary to safely process all low-acid foods, including mushrooms. Therefore, for your safety, it is imperative to always pressure can mushrooms and never attempt to water bath can them.
Explore More Mushroom Canning Recipes
Canning Mushrooms
Canning Beef Stew with Mushrooms
Canning Chicken and Mushrooms in Garlic Sauce
If you tried this recipe for Canning Mushrooms, or any other recipe on Creative Canning, leave a ⭐ star rating and let me know what you think in the 📝 comments below!
And make sure you stay in touch with me by following on social media!
24
servings (Makes 6 pints, about 1 pint per pound fresh mushrooms)
Canning Mushrooms
20 minutes
5 minutes
45 minutes
1 hour
10 minutes
Save
Pin
Rate
Equipment
-
Pressure Canner
Ingredients
-
6
lbs
crimini mushrooms,
1 pound per pint jar — small to medium with tight caps and short stems. White button mushrooms also work. -
salt,
1/2 tsp per pint jar or 1/4 tsp per half pint — optional, for flavor only -
ascorbic acid powder,
optional, cosmetic only. Prevents color darkening. A crushed 500mg vitamin C tablet also works. I don’t use this. -
fresh hot water,
about 1 1/2 cups water per pound of mushrooms.
Instructions
-
Prepare your pressure canner, jars, lids, and bands. Keep jars hot until needed. Start a kettle of water heating for topping off the jars.
-
Trim the stems and any discolored parts. Soak mushrooms in cold water for 10 minutes to loosen dirt, then rinse well in clean water. Leave small mushrooms whole; slice or halve larger ones.
-
Place prepared mushrooms in a saucepan, add fresh water (about 1 1/2 cups per pound of mushrooms), and bring to a boil. Boil for 5 minutes.
-
Use a slotted spoon to pack the hot mushrooms into hot jars, leaving 1 inch headspace. Add 1/2 teaspoon salt per pint if using. Add 1/8 teaspoon ascorbic acid per jar if using. Ladle fresh the mushroom boiling liquid over the mushrooms to 1 inch headspace. Debubble, wipe rims, and apply lids and bands to fingertip tight.
-
Load jars into the preheated pressure canner. Lock the lid, vent for 10 minutes, then bring to pressure. Process half-pints and pints for 45 minutes, adjusting pressure for altitude. Allow the canner to depressurize naturally. Remove jars and cool on a towel-lined counter for 12 to 24 hours. Check seals, label, and store in a cool dark place.
Notes
Crimini mushrooms have noticeably better flavor for canning. They also discolor less when sliced, making the ascorbic acid step less necessary.
Ascorbic acid: Completely optional and cosmetic only. It prevents color darkening. Has no effect on safety or flavor quality. I skip it when using criminis.
Salt: Optional, for flavor only. No effect on safety.
Yield: About one pound of fresh mushrooms per pint jar. Mushrooms shrink significantly during boiling and canning. A pound of mushrooms starts off as about 6 cups sliced, but will shrink to 2 cups after a 5 minute boil. The NCHFP says you can get 2 pounds into a pint jar, but that’s incorrect and it’s really not possible to pack the jars that tightly. Estimate that you’ll need a pint of jar space for every pound of mushrooms as purchased.
Storage: Store sealed jars in a cool, dark pantry. Use within 12 to 18 months for best quality. Refrigerate after opening.
Altitude Adjustments
For dial gauge pressure canners:
- 0 to 2,000 feet: 11 lbs pressure
- 2,001 to 4,000 feet: 12 lbs pressure
- 4,001 to 6,000 feet: 13 lbs pressure
- 6,001 to 8,000 feet: 14 lbs pressure
For weighted gauge pressure canners:
- 0 to 1,000 feet: 10 lbs pressure
- Above 1,000 feet: 15 lbs pressure
Nutrition
Calories: 25kcal,
Carbohydrates: 5g,
Protein: 3g,
Fat: 0.1g,
Saturated Fat: 0.02g,
Polyunsaturated Fat: 0.05g,
Monounsaturated Fat: 0.002g,
Sodium: 7mg,
Potassium: 508mg,
Fiber: 1g,
Sugar: 2g,
Calcium: 20mg,
Iron: 0.5mg
Nutrition information is automatically calculated, so should only be used as an approximation.
Like this? Leave a comment below!
More Pressure Canning Recipes to Explore
Canning Boston Baked Beans
Canning Sausage Potato and Kale Soup (Copycat Zuppa Toscana)
Canning Taco Soup
Find the perfect recipe
Searching for something else? Enter keywords to find the perfect recipe!