
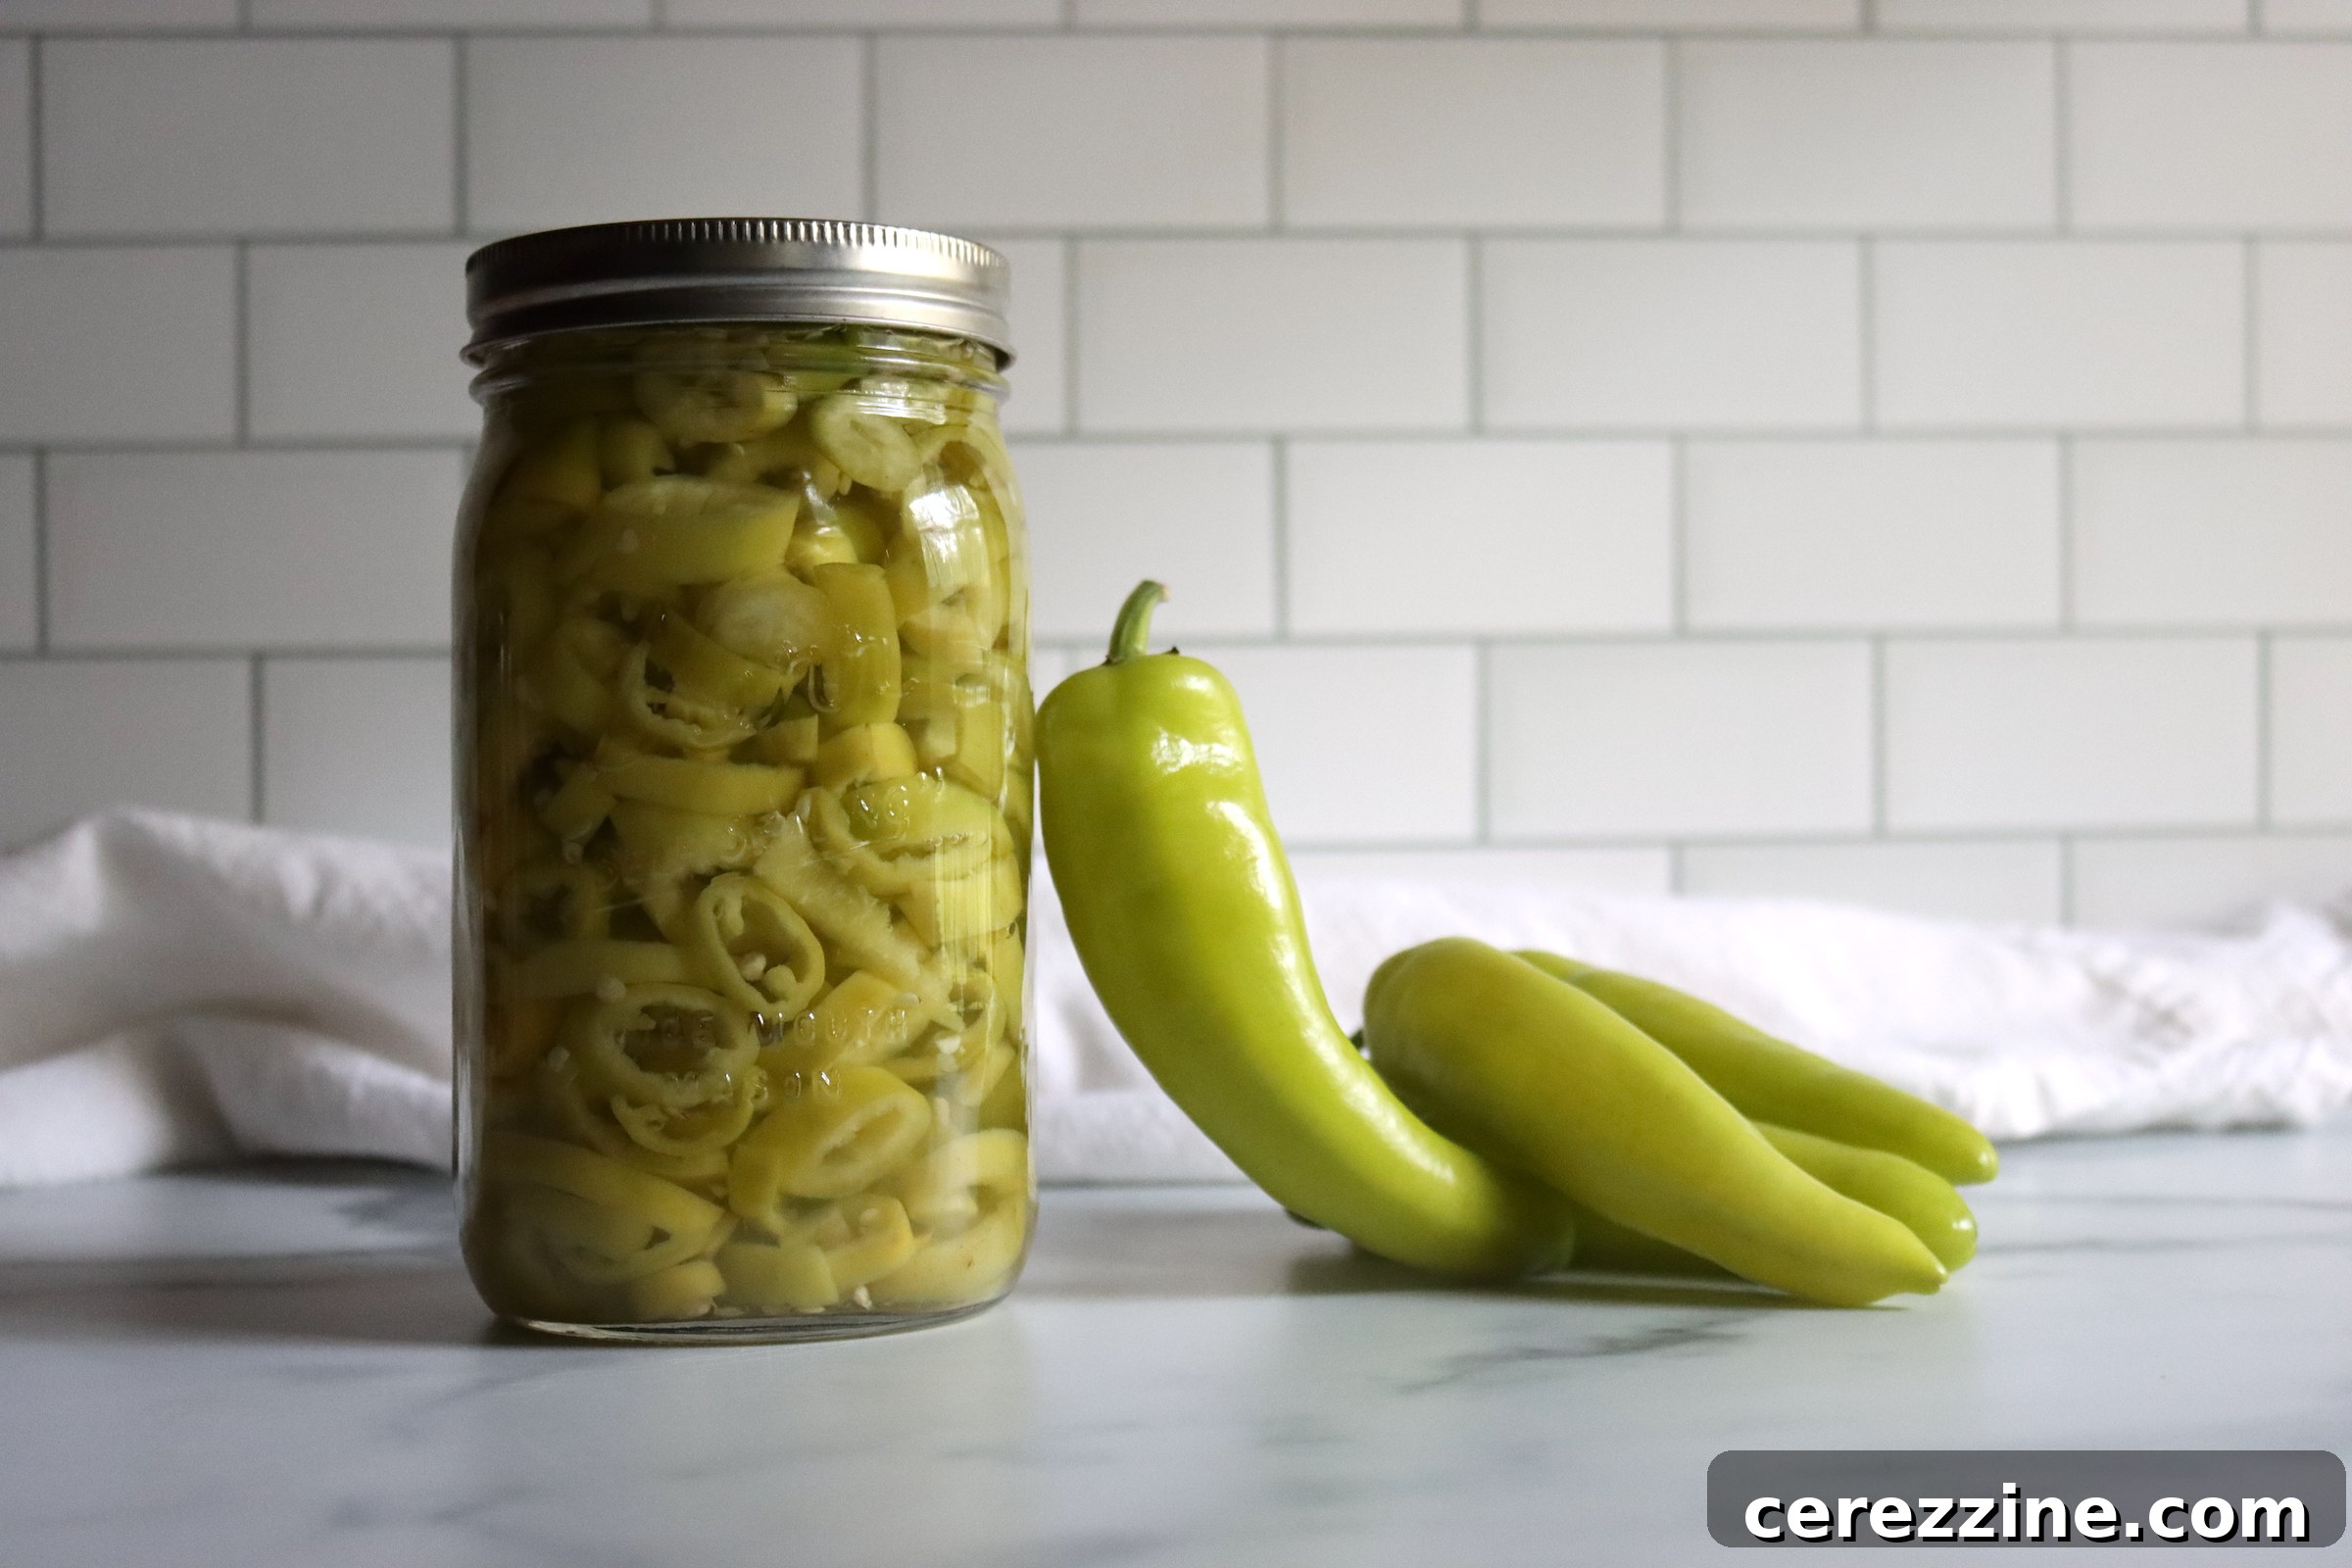
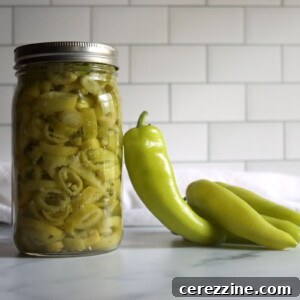
Pickled banana peppers are a versatile and delicious staple, perfect for elevating sandwiches, salads, and countless other dishes. This recipe offers the tastiest way to preserve the mild heat and natural sweetness of these delightful peppers, allowing you to enjoy their vibrant flavor straight from the jar year-round. Whether you’re a seasoned canner or just starting your home food preservation journey, this simple, reliable, and safe recipe provides an excellent foundation for creating crisp, tangy pickled banana pepper rings.
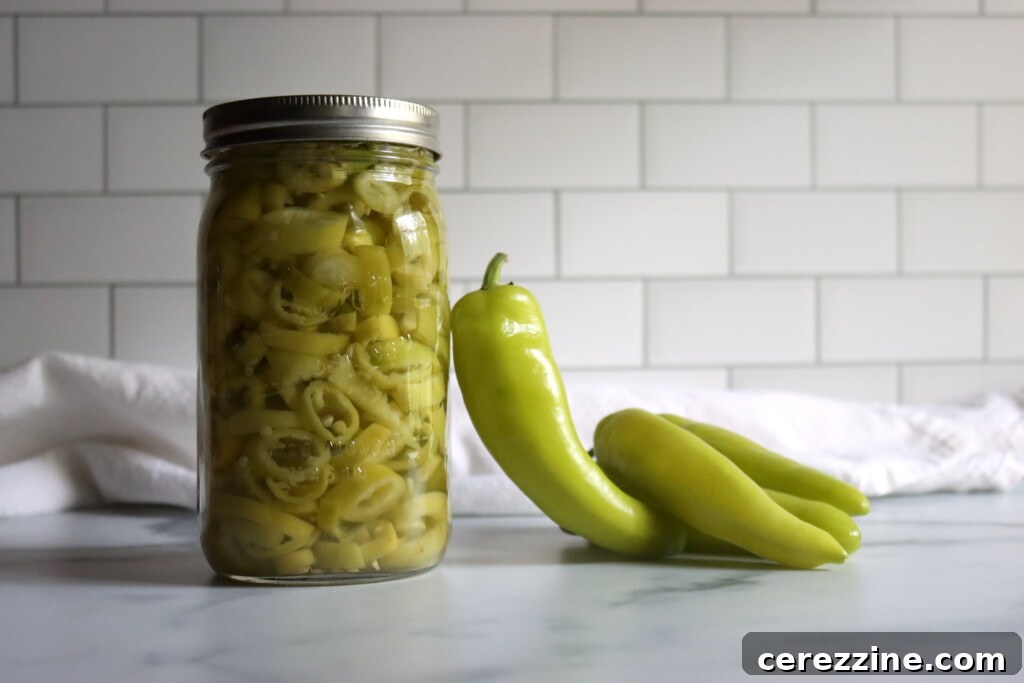
Home canning pickled banana peppers is one of my favorite preservation projects, not only because they are incredibly delicious but also because they are remarkably easy to prepare. There’s immense satisfaction in harvesting a bounty of these bright yellow peppers from the garden, knowing they will soon be transformed into jars of tangy goodness. Their inherently bright, slightly sweet, and subtly spicy flavor truly shines through the pickling process, creating a zesty condiment that can brighten any meal.
I find endless ways to enjoy them: piled high on a classic deli sandwich, stirred into a creamy pasta salad for a delightful crunch, or added to hearty soups and stews for a welcome pop of acidity. They even make a fantastic addition to complex recipes like the Southwestern Vegetable Soup, a trusted favorite from the comprehensive Ball Blue Book of canning and preserving.
This foolproof recipe is thoughtfully adapted from the authoritative guidelines provided by the National Center for Home Food Preservation (NCHFP). While the original NCHFP recipe for “Pickled Yellow Pepper Rings” often includes mustard and celery seeds, I’ve opted to omit them in this version to allow the pure, clean, pepper-forward flavor to take center stage. However, for those who appreciate a more traditional, spiced pickle, I’ve included these optional additions. Regardless of your preference for spices, this small-batch canning recipe is meticulously designed for safety and reliability, making it an ideal choice for both novice picklers and experienced home canners seeking a dependable method.
Why You’ll Love This Pickled Banana Pepper Recipe
- Unrivaled Flavor: Banana peppers naturally possess a mild, appealing heat and a subtle sweetness. Pickling enhances these qualities, creating a vibrant, tangy condiment that awakens the palate. Unlike hotter peppers, their gentle spice is universally appealing, making them a crowd-pleaser.
- Perfectly Crisp Texture: One of the hallmarks of a great pickle is its satisfying crunch. This recipe ensures that your pickled pepper rings maintain an excellent crispness, resisting softening even after long-term storage. This makes them ideal for adding textural contrast to any dish.
- Remarkably Quick & Easy: This method simplifies the pickling process significantly. There’s no need to precook the peppers; you simply slice them, pack them into jars, cover them with the hot brine, and process them in a water bath canner. This raw pack technique saves time and helps preserve the peppers’ fresh texture.
- Shelf-Stable Goodness: Safely preserved using water bath canning, these pickled banana peppers offer the convenience of being stored in your pantry for up to 18 months. Enjoy homemade flavor whenever you desire, without relying on refrigeration until opened.
- Garden to Jar Freshness: If you grow your own banana peppers, this recipe is the ultimate way to capture and enjoy their peak freshness long after the growing season ends. It’s a wonderful way to minimize food waste and savor your harvest.
Essential Ingredients for Homemade Pickled Banana Peppers
This recipe yields approximately 4 pint jars of pickled banana peppers, perfectly sized for a modest garden harvest or a standard grocery store haul. If you’re fortunate enough to have a larger bounty, feel free to double or even triple the recipe, ensuring you maintain the precise vinegar, water, and salt ratios for safe preservation.
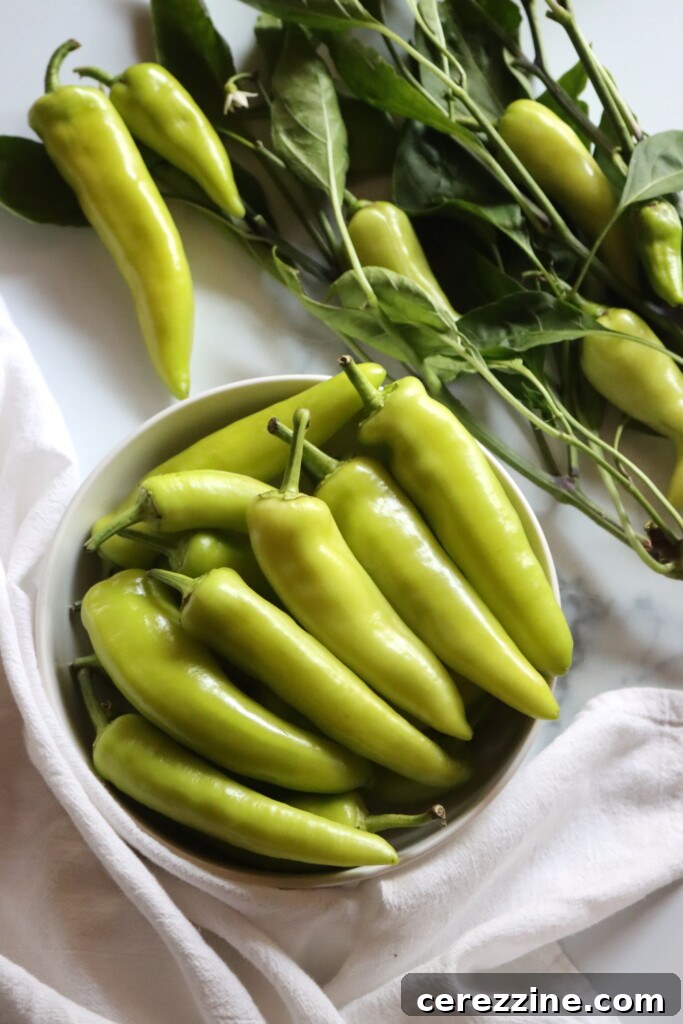
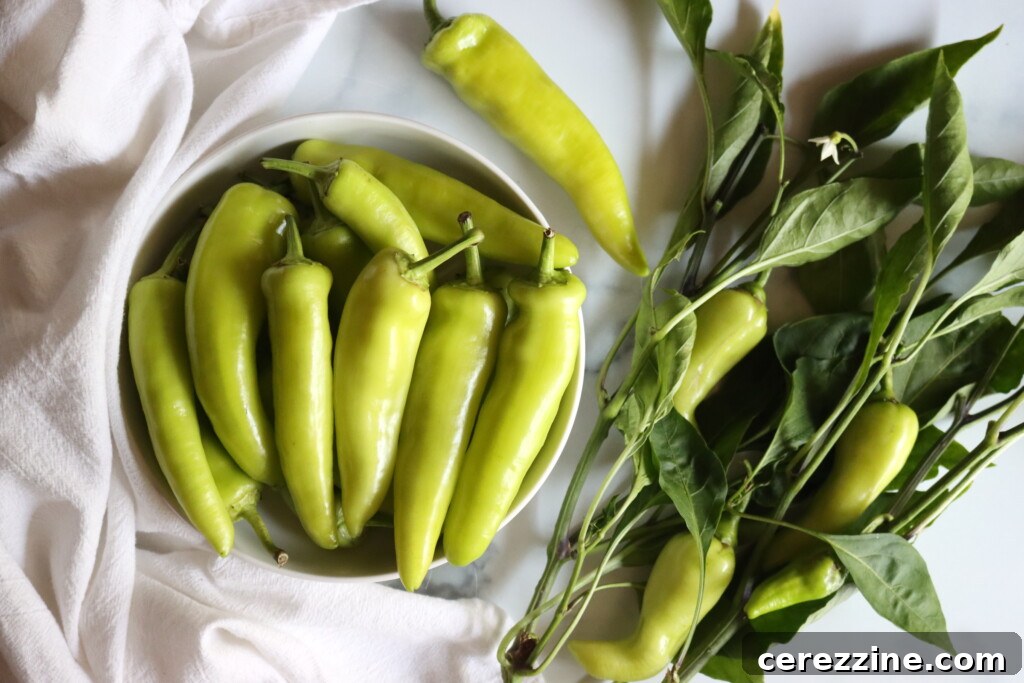
- Banana Peppers: Choose fresh, firm, and unblemished banana peppers. Their mild heat and inherent sweetness are what make them so ideal for pickling. After removing the stems, you’ll slice them into uniform ¼-inch rings.
- Cider Vinegar (5% acidity): This is the cornerstone of safe water bath canning. The acidity of the vinegar is crucial for inhibiting the growth of harmful bacteria. Always use vinegar with a minimum of 5% acidity, as specified on the label. Do not be tempted to substitute with lower-acid vinegars, as this can compromise the safety and shelf-stability of your pickles.
- Water: Used to dilute the cider vinegar, creating a perfectly balanced brine that is both flavorful and safe for preservation.
- Canning Salt (Pickling Salt): This specific type of salt is vital because it’s pure granulated sodium chloride, free from anti-caking agents and iodine. Regular table salt often contains these additives, which can cause the brine to become cloudy and may affect the color and texture of your pickled peppers.
- Mustard Seed (Optional): A traditional pickling spice, mustard seeds add a warm, slightly pungent flavor and a delightful textural pop. If you prefer a classic, spiced pickle, incorporate this into your jars.
- Celery Seed (Optional): Another common pickling spice, celery seed contributes a savory, earthy, and aromatic complexity to the brine. Include it if you enjoy a more intricate and spiced flavor profile in your preserved foods.
Step-by-Step Guide: How to Make Pickled Banana Peppers
Creating your own batch of pickled banana peppers is a rewarding process. Follow these detailed steps to ensure a safe, delicious, and perfectly preserved product.
1. Prepare Your Peppers
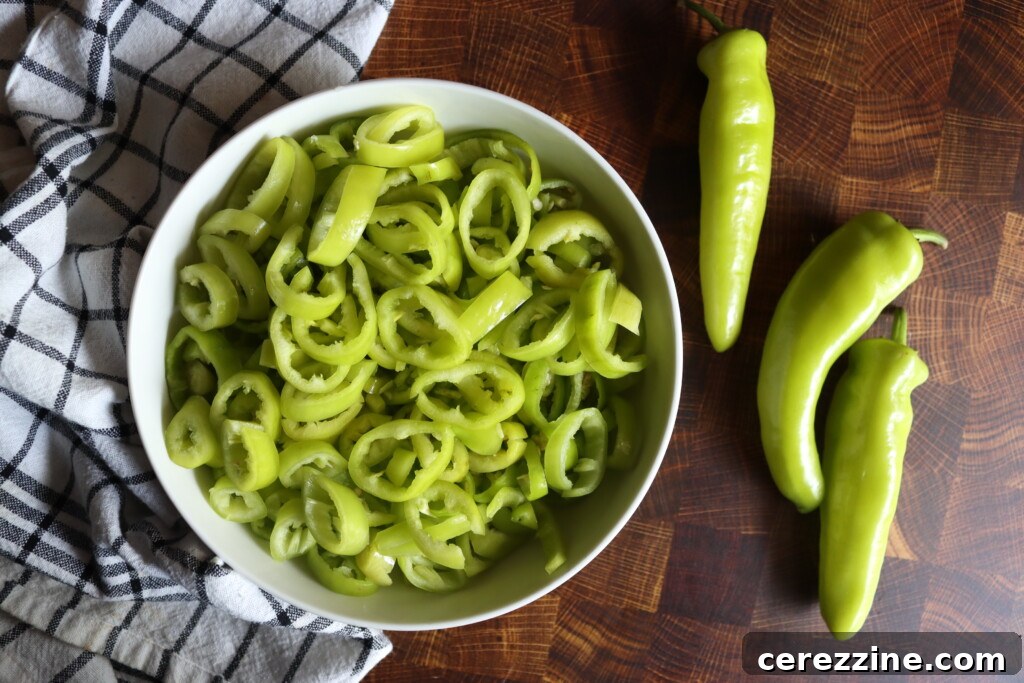
Begin by thoroughly washing all your banana peppers under cold running water. Next, carefully remove the stem ends. While removing the seeds is entirely optional, I highly recommend it. Deseeding the peppers results in a cleaner appearance in the jar and a more pleasant texture when the peppers are used in recipes, as it eliminates the tiny, sometimes bitter seeds. It’s also much easier to remove the seeds while the peppers are whole but stemmed. A simple trick is to use a chopstick or the handle of a wooden spoon to gently run around the inside of the pepper, loosening the seedy core. Once loosened, you can easily tip out the seeds.
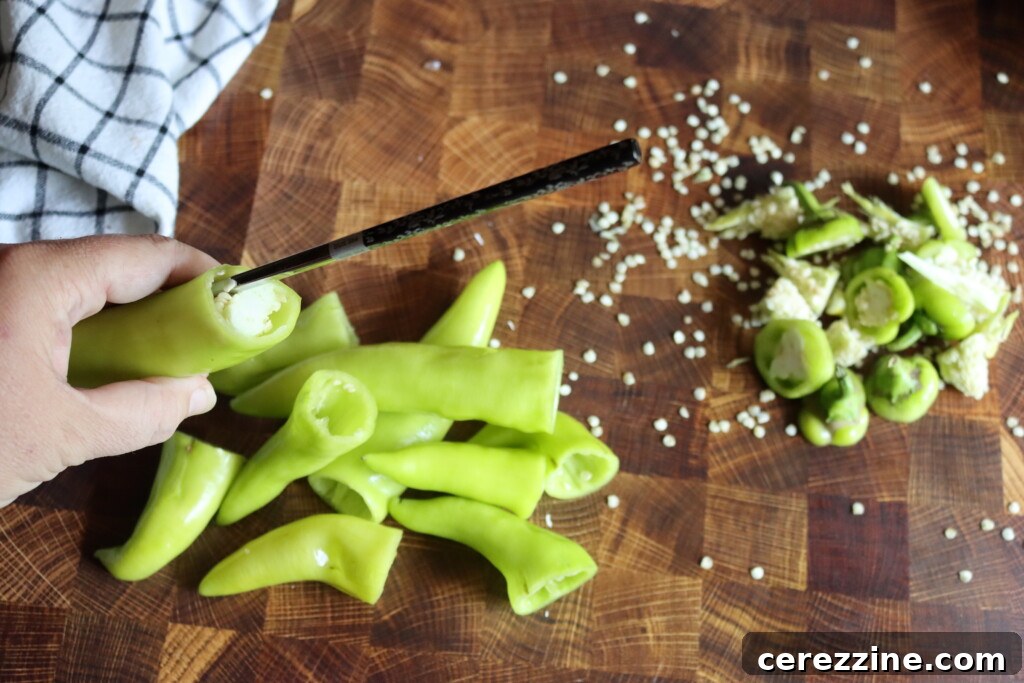
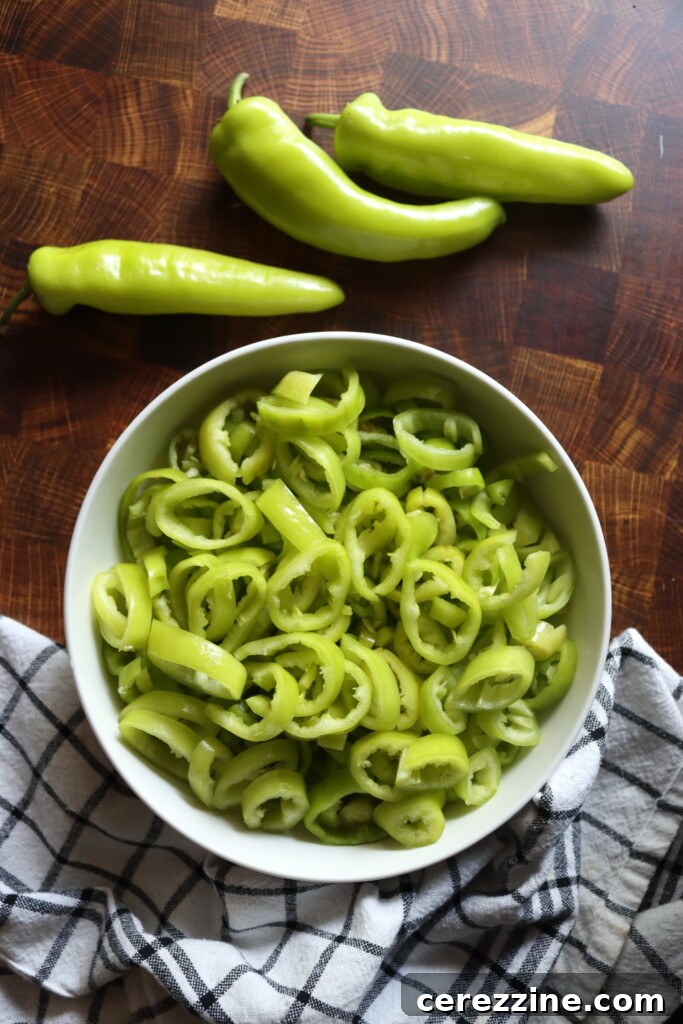
Once your peppers are stemmed and, if desired, deseeded, proceed to slice them into uniform ¼-inch thick rings. Consistency in slice thickness ensures even pickling and a better final texture. Set your prepared pepper rings aside while you prepare the pickling brine.
2. Prepare the Pickling Brine
In a large, non-reactive saucepan (such as stainless steel or enamel-coated), combine the cider vinegar, water, and canning salt. Bring this mixture to a rolling boil over high heat, stirring occasionally to ensure the salt fully dissolves. The brine is the preservative and flavor base for your pickles, so accurate measurements are key.
3. Pack the Jars
While the brine is heating, sterilize your pint or quart jars. Hot, sterilized jars are essential for safe canning. If you are choosing to add mustard seed or celery seed for a spiced flavor, add them directly to the bottom of each sterilized pint jar now. A standard ratio is ½ teaspoon of celery seed and 1 teaspoon of mustard seed per pint jar, but this is entirely optional and can be adjusted to your taste. Carefully pack the sliced banana peppers tightly into the hot, sterilized jars, leaving ½ inch of headspace (the space between the top of the food and the rim of the jar). Proper headspace is crucial for creating a vacuum seal and preventing spoilage.
4. Fill and Seal Jars
Once the brine is boiling, carefully ladle the hot brine over the packed pepper rings, still maintaining that critical ½ inch of headspace. Use a non-metallic utensil, like a chopstick or a specific bubble remover tool, to gently remove any trapped air bubbles from the jars. Air pockets can compromise the seal and preservation. Wipe the rims of the jars clean with a damp cloth to ensure a perfect seal. Any food residue on the rim can prevent the lid from sealing properly. Center a new, clean two-part canning lid (flat lid and screw band) on each jar and tighten the screw band fingertip-tight – meaning snug, but not overly tight, allowing air to escape during processing.
5. Process in a Water Bath Canner
Carefully place the filled and sealed jars into a boiling water bath canner, ensuring they are fully submerged in water by at least one inch. Bring the water back to a rolling boil and process pint jars for 10 minutes and quart jars for 15 minutes. Remember to adjust the processing time if you live at an altitude above 1,000 feet (refer to the altitude adjustment chart below for specific timings). After the processing time is complete, turn off the heat and let the jars sit in the canner for an additional 5 minutes before carefully removing them.
6. Cool and Store
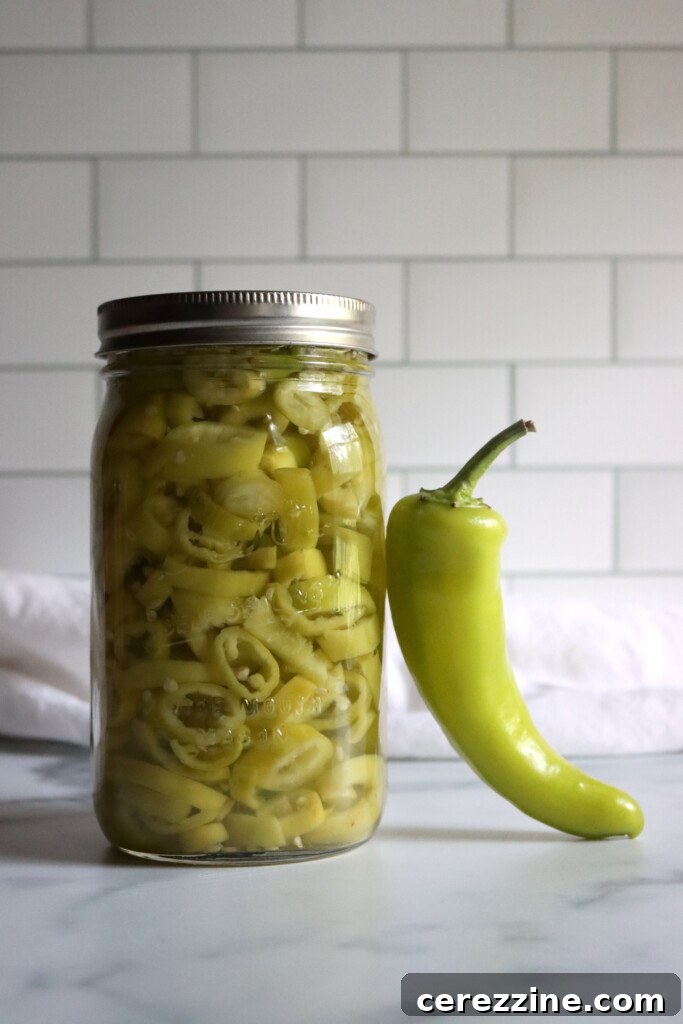
Place the hot jars on a clean towel or cooling rack, ensuring they are undisturbed for 12 to 24 hours. During this cooling period, you should hear the satisfying “ping” sound as the lids seal. After cooling, check all seals by pressing the center of each lid; it should not flex. If any lid hasn’t sealed, refrigerate that jar and consume its contents within a few weeks. Label your sealed jars with the contents and date, then store them in a cool, dark, and dry place for up to 18 months. For best flavor, allow the pickles to cure for 2-3 weeks before opening.
Altitude Adjustments for Water Bath Canning
Processing times must be adjusted based on your elevation above sea level to ensure safe preservation. Water boils at a lower temperature at higher altitudes, requiring longer processing times.
- 0 to 1,000 feet: 10 minutes for pints and 15 minutes for quarts
- 1,001 to 6,000 feet: 15 minutes for pints and 20 minutes for quarts
- Above 6,000 feet: 20 minutes for pints and 25 minutes for quarts
Is This a Safe Pickling Recipe for Home Canning?
Absolutely, yes. This recipe is considered safe and reliable for home canning because it is directly adapted from the “Pickled Yellow Pepper Rings” recipe provided by the National Center for Home Food Preservation (NCHFP). The NCHFP is the leading authority on science-based home food preservation practices in the United States. Adhering to their guidelines ensures the safety of your canned goods.
The safety of this recipe hinges on several critical factors:
- Proper Acidification: The use of cider vinegar with a 5% acidity level (and the specified water ratio) creates an acidic environment that prevents the growth of Clostridium botulinum, the bacteria responsible for botulism. This is why it’s paramount to never reduce the amount of vinegar or increase the amount of water in the brine. Deviating from these ratios can make your product unsafe for shelf storage.
- Water Bath Canning Method: For high-acid foods like pickles, water bath canning is the recommended and safe processing method. This method heats the jars to a temperature sufficient to destroy spoilage microorganisms and create a vacuum seal.
- Raw Pack Method: This recipe uses a “raw pack” method, where uncooked peppers are placed directly into the jars before adding hot brine. This technique is excellent for maintaining the crisp texture and fresh flavor of the peppers after processing.
While you have the flexibility to reduce or omit the optional spices (mustard and celery seeds) to achieve a cleaner flavor, you must always adhere strictly to the proportions of vinegar, water, and salt. You can slightly scale the quantity of peppers as long as the brine ratios remain constant. Always follow tested recipes and avoid making unapproved modifications to ensure the safety and quality of your preserved foods.
Pro Tips for Perfect Pickled Banana Peppers
- Customize Your Spice: This recipe prioritizes a clean, pepper-forward flavor by omitting traditional mustard and celery seeds. However, if you prefer a more classic, spiced pickle, feel free to add them back in. A good starting point is 1 teaspoon of mustard seed and ½ teaspoon of celery seed per pint jar. Experiment to find your perfect balance!
- Maintain Crispness: The “raw pack” method, where peppers are added uncooked to the jars, is key to retaining a wonderfully crunchy texture after canning. To further enhance crispness, consider adding ⅛ teaspoon of pickle crisp (calcium chloride) to each pint jar before adding the peppers.
- Select the Freshest Peppers: For the best results, always use firm, vibrant, and freshly picked banana peppers. Overripe, soft, or bruised peppers can lose their desirable texture during the heat processing, resulting in a less appealing product.
- Effortless Scaling: This recipe is incredibly adaptable. You can easily double or halve the quantities of peppers and brine ingredients. The crucial rule is to always maintain the precise ratios of vinegar, water, and salt to ensure the safety and effectiveness of the pickling process.
- Patience for Peak Flavor: While your pickled banana peppers are technically ready to eat immediately after sealing, their flavor profile significantly improves with a little patience. Allow the jars to cure for at least 2 to 3 weeks in a cool, dark place. This curing period allows the peppers to fully absorb the tangy brine, developing a richer and more complex flavor.
- Jar Size Flexibility: While this recipe is scaled for pint jars, you can also use quart jars. Just be sure to adjust your processing time according to the altitude chart provided (15 minutes for quarts at 0-1000 feet).
★
★
★
★
32
servings, makes 4 pints
Pickled Banana Peppers
30
mins
5
mins
15
mins
50
mins
Rate
Equipment
-
Water Bath Canner
-
Large Non-Reactive Saucepan
-
Pint or Quart Jars, Lids & Bands
Ingredients
Basic Pickled Banana Peppers
-
2½ to 3
lbs
banana peppers -
5
cups
cider vinegar,
5% acidity -
1¼
cups
water -
5
tsp
canning salt
Optional (per pint jar):
-
1
tsp
mustard seed -
½
tsp
celery seed -
⅛
tsp
pickle crisp
Instructions
-
1. Prepare Peppers: Wash peppers thoroughly and remove the stem ends. If you choose to remove seeds, use a chopstick or similar tool to scrape the seed core out before slicing. Slice peppers into uniform ¼-inch rings.
-
2. Make Brine: In a large, non-reactive saucepan, combine the cider vinegar, water, and canning salt. Bring the mixture to a rolling boil over high heat, stirring until salt is dissolved.
-
3. Pack Jars: If using optional spices or pickle crisp, add them to hot, sterilized pint jars. Tightly pack the sliced pepper rings into the jars, leaving ½ inch headspace.
-
4. Fill & Seal: Carefully pour the boiling brine over the peppers, maintaining ½ inch headspace. Remove air bubbles with a non-metallic tool, wipe jar rims clean, and apply two-part canning lids fingertip-tight.
-
5. Process: Place jars in a boiling water bath canner, ensuring they are covered by 1-2 inches of water. Bring to a rolling boil and process pint jars for 10 minutes (or 15 minutes for quarts), adjusting for altitude as specified in the notes below.
-
6. Cool & Store: Turn off heat and let jars sit in the canner for 5 minutes. Remove jars to a towel-lined surface and cool undisturbed for 12–24 hours. Check seals, label, and store in a cool, dark place for up to 18 months. For best flavor, allow to cure for 2-3 weeks before opening.
Notes
Altitude Adjustments
Processing times vary based on elevation:
- 0 to 1,000 feet: 10 minutes for pints and 15 minutes for quarts
- 1,001 to 6,000 feet: 15 minutes for pints and 20 minutes for quarts
- Above 6,000 feet: 20 minutes for pints and 25 minutes for quarts
Nutrition (per serving, approx. 1/8 pint)
Calories: 21kcal
Carbohydrates: 3g
Protein: 1g
Fat: 0.3g
Saturated Fat: 0.03g
Polyunsaturated Fat: 0.1g
Monounsaturated Fat: 0.1g
Sodium: 371mg
Potassium: 140mg
Fiber: 1g
Sugar: 1g
Vitamin A: 145IU
Vitamin C: 35mg
Calcium: 12mg
Iron: 0.3mg
Nutrition information is automatically calculated, so should only be used as an approximation.
Enjoyed this recipe? Share your thoughts below!
Explore More Pickled Pepper Recipes
If you find yourself with an abundance of peppers from your garden or farmer’s market, there are countless other exciting ways to preserve and enjoy them beyond banana peppers. Home canning allows you to capture a variety of flavors and heat levels.
For those who crave a bit more zest, try making a batch of Pickled Jalapeños. These offer a delightful medium heat that’s fantastic on tacos, nachos, or even just as a snack. If you’re truly adventurous and enjoy intense spice, consider preserving Pickled Habanero Peppers. Their fiery kick can add an exciting dimension to hot sauces, marinades, or chili.
Classic Pickle Canning Recipes to Try
Beyond peppers, the world of pickled vegetables is vast and rewarding. If you love the crisp texture and tangy flavor of traditional pickles, these recipes are essential additions to any home canner’s repertoire.
- For the quintessential deli-style crunch, learn how to make Kosher Dill Pickles or simple yet satisfying Classic Dill Pickle Slices. These recipes deliver that iconic savory, garlicky dill flavor.
- If your palate leans towards sweeter preserves, explore the delightful taste of Sweet Cucumber Pickles. For a more intricate and deeply flavorful sweet pickle, the traditional recipe for Sweet Gherkin Pickles is a worthwhile project.
- And for those unexpected oversized cucumbers from the garden, don’t let them go to waste! Danish Asier Pickles offer a unique and delicious way to preserve larger cucumbers, transforming them into a delightful, slightly sweet, and firm pickle that’s perfect for slicing.
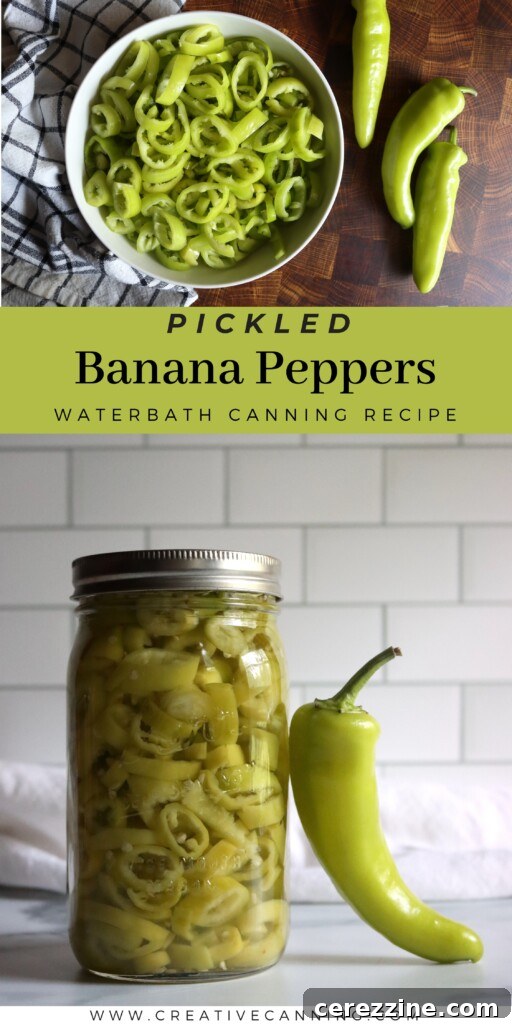
Embrace the satisfaction of home canning with these safe and delicious recipes. Each jar you put up is a testament to fresh ingredients, careful preparation, and the joy of enjoying garden-fresh flavors all year long. Happy canning!