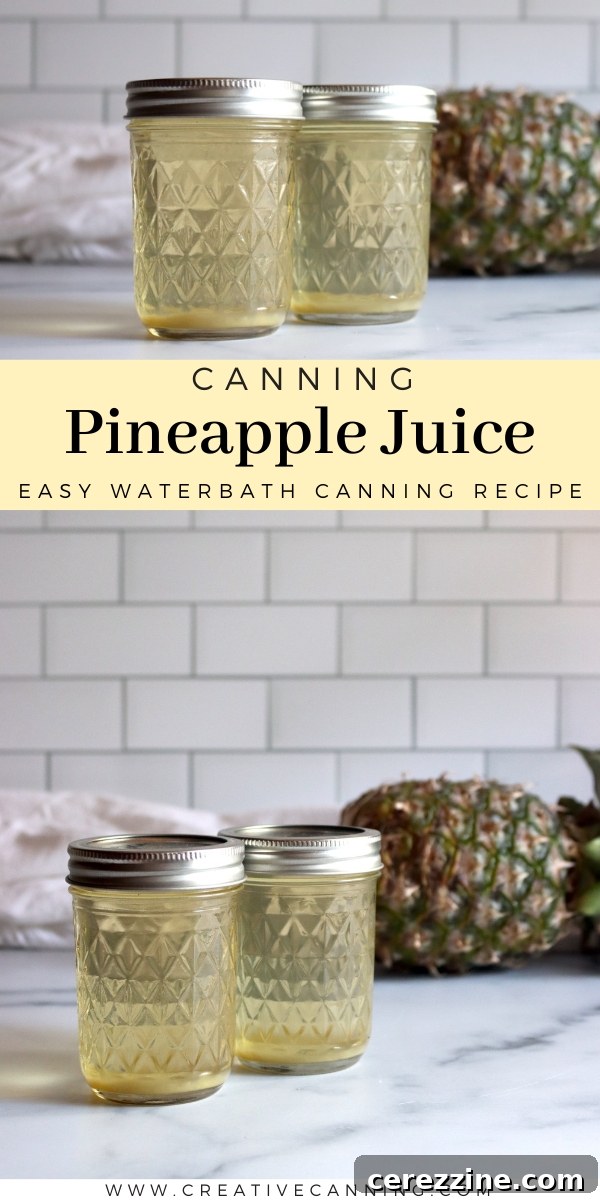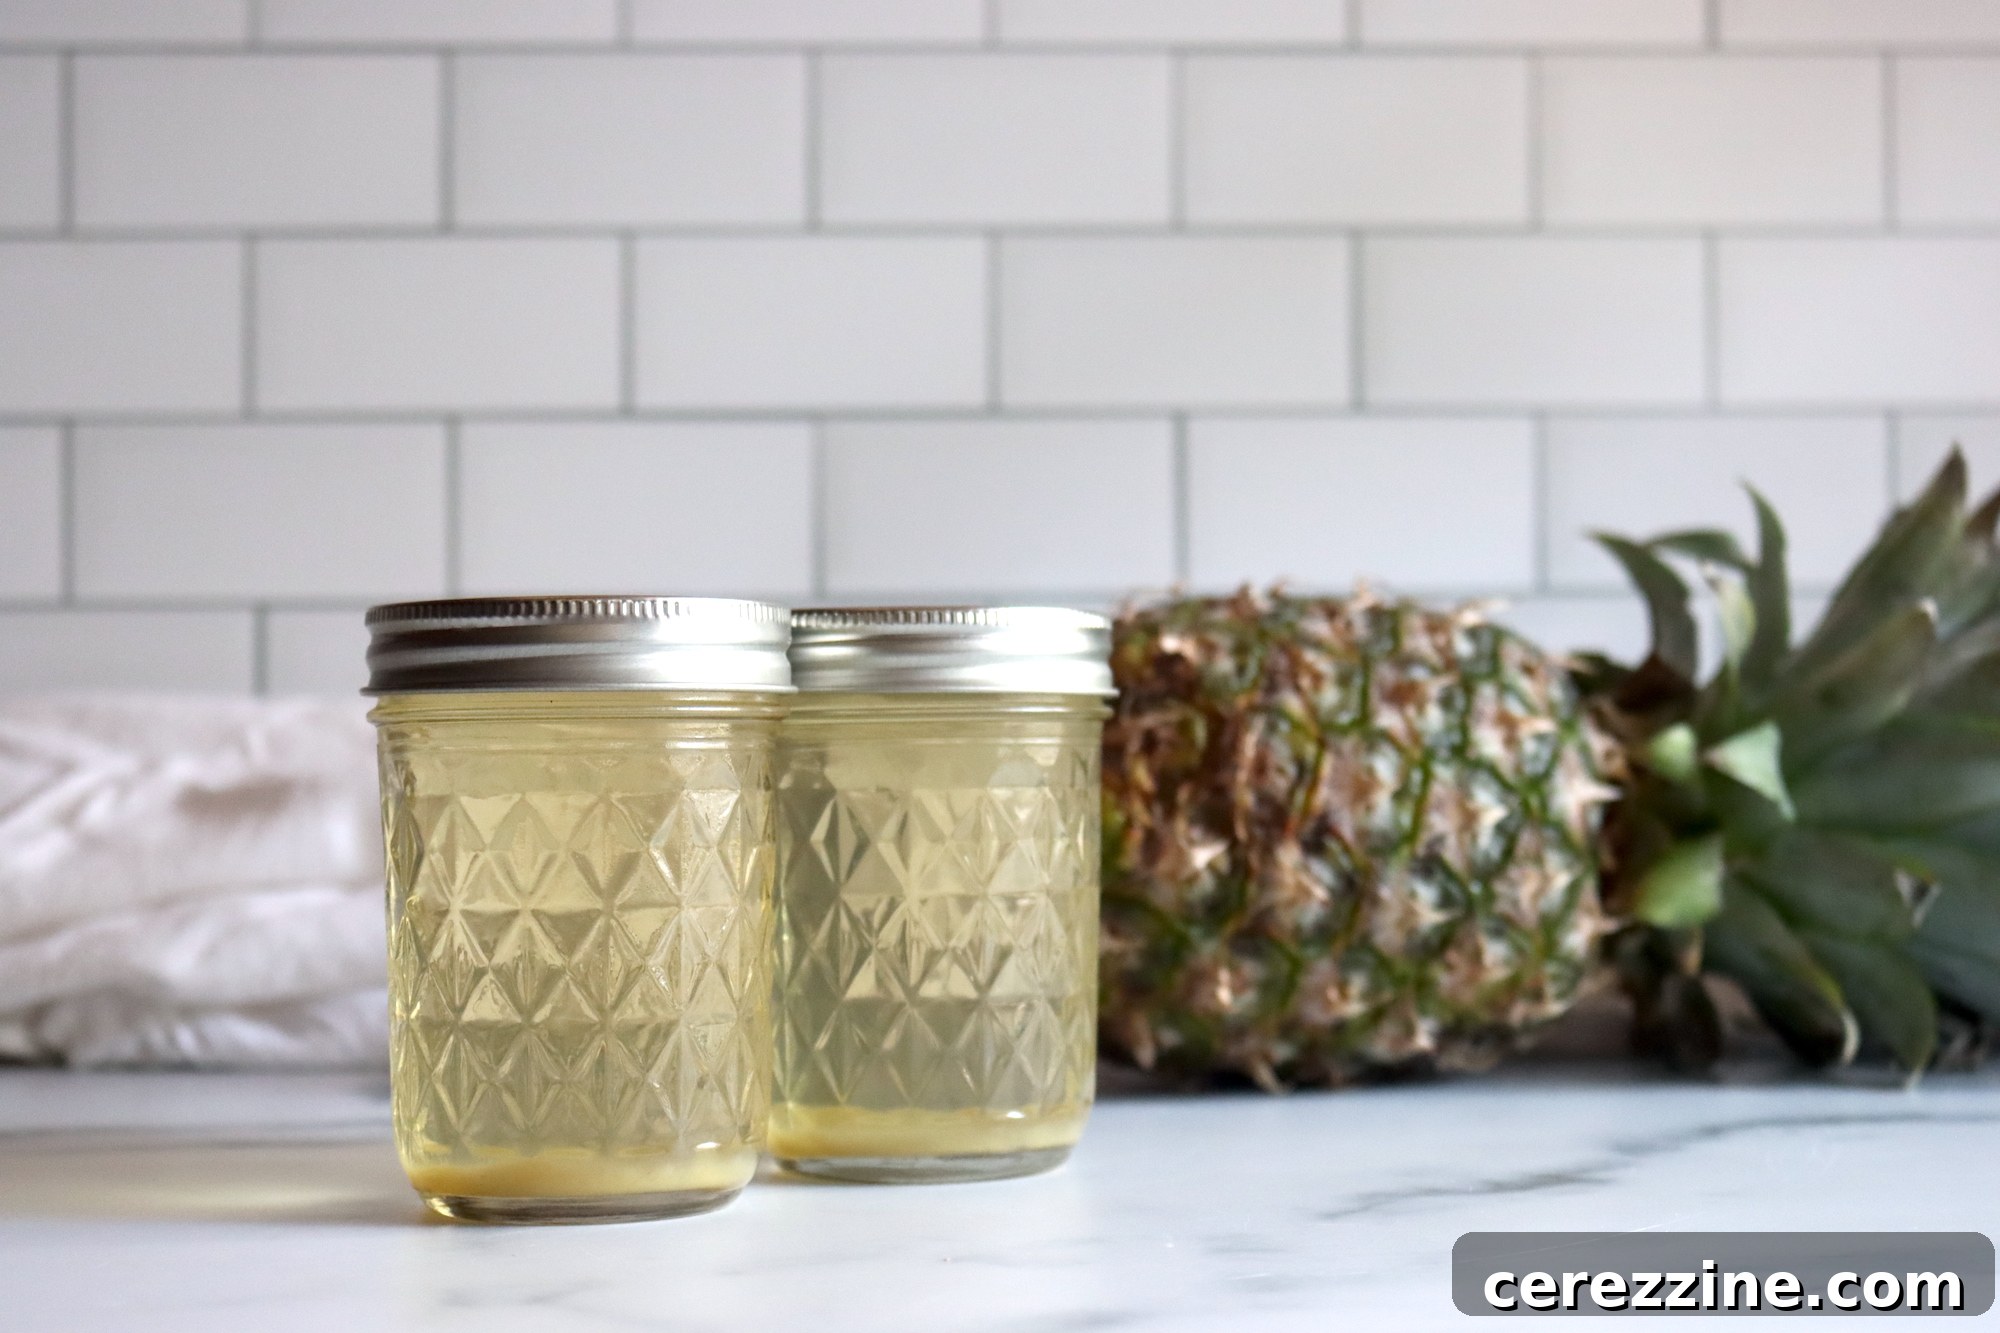
Imagine the vibrant, sweet taste of fresh pineapple juice, ready to enjoy anytime you desire. Canning your own pineapple juice isn’t just a kitchen project; it’s a passport to year-round tropical bliss, offering a superior flavor experience that store-bought options simply can’t match.
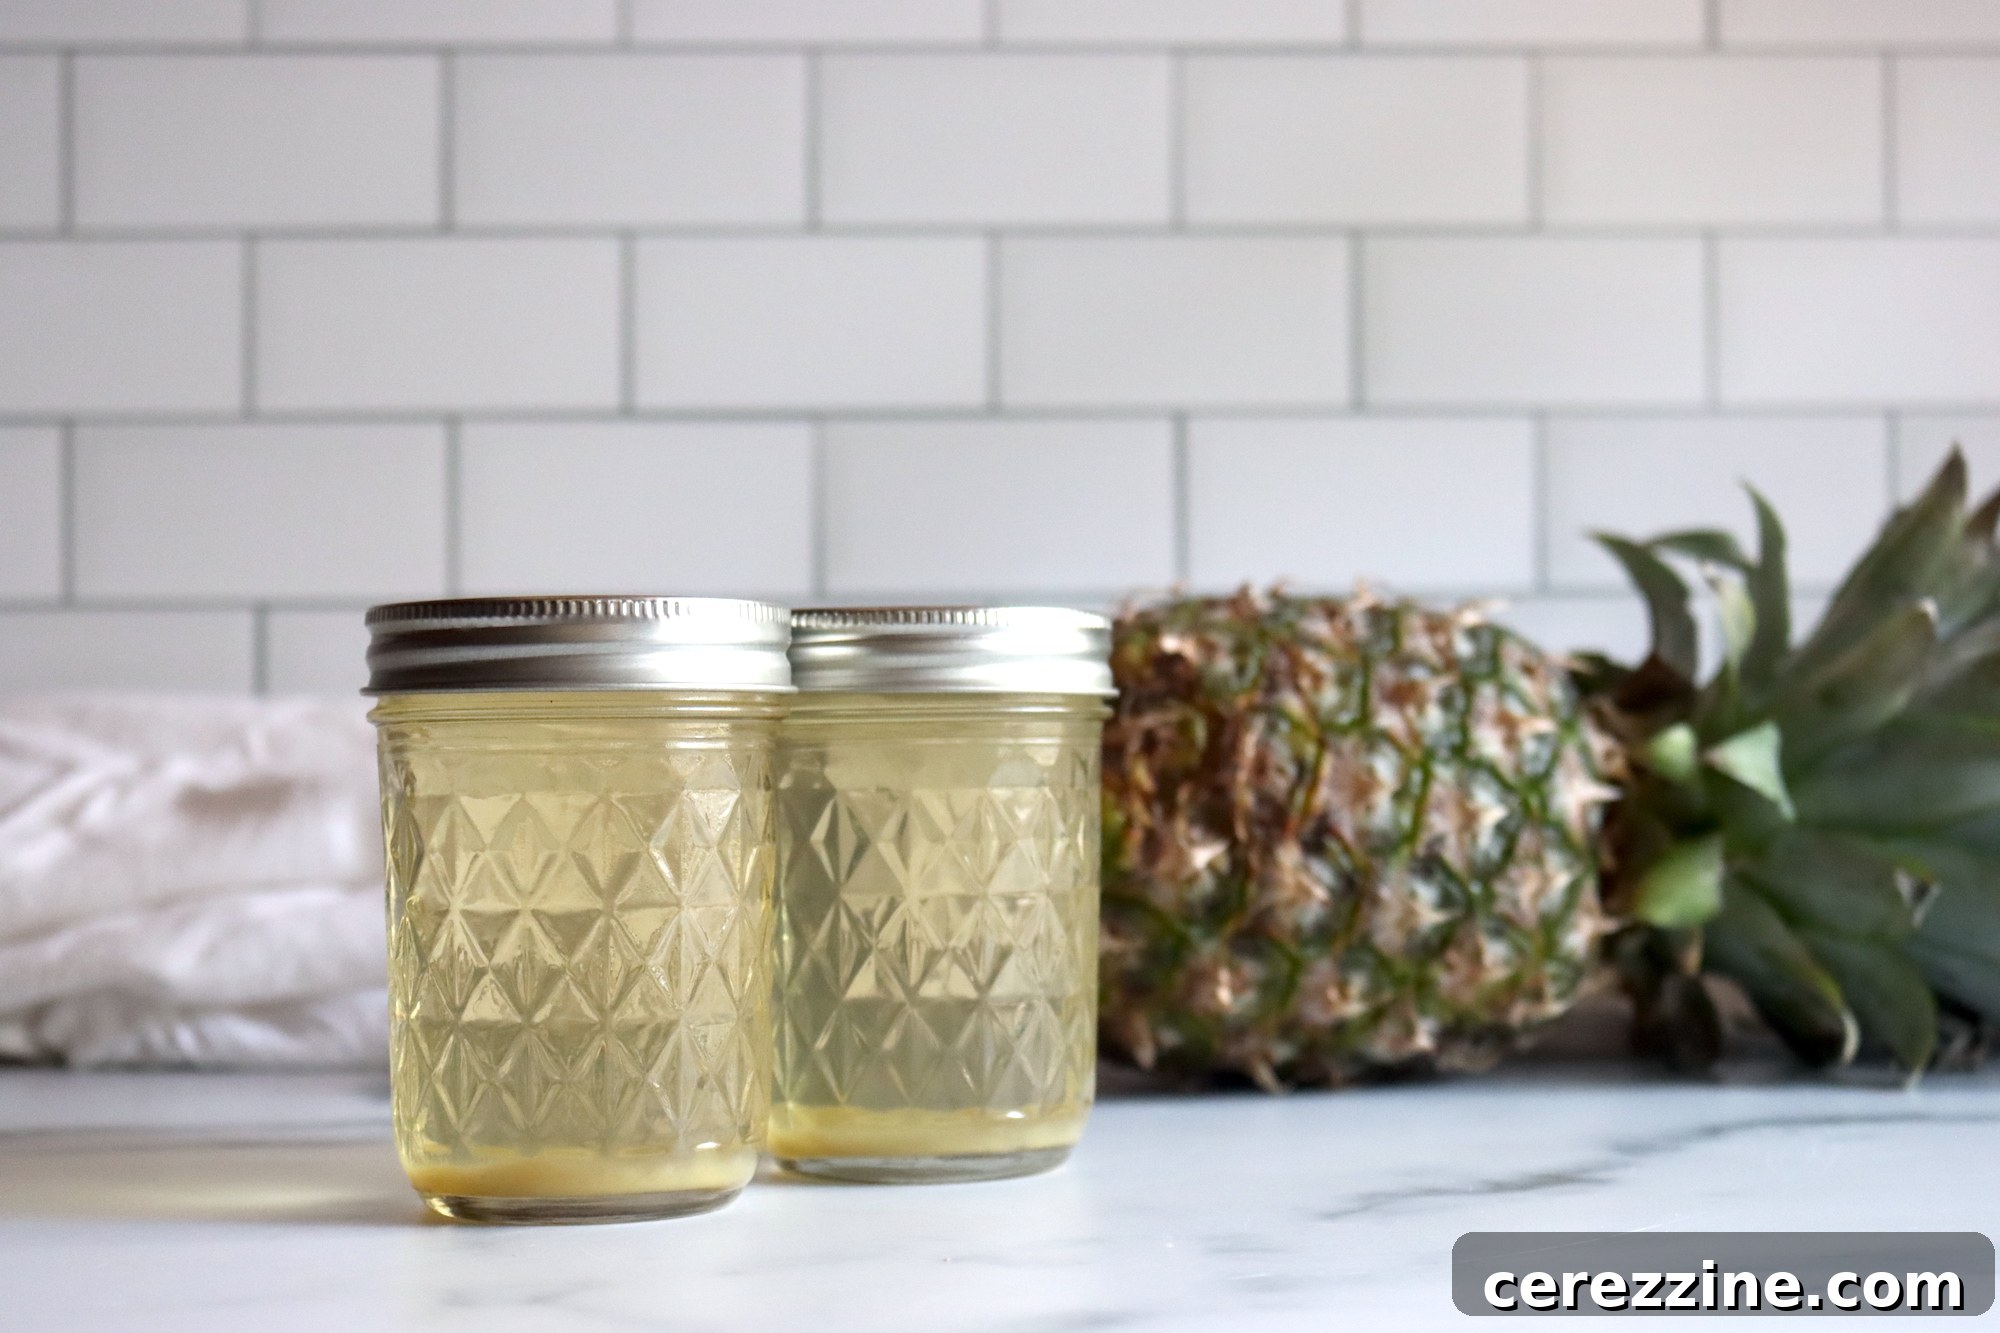
Why Choose Homemade Canned Pineapple Juice?
While pineapples aren’t typically harvested in every backyard (unless you’re lucky enough to reside in a tropical paradise!), the rationale for canning pineapple juice is compelling and straightforward: the taste is extraordinary. Homemade juice delivers an unparalleled freshness and depth of flavor, making it a world apart from anything you’ll find on supermarket shelves.
Superior Flavor Profile
Commercial pineapple juice often disappoints due to its source: low-quality, overripe fruit that has lingered past its prime. Even “premium” store-bought varieties frequently fall short when compared to the vibrant, crisp taste of juice made from fresh, high-quality pineapples. When you take the time to prepare and can your own, you lock in the peak sweetness and tang of perfectly ripe fruit, ensuring every sip is a delightful burst of tropical goodness.
No More Metallic Aftertaste
Have you ever noticed that subtle, often unappealing metallic tang in canned pineapple juice? This common issue arises from the interaction between the fruit’s natural acidity and the metal of the can. It’s the very reason why acidic foods like pickles are almost exclusively preserved in glass jars. This phenomenon also affects canned pineapple chunks, which is why home canners wisely opt for glass. By canning your own pineapple juice in glass, you eliminate this metallic drawback entirely. Your homemade juice will be pure, fresh, vibrant, and completely free of any off-flavors, allowing the true essence of the pineapple to shine through.
Control Over Ingredients and Quality
One of the greatest advantages of home canning is the complete control you gain over the ingredients. You choose the ripest, most flavorful pineapples, free from concerns about artificial preservatives or excessive sugars often found in commercial products. This ensures you’re getting the best quality juice, bursting with natural sweetness and tropical notes. When pineapples are in season and on sale (often around April for many regions), it’s the perfect opportunity to stock up and transform them into this liquid gold. Trust us, once you experience the refreshing difference of homemade pineapple juice, your palate will never settle for the store-bought alternative again.
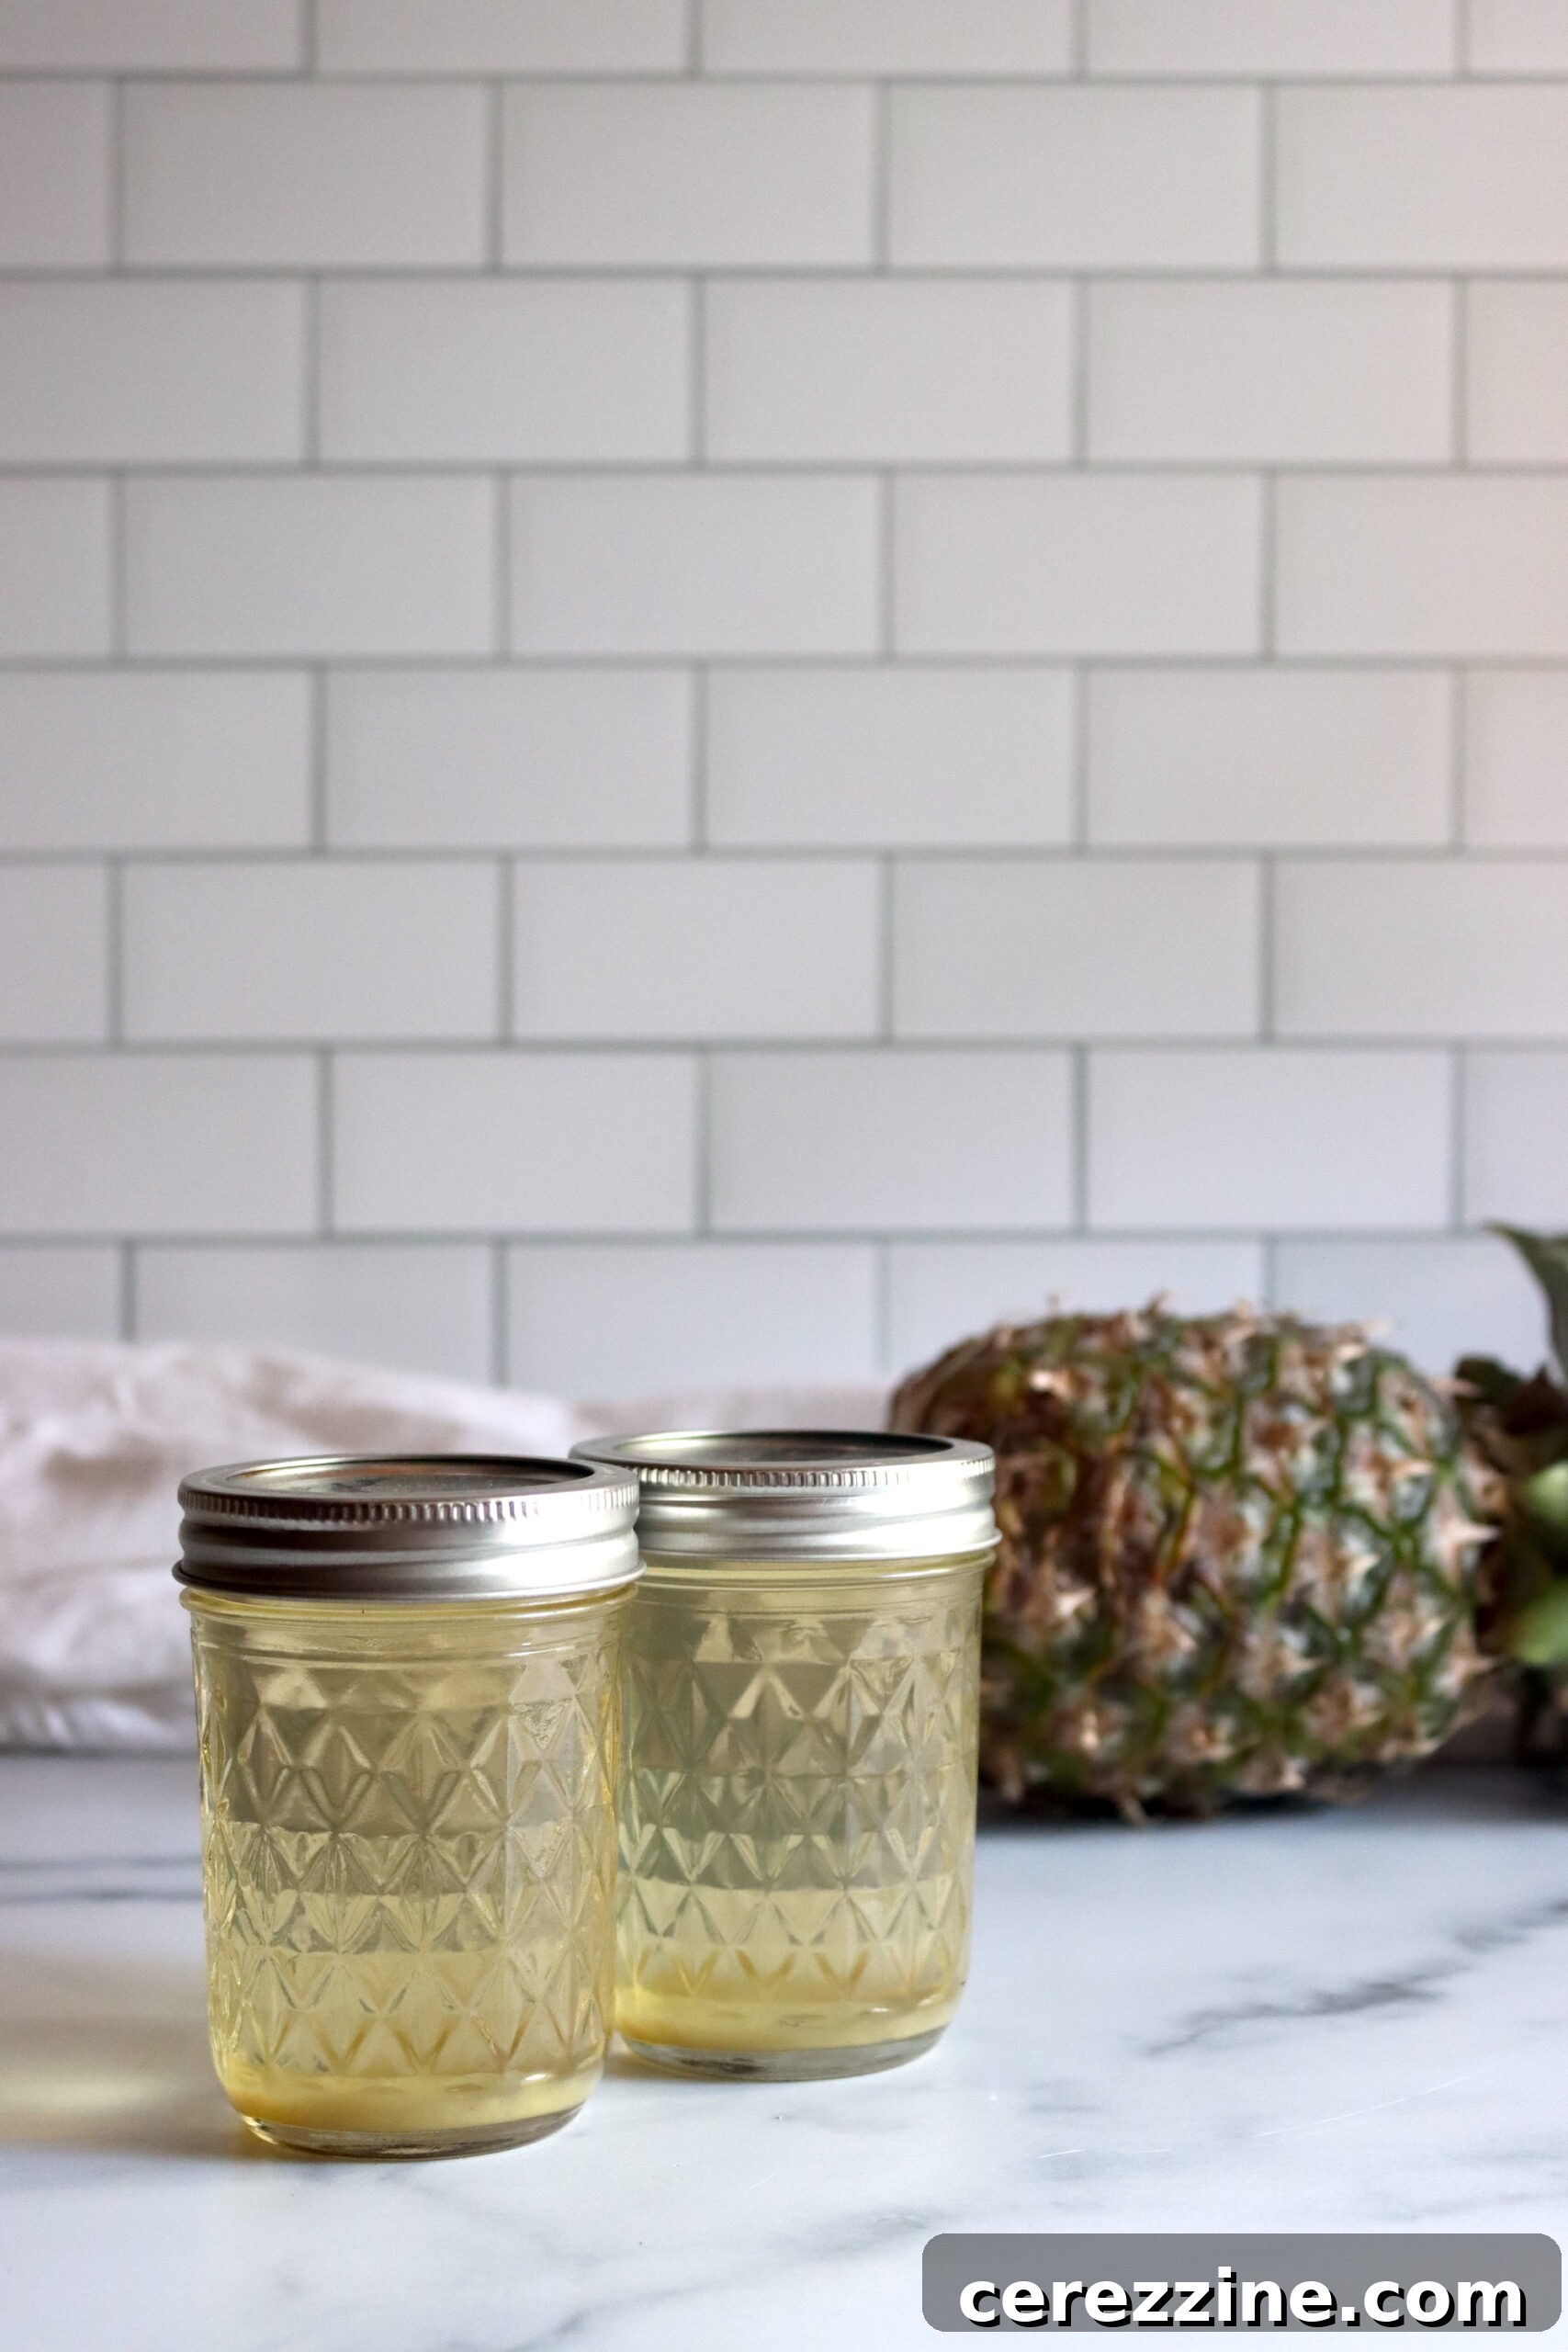
These detailed instructions for water bath canning pineapple juice are meticulously based on expert advice from the Extension’s helpline. They confirm that pineapple juice can be safely canned using the University of Oregon’s guidelines for canning apple juice, which employs a quick, no-boil pasteurization method. This same effective process is also utilized for canning apple cider, ensuring the fresh, crisp flavor is beautifully preserved in every jar.
Should you find an abundance of pineapples on sale, particularly during their peak season in spring, consider diversifying your home canning efforts! Beyond juice, you can create delightful batches of spicy pickled pineapple or a vibrant pineapple mango salsa. Both offer unique, delicious flavors that are impossible to replicate with store-bought options and make fantastic additions to your pantry.
Essential Equipment for Canning Pineapple Juice
Before diving into the juicing and canning process, it’s beneficial to gather all necessary equipment. Having everything organized and ready will ensure a smooth, efficient, and safe canning experience. Here’s a list of the key items you’ll need:
- Water Bath Canner: A large pot with a lid and a rack, designed to hold canning jars completely submerged in boiling water.
- Canning Jars: Pint or quart-sized glass canning jars with two-piece lids (flat lids and screw bands). Ensure they are specifically designed for canning.
- New Lids: Always use new flat lids for each canning session to ensure a proper seal. Screw bands can be reused.
- Jar Lifter: A specialized tool with rubber-coated grips to safely lift hot jars in and out of the canner.
- Canning Funnel: Helps guide juice into jars without spilling, keeping jar rims clean.
- Headspace Tool: A measuring tool to accurately gauge the space between the top of the food and the rim of the jar.
- Bubble Remover: A non-metallic utensil (like a plastic spatula) to remove air bubbles from jars before sealing.
- Large Pot: For heating and pasteurizing the pineapple juice.
- Sharp Knife and Cutting Board: For preparing the pineapples.
- Juicer or Blender with Fine Mesh Strainer/Cheesecloth: For extracting the juice.
- Thermometer: A kitchen thermometer is crucial for accurately monitoring the juice temperature during pasteurization.
- Clean Cloths: For wiping jar rims and general clean-up.
Selecting and Preparing Pineapples for Juicing
The foundation of delicious homemade pineapple juice begins with selecting the perfect fruit. The quality of your juice directly reflects the quality of your pineapples.
Choosing the Best Pineapples
Look for pineapples that are firm to the touch, with a sweet, aromatic fragrance emanating from the base. A ripe pineapple will often have a golden-yellow hue extending up from the base, though color can vary by variety. Avoid any fruit that feels overly soft, has dark spots, or smells fermented, as these indicate overripeness which can result in a less crisp juice. Conversely, an underripe pineapple, characterized by a predominantly green exterior and lack of fragrance, will yield a juice that is too tart and lacks the desired sweetness.
Preparing the Fruit
Once you’ve selected your ideal pineapples, a thorough wash is the first step. Next, meticulously remove the tough outer skin using a sharp, sturdy knife. Be sure to cut off any “eyes” – those small, spiky bits that remain after peeling – as they can be unpleasant. A common practice when canning plain pineapple chunks is to remove the fibrous core. However, when making juice, this step is unnecessary. The juicing process, whether with a juicer or a blender and strainer, will naturally filter out all the fiber. Leaving the core in actually helps increase your overall juice yield, so embrace it! Finally, cut the peeled and de-eyed pineapple into manageable chunks or slices, preparing it for juice extraction.
Making Fresh Pineapple Juice
Extracting juice from pineapples can be done through a couple of convenient methods, depending on the tools you have available in your kitchen.
Using a Juicer
If you own a juicer, this is arguably the simplest and most efficient method. Simply feed your prepared pineapple chunks into the juicer, and let the machine do the heavy lifting. A good quality juicer will separate the pulp from the liquid, leaving you with smooth, fresh pineapple juice, ready for the next steps.
Using a Blender
No juicer? No problem! A standard kitchen blender works just as effectively. Place your pineapple chunks into the blender and process until they form a smooth, uniform puree. Once blended, the next crucial step is to separate the liquid from the pulp. Pour the pineapple puree through a fine-mesh strainer or several layers of cheesecloth placed over a large bowl. Press down on the pulp with a spoon or your hands (if using cheesecloth) to extract as much liquid as possible. You’ll be left with beautifully clear, fresh pineapple juice.
Sweetening Your Juice (Optional)
Fresh pineapple juice is naturally sweet and incredibly flavorful on its own. However, if you prefer a sweeter profile or your pineapples were a bit less ripe than anticipated, you can certainly adjust the sweetness to your liking. Add a small amount of sugar or honey to the extracted juice, stirring continuously until it is completely dissolved. Taste and add more if needed, but remember that the natural tropical sweetness is often best.
Pasteurizing the Juice for Safe Canning
Pasteurization is a vital step in home canning, especially for juices. It ensures the safety of your product by eliminating potential bacteria and enzymes that could lead to spoilage, while also preserving the fresh flavor and color of the juice.
Pre-Warming and Preparing Your Canner
Before you begin heating the juice, it’s wise to get a head start on preparing your canning equipment. Wash and sterilize your canning jars and set your water bath canner on the stove to begin heating to a gentle simmer. Pasteurizing the juice itself takes only a few minutes, so having your canner almost ready will help you move seamlessly to the next stage of the canning process.
The Pasteurization Process
Pour your freshly prepared pineapple juice into a large, clean pot. Place the pot on a medium heat setting on your stovetop. Stir the juice occasionally as it heats to ensure an even distribution of warmth throughout. The goal is to bring the juice’s temperature up to a specific range: between 185°F and 210°F (85°C to 99°C). This temperature range is critical for effective pasteurization without overcooking the juice.
If you don’t have a kitchen thermometer, you can still monitor the juice’s temperature by observing the edges of the pot. Small bubbles will begin to form around the perimeter of the juice when it approaches the correct temperature. It’s crucial not to let the juice come to a rolling boil, as boiling can cause it to become cloudy and impart an undesirable “cooked” flavor, diminishing its fresh, vibrant taste. As the juice heats, you may also notice a layer of foam forming on the surface. Use a clean spoon or ladle to skim this foam off, as it can interfere with the sealing process and clarity of the finished product.
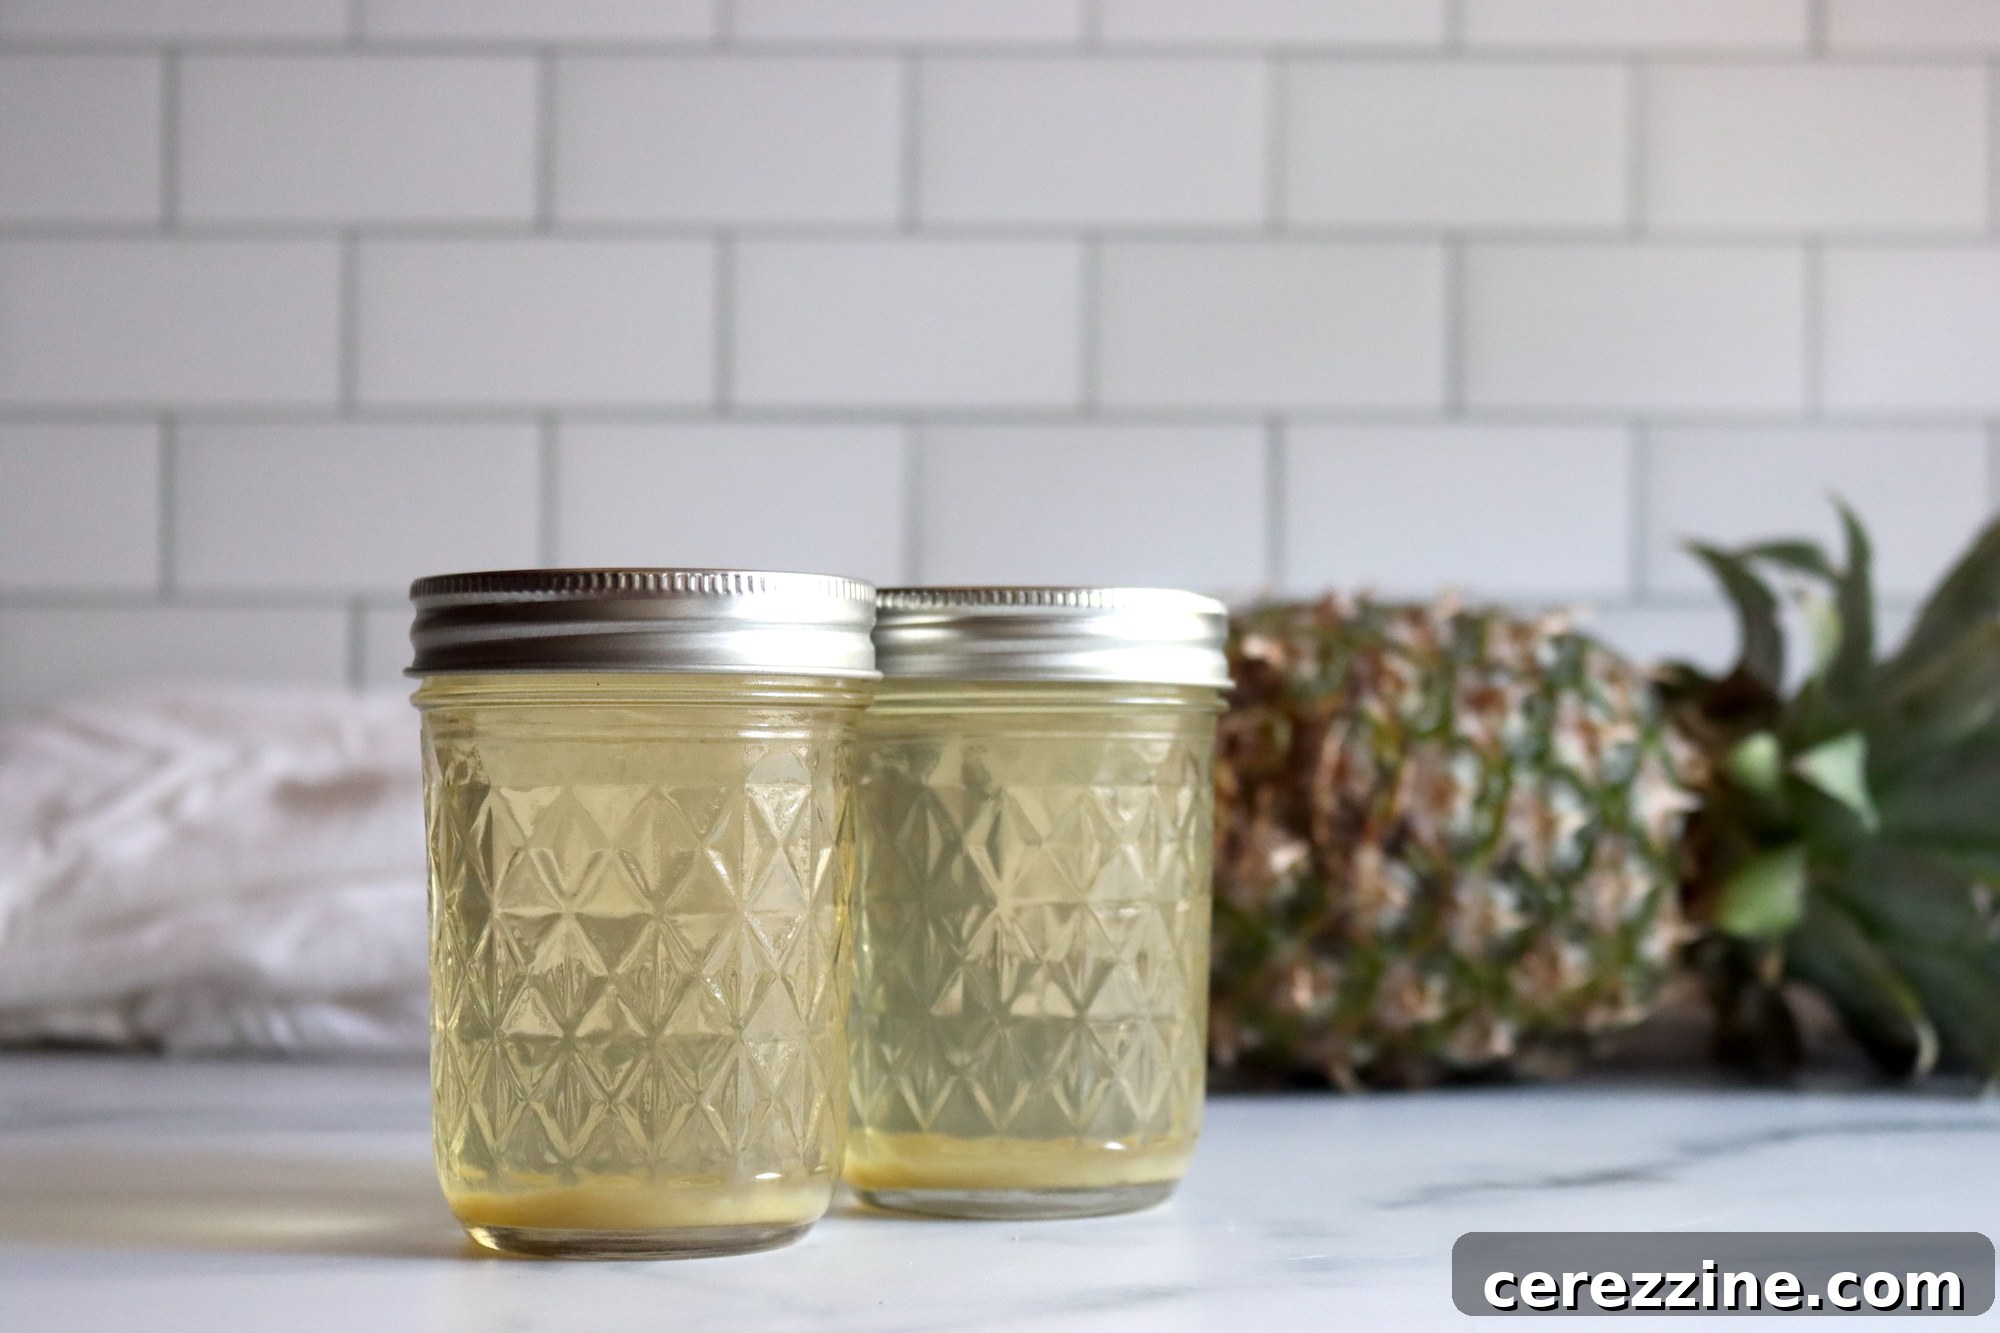
Canning Your Pineapple Juice Using a Water Bath
Once your pineapple juice has been properly pasteurized, it’s time to seal in that delicious flavor for long-term storage. The water bath canning method is ideal for high-acid foods like pineapple juice.
Preparing for Canning
Ideally, by this stage, your canning jars should be sterilized and hot, and your water bath canner should be at a gentle simmer, ready to receive the filled jars. This minimizes thermal shock to the jars and helps maintain the juice’s temperature.
Filling and Sealing the Jars
Carefully ladle or pour the hot, pasteurized juice into your sterilized jars. It’s essential to leave adequate headspace – approximately ½ inch (1.25 cm) of space – between the surface of the juice and the rim of the jar. This headspace is crucial for proper sealing and to allow for expansion during processing. After filling, use a clean, damp cloth to thoroughly wipe the rims of each jar. Any juice residue on the rim can prevent a proper seal. Place a new, clean lid on each jar, followed by a screw band. Tighten the screw bands only until they are “fingertip tight”—meaning tightened just enough to secure the lid, but not overly tight. Overtightening can prevent air from escaping during processing, which is necessary for a strong vacuum seal.
Processing in the Water Bath Canner
Using your jar lifter, carefully lower the filled and sealed jars into the simmering water bath canner. Ensure that the water completely covers the tops of the jars by at least one inch. Bring the water back to a rolling boil, then start your timer. The processing time varies based on jar size and your altitude:
- For both pint and quart-sized jars, process for 10 minutes if you are at an elevation below 6,000 feet.
- For elevations above 6,000 feet, increase the processing time to 15 minutes for both pint and quart jars.
Cooling and Checking Seals
Once the processing time is complete, carefully remove the jars from the canner using your jar lifter and place them on a towel-lined counter or a wire rack, ensuring they are not touching each other. Allow them to cool undisturbed for 12 to 24 hours. During this cooling period, you should hear a “pop” as the lids seal, indicating a successful vacuum seal.
After the jars have completely cooled, check the seals. Press down on the center of each lid; if it doesn’t flex or “pop” back up, the jar is properly sealed. If any lid does flex, that jar has not sealed. Unsealed jars should be refrigerated and consumed within a few days or reprocessed with a new lid (after checking the jar rim for flaws) within 24 hours.
Store your successfully sealed jars of homemade pineapple juice in a cool, dark, dry place. With proper storage, you’ll have delicious, fresh-tasting pineapple juice ready to enjoy whenever you crave a taste of the tropics.
More Pineapple Canning Recipes
Spicy Pickled Pineapple
Pineapple Mango Salsa
Canning Pineapple Juice
2 cups per pineapple
Canning Pineapple Juice
10
10
10
10
Pin
Rate
Equipment
-
Half Pint Jars
-
Water Bath Canner
-
Jar Lifter
-
Canning Funnel
Ingredients
- Fresh, Ripe Pineapples —about 1 pineapple per pint of juice
- Sugar, optional
Instructions
-
Choose firm, ripe pineapples. Overripe fruit can make the juice less crisp, and underripe fruit will leave you with a tart flavor. Wash the pineapples thoroughly, then cut off the tough outer skin with a sharp knife. Be sure to remove any eyes (those little spiky bits). There’s no need to remove the core—the fiber from the core will be filtered out when you make the juice, and leaving it in helps increase your yield. Finally, cut the fruit into chunks or slices, ready for juicing.
-
If you have a juicer, just toss the pineapple chunks in, and let the juicer do the work. If you don’t have a juicer, don’t worry! Use a blender to puree the pineapple chunks into a smooth mix. Then strain the juice through a fine mesh strainer or cheesecloth to remove any pulp, leaving you with clear, fresh juice. For a sweeter flavor, you can add a little sugar or honey and stir until it dissolves.
-
Before you begin pasteurizing the juice, get your canning jars ready by washing and sterilizing them. Bring a water bath canner to a gentle simmer. Since pasteurizing the juice only takes a few minutes, having the canner ready will help keep things moving smoothly.
-
Pour the fresh juice into a large pot and heat over medium heat. Stir occasionally to ensure it heats evenly. You want the juice to reach between 185°F and 210°F (85°C to 99°C). If you don’t have a thermometer, you’ll know the juice is ready when small bubbles start forming along the edges, but it shouldn’t be boiling. Be sure to skim off any foam that forms at the surface. Avoid boiling the juice to prevent cloudiness and a cooked flavor.
-
Carefully pour the hot, pasteurized juice into the sterilized jars, leaving about ½ inch of headspace at the top. Wipe the rims of the jars with a clean cloth to remove any juice residue that could affect the seal. Place the lids on the jars and tighten the rings until they’re “fingertip tight”—don’t overtighten, or the jars won’t seal properly.
-
Carefully lower the jars into the simmering water bath canner, ensuring the water covers the jars by at least an inch. Process the jars for 10 minutes at elevations below 6,000 feet, or 15 minutes above 6,000 feet.
-
Once the processing time is up, carefully remove the jars from the canner and allow them to cool. Check the seals by pressing down on the center of each lid—if it doesn’t pop back, the jar has sealed properly. Store the sealed jars in a cool, dark place, and your homemade pineapple juice is ready to enjoy!
Notes
I use this same process for canning apple cider to keep the fresh apple flavor in the jar.
Nutrition
Calories: 125kcal,
Carbohydrates: 30g,
Protein: 1g,
Fat: 0.3g,
Saturated Fat: 0.02g,
Polyunsaturated Fat: 0.1g,
Monounsaturated Fat: 0.03g,
Sodium: 5mg,
Potassium: 307mg,
Fiber: 0.5g,
Sugar: 24g,
Vitamin A: 12IU,
Vitamin C: 24mg,
Calcium: 31mg,
Iron: 1mg
Nutrition information is automatically calculated, so should only be used as an approximation.
Enjoyed this recipe? Share your thoughts below!
More Pineapple Canning Ideas
Looking for even more creative ways to preserve the tropical goodness of pineapple? Expand your canning repertoire with these delicious recipes:
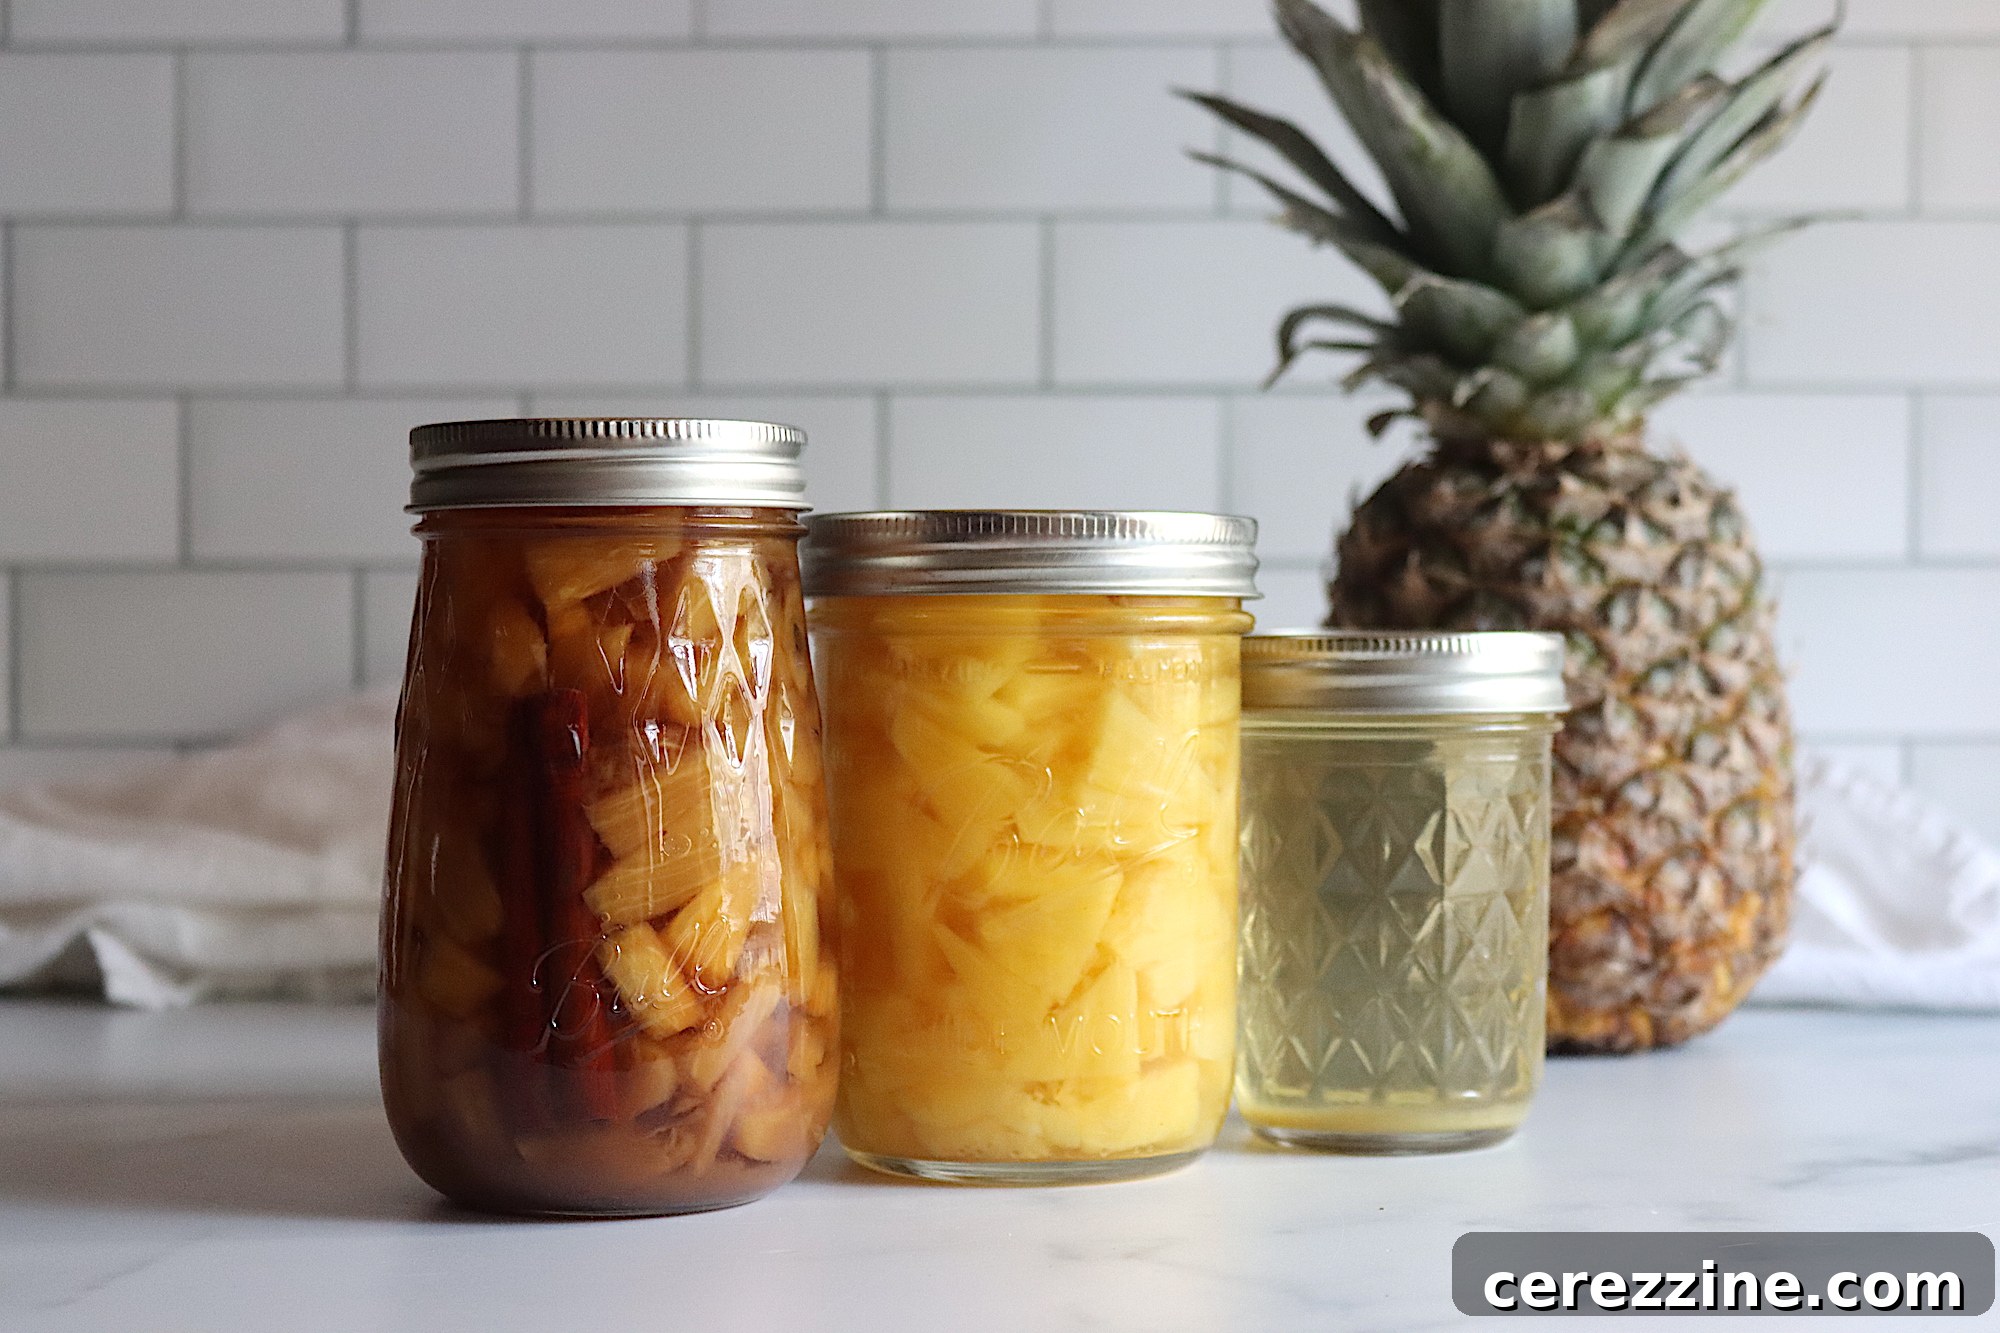
- Canning Pineapple Chunks: A classic way to enjoy pineapple pieces year-round.
- Spiced Pickled Pineapple: A unique sweet and savory treat, perfect for adding a zesty kick to meals or charcuterie boards.
Other Refreshing Juice Canning Recipes
Pineapple is just one of many delicious juices you can preserve in a jar. If you’ve enjoyed the process of canning pineapple juice, consider exploring other fruit juices to stock your pantry:
- Canning Apple Cider: Capture the crisp, autumnal flavor of fresh apple cider for any season.
- Canning Strawberry Juice: A sweet and vibrant juice that brings the taste of summer to your table.
- Canning Lemonade: Homemade lemonade, ready to mix and enjoy, is a perfect thirst-quencher.