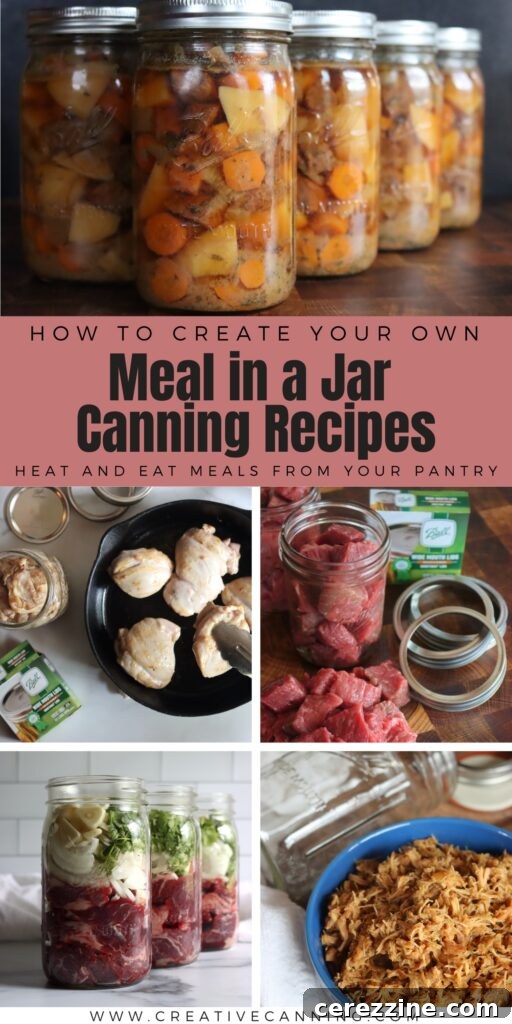
Mastering Meal-in-a-Jar Pressure Canning: Your Ultimate Guide to Shelf-Stable Homemade Meals
Imagine a pantry stocked with delicious, ready-to-eat meals, prepared with your favorite ingredients, all waiting to be enjoyed. Creating your own meal-in-a-jar canning recipes through pressure canning makes this vision a reality, offering unparalleled convenience, flavor, and a rewarding sense of self-sufficiency. This comprehensive guide will walk you through the process, ensuring your homemade, shelf-stable meals are not only mouth-watering but also perfectly safe.
By adhering to established pressure canning guidelines, you can transform fresh ingredients into convenient, long-lasting meals that are ideal for busy weeknights, emergency preparedness, or simply enjoying the fruits of your labor. We’ll delve into the essential principles, ingredient selection, and step-by-step procedures endorsed by experts like the National Center for Home Food Preservation (NCHFP) and the University of Alaska Extension, empowering you to safely develop your very own custom meal recipes.
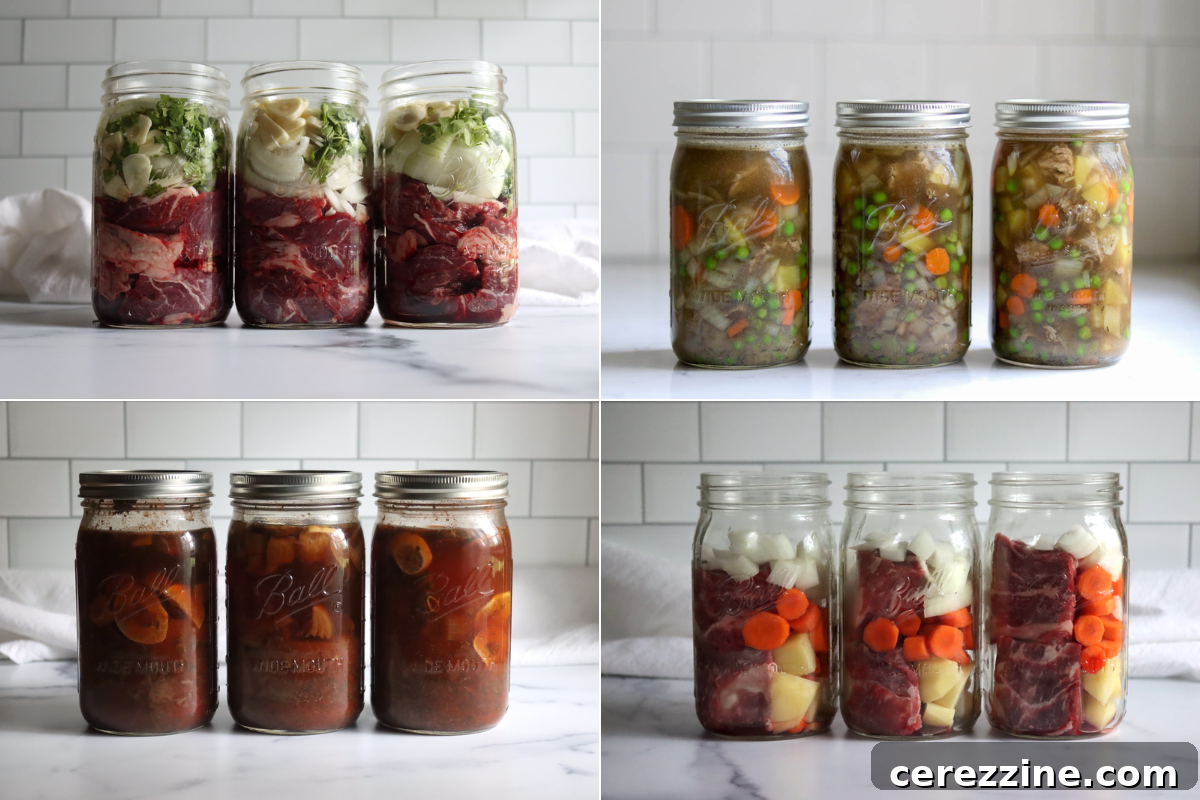
Understanding the Basics of Meal-in-a-Jar Canning
Meal-in-a-jar recipes for home canning typically fall into two main categories, primarily distinguished by the ratio of solid ingredients to liquid. This distinction is crucial for ensuring proper heat penetration during the pressure canning process, which is vital for food safety.
Brothy Meals: Lighter & More Versatile
Brothy meals, as the name suggests, are dishes where the jars are intentionally filled only halfway with solid ingredients, with the remaining space filled with a flavorful liquid like broth or stock. Examples include classic chicken and vegetable soup, light stews, or even a fish chowder base that can be enhanced with dairy later. This higher liquid content allows for shorter processing times and often accommodates a wider variety of ingredients, including certain items that are restricted in hearty meals. At serving time, the liquid can be reduced or strained, depending on your desired consistency.
Hearty Meals: Substantial & Full-Bodied
In contrast, hearty meals are packed densely with ingredients, leaving minimal broth or liquid in the jar. Think robust dishes like beef stew, pot roast, beef stroganoff, flavorful curries, chili, or even sloppy joe filling. These substantial meals require longer processing times due to their density, ensuring that heat thoroughly penetrates all solid ingredients for safe preservation. While more restrictive in terms of ingredient choices, hearty meals deliver a complete, fulfilling dining experience directly from the jar.
Although these guidelines were originally developed for “soups,” their principles are broadly applicable, enabling you to create diverse meal-in-a-jar canning recipes that extend far beyond traditional soups.
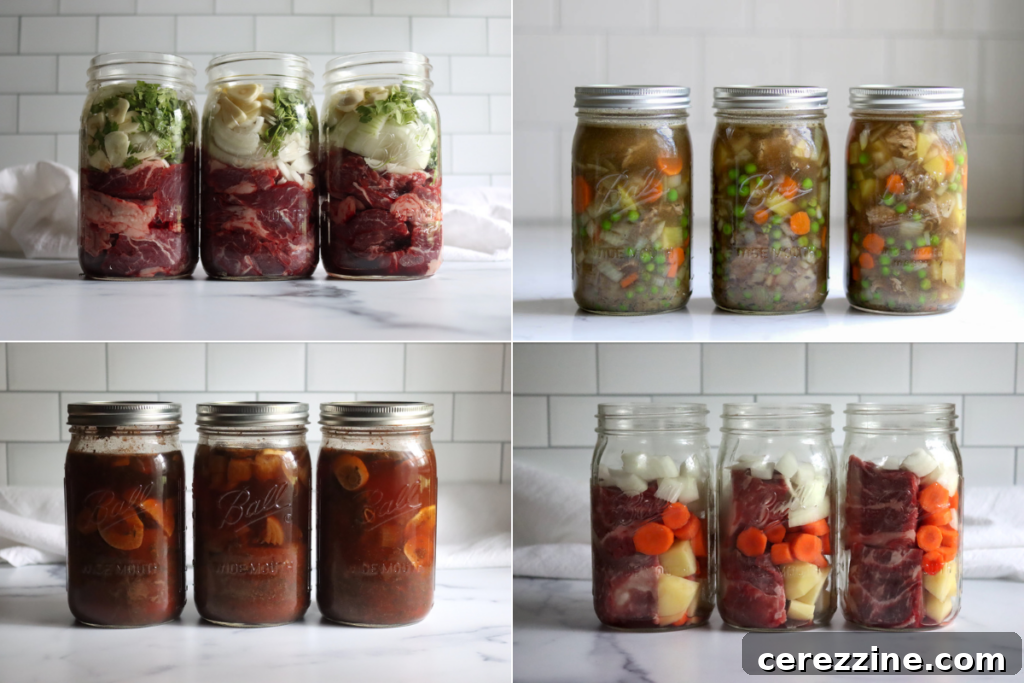
Selecting Safe Ingredients for Your Meal-in-a-Jar
The success and safety of your meal-in-a-jar canning recipes hinge on using ingredients that are approved for home pressure canning. This isn’t just about taste; it’s about ensuring proper heat distribution and preventing spoilage. Here’s a detailed look at what you can and cannot safely include.
Approved Vegetables for Pressure Canning
A wide array of vegetables can be safely included in your home-canned meals. These vegetables have tested canning guidelines that confirm their ability to withstand the pressure canning process while remaining safe for consumption. Always ensure they are fresh, thoroughly washed, and prepared according to specific canning recommendations (e.g., peeled, chopped to appropriate sizes).
- Tomatoes (especially for flavor and acidity balance)
- Carrots (chopped or sliced)
- Green beans
- Peas
- Corn (whole kernel, not creamed)
- Beets
- Peppers (sweet bell peppers or hot chilies)
- Asparagus
- Potatoes (cubed, not mashed or pureed)
- Pumpkin (cubed, never pureed)
- Spinach and other cooking greens (e.g., Swiss chard, kale, collards – *not lettuce*)
- Onions
- Garlic and Leeks (can be added, even without standalone canning recipes)
While plain cabbage is generally not recommended, sauerkraut is permissible due to its tested canning recipe and high acidity. Furthermore, dry beans (like kidney, black, or pinto beans) are excellent additions, provided they are thoroughly pre-soaked and cooked before canning, following specific bean canning instructions.
Meat and Seafood: Protein Powerhouses
Meat, poultry, and seafood are perfectly safe for pressure canning and form the backbone of many hearty meals. It’s crucial to follow the specific canning instructions for each type of protein. For example, ground meat must be browned and crumbled before canning, as seen in canning taco meat or canned hamburger. Large cuts of meat should be cooked until tender, with bones and excess fat removed, then cut into bite-sized pieces. Fish and seafood should also be cut into appropriate pieces; small bones in fish may remain. This pre-preparation ensures optimal safety and quality in the finished product.
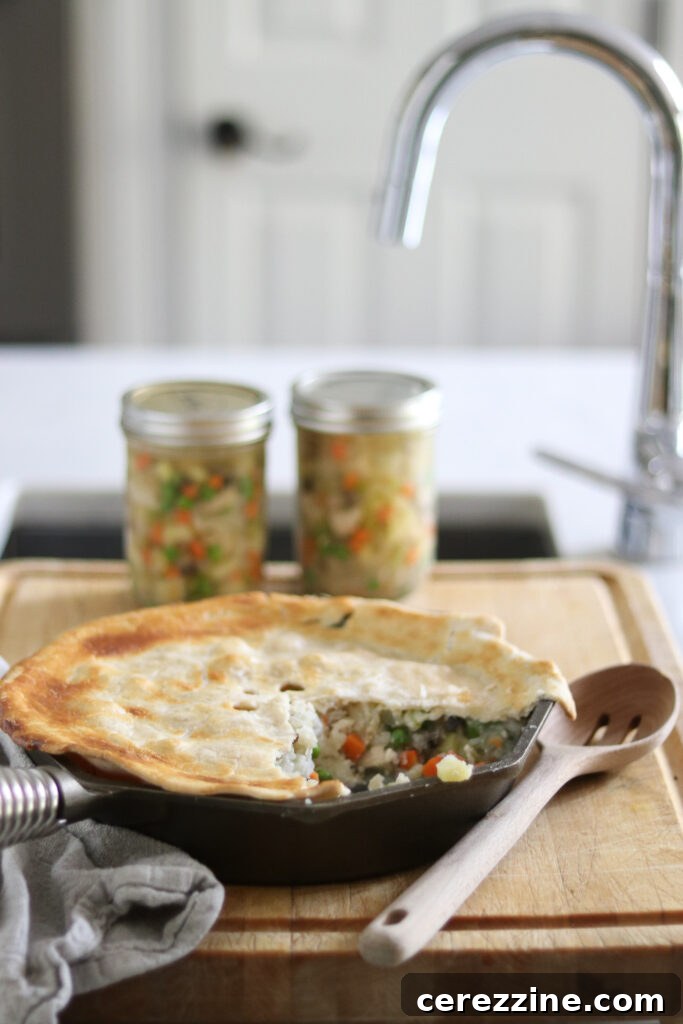
Crucial Safety Considerations for Pressure Canning
When it comes to home canning, safety is paramount. The primary risk with low-acid foods (which most meal ingredients are) is the growth of Clostridium botulinum, the bacteria that causes botulism. This is why pressure canning is not just a recommendation but a strict requirement for all meal-in-a-jar recipes.
Why Pressure Canning is Essential
Pressure canners achieve temperatures significantly higher than the boiling point of water (212°F or 100°C), which is necessary to destroy botulism spores. Water bath canning, suitable only for high-acid foods like fruits, pickles, and jams, does not reach these critical temperatures and therefore is unsafe for canning meats, vegetables, and beans commonly found in meals. Never attempt to water bath can any meal-in-a-jar recipe.
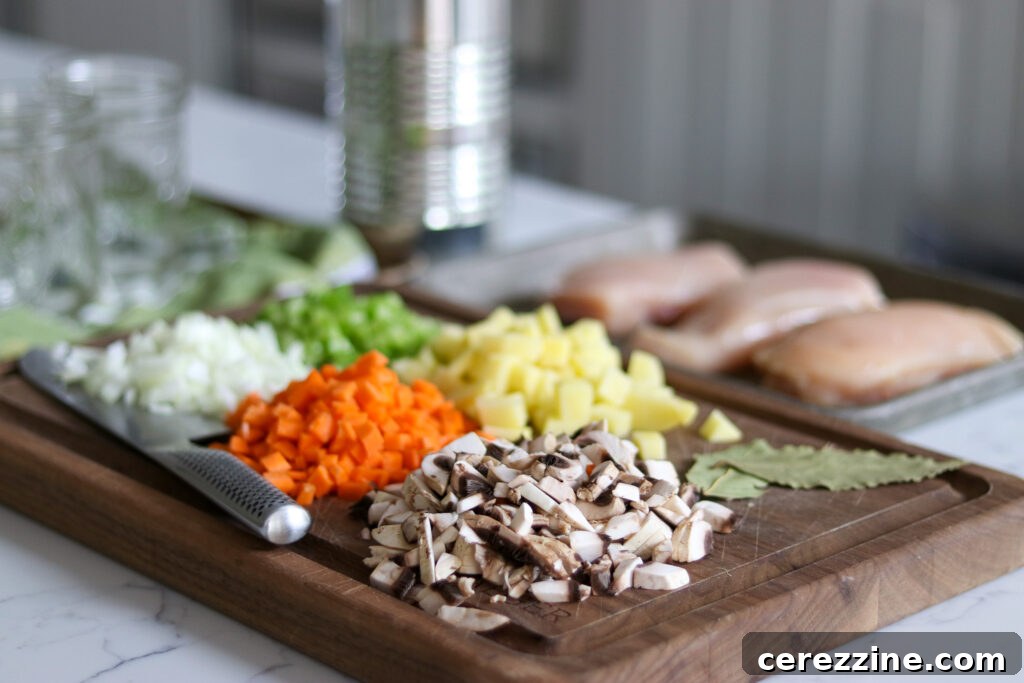
Ingredients to Avoid in Pressure-Canned Meals
Certain ingredients must be strictly excluded from any pressure-canned meal recipe, as they can interfere with the canning process, compromise safety, or lead to undesirable quality issues. These exclusions apply to both brothy and hearty meal types:
- Thickening Agents: Flour, cornstarch, arrowroot, or other thickeners can prevent proper heat penetration by creating dense pockets within the jar. Add these at serving if desired.
- Dairy Products: Milk, cream, cheese, or butter can curdle, become oily, or create unsafe conditions during canning. Canning milk separately requires specific methods and is not suitable for mixed meals. Add dairy after opening and reheating.
- Pasta, Rice, or Grains: These absorb liquid, swell significantly, and can become mushy, creating a dense environment that hinders effective heat transfer. Cook and add them after reheating the canned meal.
- Bread Products: Breadcrumbs, dumplings, or croutons are unsafe and will break down into an unappetizing texture.
- Cured Meats: Ham, bacon, or other cured meats often contain nitrites and nitrates which can react unpredictably or affect safety during the high heat of pressure canning.
- Pureed Vegetables: While cubed pumpkin is safe, pureed vegetables can be too dense, preventing uniform heat distribution.
Specific Ingredients Lacking Canning Guidelines
Several common ingredients, despite their popularity in cooking, lack specific, tested home canning instructions. This absence typically stems from safety concerns, textural degradation, or unknown heat penetration properties. Therefore, these should not be included in your meal-in-a-jar recipes:
- Cabbage (and related vegetables like broccoli, cauliflower, Brussels sprouts)
- Eggplant
- Summer Squash & Zucchini (they become very mushy and dense)
- Celery
- Lettuce and other delicate salad greens (Kale and collards are acceptable as cooking greens)
- Avocados
- Cucumbers
- Melons
- Bananas
- Coconut or Coconut Milk (no tested guidelines exist for safety)
Ingredients like eggplant and summer squash tend to break down excessively, forming a dense mass that impedes even heating. Similarly, tender leafy greens can become overly compacted. Fruits like melons and bananas lack the necessary acidity for water bath canning and typically don’t maintain acceptable quality when pressure canned. For ingredients like coconut milk, if your recipe calls for it (e.g., in a curry), it’s best to add it fresh when you reheat and serve the meal, enhancing both safety and flavor.
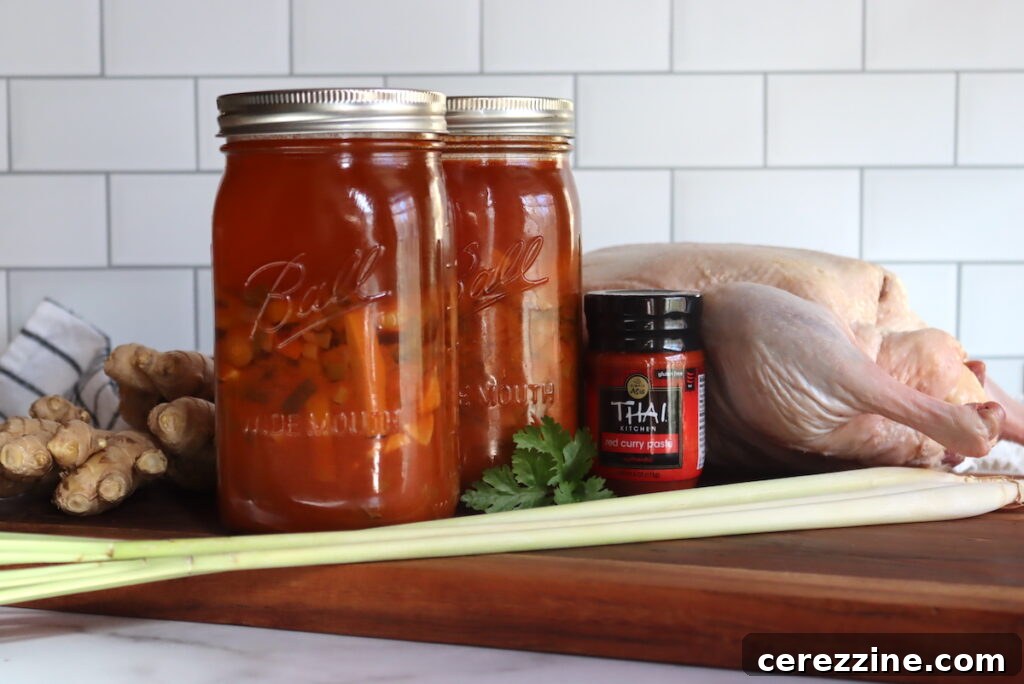
Guidelines for Creating Hearty Meal-in-a-Jar Recipes
Hearty meals, designed to fill the jar with substantial ingredients and minimal liquid, are perfect for creating complete, satisfying dishes. This category allows you to preserve many of your homemade favorites, provided you adhere to specific restrictions to ensure safe heat penetration.
Approved Ingredients for Hearty Meals
- Canning-safe vegetables (refer to the approved list above, excluding those specifically restricted for hearty meals).
- Meat, poultry, or seafood (pre-cooked and cut into bite-sized pieces).
- Broth, stock, or water (used minimally to achieve 1-inch headspace).
- Fresh or dried herbs and spices (to taste, add generously as flavors can mellow during canning).
Ingredients NOT to Add to Hearty Meals
Due to the dense packing and limited liquid, hearty meals have stricter ingredient prohibitions compared to brothy meals. These ingredients can interfere with safe heat transfer or degrade significantly in quality:
- Thickening agents (flour, cornstarch, etc.)
- Dairy products (milk, cream, cheese)
- Noodles, pasta, rice, or other grains
- Pureed vegetables
- Ham, bacon, or cured meats
- Any ingredients lacking specific canning guidelines (e.g., plain cabbage, eggplant, summer squash, celery)
- Specifically for Hearty Meals (but allowed in Brothy Meals):
- Dry beans or legumes (unless already fully cooked to tenderness and limited in quantity, better for brothy)
- Leafy greens (kale, spinach, etc. – too dense when fully packed)
- Cream-style corn (regular whole kernel corn is fine)
- Winter squash (cubed is usually safe in brothy, but too dense for hearty)
- Sweet potatoes (cubed is usually safe in brothy, but too dense for hearty)
If your desired meal includes dry beans, leafy greens, winter squash, sweet potatoes, or creamed corn, consider converting it into a brothy meal to ensure safety and quality.
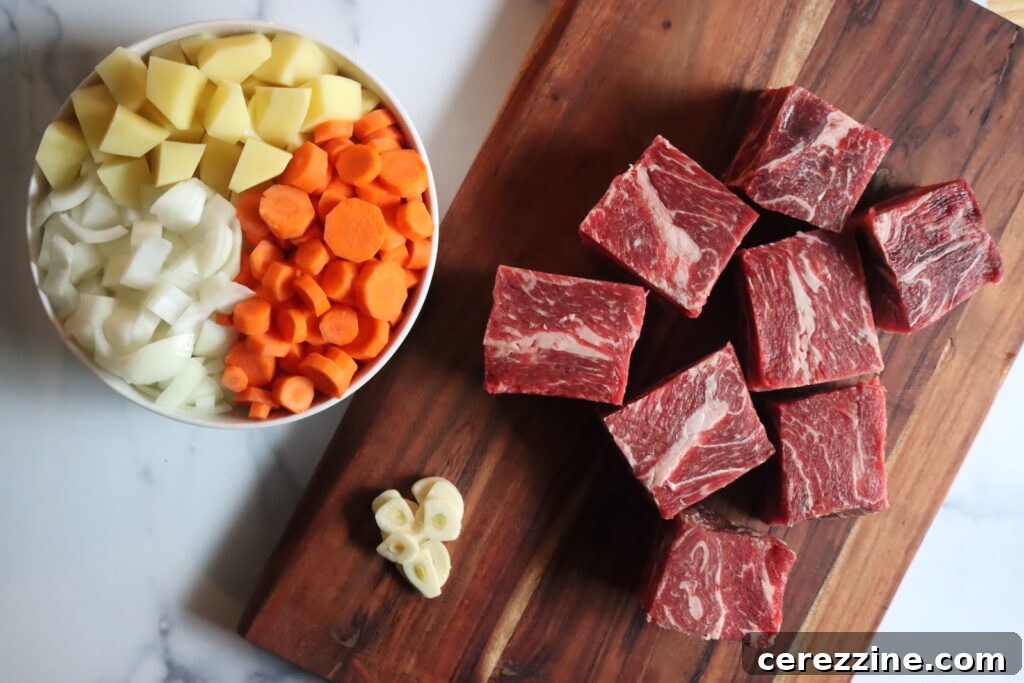
Preparing Hearty Meals for Canning
- Choose and Prepare Ingredients: Select fresh, high-quality ingredients that have approved canning recommendations. Wash, peel, and chop vegetables according to their specific canning guidelines. Cook meat or poultry until tender, remove bones and excess fat, then cut into bite-sized pieces. If using seafood, cut into appropriate pieces; small fish bones may remain. All ingredients should be “hot packed” for best quality.
- Combine and Simmer: Place all solid ingredients into a large pot. Cover them with hot liquid (broth, stock, or water). Bring the mixture to a boil and simmer for 5 minutes. This hot packing method helps to remove air and ensures better quality and seal integrity.
- Fill Jars: Carefully pack the hot solid ingredients into clean, hot canning jars, leaving precisely 1 inch of headspace from the top rim of the jar. Ladle hot liquid over the solids, maintaining that 1-inch headspace. Remove any air bubbles with a non-metallic utensil, wipe jar rims clean, and center new, pre-warmed lids. Apply screw bands finger-tight.
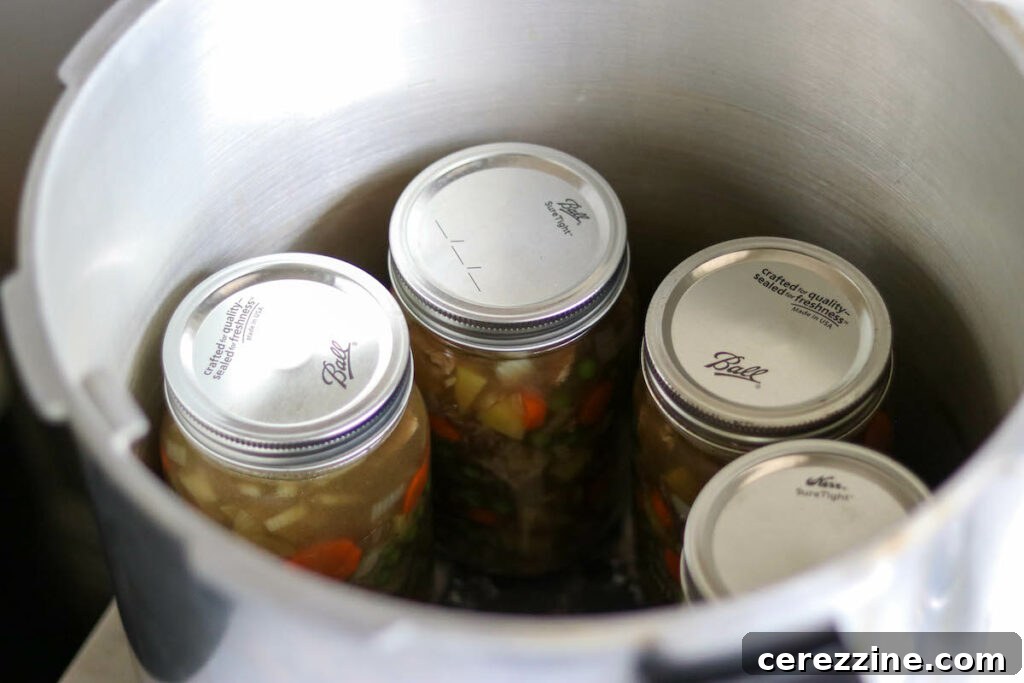
- Process in Pressure Canner: Place the prepared jars into your pressure canner. Process according to the recommended times below. Ensure your pressure canner is properly vented before raising to pressure, and always adjust pressure for your altitude.
Processing Times for Hearty Meals
These times are crucial for destroying harmful bacteria. Always refer to a tested canning guide for specific foods if in doubt.
- Pint jars: 75 minutes
- Quart jars: 90 minutes
- Seafood (pints only): 100 minutes
Note that for hearty meal-in-a-jar recipes containing seafood, only pint jars are permitted. For all other hearty meals, both pint and quart jars can be used. Remember to consult the altitude adjustment table at the end of this guide and adjust your canner pressure accordingly.
Guidelines for Creating Brothy Meal-in-a-Jar Recipes
If you’re willing to fill your jars only halfway with solids, the “brothy meal” category offers greater flexibility in ingredient choices, including items restricted in hearty meals. At serving, you can easily reduce the liquid for a thicker consistency or strain it for a lighter dish. When beans are included, they absorb a significant amount of liquid during canning, often resulting in jars that appear two-thirds to three-quarters full, which works out perfectly for the finished product.
Approved Ingredients for Brothy Meals
Brothy meal recipes allow for a more expansive list of ingredients:
- Fresh vegetables (e.g., carrots, celery, bell peppers, leafy greens like kale/spinach, winter squash, sweet potatoes)
- Meat or poultry (pre-cooked and cut into pieces)
- Fish (in small pieces)
- Pre-soaked and fully cooked dry beans (this is a key advantage over hearty meals)
- Water, broth, stock, wine, or juice (as the primary liquid component)
- Fresh or dried herbs and spices
Ingredients NOT to Add to Brothy Meals
Even with greater flexibility, core canning safety rules still apply. Avoid the following:
- Thickening agents (flour, cornstarch)
- Dairy products
- Noodles, pasta, rice, or other grains
- Pureed vegetables
- Ham, bacon, or cured meats
- Any ingredients lacking specific canning guidelines (e.g., eggplant, summer squash, avocado, coconut)
Preparing Brothy Meals for Canning
- Choose and Prepare Ingredients: Select ingredients with approved canning recommendations. Wash, peel, and chop vegetables according to their specific canning guidelines. Cook meat or poultry until tender, remove bones and excess fat, then cut into bite-sized pieces. Seafood should be cut into small pieces; small fish bones may remain. If using dried beans, ensure they are fully rehydrated by soaking and then pre-cooked to tenderness. All ingredients should be “hot packed.”
- Combine and Simmer: Mix all prepared solid ingredients in a large pot. Cover them with liquid (water, broth, or stock), ensuring enough liquid to simmer. Bring the mixture to a boil and simmer for 5 minutes. Incorporate your chosen herbs and spices during this step.
- Fill Jars: Using a slotted spoon, fill clean, hot canning jars halfway with the hot solid ingredients. Then, pour the hot liquid over the solids, leaving precisely 1 inch of headspace. Remove any air bubbles, wipe jar rims clean, and center new, pre-warmed lids. Apply screw bands finger-tight.
- Process in Pressure Canner: Load the jars into your pressure canner. Process according to the recommended times below, ensuring proper venting and adjusting pressure for your altitude.
Processing Times for Brothy Meals
These processing times are specifically calibrated for brothy meals with a higher liquid-to-solid ratio.
- Pint jars: 60 minutes
- Quart jars: 75 minutes
- Seafood (pints and quarts): 100 minutes
Essential Altitude Adjustments for Pressure Canning
Altitude profoundly affects canning pressure, as water boils at lower temperatures at higher elevations. To ensure food safety, it’s critical to adjust your canner’s pressure according to your local altitude. These adjustments apply uniformly to all pressure canning recipes, regardless of whether they are brothy or hearty meals.
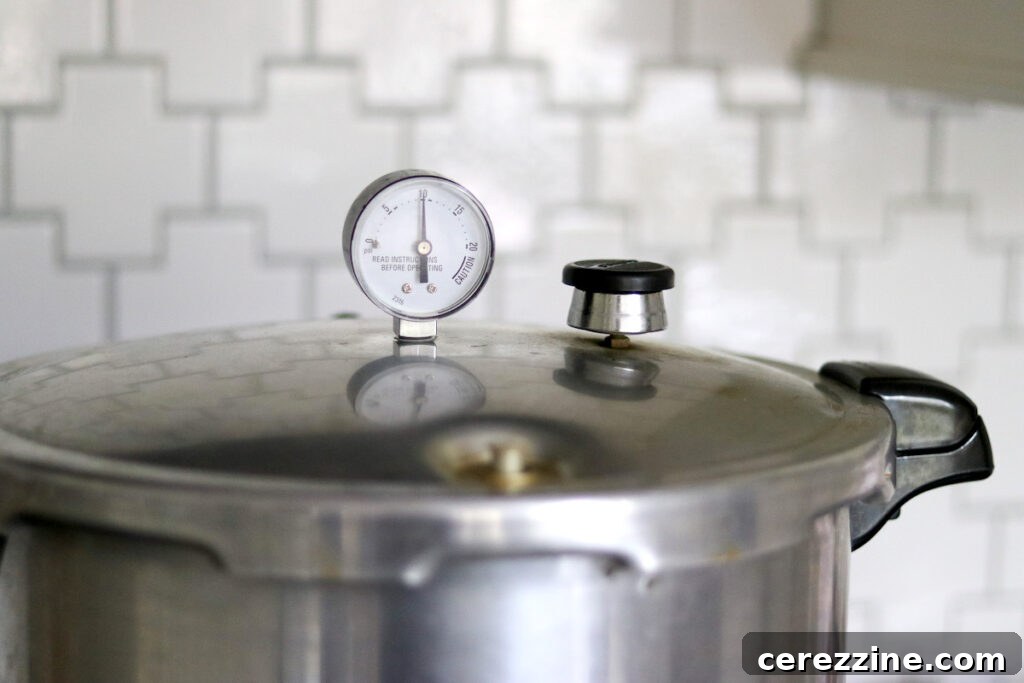
For Dial Gauge Pressure Canners:
- 0 to 2,000 feet: 11 lbs pressure
- 2,001 to 4,000 feet: 12 lbs pressure
- 4,001 to 6,000 feet: 13 lbs pressure
- 6,001 to 8,000 feet: 14 lbs pressure
For Weighted Gauge Pressure Canners:
- 0 to 1,000 feet: 10 lbs pressure
- Above 1,000 feet: 15 lbs pressure
Always maintain the recommended pressure throughout the entire processing time. Fluctuations can compromise the safety of your canned goods.
Checking Seals and Proper Storage of Canned Meals
After the pressure canning process is complete, the final steps of checking seals and proper storage are vital for ensuring the longevity and safety of your delicious meal-in-a-jar creations.
Checking for a Proper Seal
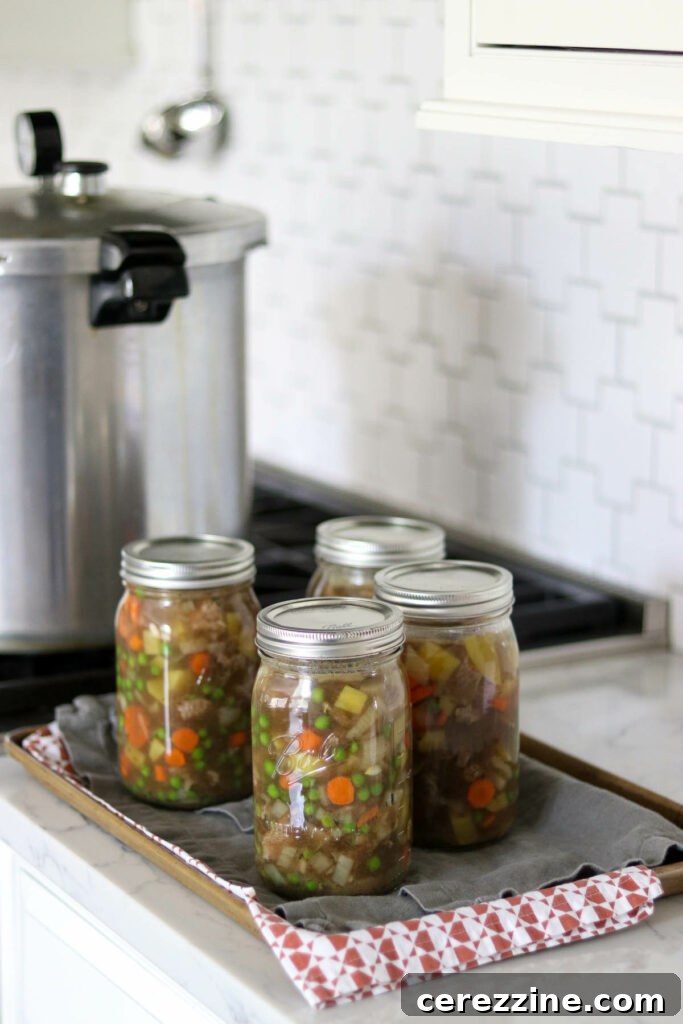
Allow the jars to cool undisturbed for 12 to 24 hours on a countertop away from drafts. This cooling period is essential for the seals to fully form. Once completely cool, check each jar’s seal:
- Press the Center of the Lid: A properly sealed lid should be concave (curved inward) and should not flex or pop when pressed.
- Tap the Lid: A clear, high-pitched ringing sound often indicates a good seal, while a dull thud might suggest an improper seal.
- Visual Inspection: The lid should be firmly attached and not easily removed.
Any jars that haven’t sealed properly must be refrigerated immediately and consumed within a few days. Do not reprocess unsealed jars of low-acid foods, as the quality and safety can be compromised.
Storing Your Canned Meals
For successfully sealed jars, remove the screw bands. While bands help secure the lid during processing, leaving them on during storage can hide false seals or trap moisture, leading to rust and potential seal breakage. Wash and dry the jars thoroughly to remove any residue. Label each jar clearly with its contents and the date it was canned.
Store your sealed jars (without the rings) in a cool, dark, and dry place. Ideal temperatures range between 50-70°F (10-21°C). Avoid storing in areas prone to extreme temperature fluctuations, direct sunlight, or moisture, as these can degrade food quality and potentially compromise seals. While properly canned and sealed meals can remain safe indefinitely, it’s generally recommended to consume them within 12-18 months for optimal flavor and texture quality.
Shelf Life and Reheating Canned Meals
With proper sealing and storage, your home-canned meals can have an impressively long shelf life. Safety is maintained indefinitely as long as the seal remains intact. However, for the best quality, flavor, and texture, it is advisable to consume your canned goods within 12 to 18 months. Beyond this period, while still safe, the food may experience some degradation in taste and texture.
Reheating your meal-in-a-jar is incredibly simple:
- Stovetop: Empty the contents into a saucepan and simmer over medium heat for about 10 minutes, or until thoroughly heated through. You can adjust consistency by adding more liquid or simmering longer to reduce.
- Microwave: Transfer the meal to a microwave-safe dish. If heating directly in the canning jar, ensure you remove the metal lid and ring first. Heat in intervals until warm throughout.
Delicious Meal-in-a-Jar Recipe Ideas
The possibilities for creating custom meal-in-a-jar canning recipes are endless! Once you understand the core principles, you can adapt many of your favorite recipes. For even more inspiration, explore our extensive collection of over a hundred Meal in a Jar Canning Recipes. Here are some popular and versatile favorites to get you started:
- Pot Roast in a Jar: Tender beef and vegetables in a rich gravy.
- Beef Stroganoff: A savory beef and mushroom dish (add cream/pasta at serving).
- Beef Pot Pie Filling: Ready for a crust (add crust at serving).
Canning Meals in a Jar (Customizable Recipe Framework)
These guidelines will allow you to safely create your own meal-in-a-jar canning recipe using guidance from the National Center for Home Food Preservation and the University of Alaska Cooperative Extension.
Preparation and Processing Overview
Prep Time: 20 minutes
Cook Time: 10 minutes (for pre-simmering)
Canning Time: 1 hour 30 minutes (varies by meal type & jar size)
Total Time: Approximately 2 hours (excluding canner cool-down)
Servings: Minimum 2 Quarts or 4 Pints (batch size)
Equipment Needed
- Pressure Canner
- Wide Mouth Quart Mason Jars (or pint jars)
- Wide Mouth Canning Lids (new for each use)
- Canning Funnel
- Jar Lifter
- Large pot for simmering ingredients
- Non-metallic spatula or bubble remover
Ingredient Choices for Both Meal Types (Choose Your Own)
- Fresh vegetables: e.g., carrots, onions, green beans, peas, corn, potatoes (cubed), bell peppers.
- Meat: e.g., beef, chicken, pork (pre-cooked, cut into cubes or browned ground meat).
- Fish or seafood: in bite-sized pieces (pre-cooked).
- Pre-soaked and fully cooked beans: Only for Brothy Meals.
- Broth or stock, water, or wine (as liquid).
- Herbs and spices: fresh or dried, to taste.
Instructions for Brothy Meals (Half-Filled Jars)
- Ingredient Selection: Use only canning-approved ingredients. Exclude flour, dairy, cheese, bread, or thickening agents. Brothy meals *can* include dry beans, leafy greens, winter squash, and sweet potatoes.
- Ingredient Preparation: Prepare all components as you would for individual canning. Wash, peel, and chop vegetables. Pre-cook dense vegetables. Cook meat until tender, remove excess fat and bones, and cut into bite-sized pieces; brown ground meats. Cut fish/seafood into small chunks. Fully rehydrate and cook dried beans.
- Combine and Simmer: Mix prepared solids in a large pot. Add enough liquid to cover plus 2-3 inches. Bring to a boil and simmer for 5 minutes. Add desired herbs and spices.
- Fill Jars: Use a slotted spoon to fill clean, hot jars halfway with solids. Then, add hot liquid, maintaining 1-inch headspace. Remove air bubbles, wipe rims clean, and secure new lids with screw bands finger-tight.
- Pressure Canning: Process in a pressure canner for 60 minutes for pint jars, 75 minutes for quart jars. For seafood recipes, process both pints and quarts for 100 minutes. Adjust pressure for your altitude (refer to altitude chart).
- Cool and Store: Allow jars to cool completely (12-24 hours) before checking seals. Store sealed jars (without rings) in a cool, dark place.
Instructions for Hearty Meals (Full Jars)
- Ingredient Selection: Use only canning-approved ingredients. Exclude flour, dairy, cheese, bread, or thickening agents. For hearty meals, specifically avoid dry beans, leafy greens, winter squash, sweet potatoes, or creamed corn.
- Ingredient Preparation: Prepare ingredients as described for brothy meals (e.g., cooking meats, chopping vegetables).
- Combine and Simmer: Add all prepared solids to a large pot, cover with hot broth or water. Bring to a boil and simmer for 5 minutes.
- Fill Jars: Pack the hot solid ingredients into clean, hot jars to 1-inch from the top. Add hot broth/liquid to maintain 1-inch headspace. Remove air bubbles, wipe rims, and secure new lids with screw bands finger-tight.
- Pressure Canning: Process in a pressure canner for 75 minutes for pint jars, 90 minutes for quart jars. For seafood recipes, process pints only for 100 minutes. Adjust pressure for your altitude.
- Cool and Store: Allow jars to cool completely (12-24 hours) before checking seals. Store sealed jars (without rings) in a cool, dark place.
Important Notes for Customizable Canning
- The total yield and nutrition facts will depend on your specific recipe and chosen ingredients.
- Brothy Meals: Jars are half-filled with solids before adding liquid to 1-inch headspace. Pre-cooked beans will expand.
- Hearty Meals: Jars are mostly filled with solids to 1-inch headspace. Do not include dry beans, leafy greens, winter squash, sweet potatoes, or creamed corn in this style.
- Never Add: Dairy products, thickeners, pasta, rice, or any ingredients without specific, tested canning guidelines.
- Prepare all ingredients according to their individual canning recommendations (e.g., pre-cooking meats, soaking beans).
- Seafood in hearty meals can only be safely canned in pint jars.
- Minimum Batch Size: 2 quarts or 4 pints for consistent processing. Maximum depends on your canner’s capacity.
- Shelf Life: Indefinite if properly sealed and stored, but best quality within 12-18 months. Always check seals before use.
- Raw Pack vs. Hot Pack: This framework uses a “hot pack” method, where ingredients are heated before being placed in jars. This method, supported by NCHFP guidelines, generally yields better quality and consistent heat distribution. While some sources now use “raw pack” for convenience, “hot pack” remains the established recommendation.
- Altitude Adjustments: Canning times are constant, but pressure must be adjusted based on your altitude (refer to the full altitude chart above).
- Reheating: Simmer on the stovetop for 10 minutes or heat in the microwave (removing metal lid/ring first).
Expand Your Canning Creativity
Ready to explore more opportunities to customize your preserving efforts? Here are additional resources to inspire your culinary adventures in home canning:
- How to Create Your Own Soup Canning Recipe