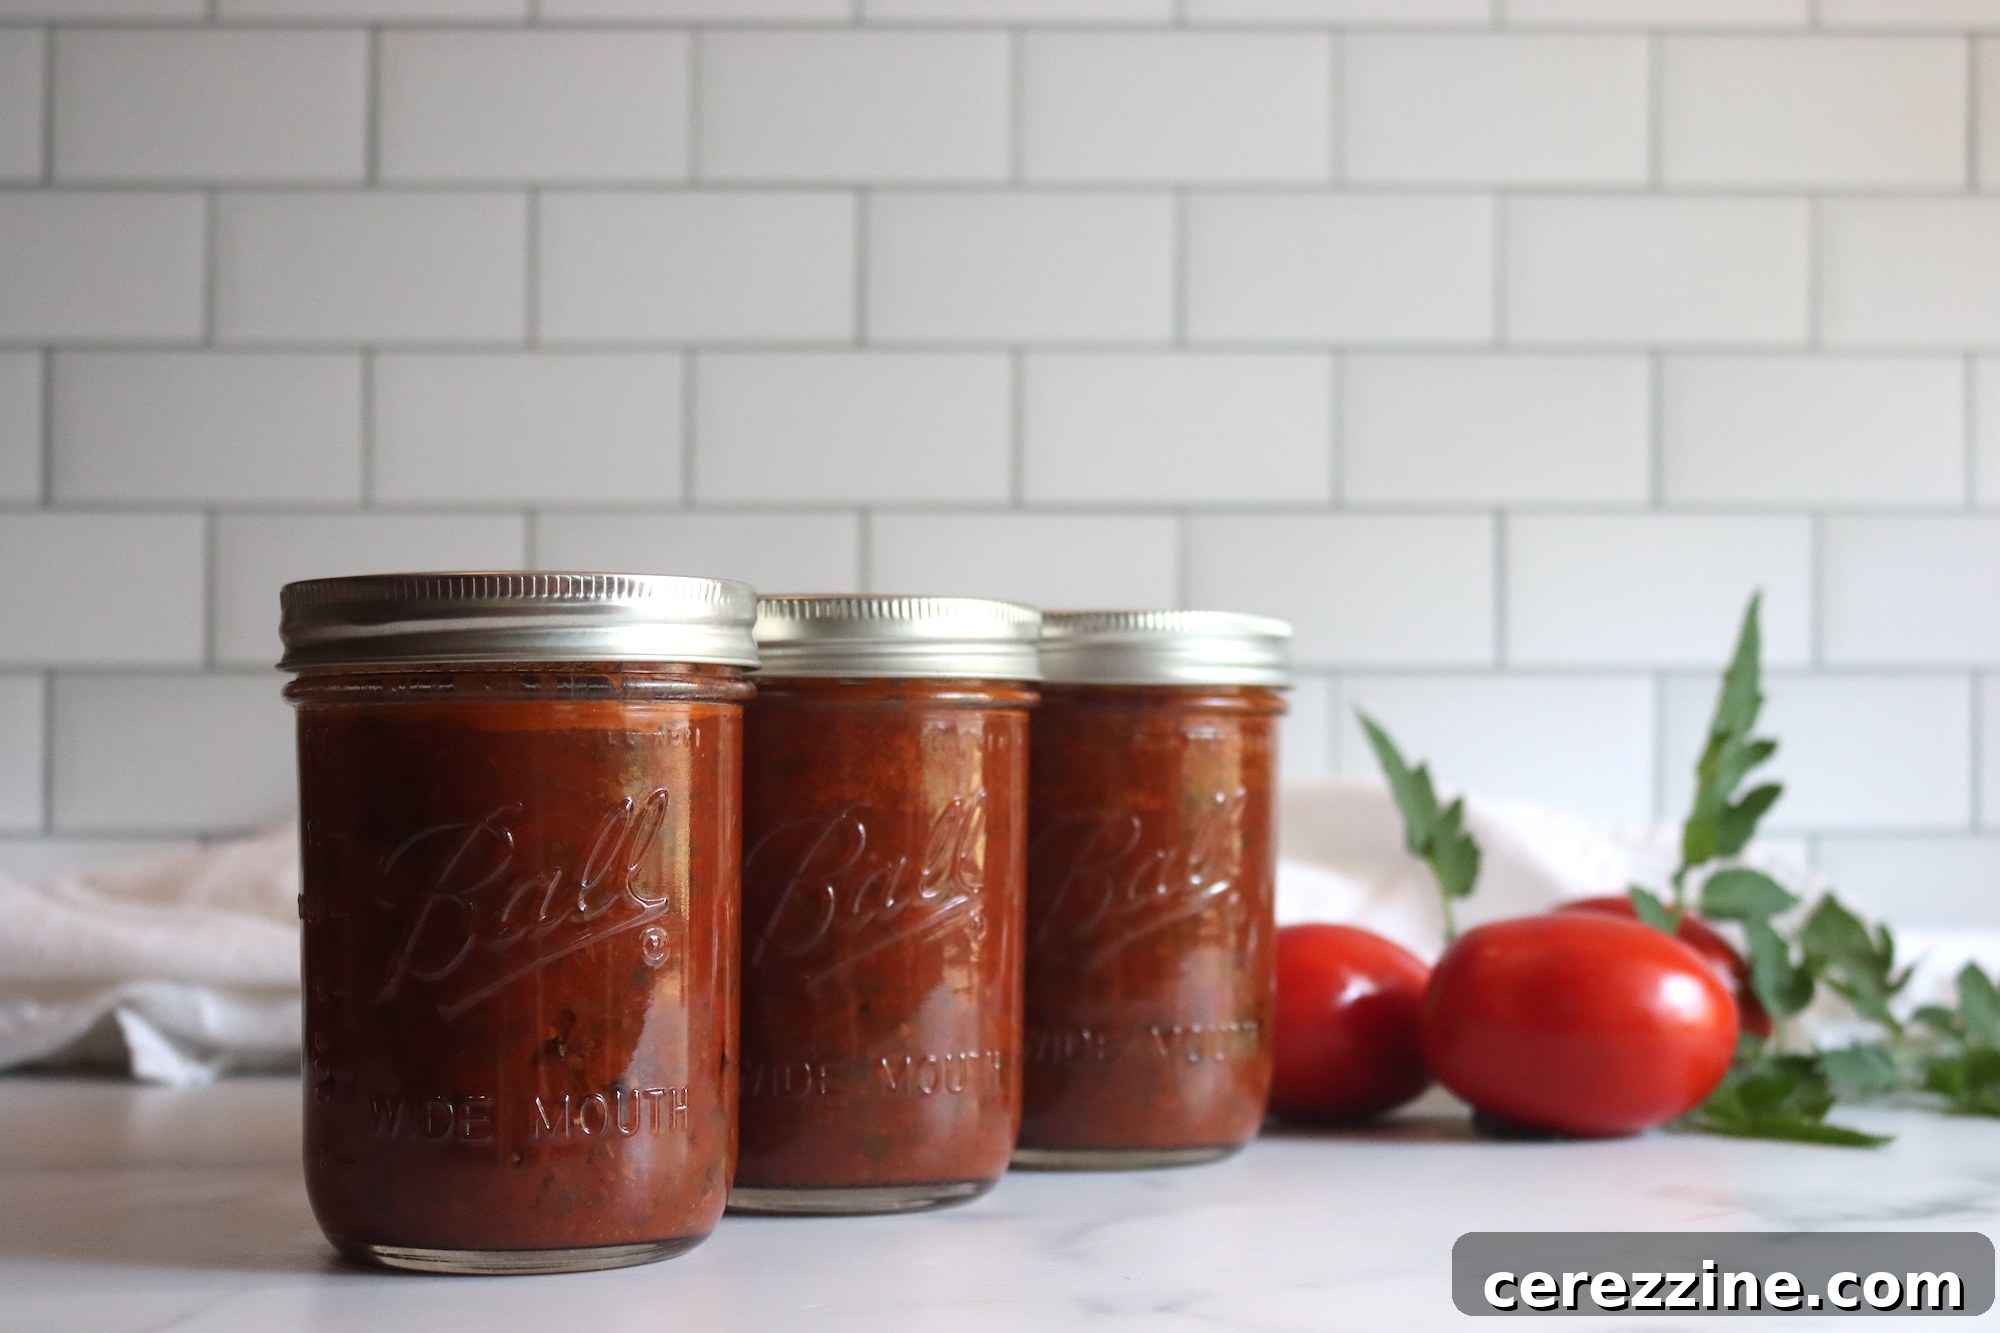
Canning your own pasta sauce with meat offers a remarkable way to capture the essence of peak-season tomatoes and enjoy a comforting, protein-rich meal at any time. Imagine the convenience of a homemade, hearty sauce, ready to transform a simple weeknight pasta dish into a culinary delight, all straight from your pantry shelf.
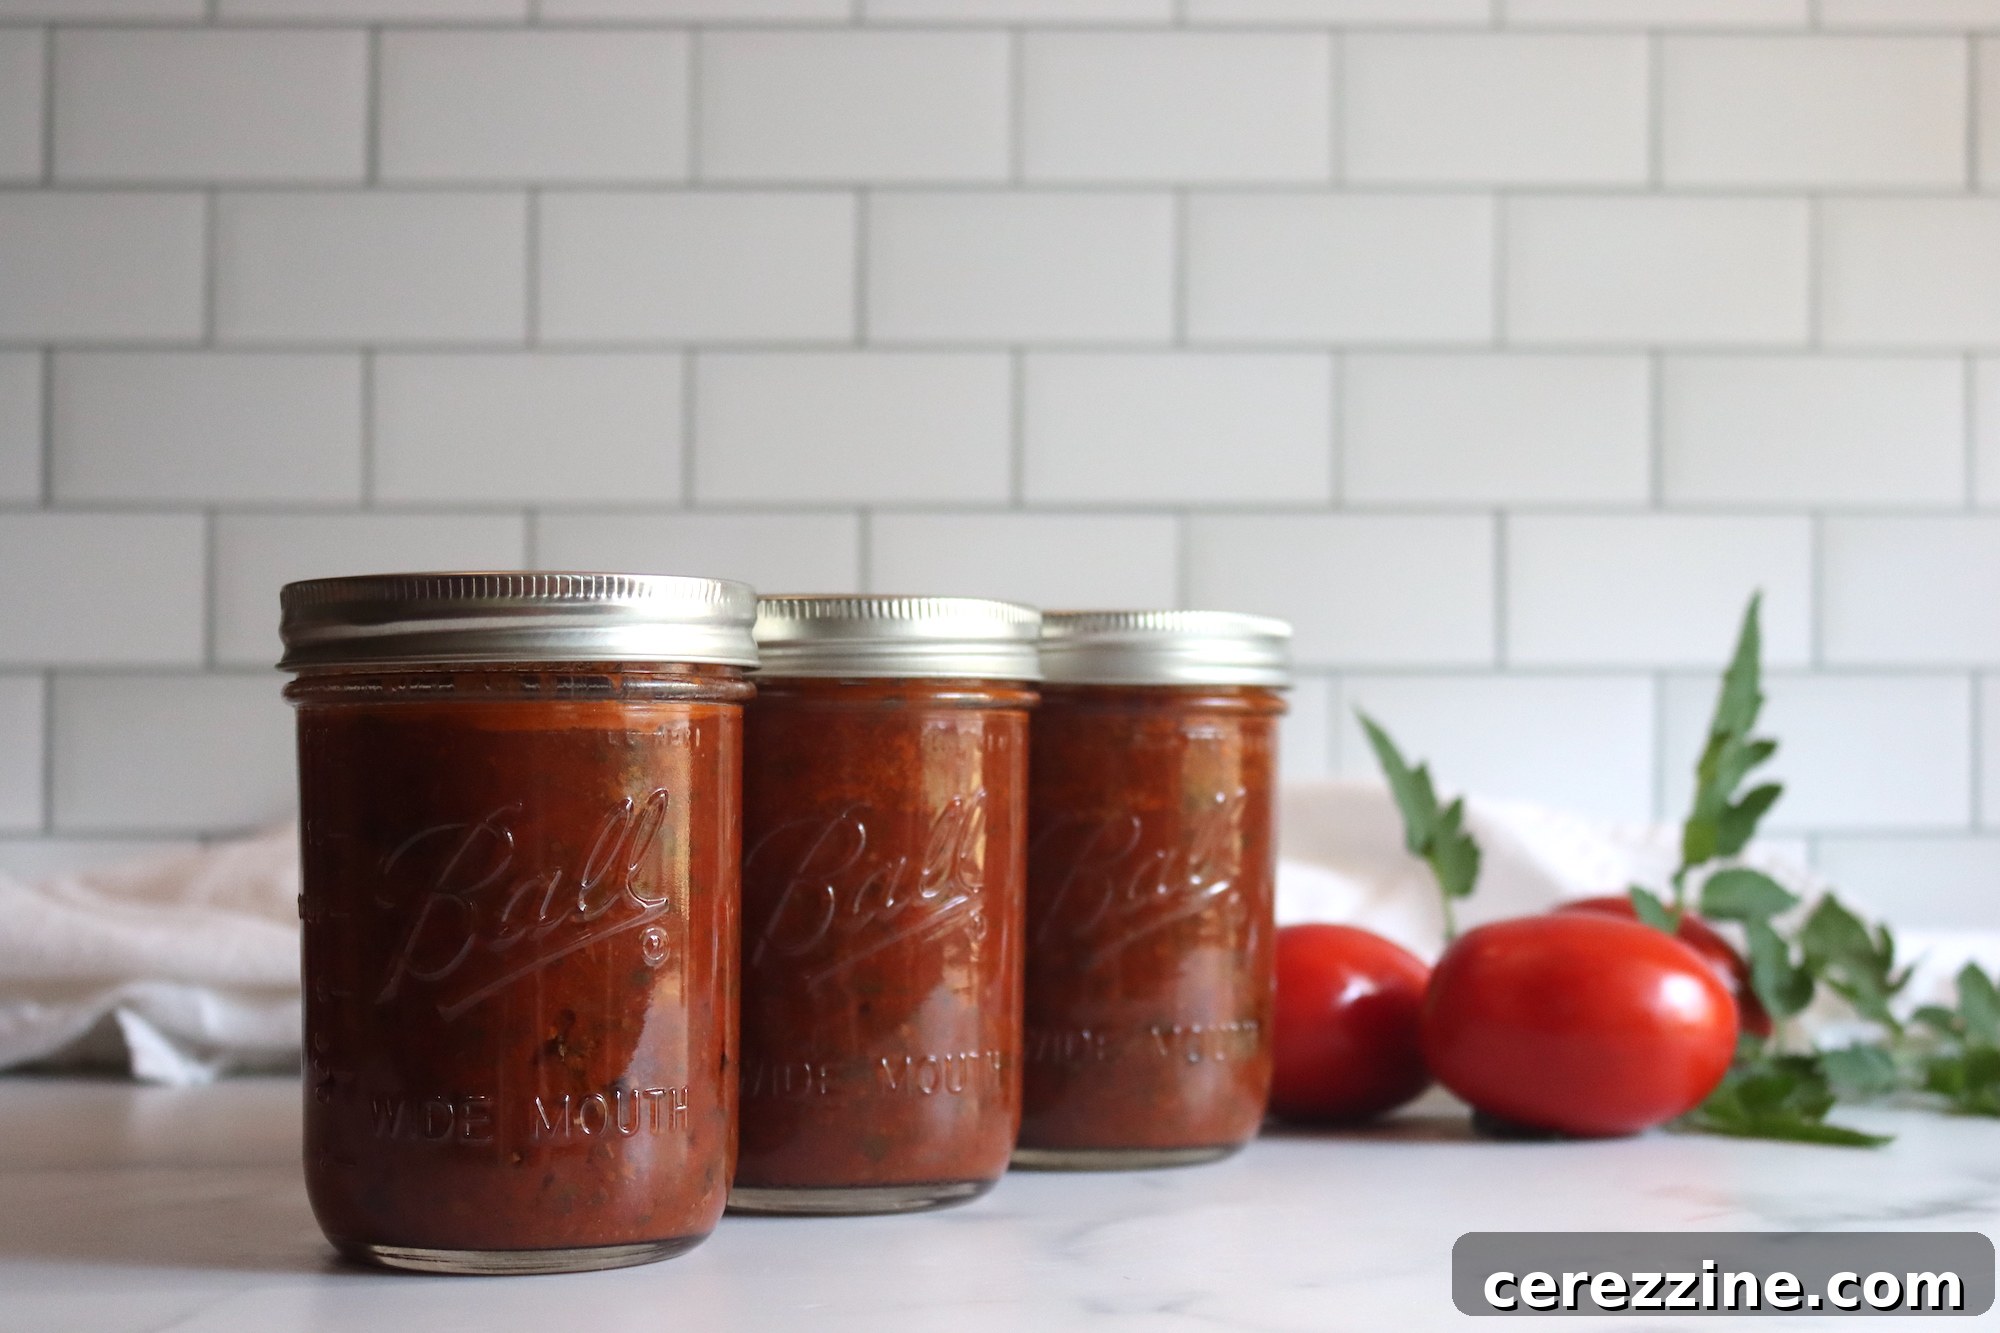
Delicious Homemade Meat Sauce: A Guide to Safe Pressure Canning
There’s nothing quite like the flavor of homemade pasta sauce, especially when it’s made with fresh, ripe tomatoes. This recipe takes that experience a step further by incorporating meat directly into the sauce, creating a versatile meal starter that’s packed with protein and ready to heat and serve in minutes. Just boil some pasta, open a jar, and you have a nutritious, satisfying meal that tastes like it simmered all day.
This comprehensive guide is based on a rigorously tested pressure canning recipe developed by the National Center for Home Food Preservation (NCHFP). The NCHFP is the leading authority on home food preservation, ensuring that their recipes are not only delicious but also safe for long-term storage. Given that this recipe includes both tomatoes (which can vary in acidity) and low-acid ingredients like meat and vegetables, pressure canning is absolutely essential to prevent the growth of harmful bacteria, such as Clostridium botulinum.
If you’re interested in canning pasta sauce without meat, which typically involves higher acidity, you might be able to use a water bath canner for some tested recipes. However, for any recipe containing meat or a significant amount of low-acid vegetables, pressure canning is the only safe method. We will delve deeper into why this is crucial for food safety.
Why Pressure Canning is Essential for Meat Sauces
Understanding the science behind canning is key to safe food preservation. Foods are categorized into high-acid and low-acid groups. Tomatoes, while acidic, can vary greatly depending on the variety, ripeness, and growing conditions. When combined with low-acid ingredients like meat, onions, mushrooms, and celery, the overall acidity of the sauce decreases, making it a hospitable environment for bacteria that thrive in low-acid, oxygen-free conditions.
The primary concern with low-acid foods is Clostridium botulinum, a bacterium that produces a highly dangerous toxin. This toxin can cause botulism, a severe and often fatal form of food poisoning. Unlike other spoilage bacteria, Clostridium botulinum spores are incredibly heat-resistant and cannot be destroyed by the temperatures achieved in a boiling water bath canner.
Pressure canners, however, reach significantly higher temperatures (typically 240-250°F or 116-121°C) through the use of steam under pressure. These elevated temperatures are sufficient to kill botulism spores and other harmful microorganisms, ensuring the safety of your home-canned meat sauce. Attempting to water bath can meat sauce is extremely dangerous and is not recommended under any circumstances.
Essential Equipment for Safe Canning
Before you begin, ensure you have all the necessary equipment for a smooth and safe canning process. Investing in quality tools will make the experience more enjoyable and the results more reliable.
- Pressure Canner: This is non-negotiable for meat sauces. Choose between a dial gauge or weighted gauge canner. Ensure it’s in good working order, with a properly calibrated gauge if it’s a dial type.
- Canning Jars: Use standard glass canning jars (pint or quart size) designed for canning. Always inspect them for chips or cracks, especially around the rim.
- Two-Piece Lids: Consisting of a flat lid with a sealing compound and a screw band. Lids are single-use, while bands can be reused.
- Jar Lifter: A crucial tool for safely placing hot jars into and removing them from the canner.
- Canning Funnel: Helps in filling jars without spilling, keeping jar rims clean.
- Headspace Tool: A simple tool to accurately measure the required headspace in jars.
- Non-Metallic Utensil: A plastic spatula or chopstick to remove air bubbles from jars after filling.
- Large Stockpot/Saucepan: For cooking the pasta sauce.
- Food Mill or Sieve: For processing cooked tomatoes into a smooth pulp.
- Clean Kitchen Towels: For wiping jar rims and cooling jars.
- Basic Kitchen Tools: Cutting boards, knives, measuring cups and spoons, a skillet for browning meat.
Ingredients for Canning Spaghetti Sauce with Meat (NCHFP Tested Recipe)
This recipe yields approximately 9 pint jars of delicious meat sauce. Adhering to the ingredient quantities for low-acid components like meat and vegetables is crucial for safety, as outlined by the NCHFP.
Yields approximately 9 Pints
- 30 lbs Tomatoes: Fresh, ripe, and firm tomatoes are ideal for the best flavor and texture.
- 2-1/2 lbs Ground Meat: You can choose ground beef, sausage (unseasoned or mildly seasoned), venison, or turkey. Ensure it’s lean, or drain excess fat thoroughly after browning.
- 5 cloves Garlic, minced: Adds aromatic depth.
- 1 cup Chopped Onions: A foundational flavor in any good sauce.
- 1 cup Chopped Celery or Green Peppers: Or a combination of both, ensuring the total amount does not exceed 1 cup. Feel free to use any type of bell pepper (red, yellow, orange) or even a mild hot pepper for a little kick.
- 1 lb Fresh Mushrooms, sliced: (Optional) Adds an earthy umami flavor.
- 4-1/2 tsp Salt: Use canning or pickling salt for best results. Adjust to taste, keeping in mind its role in flavor preservation.
- 2 tbsp Oregano: Classic Italian herb.
- 4 tbsp Minced Parsley: Fresh or dried, adds brightness.
- 2 tsp Black Pepper: Freshly ground for best flavor.
- 1/4 cup Brown Sugar: (Optional) Helps to balance the acidity of the tomatoes.
Important Customization Notes: The beauty of home canning often lies in customization, but with pressure canning, safety is paramount. You can safely:
- **Decrease** the amount of any vegetable listed (except tomatoes).
- **Omit** any vegetable listed (except tomatoes).
- **Decrease** or **omit** the salt, sugar, and seasonings to your taste. For example, if you prefer a less sweet sauce, leave out the brown sugar. Adding a splash of balsamic vinegar (which is acidic) is also a safe way to enhance flavor.
- You CANNOT:
- Decrease the amount of tomatoes.
- Increase the amount of meat.
- Increase the total amount of other low-acid vegetables (onions, celery, peppers, mushrooms).
These restrictions are in place because altering the proportions of low-acid ingredients could compromise the safety of the recipe by changing the heat penetration within the jar during processing. Stick to the specified maximums for safety.
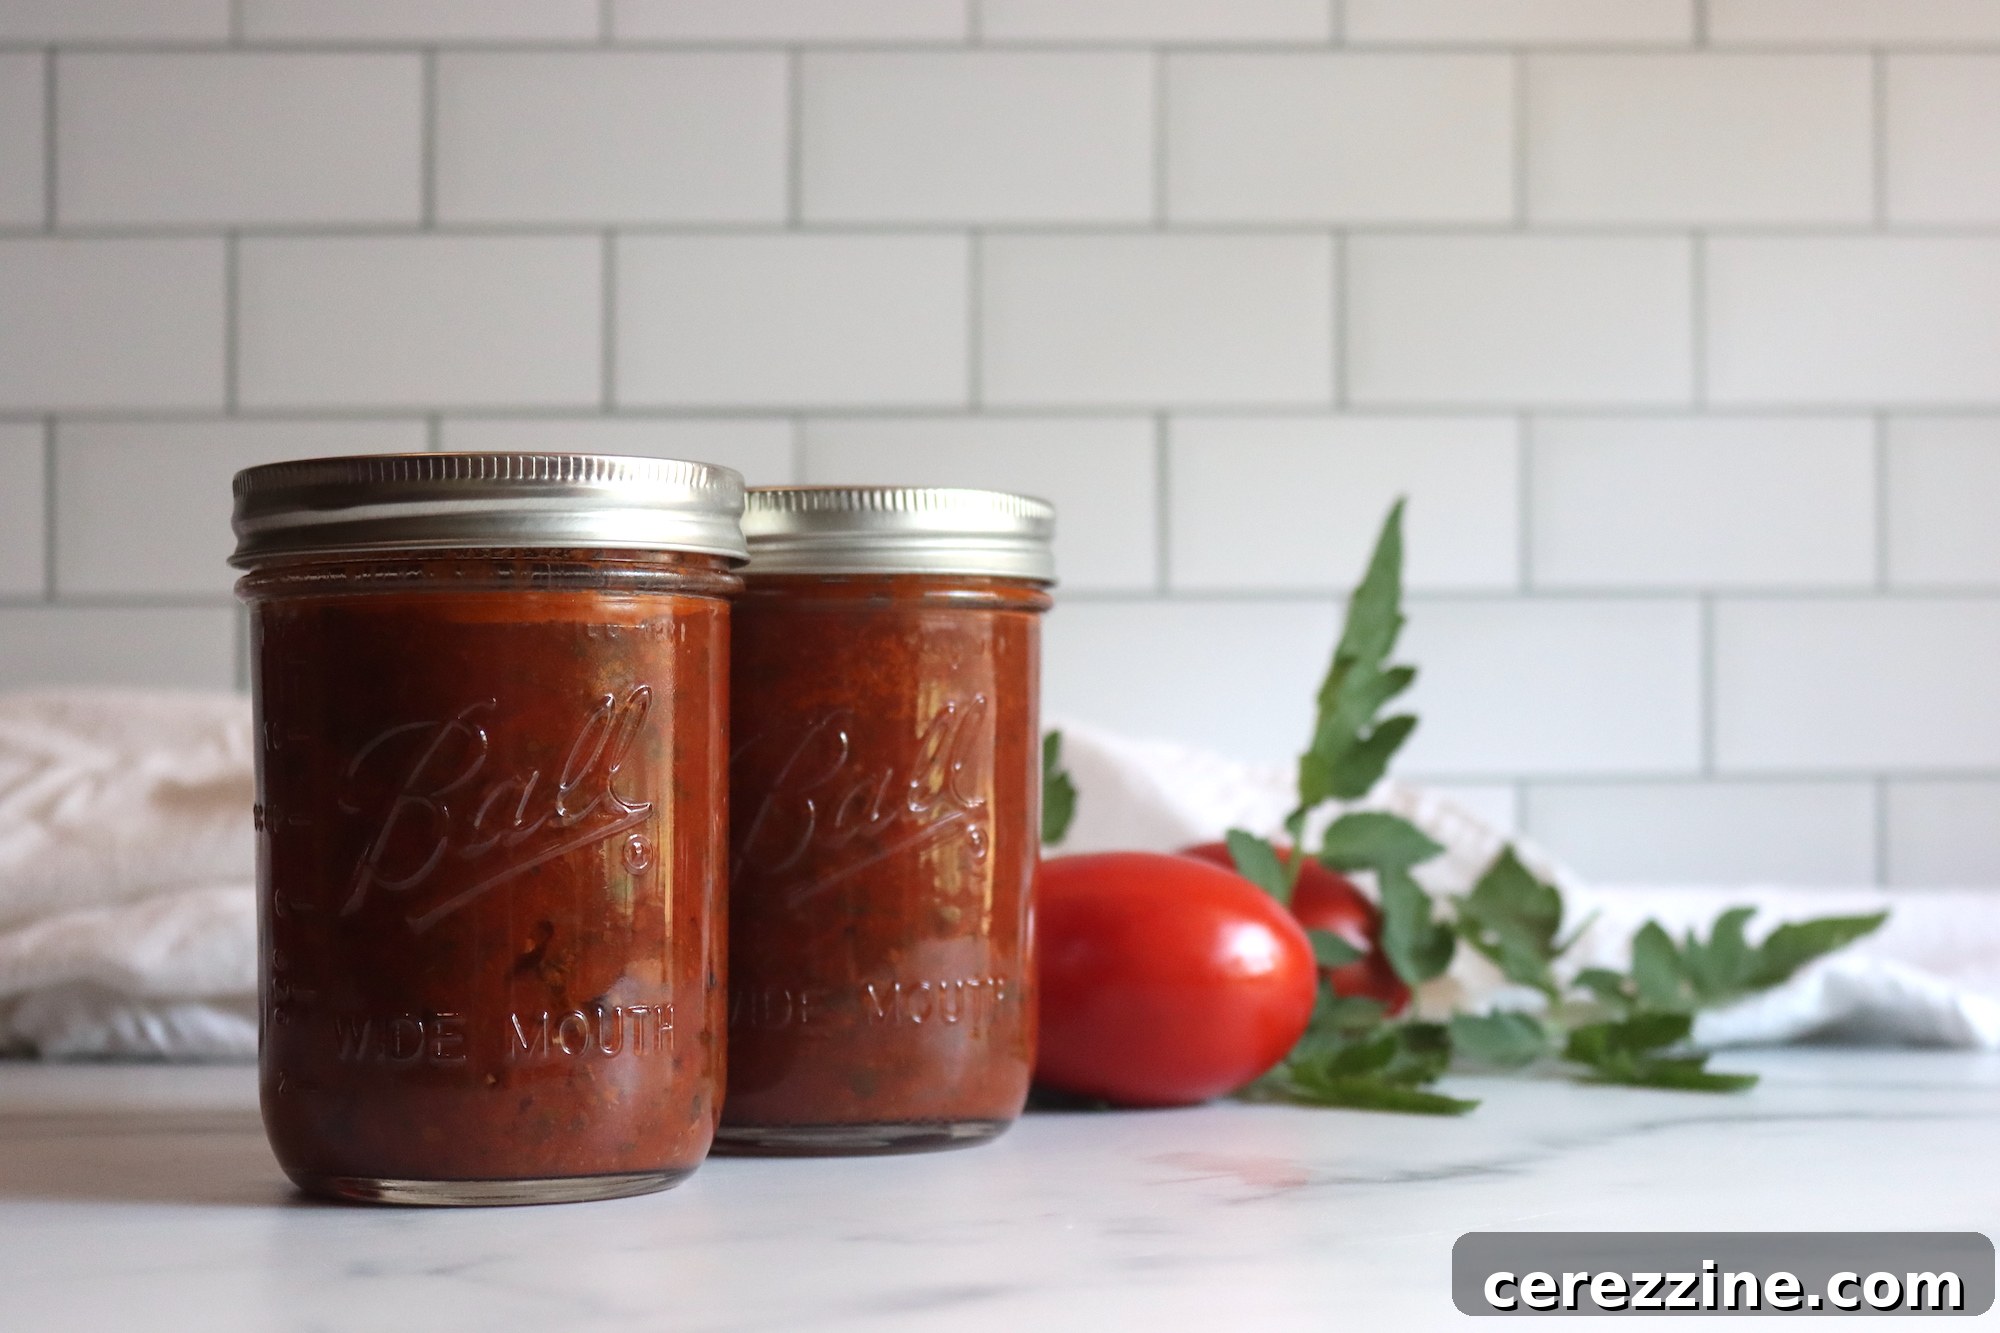
Making Your Delicious Meat Pasta Sauce
Preparing the sauce is a multi-step process that builds layers of flavor. Take your time with each stage for the best results.
- Tomato Preparation:
- Thoroughly wash all 30 pounds of tomatoes.
- To easily remove skins, immerse tomatoes in boiling water for 30 to 60 seconds, or until their skins visibly split.
- Immediately transfer the blanched tomatoes to a bowl of ice-cold water to stop the cooking process and make peeling easier.
- Once cool enough to handle, slip off the skins, remove the cores, and quarter the tomatoes.
- Cooking the Tomatoes:
- Place the quartered tomatoes in a large, heavy-bottomed saucepan.
- Bring them to a boil, then reduce heat and boil uncovered for approximately 20 minutes, allowing them to soften and release their juices.
- Carefully pass the cooked tomatoes through a food mill or fine-mesh sieve to create a smooth, consistent pulp, removing any remaining seeds and tough bits. Set aside.
- Browning the Meat and Sautéing Vegetables:
- In a separate large skillet, brown your chosen ground meat over medium-high heat. Break it up into small pieces as it cooks.
- Once the meat is fully cooked and no longer pink, drain off any excess fat. This is important to prevent siphoning and ensure proper heat penetration during canning.
- Add the minced garlic, chopped onions, chopped celery or green peppers, and sliced mushrooms (if using) to the browned meat in the skillet.
- Sauté the mixture until the vegetables are tender and fragrant, about 5-7 minutes.
- Combining and Simmering the Sauce:
- Transfer the sautéed meat and vegetable mixture to the large saucepan containing the tomato pulp.
- Stir in the salt, oregano, parsley, black pepper, and brown sugar (if using).
- Bring the entire mixture to a boil, then reduce the heat to a gentle simmer.
- Continue to simmer the sauce uncovered, stirring frequently to prevent scorching, until it thickens to your desired consistency. This reduction process concentrates the flavors and typically means the sauce will reduce in volume by nearly half. This can take anywhere from 1 to 2 hours, depending on the initial water content of your tomatoes and the heat level.

The Pressure Canning Process for Meat Sauce
Once your rich, flavorful sauce has reached the perfect thickness, it’s time to prepare it for canning. Precision and attention to detail are crucial during this stage.
- Prepare Your Canner and Jars:
- Fill your pressure canner with 2-3 inches of water and place it on the stove over medium heat to begin warming.
- Wash canning jars, lids, and screw bands in hot, soapy water. Rinse well.
- Keep the jars hot. You can do this by placing them in the warm canner water or in a hot water bath in a separate pot. Lids should be simmering in hot (not boiling) water according to manufacturer instructions. Screw bands do not need to be heated.
- Fill the Jars:
- Using a canning funnel and jar lifter, carefully fill the hot jars with the hot meat sauce. This is a “hot pack” method, which helps maintain quality and ensures safe processing.
- Leave a precise 1-inch headspace at the top of each jar. This space is critical for proper sealing and to allow for expansion during processing.
- Use a non-metallic utensil (like a rubber spatula or chopstick) to remove any trapped air bubbles from the jars by gently sliding it between the sauce and the jar walls. Add more sauce if necessary to maintain the 1-inch headspace.
- Wipe the rims of each jar thoroughly with a clean, damp cloth to remove any food particles that could prevent a proper seal.
- Apply Lids and Load Canner:
- Center a hot, flat lid on each jar, ensuring the sealing compound makes full contact with the rim.
- Apply screw bands fingertip-tight. This means tightening until resistance is met, then backing off slightly—do not overtighten.
- Carefully place the filled, lidded jars onto the rack inside the pre-warmed pressure canner, ensuring they don’t touch each other.
- Vent the Canner:
- Secure the canner lid according to your model’s instructions.
- Turn the heat to high. Allow steam to escape steadily from the vent pipe (or petcock) for a full 10 minutes. This “venting” step is critical as it removes all air from the canner, ensuring that the processing temperature is achieved and maintained solely by steam.
- Process the Jars:
- After venting for 10 minutes, place the weighted gauge on the vent pipe or close the petcock and allow the dial gauge to rise to the recommended pressure.
- Once the target pressure is reached (refer to the altitude adjustment section below), begin timing the processing.
- Process pint jars for 60 minutes.
- Process quart jars for 70 minutes.
- Maintain a consistent pressure throughout the entire processing time. Adjust heat as needed to keep the gauge steady. Fluctuations can compromise food safety.
- Cool Down and Depressurize:
- Once the processing time is complete, turn off the heat.
- Allow the pressure canner to cool down naturally and depressurize on its own. Do NOT remove the weighted gauge or open the petcock until the pressure gauge reads zero and has remained there for a few minutes. For weighted gauge canners, wait until the rocking motion stops and a full 10 minutes has passed.
- Only when the canner is fully depressurized, carefully remove the lid, tilting it away from your face to avoid the burst of steam.
- Cool and Check Seals:
- Using a jar lifter, carefully remove the hot jars from the canner and place them on a clean kitchen towel or wire rack, ensuring they are not touching.
- Let the jars cool undisturbed for 12 to 24 hours. Do not retighten screw bands during this time.
- After cooling, check the seals. A properly sealed lid will be concave (curved inwards) and will not flex when pressed in the center. If a lid does not seal, refrigerate the contents immediately for consumption within a few days or reprocess within 24 hours with a new lid (ensure you use the correct pressure canning times again).
- Storage and Usage:
- Remove screw bands (they can trap moisture and cause rust).
- Wipe jars clean and label them with the date and contents.
- Store sealed jars in a cool, dark, dry place. For optimal quality, use within one year.
- Once opened, refrigerate any unused sauce and consume within a week.
- 0 to 2,000 feet in elevation – 11 lbs pressure
- 2,001 to 4,000 feet in elevation – 12 lbs pressure
- 4,001 to 6,000 feet in elevation – 13 lbs pressure
- 6,001 to 8,000 feet in elevation – 14 lbs pressure
- 0 to 1,000 feet in elevation – 10 lbs pressure
- Above 1,000 feet in elevation – 15 lbs pressure
- Calories: 113 kcal
- Carbohydrates: 18g
- Protein: 6g
- Fat: 3g
- Saturated Fat: 1g
- Polyunsaturated Fat: 0.4g
- Monounsaturated Fat: 1g
- Trans Fat: 0.2g
- Cholesterol: 9mg
- Sodium: 287mg
- Potassium: 992mg
- Fiber: 5g
- Sugar: 12g
- Vitamin A: 3283 IU
- Vitamin C: 58mg
- Calcium: 48mg
- Iron: 1mg
Pressure Canning Altitude Adjustments
Altitude affects the boiling point of water, which in turn impacts the temperatures achieved inside a pressure canner. To ensure your food reaches a safe processing temperature, you must adjust the pressure settings based on your elevation. The processing *time* remains constant, but the *pressure* changes.
For Dial Gauge Pressure Canners:
For Weighted Gauge Pressure Canners:
Weighted gauge canners are simpler, typically using a 10 lb or 15 lb weight. You only need to adjust the weight if you are above 1,000 feet.
Nutrition Information (Approximate per serving)
Please note that nutritional values are approximate and can vary based on specific ingredients and preparation methods. This calculation is for one serving out of 36 servings in a 9-pint batch.
Canning your own meat sauce is a rewarding experience that provides a pantry full of flavorful and convenient meals. By following these detailed, NCHFP-tested instructions, you can confidently preserve the taste of summer and enjoy hearty, homemade pasta dishes all year long.