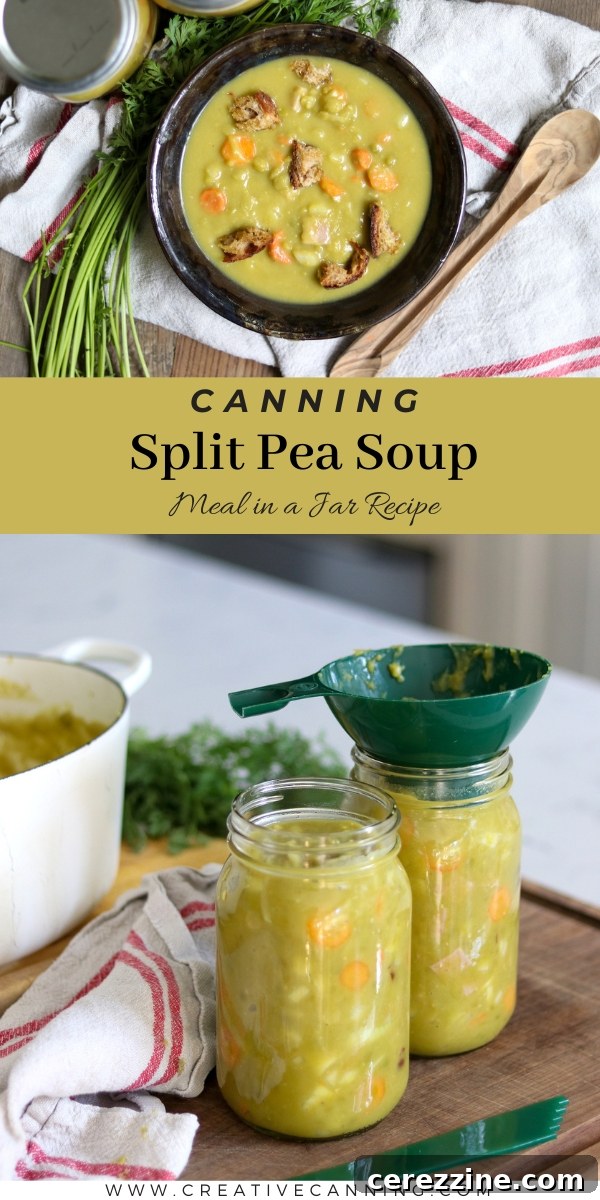
There’s nothing quite like a steaming bowl of hearty soup to warm you from the inside out, especially on a chilly day. Imagine having that comforting meal ready in mere minutes, without the lengthy preparation time. This is the magic of canning split pea soup. By preserving this classic comfort food, you transform a time-consuming recipe into a convenient, shelf-stable staple for your pantry. When winter winds howl or you need a quick, nutritious meal after a long day, your homemade canned split pea soup will be waiting, a testament to your foresight and culinary prowess.
Split pea soup holds a special place in the pantheon of comfort foods. Its rich texture and savory flavor evoke feelings of home and warmth. For those of us living in regions with long, cold winters, like Vermont, a bowl of this soup is a true lifesaver. Picture coming in from shoveling snow, chilled to the bone, and knowing that a delicious, homemade meal is just minutes away. That’s the unparalleled convenience and satisfaction that pressure canning split pea soup offers.
While making split pea soup from scratch typically takes over an hour, having jars of it neatly lined on your pantry shelf means you can bypass the cooking time entirely. Just heat and serve! This article will guide you through the process of safely and effectively canning your own split pea soup, ensuring you have wholesome, flavorful meals ready whenever hunger strikes.
(Note: The ham in this recipe is optional. You can easily create a delicious vegetarian split pea soup by using vegetable broth and omitting the ham.)
Is Split Pea Soup Safe for Canning? Understanding Pressure Canning Essentials
When it comes to home canning, safety is paramount. Low-acid foods like split pea soup require pressure canning to ensure all harmful bacteria, including the botulism toxin, are neutralized. Fortunately, reputable organizations have developed thoroughly tested and approved recipes for split pea soup, making it a safe choice for home preservation.
One of the most trusted resources is the Ball Blue Book of Canning, which includes a specific recipe for split pea soup (often referred to as “Habitant Soup” by its Canadian counterpart, Bernardin). This recipe, along with many other meal-in-a-jar options, has undergone rigorous testing to determine the precise processing times and pressures needed for safe storage.
Another excellent resource is Angi Schneider’s Pressure Canning for Beginners and Beyond, which offers a slightly varied version of split pea soup. A key takeaway from these tested recipes is the flexibility allowed with seasonings. While the core ingredient ratios and processing times must be strictly adhered to, you are free to adjust dry spices, herbs, and acidic liquid condiments like Worcestershire sauce, vinegar, or lemon juice to suit your personal taste preferences. This customization allows you to make a soup that’s truly your own while maintaining critical safety standards.
Addressing Density in Canned Soups
One common concern with home-canned soups, particularly those as naturally thick as split pea soup, is density. The density of the food affects how heat penetrates during the canning process. If a soup is too thick, heat may not reach the center of the jar effectively, compromising safety.
The tested recipes for split pea soup have been carefully formulated to account for its inherent thickness. These recipes and their corresponding canning times are designed to ensure safe processing even with the soup’s dense nature. It’s common for both commercially and home-canned split pea soup to be quite thick, often requiring a bit of thinning with water or broth upon reheating. When preparing your soup for canning, aim for a consistency that is easy to ladle into jars but slightly thinner than your ideal serving texture, as it will naturally thicken further during the canning process. You can always add more liquid when you reheat it, ensuring a perfect consistency every time.
Key Ingredients for a Delicious & Safe Split Pea Soup
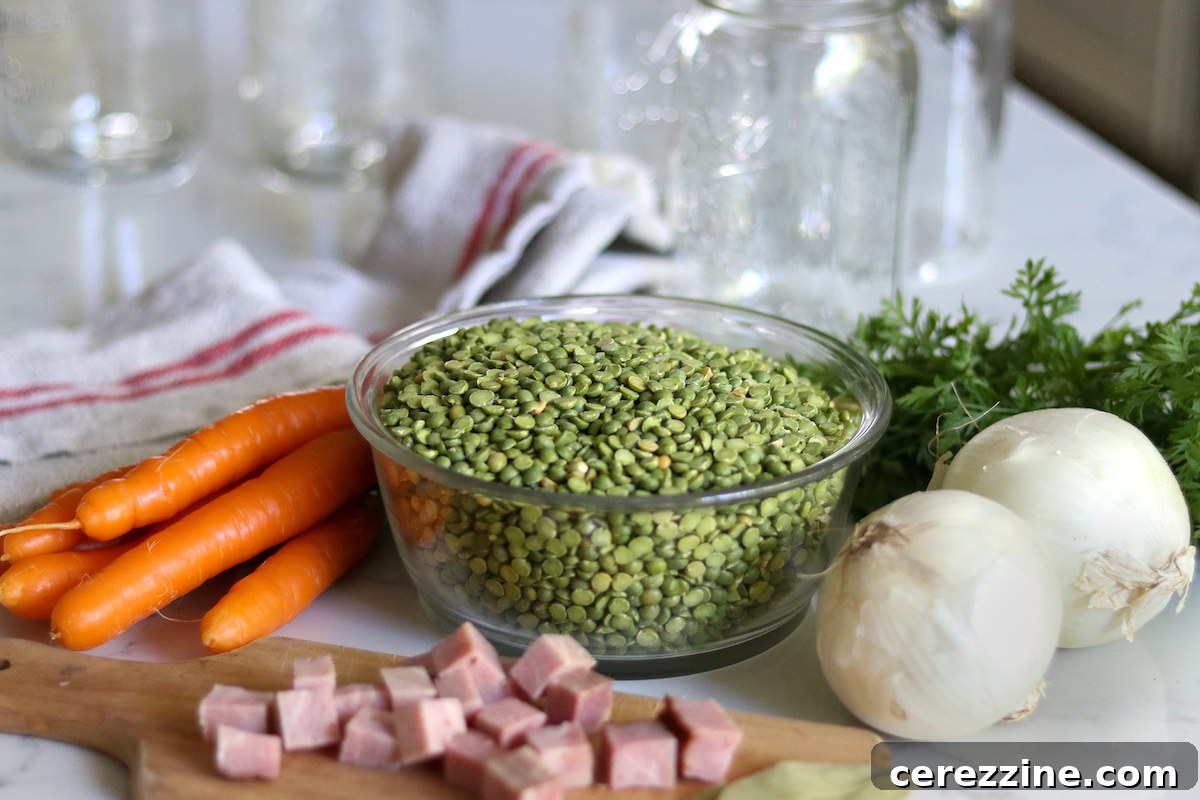
The beauty of this split pea soup canning recipe lies in its simplicity. It focuses on the rich flavor of split peas, complemented by subtle additions of carrots and onions for texture and a depth of flavor. The basic recipe provides a fantastic canvas for personalization through seasonings. Remember, while you can adjust spices, adhering to the specified ratios for vegetables is crucial for canning safety.
Salt is another flexible ingredient; it’s added solely for taste, not for preservation, so you can adjust it to your dietary needs and preferences. Since the soup is fully cooked before canning, you have the perfect opportunity to taste and adjust the salt and spices to your liking. Salt recommendations can vary widely, from 2 teaspoons to 2 tablespoons for a batch of this size. It’s always best to start with a smaller amount and add more until it suits your palate. I personally prefer a low-sodium approach, but your taste buds are the best guide here.
Understanding Batch Sizes and Yield
The standard Ball Blue Book recipe is designed around a single pound of dried split peas, which is a common package size in grocery stores. This yields approximately 5 pint jars, or a little over 2 quarts. If you’re looking to fill a larger pressure canner batch, you’ll need to multiply the recipe accordingly. Consider the capacity of your canner and the size of your cooking pot when planning your batch size.
Ingredients for a Single Batch:
- 1 lb dry split peas (16 oz package)
- 2 quarts water or broth
- 1 1/2 cups sliced carrots (approximately 3 medium carrots)
- 1 cup chopped onion (approximately 1 medium onion)
- 1 cup diced cooked ham (optional, for a richer, savory flavor)
- 1 bay leaf
- 1/4 tsp allspice
- Salt and pepper to taste (start with a small amount and adjust)
Customizing Your Flavors: Spices and Beyond
While the recipe includes traditional seasonings like bay leaf and allspice, you have ample room to experiment and modernize the flavor profile. Many contemporary palates enjoy enhancing the soup with savory umami notes, often achieved with a tablespoon or two of Worcestershire sauce. A splash of lemon juice or cider vinegar can also brighten the flavors and add a pleasant acidity that complements the peas beautifully. Angi Schneider, for instance, uses sage in her version, along with a generous amount of black pepper, showcasing how adaptable the flavor can be. Personally, I find herbal spices like thyme, a good bit of garlic powder, and a dash of Worcestershire sauce elevate the soup to another level. The key is to taste and adjust until you find your perfect blend. Remember, while seasonings are flexible, maintain the recommended quantities for carrots, onions, and ham to ensure canning safety.
Do You Have to Soak Split Peas Before Canning?
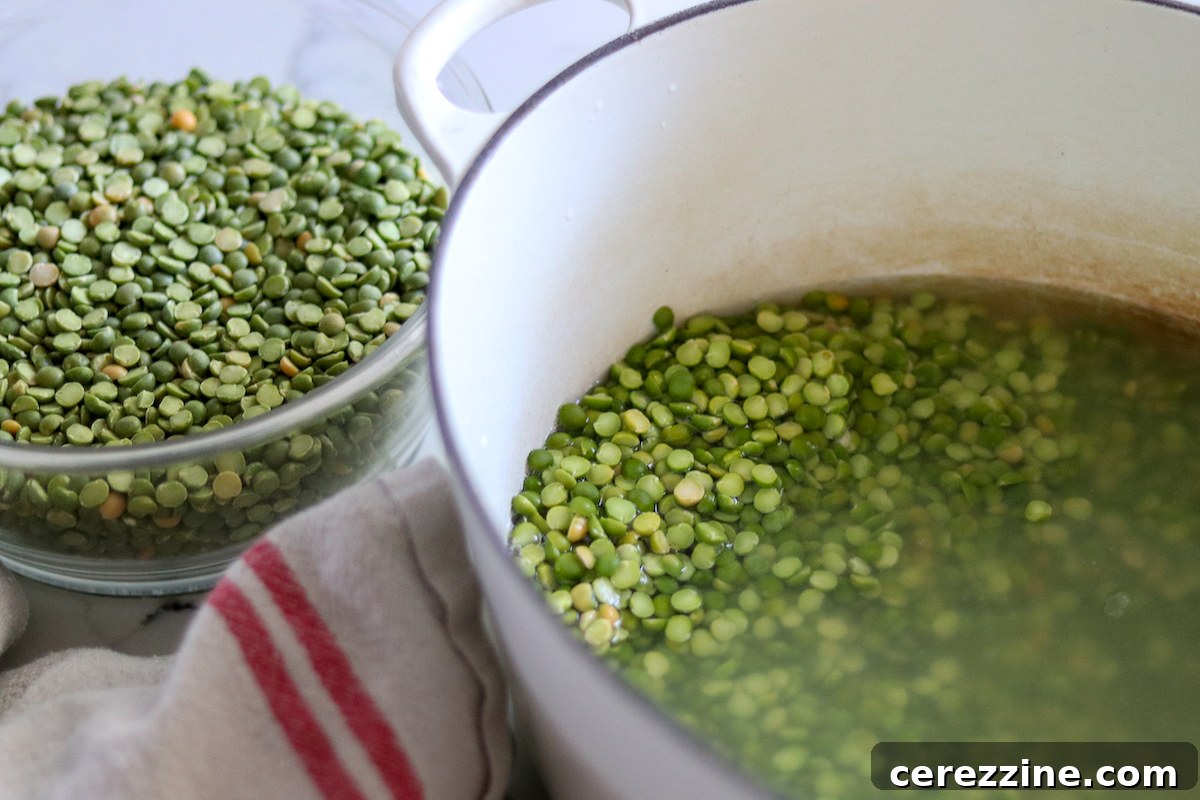
A common question when cooking split peas is whether soaking them beforehand is necessary. The good news is, for both regular cooking and canning, soaking split peas is not required. They rehydrate efficiently on their own during the cooking process. Since this soup is fully cooked before it goes into the canning jars, you don’t need to worry about them expanding further and potentially creating an unsafe environment in the sealed jars.
However, what is highly recommended – and what the recipe also suggests – is rinsing the split peas thoroughly before cooking. Measure your peas first, then place them in a colander and rinse them under cold running water. While rinsing, take a moment to pick through them, removing any discolored peas, small stones, or other debris that might have made their way into the package. This simple step ensures the cleanliness and quality of your finished soup.
Step-by-Step Guide to Pressure Canning Split Pea Soup
Canning split pea soup is a rewarding process that begins with careful preparation and cooking. Follow these steps for a safe and successful canning experience:
1. Cook the Split Peas
Start by combining 1 pound of dry split peas with 2 quarts of water or broth in a heavy-bottomed stockpot. Bring the mixture to a boil, then reduce the heat to a low simmer. Cover the pot and allow the peas to cook gently for approximately 1 hour, or until they are completely tender. During this time, monitor the soup’s consistency and add more water or broth as needed to prevent it from becoming too thick or sticking to the bottom of the pot.
2. Achieve Desired Texture (Optional)
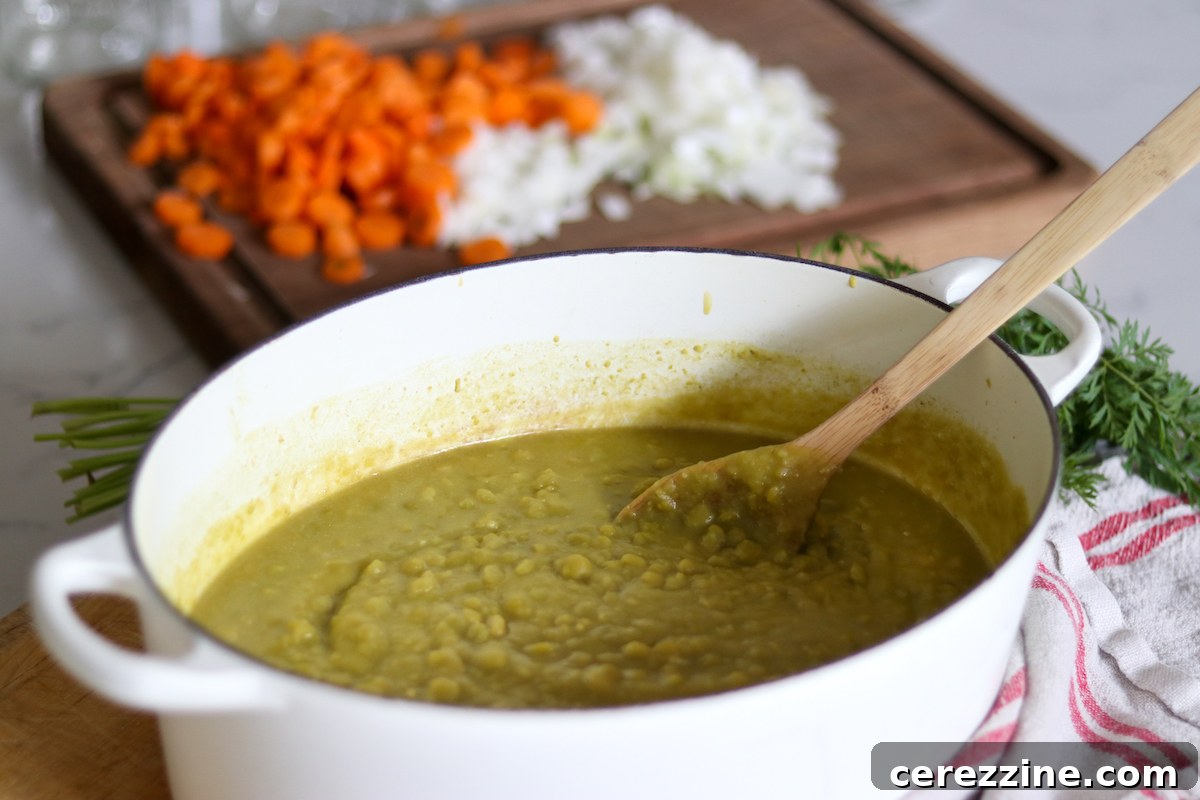
Once the split peas are cooked, you have a choice regarding texture. If you prefer a very smooth soup, you can use an immersion blender directly in the pot or transfer batches to a regular blender to puree them until creamy. For those who enjoy a heartier, slightly chunky soup, like me, simply leave the peas as they are.
3. Prepare Your Pressure Canner
At this point, with about 30 minutes left until your soup is ready for canning, it’s the ideal time to start preparing your pressure canner. Refer to your canner’s manufacturer instructions, as specific models can vary. Generally, this involves adding a few inches of water to the bottom of the canner, placing the bottom trivet inside, and preheating it to a gentle simmer (around 180°F or 82°C). This ensures your canner is ready for hot pack canning and maintains temperature.
4. Add Remaining Vegetables and Seasonings
While the canner is preheating, prepare your additional vegetables. Peel the carrots thoroughly before slicing them, as root vegetables always need to be peeled for canning. Similarly, peel and dice your onion. Add the sliced carrots, diced onion, and your chosen spices (including the bay leaf and allspice, or your preferred blend) to the cooked split peas. If you are including ham, add the diced cooked ham at this stage as well.
Continue to simmer the soup for another 30 minutes, allowing the vegetables to cook fully and the flavors to meld. Keep a close eye on the consistency, adding more boiling water or broth if the soup becomes too thick. Remember, a slightly thinner soup is safer for canning than one that is excessively dense.
5. Adjust Seasoning and Fill Jars
After 30 minutes of simmering, taste the soup and make any final adjustments to salt and pepper. Remove the bay leaf if it was used. Your soup is now ready to be ladled into prepared canning jars.
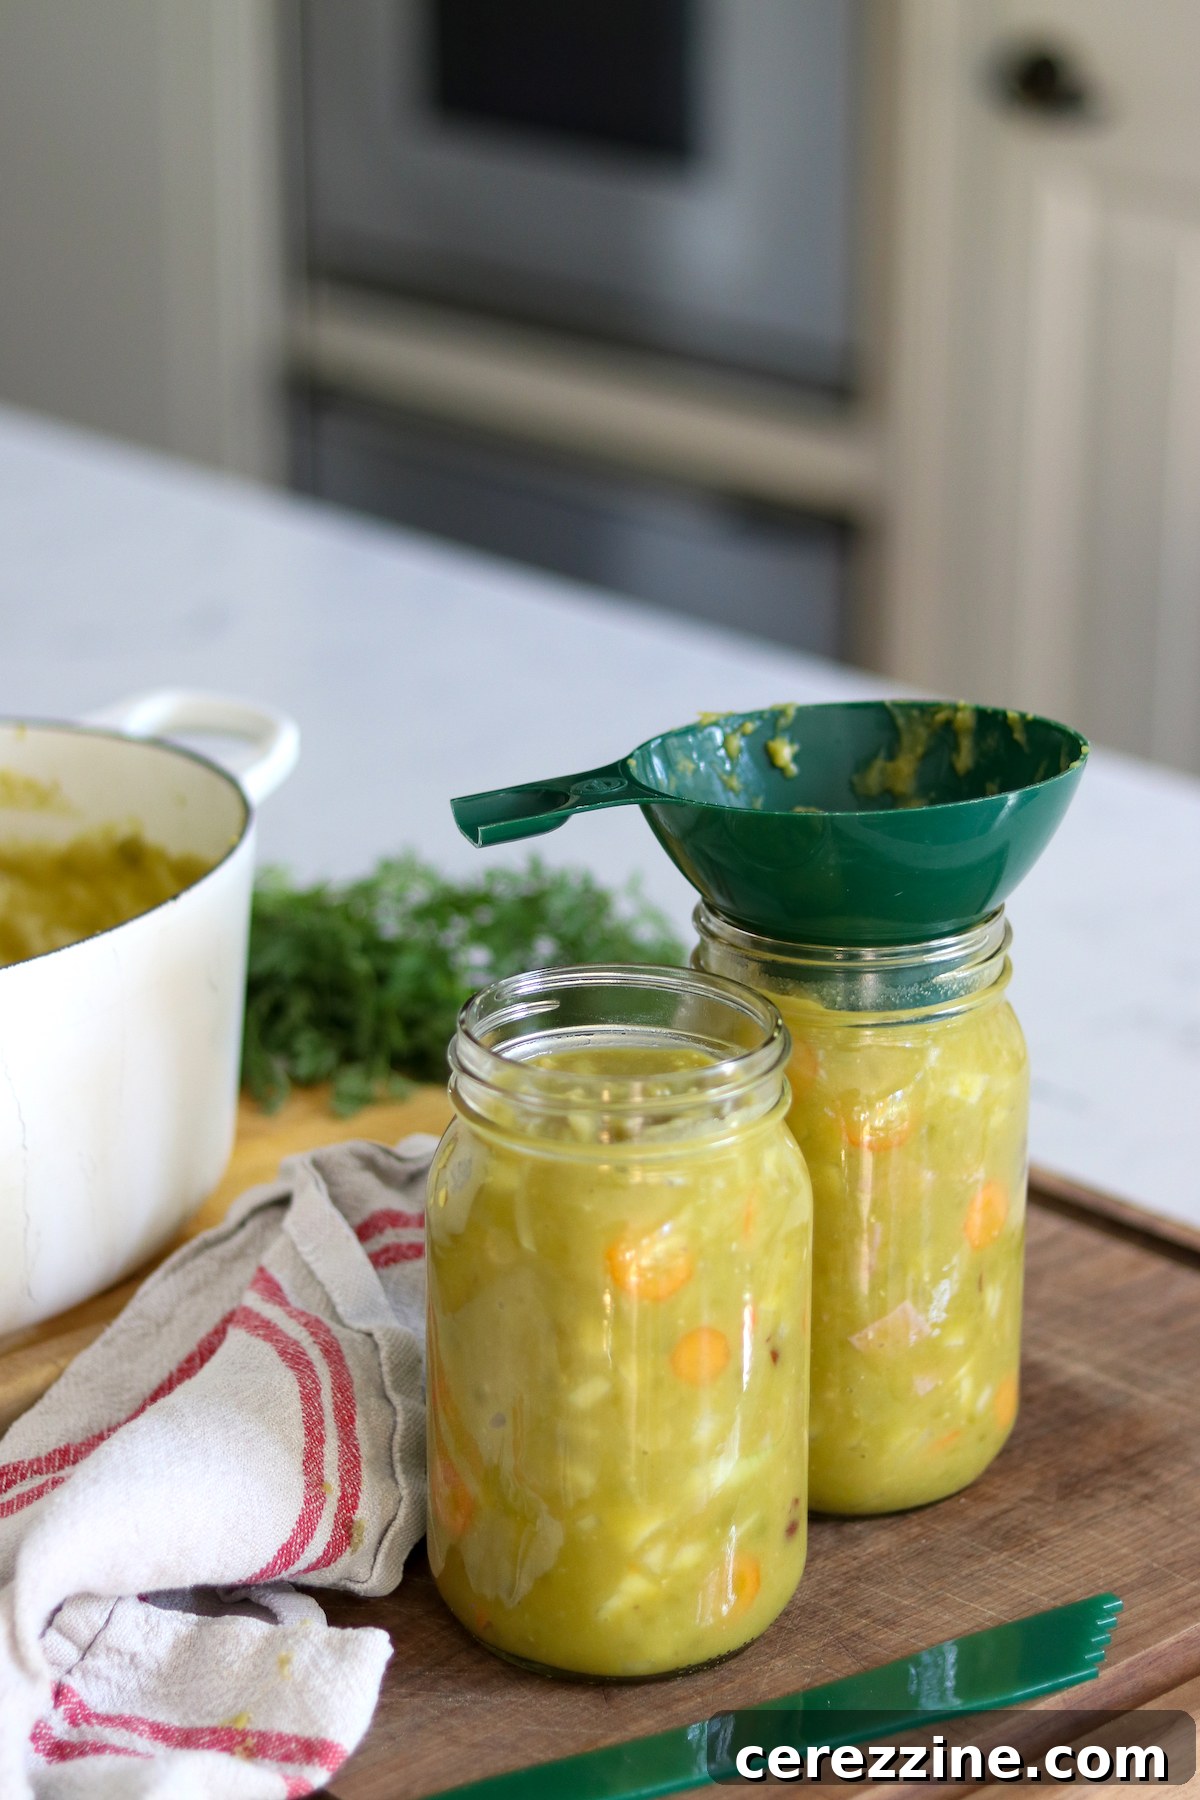
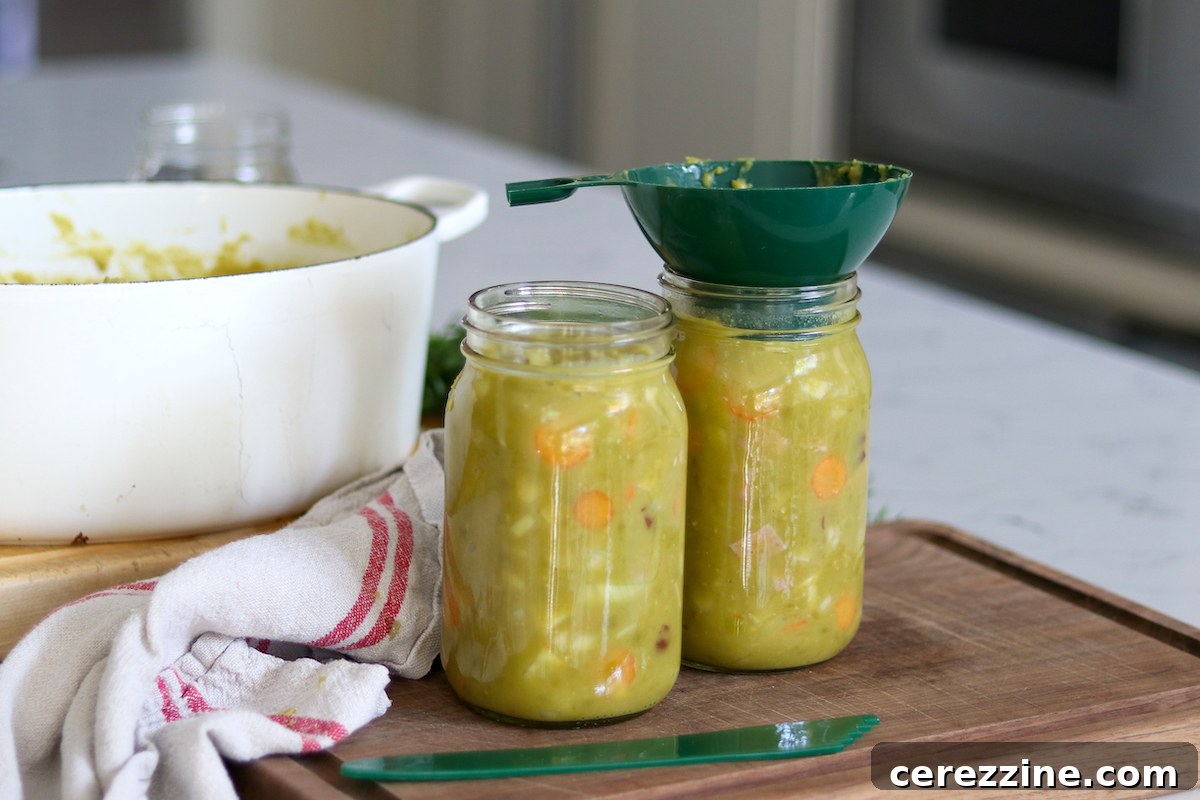
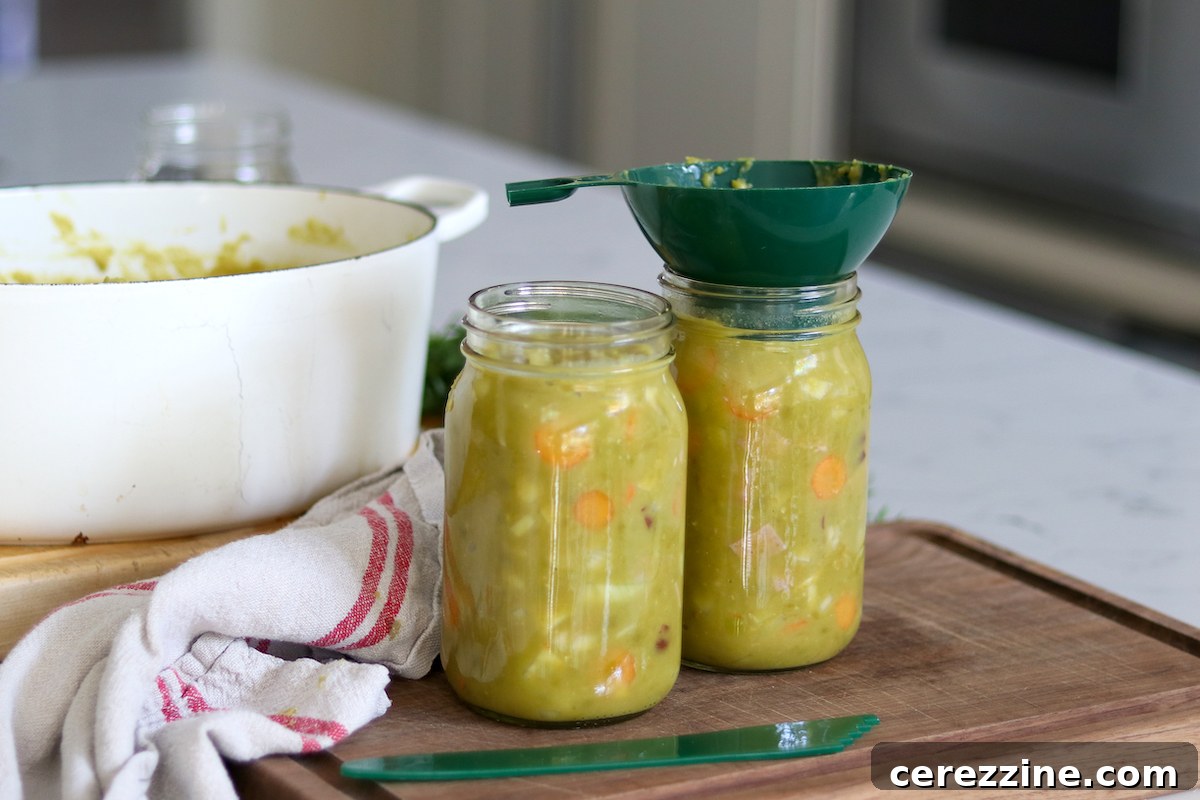
You can can split pea soup in either pint or quart jars. Ensure your jars are clean and hot. Carefully ladle the hot soup into the jars, leaving exactly 1 inch of headspace from the rim. This headspace is crucial for proper sealing and to prevent food from siphoning out during processing. Wipe the rims of the jars with a clean, damp cloth to remove any food residue, which could prevent a proper seal. Place a new, clean two-part canning lid on each jar, tightening the bands to “finger tight” (snug but not overly tight).
6. Load and Process Jars
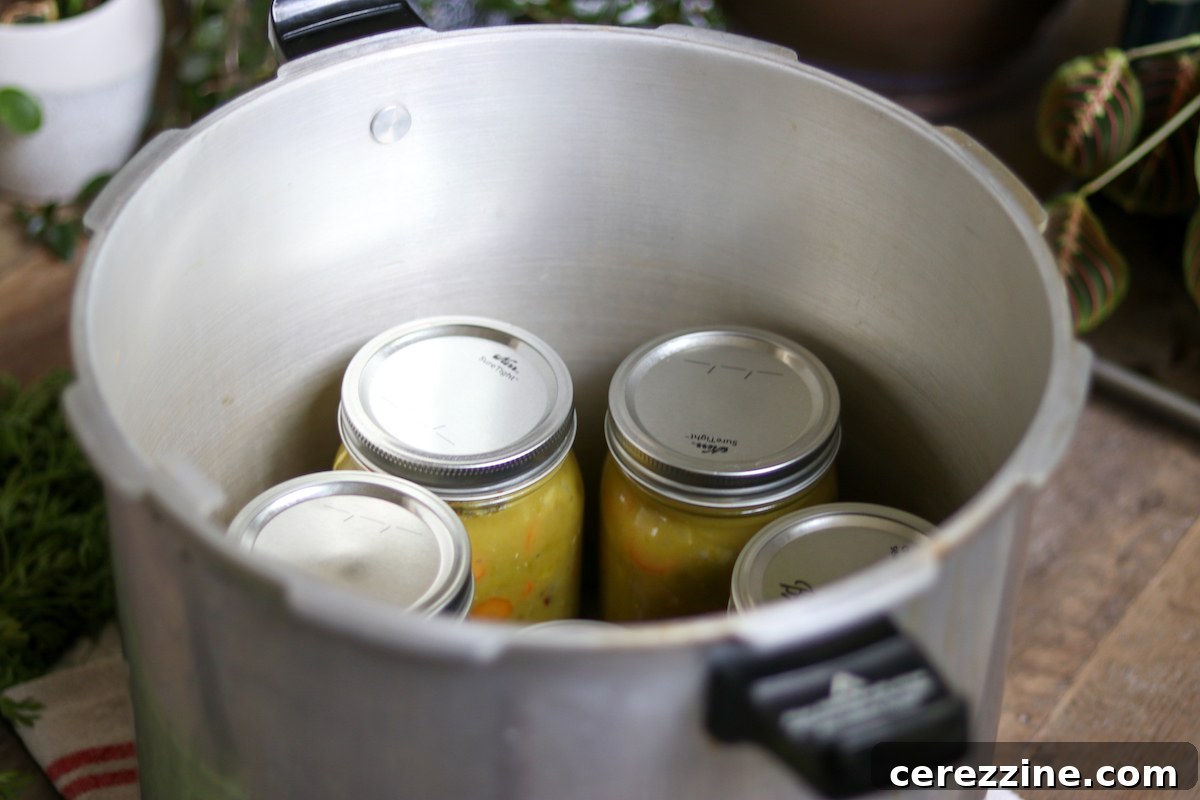
Carefully load the filled jars into your preheated pressure canner. Make sure the jars do not touch each other or the sides of the canner. Once all jars are in place, secure the canner lid according to your manufacturer’s instructions.
Before bringing the canner up to pressure, it’s vital to vent it. Turn the heat to high and allow a steady stream of steam to escape from the vent pipe for a full 10 minutes. This venting process ensures that all cold air is expelled from the canner, creating a pure steam environment that heats evenly and safely. After 10 minutes of steady venting, place the canning weight on the vent pipe, setting it to the appropriate pressure for your altitude (see altitude adjustments below). Bring the canner up to the required pressure and begin your processing time:
- Pint jars: Process for 75 minutes
- Quart jars: Process for 90 minutes
Maintain a steady pressure throughout the entire processing time. If the pressure drops below the recommended level at any point, you must bring it back up and restart the processing time from the beginning.
7. Cool Down and Check Seals
Once the processing time is complete, turn off the heat and allow the pressure canner to cool down naturally and completely. Do not try to force cool the canner or open it prematurely, as this can be dangerous and lead to siphoning or seal failures. When the pressure gauge reads zero and no more steam is escaping, you can safely remove the canning weight and then the lid. Carefully remove the hot jars from the canner using a jar lifter and place them on a clean towel or cooling rack, ensuring they are not touching each other, to cool undisturbed for 12 to 24 hours.
After the jars have fully cooled, check the seals. A properly sealed lid will be concave (curved inwards) and will not flex when pressed. If any jar has not sealed, refrigerate it immediately and consume its contents within a few days. Label your sealed jars with the contents and date, and store them in a cool, dark, dry place. Properly pressure-canned split pea soup will maintain its quality on the pantry shelf for at least 18 months, and often much longer, as long as the seal remains intact.
Altitude Adjustments for Pressure Canning
Altitude plays a critical role in pressure canning. While the canning time remains constant regardless of your elevation, the processing pressure must be adjusted. Higher altitudes require higher pressure to achieve the same internal temperature within the canner.
Here are the necessary altitude adjustments for pressure:
For dial gauge pressure canners:
- 0 to 2,000 feet in elevation – 11 lbs pressure
- 2,001 to 4,000 feet in elevation – 12 lbs pressure
- 4,001 to 6,000 feet in elevation – 13 lbs pressure
- 6,001 to 8,000 feet in elevation – 14 lbs pressure
For weighted gauge pressure canners:
- 0 to 1,000 feet in elevation – 10 lbs pressure
- Above 1,000 feet – 15 lbs pressure
Serving Your Delicious Home-Canned Split Pea Soup
One of the greatest joys of home canning is the convenience of serving your preserved meals. Split pea soup is primarily a “heat and eat” kind of dish. Unlike some home-canned chicken soup recipes that might be served over rice or noodles, split pea soup is wonderfully fulfilling all on its own.
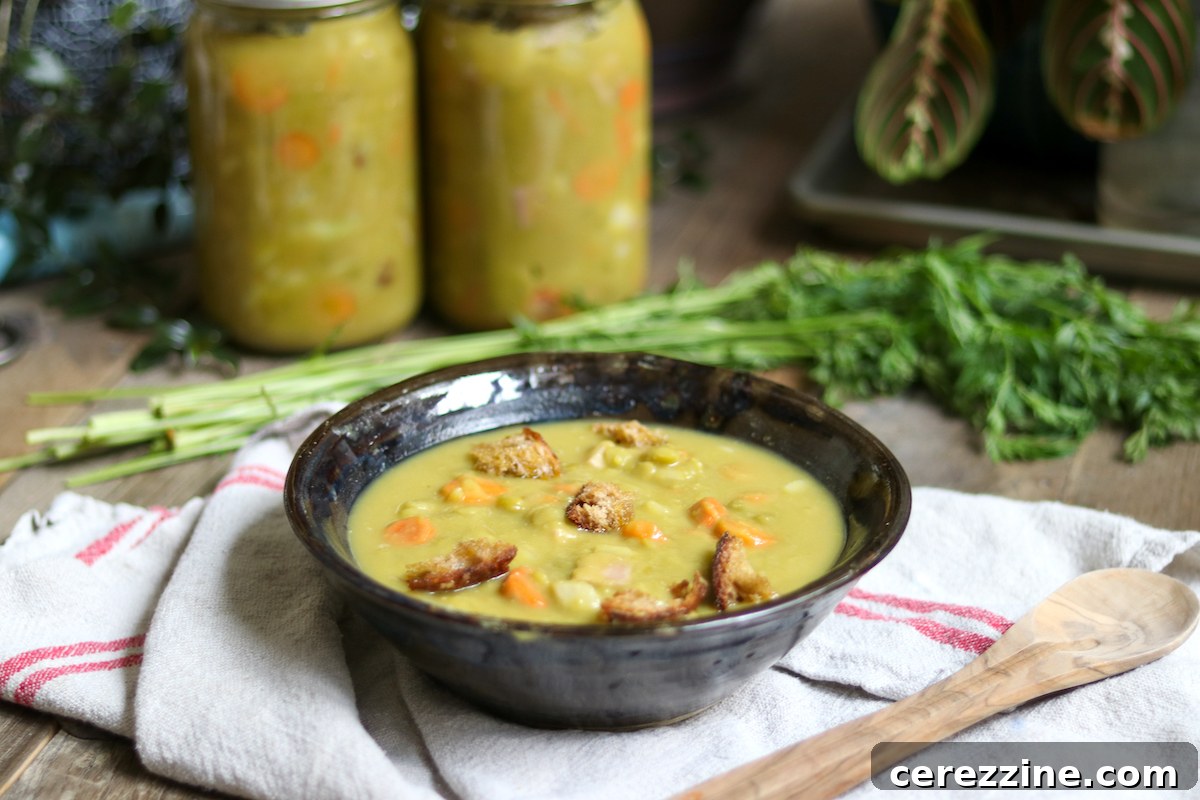
To serve, simply open a jar, transfer the soup to a saucepan, and gently heat it until it reaches your desired temperature. If the soup is too thick for your preference (which is common for traditional, hearty split pea soup), you can easily thin it with a little water, broth, or even milk for added creaminess, stirring until you achieve the perfect consistency.
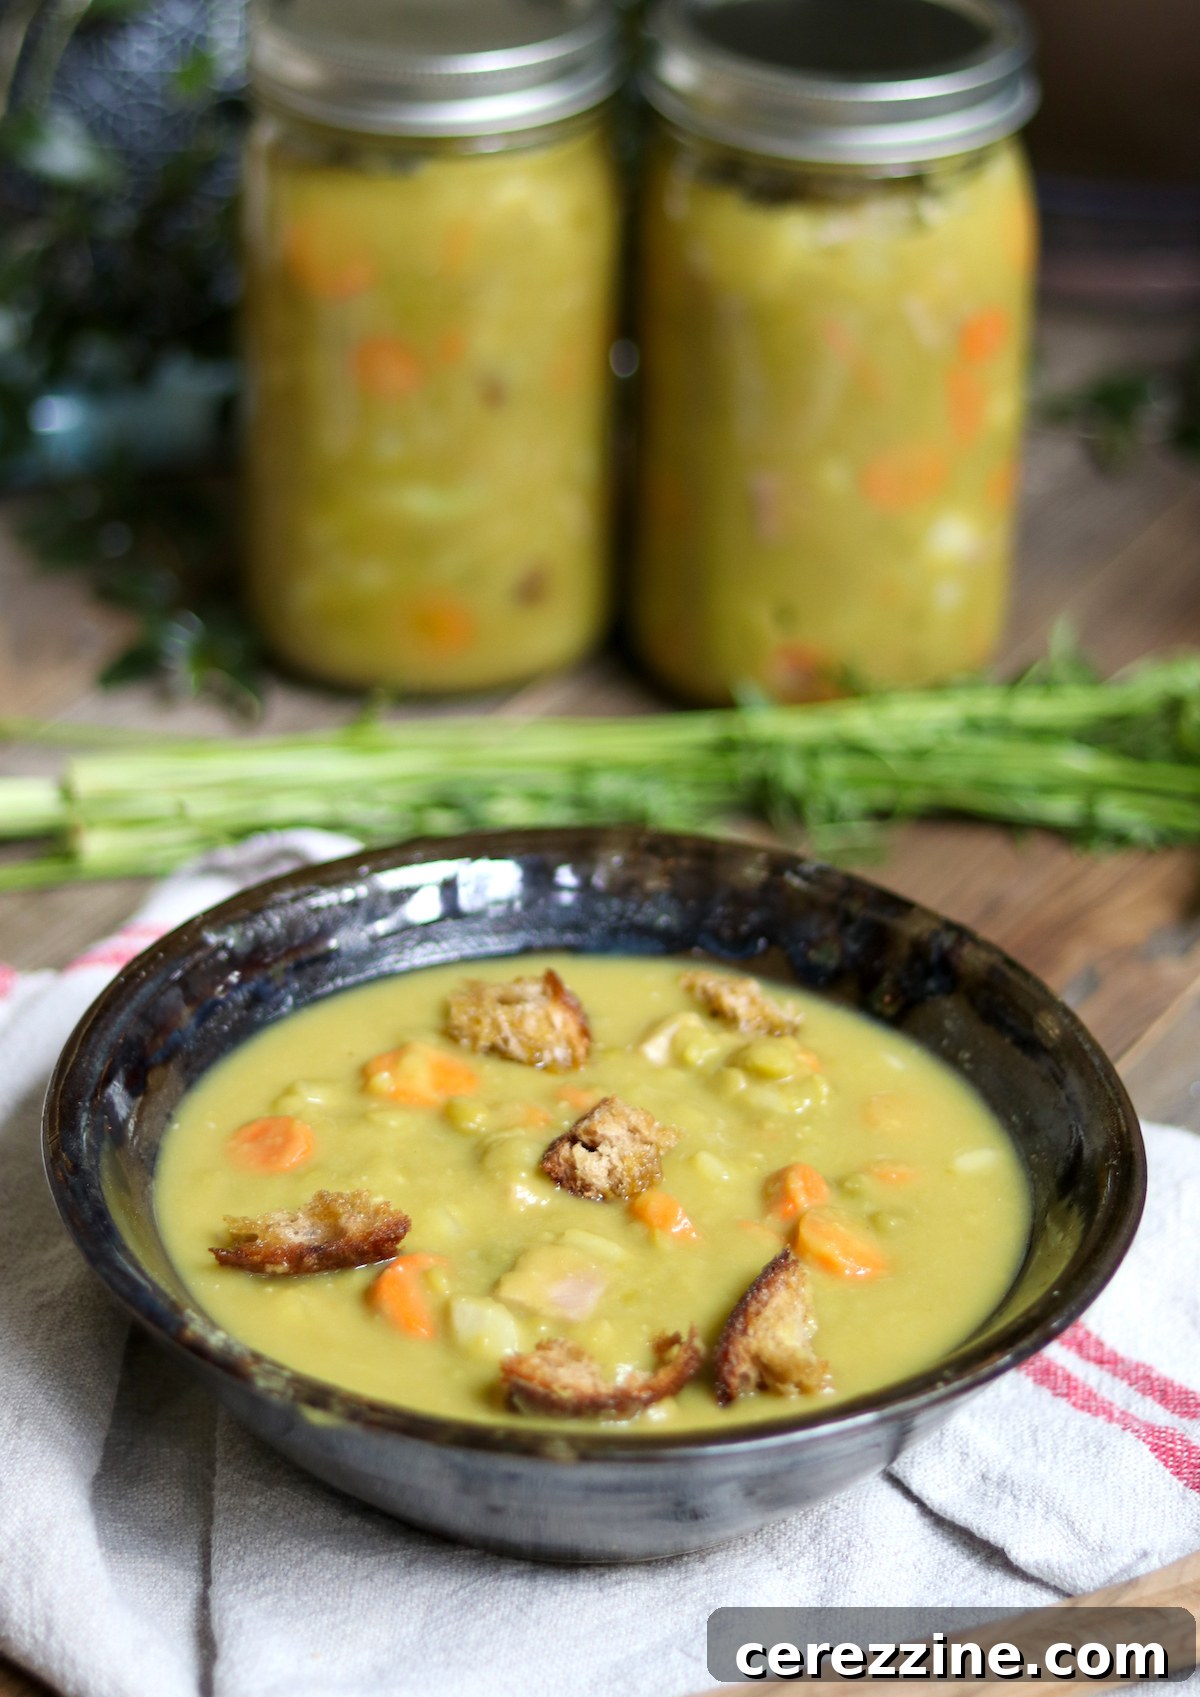
Enhance your serving experience with a variety of accompaniments. A well-buttered slice of warm whole-grain bread is a classic pairing, perfect for soaking up every last drop. Toasted croutons, perhaps homemade with garlic butter, add a delightful crunch. For an extra touch of flavor and visual appeal, consider garnishing your bowl with a dollop of sour cream or Greek yogurt, a sprinkle of fresh chopped herbs like parsley or chives, or even a dash of hot sauce for a gentle kick. A side salad or a grilled cheese sandwich also makes for a complete and satisfying meal.
Understanding Split Pea Soup Canning Yield and Batching
The yield of this split pea soup recipe can vary slightly based on how much you thin the soup before canning. The foundational recipe, using a single pound of split peas, is designed to produce approximately 5 pint jars, or a little over 2 quarts. If you intend to primarily can in quart jars, you might consider thinning the soup a bit more by adding an extra quart of broth or water. This adjustment often allows you to achieve a full 3 quarts from a single batch, making it more efficient for quart-sized canning.
This recipe is highly adaptable and can be easily doubled, tripled, or even quadrupled to accommodate larger canning sessions. Your ability to scale the recipe will depend largely on the size of your cooking pot and the capacity of your pressure canner. For example, a 30-Quart All American Canner, capable of holding 14 quarts or 19 pints, lends itself perfectly to larger batches. While the recipe is presented in its original “small batch” form, feel confident in increasing the ingredient quantities as needed for your canning goals.
When preparing larger batches, remember the importance of frequent stirring to prevent the dense split pea mixture from sticking and burning to the bottom of your pot. Consistent stirring ensures even cooking and prevents scorching, which can ruin a batch of soup. With careful preparation and attention to detail, you can efficiently produce a substantial supply of delicious, home-canned split pea soup for your family to enjoy throughout the year.
Canning Split Pea Soup
Pin
Rate
Equipment
-
Pressure Canner
Ingredients
- 1 lb split peas, dry (16 oz package)
- 2 Quart water or broth
- 1 1/2 cup carrots, sliced (about 3 medium)
- 1 cup onion, chopped (about 1 medium)
- 1 cup cooked ham, diced (optional)
- 1 bay leaf
- 1/4 tsp allspice
- Salt and pepper to taste
Instructions
-
Place split peas in a heavy bottomed stock pot with two quarts of either water or broth. Bring to a boil, then turn to low and simmer gently for 1 hour until the peas are completely cooked.
-
(Optional) For a smooth soup, puree in a blender or with an immersion blender.
-
Peel and slice the carrots, and peel and dice the onions. Measure out 1 1/2 cups sliced carrots and 1 cup diced onion. Add to the pot.
-
Add the spices, either those listed in the recipe or dry spices of your choosing.
-
At this point, you’re 30 minutes away from canning, so prepare your pressure canner and pre-heat it for hot pack canning. (Follow manufacturers instructions.)
-
Simmer the soup for an additional 30 minutes until the vegetables are fully cooked. (Add boiling water as necessary to keep the mixture from getting too thick.)
-
Adjust spices and add salt to taste. Remove the bay leaf at this point, if used.
-
Ladle the split pea soup into prepared canning jars, either pints or quarts, leaving 1 inch headspace.
-
Seal with 2 part canning lids to finger tight.
-
Load the jars into the canner and close the lid. Turn the stove up to high and vent steam for 10 minutes.
-
Seal the canner and bring it up to pressure. When at pressure (see notes below), start timer and process the jars for 75 minutes for pints and 90 minutes for quarts.
-
When the processing time is complete, turn off the heat and allow the canner to come to room temperature naturally.
-
When cool, remove the jars from the canner and check seals. Store any unsealed jars in the refrigerator for immediate use.
-
Properly pressure canned and sealed jars of split pea soup should maintain quality on the pantry shelf for 18 months, and be safe to eat much longer provided they’re still sealed. Refrigerate after opening.
Notes
You are always allowed to make canning recipes thinner before canning (making them thicker than the tested recipe is not allowed). Personally, I often add at least an extra quart of broth to the recipe when I make it, but the recipe above is written as Ball Canning originally tested it.
Yield
This tested recipe yields approximately 5 pints, or slightly more than 2 quarts. If canning primarily in quarts, consider adding more broth to thin the soup and achieve a full three quarts. Alternatively, you can double the base recipe to yield approximately 5 quarts.
Ingredient Notes
The seasoning, spices, and salt in this recipe are flexible and can be adjusted to suit your personal tastes. Since the soup is fully cooked before it goes into the canning jars, taste it and adjust spicing before canning.
I’d suggest starting with around 1-2 teaspoons of salt and increasing from there if you feel it needs more.
For spices, dried herbs like sage and thyme work exceptionally well to complement the earthy flavor of split peas.
Ham is an optional ingredient. It can be omitted entirely for a delicious vegetarian split pea soup.
Altitude Adjustments
The canning time is always the same: 75 minutes for pints and 90 minutes for quarts, regardless of your altitude.
However, the pressure required changes at higher altitudes. Altitude adjustments for pressure are as follows:
For dial gauge pressure canners:
- 0 to 2,000 feet in elevation – 11 lbs pressure
- 2,001 to 4,000 feet in elevation – 12 lbs pressure
- 4,001 to 6,000 feet in elevation – 13 lbs pressure
- 6,001 to 8,000 feet in elevation – 14 lbs pressure
For weighted gauge pressure canners:
- 0 to 1,000 feet in elevation – 10 lbs pressure
- Above 1,000 feet – 15 lbs pressure
Nutrition
Nutrition information is automatically calculated, so should only be used as an approximation.
Like this? Leave a comment below!
Lovely pictures in this post by Chez LaRae.
Explore More Soup Canning Recipes
If you’ve enjoyed the process of canning split pea soup and are eager to expand your pantry with more homemade, shelf-stable meals, you’re in luck! There’s a wide world of delicious and safe soup canning recipes waiting to be discovered. Canning soups is an excellent way to prepare for busy weeknights, embrace self-sufficiency, and ensure you always have wholesome options on hand. Check out some of these fantastic recipes to fill your pantry:
- Hearty Beef Stew Recipe for Canning
- Classic Garden Vegetable Soup
- Comforting Carrot and Fennel Soup
- Zesty Spicy Tomato Vegetable Soup
- Flavorful Roasted Tomato Basil Soup
Master Pressure Canning with These Essential Recipes
Pressure canning isn’t just for soups! It’s an indispensable skill for preserving a wide variety of low-acid foods, from meats to vegetables. Once you’re comfortable with the pressure canning process, you’ll open up a world of possibilities for creating your own shelf-stable pantry. Continue building your canning expertise with these simple yet essential pressure canning recipes:
- Versatile Canning Chicken
- Exotic Canning Thai Red Curry Duck
- Easy Canning Potatoes
- Simple Canning Carrots
- Fresh Canning Corn
- Sweet Canning Sweet Potatoes