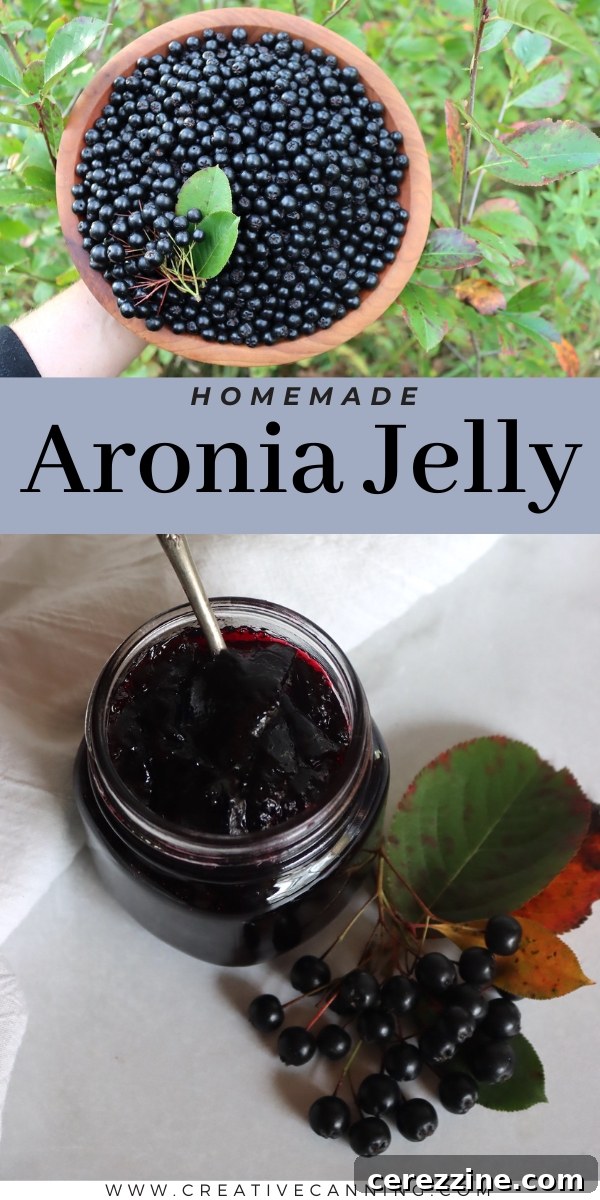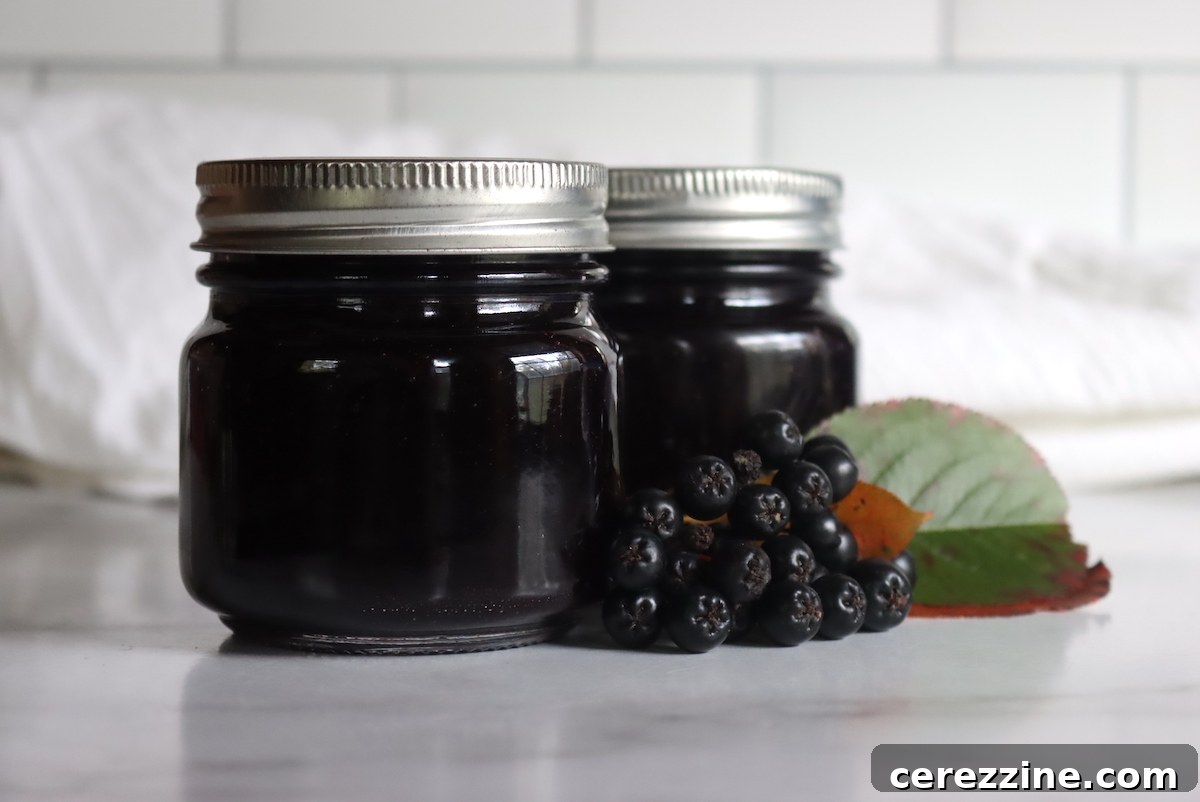
Discover the delightful world of Aronia Jelly, a perfect way to savor the unique flavor of fresh aronia berries. This vibrant, antioxidant-rich preserve is not only a treat for your taste buds but also a powerhouse of health benefits. Whether you’re harvesting berries from your backyard or using high-quality store-bought aronia juice, this recipe promises a smooth, sweet-tart jelly that’s far less astringent than the raw fruit.
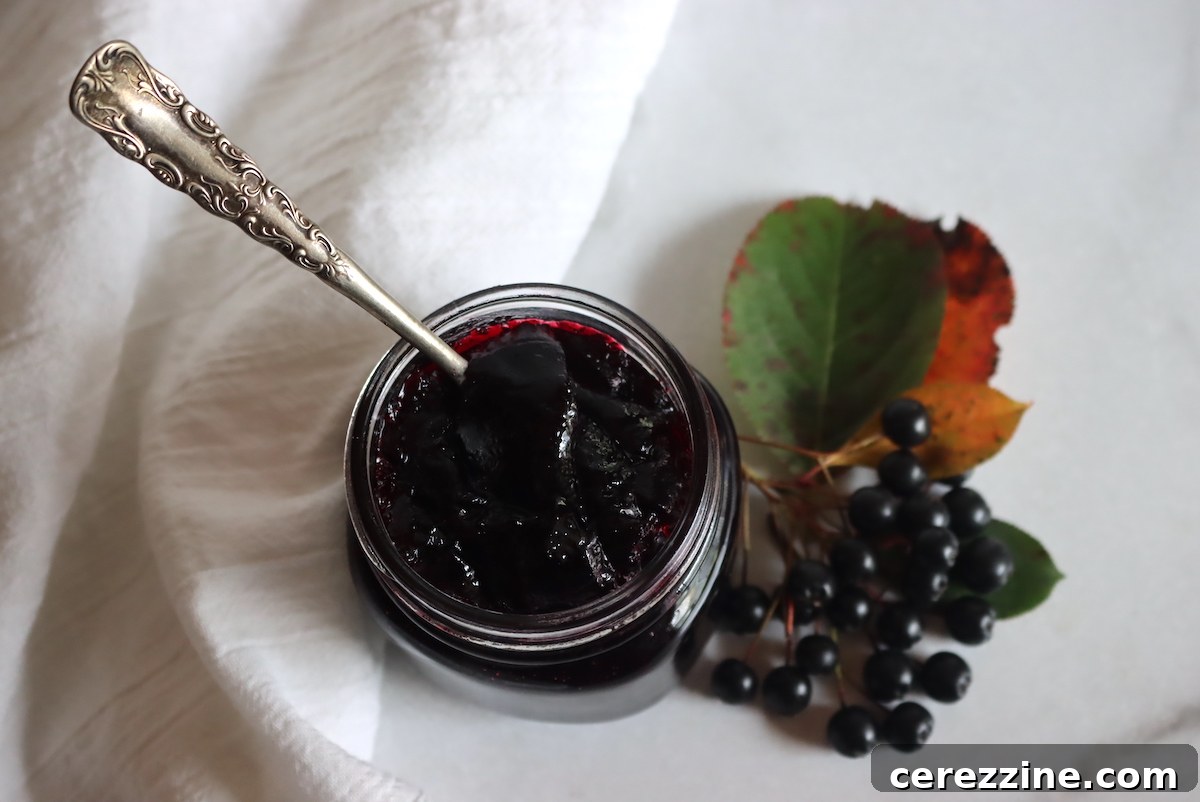
Aronia berries, scientifically known as Aronia melanocarpa, are truly a superfood, brimming with antioxidants like anthocyanins, which give them their deep purple hue. Here on our homestead, we cultivate these resilient shrubs, celebrating their bountiful harvest each season. While their health benefits are well-known, the raw berries possess a distinct tartness and astringency that can make them challenging to enjoy straight from the bush. Many find themselves searching for creative ways to incorporate them into their diet.
I occasionally enjoy a handful of berries fresh from the garden, but their intense flavor means moderation is key. Freezing them for smoothies is another common practice, though it often requires balancing their tartness with a significant amount of other sweeter fruits. This is where homemade aronia jelly truly shines, transforming the potent berries into a perfectly balanced, sweet, and incredibly versatile spread. The pectin used in jelly-making remarkably binds some of the compounds responsible for aronia’s astringency, resulting in a much smoother, more palatable experience compared to plain aronia juice or syrup. It quickly became one of our favorite methods for utilizing our abundant aronia crop each year.
For those who don’t have access to fresh aronia berries, don’t worry! You can easily make this recipe using pre-made aronia juice, ensuring everyone can enjoy the rich flavors and numerous benefits of this incredible berry.
Harvesting Aronia for Your Jelly
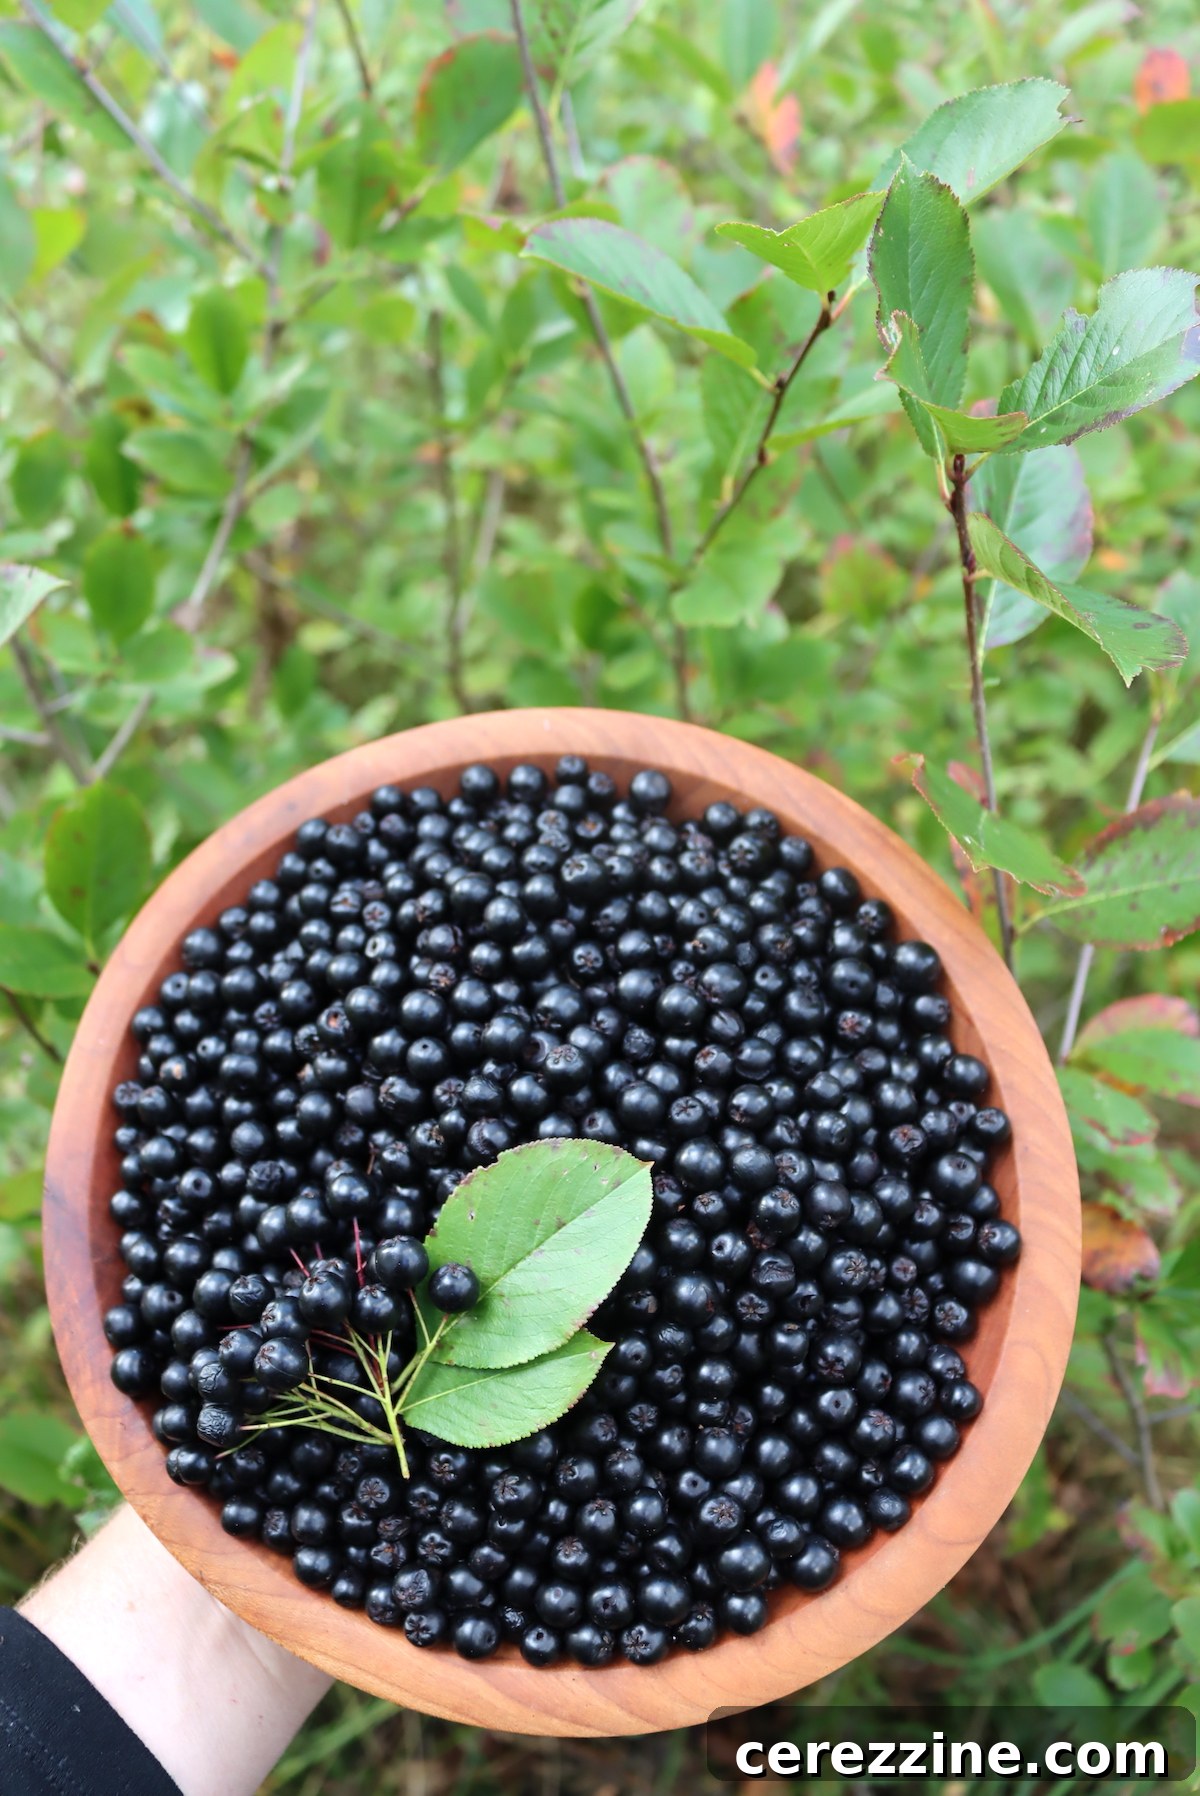
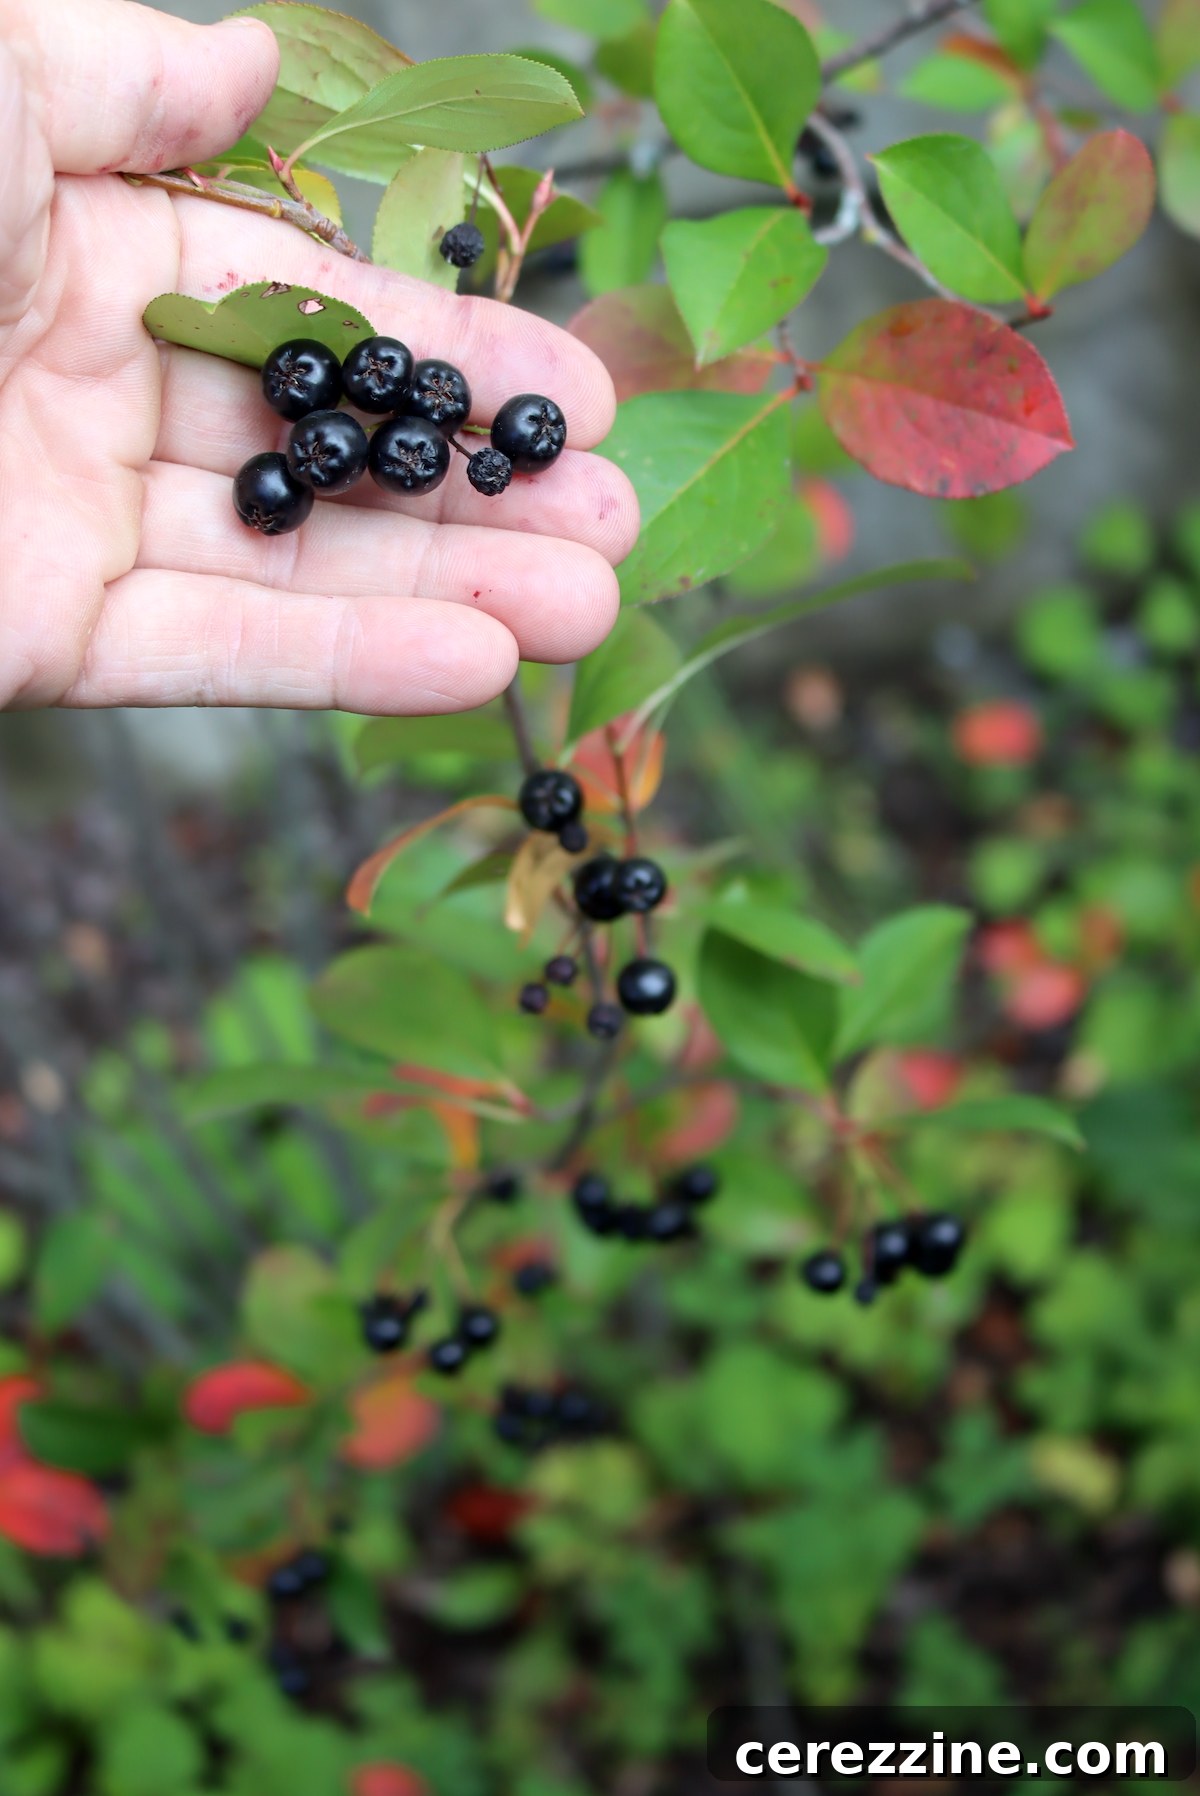
Aronia berries, also widely recognized as black chokeberries, are often found growing wild in various regions, making them an excellent candidate for foraging. If you choose to forage for aronia, careful identification is paramount. Always ensure you are 100% certain about the plant before harvesting and consuming any wild fruit.
To aid in identification, observe the plant’s characteristics: aronia shrubs typically grow to about 5-8 feet tall, with glossy green leaves that turn brilliant red-purple in the fall. The berries ripen in late summer to early fall, transitioning from green to a deep, almost black, purple. A distinctive feature is the persistent five-part calyx (the blossom end) on the fruit, which remains visible even when the berries are fully ripe. This unique “star” pattern on the bottom of the fruit can be a helpful visual cue.
Beyond foraging, aronia bushes are increasingly popular in home gardens due to their hardiness, pest resistance, and attractive foliage. If you’re growing your own, harvest the berries when they are deeply colored and slightly softened, typically from late August through September, for the best flavor and juice yield. Gently strip the berries from their clusters or use pruning shears to snip off entire clusters, then remove individual berries later. Aim for a generous harvest, as you’ll need a good quantity to extract enough juice for a batch of this delicious jelly.
Essential Ingredients for Your Aronia Jelly
This recipe is designed to yield a batch of approximately 4 to 5 half-pint jars (8 oz each) of luscious aronia berry jelly. Each ingredient plays a crucial role in achieving the perfect flavor and set.
- 4 cups aronia/chokeberry juice: This can be freshly extracted from approximately 4 quarts of fresh aronia fruit or purchased ready-made. The juice is the star, providing the unique flavor and vibrant color.
- 4 cups sugar: Sugar is essential for both sweetness and as a preservative, extending the shelf life of your jelly. It also aids in the setting process by interacting with pectin.
- 1 box (1.75 oz) powdered pectin: Pectin is a natural gelling agent found in fruits. Adding commercial pectin ensures a reliable set for your jelly. You can use either regular or low-sugar pectin, depending on your sweetness preference and dietary needs (see variations section for details).
As mentioned, if you’re using fresh aronia berries, plan on needing about 4 quarts of fruit to extract the required 4 cups of juice. This allows for some variation in juice yield depending on the ripeness and juiciness of your berries.
While lemon juice is a common addition in many jelly recipes to boost acidity and ensure a good set, it’s often optional for aronia jelly. Aronia berries are naturally quite acidic, providing sufficient acidity on their own to activate the pectin. However, if you prefer a brighter flavor profile or want an extra assurance of a firm set, you can incorporate 1 to 2 tablespoons of fresh lemon juice. Personally, I rarely find it necessary to add lemon juice to my aronia jelly, as the natural balance is already quite pleasing.
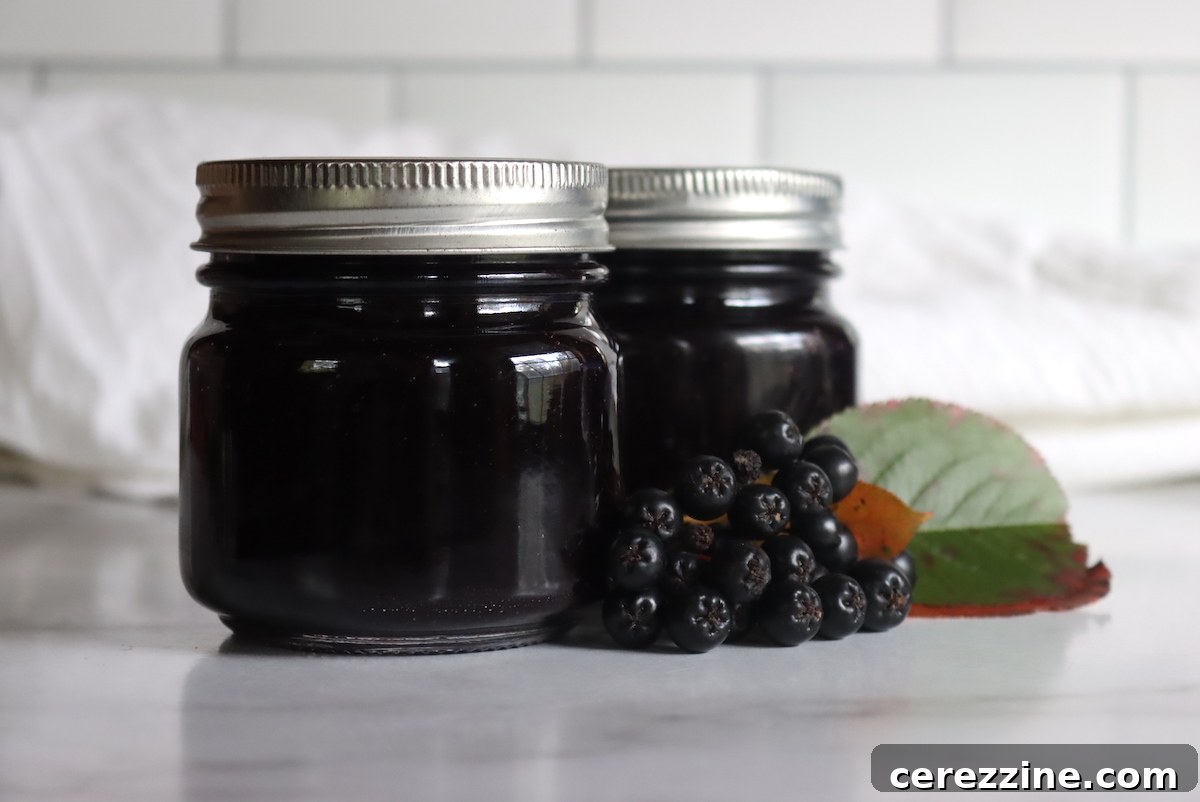
Crafting Your Delicious Aronia Jelly: A Step-by-Step Guide
Making homemade aronia jelly is a rewarding process. This guide covers everything from extracting juice from fresh or frozen berries to sealing your finished jars. Remember, you can use either aronia (chokeberry) juice directly or extract it from fresh or frozen aronia berries.
To Extract Aronia Berry Juice:
If you’re starting with fresh aronia berries, begin by thoroughly washing them under cool running water. Place approximately 4 quarts of the clean berries into a large, heavy-bottomed saucepan. Add 4 cups of water to the pot. As you slowly bring the mixture to a simmer over medium heat, use a potato masher or a sturdy spoon to gently mash the berries. Mashing helps to break open the fruit cells, releasing more juice and flavor into the liquid.
Once simmering, continue to cook the aronia berries and water for at least 10 minutes. This simmering process allows the berries to soften further, impart all their rich juices, and fully develop their flavor within the liquid mixture. The mixture will take on a deep, beautiful color.
After the berries have sufficiently broken down and released their vibrant flavor, remove the saucepan from the heat. Carefully pour the hot mixture into a jelly bag suspended over a large bowl or pot. Allow the juice to drain undisturbed for at least two hours, or even overnight, to ensure maximum juice extraction without clouding. Resisting the urge to squeeze the bag will result in a clearer jelly, though a gentle squeeze at the very end can help yield a final bit of juice if you’re slightly short.
Should you not have a dedicated jelly bag, a fine-mesh colander generously lined with several layers of cheesecloth can serve as an effective substitute. In this case, carefully gather the edges of the cheesecloth and gently twist to extract the juice, taking care not to force pulp through.
Once fully drained, you should have approximately 4 cups of concentrated aronia berry juice. If your yield is slightly less, you can top it off with a little water or another fruit juice (like apple or grape) to reach the 4-cup mark, ensuring the recipe ratios remain consistent. Discard the berry remnants, or save them for other uses like compote or flavoring tea.
To Make Aronia Berry Jelly:
Before you begin cooking, ensure your canning jars and lids are properly prepared. Wash your jars thoroughly with hot, soapy water and rinse well. If you plan on water bath canning (highly recommended for shelf-stable storage), sterilize your jars by boiling them in hot water for at least 10 minutes or using a dishwasher’s sterilize cycle. Keep them hot until ready to fill. Prepare new two-part canning lids according to manufacturer directions, often involving a brief soak in hot (not boiling) water.
Pour your measured 4 cups of aronia berry juice into a clean, large, heavy-bottomed saucepan. Bring the juice to a full, rolling boil over high heat – this means a boil that cannot be stirred down. Once achieved, immediately add your powdered pectin (and lemon juice, if you’re using it). Whisk or stir constantly for one full minute to thoroughly dissolve the pectin and prevent it from clumping. Maintain this hard, rolling boil for the entire minute.
After the juice and pectin mixture has boiled vigorously for one full minute, add all 4 cups of sugar at once. Stir continuously until the sugar is completely dissolved. Return the mixture to a full, rolling boil and boil hard for another full minute. Timing is crucial here to ensure the jelly sets correctly. If you’re unsure about the set, you can perform a jelly set test by placing a spoonful on a chilled plate and seeing if it wrinkles when pushed.
Promptly remove the pot from the heat. Skim off any foam that may have formed on the surface using a metal spoon. Immediately ladle the hot jelly into your prepared hot jars, leaving ¼ inch of headspace from the rim. This headspace is vital for creating a proper vacuum seal during canning.
If you intend to refrigerate or freeze your jelly, allow the jars to cool completely to room temperature before storing them. For shelf-stable storage through canning, proceed directly to the canning instructions below.
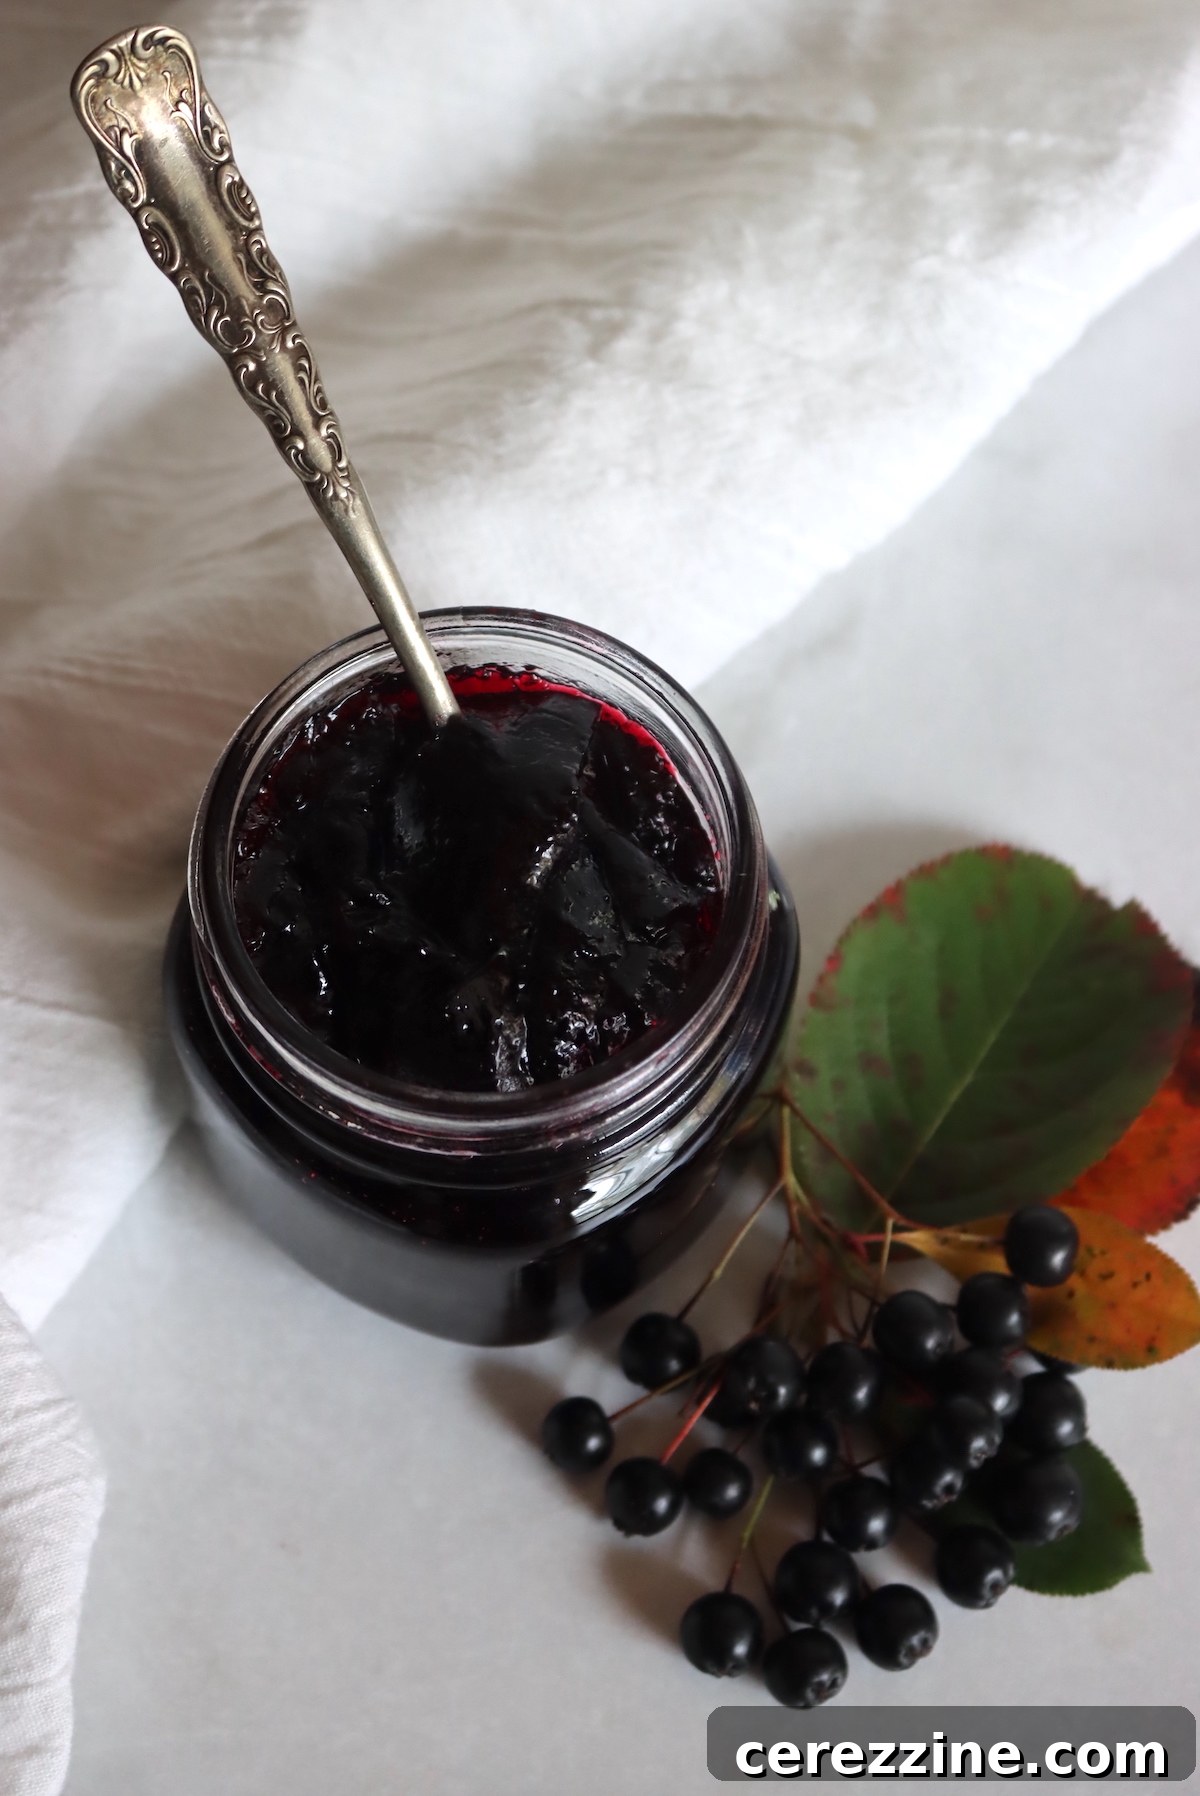
Exciting Aronia Jelly Variations to Try
While aronia jelly is absolutely exquisite on its own, its versatile flavor profile lends itself beautifully to creative enhancements. Experiment with these variations to tailor the jelly to your personal taste.
Low Sugar Aronia Jelly Variation
The base recipe uses a 1:1 ratio of juice to sugar, making it suitable for both regular and low-sugar powdered pectin. If you’re aiming for a healthier option or prefer a less sweet, more tart jelly, you can significantly reduce the sugar content. However, it is crucial to use a low-sugar pectin specifically designed for recipes with reduced sugar. Brands like Sure-Jell Low Sugar pectin allow for flexibility, sometimes requiring as little as one cup of sugar. Be aware that reducing sugar to such an extent will result in a very tart jelly. For a balanced, mildly tart yet sweet jelly, consider using 2 to 3 cups of sugar with low-sugar pectin.
Flavorful Additions for Your Aronia Jelly
Aronia berries produce a spectacular jelly by themselves, but adding complementary ingredients can introduce new dimensions of flavor and complexity:
- Ginger and Orange Zest: The warm, spicy notes of freshly grated ginger pair wonderfully with aronia’s tartness, adding a comforting depth. Similarly, the bright, citrusy aroma and flavor of orange zest offer a refreshing counterpoint, elevating the jelly’s overall profile. You can add 1-2 teaspoons of finely grated ginger or orange zest during the last minute of boiling the jelly.
- Almond Extract: A touch of almond extract can introduce a subtle, sophisticated nutty undertone that complements the fruitiness of aronia. Add ¼ to ½ teaspoon of pure almond extract just after removing the jelly from the heat, before ladling into jars.
- Rhubarb: For an intriguing blend of tart and tangy, consider incorporating rhubarb juice or finely diced rhubarb into your aronia mixture during the initial juice extraction phase. Rhubarb not only adds its distinct flavor but also contributes to the pectin content, potentially aiding in a firmer set.
- Spices: Warm spices like a pinch of cinnamon, a whole star anise, or a few cloves can be infused during the simmering of the berries for juice extraction, then strained out.
- Other Berry Blends: Aronia also blends beautifully with other fruits. Try a combination of aronia with a small amount of apple juice (for extra pectin and sweetness), elderberry, or even blueberries for a unique mixed berry jelly. Adjust pectin as needed for mixed fruit.
Proper Canning and Storage of Aronia Jelly
Ensuring your aronia jelly is stored correctly is just as important as making it. The method you choose depends on how quickly you plan to use it.
For immediate consumption or short-term storage, canning may not be necessary. Aronia jelly can be safely refrigerated for up to 4 weeks, making it convenient for everyday enjoyment. For slightly longer storage, you can freeze your jelly for up to 6 months. When freezing, always use freezer-safe jars (straight-sided jars are best) and remember to leave at least ½ inch of headspace to accommodate expansion as the jelly freezes. Clearly label your jars with the date of preparation so you can easily track their freshness. Always allow the jelly to cool completely to room temperature before placing it in either the freezer or refrigerator to prevent condensation and maintain quality.
However, if you wish to store your homemade aronia jelly at room temperature for extended periods, or if you plan to share it as gifts, processing it for canning is essential. This creates a vacuum seal that preserves the jelly and ensures food safety.
To prepare for canning:
- Sterilize Jars and Lids: Before beginning your jelly-making process, ensure your canning-approved jars and new two-part lids are sterilized. Wash jars thoroughly and immerse them in boiling water for at least 10 minutes. Keep them hot until filling. Prepare lids according to the manufacturer’s instructions, typically by simmering them in hot water.
- Prepare Water Bath Canner: Fill your water bath canner with enough water to cover the jars by at least an inch once they are placed inside. Bring the water to a simmer (around 180°F or 82°C) while you finish the jelly.
- Fill Jars: Once your hot jelly is ready, carefully ladle it into the hot, sterilized canning jars, ensuring you leave a precise ¼ inch of headspace. This is critical for proper sealing.
- Clean Rims and Seal: Wipe the rims of each jar thoroughly with a clean, damp cloth to remove any jelly residue. This ensures a tight seal. Center a prepared lid on each jar, then apply the screw band and finger-tighten it (don’t overtighten).
- Process Jars: Carefully place the filled jars onto the rack in your preheated water bath canner. Ensure the water level covers the jars by at least 1 inch. Bring the water to a rolling boil and process the jars for 10 minutes. If you are at an altitude above 6,000 feet, increase the processing time to 15 minutes to compensate for lower boiling temperatures.
- Cool and Check Seals: After processing, turn off the heat and allow the jars to sit in the canner for 5 minutes before carefully removing them with a jar lifter. Place the hot jars on a clean towel on your countertop, leaving space between them to cool undisturbed for 12 to 24 hours. As they cool, you should hear the satisfying “ping” sound of lids sealing. After 12-24 hours, check the seals by pressing on the center of each lid; it should not flex or pop. Remove screw bands, wipe jars clean, label, and store.
Properly sealed aronia jelly, stored in a cool, dark place, will maintain its quality for 18 months or even longer. Once a jar has been opened, always refrigerate it.
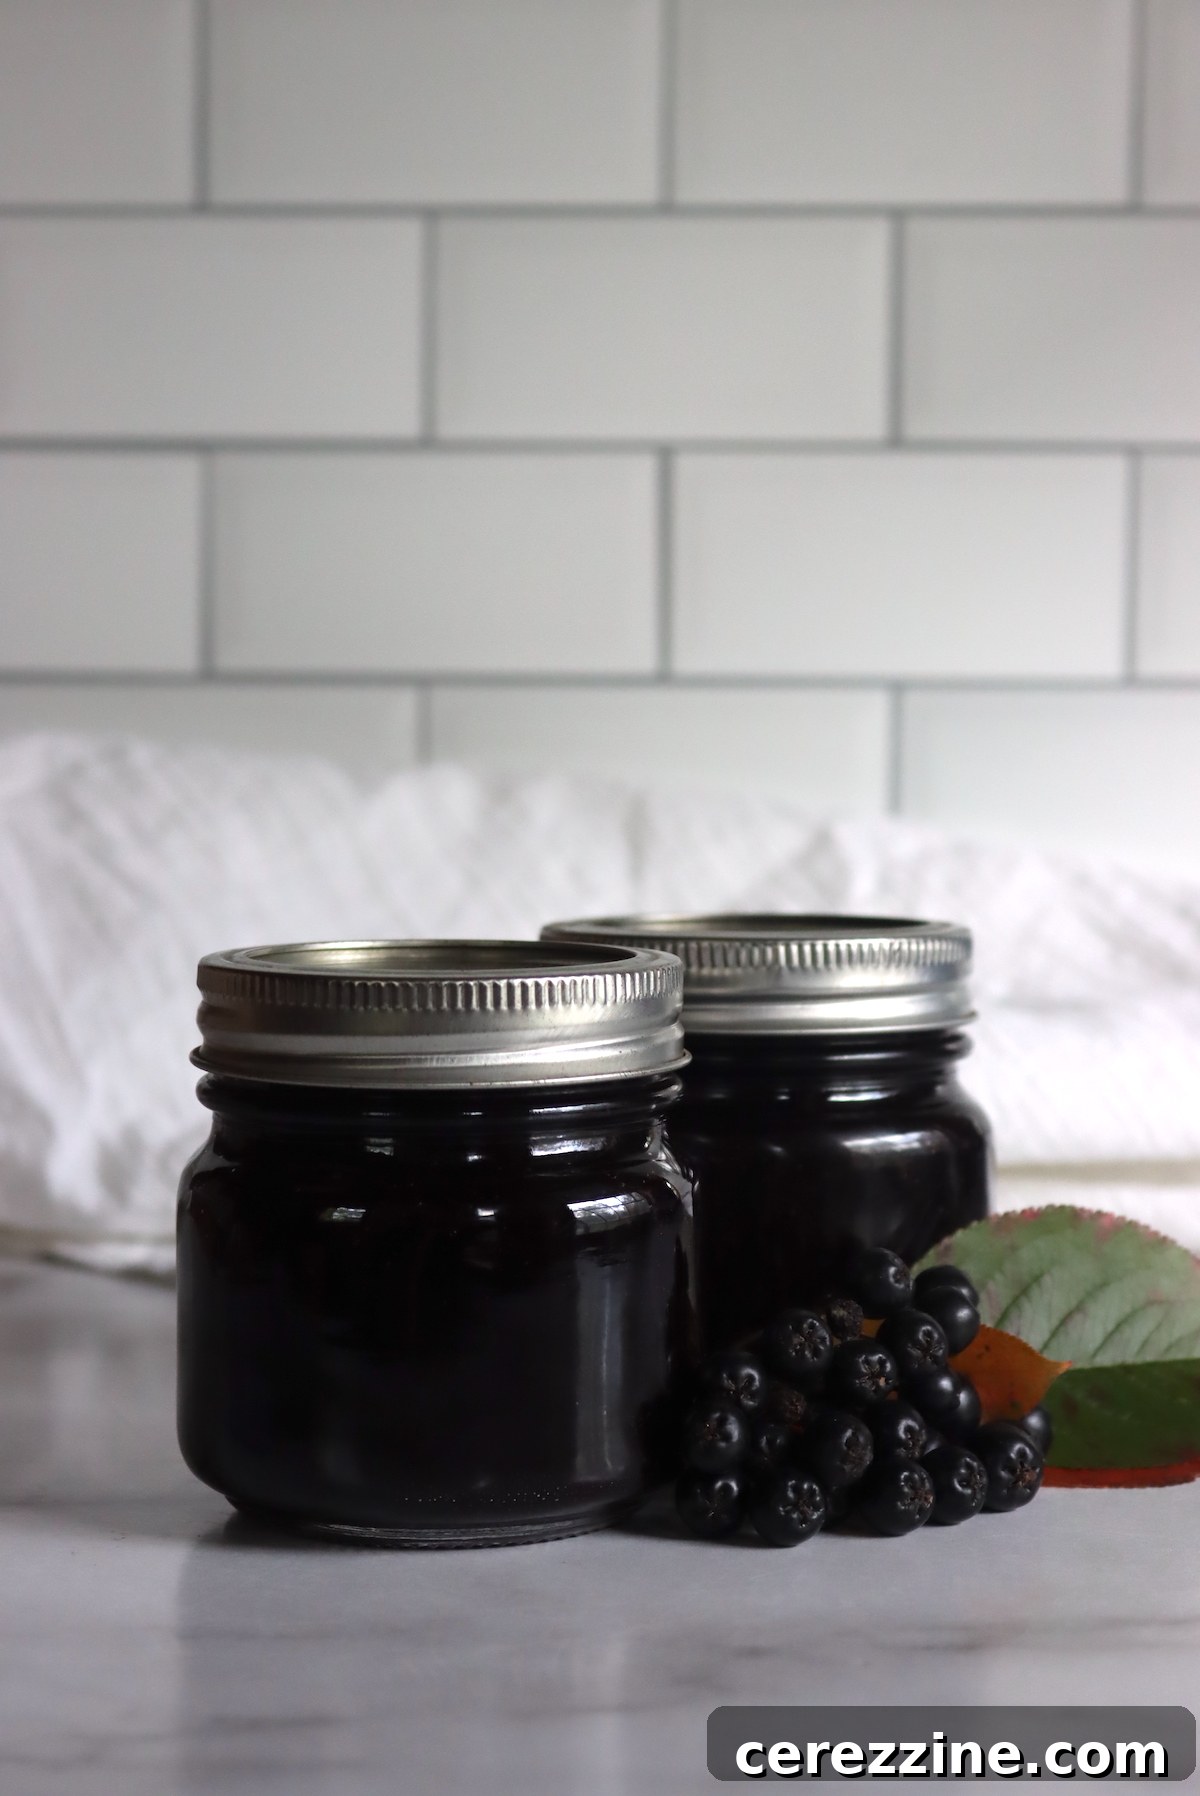
Delightful Ways to Enjoy Aronia Jelly
The subtly sweet, distinctively tart flavor of aronia jelly makes it an incredibly versatile preserve in the kitchen. Here are just a few ideas to inspire you:
- Breakfast Staple: Simply spread a generous dollop on warm toast, fluffy pancakes, homemade biscuits, or freshly baked muffins for a bright start to your day.
- Savory Pairings: Elevate your savory dishes! Aronia jelly makes a fantastic glaze for roasted meats, particularly duck, game hens, or pork tenderloin. Its tartness cuts through rich flavors beautifully. It’s also a superb addition to cheese boards and charcuterie platters, offering a fruity counterpoint to aged cheeses and cured meats. For a simple yet sophisticated snack, pair it with rustic bread and creamy butter.
- Baking and Desserts: Incorporate this vibrant jelly into your sweet treats. Use it as a tart yet fruity filling for pastries like small turnovers, thumbprint cookies, or elegant danishes. Imagine the delightful burst of flavor in a flaky pastry!
- Refreshing Treats: When the weather is warm, try swirling aronia berry jelly with Greek yogurt, a drizzle of honey, and fresh berries, then freezing the mixture in molds to create delicious cheesecake popsicles. It also makes a wonderful topping for ice cream or a swirl-in for parfaits.
- Beverage Enhancer: Stir a spoonful into hot tea for a fruity twist, or mix it into sparkling water with a squeeze of lime for a refreshing homemade soda.
More Aronia Recipes to Explore
If you’re looking for even more innovative ways to utilize your bountiful aronia harvest, these recipes offer diverse and delicious options:
- Aronia Simple Syrup
- Aronia Oatmeal Crumble Bars
- Aronia Oatmeal Cake
- Aronia Cookies
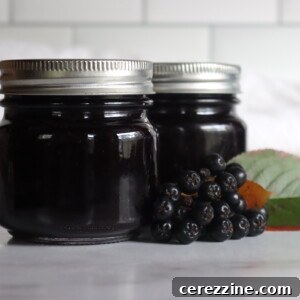
Aronia Jelly
By Ashley Adamant
Aronia jelly is a simple preserve that’s easy to make with fresh aronia fruit or store-bought aronia juice.
Servings: 40 servings (Makes about 4 to 5 half-pint jars, 8 oz each)
Prep Time: 2 hrs
Cook Time: 10 mins
Additional Time (Draining): 10 mins
Total Time: 2 hrs 20 mins
Equipment
- Water Bath Canner (optional, for shelf-stable storage)
- Large, heavy-bottomed saucepan
- Potato masher or sturdy spoon
- Jelly bag or fine-mesh colander with cheesecloth
- Large bowl or pot (for draining juice)
- Canning jars (half-pint) with new two-part lids
- Ladle
- Jar lifter
- Whisk
Ingredients
- 4 cups aronia juice (purchased or extracted from 4 quarts of fresh fruit)
- 4 cups sugar
- 1 box powdered pectin (1.75 oz or 6 tbsp, regular or low sugar)
- Optional: 1-2 Tablespoons lemon juice
Instructions
To Extract Aronia Berry Juice:
- To extract juice from fresh aronia berries, wash 4 quarts of fresh berries and place them in a large pot. Add 4 cups of water. Slowly bring the mixture to a simmer, mashing the berries with a potato masher as it heats.
- Simmer the berry mixture for at least 10 minutes, allowing the berries to soften and release their flavors and juices into the liquid.
- Remove from heat and carefully pour the mixture into a jelly bag suspended over a large bowl. Allow it to drain for at least two hours (or overnight) to extract the juice. Gently squeeze the bag if needed to collect all the juice.
- You should yield approximately 4 cups of aronia berry juice. If slightly short, add a little water or fruit juice to reach the full 4 cups.
To Make Aronia Berry Jelly:
- Prepare jars and lids according to canning guidelines. If canning, preheat your water bath canner.
- Pour the 4 cups of aronia berry juice into a clean, large saucepan. Bring to a full, rolling boil. Add the pectin (and lemon juice, if using), whisking constantly to incorporate. Maintain a hard boil for one full minute.
- After one minute of boiling, stir in the sugar until completely dissolved. Return the mixture to a full, rolling boil and boil hard for another full minute. Remove from heat.
- Immediately skim any foam and ladle the hot jelly into prepared jars, leaving ¼ inch headspace. If refrigerating, allow jars to cool completely before storing. For canning, process in a water bath canner for 10 minutes (or 15 minutes if above 6,000 feet elevation).
Notes
To make a low-sugar version, ensure you use a low-sugar pectin, such as Sure-Jel Low Sugar, which allows you to reduce the sugar as desired. When using regular pectin, a 1:1 ratio of fruit juice to sugar is generally required for the jelly to set properly.
Nutrition
Nutrition information is an approximation per serving (based on 40 servings for a 4-5 half-pint yield):
- Calories: 92 kcal
- Carbohydrates: 24g
- Protein: 0.004g
- Fat: 0.1g
- Saturated Fat: 0.001g
- Polyunsaturated Fat: 0.001g
- Sodium: 9mg
- Potassium: 24mg
- Fiber: 0.1g
- Sugar: 22g
- Vitamin A: 1 IU
- Vitamin C: 10mg
- Calcium: 1mg
- Iron: 0.2mg
Nutrition information is automatically calculated, so should only be used as an approximation.
We hope you enjoy this delicious Aronia Jelly recipe! Feel free to leave a comment below with your thoughts or variations.
More Homemade Jelly Recipes
If the joy of making aronia jelly has sparked your interest in home preserving, you’re in for a treat! We offer a variety of easy homemade jelly recipes, including wild-foraged delights and traditional garden classics. Explore these other options to fill your pantry with delicious, handcrafted preserves:
- Saskatoon Jelly
- Elderberry Jelly
- Gooseberry Jelly
- Black Raspberry Jelly (Seedless)
- Quince Jelly
- Raspberry Jelly
- Rose Petal Jelly
Summer Fruit Canning Recipes
As the summer months bring a bounty of fresh produce, why not extend the season by canning your favorite fruits? Beyond jellies, preserving whole fruits or fruit preparations is a fantastic way to enjoy their goodness year-round. Dive into more fruit canning recipes and stock your shelves with these wholesome preserves:
- Canning Peaches
- Canning Plums
- Canning Blueberries
- Canning Blackberries
- Canning Raspberries