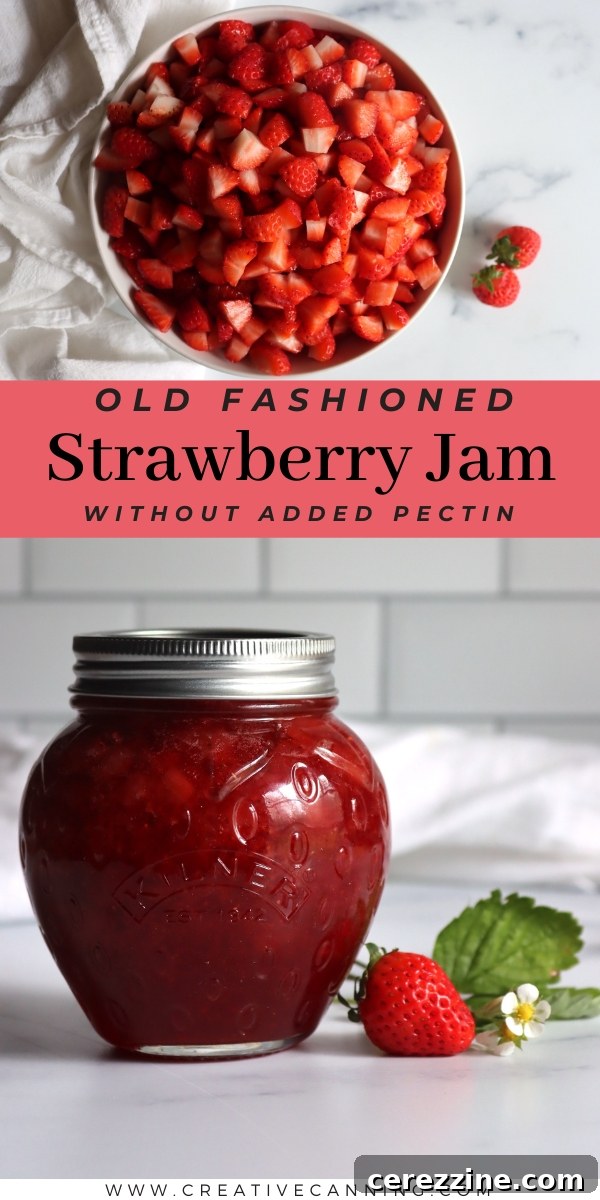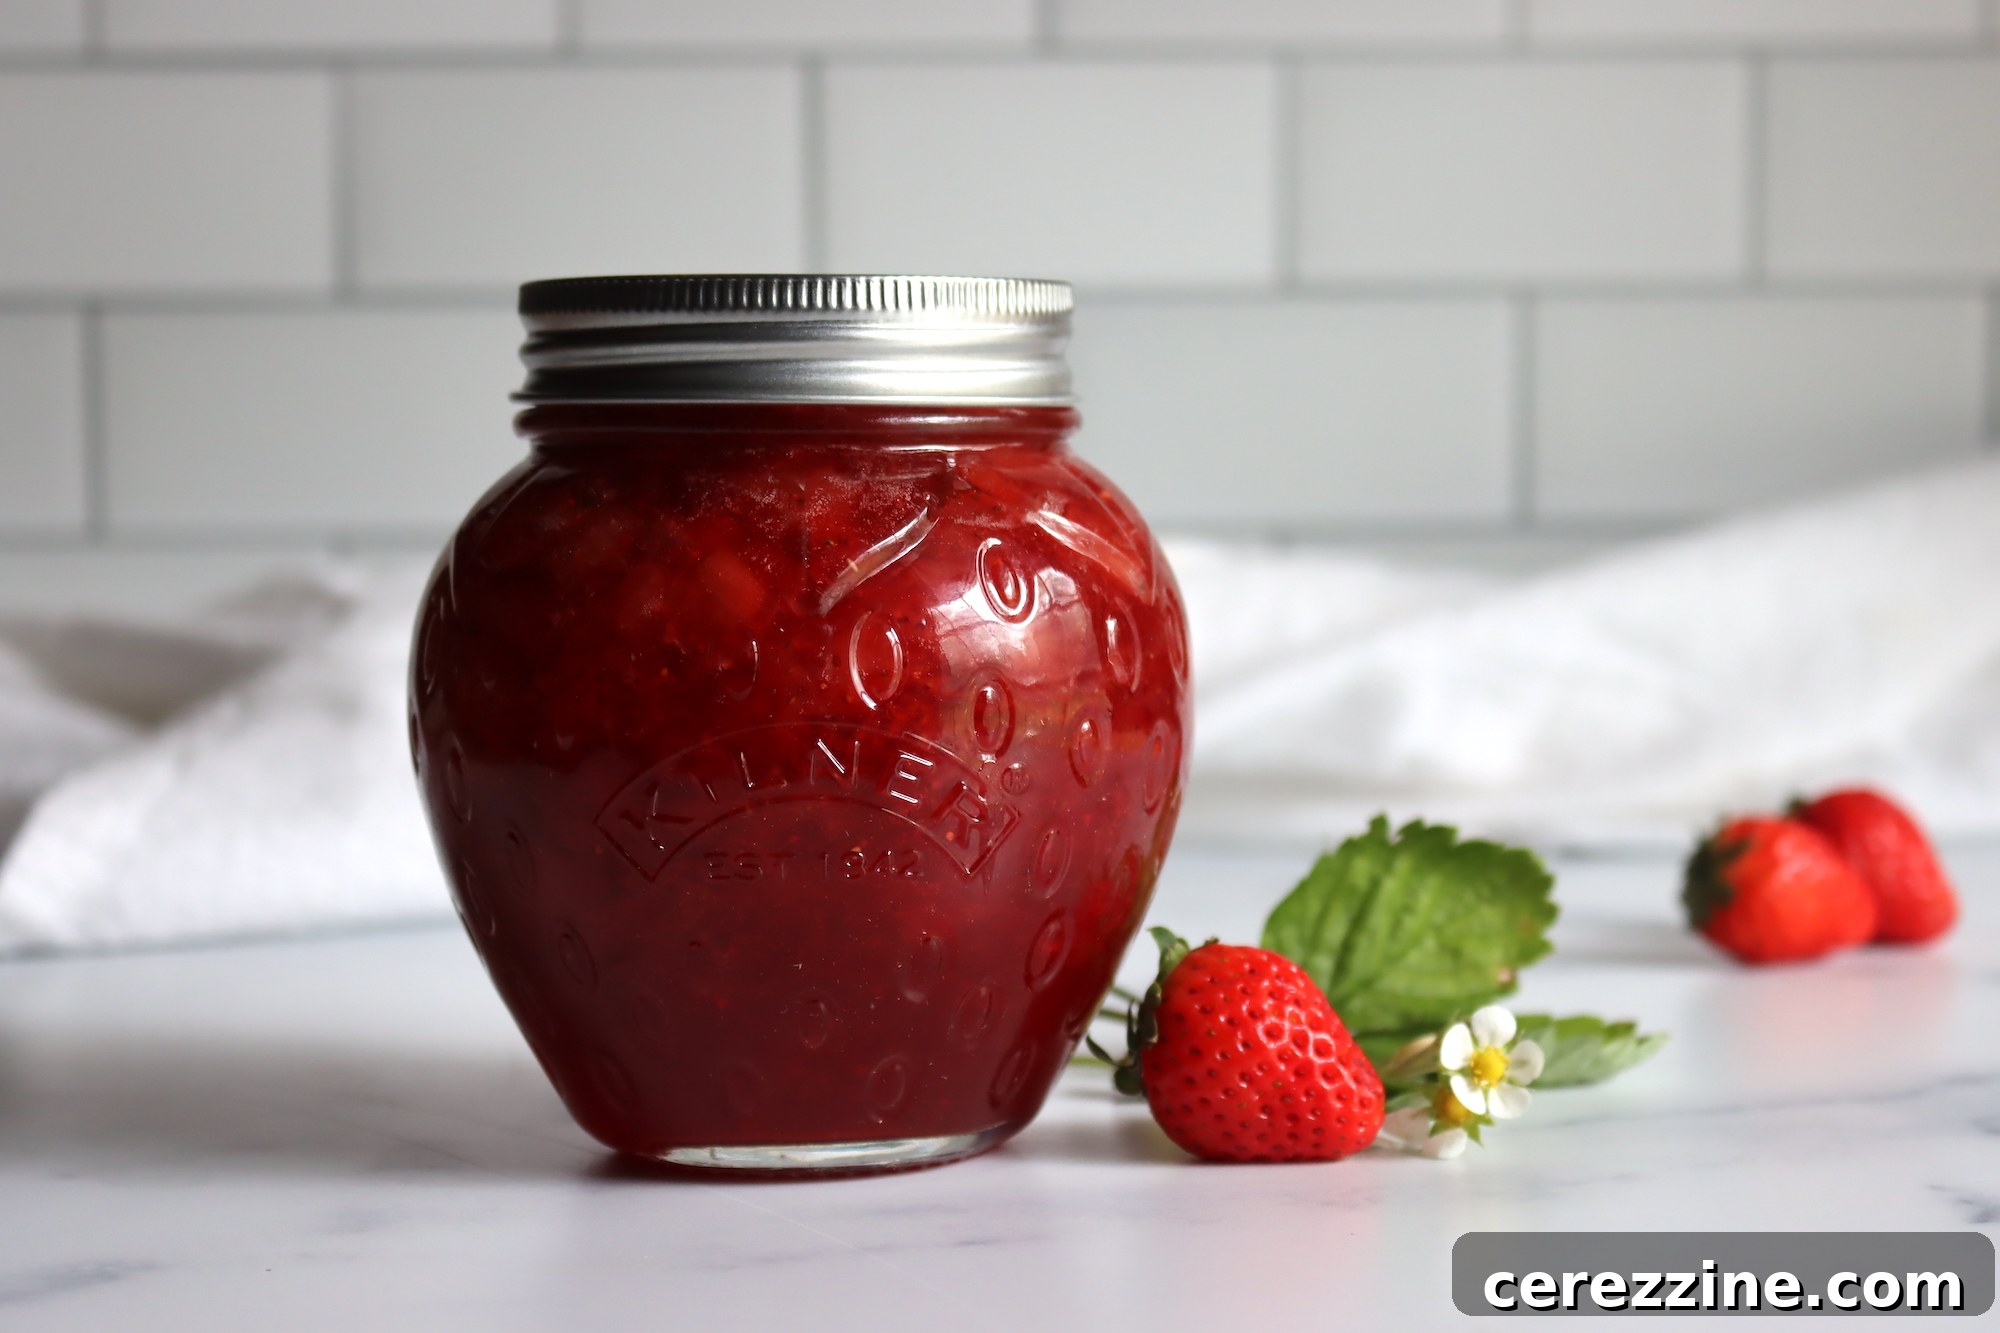
Old-fashioned strawberry jam is a delightful spring treat that comes together with just a few simple ingredients (no added boxed pectin required). This timeless recipe unlocks the pure essence of strawberries, transforming them into a ruby-red delight perfect for any occasion.
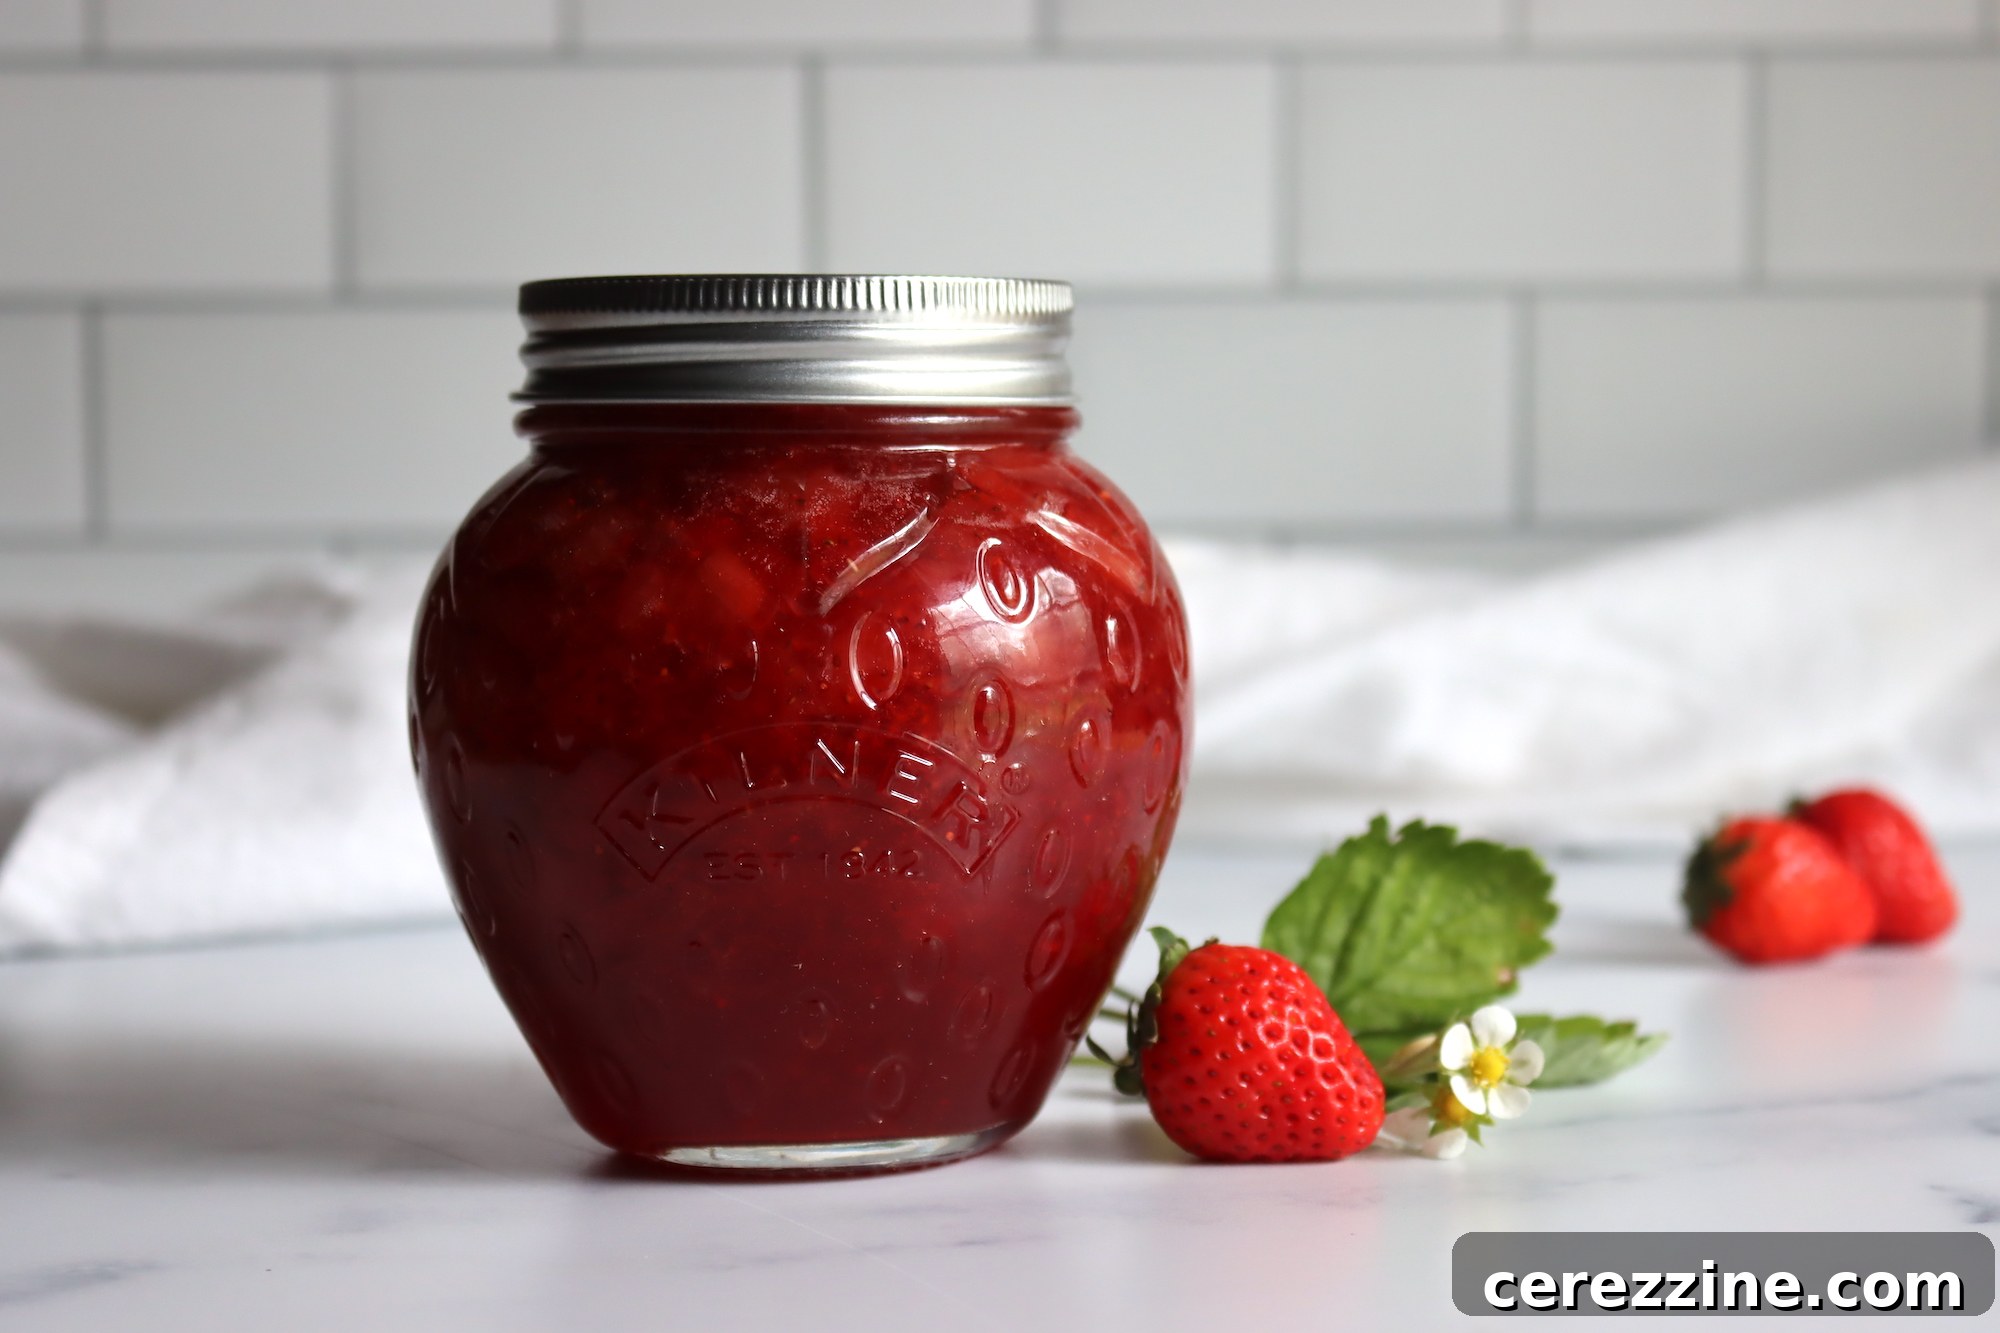
There’s something truly magical about the process of making old-fashioned strawberry jam. From the vibrant hue of freshly picked, sun-kissed strawberries to the rich aroma that fills your kitchen, it’s a sensory journey. Imagine spreading that first spoonful of luscious, ruby-red jam onto a warm, buttered scone or a slice of toast – a taste of pure bliss in every bite. This isn’t just a recipe; it’s an invitation to partake in a cherished culinary tradition.
This method of jam-making traces its roots back decades, to kitchens where modern conveniences and shortcuts were unheard of. It celebrates simplicity, relying on the inherent goodness of wholesome fruits, natural sugar, and a touch of patience to create something truly extraordinary. It’s a testament to how simple ingredients, combined with traditional techniques, can yield results far superior to their mass-produced counterparts.
The hallmark of old-fashioned jam lies in its preparation without commercial pectin, the setting agent commonly found in most contemporary jam recipes. Instead, traditional methods honor the natural pectin content within the fruit itself, alongside precise cooking temperatures and careful monitoring. This approach results in a jam with a remarkably deeper, richer, and more authentic fruit flavor. The texture is distinctively firm yet wonderfully velvety, a pleasing contrast to the often thicker, more gelatinous consistency of jams made with added pectin. This allows the true character of the strawberries to shine through, offering a nuanced taste that artificial thickeners simply can’t replicate.
Ready to embark on this delicious journey? You’re about to discover the unparalleled joy of homemade strawberry jam, crafted with love and tradition. Prepare to be amazed by how easily a few humble ingredients can be transformed into a jar of pure, unadulterated sunshine.
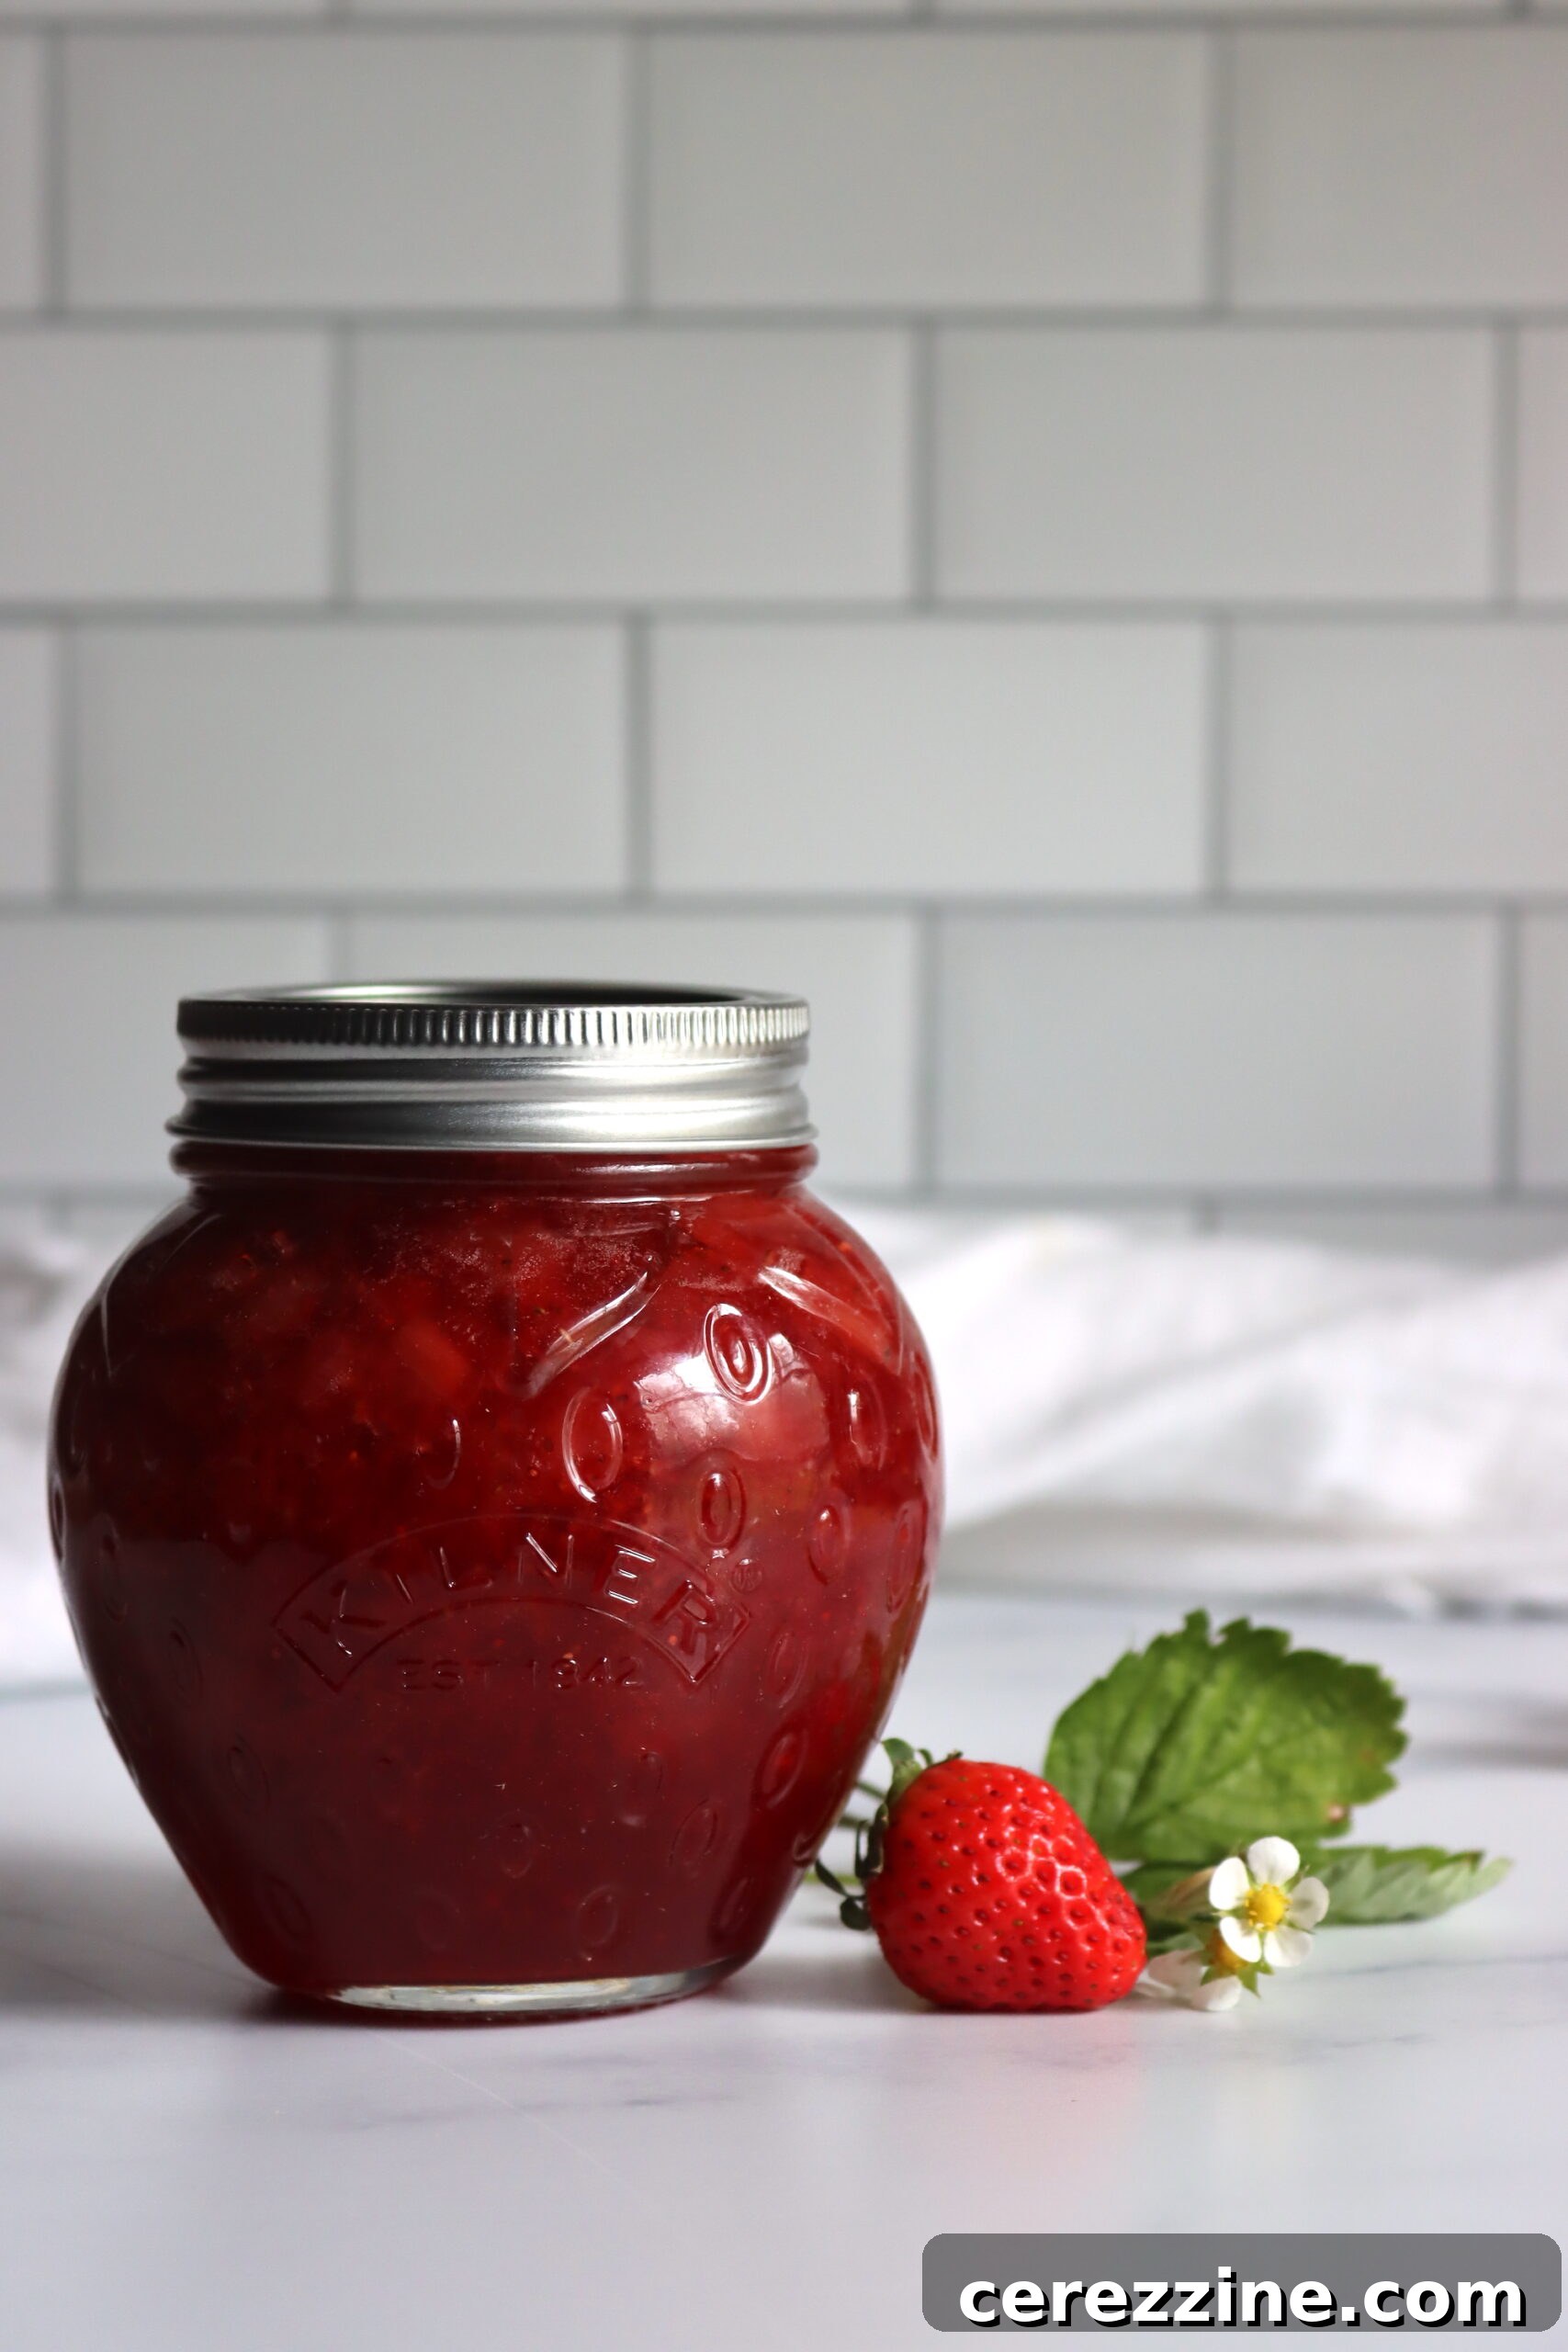
Essential Ingredients for Homemade Strawberry Jam
The beauty of this old-fashioned strawberry jam recipe lies in its incredibly simple ingredient list. You don’t need a pantry full of obscure items; just a few core components are enough to create a truly spectacular jam. For a batch yielding approximately seven to eight half-pint (8 oz) jars, gather the following:
- 8 cups strawberries, mashed
- 6 cups white granulated sugar
- 2 tablespoons lemon juice (freshly squeezed or bottled)
Choosing the Best Strawberries for Jam
To achieve eight cups of mashed strawberries, you’ll typically need about four quarts of fresh fruit, which translates to roughly 4 ½ to 5 pounds (or approximately 2 kilograms). The quality of your strawberries is paramount here. Seek out the freshest, ripest berries available, ideally from a local farm or your own garden. Perfectly ripe strawberries boast the highest natural pectin content and the most intense flavor, both crucial for a successful, delicious jam. Avoid overripe or underripe berries, as they can compromise both flavor and set.
The Role of Sugar in Jam-Making
You might be tempted to reduce the sugar content, but for this particular recipe, it’s not recommended. Sugar in jam-making serves multiple critical functions beyond just sweetness: it acts as a preserving agent, preventing spoilage, and it plays a vital role in helping the jam to set. The ratio of sugar to fruit is carefully balanced to achieve the perfect consistency without commercial pectin. Drastically reducing the sugar will likely result in a runny jam that fails to set properly and has a shorter shelf life. If you absolutely wish to use less sugar, you would need to incorporate a low-sugar pectin product, which would alter the traditional, no-pectin nature of this recipe.
Lemon Juice: More Than Just Flavor
While many canning recipes specifically call for bottled lemon juice due to its consistent acidity, fresh lemon juice works perfectly well for this strawberry jam. Strawberries are naturally acidic enough for safe water bath canning, giving you the flexibility to choose. Lemon juice serves a triple purpose in this recipe: it enhances the bright, fresh flavor of the strawberries, balancing the sweetness of the sugar; it adds a boost of natural pectin, aiding in the jam’s set; and it further contributes to the overall acidity, ensuring a safe product for canning and long-term storage. While optional, it’s highly recommended for both flavor and optimal jam consistency.
Crafting Your Own Old-Fashioned Strawberry Jam
Making strawberry jam from scratch is a rewarding experience. Follow these steps to create a batch of delightful, homemade goodness:
1. Preparing Your Strawberries
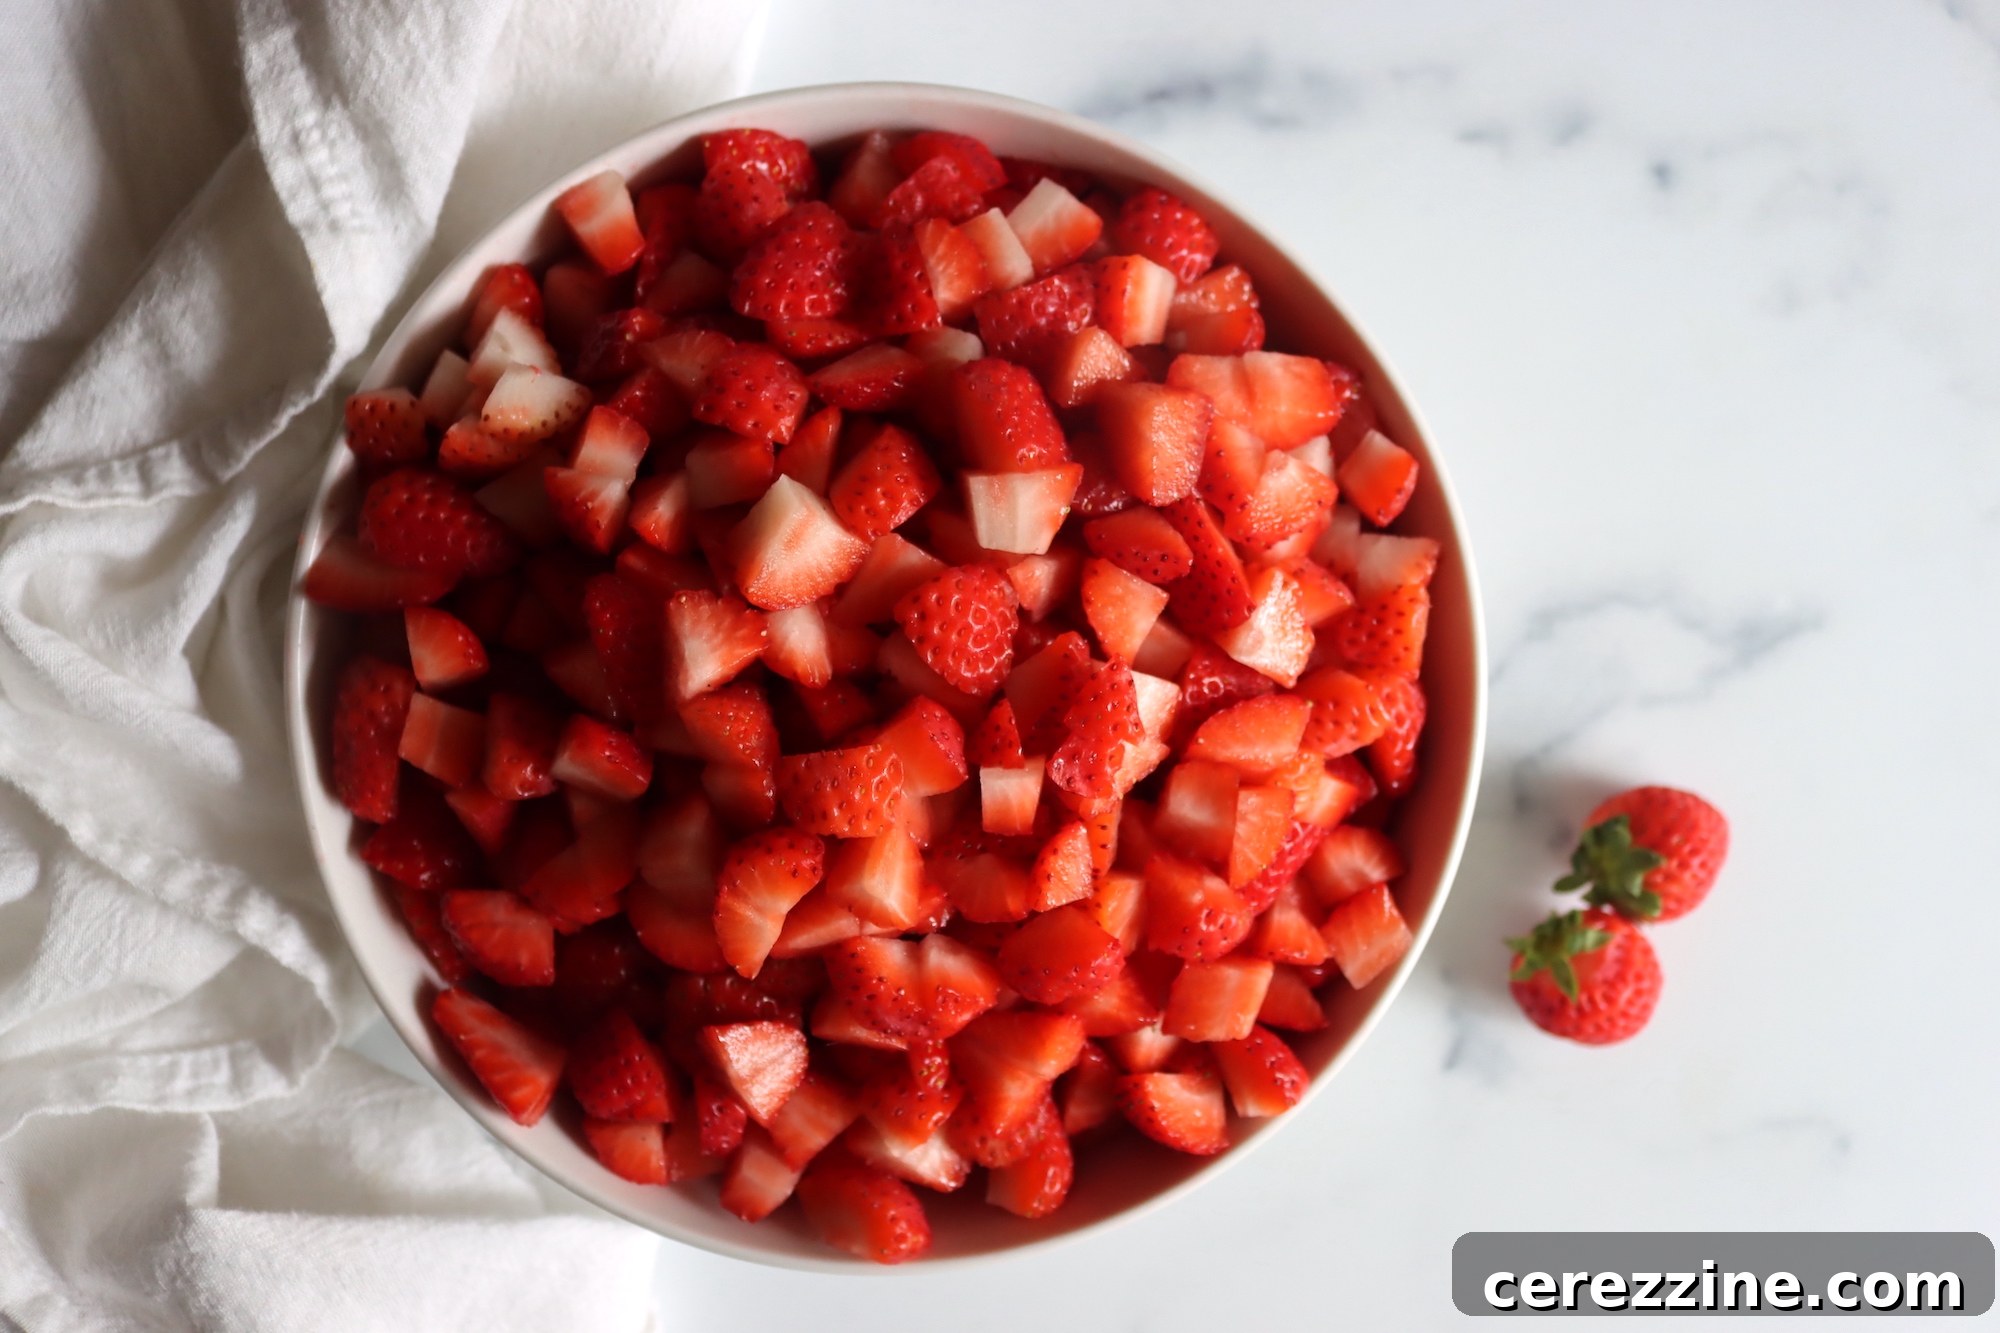
Begin by carefully selecting the freshest, ripest strawberries available. The quality of your fruit directly dictates the flavor and successful setting of your finished jam. Wash them thoroughly under cool running water to remove any dirt or debris. Next, hull each strawberry by removing the green leafy caps and any tough white core. You can use a small knife or a strawberry huller for this. Once hulled, slice the berries into smaller pieces, then mash them to a pulp-like consistency. A potato masher works wonderfully for this, giving a chunky texture, or for a smoother jam, you can briefly pulse them in a food processor. Be sure to measure the mashed strawberries accurately, as this measurement dictates the precise amount of sugar needed for a perfect set.
2. Why Fresh is Best (and Caution with Frozen)
It’s crucial to use fresh, not frozen, strawberries for this no-pectin recipe. Freezing berries, even for a short period, can significantly diminish their natural pectin content. Pectin is the natural gelling agent responsible for setting your jam, and if its levels are too low, your jam may remain runny. If fresh strawberries are out of season, consider waiting until they are back in abundance to make this traditional recipe, or be prepared to add commercial pectin if using frozen fruit.
3. The Cooking Process
Combine your accurately measured mashed strawberries with the white sugar and lemon juice in a large, heavy-bottomed pot. A heavy pot is essential to prevent scorching and ensure even heat distribution. Stir the mixture thoroughly to dissolve the sugar. Place the pot over medium heat, stirring frequently to prevent sticking and burning. The goal is to bring the mixture to a rolling boil and maintain it until it reaches its setting point. This process typically takes around 45 minutes to an hour, but can vary depending on your stove and the moisture content of your fruit.
4. Achieving the Perfect Set
Identifying the setting point is key to successful jam. While a candy thermometer is a reliable tool (aim for 220°F or 104°C at sea level), experienced jam-makers often rely on visual cues and the “plate test.” To perform the plate test, place a small ceramic plate in your freezer before you begin cooking. When you suspect the jam is nearly ready, spoon a small amount onto the chilled plate. Return the plate to the freezer for one to two minutes, then retrieve it and gently push the jam with your finger. If it wrinkles and holds its shape, it has reached its setting point. If it runs, continue cooking and re-test every few minutes. Another visual cue is when the jam thickens and “sheets” off a spoon in large, heavy drops instead of running off in a thin stream.
5. Deciding on Preservation
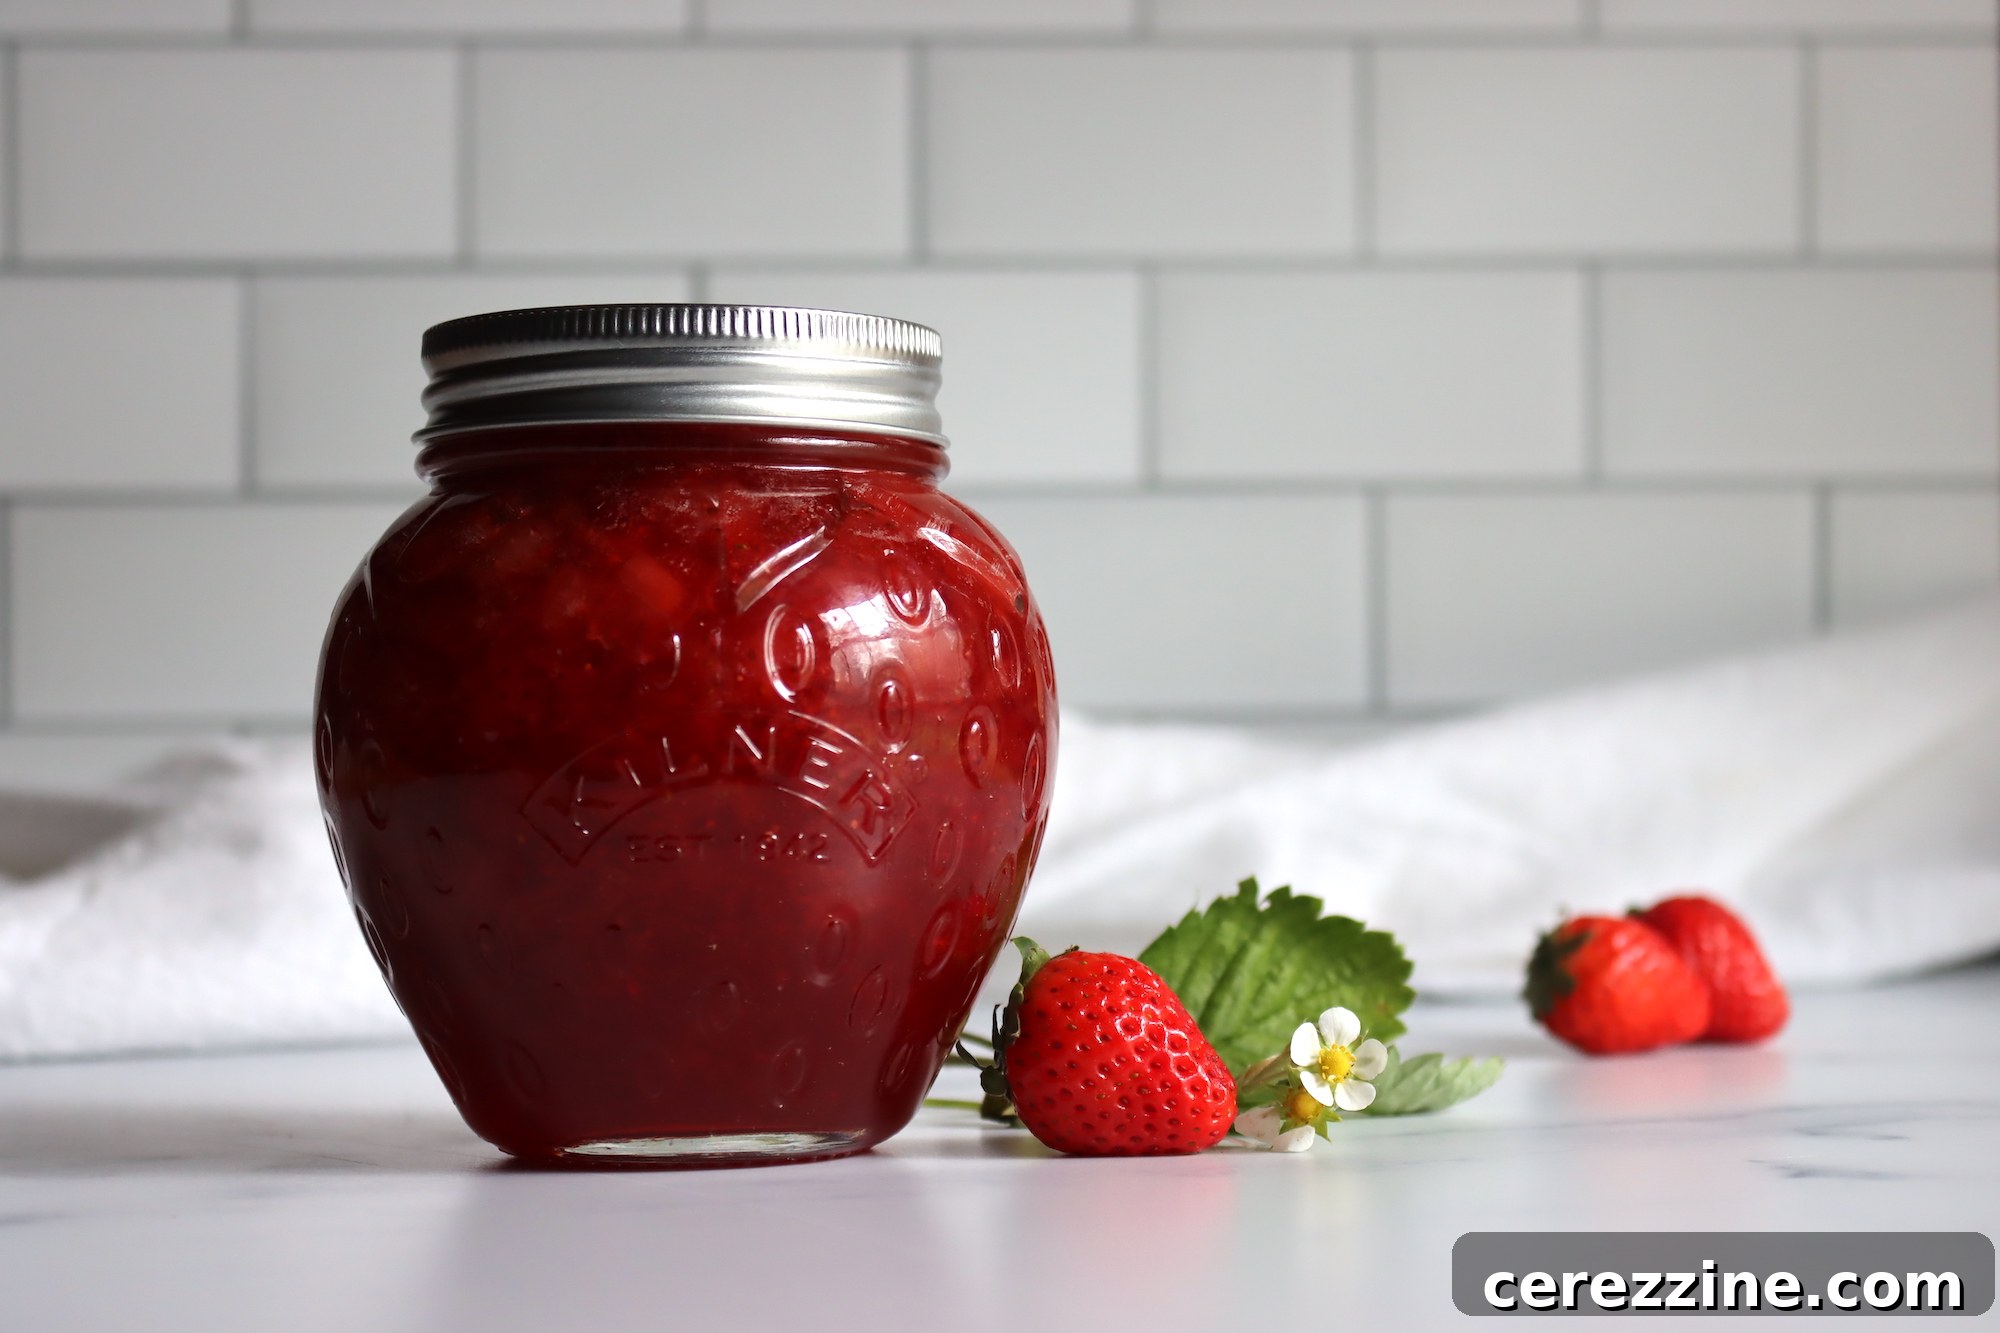
Once your jam has reached the perfect set, you have a few options for preservation. You can simply ladle it into clean jars and store it in the refrigerator for immediate consumption and a shelf life of several weeks, or freeze it for up to a year. However, the true beauty and tradition of old-fashioned jam often involve canning. Canning provides a shelf-stable product that can last for several years without refrigeration, making it an excellent way to enjoy the taste of summer long after the season ends. While it adds a small step to the overall process, the long-term benefits are well worth it.
Water Bath Canning Strawberry Jam for Long-Term Storage
Canning your homemade strawberry jam ensures a stable, delicious product that can be enjoyed throughout the year. The water bath canning method is simple and safe for high-acid foods like strawberry jam. Here’s how to properly can your sweet creation:
1. Prepare Your Jars and Equipment
Before your jam is ready, prepare your canning equipment. Wash pint or half-pint canning jars, lids, and bands thoroughly with hot, soapy water. Sterilize the jars by either boiling them in water for at least 10 minutes, running them through a dishwasher’s sanitizing cycle, or keeping them hot in a boiling water canner filled with simmering water. Keep the lids and bands warm in a separate saucepan of hot (not boiling) water, as this helps with sealing. Ensure you have a canning rack, jar lifter, and headspace tool ready.
2. Filling the Jars
Once the jam has reached its setting point, remove it from the heat. Carefully ladle the hot jam into your sterilized, hot canning jars, leaving precisely ¼ inch of headspace from the rim of the jar. Headspace is crucial for proper sealing and creating a strong vacuum seal. Too little headspace can cause the lid to buckle, while too much can result in a weak seal. Use a non-metallic spatula or bubble remover to gently remove any air bubbles trapped in the jam, adjusting the headspace if necessary.
3. Sealing and Processing
Wipe the rims of the jars clean with a damp paper towel. Any jam residue on the rim can prevent a proper seal. Center a warm lid on each jar, then screw on the bands finger-tight. This means tightening until you feel resistance, then giving a slight extra turn, but do not overtighten. Place the filled jars onto the rack in your boiling water canner, ensuring they are fully submerged by at least one inch of water. Bring the water to a rolling boil and process the jars for 10 minutes. If you live at an elevation above 6,000 feet, increase processing time to 15 minutes to account for lower boiling temperatures.
4. Cooling and Storing
Once the processing time is complete, carefully remove the jars from the canner using a jar lifter. Place them on a clean towel or cooling rack on your counter, ensuring they are undisturbed for 12 to 24 hours. You will likely hear a “ping” sound as the jars cool and seal. After 24 hours, check the seals by pressing down on the center of each lid; if it doesn’t flex, the jar is sealed. Remove the bands, label your jars with the contents and date, and store them in a cool, dark place for up to a year. Any unsealed jars should be refrigerated and consumed within a few weeks.
Creative Ways to Enjoy Old-Fashioned Strawberry Jam
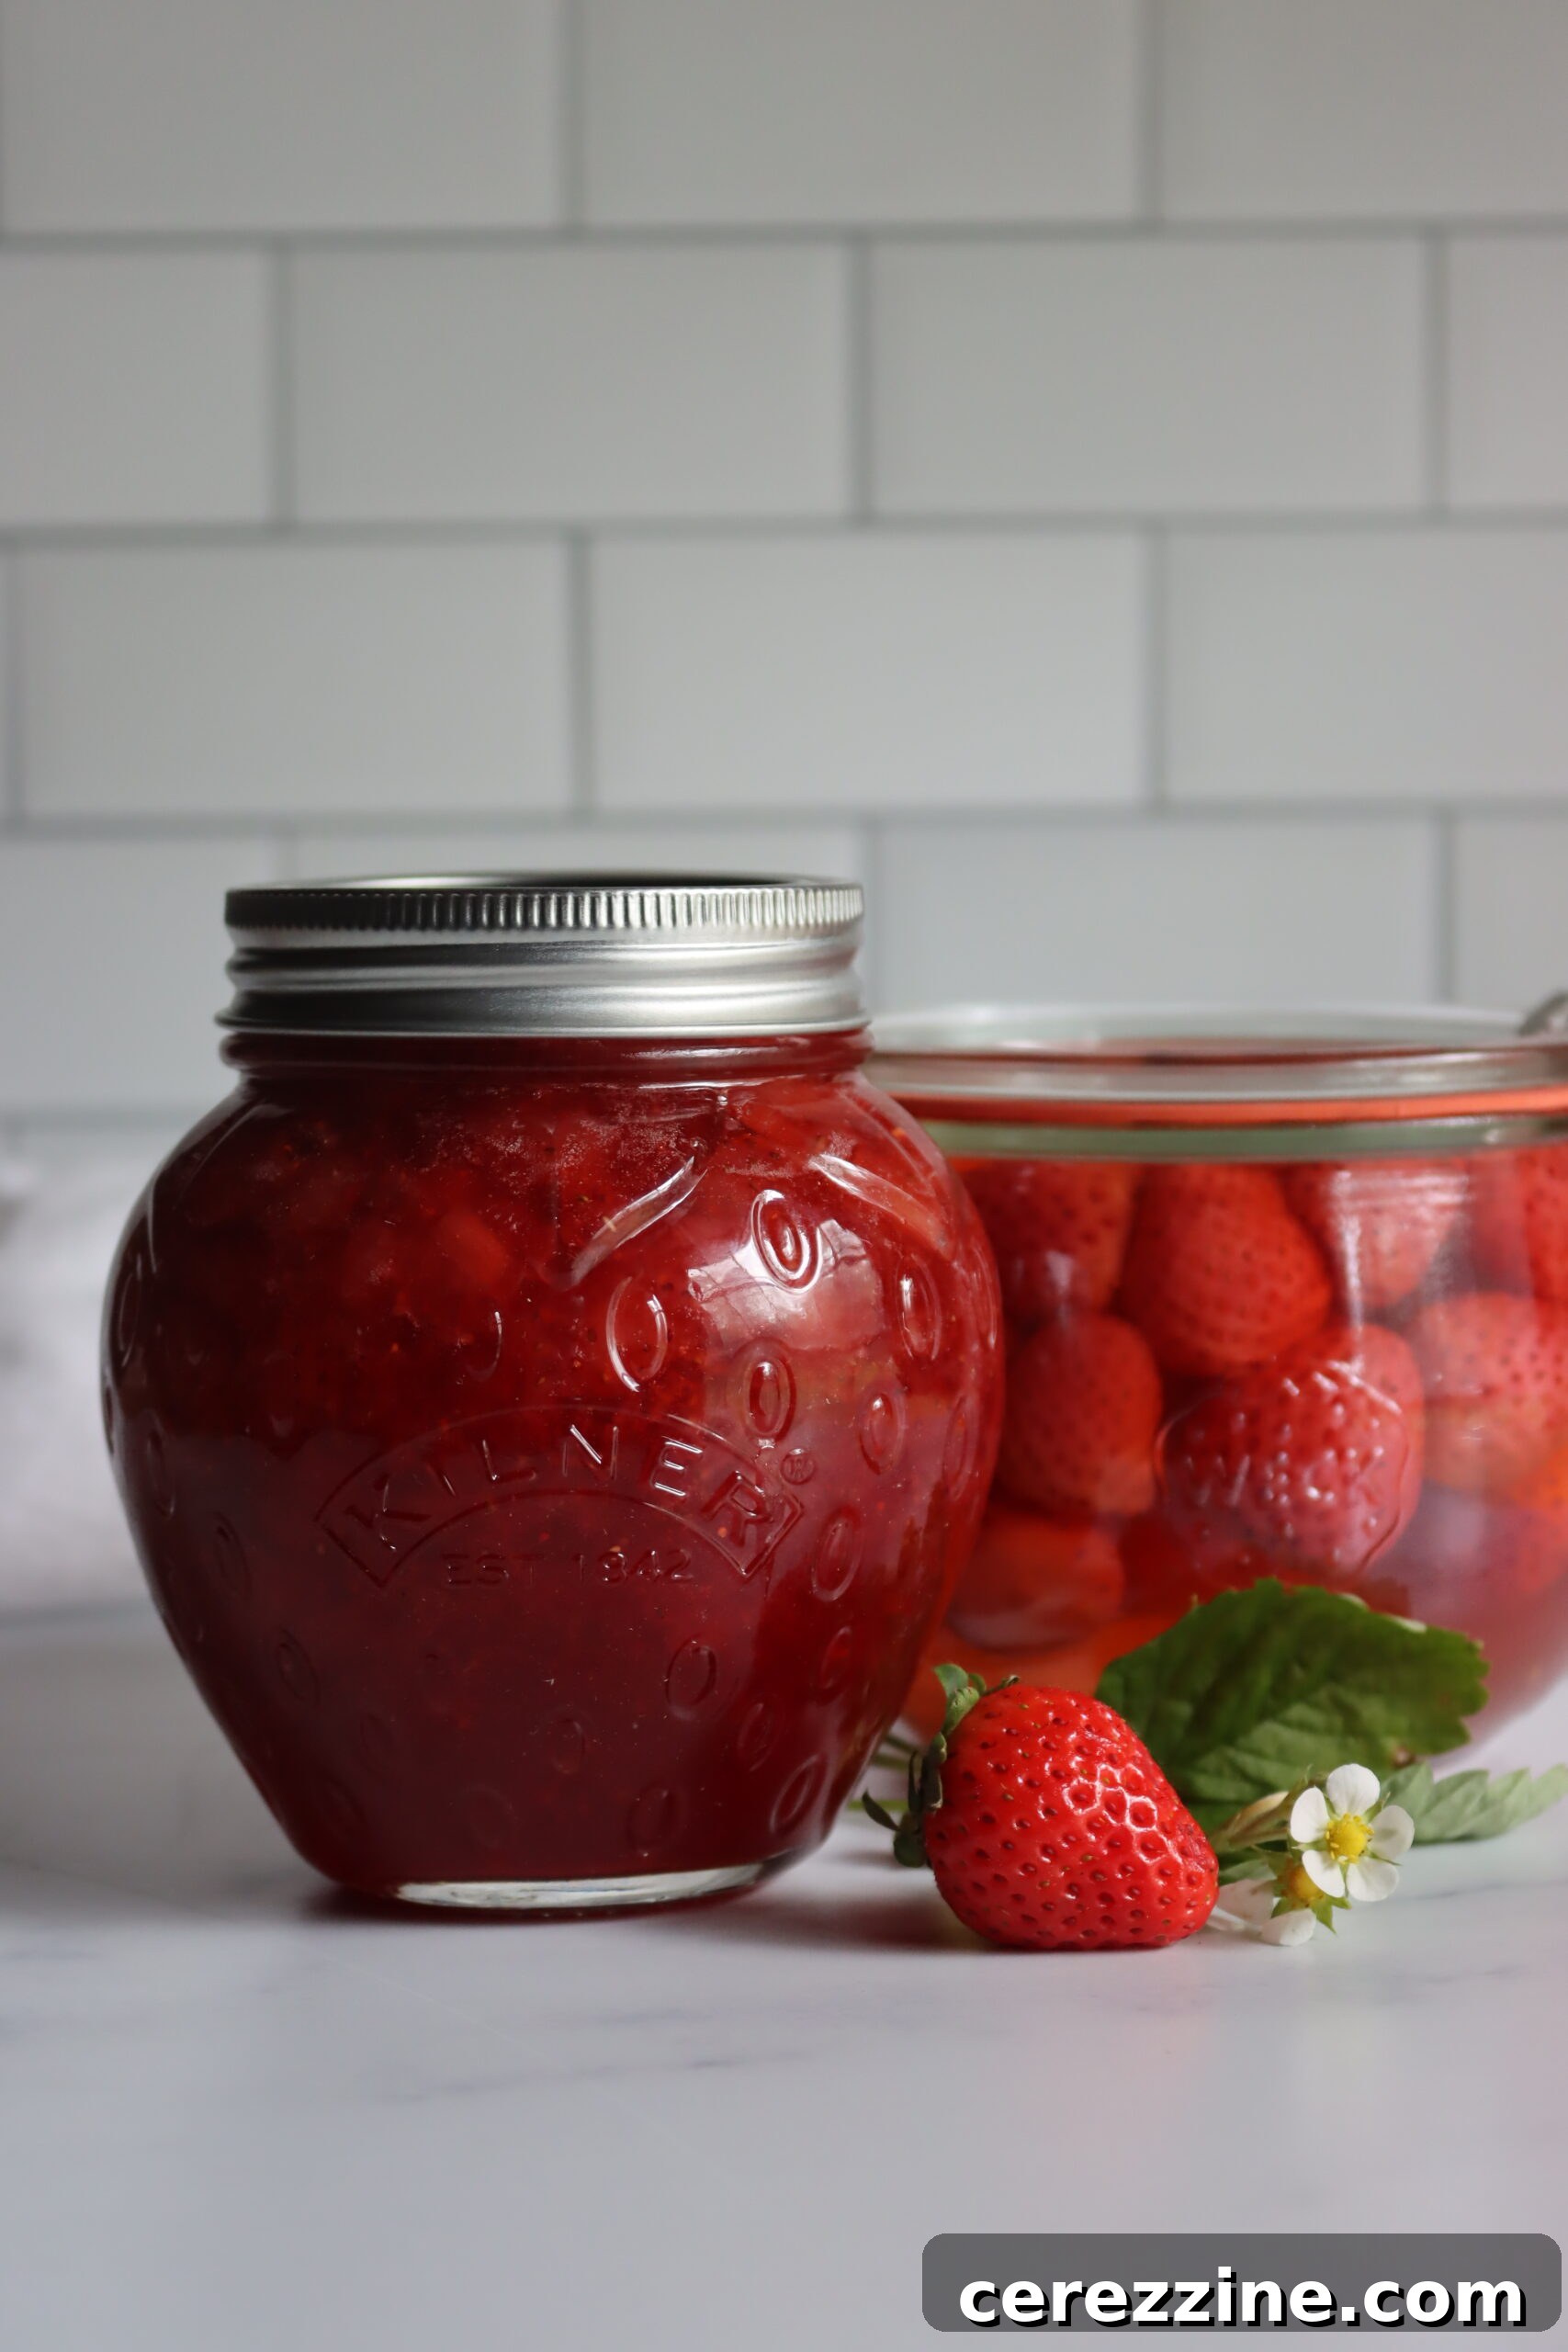
Once your homemade strawberry jam has cooled and sealed, you’re ready to savor the fruits of your labor! There’s immense satisfaction in enjoying something you’ve created from scratch. A jar of this delightful old-fashioned strawberry jam also makes a truly thoughtful and cherished gift for family, friends, or neighbors. Don’t be shy about sharing this sweet abundance – it’s a gift that speaks volumes of care and effort.
Beyond the classic pairing with toast, there are countless fun and delicious ways to incorporate this vibrant treat into your meals and snacks. Unleash your culinary creativity and discover new favorites:
- Classic Breakfast Delight: The most obvious and perhaps most satisfying way to enjoy your jam is spread generously on hot buttered toast, warm biscuits, croissants, or fluffy pancakes and waffles.
- Peanut Butter & Jam Sandwiches: Elevate the timeless peanut butter and jam sandwich with your homemade strawberry creation. The sweet, fruity jam perfectly complements creamy or crunchy peanut butter for a nostalgic and satisfying snack or lunch.
- Yogurt Parfait Swirl: For a quick and healthy treat, swirl a spoonful of strawberry jam into plain vanilla or Greek yogurt. Layer it with granola and fresh berries for a beautiful and delicious parfait.
- Thumbprint Cookies: Get creative in the kitchen by using your jam to make charming thumbprint cookies. Simply press your thumb into the center of cookie dough balls to create a well, then fill it with a dollop of strawberry jam before baking. These are always a hit!
- Fruity Drink Enhancer: Add a unique twist to your beverages. Mix a tablespoon or two of strawberry jam into homemade lemonade or iced tea for a refreshing, fruit-infused drink that’s perfect on a warm day.
- Ice Cream Topping: Drizzle warm strawberry jam over a scoop of vanilla bean ice cream for a simple yet incredibly indulgent dessert. The contrast of the cool ice cream and warm, fruity jam is heavenly.
- Baked Goods Filling: Use your jam as a delicious filling for cakes, tarts, turnovers, or even muffins. Its rich flavor will transform any plain baked good into a special treat.
- Cheese Board Companion: For a more sophisticated pairing, serve a small bowl of strawberry jam alongside a cheese board featuring soft cheeses like brie or goat cheese, and some crusty bread or crackers. The sweet and tangy notes of the jam beautifully balance the richness of the cheese.
No matter how you choose to enjoy it, your old-fashioned strawberry jam is sure to add a special pop of sweetness and homemade goodness to your day.
Old Fashioned Strawberry Jam (No Added Pectin)
Ingredients
- 8 cups strawberries, mashed
- 6 cups white sugar
- 2 tbsp lemon juice, fresh or bottled
Instructions
-
Prepare the strawberries by washing, hulling, slicing, and mashing them. Measure out 8 cups of the mashed fruit precisely.
-
Combine the mashed strawberries with sugar and lemon juice in a large, heavy-bottomed pot. Stir well to ensure the sugar begins to dissolve.
-
Cook the jam over medium heat, stirring frequently to prevent scorching, until it reaches the setting point (typically around 220°F or 104°C, usually taking about 45 minutes). Use a candy thermometer or a cold plate test to confirm the set.
-
While the jam is cooking, prepare your canning equipment and sterilize your jars, keeping them hot until ready to fill.
-
Once the jam reaches the setting point, ladle it carefully into the prepared hot jars, leaving exactly 1/4-inch headspace.
-
Wipe the jar rims clean, center the warm lids, and screw on the bands finger-tight.
-
Process the jars in a boiling water bath canner for 10 minutes (or 15 minutes if above 6,000 feet in elevation).
-
Allow the jars to cool undisturbed on a counter for 12-24 hours. Check the seals, label, and store in a cool, dark place for optimal freshness for up to a year.
Notes
Nutrition
Nutrition information is automatically calculated, so should only be used as an approximation.
Did you love this recipe? Share your thoughts below!
More Delicious Strawberry Canning Recipes
If you’ve enjoyed the rewarding process of preserving strawberries in a jar, there’s a whole world of strawberry canning recipes waiting for you to explore! Expand your canning repertoire with these other fantastic ways to capture the sweet taste of strawberries:
- Strawberry Lemonade Concentrate: Perfect for mixing up refreshing drinks year-round.
- Strawberry Pie Filling: Have a delicious pie ready to bake at a moment’s notice.
- Pickled Strawberries: A surprisingly delightful and tangy condiment that pairs well with savory dishes.
- Strawberry Syrup: Ideal for drizzling over pancakes, waffles, ice cream, or mixing into cocktails.