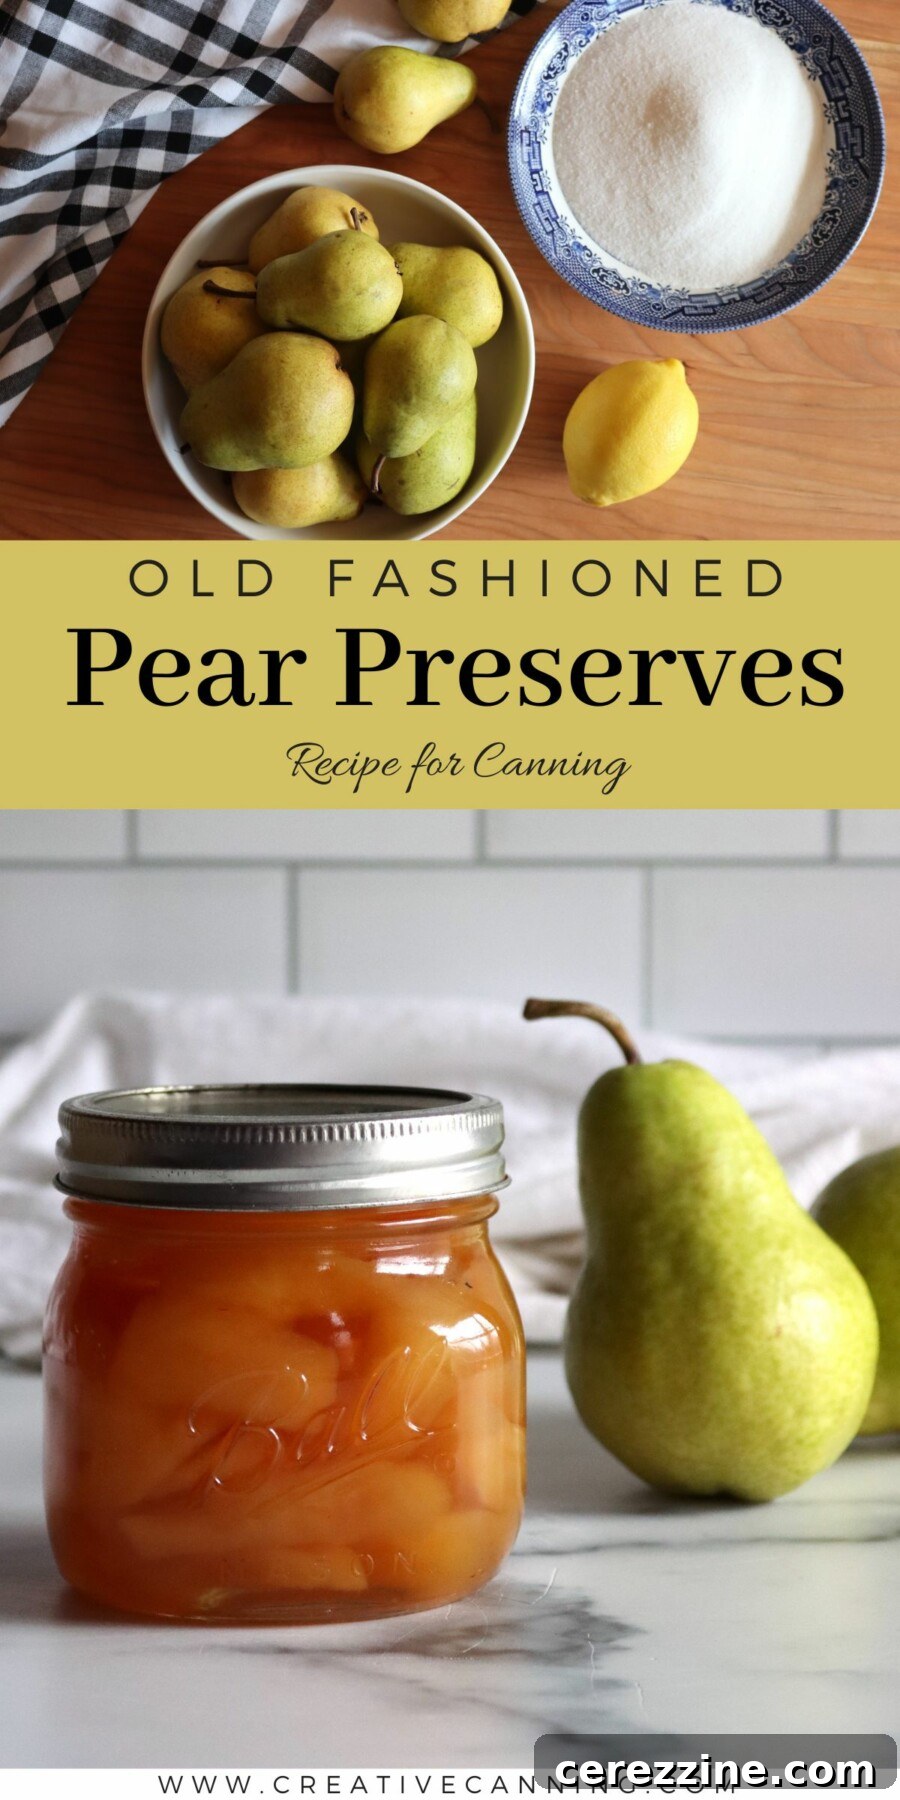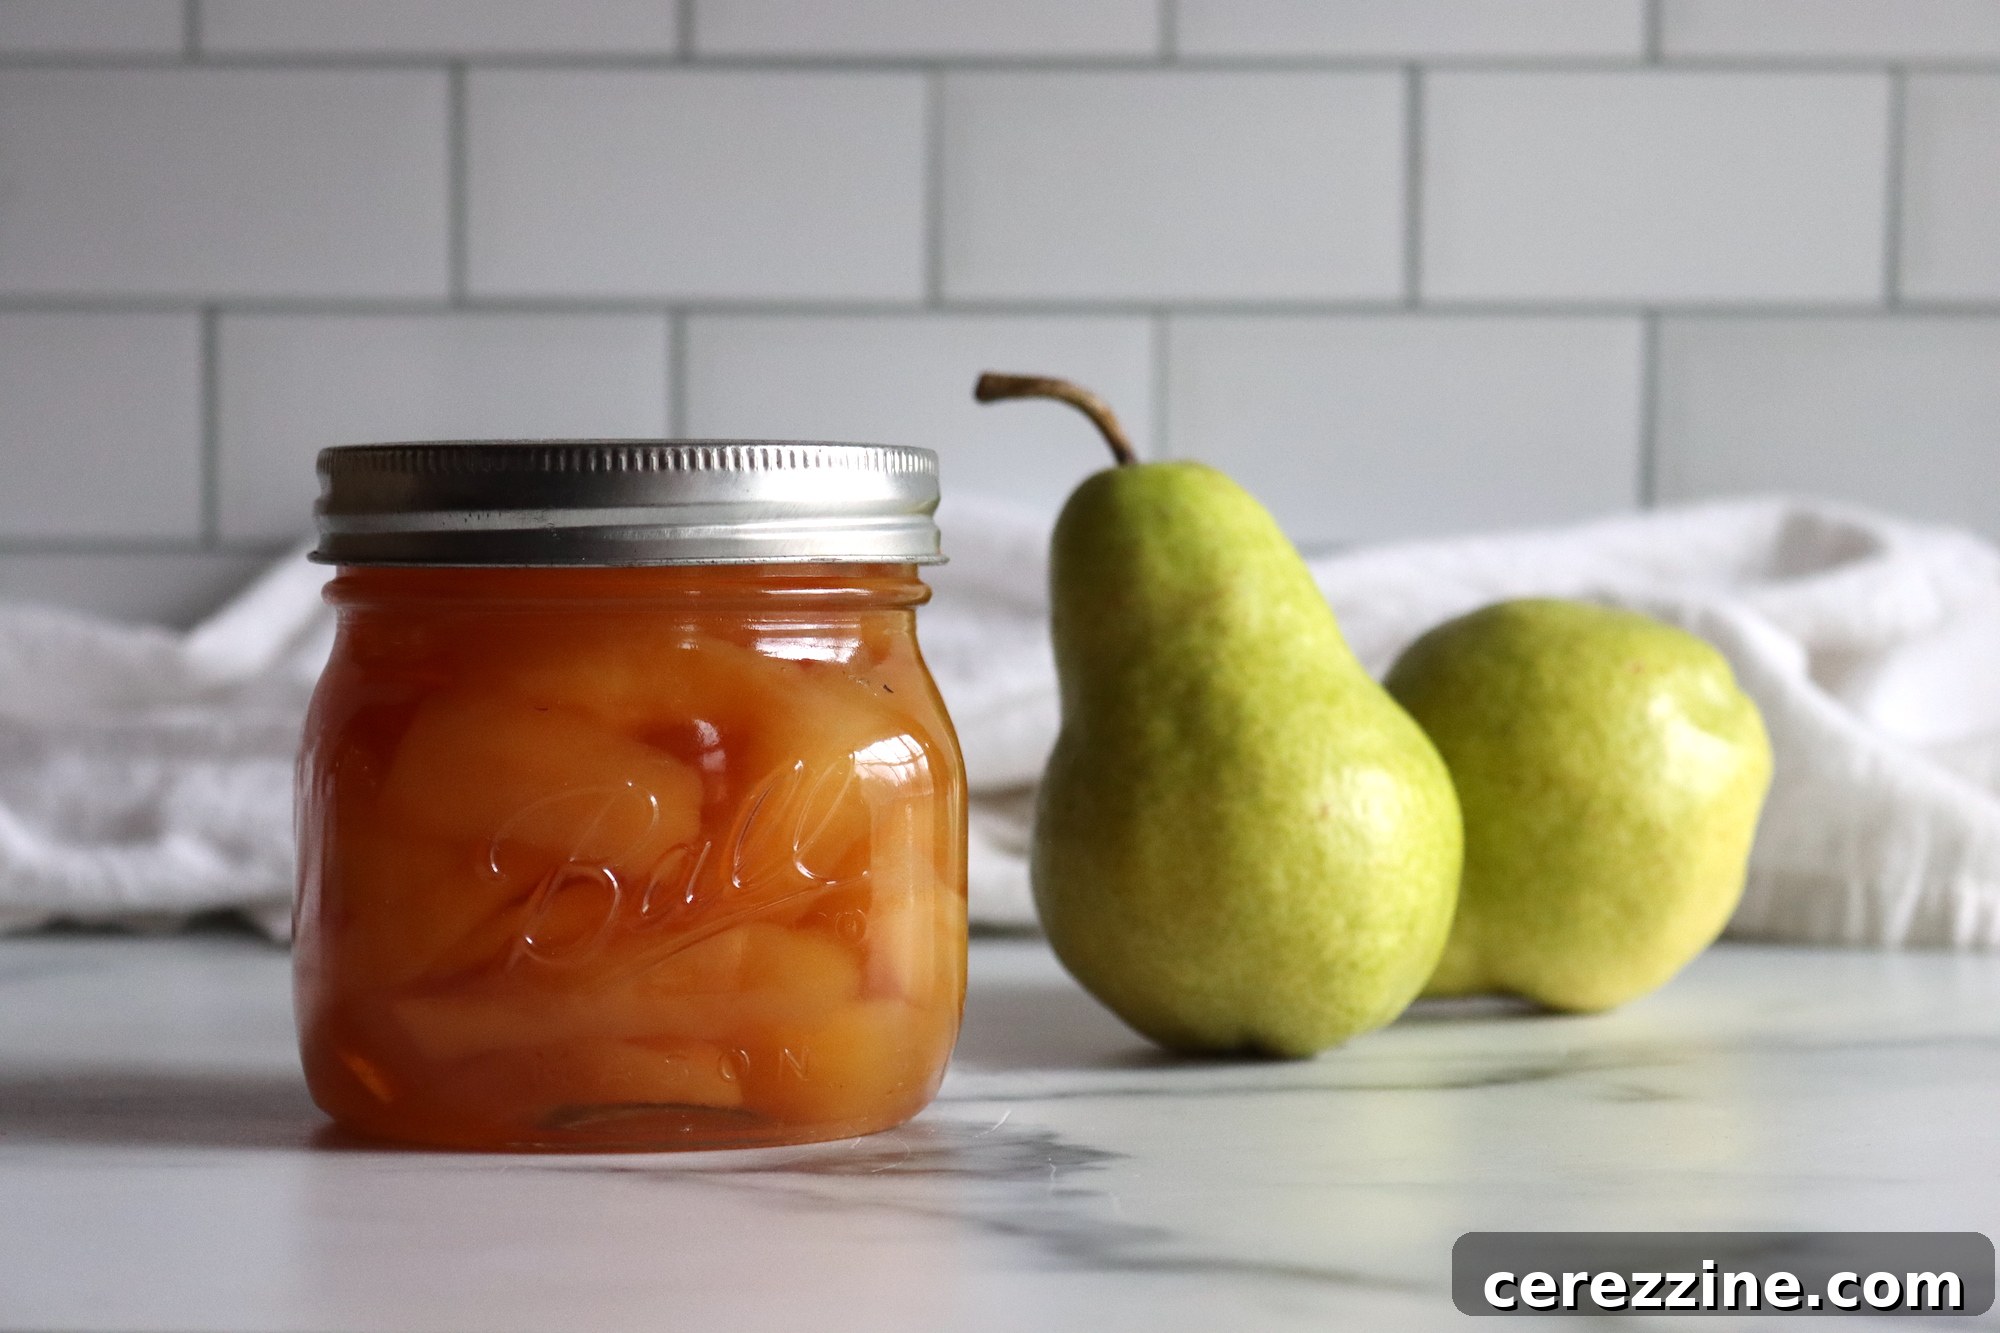
Homemade Pear Preserves: A Timeless Taste of Tradition
There’s a unique comfort in the taste of homemade pear preserves, a sweet slice of culinary history crafted the old-fashioned way. Imagine tender, translucent pieces of fruit, suspended delicately in a rich, sugary syrup – a true testament to simple, yet profound, food preservation. This traditional method predates modern water bath canning techniques, relying on sugar’s natural preserving power, and it remains cherished today for its unparalleled texture, vibrant flavor, and heartwarming nostalgia.
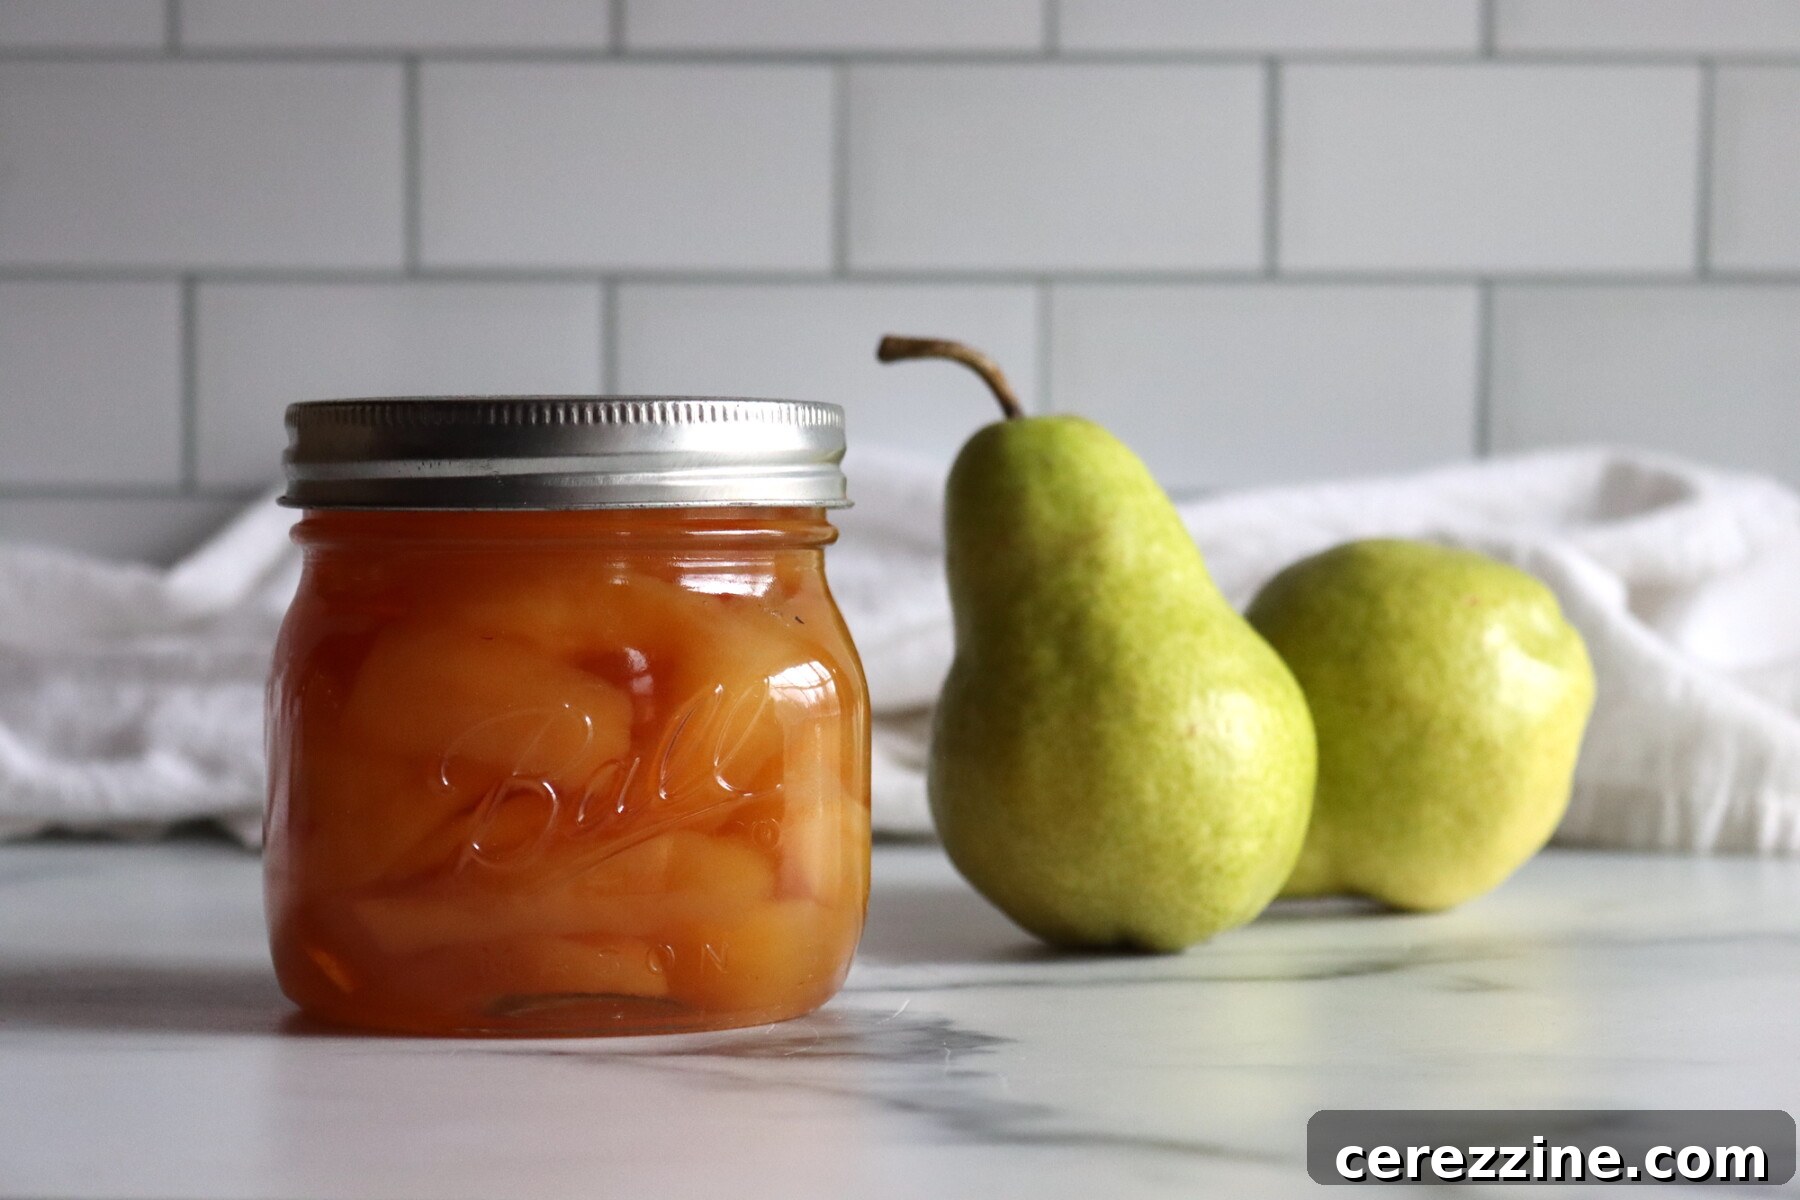
Unlike pear jam, which is typically made by cooking fruit until it breaks down into a smooth or chunky spread, pear preserves celebrate the integrity of the fruit. The goal here is to keep the pear pieces whole or in distinct slices, bathed in a thick, luxurious syrup. This creates a more textural experience, where each spoonful offers a soft bite of pear rather than a uniform spread.
This enduring style of preserving hails from a time before the widespread use of water bath canners, when sugar alone was the primary agent for ensuring food remained shelf-stable through the colder months. Today, this traditional approach holds a special place in homestead kitchens, not merely for its sentimental value, but for the unique depth of flavor and satisfying texture it imparts. You’ll be hard-pressed to find a commercially produced pear preserve that captures the true essence of this homemade classic.
Our traditional pear canning recipe is based on guidelines from the National Center for Home Food Preservation (NCHFP), ensuring both safety and authentic flavor. It requires just a few basic ingredients: fresh pears, granulated sugar, water, and a touch of lemon for brightness and balance. The true “secret ingredient,” however, is patience. This recipe isn’t rushed; it unfolds in stages, allowing the pears ample time to absorb the sweet syrup and transform into nearly translucent, tender jewels. This gradual process is crucial for preventing “case hardening,” a common issue where fruit cooks too quickly in sugar and becomes unpleasantly rubbery. The reward for your patience is golden slices of pear, infused with rich, mellow flavor and a soft, yielding texture, perfect for elevating everything from morning toast to savory roasted meats.
While this method is designed for safe water bath canning, making these pear preserves as a refrigerator or freezer item is also a perfectly valid option if you prefer not to can. However, for those who take the extra step to preserve them, these beautifully sweet jars can last well over a year in a cool, dark pantry, with the flavors often deepening and improving with time.
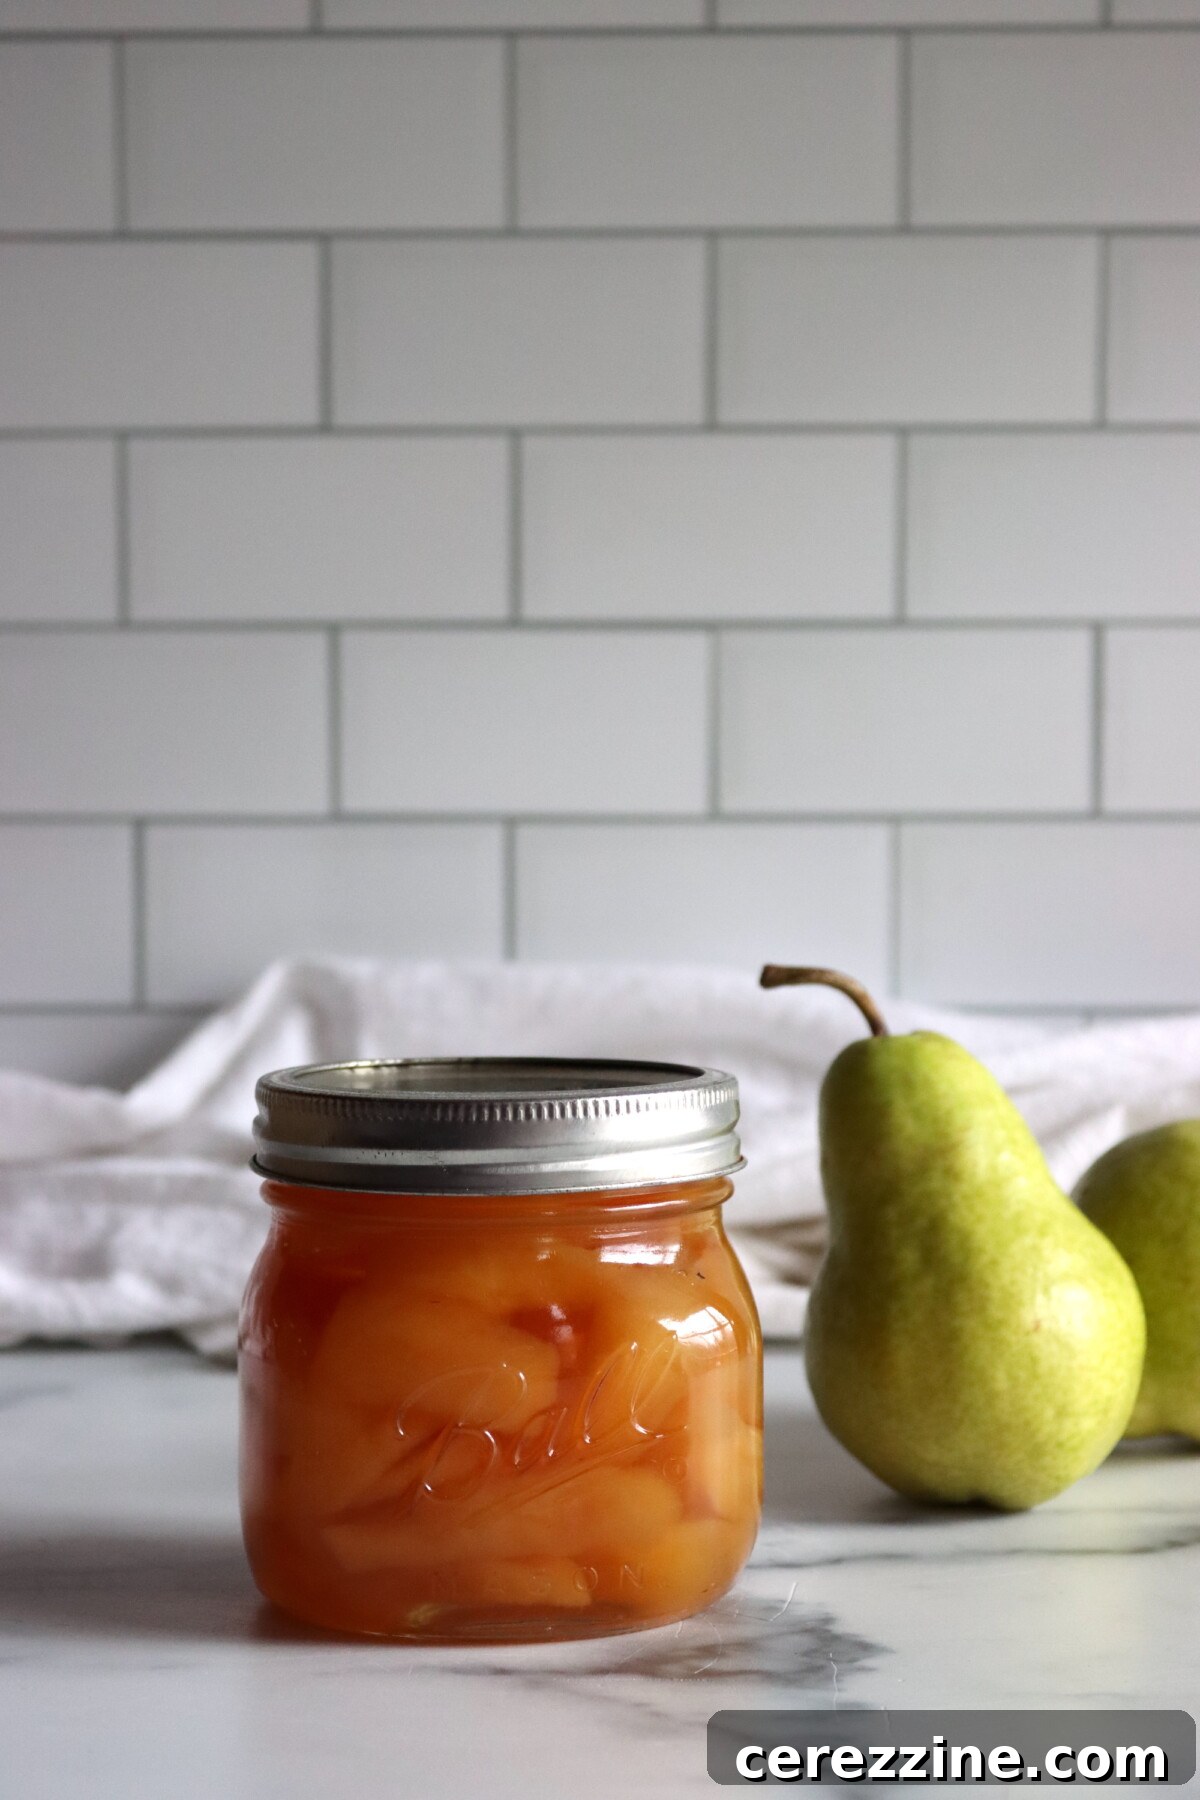
Recipe at a Glance: Old-Fashioned Pear Preserves
- Recipe Name: Traditional Pear Preserves
- Recipe Type: Fruit Preserve (Whole or Sliced Fruit in Thick Syrup)
- Canning Method: Water Bath Canning
- Preparation Time: Approximately 1 hour active prep, plus an overnight rest (12-24 hours)
- Cooking Time: Approximately 40-45 minutes total active cooking
- Canning Time: 10 Minutes (or 15 minutes for altitudes above 6,000 feet)
- Yield: 4 to 5 half-pint jars
- Recommended Jar Sizes: Quarter Pint, Half Pint, or Pint (Note: Quart jars are not tested for this specific preserve, see notes below for alternatives)
- Headspace: 1/4 inch
- Core Ingredients: Pears, Granulated Sugar, Water, Lemon
- Difficulty: Moderate. The steps are simple, but patience and adherence to the multi-stage cooking process are essential for optimal texture and flavor.
- Similar Preservation Processes: The technique is comparable to making other classic fruit preserves, such as traditional strawberry preserves.
Essential Ingredients for Your Pear Preserves
This recipe is designed to yield approximately 5 half-pint jars of exquisite pear preserves, or roughly 2½ pints. The ingredient list is refreshingly short, emphasizing the natural flavor of the pears.
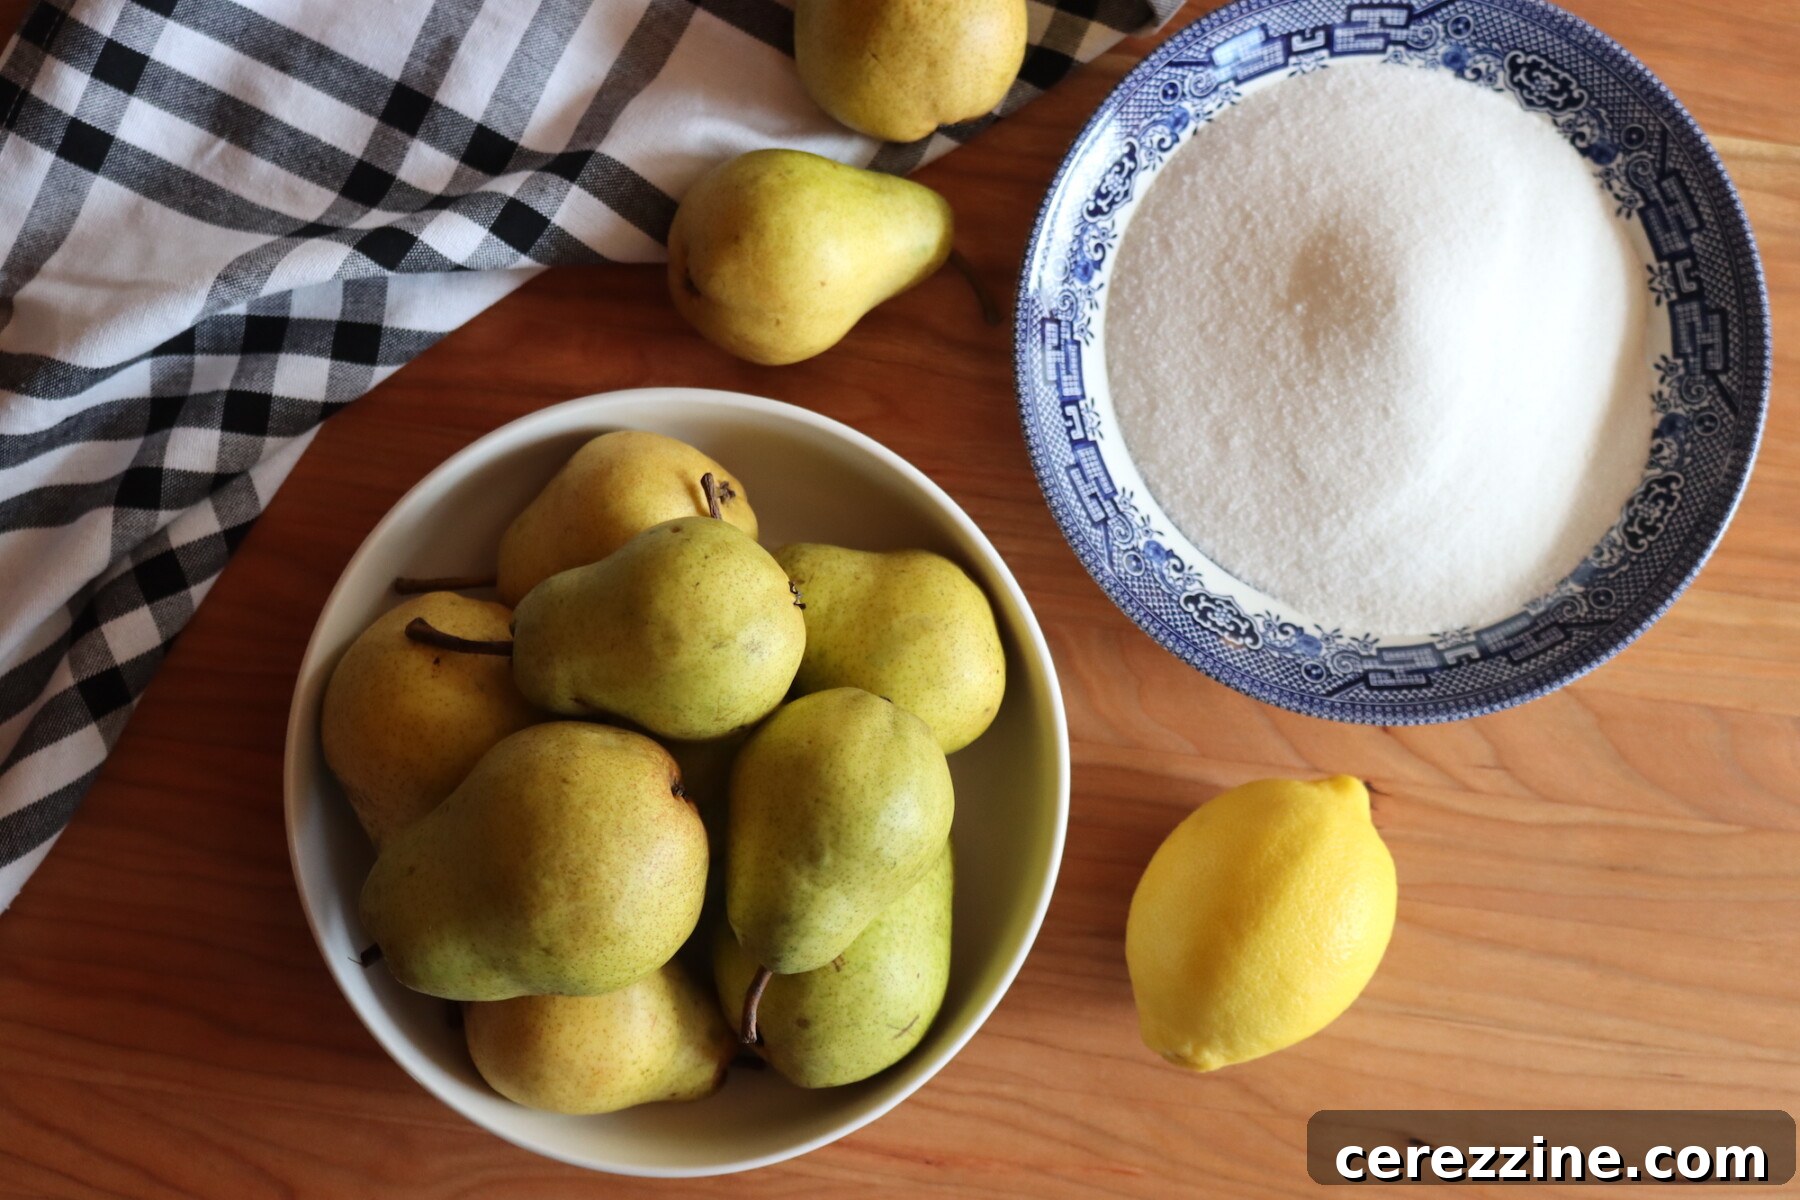
- 6 medium pears: Aim for hard-ripe pears, totaling about 2 pounds. They should be firm to the touch but yielding slightly, not overly soft or mushy. You’ll need to core, peel, and halve or quarter them.
- 2½ cups water: Forms the initial syrup base.
- 3 cups granulated sugar: This is divided into two equal portions for a staged addition, which is critical for the pears’ texture and syrup absorption.
- 1 lemon: Choose a medium lemon, thinly sliced and seeds removed. The lemon adds a bright, acidic counterpoint to the sweetness and helps prevent oxidation.
A note on sugar: Yes, 3 cups of sugar for 2 pounds of pears might seem substantial by today’s standards. However, this is a truly old-fashioned recipe, where sugar plays a dual role as both sweetener and primary preservative. If you’re seeking options with less sugar, consider alternative pear recipes like pear butter or pear sauce, which can often be made with little to no added sugar if your pears are sweet enough. Another excellent choice is pear pie filling, which offers flexibility in sugar content while still being perfect for canning.
For very small pear varieties, you might choose to preserve them whole with their stems attached. Simply peel them carefully and ensure the stems are thoroughly washed. This method is reminiscent of how traditional pickled pears were made—another delightful, old-fashioned treat. While the term “pickled” might sound savory, fruit pickles are distinct from modern cucumber pickles. They combine a touch of vinegar with a generous amount of sugar, resulting in a sweet, bright, rather than sour, flavor profile. Think of the vinegar as akin to the lemon juice in preserves, providing a pleasant tang. Pickled pears are, surprisingly, one of my absolute favorite ways to preserve pears, but I digress!
Similarly, brandied pears offer a delightful variation, featuring slightly less sugar and a generous infusion of brandy and warm spices for an incredibly complex flavor. And, of course, ginger is a classic companion to pears. A small piece of fresh ginger or about ½ to 1 teaspoon of ground ginger can infuse your preserves with an amazing, comforting spice. These variations offer wonderful opportunities to customize your pear preserves once you’ve mastered the basic recipe.
How to Craft Your Old-Fashioned Pear Preserves (A Two-Day Process)
Remember, this is a two-day recipe, so there’s no need to prepare your water bath canner just yet. The key to truly magnificent pear preserves lies in patience and allowing the fruit to gradually absorb the syrup.
Day 1: The Initial Cook and Overnight Rest
- Prepare the Pears: Begin by washing, peeling, coring, and slicing your hard-ripe pears into halves or quarters. The firmness of the pears is crucial here; overly soft pears will disintegrate during cooking, while excessively hard ones won’t properly absorb the syrup. If you have very small pears (under about 2 inches in diameter), you can peel them and leave them whole with the stem attached. The seeds inside are fine. Whole pear preserves are fantastic in baked goods, such as dramatic pear loaf breads with a whole pear baked inside, or as an elegant accompaniment to savory roast pork dishes.
- Create the Initial Syrup: In a large, heavy-bottomed pot, combine the first 1½ cups of sugar with 2½ cups of water. Bring this mixture to a rolling boil and allow it to cook rapidly for 2 minutes to begin thickening. This initial syrup is crucial for starting the preservation process without overwhelming the pears with sugar too soon.
- First Pear Cook: Carefully add the prepared pear slices (or whole pears) to the hot syrup. Reduce the heat to a gentle boil and continue cooking for approximately 15 minutes, stirring occasionally to prevent any sticking to the bottom of the pot. During this stage, the pears will begin to soften slightly.
- Second Sugar Addition & Thickening: Now, add the remaining 1½ cups of sugar and the thinly sliced lemon to the pot. Stir gently until all the sugar has completely dissolved. Continue cooking at a steady, gentle boil for about 25 minutes, or until you observe the pears becoming translucent and the syrup visibly thickening. Keep a close eye on the mixture during this phase, as the syrup will foam more rapidly as it thickens. You may need to slightly reduce the heat to maintain a gentle boil and prevent boil-overs.
- The Crucial Overnight Rest: Once the pears are translucent and the syrup has thickened, remove the pot from the heat. Cover it securely and allow the entire mixture to stand undisturbed for 12 to 24 hours. For an overnight rest, you can simply leave the covered pot on the stovetop. If you plan to extend the rest beyond 12 hours, transfer the pot to the refrigerator. This rest period is absolutely essential! It allows the pear pieces to fully absorb the flavorful syrup, preventing “case hardening” and dramatically improving the final texture and depth of flavor. Skipping this step can result in pears that are less tender and might even break apart during canning.
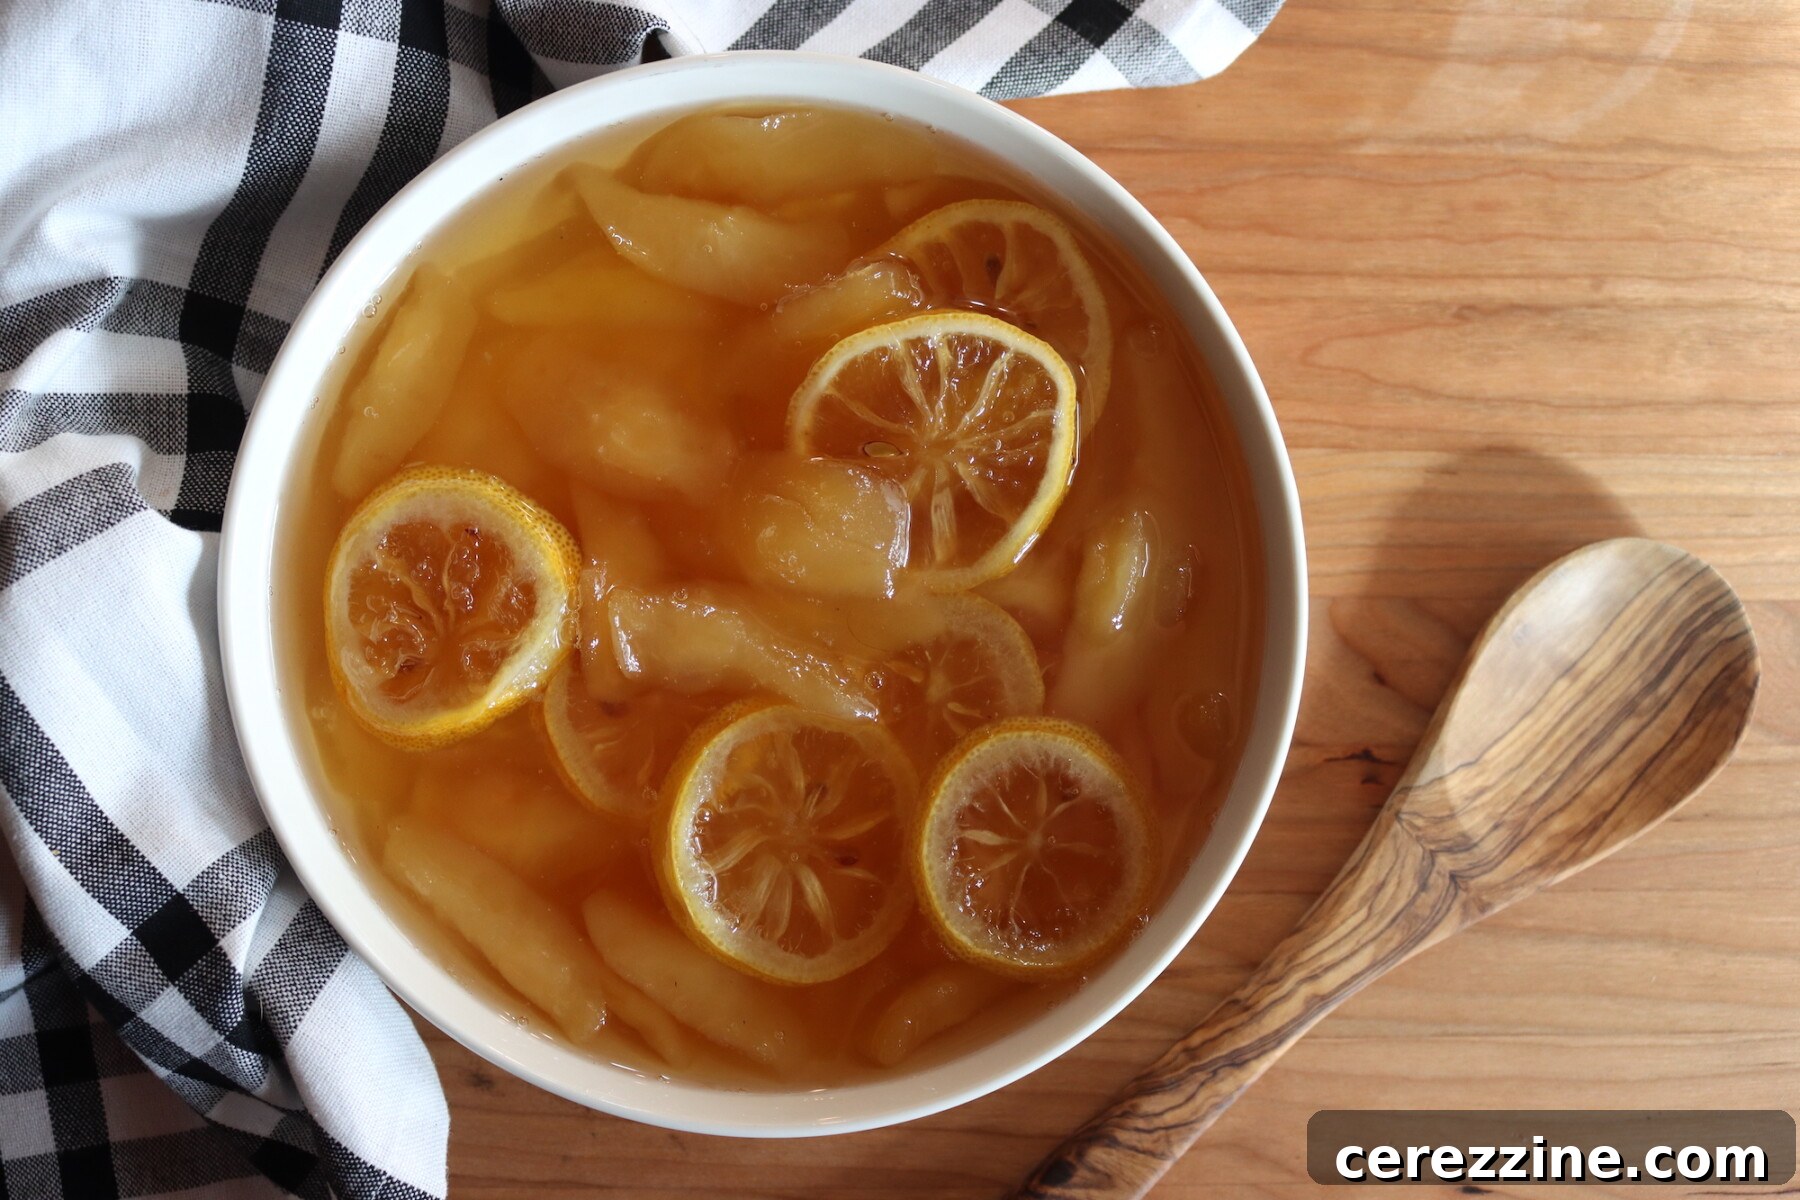
The next morning, you’ll notice a remarkable transformation: the pears will have shrunk considerably, having absorbed a significant amount of the sugar syrup. This process is what imbues pear preserves with their characteristic rich flavor and delightful, slightly chewy bite.
Day 2: Canning Your Pear Preserves
When you’re ready to proceed, prepare your canning equipment. Wash and sterilize your jars, prepare your two-part lids (new lids are recommended for a reliable seal), and fill your boiling water bath canner with water and bring it to a simmer.
- Reheat and Pack: Bring the pear and syrup mixture back to a boil. Carefully pack the hot pears into the hot, sterilized jars, leaving precisely ¼ inch of headspace at the top. If your syrup still appears too thin at this point, you can cook it for an additional 3 to 5 minutes to achieve the desired consistency before ladling it over the fruit in the jars.
- Seal and Process: Wipe the rims of the jars clean to ensure a good seal. Apply the prepared lids and screw on the bands finger-tight. Carefully place the filled jars into your boiling water bath canner, ensuring they are fully submerged by at least 1 inch of water. Bring the water back to a rolling boil and process half-pint and pint jars for 10 minutes. If you are canning at an altitude above 6,000 feet, increase the processing time to 15 minutes.
- Cool and Store: After the processing time, turn off the heat and let the jars sit in the canner for 5 minutes before carefully removing them. Place the hot jars on a clean towel on your countertop, leaving space between them, and allow them to sit undisturbed for 12–24 hours. During this time, the jars will cool and seal. After 24 hours, check for proper seals (lids should be concave and not flex when pressed). Store properly sealed jars in a cool, dark pantry for up to 18 months. If you decided not to can, simply pack the preserves into clean jars and store them in the refrigerator for up to 3 weeks or in the freezer for several months.
Important Note on Jar Sizes: This recipe has been tested for quarter-pint, half-pint, and pint jars. There are no officially tested canning times specifically for quart jars of pear preserves. However, pear preserves are quite similar to canned whole pears in heavy syrup. If you choose to use quart jars, you can refer to the longer tested canning times for plain canned pears in syrup (typically 25 minutes for quarts below 1,000 feet elevation), adjusting for your specific altitude. That said, given their rich sweetness, pear preserves are generally more practical and enjoyable in smaller jar sizes.
Creative Variations for Your Pear Preserves
Once you’ve mastered the foundational recipe for old-fashioned pear preserves, the culinary world opens up with countless possibilities to personalize your batch. These simple additions and substitutions can introduce new dimensions of flavor, warmth, or an unexpected brightness, making your preserves truly unique.
- Combine with Other Fruits: Introduce a handful of other fruits to your pear preserves for added visual appeal and flavor complexity. Consider blueberries, cherries, or cranberries for a beautiful color contrast and an extra special treat.
- Incorporate Brown Sugar: Swap out half of the white granulated sugar for light brown sugar to infuse your preserves with a rich, caramel-like depth. This complements the natural sweetness of pears beautifully and adds a subtle molasses undertone. For an intriguing twist, a tiny pinch of salt in combination with brown sugar can evoke a salted caramel flavor.
- Add Warm Spices: For a comforting, fall-inspired preserve, try adding ½ teaspoon of ground ginger, cinnamon, or cardamom to the syrup during cooking. For a more nuanced infusion, simmer a whole cinnamon stick or a few thin slices of fresh ginger with the fruit and remove them before jarring.
- Infuse with Extracts: Just before ladling the preserves into jars, stir in a teaspoon of vanilla extract or almond extract. These extracts provide a delicate, aromatic twist that can elevate the overall flavor profile.
- A Splash of Spirits: For a more indulgent and adult version, stir in 1 to 2 tablespoons of brandy or bourbon right before canning. The alcohol enhances the syrup’s complexity and adds a sophisticated touch, making these preserves excellent for gifting or special holiday spreads.
- Crystallized Ginger Accent: For an extra layer of gentle spice and sweetness, tuck a thin slice of crystallized ginger into each jar before sealing. This will subtly infuse the preserves as they age.
Understanding Your Yield and Expert Tips
Yield Notes
Two pounds of pears typically equates to about 6 medium-sized pears or roughly 9 smaller pears. The precise number of jars you’ll obtain can vary based on several factors: the specific size and density of your pears, and how thick your final syrup becomes after cooking. Smaller pears tend to pack more densely into jars, often yielding closer to 6 half-pint jars, whereas larger wedges might result in 4 or 5 jars.
If you find yourself with extra syrup after filling your jars, don’t let it go to waste! You can process the leftover syrup on its own. The canning times for pear syrup are the same as for the preserves themselves, allowing you to enjoy a flavorful, ready-to-use syrup for drinks or glazes.
Recipe Tips for Perfect Preserves
- Preventing Case Hardening: This phenomenon occurs when fruit is exposed to an excessive amount of sugar too early in the cooking process, causing the fruit to become tough and rubbery. This is precisely why our recipe carefully splits the sugar addition into two distinct steps, ensuring a tender and perfectly textured pear.
- The Curing Period: For the most developed and exquisite flavor, allow your pear preserves to “age” for 3 to 5 weeks in the pantry after canning before you open a jar. This curing period allows the syrup and fruit flavors to meld and mellow together, resulting in a much richer and more harmonious taste.
- Spice Infusion: To add a subtle warmth, you can place a small piece of preserved ginger directly into each jar before sealing. Alternatively, incorporating ½ to 1 teaspoon of ground ginger, cinnamon, or cardamom into the syrup during the cooking process provides a lovely infusion of spice.
- Texture Expectation: It’s important to remember that pear preserves are not designed to have a jam-like texture. They are characterized by distinct, tender pieces of fruit beautifully suspended in a dense, sweet syrup. Embrace this unique textural experience!
Delightful Ways to Enjoy Your Pear Preserves
Homemade pear preserves are incredibly versatile and can elevate a wide array of dishes, from breakfast to dinner, and even cocktails. Their sweet, nuanced flavor and tender texture make them a gourmet addition to almost any meal.
- Breakfast & Brunch: Spoon them generously over warm, buttered toast, fluffy biscuits, light pancakes, or crispy waffles. They’re also a fantastic topping for oatmeal or yogurt parfaits.
- Desserts: Use them as an elegant topping for cheesecake, panna cotta, or a simple bowl of vanilla bean ice cream. They can also be incorporated into crumbles, tarts, or even as a filling for hand pies.
- Cheese Boards: Pair pear preserves with a selection of cheeses, especially aged cheddars, creamy brie, or pungent blue cheese, for a sophisticated appetizer. The sweetness of the preserves beautifully complements the savory and tangy notes of the cheese.
- Savory Pairings: Don’t limit preserves to sweet dishes! Their sweetness and slight acidity make them an excellent accompaniment to roasted meats like pork loin, chicken, or even duck. They can be served as a side condiment or used to create a glaze during the last stage of cooking.
- Beverages: The thick, flavorful syrup also makes a wonderful base for unique cocktails, a natural sweetener for hot or iced tea, or even a flavorful addition to sparkling water for a refreshing spritzer.
- Baking: Incorporate the syrup into glazes for baked goods, or mix the pear pieces into muffin batters or quick breads for an extra burst of fruit flavor.
Pear Preserves Frequently Asked Questions (FAQ)
No, pear preserves and pear jam are distinctly different. Pear preserves feature whole or discernible slices of pear suspended in a heavy sugar syrup, maintaining the fruit’s shape and texture. Pear jam, conversely, is a cooked, mashed, or pureed spread, often made with crushed fruit and sometimes pectin, resulting in a more uniform, spreadable consistency.
Yes, the overnight rest period is a critical step that should not be skipped. This extended resting time allows the pear pieces to fully absorb the sugar syrup. Skipping this vital step can result in pears that are bland, less tender, and float in an overly sweet, unabsorbed syrup. It’s essential for achieving the characteristic texture and rich flavor of traditional preserves.
You can reduce the sugar content somewhat for safety, particularly since this recipe includes a water bath canning step, which provides a layer of preservation beyond just sugar. However, by definition, pear preserves are characterized by pears in a rich sugar syrup. If you significantly reduce the sugar, the texture and flavor profile will change dramatically. For a lower-sugar option, you might consider making pear jam with a low-sugar pectin, or simply canning pears in a light syrup or fruit juice.
For the best results, it’s crucial to use firm, ripe pears. Overripe pears are too soft and will likely disintegrate into mush during the prolonged cooking process, losing the desired structural integrity of preserves. Underripe pears, on the other hand, may remain too hard and fail to properly absorb the flavorful syrup, resulting in a tough and less appealing texture.
More Pear Canning Recipes & Guides
Old-Fashioned Pear Preserves
Pickled Pears: A Sweet & Tangy Delight
Canning Pears: A Simple Guide to Preserving Harvest
Traditional Pear Preserves
Pear preserves are a sweet slice of nostalgia, made the old-fashioned way with whole pieces of fruit suspended in a thick, sugary syrup. Unlike jam, they’re not meant to spread—they’re meant to shine on their own, with tender pears that keep their shape and soak up rich flavor over time.
Cook: 1 hour
Canning Time: 10 mins
Total: 9 hours 10 mins
Equipment
- Water Bath Canner (or large pot with lid if not canning)
- Large, heavy-bottomed pot
- Canning jars (half-pint or pint), lids, and bands
- Jar lifter, canning funnel, bubble remover/headspace tool
Ingredients
- 2 pounds pears (approx. 6 medium), hard-ripe, peeled, cored, and halved or quartered
- 2½ cups water
- 3 cups granulated sugar, divided (1½ cups for initial syrup, 1½ cups for later addition)
- 1 medium lemon, thinly sliced and seeded
Instructions
Day 1
- Prepare Pears: Wash, peel, core, and slice hard-ripe pears into halves or quarters. Small pears (under 2 inches) can be left whole with stems, peeled and cleaned.
- Make Initial Syrup: In a large pot, combine 1½ cups of sugar with 2½ cups of water. Bring to a rapid boil and cook for 2 minutes to begin thickening.
- First Pear Cook: Carefully add prepared pears to the hot syrup. Reduce to a gentle boil and cook for 15 minutes, stirring occasionally.
- Add Remaining Ingredients: Stir in the remaining 1½ cups of sugar and the lemon slices. Continue boiling gently for approximately 25 minutes, or until pears become translucent and the syrup slightly thickens. Reduce heat if foaming rapidly.
- Overnight Rest: Remove from heat, cover the pot, and allow preserves to stand for 12–24 hours. This step is crucial for pears to fully absorb the syrup. Leave on the stovetop overnight or refrigerate if resting longer than 12 hours.
Day 2 (Canning)
- Prepare Canning Equipment: The next day, wash and sterilize jars, prepare two-part lids, and set up your water bath canner.
- Reheat & Pack: Bring the fruit and syrup mixture back to a boil. Carefully pack hot pears into hot jars, leaving ¼ inch headspace. If syrup is too thin, cook it an additional 3–5 minutes before ladling over fruit in jars.
- Process Jars: Wipe jar rims clean, apply lids and bands finger-tight. Process half-pint and pint jars in a boiling water bath canner for 10 minutes (increase to 15 minutes above 6,000 feet elevation).
- Cool & Store: After processing, remove jars and let them sit undisturbed on a towel for 12–24 hours to cool and seal. Check seals, then store properly sealed jars in a cool, dark pantry for up to 18 months. (If not canning, pack into clean jars and refrigerate or freeze.)
Notes
- Curing Period: For best flavor development, allow preserves to age 3–5 weeks in the pantry before opening.
- Case Hardening: Avoid this issue (rubbery fruit) by strictly following the two-step sugar addition.
- Flavor Additions: Experiment with a small piece of preserved ginger, or ½ to 1 tsp of ground ginger, cinnamon, or cardamom for a warm spice variation.
- Texture: Remember, these are not jam. Expect tender fruit pieces suspended in thick syrup, not a smooth spread.
Yield Notes
Two pounds of pears typically equals about 6 medium or 9 small pears. Your exact jar yield will depend on pear size/density and final syrup thickness. Small pears pack more densely, yielding closer to 6 jars, while large wedges may yield 4-5.
Altitude Adjustments for Water Bath Canning (Half-Pints & Pints)
- 0–6,000 ft: 10 minutes
- Above 6,000 ft: 15 minutes
Note: There are no tested times for canning pear preserves in quart jars. If you choose to use quart jars, refer to the longer tested canning times for plain canned pears in syrup (25 minutes below 1,000 ft), adjusting for your altitude. However, these preserves are very sweet and typically more practical in smaller jars.
Nutrition (Per Serving – Approx. 40 servings per batch)
Calories: 71kcal, Carbohydrates: 19g, Protein: 0.1g, Fat: 0.1g, Saturated Fat: 0.01g, Polyunsaturated Fat: 0.02g, Monounsaturated Fat: 0.02g, Sodium: 1mg, Potassium: 30mg, Fiber: 1g, Sugar: 17g, Vitamin A: 6IU, Vitamin C: 2mg, Calcium: 3mg, Iron: 0.1mg
Nutrition information is automatically calculated and should only be used as an approximation.
Did you love this recipe? Share your thoughts and leave a comment below!
Find the perfect recipe
Searching for something else? Enter keywords to find the perfect recipe!