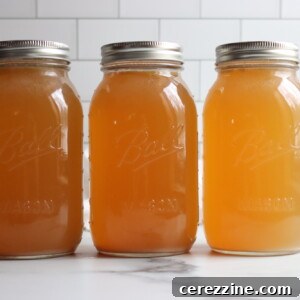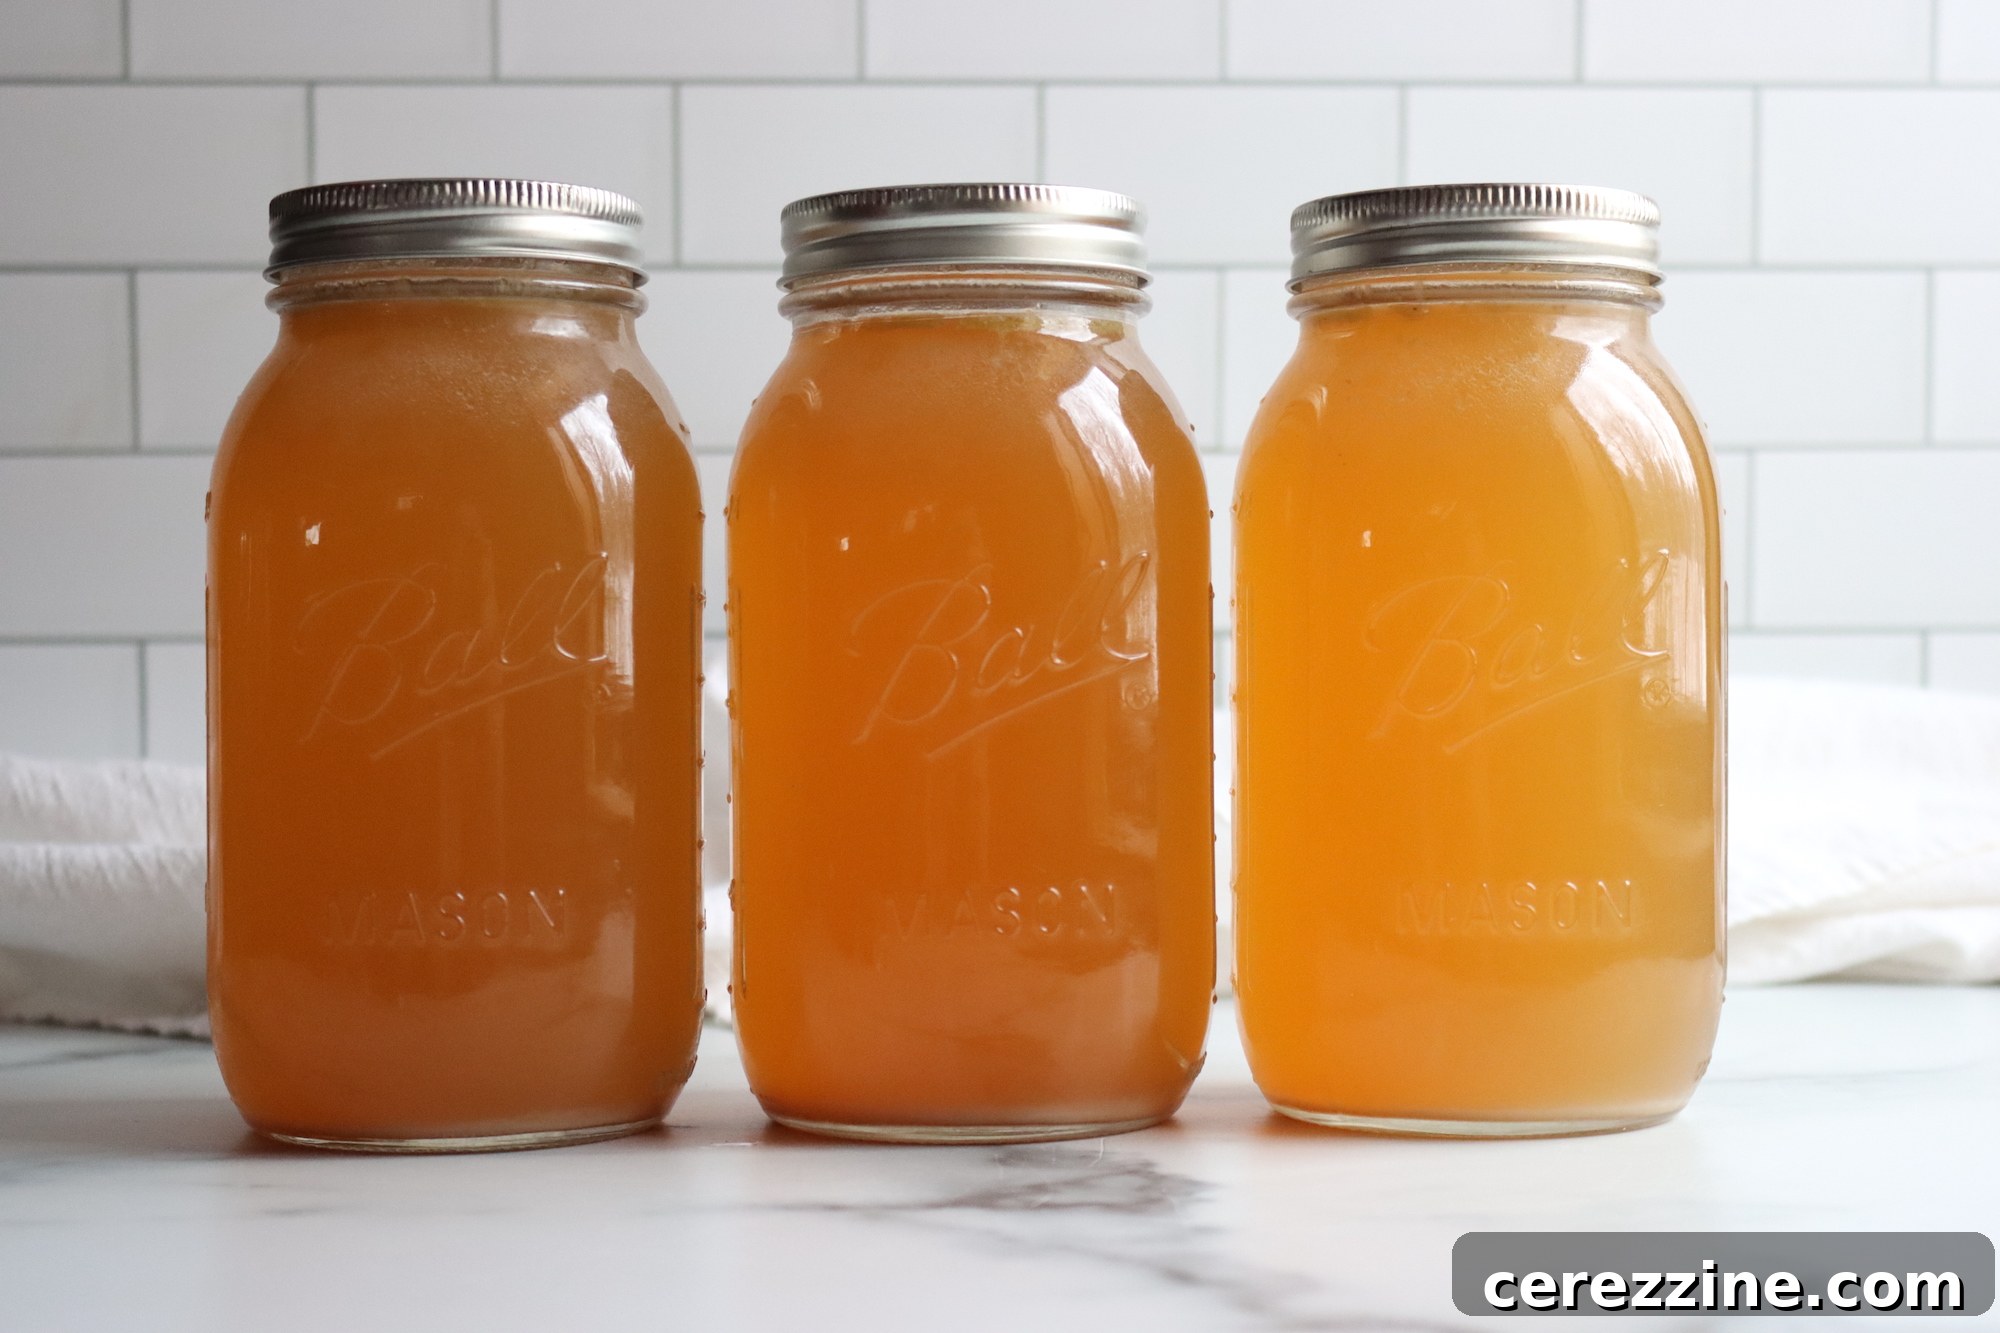
Transforming your holiday turkey carcass into rich, flavorful, homemade broth is a culinary secret weapon for easy, delicious meals all winter long. With just one stockpot simmer and a quick run in your pressure canner, you can stock your pantry with jars of liquid gold that will elevate weeknight soups, gravies, and rice dishes, making them taste as if they simmered for hours.
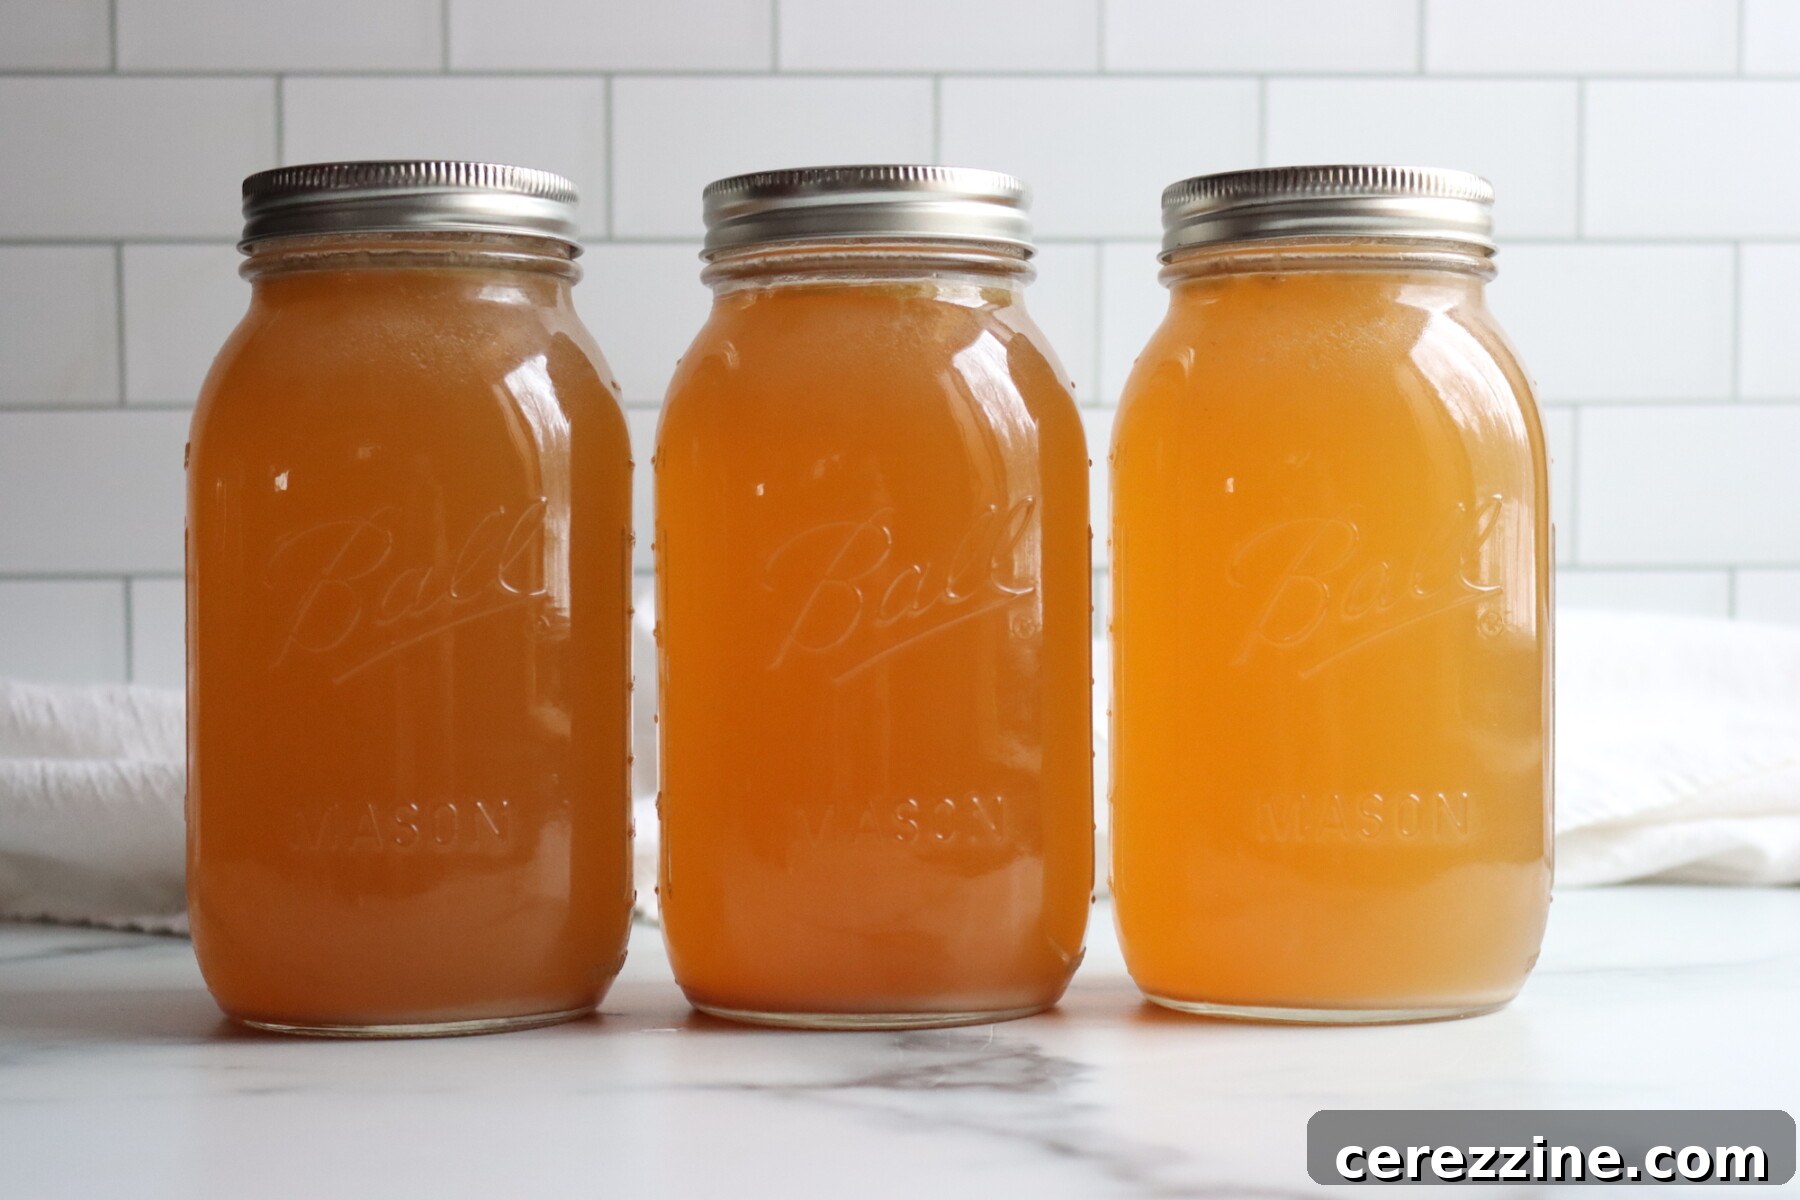
Canning turkey broth, often interchangeably called turkey stock, is one of the most rewarding post-holiday kitchen projects. It’s an efficient way to utilize every bit of your turkey, clear out fridge space, and prepare a pantry staple that delivers deep, complex flavors to countless dishes. This method ensures you have a readily available base that brings a gourmet touch to everyday cooking, from hearty stews to delicate risottos, making them taste like they required all-day attention.
Our comprehensive recipe begins with a crucial step: a quick roast of the turkey bones. This initial roasting process isn’t just an extra step; it’s the secret to developing a profound, toasty depth and a beautiful, darker color in your finished stock. Following the roast, the bones and aromatics undergo a long, gentle simmer, allowing all the rich flavors to meld perfectly. The process concludes with careful straining and defatting, preparing the broth for safe and effective pressure canning.
This versatile turkey broth is excellent as a standalone pantry essential. It’s also an indispensable ingredient when you’re exploring other canning turkey meat recipes or diving into various turkey canning recipes to maximize your harvest and minimize food waste.
Unlock Rich Flavor: Why This Pressure Canning Recipe Is a Must-Try!

Imagine gifting your future self convenience and unparalleled flavor. This pressure canning recipe for turkey broth is precisely that – a thoughtful investment in your culinary future. After the feast, with the turkey carcass already at hand, a little extra effort transforms it into a valuable asset you’ll appreciate throughout the cold months. It’s incredibly satisfying to clear out the lingering odds and ends from the fridge, infuse your entire home with an inviting, savory aroma, and then line your shelves with jars of genuinely flavorful stock. This stock stands ready to transform any ordinary dinner into something special.
The true standout of this recipe is the roasted-bone step. This simple addition introduces a deep, nuanced, toasty flavor that is simply unattainable from store-bought boxed broths. Once this liquid gold is safely pressure canned, the benefits are instantaneous: envision preparing a gourmet soup in mere minutes, crafting a richer, more satisfying gravy on a hectic weeknight, or cooking a pot of rice that boasts an unexpected depth of flavor. Every time you open a jar in the dead of winter, you’ll be reminded that the most impactful canning projects are those that simplify and enhance your everyday life, making cherished flavors accessible year-round.
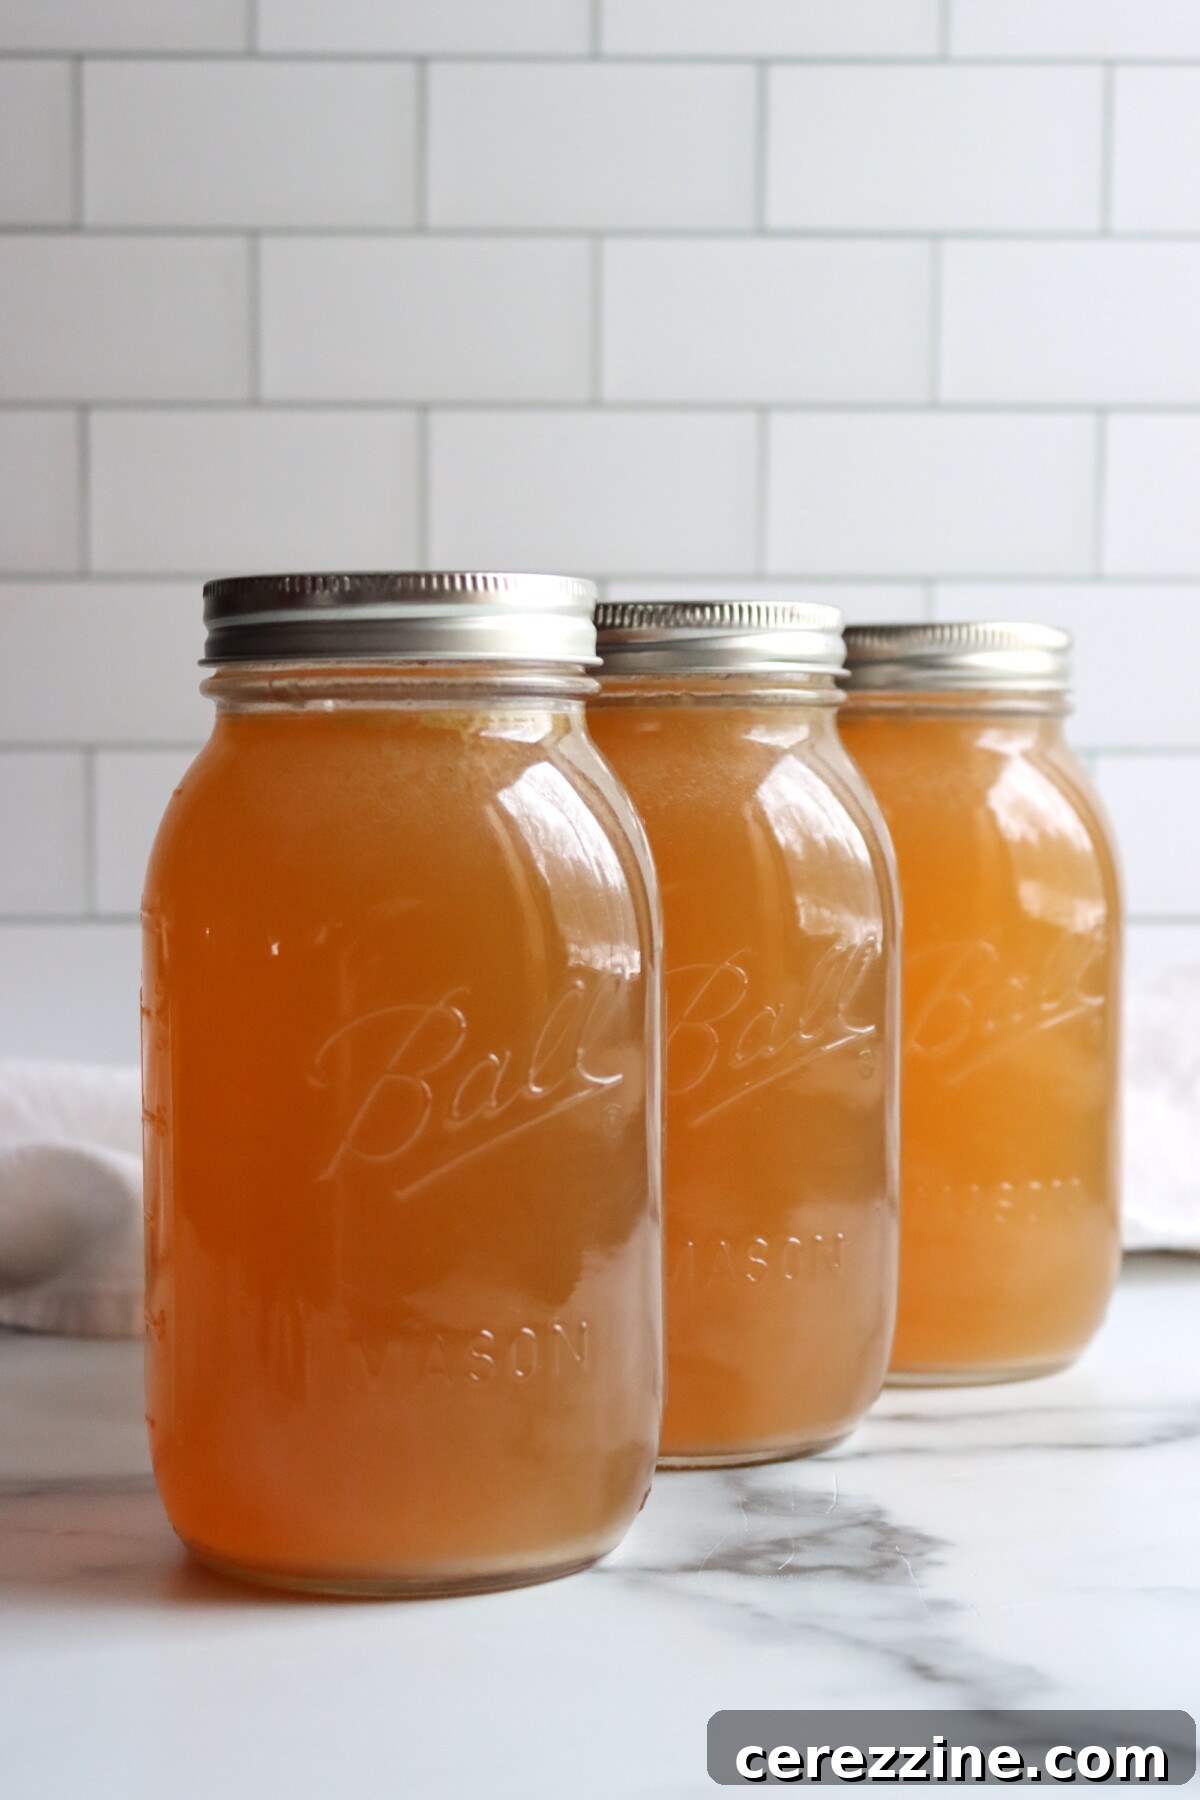
A Quick Look at This Robust Turkey Broth Recipe
- Recipe Name: Homemade Turkey Broth (or Turkey Stock)
- Recipe Type: Broth/Stock Canning Recipe
- Canning Method: Pressure Canning is essential for safety.
- Prep/Cook Time: Approximately 4 to 12 hours of gentle simmering.
- Canning Time: 20 minutes for Pint jars, 25 minutes for Quart jars.
- Yield: Expect 4 to 5 quarts of finished broth.
- Jar Sizes: Pints or Quarts are suitable.
- Headspace: A precise 1 inch is required for safe sealing.
- Key Ingredients: Turkey carcass/bones, fresh carrots, onions, celery, and a selection of aromatic spices.
- Safe Canning Recipe Source: Adheres to NCHFP Stock Canning Guidelines for guaranteed safety.
- Difficulty: Easy! Ensure bones are roasted for depth and maintain a gentle simmer (avoid boiling) for clear broth.
- Similar Recipes: This process closely mirrors other popular homemade broths for canning, such as Chicken Broth, Beef Broth, Rib Broth, and Vegetable Broth.
SUMMARIZE & SAVE THIS CONTENT ON
Essential Ingredients for a Flavorful Turkey Broth
Crafting exceptional turkey broth is often about utilizing what you have, making it a flexible and adaptable recipe. However, a consistent selection of key ingredients ensures the deepest, most satisfying flavor profile:
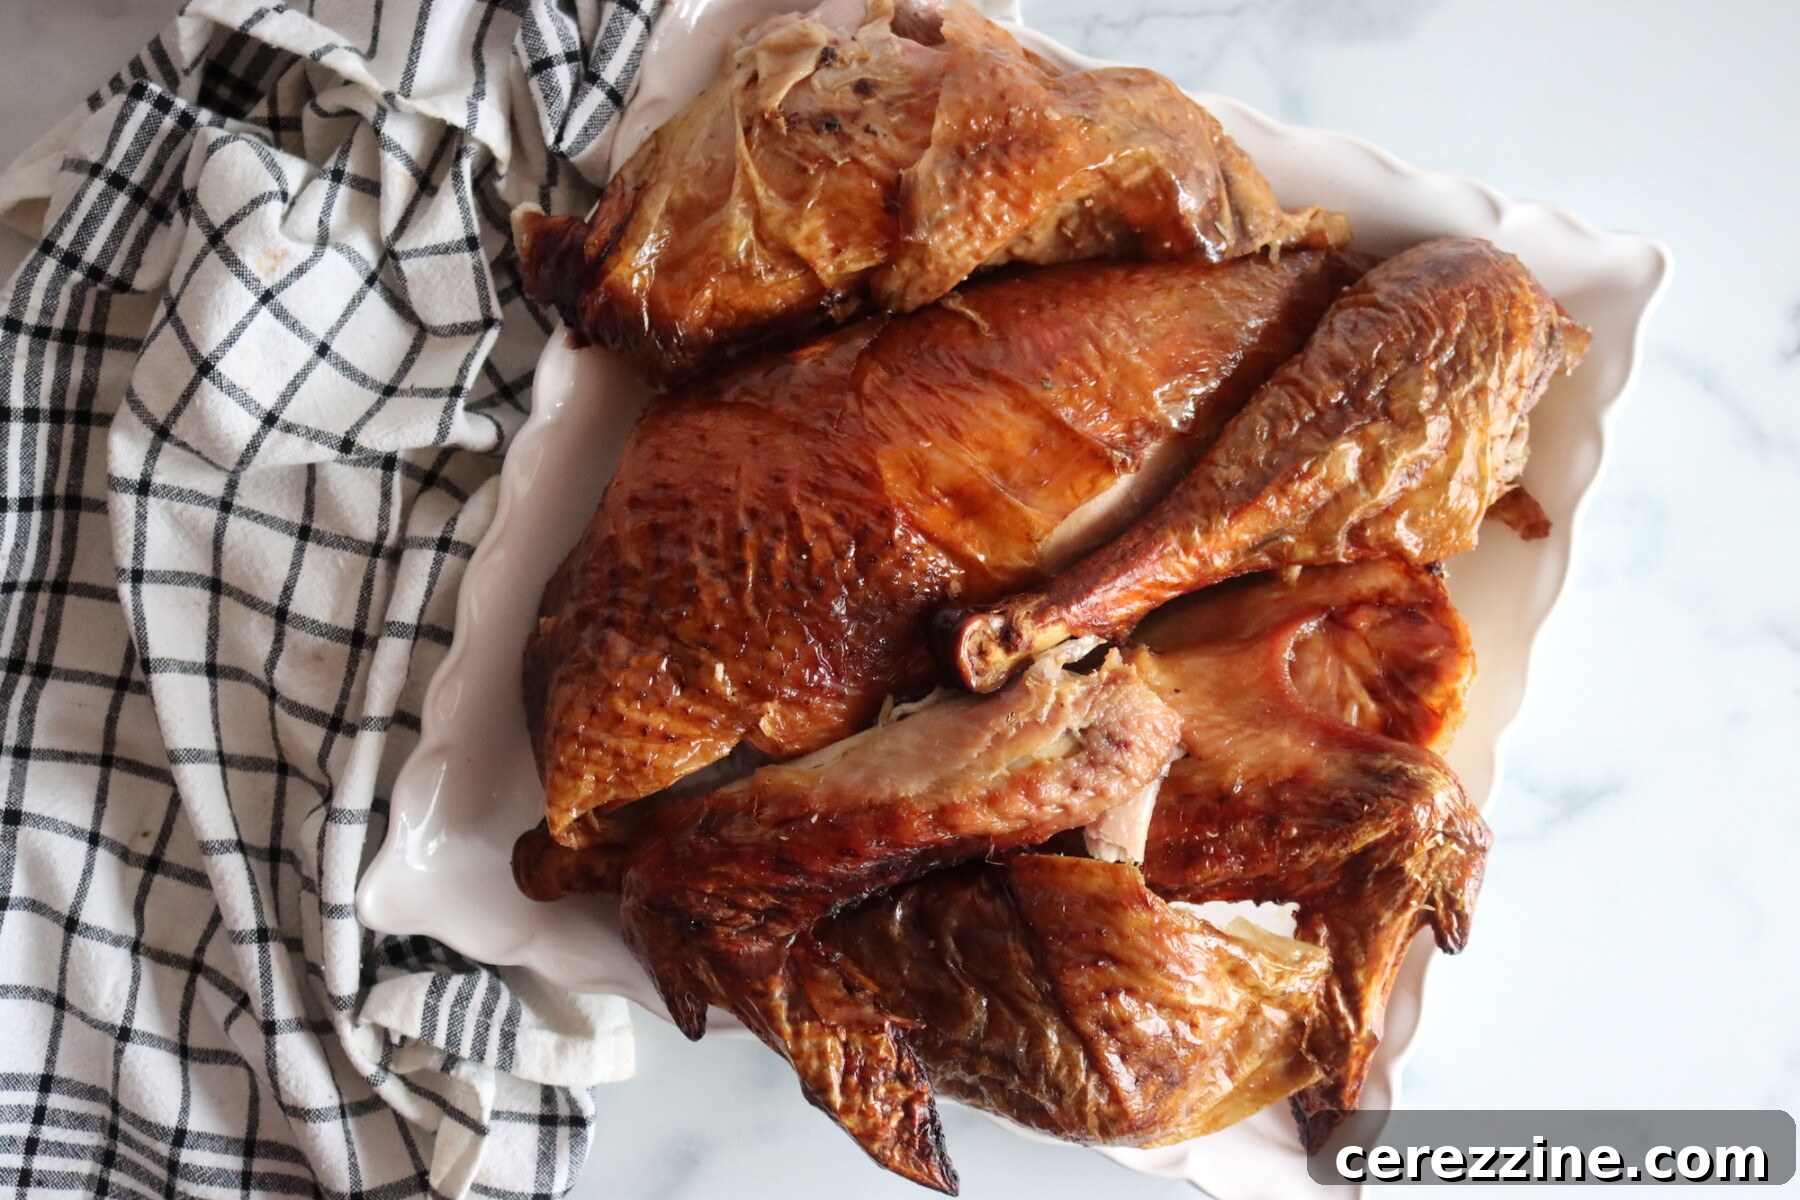
- Leftover Turkey Bones and Carcass: This is the foundation of your broth. Include roasted legs, wings, and any skin for maximum flavor extraction. Starting with a cooked carcass from your holiday meal is ideal.
- Carrots and Celery: These classic aromatics provide a natural sweetness and essential backbone to the broth, balancing the savory notes from the turkey.
- Onion (or just skins and ends): Onion contributes a crucial savory depth and a beautiful golden color to the finished broth. Don’t discard the skins and ends; they are packed with flavor and pigment.
- Garlic: A few cloves of garlic add warmth and complexity without overpowering the delicate turkey flavor, especially during a long simmer.
- Bay Leaves, Thyme, Parsley, and Peppercorns: This quartet of classic herbs and spices creates a well-rounded, aromatic profile essential for a traditional stock. Feel free to use fresh or dried versions.
- Salt: This ingredient is entirely optional at the broth-making stage. I typically omit it during canning, preferring to season the broth when I use it later in recipes. This offers maximum flexibility for various culinary applications. Salt does not affect canning safety.
The exact quantities of these ingredients are quite forgiving for both flavor and canning safety. Generally, I use a few medium-sized carrots, a couple of celery stalks (or their leafy tops), one large onion (or a collection of skins and ends), a full bulb of garlic sliced in half, a couple of bay leaves, and a generous handful each of fresh thyme and parsley (or about a teaspoon of each if dried), along with about 10 whole black peppercorns.
Regarding salt, it is completely optional and plays no role in the preservation process. Personal preferences for saltiness in broth vary widely. Some sources suggest as little as ¼ teaspoon per quart, while others recommend up to 1½ teaspoons per quart – a significant difference! To my taste, ¼ teaspoon per quart, added directly to the jars before filling, provides a pleasant base. However, for ultimate versatility in cooking, I often skip salting the broth entirely during canning and adjust seasoning as needed when I incorporate it into a recipe.
Crucial Safety Information for Canning Turkey Broth
It is imperative to understand that turkey stock and broth are classified as low-acid foods. Due to their low acidity, these foods create an environment where harmful bacteria, including those that cause botulism, can thrive if not processed correctly. Therefore, for safe, shelf-stable storage, turkey broth must always be preserved using a pressure canner. Water bath canning, which operates at lower temperatures, is insufficient to eliminate these dangerous bacteria and is absolutely not a safe method for preserving plain stock or broth. The National Center for Home Food Preservation (NCHFP), the authoritative source for home canning guidelines, provides clear instructions for chicken or turkey stock: the broth must be reheated to a rolling boil, then filled into jars, leaving a precise 1-inch headspace. These jars are then pressure canned for 20 minutes for pint jars or 25 minutes for quart jars, with the processing pressure carefully adjusted according to your specific canner type (dial or weighted gauge) and your altitude above sea level. If you do not own a pressure canner, the safest alternative for long-term storage is to freeze the broth.
Crafting Your Rich Turkey Broth: A Step-by-Step Guide
Making homemade turkey stock is a straightforward and rewarding process. While some steps are optional for flavor, others are critical for safety and quality. This recipe primarily assumes you are starting with a leftover turkey carcass or bones that have already been cooked, such as from a roasted holiday turkey. This pre-cooked state is essential for developing clear, flavorful broth.
If, however, you begin with raw turkey meat or bones, the roasting step becomes non-optional. All raw meat and bones must be thoroughly pre-cooked to properly set the proteins before they are introduced to the stockpot. Skipping this crucial step with raw ingredients will result in a cloudy, unappealing broth rather than the clear, rich liquid we aim for. Always ensure all meat and bones are fully cooked before you start the simmering process.
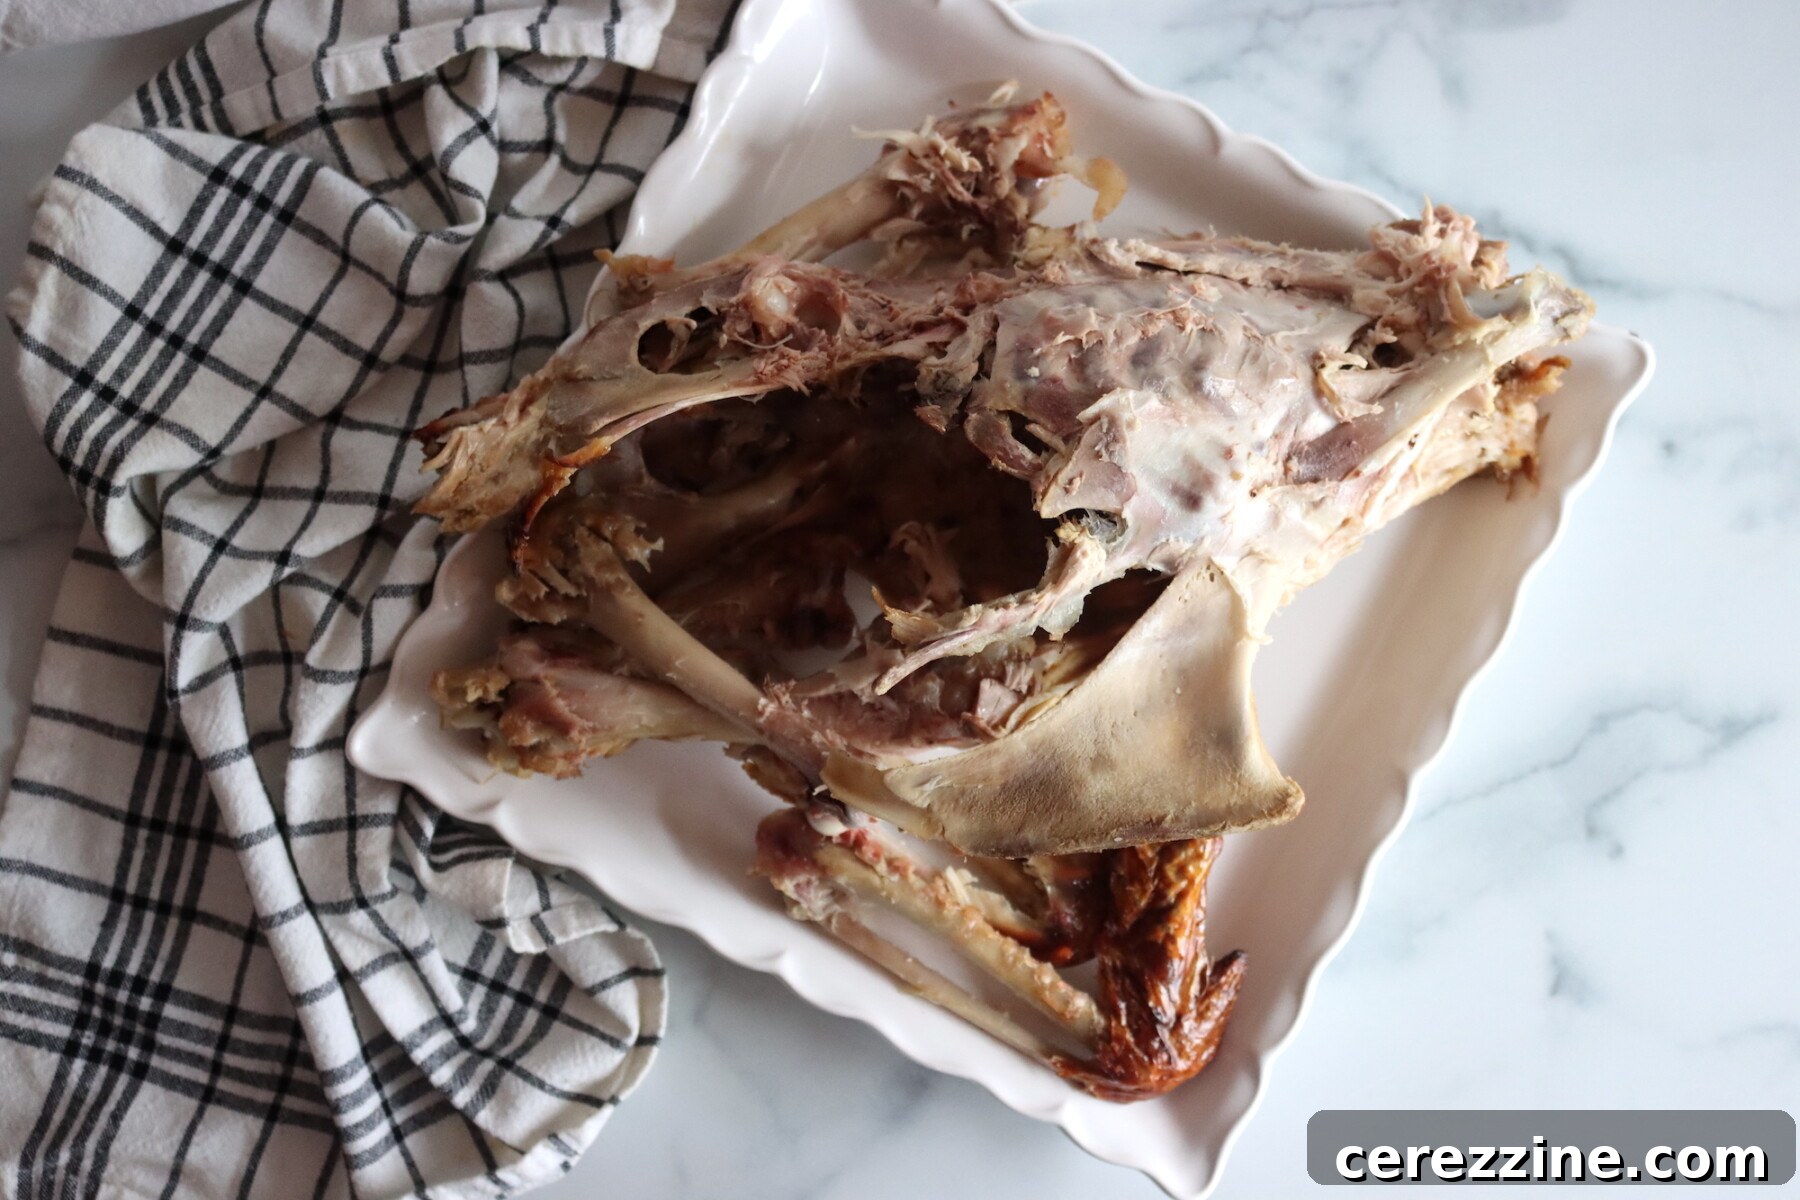
Begin by preheating your oven to 400°F (200°C). Arrange the turkey carcass and any remaining bones, including skin or scraps, in a single layer within a sturdy roasting pan. Roast for approximately 30 to 45 minutes, or until the bones are nicely browned and caramelized. This roasting step significantly deepens the flavor profile of your broth.
Once roasted, carefully transfer all the browned bones and any pan drippings into a large stockpot. Add your chosen aromatics: carrots, celery, onion (or onion skins and ends), garlic, bay leaves, thyme, parsley, and whole black peppercorns. Pour in enough cold water to completely cover all the ingredients in the pot, typically around 6-8 quarts.
Place the stockpot over medium-low heat and bring the liquid *just* to a gentle simmer. It is crucial to maintain a very low, gentle simmer – avoid a rolling boil, as this can emulsify fats and lead to a cloudy broth. Let the mixture simmer slowly for an extended period, anywhere from 4 to 8 hours. Throughout this time, monitor the water level and add more hot water as needed to keep the bones fully submerged, ensuring maximum flavor extraction.
After simmering, carefully strain the broth through a fine-mesh strainer to remove all solids. For an exceptionally clear broth, line your strainer with several layers of cheesecloth. Allow the strained broth to cool sufficiently to handle safely. Once cooled, use a spoon or fat separator to skim off any excess fat from the surface. This step is important for both the quality and safety of your canned broth.
Before proceeding to the canning stage, you will reheat the defatted, strained broth to a full rolling boil. This aligns with NCHFP guidelines for hot packing turkey stock and ensures safe processing temperatures.
Mastering the Art of Pressure Canning Turkey Broth
For safely canning turkey broth, two critical factors are paramount: ensuring the broth is well-strained and effectively defatted. Excessive fat can compromise the integrity of the jar seals and potentially shorten the shelf quality of your preserved broth. The National Center for Home Food Preservation (NCHFP) specifically advises cooling broth and removing any excess fat before reheating and proceeding with the canning process.
In my experience, turkey stock is generally less fatty than, for instance, beef or venison stock. This often allows for effective hand-skimming of the fat even while the broth is still warm, if you work carefully and efficiently with a ladle. However, if time permits, chilling the broth overnight will solidify the fat layer, making it incredibly easy to lift off in a solid sheet, resulting in a more thoroughly defatted product.
Once your broth is meticulously strained and you’ve removed as much fat as practically possible, return it to a clean stockpot and bring it back to a robust simmer or a full boil. While the broth heats, prepare your canning jars, lids, and rings by washing them thoroughly. Keep the jars hot until you are ready to fill them, either by resting them in hot water or in a warming oven. Simultaneously, prepare your pressure canner for a hot pack. This typically involves adding 2-3 inches of water to the bottom of the canner and bringing it to a simmer, though specific instructions may vary by manufacturer; always consult your canner’s manual.
Carefully ladle the boiling hot turkey stock into the hot, prepared jars, leaving precisely 1 inch of headspace at the top. This headspace is crucial for proper sealing and safe processing. Using a clean, damp cloth, wipe the rims of each jar thoroughly to remove any grease, food particles, or residue that could interfere with the seal. Center a clean lid on each jar, then screw on the rings fingertip-tight – firm but not overly tight, allowing air to escape during processing.
Load the filled jars into your prepared pressure canner, ensuring they are placed on the rack provided. Securely lock the canner lid in place. Before bringing the canner up to pressure, vent it by allowing a steady stream of steam to escape for 10 full minutes. This step purges air from the canner, ensuring that the internal temperature is truly at the desired processing level. After venting, bring the canner up to the appropriate pressure for your canner type and altitude (refer to the “Altitude Adjustments” section below).
Process pint jars for 20 minutes or quart jars for 25 minutes. Maintain the correct pressure throughout the entire processing time, adjusting the heat as necessary. Once the processing time is complete, turn off the heat and allow the pressure canner to return to zero pressure naturally and completely. Do not attempt to force the depressurization. After the pressure gauge reads zero, wait an additional 5-10 minutes before carefully removing the lid, tilting it away from your face to avoid escaping steam.
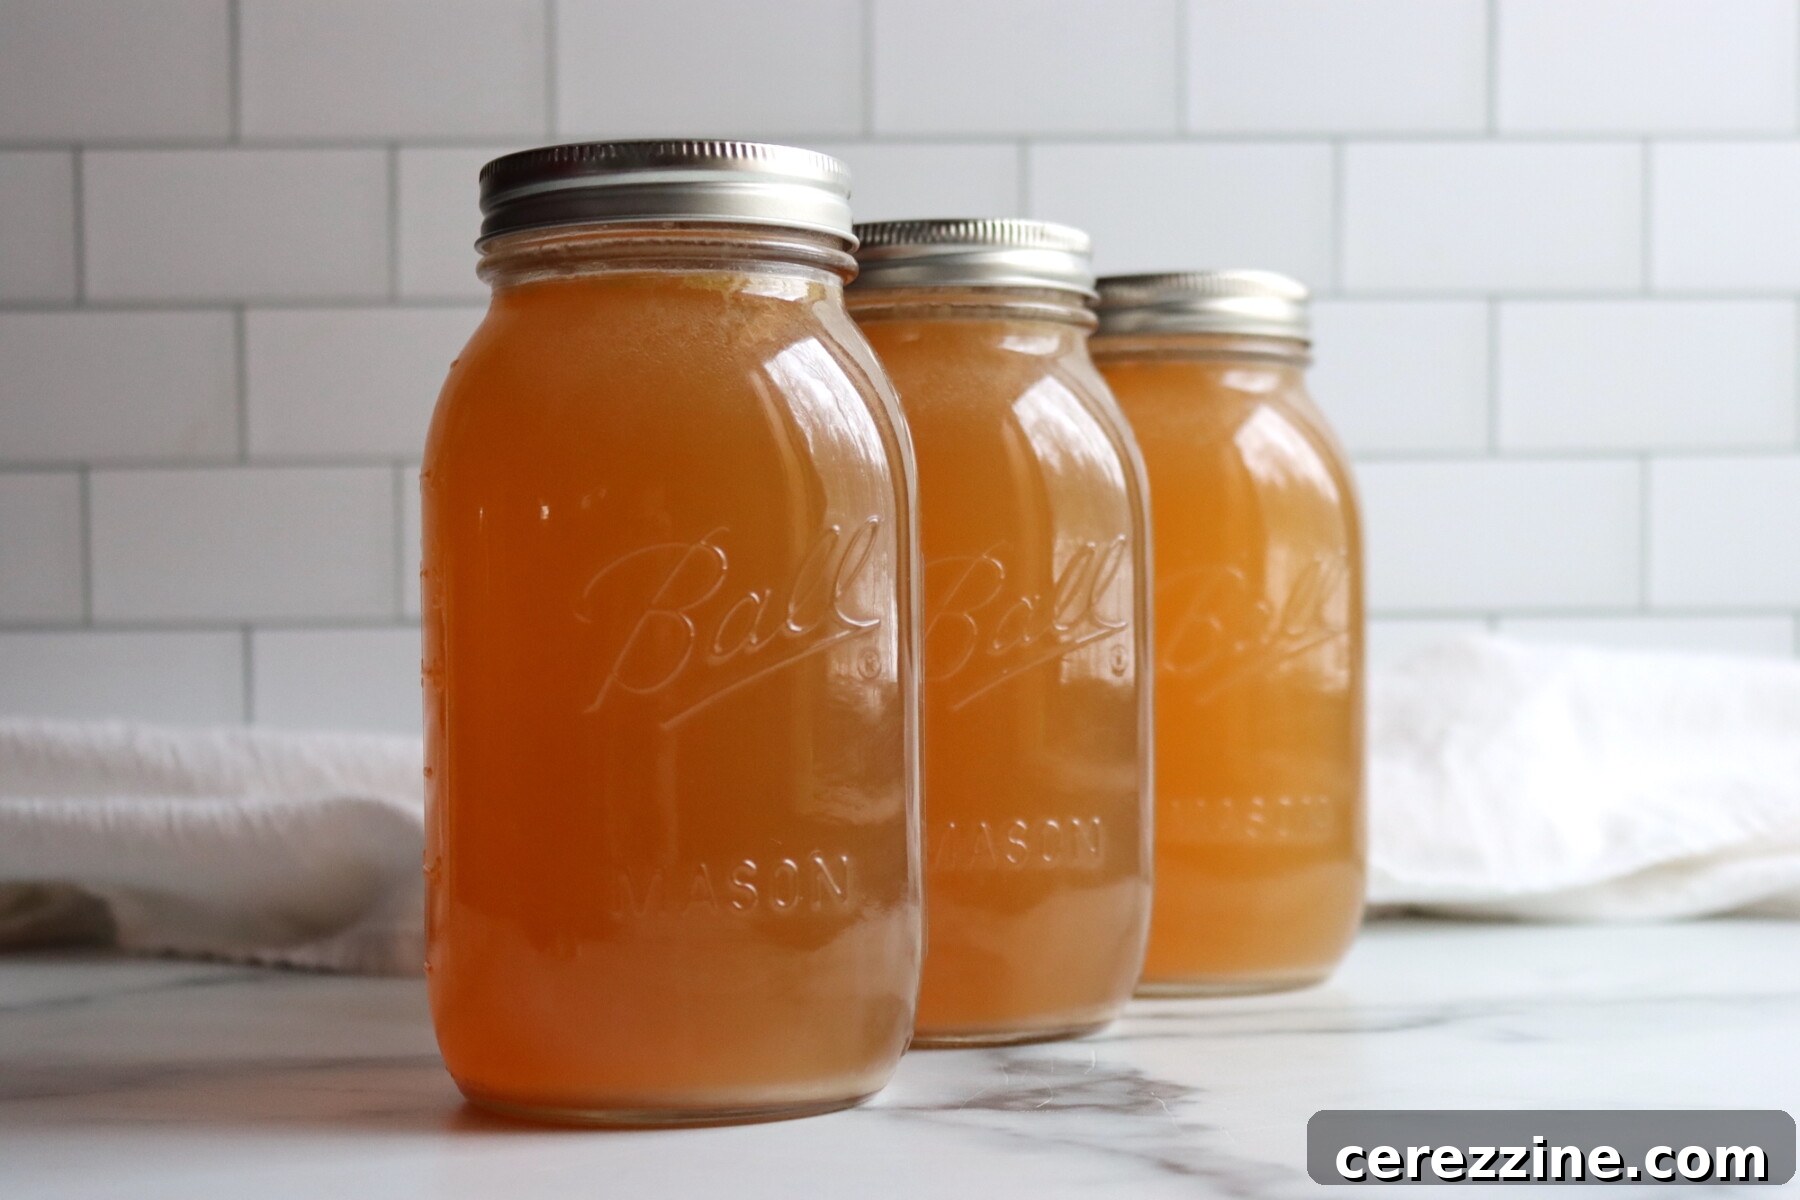
Using a jar lifter, carefully remove the hot jars from the canner and place them on a towel-lined surface or a wire rack, ensuring there is ample space between each jar for even cooling. Allow the jars to cool undisturbed for 12 to 24 hours. After cooling, remove the rings, check that each lid has formed a strong, concave seal (you should not be able to lift the lid with your fingertips). Label the sealed jars with the contents and the date of canning. Store sealed jars in a cool, dark, and dry place. Any jars that did not seal properly should be refrigerated immediately and used within a few days.
Critical Altitude Adjustments for Pressure Canning
When pressure canning, the processing time remains constant regardless of your altitude. However, the atmospheric pressure changes with elevation, meaning you must increase the processing pressure to achieve the same safe internal temperatures. Always adjust your canner pressure according to these guidelines:
For Dial Gauge Pressure Canners:
- 0 to 2,000 feet in elevation: Process at 11 lbs pressure
- 2,001 to 4,000 feet in elevation: Process at 12 lbs pressure
- 4,001 to 6,000 feet in elevation: Process at 13 lbs pressure
- 6,001 to 8,000 feet in elevation: Process at 14 lbs pressure
For Weighted Gauge Pressure Canners:
- 0 to 1,000 feet in elevation: Process at 10 lbs pressure
- Above 1,000 feet: Process at 15 lbs pressure
Storing and Maximizing Your Canned Turkey Broth
Once your turkey broth jars have successfully sealed, label them clearly with the contents and the date of canning. Store them in a cool, dark, and dry place, away from direct sunlight or fluctuating temperatures. For optimal quality, the National Center for Home Food Preservation (NCHFP) recommends storing home-canned foods at temperatures between 50°F and 70°F (10°C – 21°C) and using them within approximately one year. This “one year” guideline pertains to peak quality – factors like color, texture, and nutritional value may slowly degrade over longer periods.
It’s important to distinguish between quality and safety. Properly processed and sealed jars will remain safe to consume well beyond a year, provided they were processed according to NCHFP guidelines and the seals remain intact. If you discover an unsealed jar on your pantry shelf – perhaps the lid is loose, or it didn’t “ping” when cooled – do not consume its contents; dispose of it immediately to ensure safety.
Once you open a jar of canned turkey broth and break its vacuum seal, it must be treated like any fresh broth. Refrigerate after opening and strive to use the contents within about a week for the best flavor and safety.
With jars of homemade turkey stock on your pantry shelf, you gain an invaluable culinary asset. This quiet pantry workhorse is ready to transform countless dishes: think rich, comforting soups, velvety gravies, moist stuffing, flavorful rice, hearty beans, tender braises, and satisfying pot pie fillings. It’s the perfect substitute for any recipe that calls for store-bought boxed broth, offering superior flavor and homemade goodness.
Frequently Asked Questions About Canning Turkey Broth
No, absolutely not. Turkey stock and broth are categorized as low-acid foods, which require processing at temperatures higher than boiling water can achieve. Therefore, they must be pressure canned to ensure the destruction of harmful bacteria and achieve shelf-stable storage. Water bath canning is unsafe for plain stock or broth and should never be used.
While the terms “stock” and “broth” are often used interchangeably, there are a few classic distinctions:
Stock is traditionally made by simmering bones (often with a small amount of meat or cartilage) for an extended period, typically 4–8 hours or more. This long simmer extracts collagen from the bones, giving stock a richer body that often gels when chilled. Stock is usually unseasoned or very lightly seasoned, making it a versatile neutral base for sauces, gravies, and various cooking applications.
Broth is typically created by simmering meat and/or vegetables for a shorter duration, usually 1–2 hours. It tends to be thinner than stock, is commonly seasoned, and is often enjoyed on its own as a comforting beverage or as a lighter soup base.
For canning purposes, the excellent news is that both turkey stock and turkey broth can be safely canned using the exact same pressure-canning recipe and processing times. The key is that it must be a strained liquid (not thickened with flour or starches) and that you meticulously follow all safe pressure canning directions.
No, it is not strictly mandatory for safety if you are starting with cooked bones, but it is highly recommended for flavor. Roasting the bones imparts a significantly deeper, richer, and more savory “toasty” flavor, along with a more appealing darker color to the finished broth. If you are pressed for time, you can certainly skip the roasting step and proceed directly to simmering—the essential canning steps and times remain unchanged. However, the resulting broth will be lighter in color and have a milder flavor.
It is crucial to remember that this recipe assumes you are starting with already cooked meat and bones (e.g., a stripped carcass from a roasted turkey). If you are working with raw turkey bones, they absolutely need to be completely pre-cooked (roasted or boiled) before they are added to the stockpot for simmering. Adding raw bones to the stockpot directly will yield a cloudy broth.
Removing excess fat from your turkey stock before canning serves two important purposes: it significantly improves seal quality and extends the shelf life of the canned product. Too much fat can adhere to the jar rims during the filling or processing stages, creating a barrier that prevents a strong, airtight seal from forming. Furthermore, over time, fat can go rancid, which, while not necessarily making the product unsafe if properly sealed, can drastically diminish the quality and flavor of your broth.
If you do find a small amount of fat in your sealed jars, don’t worry—they are still safe to use as long as they were processed correctly and sealed properly. Just be aware that they might not maintain their peak quality for as long as a thoroughly defatted broth.
Explore More Broth and Stock Canning Recipes
Canning Turkey Broth
Rib Broth
Canning Vegetable Broth
If you tried this Turkey Broth Canning Recipe, or any other recipe on Creative Canning, leave a ⭐ star rating and let me know what you think in the 📝 comments below!
And make sure you stay in touch with me by following on social media!