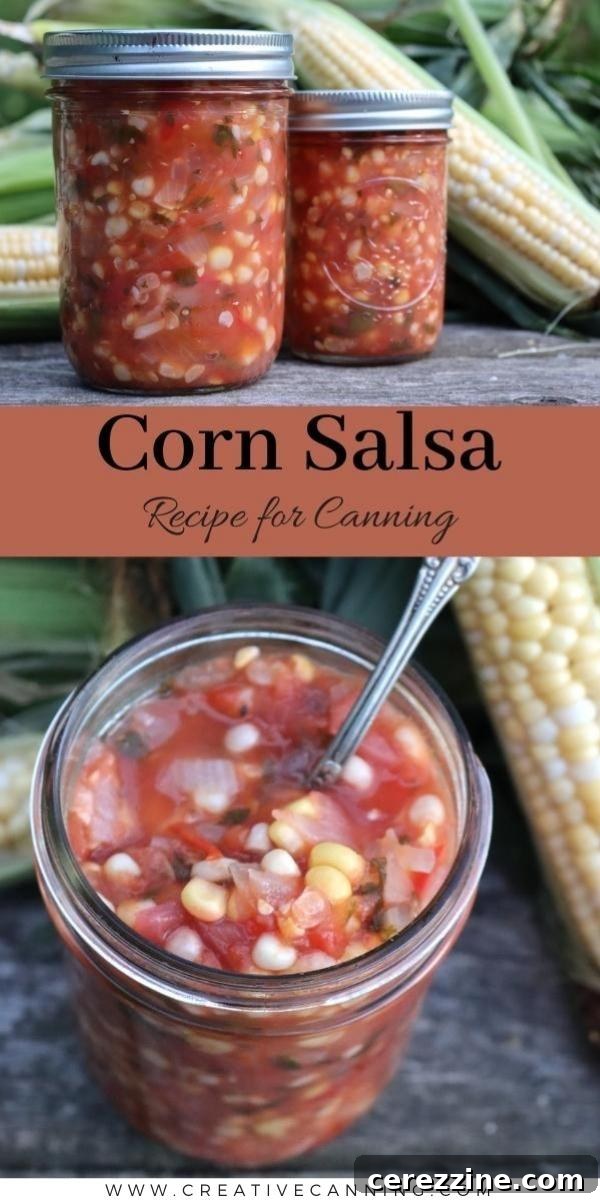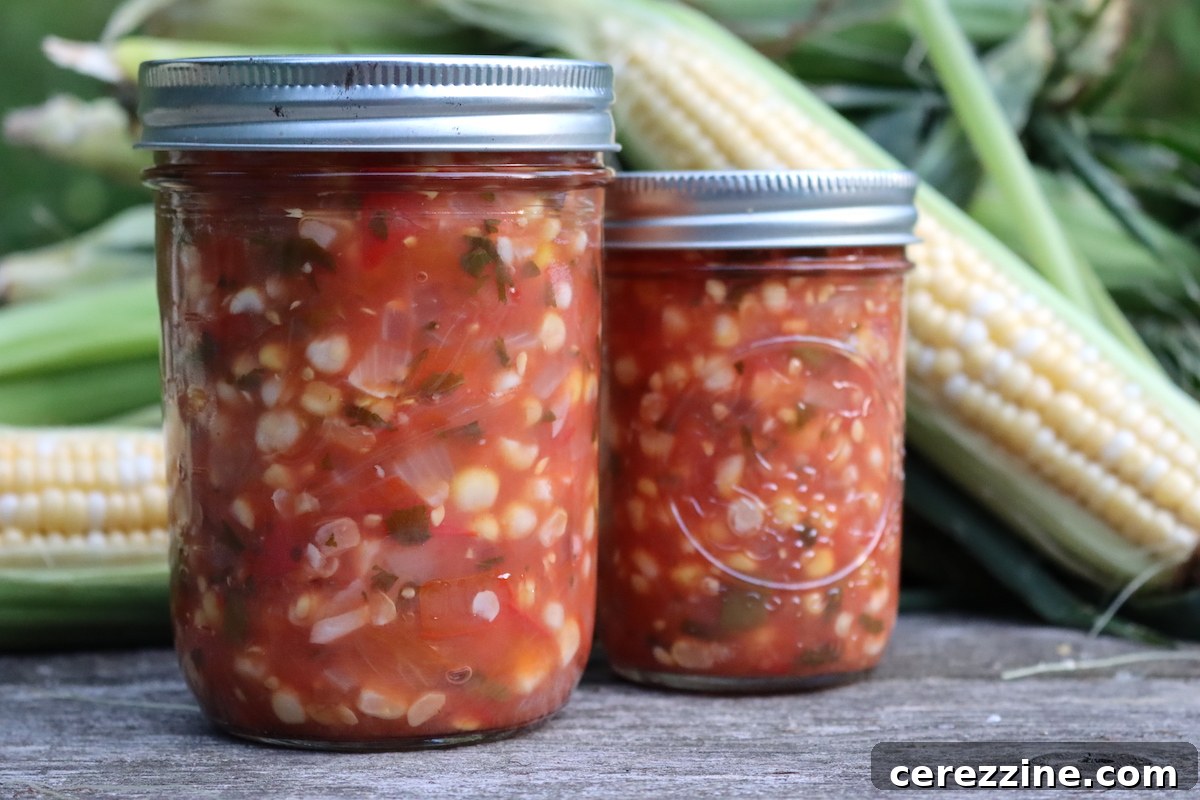
Welcome to the delightful world of homemade corn salsa – a vibrant, flavorful condiment that’s incredibly easy to preserve using the safe and accessible water bath canning method. Imagine the sun-kissed sweetness of fresh corn, perfectly balanced with the tang of lime, a hint of heat from jalapeños, and fragrant cilantro, all captured in a jar ready to elevate your meals throughout the year.
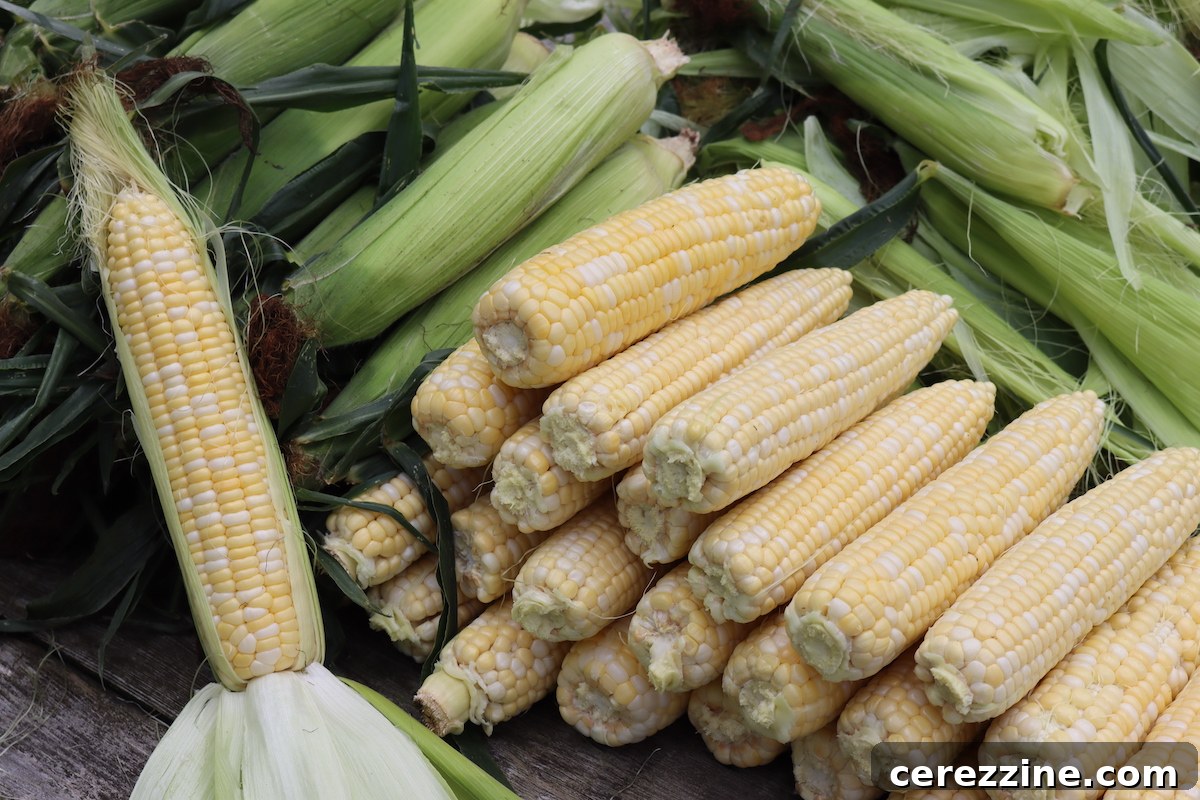
There’s nothing quite like the taste of peak-season produce, especially when you can extend its bounty far beyond the harvest. Last year, I stumbled upon a fantastic deal: a local farm selling sweet corn in bulk for mere pennies per ear. Naturally, I couldn’t resist! After enjoying our fill of fresh corn on the cob, I was left with a significant amount and a delicious challenge: how to preserve it all.
While freezing vegetables often works wonders, I quickly realized my freezer space was rapidly diminishing. I even considered dehydrating some of the corn, which is a great preservation method, but it’s a slow process that only accommodates a small quantity at a time. I needed a more efficient solution to handle the sheer volume of this golden goodness.
My search led me to various corn canning recipes. I did put up several batches of plain pressure canned corn and even creamed corn, which are incredibly versatile for winter cooking. However, using a pressure canner can sometimes feel like a significant undertaking, especially during the height of summer when the kitchen is already warm. As much as I appreciate the safety and utility of pressure canning recipes, I was truly hoping to find a corn recipe that was safe for water bath canning.
And that’s precisely when I discovered this truly outstanding corn salsa recipe – a perfect fit for my water bath canner and a welcome reprieve from the pressure canning routine. It’s not only a safe method for preserving this delightful salsa but also incredibly straightforward, making it an ideal project for home canners of all experience levels.
Why This Water Bath Corn Salsa Recipe Stands Out
This particular corn salsa recipe quickly became a favorite for several compelling reasons. First and foremost, its flavor profile is simply divine. It strikes a perfect balance: not overly sweet, yet delightfully fresh, and remarkably, it doesn’t rely on vinegar. This is a rare find among vegetable salsa canning recipes, which often use vinegar for acidity. Instead, this recipe incorporates fresh lime juice, imparting a bright, zesty, and utterly refreshing taste that distinguishes it from the rest.
Finding approved corn salsa recipes suitable for water bath canning proved to be quite challenging. In all my extensive collection of canning books, I could only locate two. The other water bath recipe I found was similar but included a substantial amount of vinegar alongside the lime juice, necessitating a generous addition of sugar to counteract the strong tang. The result was more akin to a corn relish or chutney rather than a true salsa, with its distinctly sour notes.
While there are other corn salsa recipes approved for pressure canning, such as this black bean and corn salsa, these require the use of a pressure canner due to the addition of low-acid ingredients like black beans. For me, especially during the warm summer months, the goal is often to minimize heating up the indoor kitchen. That’s why I prefer to utilize my outdoor canning kitchen and my Amish-made high-capacity water bath canner. This allows me to process large batches of corn salsa without raising the ambient temperature indoors or needing to haul out the pressure canner, making preservation a much more enjoyable task.
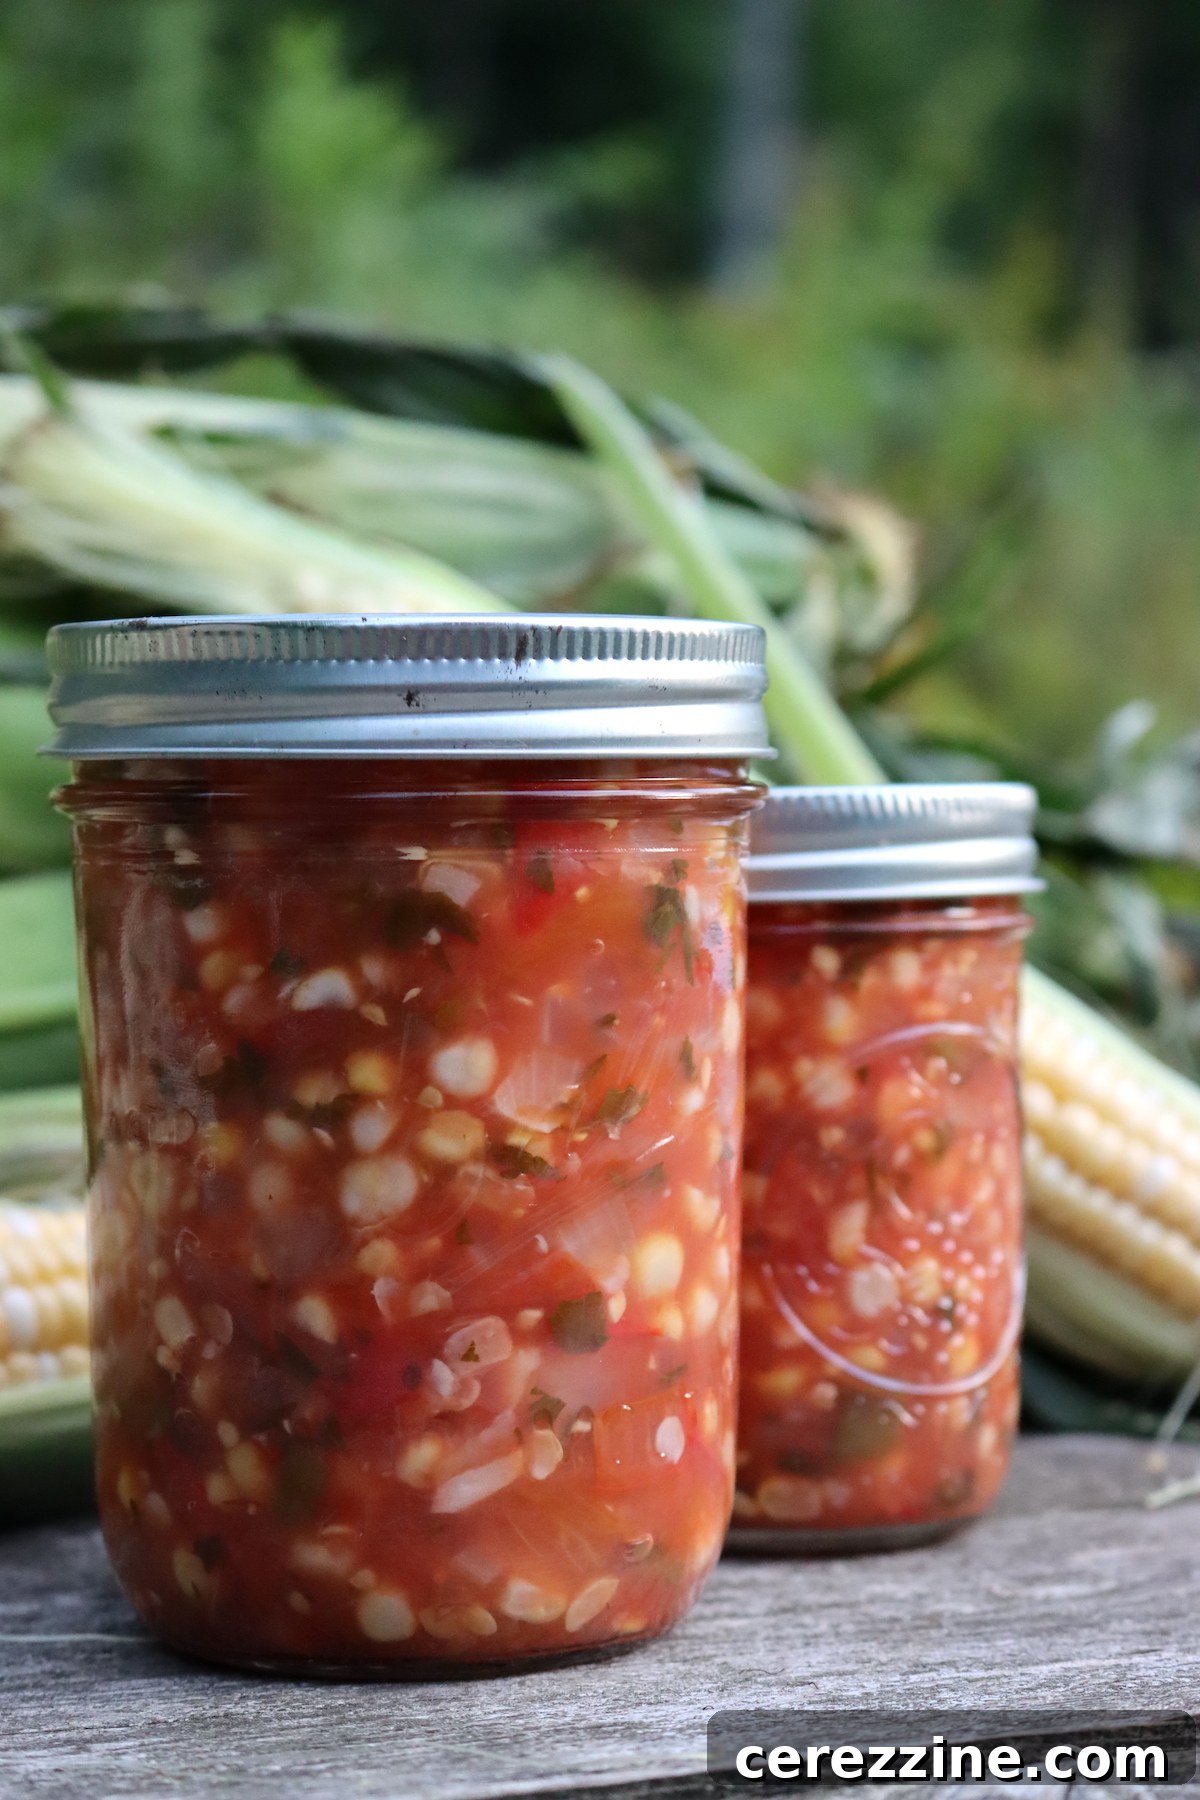
Essential Ingredients for Your Homemade Corn Salsa
This fantastic corn salsa recipe is a carefully adapted version from The All New Ball Book of Canning, a trusted resource packed with dozens of thoroughly tested canning recipes that are updated for modern kitchens and contemporary tastes. The original recipe is titled “cherry tomato and corn salsa” and suggests using cherry tomatoes. However, regular tomatoes work equally well and are considered equivalent for canning safety. Feel free to use whichever variety you prefer or have on hand.
I personally opt for regular, full-sized tomatoes as I prefer my salsa without an abundance of seeds. While optional, peeling and seeding regular tomatoes for canning results in a smoother, more refined salsa texture, and it’s quite manageable. If you choose to use cherry tomatoes, there’s no need to peel or seed them; simply quarter them before adding to the pot.
One unique and commendable aspect of this recipe is that it has been rigorously tested for safety using fresh lime juice, which is rare for canning recipes. Most canning guides typically specify bottled lime juice because its acidity is standardized and consistent. However, this particular recipe was developed with fresh lime juice to deliver an unparalleled, bright, and authentic flavor. You can confidently use either fresh limes, squeezed yourself, or bottled lime juice, depending on your preference and convenience. Just be sure to measure accurately!
The recipe outlined below is designed for a small batch, yielding approximately 3 pints. This quantity is ideal for processing fresh produce purchased at a farmer’s market or from a smaller garden harvest. What’s more, this recipe is incredibly forgiving and can be easily doubled, tripled, or even quadrupled without compromising safety or quality. I had an abundance of corn from my bulk purchase, so I prepared a large batch, ensuring we’d have several pints of delicious corn salsa to enjoy every month of the year. Don’t hesitate to adjust the batch size to suit your needs.
To prepare approximately 3 pints of this delectable corn salsa, gather the following fresh ingredients:
- 2 1/2 pounds of tomatoes, roughly chopped (peeling and seeding are optional but recommended for a smoother salsa; weigh tomatoes after any chosen prep)
- 1 cup fresh corn kernels (typically from about 2 medium ears of sweet corn)
- 1/2 cup onion, finely chopped (yellow or red onion both work well)
- 1 or 2 jalapeño peppers, stemmed, deseeded, and finely chopped (adjust quantity and seeding based on desired heat level)
- 1/4 cup fresh lime juice (this usually requires 3 to 4 medium-sized limes)
- 1/4 cup fresh cilantro, finely chopped
- 1 tsp. canning salt (or fine sea salt)
Crafting Your Corn Salsa: A Simple Step-by-Step Guide
The journey to delicious corn salsa begins with preparing the corn itself. If you’re using fresh corn on the cob, a handy trick for stripping the kernels is to use a bundt pan. Place the ear of corn upright in the center hole of the bundt pan, then carefully run a sharp knife down each side of the cob. The bundt pan’s design neatly catches all the kernels as they fall, and the center post helps keep the cob steady and safe.
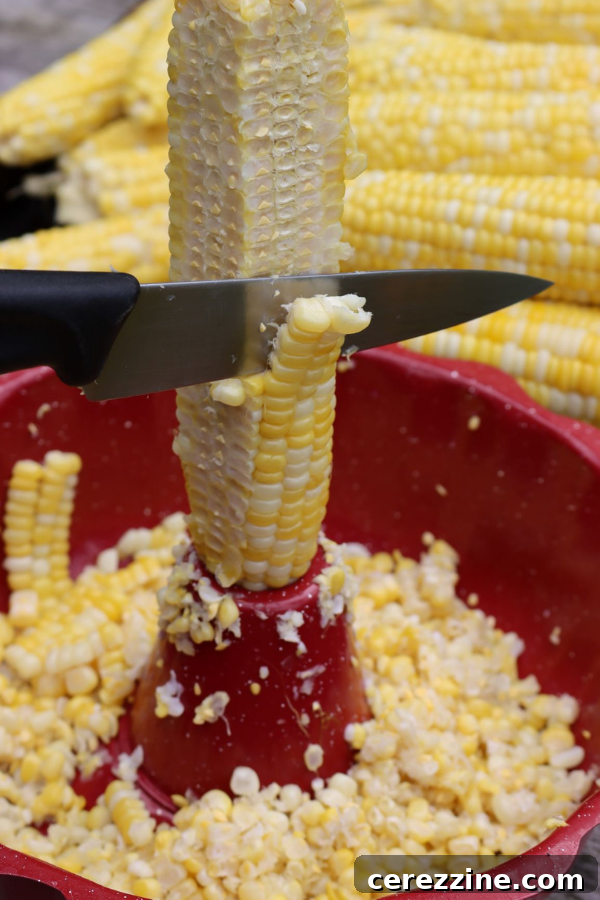
For convenience, especially when fresh corn isn’t readily available, you can substitute defrosted frozen corn kernels in this recipe. Just ensure they are fully thawed before incorporating them.
Once your corn is ready, the remaining preparation steps are quite straightforward. Finely chop your onions, peppers, tomatoes, and cilantro. As mentioned, peeling and seeding the tomatoes is optional, but I highly recommend it for larger garden tomatoes to achieve a silkier salsa texture. If you’re using cherry tomatoes, simply quarter them before adding them to your pot – no peeling or seeding necessary.
Before you begin heating your ingredients, take a moment to prepare your water bath canner, if you intend to preserve the salsa. This includes ensuring your canner is filled with water and pre-heating, as well as sterilizing your canning jars and preparing lids and rings according to standard canning practices.
Combine all the prepped ingredients – tomatoes, corn, onion, jalapeños, fresh lime juice, cilantro, and salt – in a large stockpot or Dutch oven. Bring the mixture to a gentle boil, then reduce the heat and simmer for 5 minutes. Stir occasionally during simmering to ensure all ingredients are thoroughly mixed and evenly heated. At this point, your flavorful corn salsa is ready for canning! Yes, it truly is that simple to make this vibrant salsa.
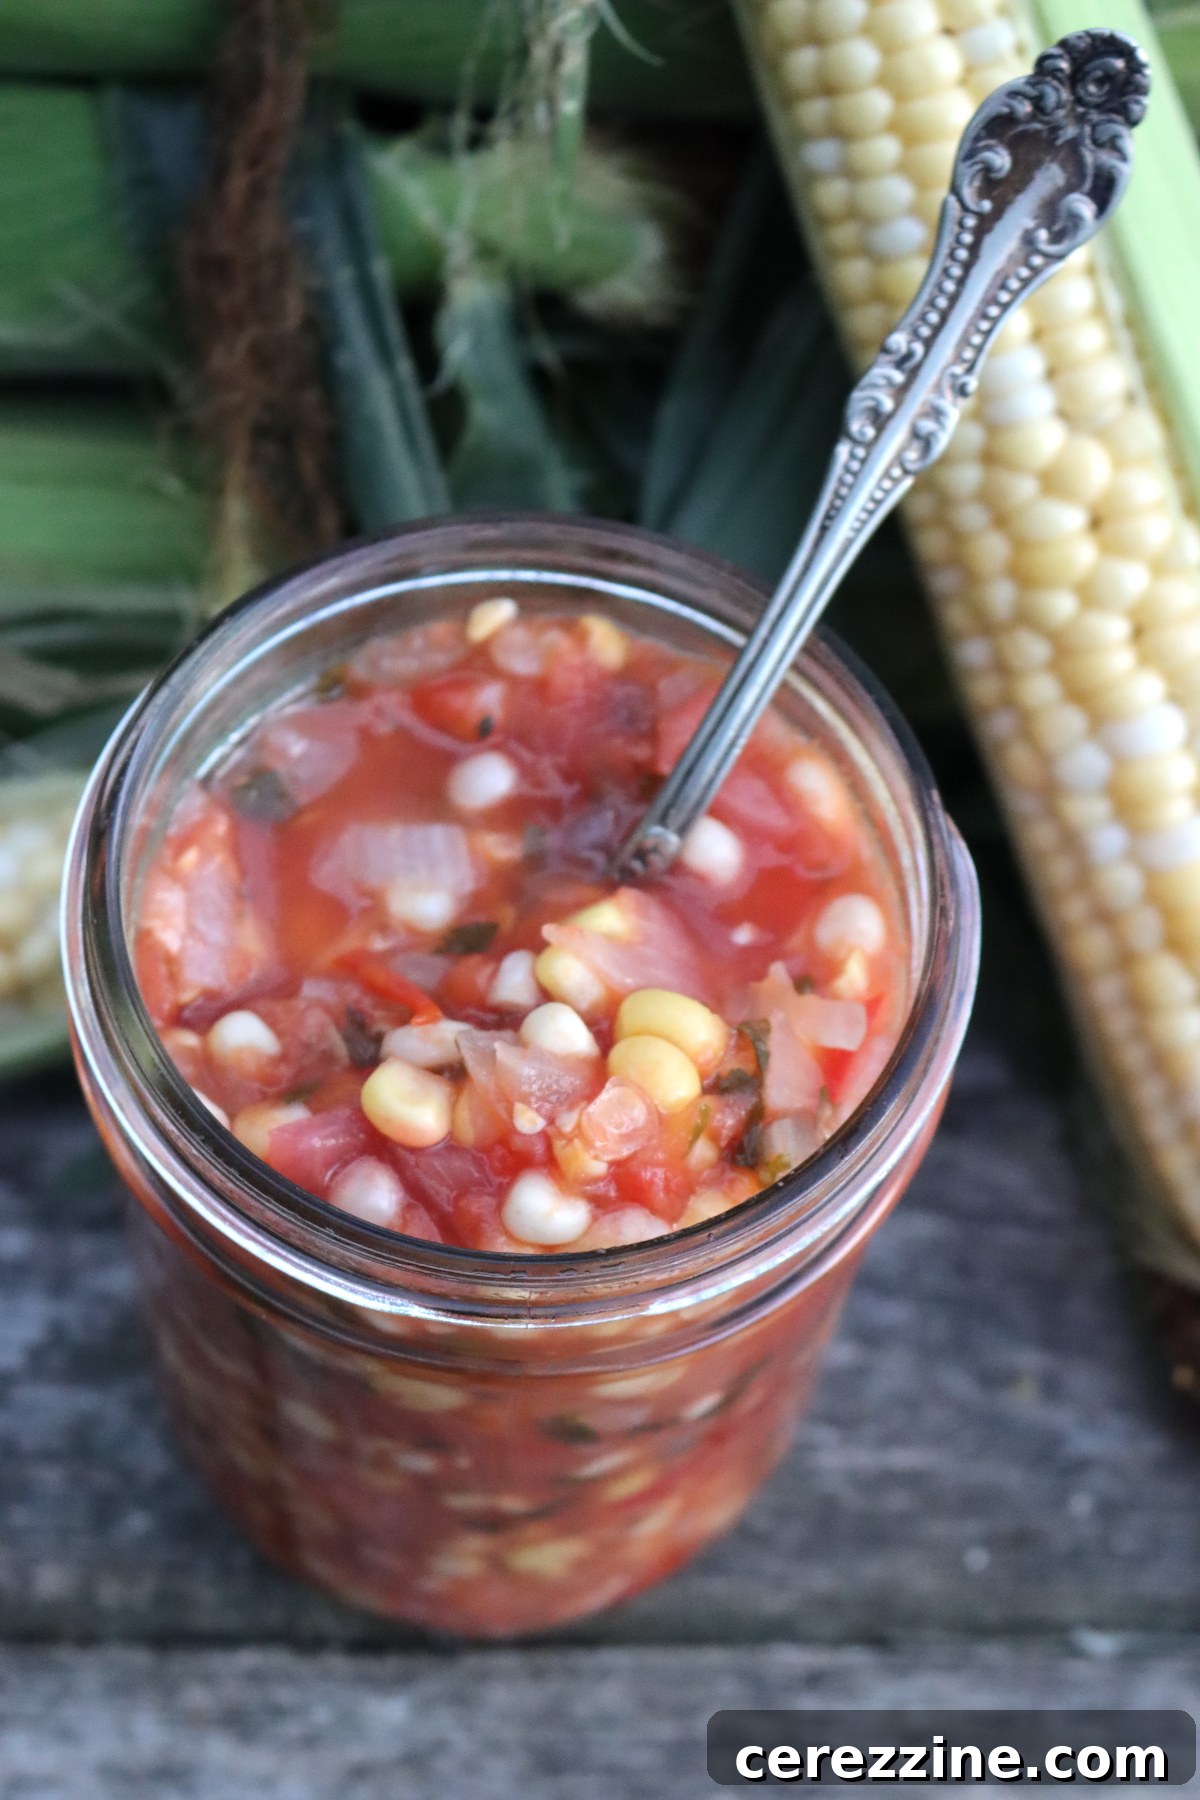
Mastering Water Bath Canning for Corn Salsa
After simmering your corn salsa for 5 minutes, the ingredients will be heated through and perfectly prepared for canning using the hot pack method. Before you proceed, make sure your water bath canner is pre-heated to approximately 180 degrees Fahrenheit, maintaining a gentle simmer. If you’re new to water bath canning, I highly recommend reviewing my beginner’s guide to water bath canning to familiarize yourself with the essential steps and safety protocols before you begin this recipe.
Carefully ladle the hot corn salsa into your prepared canning jars, ensuring you leave a 1/2-inch headspace from the rim of the jar. This headspace is crucial for proper sealing and to prevent food from bubbling out during processing. Wipe the rims of the jars clean with a damp cloth, then center the two-part canning lids (flats) on top and tighten the rings to just finger-tight. Avoid overtightening, as this can prevent proper sealing.
Place the filled and sealed jars (pints and half-pints are approved for this recipe; it is not tested for quart jars) into the pre-heated water bath canner. Ensure the jars are completely submerged in water by at least one inch. Bring the canner to a full rolling boil and process the jars for 15 minutes if you are at an elevation of 1,000 feet or less. Remember to adjust the processing time according to your altitude, using the table provided below.
Once the processing time is complete, turn off the heat, but do not immediately remove the jars. Instead, leave them in the canner for an additional 5 minutes. This crucial step helps temper the jars, preventing thermal shock that can lead to siphoning (loss of liquid from the jars) and potential seal failures. After the 5-minute waiting period, carefully remove the jars from the canner using a jar lifter and place them on a clean towel on your countertop to cool undisturbed.
Allow the jars to cool completely for 12 to 24 hours without handling them. Once fully cool, check the seals by pressing the center of each lid. A properly sealed lid will be concave and will not flex when pressed. Any jars that have not sealed should be stored in the refrigerator for immediate consumption. Properly sealed and canned jars of corn salsa can be stored in a cool, dark pantry for 12 to 18 months, ready to enjoy whenever you crave a taste of summer.
Important Altitude Adjustments for Canning Safety
Processing times for canning must be adjusted to compensate for altitude. Water boils at a lower temperature at higher elevations, meaning food takes longer to process safely. Please refer to the following guide to determine the correct water bath canning time for your specific altitude:
- 0 to 1,000 Feet: 15 minutes
- 1,001 to 3,000 Feet: 20 minutes
- 3,001 to 6,000 Feet: 25 minutes
- 6,001 to 8,000 Feet: 30 minutes
- 8,001 to 10,000 Feet: 35 minutes
Corn Salsa Recipe for Canning
Equipment
-
Water Bath Canner
Ingredients
- 2 1/2 lbs tomatoes, roughly chopped (peeling/seeding first is optional, but weigh after prep)
- 1 cup corn kernels, from about 2 ears fresh
- 1/2 cup onion, finely chopped
- 1 to 2 jalapeno peppers, seeded (or not) and chopped
- 1/4 cup fresh lime juice, about 3 to 4 limes
- 1/4 cup fresh cilantro, chopped
- 1 tsp. salt
Instructions
- Prepare all vegetables by washing and chopping. Seed the peppers for a milder salsa, or leave the seeds in for more heat. Peeling and seeding the tomatoes is optional, but recommended for full-sized tomatoes. Strip the corn from the cobs. (Frozen corn kernels can also be used, just defrost first.)
- Prepare a water bath canner (if canning), along with rings, lids, and jars.
- Place all ingredients in a stock pot or dutch oven and bring them to a boil. Simmer gently for 5 minutes, stirring occasionally to ensure all ingredients are evenly distributed and heated.
- Ladle into prepared canning jars, leaving 1/2 inch headspace. Seal with 2 part canning lids.
- Process in a water bath canner for 15 minutes (adjusting for altitude, see notes below). After 15 minutes, turn off the heat but leave the jars in the canner for an additional 5 minutes. (This helps prevent siphoning from thermal shock.)
- Remove the jars from the canner with a jar lifter and allow them to cool on a towel on the counter for 12-24 hours. Check seals and store any unsealed jars in the refrigerator for immediate use.
Notes
Batch Size
I’ve kept this as a small batch recipe, but it can be easily scaled up depending on your needs. Some canning recipes (like jam/jelly) cannot be doubled, but this recipe is fine to double, triple, or quadruple. Just be sure to stir the ingredients thoroughly to ensure the lime juice is well distributed through the pot, and to heat all the ingredients evenly.
This recipe should make right about 3 pints, but you may end up with slightly less depending on how watery your tomatoes are. Use paste tomatoes for a better yield (and firmer texture). Or use cherry tomatoes for a sweeter flavor.
Lime Juice and Canning Safety
This recipe is specifically tested for safety with fresh lime juice. Most canning recipes specifically require bottled citrus for standardized acidity, but this recipe can be made with either fresh or bottled. I’d recommend fresh, as it gives better flavor.
Be sure to measure the lime juice, and use a minimum of 1/4 cup. More is fine, but less is not safe for canning. Don’t just go by the “3 to 4 limes” guidance, you actually need to measure the juice.
Altitude Adjustments
If above 1,000 feet in altitude, you’ll need to adjust the total canning time. These times are approved for half-pint and pint jars, but it’s not tested for canning in quarts. Here are the times for other elevations:
- 0 to 1,000 Feet: 15 minutes
- 1,001 to 3,000 Feet: 20 minutes
- 3,001 to 6,000 Feet: 25 minutes
- 6,001 to 8,000 Feet: 30 minutes
- 8,001 to 10,000 Feet: 35 minutes
Nutrition
Calories: 15kcal, Carbohydrates: 3g, Protein: 1g, Fat: 0.2g, Saturated Fat: 0.03g, Polyunsaturated Fat: 0.1g, Monounsaturated Fat: 0.04g, Sodium: 96mg, Potassium: 133mg, Fiber: 1g, Sugar: 2g, Vitamin A: 426IU, Vitamin C: 10mg, Calcium: 6mg, Iron: 0.2mg
Nutrition information is automatically calculated, so should only be used as an approximation.
Enjoyed this recipe? Leave a comment below!
More Summer Canning Recipes to Fill Your Pantry
Once you’ve experienced the satisfaction of canning your own corn salsa, you might be eager to tackle more seasonal produce. Water bath canning is a fantastic way to extend the freshness of summer’s bounty. If you’re looking for more easy and delicious water bath canning recipes to stock your pantry, consider these other favorites:
- Canning Peaches: Capture the sweet essence of summer peaches for desserts and snacks.
- Canning Whole Tomatoes: A versatile staple for soups, stews, and sauces all year long.
- Canning Tomato Sauce: Homemade tomato sauce elevates any pasta dish or pizza.
- Canning Cherries: Perfect for pies, tarts, or simply enjoying on their own.
- Canning Cherry Pie Filling: Have a ready-to-use filling for quick and delicious pies.
Each of these recipes offers a wonderful opportunity to savor the flavors of summer long after the season ends. Happy canning!