
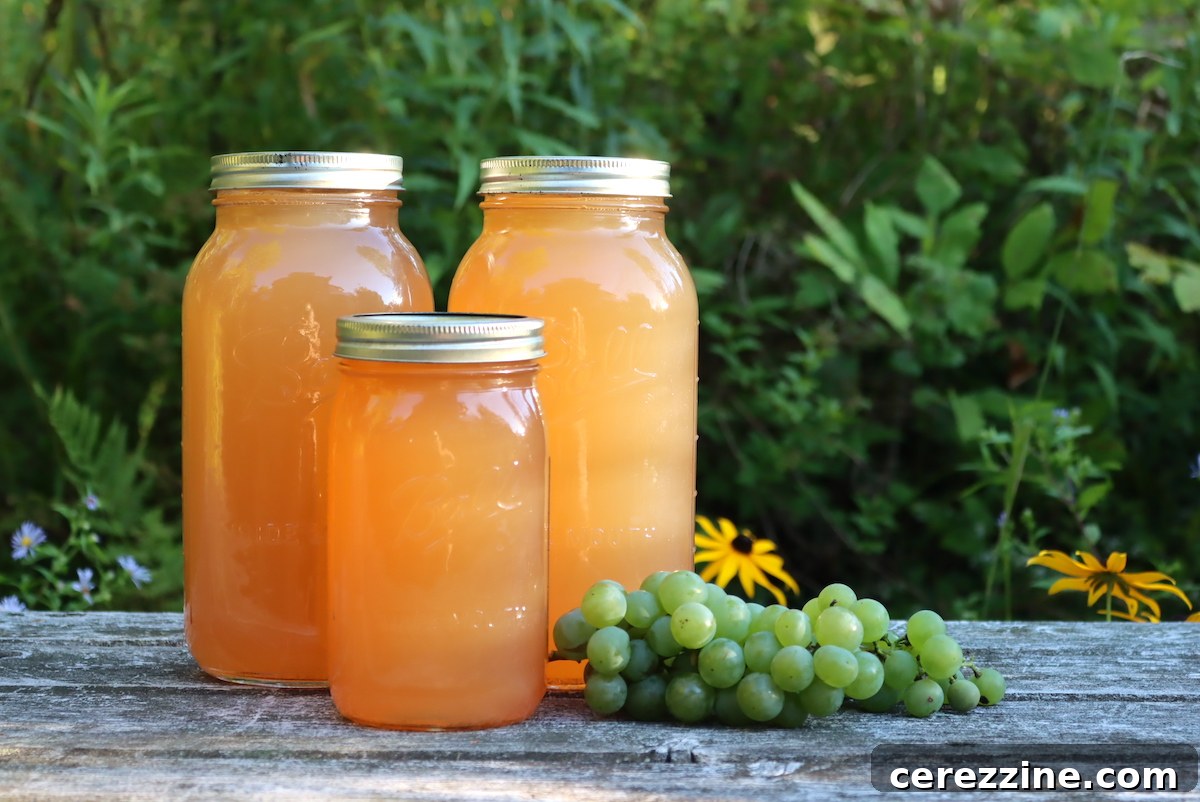
Preserving the vibrant, sweet flavor of fresh grapes is simpler than you might think, and canning homemade grape juice allows you to capture the essence of summer to enjoy year-round. Tucked away on your pantry shelf, each jar holds the promise of a refreshing drink or a versatile ingredient for countless culinary creations.
Harvesting and Preparing Your Grapes for Fresh Juice
For those of us with a bountiful grape harvest, whether from a small backyard vine or a larger homestead, the annual grape season brings both joy and a delightful challenge: how to preserve the abundance. Even in colder climates, many cold-hardy grape varieties thrive, producing incredibly delicious fruit. While some grapes are destined for homemade wine, and others are savored fresh as sweet table grapes, the perishable nature of this fruit means a significant portion requires preservation.
Beyond making delicious grape jam and grape jelly, one of the most practical and rewarding ways to utilize a surplus of grapes is by canning homemade grape juice. It's an incredibly versatile pantry staple, ready to be enjoyed as a standalone beverage, mixed into refreshing drinks, or incorporated into various recipes.
Choosing the Best Grapes for Canning
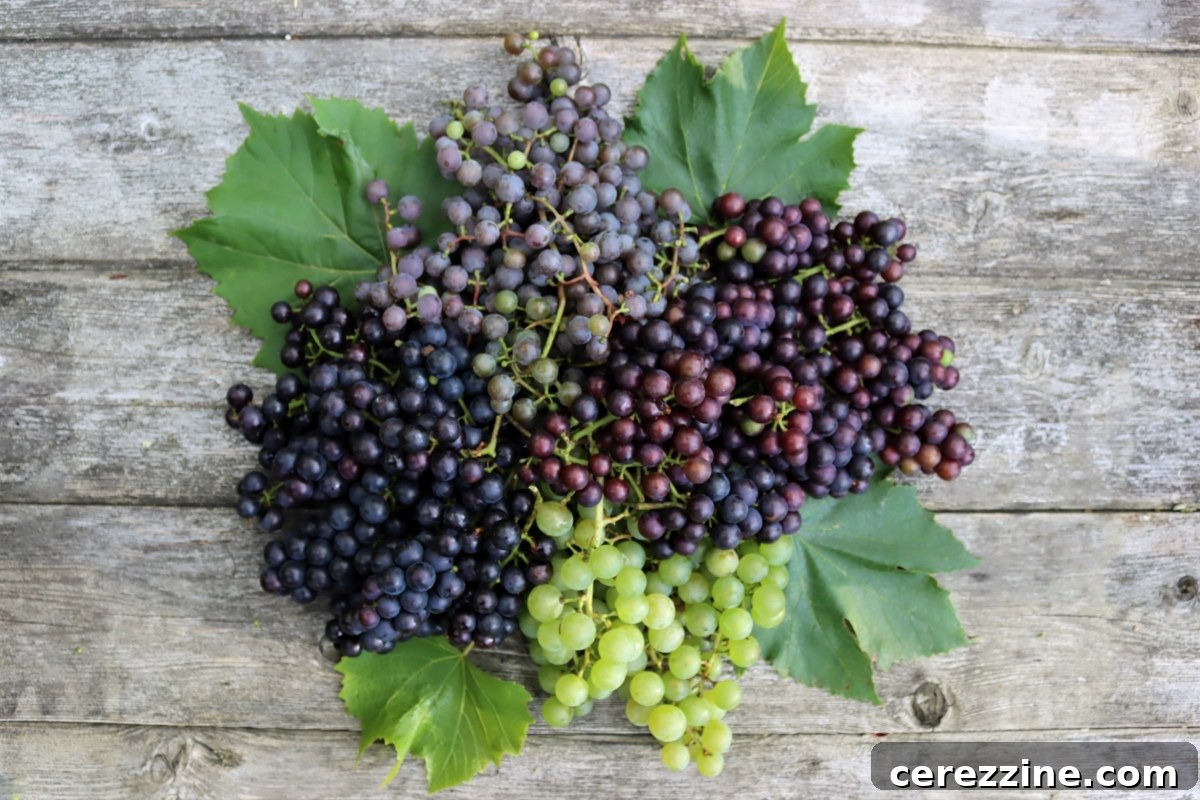
The quality of your grape juice begins with your selection of grapes. For the best flavor, choose grapes that are ripe, firm, and naturally sweet – exactly the kind you'd enjoy eating fresh off the vine. The specific grape variety will significantly influence the final taste, color, and aroma of your juice.
- Concord Grapes: These are arguably the most popular choice for juicing due to their intense, sweet flavor and beautiful deep purple color. They produce a classic, robust grape juice that many people associate with homemade goodness.
- Niagara Grapes: If you prefer a milder, lighter-colored juice, green grapes like Niagara are an excellent option. They yield a delicate, white grape juice with a less assertive flavor profile.
- Wild Grapes: Often smaller and more tart than cultivated varieties, wild grapes can produce a wonderfully concentrated juice with a unique, earthy flavor. However, they are typically higher in tartaric acid, requiring careful handling (more on this later).
- Other Varieties: Don't limit yourself! Experiment with different table grapes or even wine grape varieties that might be abundant in your area. Each will offer a distinct flavor experience.
Regardless of the type, ensure your grapes are free from mold, excessive blemishes, or insect damage. A good wash and thorough destemming are the first steps toward a perfect batch of juice.
Essential Ingredients for Canning Grape Juice
The beauty of homemade grape juice lies in its simplicity. You only need a few core ingredients:
- Grapes: Approximately 3 ½ pounds of washed and destemmed grapes will yield about 1 quart (two pint jars) of juice.
- Sugar: This is entirely optional and should be adjusted to your personal taste and the natural sweetness of your grapes.
- Water: Used for the initial simmering process to help extract the juice.
Understanding Grape Juice Yield
Planning your canning project requires knowing how many grapes you'll need for your desired quantity of juice. As a general guideline:
- Every 3 ½ pounds of fresh grapes should yield approximately 1 quart (two pint jars) of fresh grape juice.
- To produce a half-gallon of juice, aim for about 7 pounds of grapes.
- For a full gallon of juice, you'll need roughly 14 pounds of grapes.
- For a standard 9-pint water bath canner batch, prepare about 16 pounds of grapes.
- If you're aiming for a standard batch of 7 quarts, you'll need approximately 24 to 25 pounds of grapes.
These are approximate figures, as grape size, ripeness, and juicing method can influence the exact yield.
Choosing the Right Jar Sizes for Canning Grape Juice
When it comes to canning grape juice, you have several options for jar sizes, offering flexibility for different household needs.
- Half-Pint Jars (8 oz): Perfect for single servings, small gifts, or for mixing into individual beverages.
- Pint Jars (16 oz): A popular choice for everyday use, ideal for a couple of servings or for recipes requiring a moderate amount of juice.
- Quart Jars (32 oz): Great for family consumption or for larger recipes.
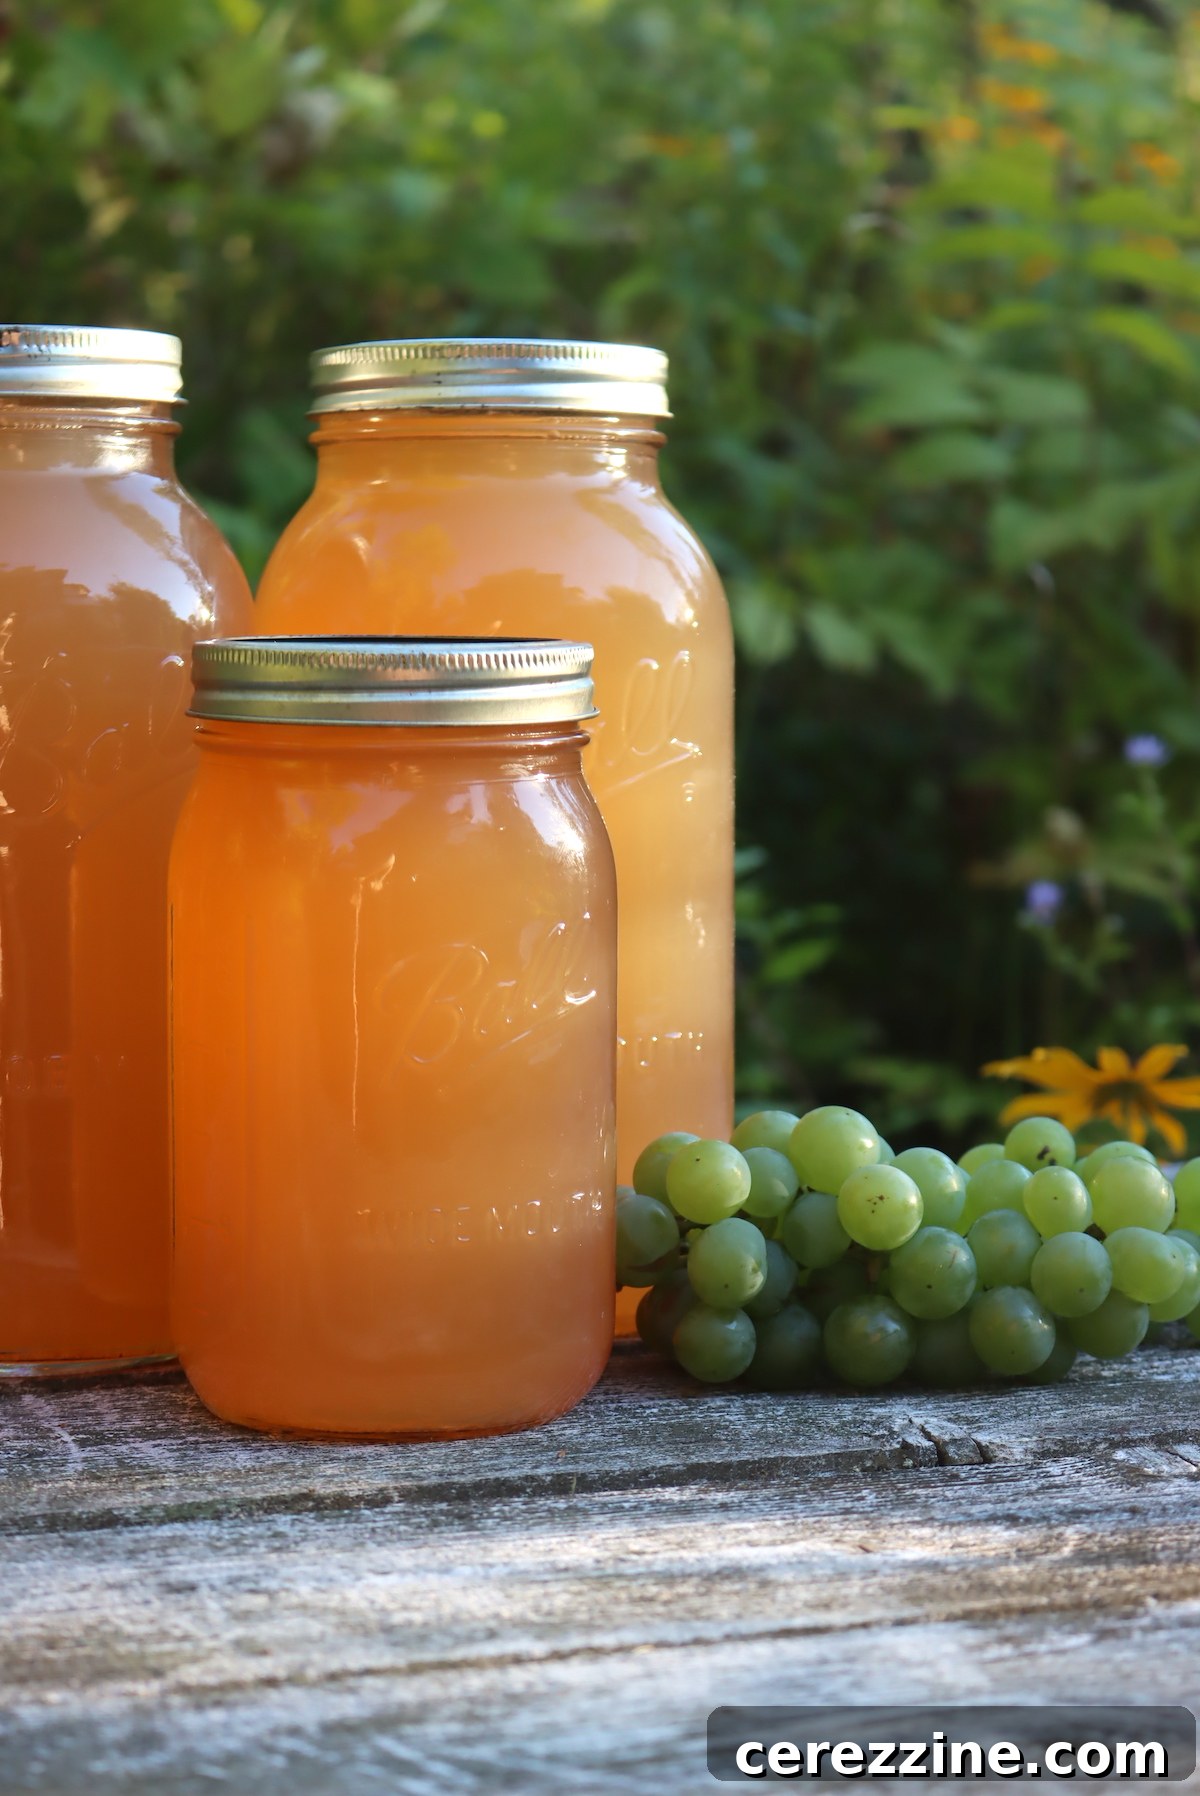
- Half-Gallon Jars (64 oz): Interestingly, while half-gallon jars are generally not approved for most home canning projects, grape juice and apple juice are two notable exceptions. The USDA has specifically tested these high-acid juices for safe canning in half-gallon jars. This is a fantastic option if you go through a lot of juice or want to maximize your storage space.
Keep in mind that larger jars will require longer processing times in the water bath canner to ensure proper preservation.
The Process of Juicing Grapes for Canning
The method you choose for juicing will impact the clarity and flavor of your finished product. Here’s a detailed guide to the traditional method, followed by an alternative.
Step-by-Step Juicing Method
- Prepare Your Grapes: Begin by thoroughly washing your grapes under cool running water. Carefully remove all stems, as they can impart a bitter flavor to the juice. Place the cleaned, stem-free grapes into a large, sturdy saucepan or stockpot.
- Crush and Simmer: Using a potato masher or your clean hands, gently crush the grapes to release some of their natural juices. This initial crushing helps break down the grape skins and flesh, facilitating better juice extraction. Pour just enough boiling water over the crushed grapes to cover them. Bring the mixture to a simmer over medium heat and continue to simmer for about 10 minutes. The skins should visibly soften, indicating that the juice has been sufficiently extracted.
- Initial Straining: Set up a large bowl with a jelly bag or several layers of cheesecloth lining a colander. Carefully pour the hot grape mixture into the prepared jelly bag or cheesecloth. Allow the liquid to drip through naturally; avoid squeezing the bag, as this can force pulp and sediment through, resulting in cloudy juice. Let it drip for several hours or even overnight. Once the dripping slows significantly, you can gently press the remaining pulp to extract any last drops, if desired, though this might make the juice slightly cloudier. Discard the spent grape skins and pulp.
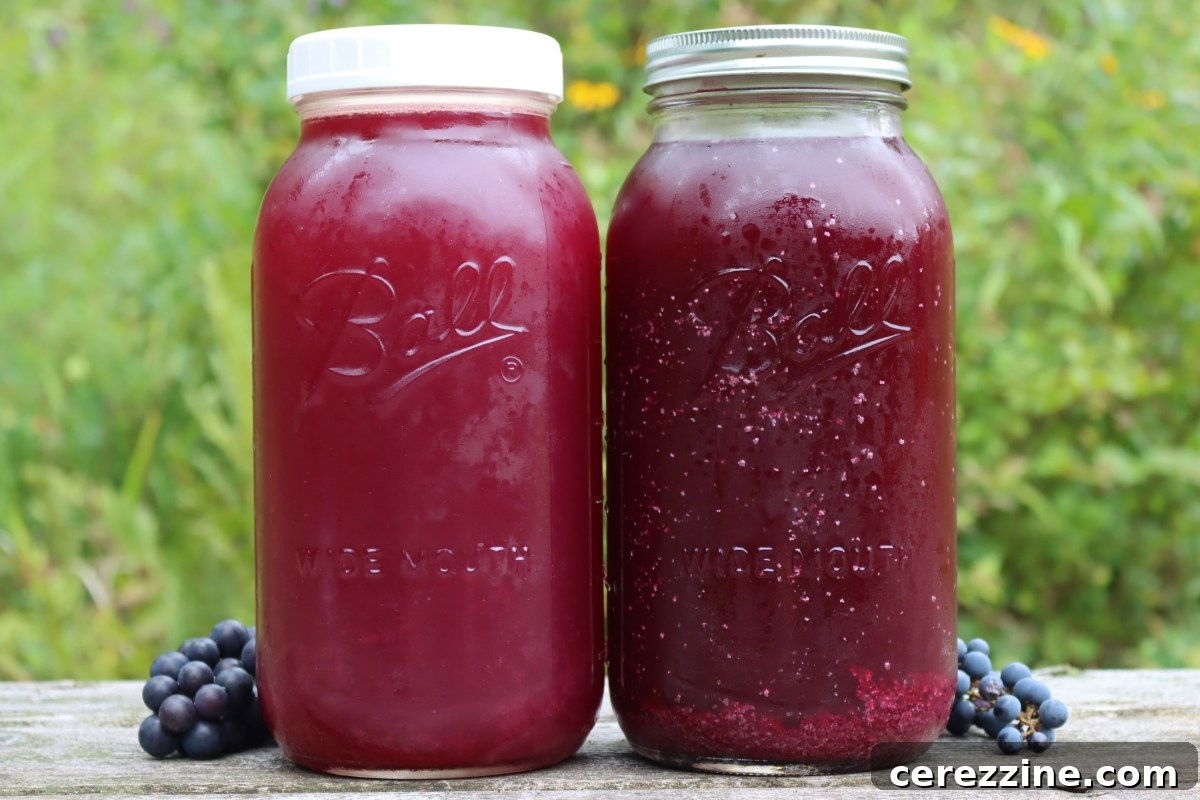
- Refrigerate for Sediment Settling: Transfer the strained grape juice into clean containers or pitchers and refrigerate it for 24 to 48 hours. This crucial step allows tartaric acid crystals (often called "wine diamonds") and other fine sediments to precipitate and settle at the bottom of the container.
- Remove Tartaric Acid Crystals: Carefully remove the chilled juice from the refrigerator. Gently pour the clear juice into a clean saucepan or pot, being extremely careful not to disturb the sediment that has collected at the bottom. The tartaric acid crystals can irritate the throat, so removing them is important for a smooth, palatable juice. For an even clearer juice, you can pour the liquid through a coffee filter set in a funnel before adding it to the pan. Discard the sediment. Even if your grapes are known to be low in tartaric acid, this step is always recommended as a best practice for quality juice. Wild grape juice, in particular, tends to be high in these crystals.
- Sweeten to Taste: Now is the perfect moment to taste your filtered juice. Depending on the sweetness of your grapes and your personal preference, you may wish to add sugar. Add sugar gradually, stirring well, and heat the juice gently to dissolve the sugar completely. Taste again until you achieve your desired sweetness.
- Bring to a Boil: Once sweetened (if desired), bring the grape juice to a rolling boil. It's now ready for canning or immediate enjoyment.
Alternative Juicing Method: Using a Steam Juicer
For those who process large quantities of grapes, investing in a steam juicer can be a game-changer. This method is significantly more efficient and less labor-intensive, particularly for abundant harvests.
A steam juicer works by steaming the grapes, which releases their juice. The juice then collects in a lower pan, uncontaminated by skins or seeds. This method often results in a clearer juice from the start, and because the grapes are heated, the juice is already hot, making the next steps faster.
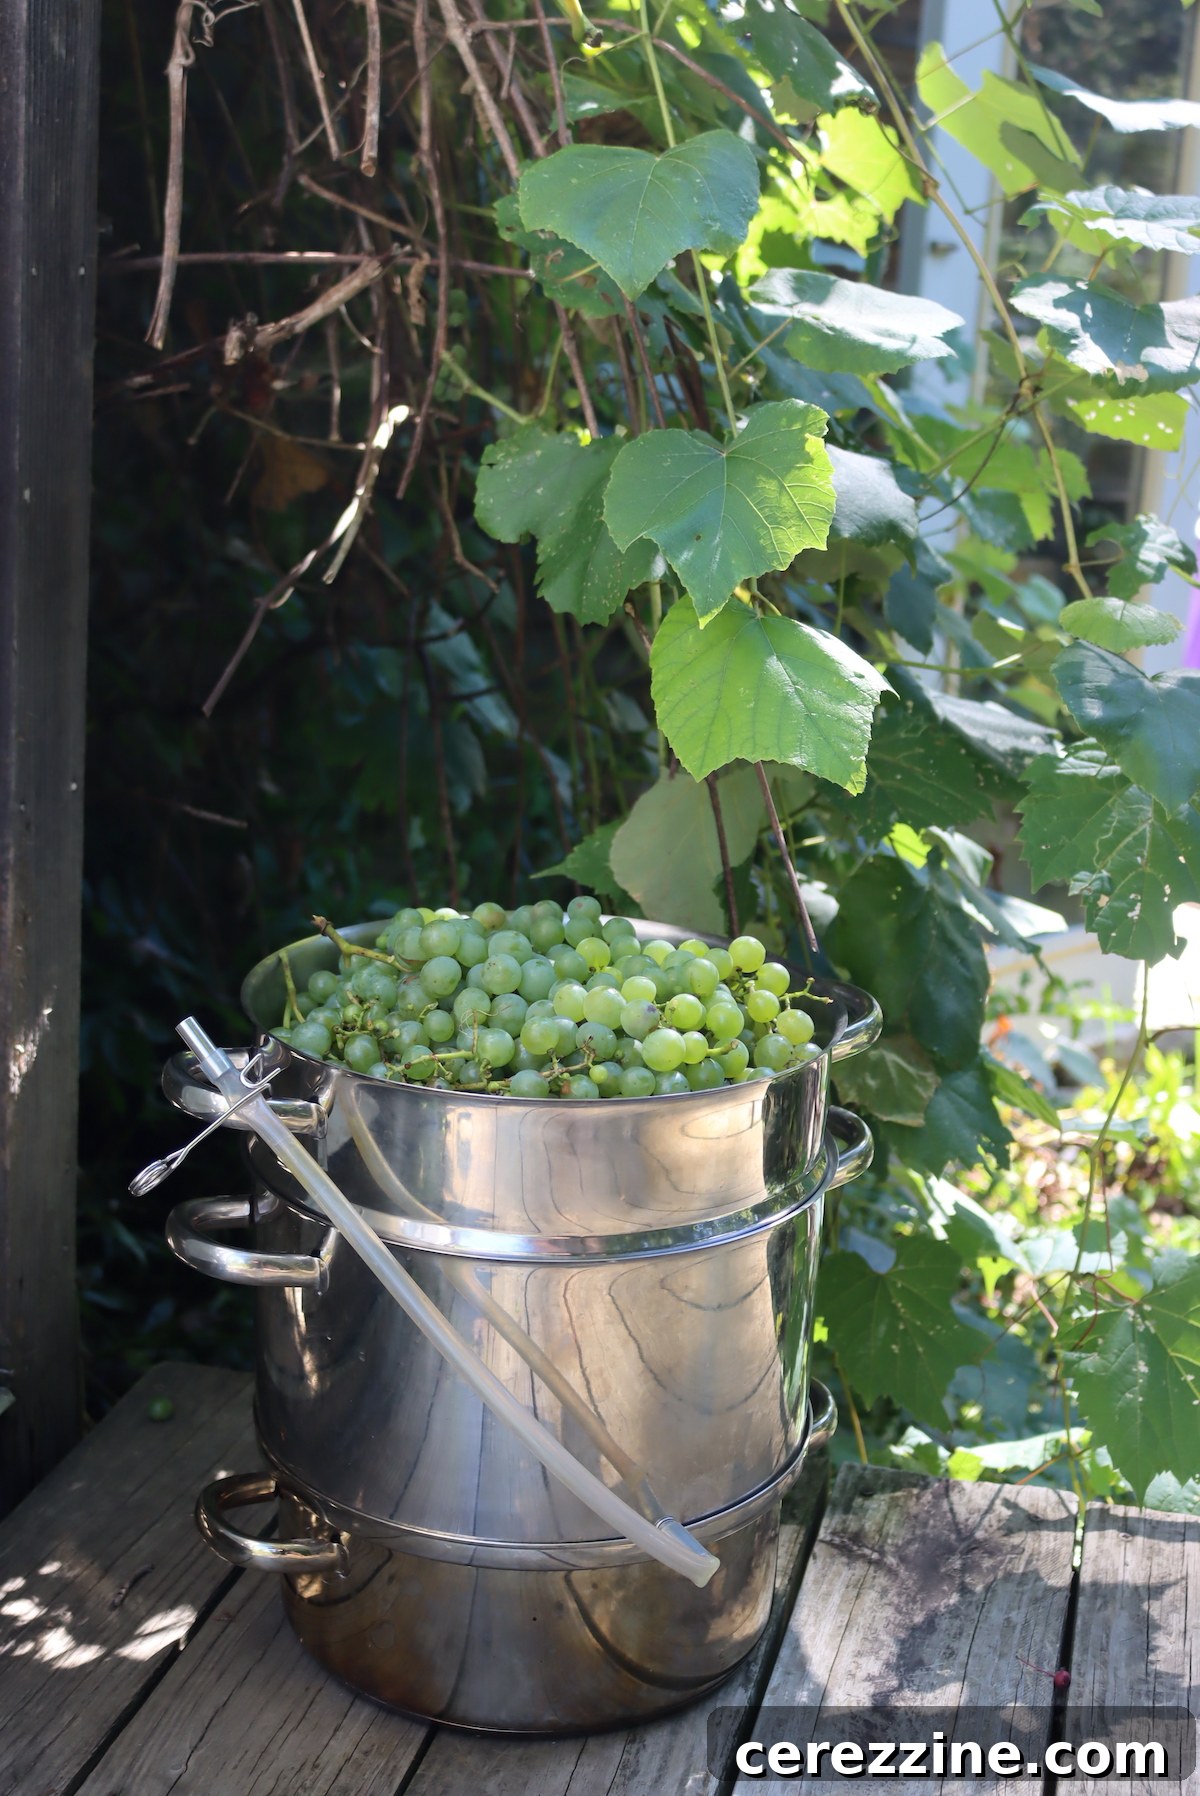
While the steam juicer simplifies the initial extraction, it's still advisable to refrigerate the juice for 24-48 hours and then carefully pour it off the sediment to remove any tartaric acid crystals that might have formed, ensuring the highest quality finished product.
How to Safely Can Grape Juice Using a Water Bath
Water bath canning is a safe and effective method for preserving high-acid foods like grape juice. Proper preparation and attention to detail are key to ensuring a shelf-stable product.
Pre-Canning Checklist and Preparation
- Prepare Your Canner: Before you even start heating your juice, ensure your water bath canner is ready. Fill it with enough water to cover your jars by at least 1-2 inches. Place the canner rack at the bottom. Begin heating the water so it's simmering (around 180°F or 82°C) when your jars are ready.
- Sterilize and Heat Jars: Wash your canning jars, lids, and bands in hot, soapy water and rinse thoroughly. While modern canning guidelines often state that jars don't need to be sterilized if processed for 10 minutes or more, it's still a good practice to heat them. Keep jars hot in simmering water in the canner or a separate pot until ready to fill. Lids should be heated according to manufacturer instructions (often simmering, not boiling).
Filling and Processing Jars
- Fill Hot Jars: Once your grape juice has come to a rolling boil, immediately and carefully ladle the hot juice into your hot, prepared canning jars. Leave a ¼ inch headspace at the top of each jar. This headspace is crucial for proper sealing and to allow for expansion during processing.
- Clean Rims and Apply Lids: Using a clean, damp cloth, wipe the rims of each jar thoroughly to remove any juice residue. Residue on the rim can prevent a proper seal. Center a heated lid on each jar and screw on the band fingertip-tight (just until resistance is met, no overtightening).
- Process in Water Bath Canner: Carefully place the filled jars onto the rack in the preheated water bath canner. Ensure the jars are completely submerged under water. Bring the water to a full, rolling boil. Once boiling, begin timing according to your altitude:
- Below 1,000 feet (305 meters): Process pint and quart jars for 5 minutes; half-gallon jars for 10 minutes.
- Between 1,000 and 6,000 feet (305-1,830 meters): Process pint and quart jars for 10 minutes; half-gallon jars for 15 minutes.
- Above 6,000 feet (1,830 meters): Process pint and quart jars for 15 minutes; half-gallon jars for 20 minutes.
- Cool and Check Seals: Once the processing time is complete, turn off the heat and carefully remove the canner lid. Let the jars sit in the hot water for 5 minutes before carefully lifting them out with a jar lifter. Place the hot jars on a clean towel on a countertop, ensuring there's space between them for air circulation. Do not disturb them for 12 to 24 hours. As they cool, you should hear satisfying "ping" sounds as the lids seal. After 24 hours, check seals by pressing on the center of each lid; it should not flex. If a lid does not seal, refrigerate the juice and consume it within a few weeks, or re-process with a new lid within 24 hours.
Proper Storage for Maximum Longevity
Properly sealed and stored home-canned grape juice can last for 12 to 18 months, or even longer, maintaining its quality and flavor. For optimal longevity, store your canned goods in a cool, dark location, ideally between 50°F and 70°F (10°C to 21°C). Dark cupboards, pantries, or cellars are perfect, as direct sunlight can accelerate oxidation and deterioration, impacting both the color and nutritional value of your juice. Once a jar is opened, refrigerate the contents and consume within 7-10 days.
Creative Ways to Enjoy Your Home-Canned Grape Juice
The beauty of home-canned grape juice lies in its versatility. While it’s absolutely delightful to drink on its own, its rich flavor profile makes it a fantastic base for a variety of beverages and culinary applications.
Refreshing Beverages and Warm Comfort Drinks
- Grape Lemonade: For a vibrant summer cooler, combine equal parts grape juice with freshly squeezed lemonade (or a mix of juiced lemons and sugar). This grape lemonade is a crowd-pleaser.
- Grape Granita: Partially freeze your grape juice to create a delightful grape juice granita. Its icy, crystalline texture is incredibly refreshing on a hot day.
- Sparkling Grape Soda: Mix chilled grape juice with sparkling water or club soda for a homemade fizzy drink that’s healthier than store-bought sodas.
- Hot Spiced Grape Juice: When the weather turns chilly, warm your grape juice with aromatic spices like cardamom pods, cinnamon sticks, whole cloves, and a touch of nutmeg. This hot spiced grape juice is the perfect comforting beverage for crisp fall evenings or cold winter mornings.
- Cocktail Mixer: Use your grape juice as a base or mixer for creative cocktails and mocktails, adding a fruity depth of flavor.
Culinary Applications and Sweet Treats
Don't just think of grape juice as a drink! Its natural sweetness and fruitiness can enhance a wide array of dishes:
- Homemade Candies and Jellies: Transform your juice into fun treats like grape gummies or Jello-like grape juice squares.
- Grape Jelly: Use this very recipe's juice as the foundation for making classic grape jelly, ensuring you have homemade preserves all year round.
- Sauces and Glazes: Reduce grape juice to create a flavorful sauce for roasted meats like pork or chicken, or a glaze for desserts.
- Marinades: Incorporate grape juice into marinades for a tenderizing and subtly sweet element that complements various proteins.
- Sorbets and Popsicles: Freeze grape juice into homemade sorbet or popsicles for a natural and healthy dessert option.
- Baked Goods: Substitute grape juice for other liquids in recipes for muffins, cakes, or quick breads to add a unique fruit flavor.
More Ways to Preserve Grapes: Grape Canning Recipes
Beyond juice and jelly, grapes can be preserved in many delightful forms using canning methods. Expand your pantry with these additional grape canning recipes:
- Canning Grapes in Syrup
- Old Fashioned Grape Jam
- Grape Jelly
- Wild Grape Jelly
- Grape Pie Filling
8
servings, Makes 1 Quart (can be increased)
Canning Grape Juice
Ashley Adamant
1 day
10 minutes
10 minutes (for water bath canning)
1 day 20 minutes
Equipment
-
Water Bath Canner
-
Large Pot/Saucepan
-
Jelly Bag or Cheesecloth
-
Canning Jars, Lids, and Bands
-
Jar Lifter, Funnel, Headspace Tool
Ingredients
- 3 ½ lbs grapes, washed and destemmed
- Sugar, adjust to taste (optional)
- Water
Instructions
-
Begin by washing and removing all stems from your grapes. Place them into a large pot and crush the grapes to help release their juice. Add just enough boiling water to cover the grapes and bring the mixture to a simmer.
-
Simmer the grape mixture for 10 minutes, or until the grape skins have softened significantly.
-
Strain this mixture through a jelly bag or multiple layers of cheesecloth into a large pitcher or bowl. Allow it to drip naturally, avoiding squeezing if you desire clearer juice. Discard the grape skins and pulp. Transfer the strained juice to the refrigerator and allow it to rest for 24 to 48 hours.
-
After chilling, carefully remove the refrigerated juice and gently pour it into a clean large pot, taking care not to disturb the sediment (tartaric acid crystals) that has settled at the bottom. Discard this sediment. For an exceptionally clear juice, you can further filter the liquid through a coffee filter before heating. This step is crucial for removing tartaric acid crystals, which can cause throat irritation and are often present, especially in wild grape varieties.
-
Taste the clarified juice and add sugar to sweeten according to your preference. Heat this mixture of juice and sugar over medium heat, stirring continuously until the sugar fully dissolves and the mixture comes to a rolling boil.
-
Immediately ladle the hot juice into freshly prepared, hot canning jars, leaving ¼ inch headspace. Clean the jar rims thoroughly with a damp cloth, apply 2-part canning lids (flats and bands), and secure bands fingertip-tight. Process the jars in a preheated water bath canner, adjusting the processing time based on your altitude:
- Below 1,000 feet: 5 minutes for pint and quart jars; 10 minutes for half-gallon jars.
- Between 1,000 and 6,000 feet: 10 minutes for pint and quart jars; 15 minutes for half-gallon jars.
- Above 6,000 feet: 15 minutes for pint and quart jars; 20 minutes for half-gallon jars.
Once processing is complete, turn off the heat and let jars rest in the canner for 5 minutes before removing to a towel-lined surface to cool for 12-24 hours. Check seals before storing.
Notes
Nutrition
Carbohydrates: 36g,
Protein: 1g,
Fat: 0.3g,
Saturated Fat: 0.1g,
Polyunsaturated Fat: 0.1g,
Monounsaturated Fat: 0.01g,
Sodium: 4mg,
Potassium: 379mg,
Fiber: 2g,
Sugar: 31g,
Vitamin A: 131IU,
Vitamin C: 6mg,
Calcium: 20mg,
Iron: 1mg
Nutrition information is automatically calculated, so should only be used as an approximation and can vary based on ingredients and preparation.
Explore More Drink Canning Recipes
If you've enjoyed preserving grape juice, you might be interested in expanding your repertoire of home-canned beverages. The world of drink canning offers many delightful options to stock your pantry:
- Canning Lemonade (and Lemonade Concentrate)
- Canning Strawberry Lemonade Concentrate
- Canning Limeade (& Limeade Concentrate)
- Canning Berry Juice
- Canning Rhubarb Juice
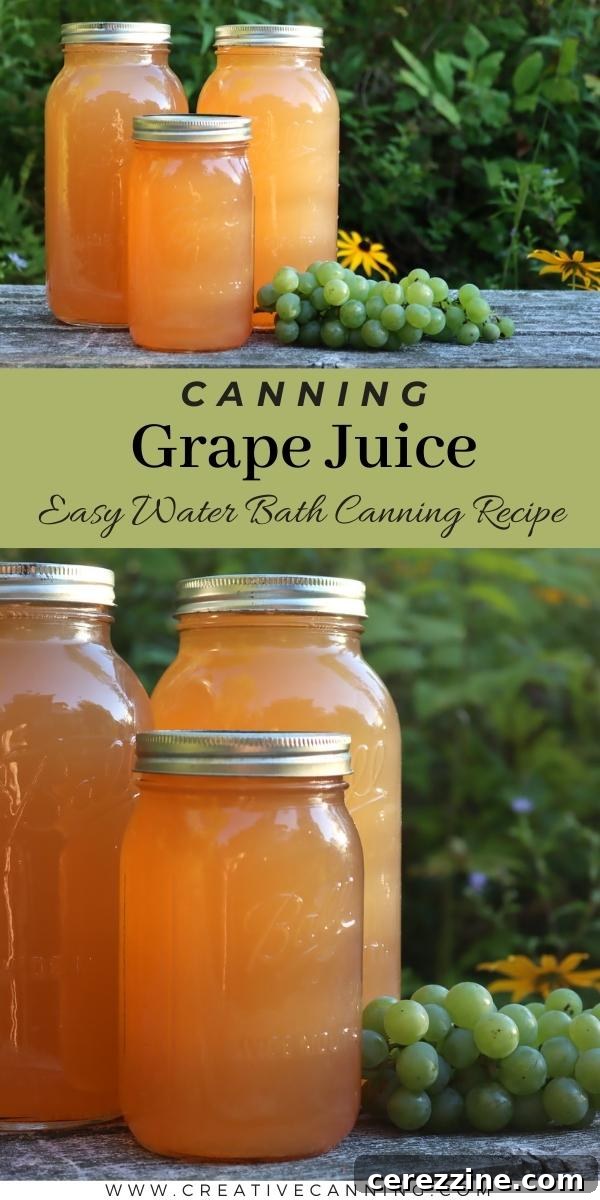
Canning your own grape juice is a rewarding endeavor that not only preserves the flavors of the harvest but also provides a healthy, customizable, and delicious beverage for your family throughout the year. Happy canning!