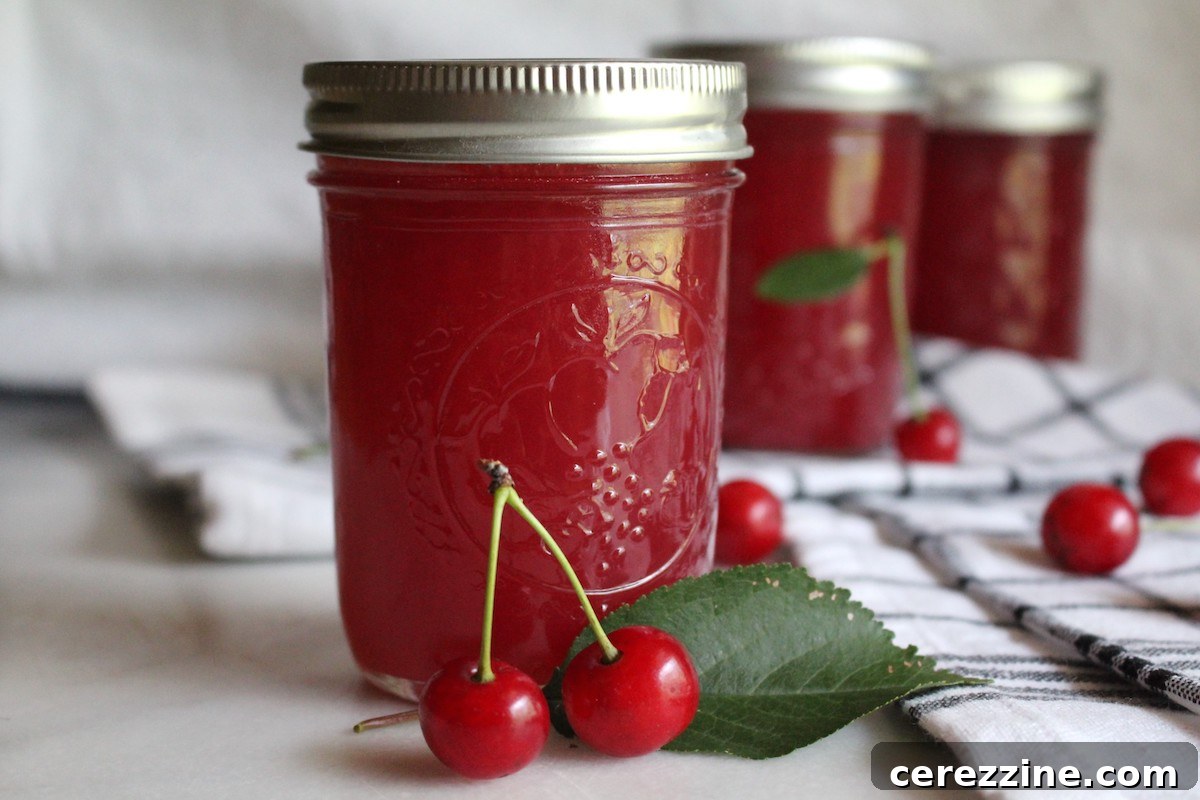
Welcome to the delightful world of homemade cherry jelly! This classic preserve offers a burst of vibrant cherry flavor, and the best part is, there’s no tedious pitting required. Whether you’re a seasoned canner looking to stock your pantry shelves with water bath canned goodness, or simply want to whip up a fresh batch for your refrigerator or freezer, this recipe provides a simple and delicious path to enjoying the luscious taste of cherries all year round.
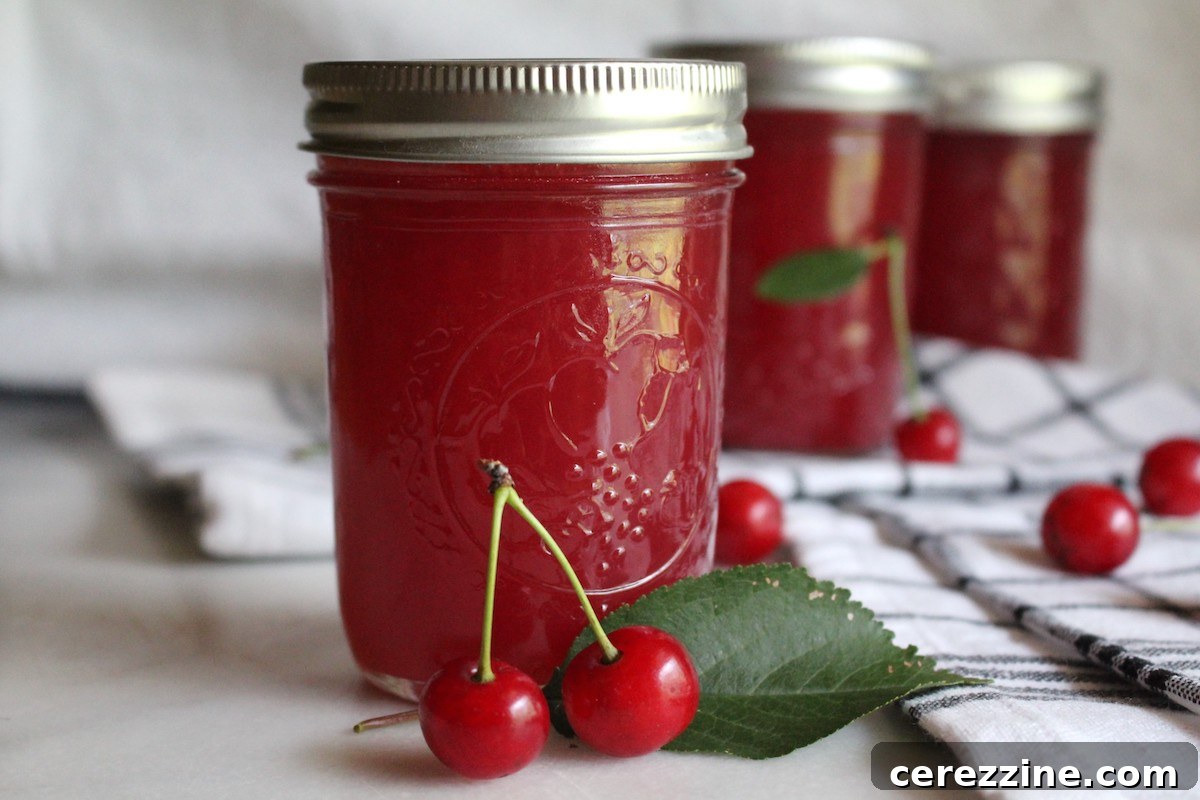
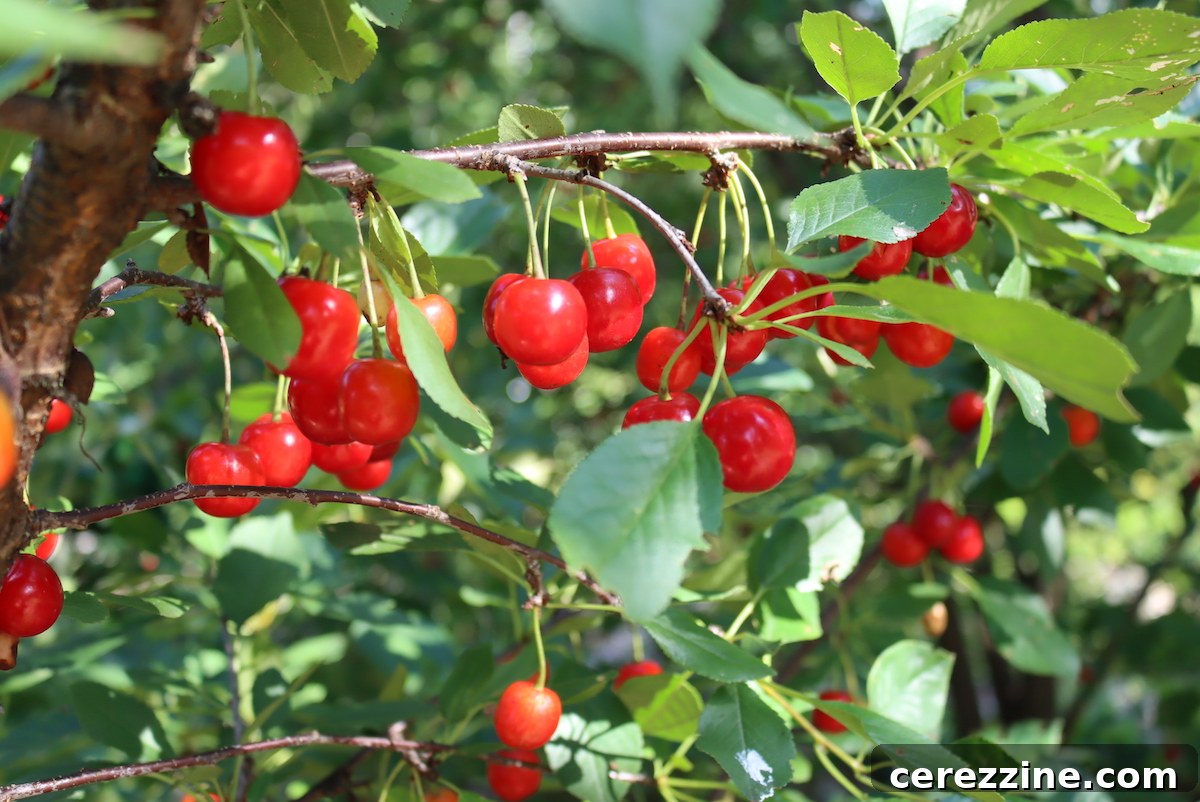
Our home boasts a collection of sour cherry trees, renowned for producing fruit that’s exceptional for pies, jams, and preserves. While inherently tart, these cherries deliver an unparalleled depth of flavor that far surpasses their sweeter counterparts. Given that most preserves incorporate sugar anyway, harnessing this intense flavor for bottling is always a rewarding endeavor.
Each year, we dedicate time to making home-canned cherry pie filling and sour cherry jam. However, cherry season often brings an overwhelming abundance, making it difficult to spend entire days pitting fruit. This is precisely when cherry jelly becomes an invaluable recipe in our kitchen, as it’s one of the few cherry preserves that doesn’t demand the time-consuming step of pitting.
While tart cherries are ideal, this versatile recipe can also be made with sweet cherries, black cherries, Rainier cherries, or any other variety you can find. When working with sweeter cherries, we highly recommend adding 1 to 2 tablespoons of lemon juice to the batch. This extra acidity helps to beautifully balance the flavors, creating a more well-rounded and zesty jelly. For tart cherries, their natural acidity makes additional lemon juice unnecessary, though a splash can still be added for extra zing if preferred.
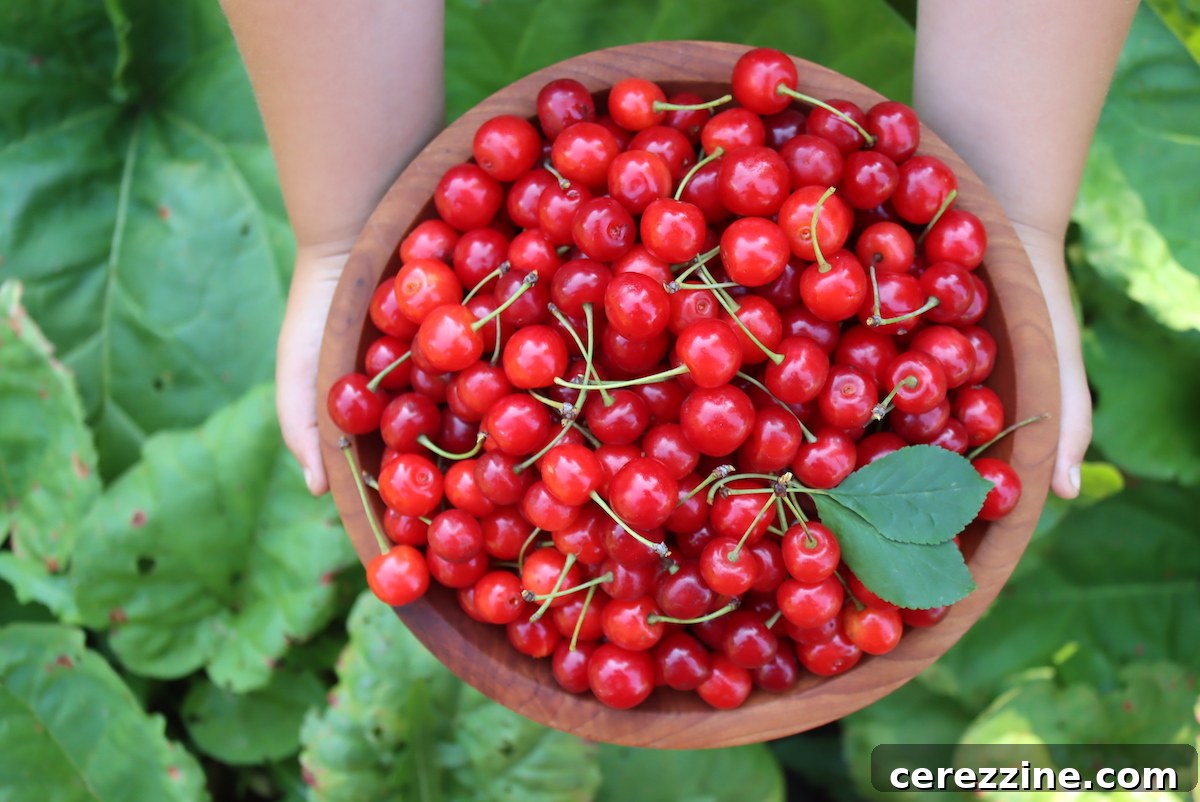
Choosing the Best Cherries for Your Homemade Jelly
For making the most flavorful and perfectly set cherry jelly, tart cherries (also known as sour cherries) are generally considered the top choice. Their inherent tartness and high acidity provide a robust cherry flavor and the necessary balance to the sugar in jelly recipes. This natural acidity also aids in pectin activation, contributing to a good set.
However, don’t let the absence of tart cherries deter you. This recipe is wonderfully adaptable, and you can achieve a delightful jelly with any cherry variety. Black cherries, for instance, yield a deep, rich-colored jelly with a complex flavor reminiscent of fine red wine. Rainier cherries, on the other hand, produce a lighter, more delicate jelly with subtle apricot-like undertones. When opting for sweet cherry varieties, remember to introduce a splash of lemon juice to the mixture. This crucial step helps to introduce the acidity needed to balance the sweetness and ensure a proper gel.
For those mindful of sugar intake, consider using a low-sugar pectin, which allows for a reduced amount of sugar without compromising the jelly’s set. Instructions for this alternative are provided within the recipe details. If you find yourself with an abundance of cherries during peak season, don’t feel pressured to process them all at once. Freezing whole cherries is an excellent preservation method that helps to break down cell walls, allowing for more efficient juice extraction later on. Simply rinse and freeze them as is, ready to be transformed into jelly at your convenience.
Alternatively, if fresh cherries aren’t available or if you’re looking for a quick shortcut, bottled cherry juice can be used. Tart cherry juice is widely available in health food stores, often marketed for its antioxidant properties and health benefits. Be sure to check whether you’re purchasing plain or concentrated juice; if concentrated, dilute it to its regular strength before proceeding with the recipe to ensure the correct consistency and flavor profile.
Essential Ingredients for Your Cherry Jelly
If you adore the rich, intense flavor of cherries, you are going to fall in love with homemade cherry jelly! This recipe is designed to bring out the very best in your fruit, resulting in a vibrant, delicious spread.
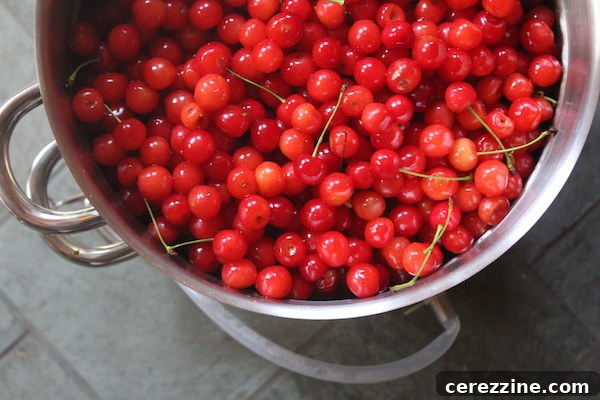
To prepare a batch yielding approximately five half-pint (8-ounce) jars of exquisite cherry jelly, you’ll need 4 cups of pure cherry juice. To achieve this quantity of juice, plan to start with about 3 pounds of tart (sour) cherries. If you’re sourcing them from a farmer’s market, this typically equates to roughly 2 quarts of fruit. Sweet cherries, being less juicy than their tart counterparts, will require a slightly larger quantity – around 4 pounds – to yield the same amount of juice.
Here’s what you’ll need:
- 4 cups cherry juice (approximately 3 lbs. of tart cherries, or 4 lbs of sweet cherries)
- ½ cup water (for stovetop juicing)
- 2 Tbsp. lemon juice (optional, highly recommended for sweet cherries)
- 4 cups granulated sugar* (See notes below for low-sugar alternative)
- 1 box (1.75 oz.) regular powdered pectin (equivalent to about 6 Tbsp.; see notes for low-sugar pectin)
When using ripe, tart red cherries, their naturally tangy and acidic juice typically negates the need for added lemon juice to ensure a good gel. However, if you desire an extra bright “zing” to your jelly, feel free to include it. For sweet cherries, incorporating the lemon juice is highly recommended to provide the necessary acidity for flavor balance and proper setting.
This recipe is primarily written for regular powdered pectin, such as Sure-Jell, which generally requires a 1:1 ratio of juice to sugar for optimal results. Thus, for 4 cups of cherry juice, we use 4 cups of sugar. Should your cherries yield more than 4 cups of juice, you can adjust the sugar proportionally to match the increased juice volume. This will, of course, increase your overall jelly yield, so be sure to have at least six jelly jars sterilized and ready.
If you find yourself with slightly less than 4 cups of cherry juice, a simple solution is to top it up with a complementary fruit juice, such as apple or cranberry, until you reach the desired 4-cup mark. For those who prefer a less sweet jelly or are aiming for a more diet-friendly option, a low-sugar pectin alternative, like Sure Jel Low Sugar, is an excellent choice. Using low-sugar pectin with the same 4 cups of cherry juice allows you to significantly reduce the sugar content, typically requiring only about 2 cups of sugar. While using less sugar may slightly reduce your yield, you can often still produce five half-pint jars of delicious jelly with up to 5 cups of juice.
Efficiently Juicing Cherries for Your Jelly
Unlike common sweet cherries like Bing, sour or tart cherries are generally smaller but, like all cherries, contain a single pit (or stone). While making jam necessitates the laborious task of pitting each cherry, one of the greatest advantages of making jelly is that this step is entirely bypassed. For jelly, we simply cook the whole cherries to extract their flavorful juice, discarding the pits and cooked flesh afterward. It’s perfectly safe and desirable to cook the cherries with their pits intact.
To ensure the highest quality cherry jelly, always start with the best possible fruit. Avoid using overripe cherries, which can have diminished pectin and flavor. Carefully inspect your cherries for any dark spots, soft areas, or “bruising.” Signs of mold, particularly around the stem, indicate that the cherries are past their prime. A few compromised cherries can unfortunately ruin an entire batch of jelly, so be discerning in your selection.
There are two primary methods for extracting cherry juice for your jelly, both effective. I personally favor using a steam juicer for its efficiency, but a simple stovetop method works just as well. I’ll guide you through both options. Remember, as mentioned earlier, store-bought bottled cherry juice is also a viable shortcut.
The Steam Juicer Method
A steam juicer is an incredibly efficient and hands-off method for extracting juice, not just for jelly but for various canning projects. It excels at extracting every last drop of juice from your fruit, ensuring you get the most value, especially if you’re purchasing your cherries. This method preserves flavor and nutrients while producing a beautifully clear juice, perfect for jelly.
To use a steam juicer, simply place your prepared (rinsed) cherries, stems and all, into the top basket of the juicer. Add the recommended amount of water to the bottom pot. Assemble the juicer, place it on your stove, and allow the cherries to steam for approximately 45 minutes to an hour. As the steam gently cooks the fruit, the juice will collect in the middle reservoir, ready to be drained.
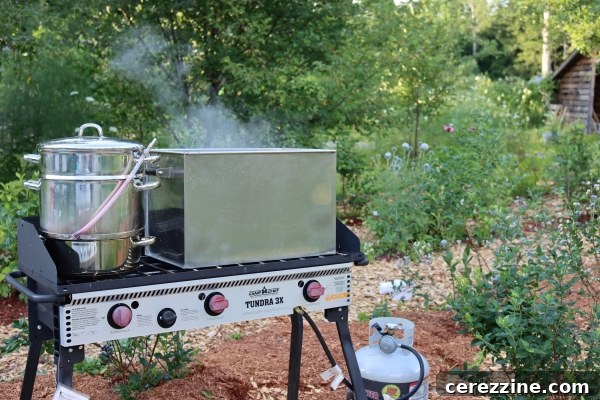
Since cherry season often coincides with the warmest months of summer, I often prefer to set up my steam juicer outdoors in my outdoor canning kitchen. This setup offers tremendous convenience, as my “kitchen” is strategically located amidst my blueberry patch and cherry orchard. The short distance from tree to juicer ensures that my fruit is processed at its absolute freshest. I use a high-output three-burner outdoor stove, which provides ample space to operate the steam juicer alongside my extra-large Amish water bath canner, making the entire canning process incredibly efficient.
Traditional Stovetop Juicing Method
For those without a steam juicer, the stovetop method is equally effective and readily achievable with standard kitchen equipment. After carefully sorting and rinsing your cherries under clean running water, transfer them to a medium saucepan or a dedicated jelly pot.
Add ½ cup of water to the cherries. Place the pot over medium-high heat, stirring frequently at first. As the cherries begin to heat, their skins will burst, and they will start releasing their juices. Once a significant amount of liquid has accumulated in the pot, you can reduce the frequency of stirring. Bring the cherry mixture to a full boil, then immediately reduce the heat to medium-low. Cover the pot and allow the cherries to simmer gently for approximately 10 minutes. This simmering period ensures all the cherries fully pop and release their maximum juice content. It’s important to avoid cooking at a high temperature during this stage, as excessive heat can lead to the evaporation of valuable liquid. Your goal is to obtain a generous quantity of clear juice, not a thick pulp.
Once the 10-minute simmering time has elapsed, remove the pan from the stove. Carefully and slowly pour the cooked cherry mixture into a jelly bag suspended over a large bowl or pot. Allow the cherry juice to drip through naturally. Continue this process until the dripping has slowed considerably, or until you have collected at least 4 cups of pure cherry juice.
If you don’t own a jelly bag, you can easily create an effective straining system using several layers of clean cheesecloth placed inside a fine-mesh strainer. Position a deep bowl underneath the strainer to catch the juice, ensuring it has enough capacity for at least 4 cups of liquid. For the clearest, brightest red cherry jelly, it’s crucial to resist the urge to squeeze the jelly bag or cheesecloth. Squeezing can force fine pulp and sediment into your juice, resulting in a cloudy finished jelly. While a cloudy jelly won’t harm the flavor, it detracts from the classic clear appearance.
Should some pulp inadvertently make its way into your juice, especially if using cheesecloth with insufficient layers, don’t worry. The flavor will remain unaffected, though your jelly might have a slightly opaque appearance. If an exceptionally clear juice is paramount, you can re-strain the filtered liquid through a 100% cotton cloth, such as a clean tea towel. Be aware that this extra straining step will likely reduce your overall juice yield, as some liquid will be absorbed by the towel. This additional straining is generally unnecessary if you’ve used a proper jelly bag.
Crafting Your Delicious Cherry Jelly
With your fresh cherry juice ready, it’s time for the exciting part: transforming it into luscious cherry jelly! Remember, if your extracted cherry juice falls short of 4 cups, you can top it up with a complementary juice like apple or cranberry to reach the required volume.
First, pre-measure your sugar (4 cups for regular pectin, or less if using low-sugar pectin) and set it aside. Do not add it to the juice yet. Pour the 4 cups of cherry juice into a large, heavy-bottomed saucepan or a dedicated jam pot. If you’ve chosen to add lemon juice, now is the time to stir in the 2 tablespoons. Place the pot with the juice on the stove over medium-high heat. Bring the liquid to a rolling boil, stirring occasionally to prevent scorching.
Once the juice is at a vigorous boil, slowly add your chosen pectin, stirring continuously to ensure it fully dissolves without clumping. Continue to boil the mixture for exactly one minute, maintaining constant stirring. After this minute, gradually add the pre-measured sugar to the boiling juice, stirring continuously until all the sugar has completely dissolved. Bring the mixture back to a full, rolling boil that cannot be stirred down. Maintain this hard boil for 1-2 minutes, stirring constantly to prevent sticking and ensure proper setting.
After the boiling time has elapsed, remove the pan from the heat. Carefully ladle or pour the hot jelly mixture into your prepared hot jelly jars, leaving a ¼-inch headspace at the top of each jar. This headspace is crucial for proper sealing. Wipe the rims of the jars thoroughly with a clean, damp cloth to remove any drips or residue that could interfere with the seal. Place the two-part canning lids onto the jars, then screw on the rings, tightening them only until “finger-tight.”
At this stage, your jelly is essentially complete. You have two options for storage: either proceed with water bath canning for shelf-stable storage (see instructions below), or allow the jars to sit undisturbed on your counter for 24-48 hours until the jelly has fully set. Jelly that has not been canned must be stored in the refrigerator for up to one month or can be frozen for up to six months.
Exciting Cherry Jelly Flavor Variations
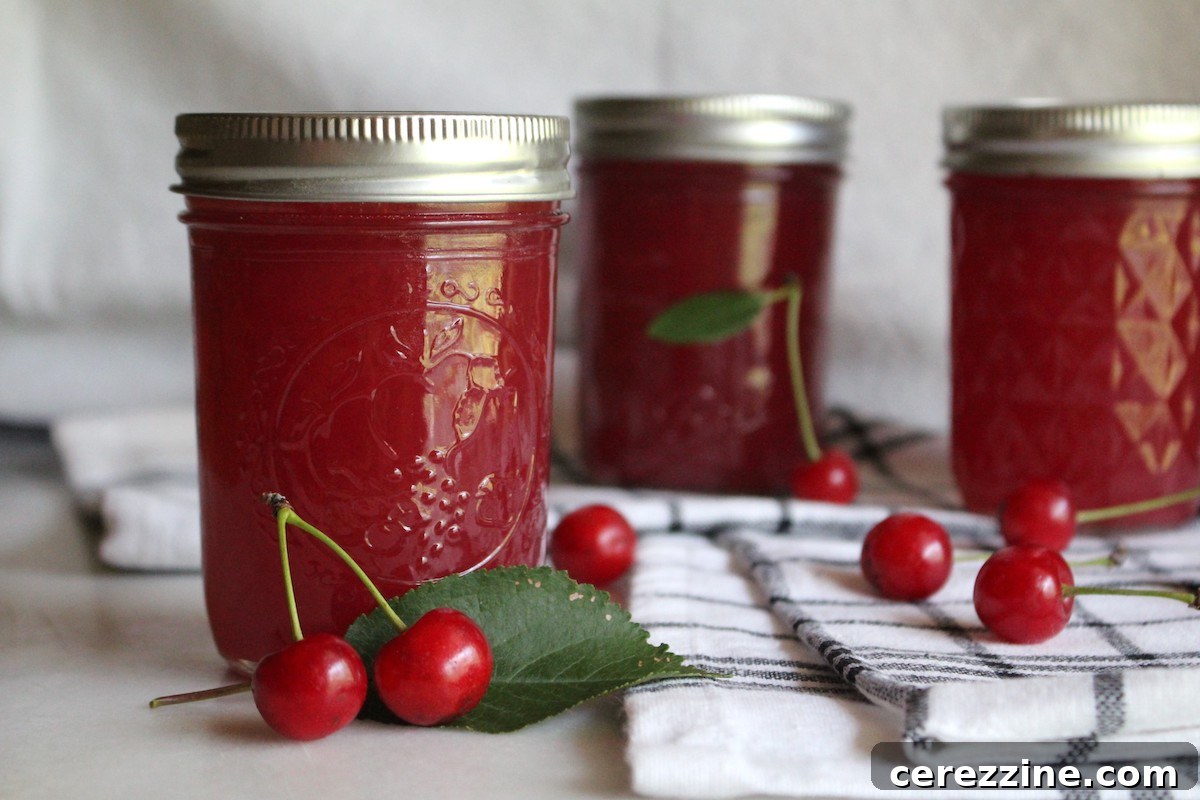
The beauty of homemade cherry jelly lies in its versatility, allowing for delightful flavor variations. On our homestead, for example, our tart cherries often ripen simultaneously with fresh raspberries. This happy coincidence frequently inspires me to combine them, creating an exquisite cherry raspberry jelly. Using the full-sugar, regular pectin recipe, this blend results in a jelly that is both sweet and tangy, offering a uniquely vibrant flavor profile that truly stands out.
Another fantastic pairing involves tart cherries and serviceberries (also known as Juneberries or Saskatoon berries). The mild, sweet-tart notes of serviceberries beautifully complement the robust flavor of cherries, yielding a wonderfully nuanced Saskatoon Cherry jelly.
Beyond these, numerous other fruits harmonize exceptionally well with cherries, including grape, currant, peach, nectarine, orange, or quince. Experimenting with any combination of these can lead to unexpectedly flavorful and unique jelly creations, allowing your creativity to shine in the kitchen.
Did you know that cherry pits naturally contain compounds that, when cooked, release a subtle almond-like flavor? It’s true! By cooking the cherries with their pits intact, as this recipe instructs for juice extraction, you inherently infuse your jelly with a delicate, natural almond essence. For those who wish to amplify this delightful characteristic, a small amount of additional almond extract can be stirred into the juice during the cooking process. Similarly, vanilla is a personal favorite flavoring that I love to incorporate into almost everything. Adding a vanilla bean (seeds and all) to the cherries while they simmer for juice extraction will impart a smooth, aromatic vanilla note that beautifully complements and deepens the cherry flavor in your finished jelly.
Water Bath Canning for Shelf-Stable Cherry Jelly
Canning your cherry jelly using the hot water bath method is an incredibly effective and simple way to transform your fresh batch into a shelf-stable product that can be enjoyed for over 18 months. This preservation technique ensures that the delicious flavors of summer are locked in and accessible whenever a craving strikes.
If you are new to canning or need a refresher on the basics, I highly recommend consulting a comprehensive resource such as my Beginner’s Guide to Water Bath Canning. This guide provides detailed, step-by-step instructions, including a list of all the essential supplies you’ll need to get started safely and successfully.
Once your hot cherry jelly is ready, carefully ladle or pour it into your clean, hot jelly jars, ensuring you leave a ¼-inch headspace at the top. This precise headspace is critical for creating a strong vacuum seal. Use a clean, damp cloth to meticulously wipe the rims of each jar, removing any traces of jelly that could prevent a proper seal. Place new, sterilized two-part canning lids onto the jars, then screw on the canning rings until they are “finger-tight” – snug but not overly tightened.
Using a jar lifter, gently place the filled jelly jars into your prepared hot water bath canner, ensuring they are fully submerged in water by at least an inch. Bring the water in the canner back to a rolling boil. Once boiling, set your timer for 10 minutes. Please note that processing times may need to be adjusted based on your altitude. If you are canning at an elevation above 6,000 feet, extend the processing time to 15 minutes to ensure proper sterilization.
After the designated processing time has elapsed, turn off the heat beneath your canner. Using the jar lifter, carefully remove the hot jars from the canner and place them on a clean towel on your counter. Arrange them with a little air space between each jar to allow for even cooling. Leave the jelly jars undisturbed for a full 24 hours. During this cooling period, you should hear the satisfying “ping” sound as the lids seal. After 24 hours, check all jars to ensure they have sealed properly (the center of the lid should be concave and not flex when pressed). Any unsealed jars can be stored in the refrigerator and should be consumed within one month. Sealed jelly jars can be stored in your pantry or any cool, dry, dark place, where they will maintain their quality for at least 18 months, often much longer. Once opened, all jars of jelly should be refrigerated.
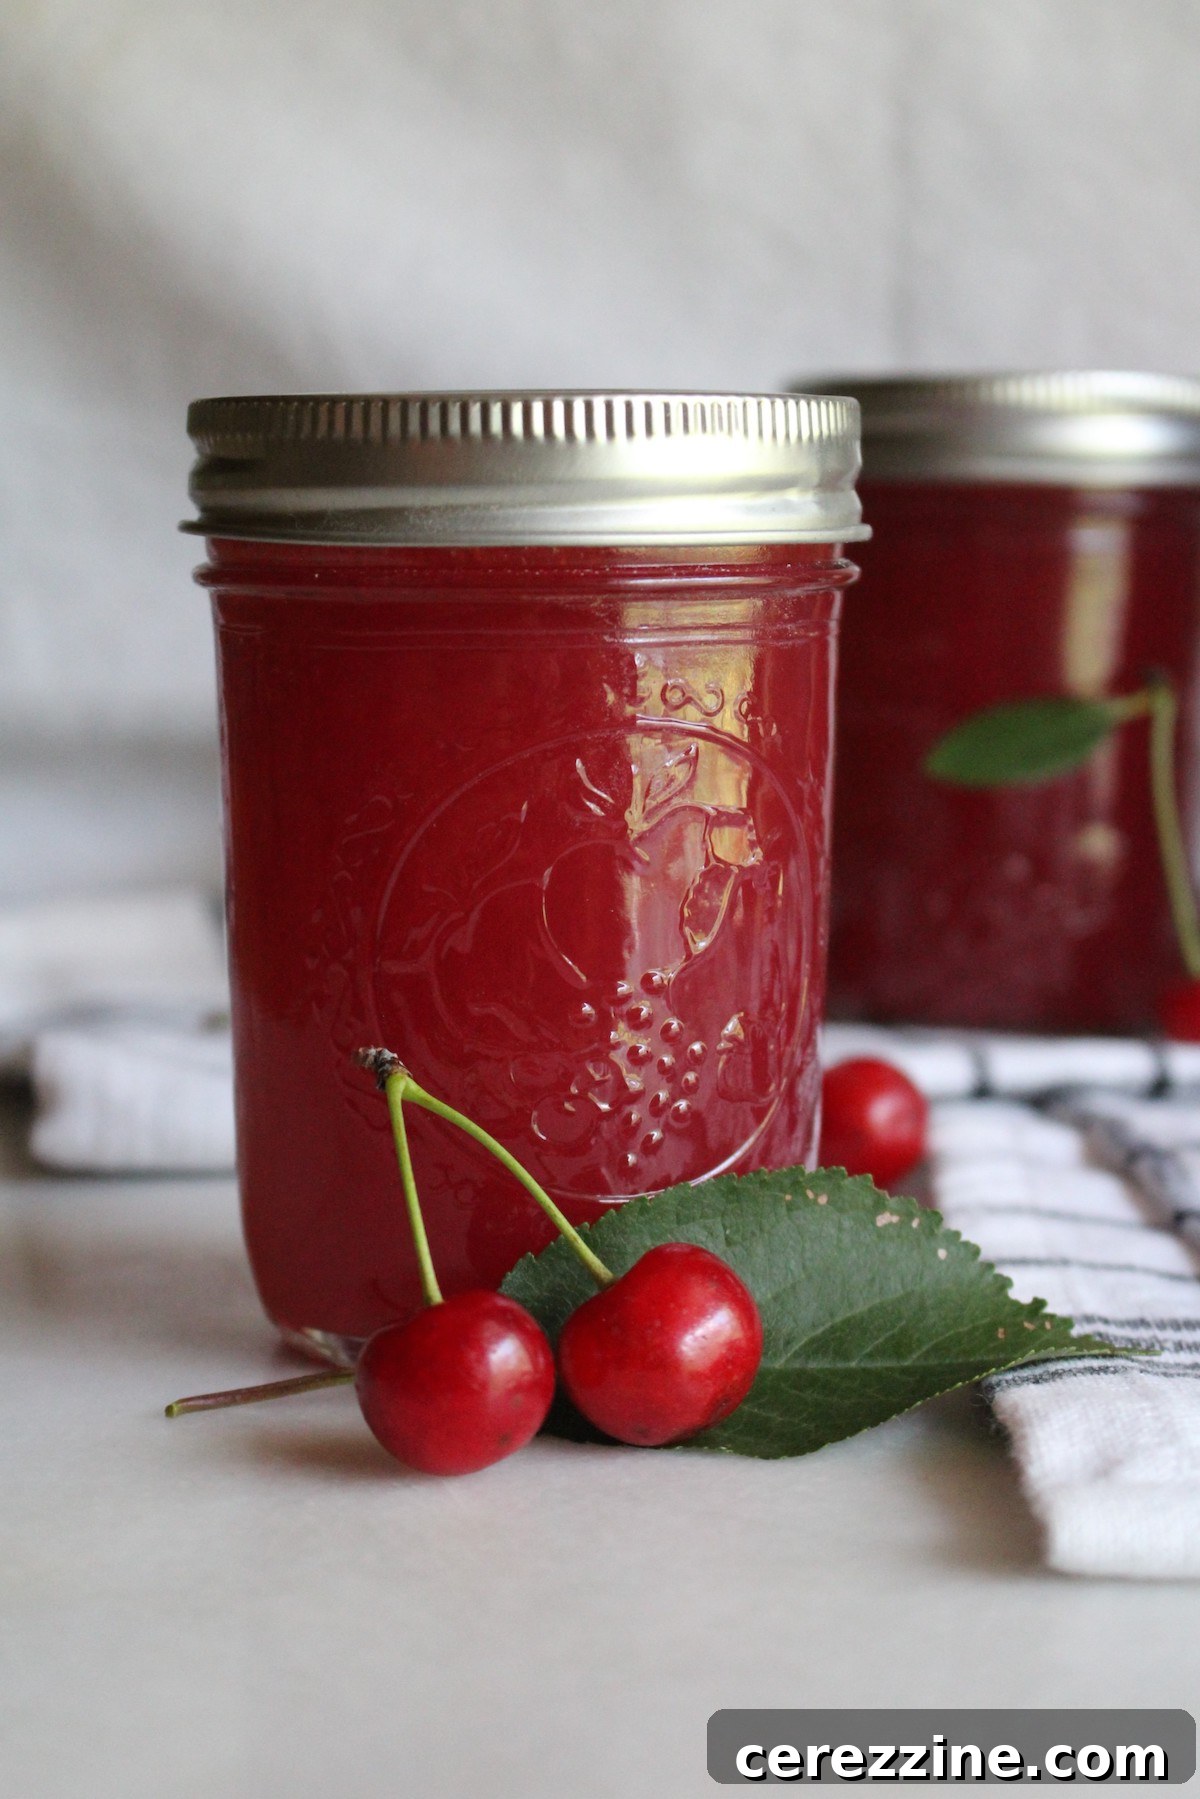
Delicious Ways to Enjoy Your Cherry Jelly
Homemade cherry jelly is an incredibly versatile treat, perfect for elevating a wide range of dishes. Beyond its classic role, there are countless creative ways to incorporate its vibrant flavor into your meals and snacks.
- **Breakfast & Brunch Staples:** It pairs perfectly with creamy peanut butter on a sandwich, making for a nostalgic and satisfying meal. Spread it generously on warm toast, fluffy English muffins, flaky biscuits, or freshly baked scones for a simple yet delightful start to your day.
- **Sweet Enhancements:** For a surprising and comforting twist, try dissolving a teaspoon of cherry jelly in your hot tea. The sweetness and fruity notes will add a wonderful dimension to your beverage.
- **Baking & Desserts:** Use cherry jelly as a filling for tarts, pastries, or thumbprint cookies. A dollop over a scoop of vanilla ice cream creates an instant, elegant dessert. You can even warm it slightly and use it as a glaze for roasted meats like pork or duck, adding a beautiful sheen and a sweet-tart counterpoint.
- **Gourmet Pairings:** Don’t limit jelly to breakfast! Cherry jelly can also be a sophisticated accompaniment to a cheese board, complementing sharp cheddars, creamy brie, or tangy goat cheese.
More Ways to Preserve Cherries This Summer
If you’re looking for additional creative methods to preserve your summer cherry harvest, consider these fantastic ideas:
- Cherry Fruit Leather
- Cherry Wine
Cherry Jelly
By Ashley Adamant
Cherry jelly is an easy to make homemade preserve, and the best part is you don’t have to pit the cherries!
Prep: 2 hrs
Cook: 10 mins
Canning Time (Optional): 10 mins
Total: 2 hrs 20 mins
Yields: 40 servings, Makes 5 half-pint (8 oz) jars
Equipment
- Water Bath Canner
- Jelly Strainer with Bag
Ingredients
- 4 cups tart cherry juice, from 3 lbs of sour cherries
- ½ cup water
- 2 Tbsp. lemon juice, optional (recommended for sweet cherries)
- 4 cups sugar (See Notes for low sugar recipe)
- 1 box powdered pectin (1.75 oz. regular pectin, or 6 Tbsp.; see Notes for low-sugar recipe)
Instructions
- Place clean, ripe cherries in a medium saucepan and add ½ cup water.
- Cook on medium-high heat, stirring occasionally, until the cherries begin to pop and release their juices.
- Bring the mixture to a boil, then reduce the heat to medium-low, cover, and simmer for 10 minutes to extract maximum juice.
- After simmering, remove the pan from the stove. Pour the cherry mixture into a jelly bag suspended over a bowl and let it sit until the juice has mostly stopped dripping. If you don’t have a jelly bag, use several layers of cheesecloth in a strainer.
- Pre-measure the sugar and set it aside.
- Add 2 tablespoons of lemon juice to the collected cherry juice if desired (highly recommended for sweet cherries).
- In a clean medium saucepan or jam pot, cook the juice on high heat, bringing it to a full, rolling boil.
- Stirring continuously, slowly add the powdered pectin to the boiling juice, ensuring it dissolves completely.
- Allow the juice with pectin to boil vigorously for one full minute, stirring constantly.
- Add the pre-measured sugar slowly to the boiling juice, continuing to stir as the sugar dissolves.
- Return the mixture to a hard boil that cannot be stirred down. Continue stirring and boiling for 1-2 minutes.
- Pour the hot jelly into prepared hot jelly jars using a canning funnel, leaving ¼” headspace. Wipe jar rims thoroughly to remove any spills or residue.
- Secure new, sterilized lids to the jars and screw on the canning rings until finger-tight. Process the jars in a water bath canner for 10 minutes (or 15 minutes if above 6,000 feet in elevation). Canning is optional for immediate use or freezing.
- If you do not plan on canning your jelly, leave the jars to cool undisturbed on the counter until the jelly has set, typically 24 – 48 hours.
- Jelly that has not been canned should be stored in the refrigerator for up to 1 month or in the freezer for up to six months. Jelly that has been properly processed and sealed using a canning method can be stored in a cool, dry place for 18 months or longer if sealed. For all jelly, refrigerate once opened.
Notes
Low-sugar pectin can be used to make jelly, and it calls for significantly less sugar than recipes using regular pectin. You can typically reduce the amount of sugar by half or even slightly more.
Sure-Jell low-sugar pectin is a reliable brand commonly used for making delicious jelly with reduced sugar content.
For making cherry jelly using low-sugar pectin, you would typically use around 2 cups of sugar for 4-5 cups of juice. Low-sugar jelly is an excellent option for individuals who need or prefer to keep their sugar intake lower.
Another excellent alternative for low-sugar recipes is Pomona’s Universal Pectin. When using Pomona’s, you will need to carefully follow the specific instructions provided in the box, as this is a two-part pectin (powder and calcium water), and its preparation steps differ from regular pectin.
*Be aware that using less sugar and low-sugar pectin will generally result in a slightly lower yield. For cherry jelly with low-sugar pectin, you can often use up to 5 cups of juice to still yield approximately 5 half-pint jars.
Nutrition
Calories: 94kcal,
Carbohydrates: 24g,
Protein: 0.1g,
Fat: 0.1g,
Saturated Fat: 0.001g,
Polyunsaturated Fat: 0.002g,
Sodium: 5mg,
Potassium: 42mg,
Fiber: 0.1g,
Sugar: 22g,
Vitamin A: 0.1IU,
Vitamin C: 0.3mg,
Calcium: 2mg,
Iron: 0.2mg
Nutrition information is automatically calculated and should only be used as an approximation.
Explore More Homemade Jelly Recipes
Craving more easy and delightful homemade jelly recipes? Broaden your preserving horizons with these fantastic options:
- Strawberry Jelly
- Rhubarb Jelly
- Blueberry Jelly
- Dandelion Jelly
- Blackcurrant Jelly
- Pomegranate Jelly
- Grape Jelly
Essential Summer Canning Recipes
Keep your canning kettle warm and busy throughout the bountiful summer months with these indispensable canning recipes, perfect for preserving the season’s freshest produce:
- Canning Tomatoes
- Canning Blueberries
- Canning Peaches
- Canning Corn