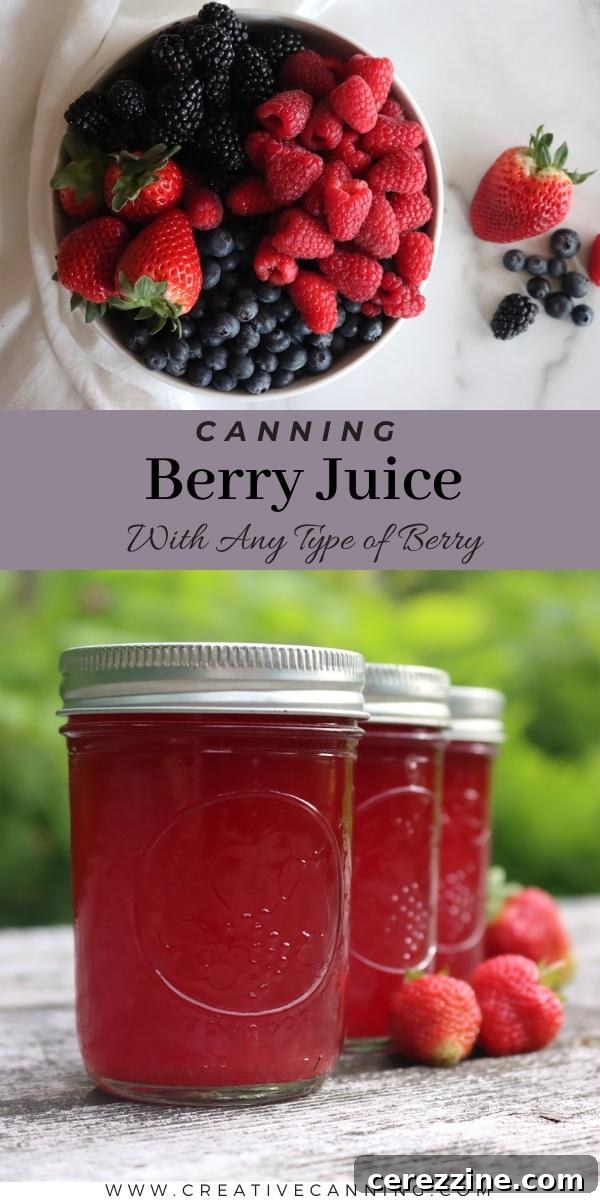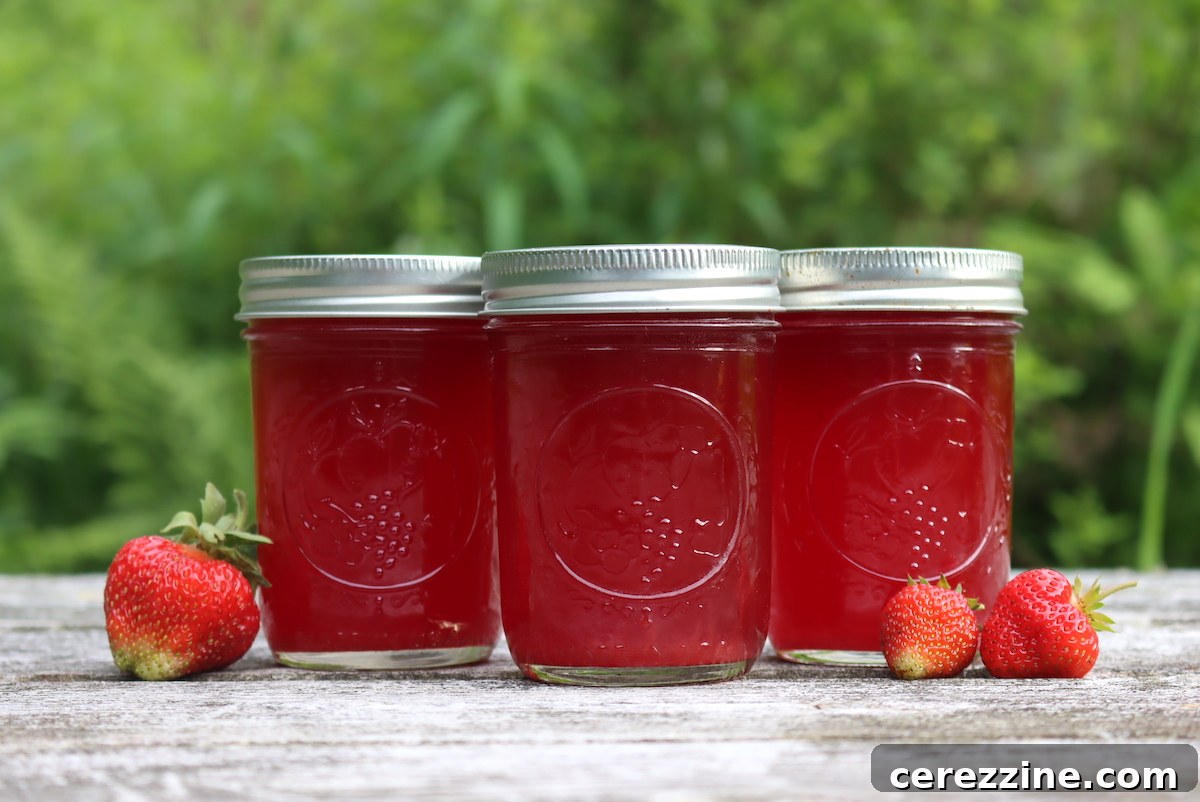
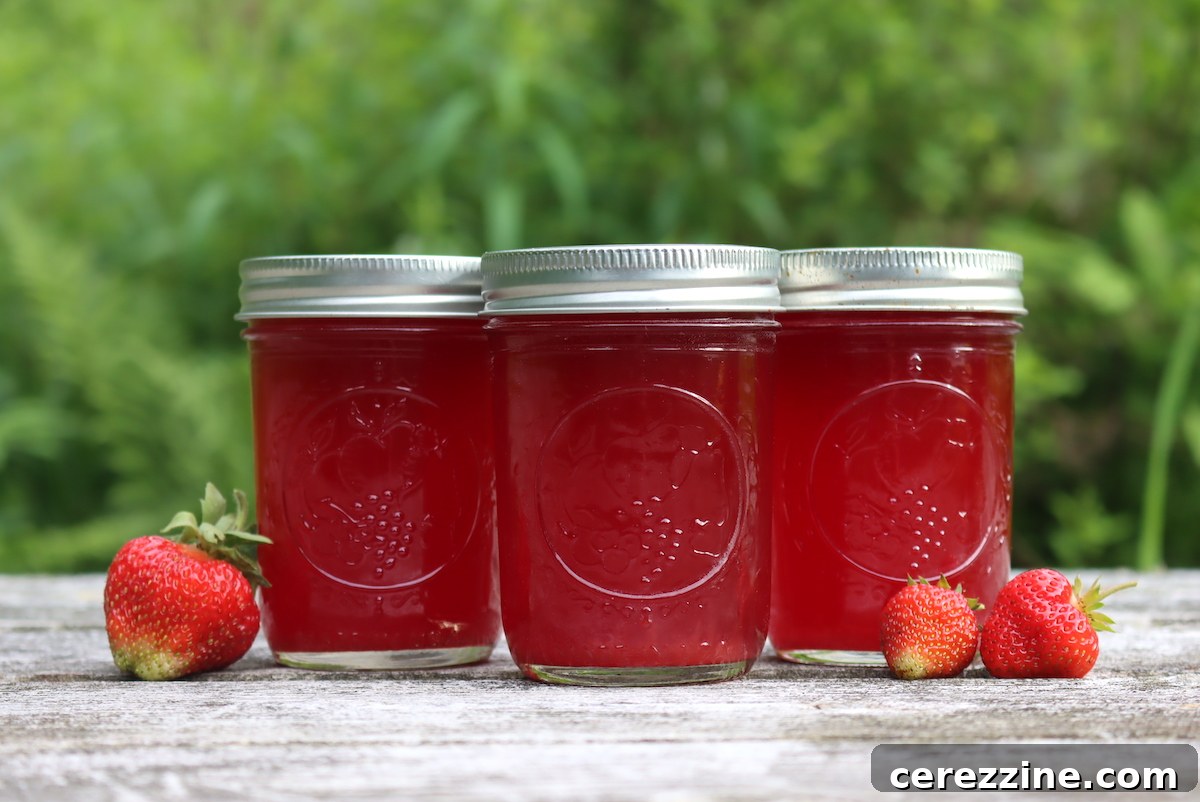
Canning berry juice is an incredibly rewarding and straightforward method to capture the vibrant flavors and nutritional benefits of summer’s abundant berry harvest. This comprehensive guide will walk you through every step, ensuring you can enjoy delicious, wholesome berry juice all year long. Imagine sipping on the pure taste of summer in the depths of winter – that’s the magic of home-canned berry juice.
Why Can Berry Juice? Harnessing Summer’s Bounty
The peak of summer often brings an overwhelming bounty of fresh berries, more than you can possibly consume before they spoil. While freezing is a common and effective solution, freezer space is often limited, especially if you have a bumper crop. Canning berry juice offers a fantastic, space-saving alternative, allowing you to preserve the pure essence of fresh summer berries without taking up valuable freezer real estate. It’s a quick, efficient, and incredibly satisfying way to ensure you have access to nutrient-rich, flavorful fruit juice throughout the year.
Beyond simple preservation, homemade canned berry juice provides unparalleled flavor compared to most store-bought varieties, which are often laden with added sugars, artificial flavors, and preservatives. When you can your own berry juice, you maintain complete control over the ingredients, allowing you to choose organic berries, adjust sweetness levels, or keep it entirely natural. This not only results in a healthier beverage but also one that truly celebrates the natural taste of the fruit. It’s also a remarkably versatile pantry staple, perfect for drinking straight, mixing into sparkling water, creating unique cocktails, making homemade jellies, or adding a burst of fruit flavor to smoothies and desserts.
Choosing Your Berries: A Guide to Perfect Juice Candidates
This tested recipe for canning berry juice is adaptable for a wide variety of soft summer fruits. The natural acidity inherent in most berries makes them excellent candidates for safe water bath canning, a method that relies on high acidity to prevent spoilage. Here’s a detailed list of berries that work wonderfully for juicing and canning, along with specific considerations:
- Blackberries: Known for their deep, dark color and intensely rich, complex flavor. They yield a vibrant, robust juice.
- Blueberries: Sweet and mild, blueberries produce a beautifully colored juice that is both refreshing and subtly sweet.
- Currants (Red & Black): These berries are quite tart and intensely flavored. They make an excellent, bright juice, especially for those who prefer a less sweet profile or for blending with other, sweeter juices. Red currants tend to yield more juice than black.
- Dewberries: Similar to wild blackberries, dewberries offer a delightful sweet-tart profile and beautiful color.
- Gooseberries: Very tart by nature, gooseberries will produce a tangy juice that often benefits from added sugar during canning or sweetening upon serving. Their unique flavor is highly prized.
- Huckleberries: These small, intensely flavored berries resemble blueberries but often have a richer, more concentrated taste.
- Loganberries: A unique hybrid of raspberries and blackberries, loganberries offer a delightful balance of sweet and tart, making for a complex and delicious juice.
- Mulberries: Sweet and juicy, mulberries are a joy to juice, though they can be harder to find commercially and are often foraged.
- Raspberries (Red, Black, Gold): Fragrant and wonderfully sweet, raspberries produce a distinct and beloved juice. Different varieties offer subtle flavor variations.
- Strawberries: Universally loved for their sweetness and aromatic qualities, strawberries yield a beautiful, bright red juice that’s a true taste of summer.
Special Note on Elderberries: While undeniably delicious, elderberries are an exception when it comes to acidity for safe water bath canning of their juice. They are not quite acidic enough on their own to reach the necessary pH level. To ensure safety and prevent the growth of harmful bacteria, you must add a measured amount of acid. You can add 1/2 tablespoon of bottled lemon juice per cup of elderberry juice (or a full tablespoon per pint). Alternatively, use 1 teaspoon of citric acid for every 8 cups of juice (or 1/8th teaspoon per pint). This crucial step acidifies the juice to a safe pH level for preservation.
Mastering Berry Juice Extraction: Stovetop vs. Steam Juicer
Extracting the pure, flavorful liquid from your berries is the first and most crucial step in canning berry juice. The method you choose can influence the clarity, depth of flavor, and overall efficiency of your juicing process. You have two primary options: the traditional stovetop method or the more modern and often more efficient steam juicer.
Stovetop Juice Extraction Method: Simple and Effective
For smaller batches of berries, or if you don’t own a specialized juicer, the stovetop method is a perfectly effective and accessible way to extract juice. Here’s how to do it:
- Prepare Your Fruit: Begin by gently washing your chosen berries under cool running water. Remove any stems, leaves, or visibly bruised or moldy spots. For strawberries, hull them by removing the green leafy tops. A thorough cleaning ensures pure, untainted juice.
- Combine with Water: Place the prepared fruit in a large, heavy-bottomed saucepan or stockpot. Add a small amount of water to the saucepan; a good general guideline is about 1/2 cup of water per quart of berries. This water helps to prevent the fruit from scorching and encourages it to release its juices more readily.
- Simmer and Mash: Bring the berries and water to a gentle simmer over medium heat. As the berries heat up, they will begin to soften. Using a potato masher or a sturdy spoon, gently but firmly mash the berries occasionally. Continue cooking and mashing until the berries have completely broken down, becoming pulpy, and have generously released their liquid. This process typically takes about 5 to 10 minutes.
- Pectin Considerations: Be particularly mindful not to overcook the berries, especially those high in pectin like currants, gooseberries, and some wild blackberries. Prolonged cooking can activate the pectin, potentially leading to a jam-like consistency rather than clear juice. For these high-pectin varieties, consider starting with slightly more water (e.g., 1 cup per quart) and cook for closer to 5 minutes, mashing vigorously to quickly release the juice. Lower-pectin berries, like strawberries, offer a bit more leeway in cooking time.
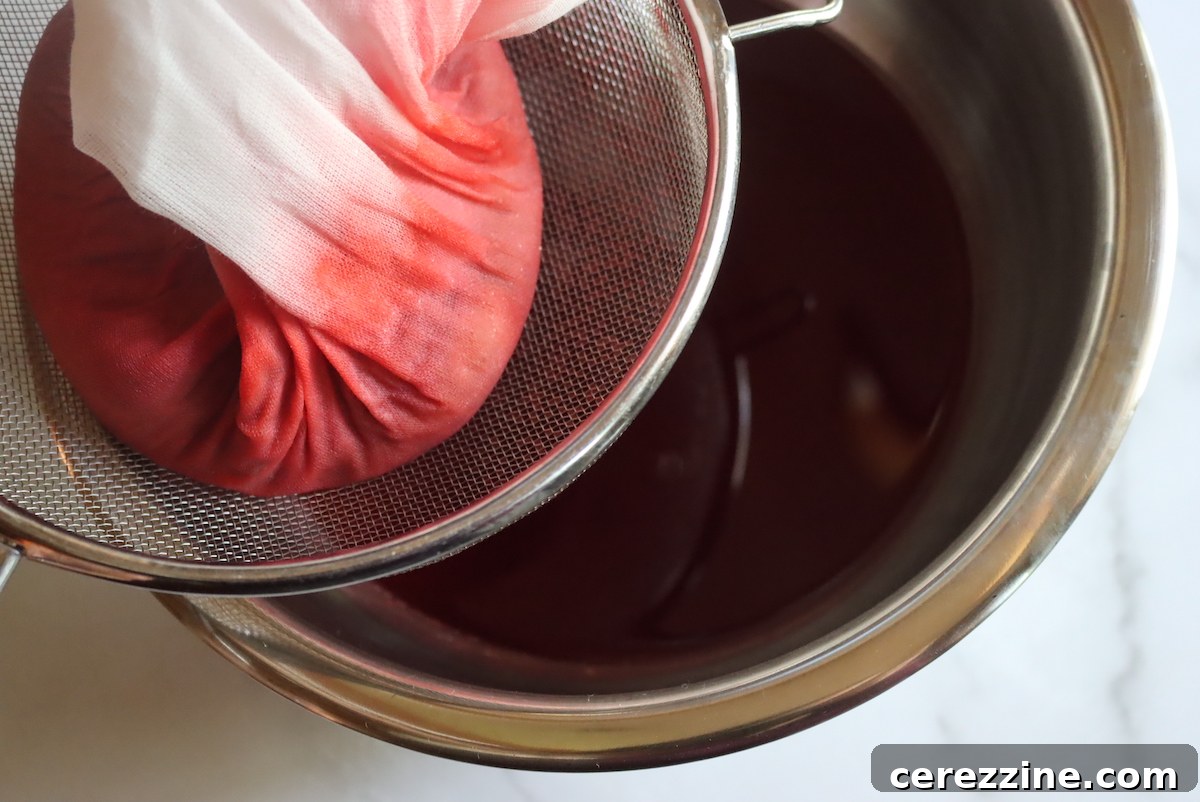
- Strain the Juice: Once the berries are thoroughly cooked down, it’s time to separate the juice from the pulp. Carefully pour the hot mixture through a jelly bag, or a fine-mesh strainer generously lined with a double layer of dampened cheesecloth. Position the bag or strainer over a large bowl or pot. Allow the juice to drip naturally and completely; this can take several hours or even overnight for the clearest juice. Avoid the temptation to squeeze the bag or cheesecloth, as this can force fine pulp particles into your juice, resulting in a cloudy appearance.
The Efficiency and Benefits of a Steam Juicer
If you find yourself regularly processing large quantities of berries or other fruits, investing in a steam juicer can be a game-changer. This specialized equipment significantly simplifies the juice extraction process, effectively eliminating the mess and effort associated with straining through cheesecloth. A steam juicer works by harnessing steam to gently break down the fruit. The released juice then collects in a lower reservoir, completely separate from the pulp, seeds, and skins.
One of the major advantages of using a steam juicer is that the gentle, indirect heat of the steam does not activate pectin as readily as direct simmering in a pot. This makes it an especially superior choice for high-pectin fruits such as currants, gooseberries, and many varieties of wild blackberries, ensuring you consistently achieve a clear, pure juice rather than an accidental batch of thin jam. Furthermore, even for low-pectin fruits like strawberries and raspberries, a steam juicer is often the most efficient, hands-off, and least labor-intensive method for juice extraction, making it a favorite among serious home canners.
Estimating Berry Juice Yields for Efficient Planning
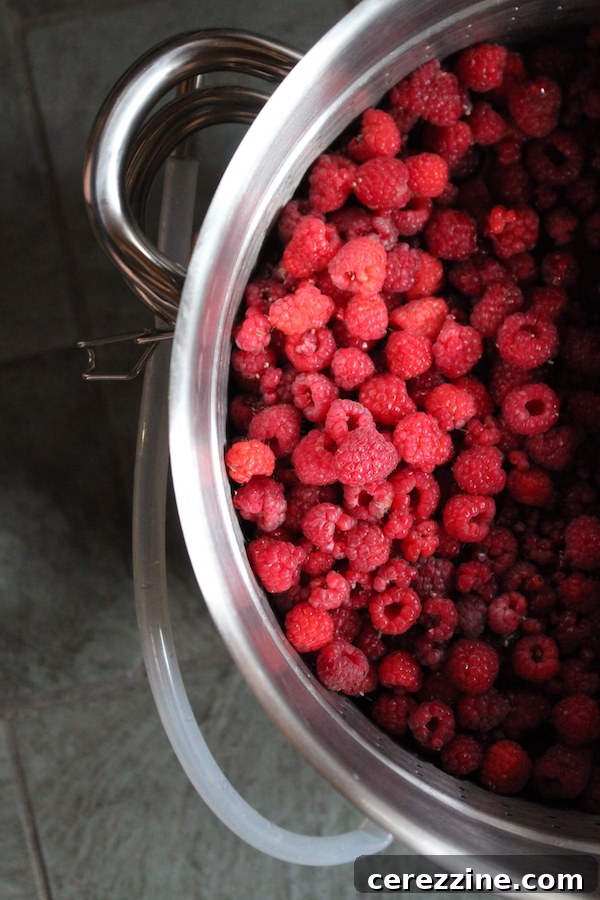
The amount of juice you’ll extract from your berries can vary based on several factors, including the fruit’s ripeness, specific variety, and water content. As a general guideline, when using the stovetop method, you can expect to yield approximately 1 cup of juice from 2 to 4 cups of most berries, along with the 1/2 cup of added water. A steam juicer, due to its efficiency, generally offers a slightly better yield with less manual effort.
Pro Tip for Increased Yield: One excellent way to maximize your juice yield is by freezing berries before juicing. The freezing process helps to break down the fruit’s cellular walls and pectin structure. When these cells rupture, more juice is released during the subsequent cooking or steaming process, giving you a greater volume of finished juice.
For more precise planning, especially if you’re working with specific quantities for jelly-making (where exact juice amounts are critical), you can reference reliable canning resources like “The Ball Book of Home Canning.” While often listed under jelly recipes (as juice extraction is the foundational first step), these estimates are invaluable for general juice canning. Here are some general estimates for the amount of fruit typically needed to yield approximately one cup of juice (when combined with 1/2 cup of water for the stovetop method):
- Blackberries: ~ 2 1/2 cups of berries
- Blueberries: ~ 2 to 3 cups of berries (their juice content is highly variable)
- Elderberries: ~ 1 pound stemmed fruit (remember the critical step of adding acid!)
- Raspberries: ~ 3 to 3 1/2 cups of berries
- Strawberries: ~ 3 1/4 to 3 1/2 cups chopped fruit (this typically comes from 1 quart of fresh, whole strawberries)
- Currants (red or black): ~ 1 pound stemmed fruit (red currants are usually more prolific juice producers)
Please remember that these figures are approximations, and your actual yield may vary based on factors such as the specific growing conditions, climate, and maturity of your particular berry varieties. When simply canning juice for drinking or general culinary use, exact yields are less critical; the primary goal is to preserve whatever delicious juice you successfully extract.
Canning Berry Juice: Your Step-by-Step Water Bath Guide
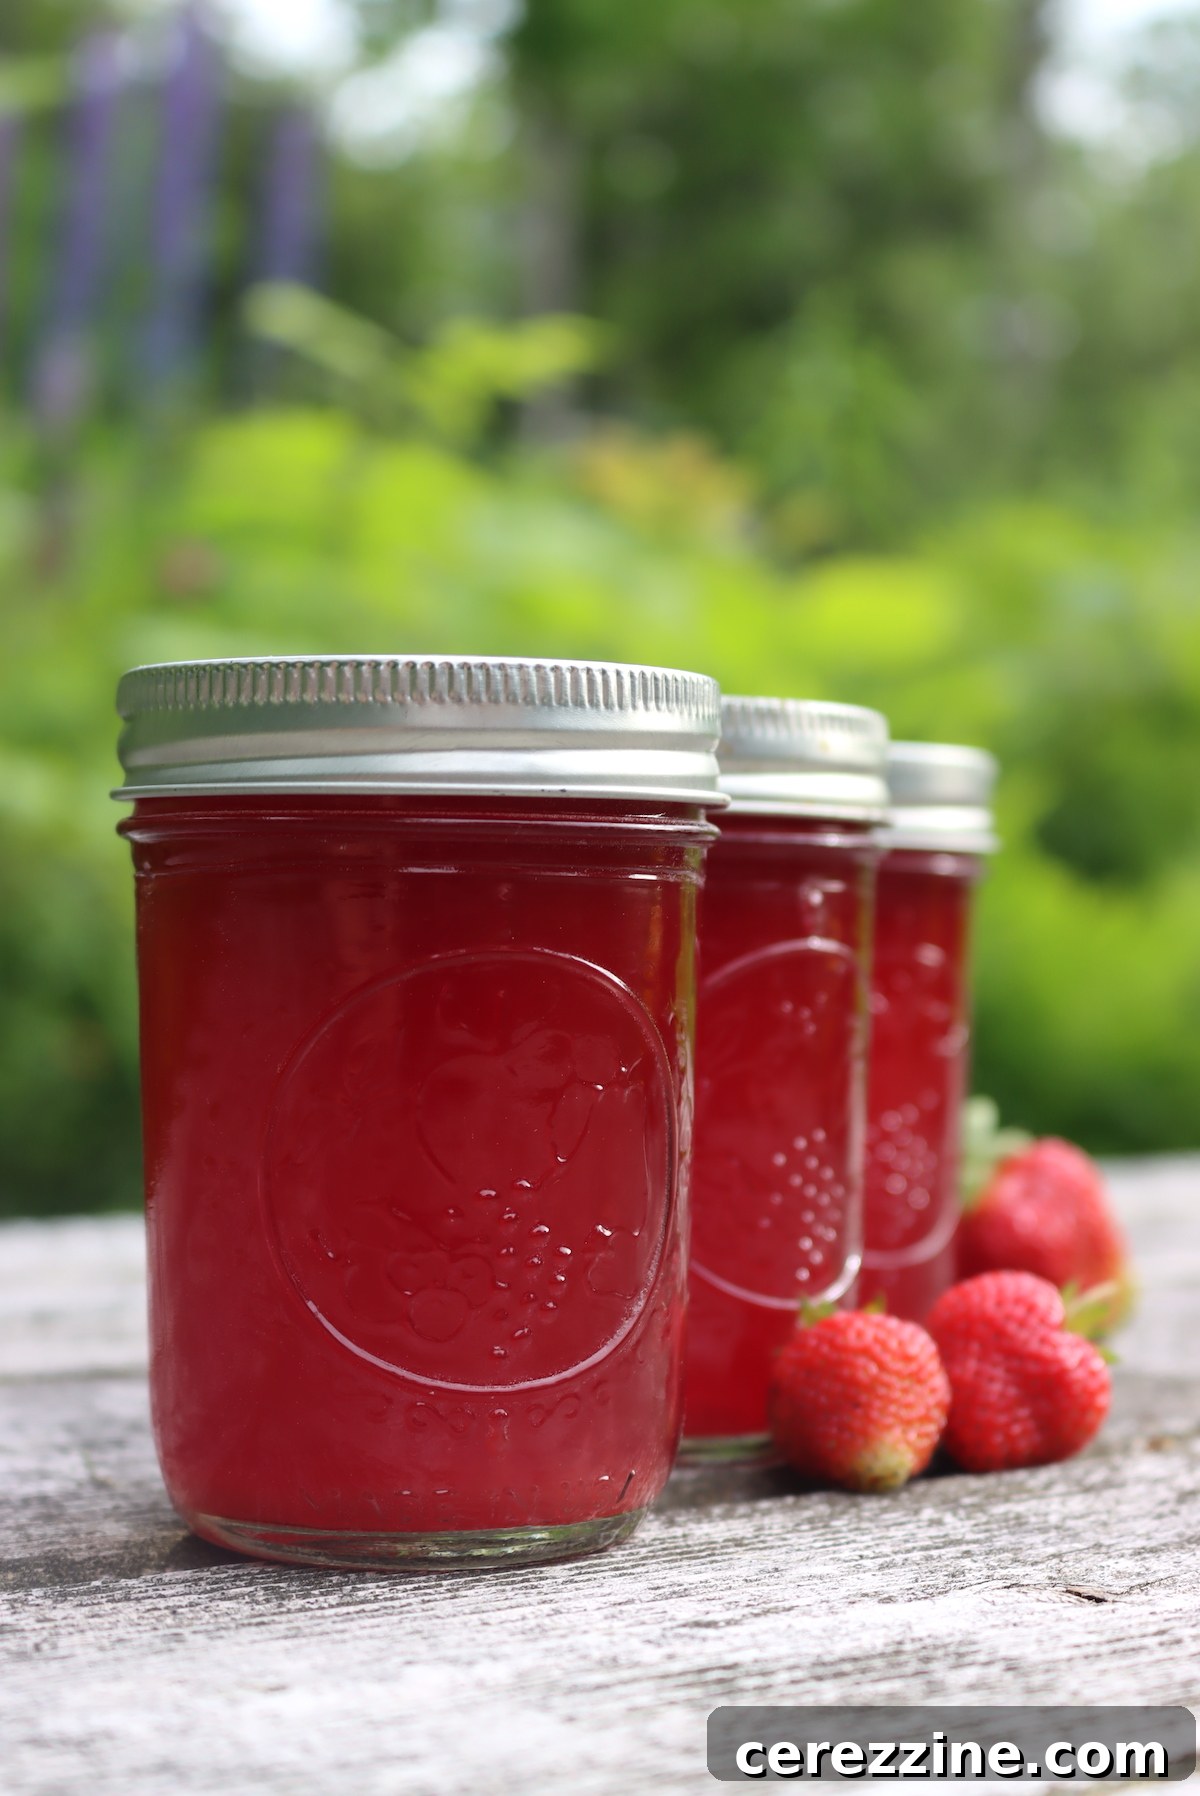
Once your berry juice is perfectly extracted and filtered, it’s time for the safe and simple water bath canning process. This method relies on the natural acidity of the berries (or added acid for elderberries) combined with heat to create a vacuum seal and preserve the juice. If you are new to home canning, it’s highly recommended to familiarize yourself with a beginner’s guide to water bath canning to understand the fundamental safety principles and equipment before you begin.
These canning instructions are based on trusted recipes and safety guidelines, such as those found in comprehensive resources like “The Ball Complete Book of Home Preserving.” This process is suitable for canning any variety of berry juice, including strawberry, blackberry, blueberry, and raspberry juice, ensuring a safe and delicious result.
Optional Sweetening Considerations
Adding sugar to your berry juice before canning is entirely optional. It is not necessary for the safety or preservation of the juice, as the acidity of the berries (or added acid) is what provides the safe canning environment. The decision to add sugar, and how much, comes down purely to your taste preference and how you plan to use the juice.
A common recommendation for average sweetness, if desired, is to add 1 to 2 cups (250 to 500 ml) of sugar for every 16 cups (4 liters) of juice. This roughly equates to 1/4 to 1/2 cup of sugar per quart of juice, or 1 to 2 tablespoons per cup of juice. Many home canners prefer to can their juice unsweetened, as this offers greater flexibility for future use. You can always sweeten the juice to taste when you open a jar for drinking or using in recipes. However, for particularly tart fruits like gooseberries, currants, or very sour raspberries, adding a moderate amount of sugar during the canning process can make the juice more palatable immediately upon opening.
Detailed Water Bath Canning Instructions
- Prepare Your Canner and Jars: Begin by setting up your water bath canner. Place the canning rack at the bottom of the canner. Wash canning jars, lids, and rings thoroughly in hot, soapy water, then rinse well. If your processing time is less than 10 minutes, jars must be sterilized; however, for the 15+ minutes required for berry juice, sterilization occurs during the processing. Keep your clean jars hot by leaving them in the simmering canner water or in a separate pot of hot water. Heat the new canning lids according to the manufacturer’s instructions (usually a low simmer, not boiling). The water in your canner should be gently simmering (approximately 180°F / 82°C) in preparation for a hot pack.
- Heat the Juice: Gently heat your strained berry juice in a clean saucepan over medium-high heat. Monitor the temperature with a thermometer until it reaches approximately 190°F (88°C). It is important not to let the juice come to a rolling boil at this stage. Once the target temperature is reached, reduce the heat to low and maintain the juice at 190°F for 5 minutes. If you are incorporating optional sugar, stir it in during this 5-minute holding period until it is completely dissolved. For elderberry juice, ensure the required bottled lemon juice or citric acid is thoroughly mixed in here.
- Fill Jars Properly: Carefully ladle the hot juice into your prepared hot canning jars. Ensure you leave precisely 1/4 inch (0.6 cm) headspace at the top of each jar. Headspace is critical for proper vacuum seal formation and to prevent siphoning. To remove any trapped air bubbles, gently run a non-metallic utensil (like a plastic spatula or chopstick) around the inside of each jar. Using a clean, damp cloth, carefully wipe the rims of the jars to remove any drips or sticky residue, which could interfere with a perfect seal.
- Apply Lids and Rings: Center a hot canning lid on top of each filled jar. Then, screw on the screw band (ring) until it is “fingertip tight.” This means tightening until you feel resistance, then giving it just a slight additional turn. Avoid overtightening, as this can prevent air from escaping during processing and lead to seal failure.
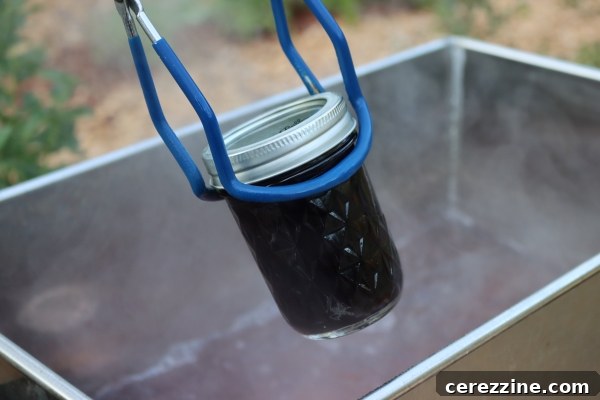
- Process in Water Bath Canner: Using a jar lifter, carefully place the filled jars onto the rack inside your simmering water bath canner. Ensure that the jars are completely submerged by at least 1 inch (2.5 cm) of water. Cover the canner with its lid. Turn up the heat to high and bring the water in the canner to a full, vigorous rolling boil.
- Process Timing: Once the water in the canner reaches a consistent, rolling boil, start your timer. Process half-pints, pints, and quarts for a standard time of 15 minutes. If you are canning at altitudes above 6,000 feet (approximately 1830 meters), you must increase the processing time to 20 minutes to compensate for the lower boiling point of water at higher elevations, which impacts effective heat penetration.
- Cooling and Initial Seal: After the required canning time has elapsed, turn off the heat. Do not remove the jars immediately. Instead, leave the jars in the hot water bath for an additional 5 minutes. This helps to stabilize the temperature within the jars and can significantly reduce the risk of siphoning (liquid loss from the jars) and thermal shock that could lead to breakage. After 5 minutes, use a jar lifter to carefully remove the jars from the canner and place them upright on a towel-lined counter, away from any drafts or cold surfaces, to cool completely.
- Check Seals and Store: Allow the jars to cool undisturbed for a full 12 to 24 hours. After this cooling period, check all jar seals. A properly sealed lid will be concave (curved inward) and will not flex or pop when pressed in the center. Remove the screw bands (rings) – they are not needed for storage and can harbor moisture, leading to rust. Wipe the jars clean to remove any residue. Any jars that did not seal properly should be refrigerated immediately and consumed within a few days. Properly canned and sealed jars of berry juice will maintain their peak quality on a cool, dark pantry shelf for 18+ months. Once an individual jar is opened, refrigerate any unused juice and consume within 1-2 weeks.
Maximizing Your Harvest: Innovative Uses for Leftover Berry Pulp
After the laborious process of extracting every last drop of juice, you might find that the leftover berry pulp still retains a significant amount of flavor, fiber, and nutritional value. It would truly be a shame to simply discard it! While steam juicers are highly efficient and often leave behind less flavorful pulp, the stovetop extraction method frequently results in a more usable and tasty residue.
- Second Extraction for Lighter Juice: Don’t toss that pulp just yet! For a lighter, secondary batch of juice, simply return the pulp to your saucepan, add a bit more water (e.g., 1/4 cup per quart of original fruit), simmer again briefly for about 5 minutes, and then strain. This “second run” juice might be less concentrated but is still perfectly good for drinking or for use in recipes where a milder flavor is desired.
- Flavorful Jams and Jellies: The leftover pulp is an excellent, ready-made base for making delicious jams or jellies. You can use it as up to half of the fruit content in a mixed berry jam recipe, supplementing with fresh berries for the remaining half. This strategy adds depth of flavor, body, and fiber to your preserves while significantly reducing food waste.
- Rich Fruit Butters: Transform your concentrated pulp into rich, smooth, and spreadable fruit butter. Recipes abound for various fruit butters. For example, Ball Canning has a truly spectacular recipe for Blueberry Butter that specifically utilizes the pulp leftover after making blueberry juice, turning what would typically be discarded into a luscious and versatile condiment.
- Baked Goods and Desserts: Don’t limit the pulp to preserves! Incorporate it into your baking. It can add an extra burst of natural berry goodness and fiber to muffins, quick breads, fruit crisps, or even homemade fruit leather. Simply spread a thin layer of sweetened pulp onto a dehydrator sheet and dry until pliable.
- Smoothie Boost: For a quick and easy way to use small amounts of pulp, freeze it in ice cube trays and add to your morning smoothies for extra fiber and flavor.
Creative Culinary Uses for Your Canned Berry Juice
With your pantry now stocked with jars of vibrant, homemade berry juice, you have a versatile ingredient ready to elevate countless culinary creations throughout the year. The possibilities are truly endless!
- Refreshing Beverages: The most obvious use is simply enjoying it chilled as a pure, refreshing drink. You can also dilute it with sparkling water for a light and fizzy beverage, or use it as the base for homemade fruit sodas.
- Custom Lemonades and Limeades: Transform your berry juice into delightful lemonade or limeade concentrates. For example, try the recipes for Strawberry Lemonade Concentrate or Blueberry Lemonade Concentrate for a taste of summer sunshine any time of year.
- Smoothies, Cocktails, and Mocktails: Add a splash of berry juice to your morning smoothies for an extra nutritional boost and vibrant flavor. It’s also an excellent mixer for both alcoholic cocktails (think berry margaritas or gin fizzes) and non-alcoholic mocktails, adding natural sweetness and complexity.
- Sauces and Glazes: Reduce the berry juice over medium heat to create a delicious, concentrated sauce perfect for drizzling over pancakes, waffles, ice cream, yogurt, or even savory dishes like roasted chicken, pork tenderloin, or duck.
- Dressings and Marinades: Use a bit of unsweetened berry juice as an acidic component in salad dressings or marinades, particularly for poultry or game.
- Desserts: Incorporate your canned juice into a variety of desserts. It’s fantastic for making homemade sorbets, popsicles, gelatin desserts, fruit tarts, or as a flavorful liquid component in cakes, muffins, and glazes for pastries.
- Jellies and Syrups: While you’ve made juice, it’s an excellent first step if you decide to venture into making jellies later in the year, as the juice is already extracted. You can also thicken it slightly to create fruit syrups for breakfast foods.
Yield Varies
Canning Berry Juice
Ashley Adamant
15 mins
2 hrs
15 mins
2 hrs 30 mins
Equipment
-
Water Bath Canner
-
Large Saucepan or Stockpot
-
Potato Masher or Sturdy Spoon
-
Jelly Bag or Fine-Mesh Strainer lined with Cheesecloth
-
Canning Jars (Half-pints, Pints, or Quarts)
-
New Canning Lids and Screw Bands
-
Jar Lifter
-
Canning Funnel (optional, but highly recommended)
-
Clean Towels
Ingredients
- Fresh Berries (quantity varies depending on yield desired; see yield estimates section)
- Water (approximately 1/2 cup per quart of berries for stovetop method; minimal for steam juicer)
- Granulated Sugar, optional, to taste (see notes for guidance)
- Bottled Lemon Juice or Citric Acid, required for elderberry juice (see notes for amounts)
Instructions
Extracting Berry Juice (Stovetop Method)
-
Prepare your chosen fruit by washing it thoroughly under cool water. Remove any stems (or hull strawberries) and discard any bruised or moldy berries to ensure the best flavor and safety.
-
Place the prepared fruit in a large, heavy-bottomed pot. Add water, generally about 1/2 cup for every 2 to 4 cups of fruit. For high-pectin fruits like currants and gooseberries, you may start with slightly more water (e.g., 1 cup per quart of fruit) to reduce the risk of activating pectin too quickly.
-
Bring the fruit and water to a gentle simmer over medium heat. Cook for approximately 5 to 10 minutes, frequently mashing the berries with a potato masher or sturdy spoon. Continue until the berries have completely broken down and generously released their juice. Be careful not to overcook, especially with high-pectin fruits, to avoid making jam.
-
Strain the cooked fruit mixture through a jelly bag or a fine-mesh strainer lined with a double layer of dampened cheesecloth. Position the bag/strainer over a large bowl and allow the juice to drip completely, preferably overnight in a cool place, for the clearest juice. Avoid squeezing the pulp to prevent cloudy juice.
Canning Berry Juice (Water Bath Method)
-
Begin by preparing your water bath canner. Fill it with water and heat to a gentle simmer (around 180°F / 82°C). Wash and heat your canning jars, lids, and rings. Keep the jars hot until filling.
-
Heat the strained berry juice in a clean saucepan over medium-high heat until it reaches approximately 190°F (88°C). Do not bring it to a rolling boil. Reduce the heat to low and maintain the juice at 190°F for 5 minutes. If using, stir in optional sugar until fully dissolved. For elderberry juice, add the required bottled lemon juice or citric acid at this stage.
-
Carefully ladle the hot juice into your hot, prepared canning jars, ensuring you leave exactly 1/4 inch (0.6 cm) headspace at the top. Remove any air bubbles by gently running a non-metallic utensil around the inside of the jar. Wipe the jar rims clean with a damp cloth. Center a hot lid on each jar, then screw on the screw band fingertip tight.
-
Carefully place the filled jars onto the rack in your simmering water bath canner. Ensure all jars are completely covered by at least 1 inch (2.5 cm) of water. Cover the canner with its lid. Bring the water to a full, rolling boil. Once boiling vigorously, start your timer. Process half-pints, pints, and quarts for 15 minutes. If canning at altitudes above 6,000 feet, increase the processing time to 20 minutes.
-
After the processing time is complete, turn off the heat under the canner. Leave the jars in the hot water for an additional 5 minutes to cool slightly. This helps to stabilize the temperature and prevents siphoning.
-
Using a jar lifter, carefully remove the hot jars from the canner and place them upright on a towel-lined counter, away from drafts. Allow them to cool undisturbed for 12 to 24 hours. After cooling, check seals: lids should be concave and not flex when pressed. Remove the screw bands. Store properly sealed jars in a cool, dark place for up to 18 months. Refrigerate any unsealed jars for immediate consumption and all opened jars.
Notes
Berry Types Suitable for Canning Juice
This tested recipe works beautifully with a wide variety of soft summer fruits, ensuring delicious results. These include:
- Blackberries
- Blueberries
- Currants (Red & Black)
- Dewberries
- Gooseberries
- Huckleberries
- Loganberries
- Mulberries
- Raspberries (Red, Black, Gold)
- Strawberries
Important Note on Elderberries: Elderberries are not naturally acidic enough for safe water bath canning of their juice without additional acid. If canning elderberry juice, you must add 1/2 tablespoon of bottled lemon juice per cup of juice (or 1 full tablespoon per pint). Alternatively, you can use 1 teaspoon of citric acid for every 8 cups of juice (or 1/8th teaspoon per pint) to ensure proper acidification for safe preservation.
Yield Estimates for Juice Extraction
When using the stovetop method with 1/2 cup of water, for each cup of juice yielded, you will generally need the following approximate amounts of fruit:
- Blackberries: ~ 2 1/2 cups of berries
- Blueberries: ~ 2 to 3 cups of berries (note: blueberry juice yield can be highly variable depending on variety and ripeness)
- Elderberries: ~ 1 pound stemmed fruit
- Raspberries: ~ 3 to 3 1/2 cups of berries
- Strawberries: ~ 3 1/4 to 3 1/2 cups chopped fruit (this typically comes from 1 quart of fresh, whole strawberries)
- Currants (red or black): ~ 1 pound stemmed fruit (red currants generally yield more juice than black)
Adding Sugar to Berry Juice
Adding sugar to your berry juice is entirely optional and is not required for safe canning. The recommendation for average sweetness, if desired, is approximately 1/4 to 1/2 cup of granulated sugar per quart of juice, or 1 to 2 tablespoons per cup of juice. Many prefer to can their juice unsweetened, allowing them to sweeten it to their exact preference when it’s opened for use.
(Personally, I find that adding sugar is truly only necessary when canning juice from very tart fruits, such as gooseberries, currants, or particularly sour varieties of raspberries, to make them more palatable.)
Nutrition
Serving:
0.5
cup
,
Calories:
53
kcal
,
Carbohydrates:
13
g
,
Sodium:
33
mg
,
Potassium:
116
mg
,
Sugar:
13
g
,
Vitamin A:
7
IU
,
Vitamin C:
48
mg
,
Calcium:
1
mg
,
Iron:
1
mg
Nutrition information is automatically calculated and should only be used as an approximation. Actual values may vary.
Like this? Leave a comment below!
Your feedback and experiences are greatly appreciated!
More Ways to Preserve Your Berry Harvest
If you’ve enjoyed the process of canning berry juice, you’ll be delighted to discover numerous other methods to preserve the abundant goodness of summer berries. Expand your home canning repertoire and ensure your pantry is always stocked with homemade delights:
- Canning Blueberry Juice: A dedicated guide for vibrant blueberry goodness.
- Canning Strawberry Juice: Learn to preserve the sweet, aromatic flavor of strawberries.
- Canning Gooseberries: A guide to preserving these unique, tart berries.
- Canning Raspberries: Capture the delicate sweetness of raspberries for year-round enjoyment.
- Freezing Berries: A simple method for long-term storage of whole berries.
- Making Homemade Berry Jam: Turn your berries into delicious spreads.