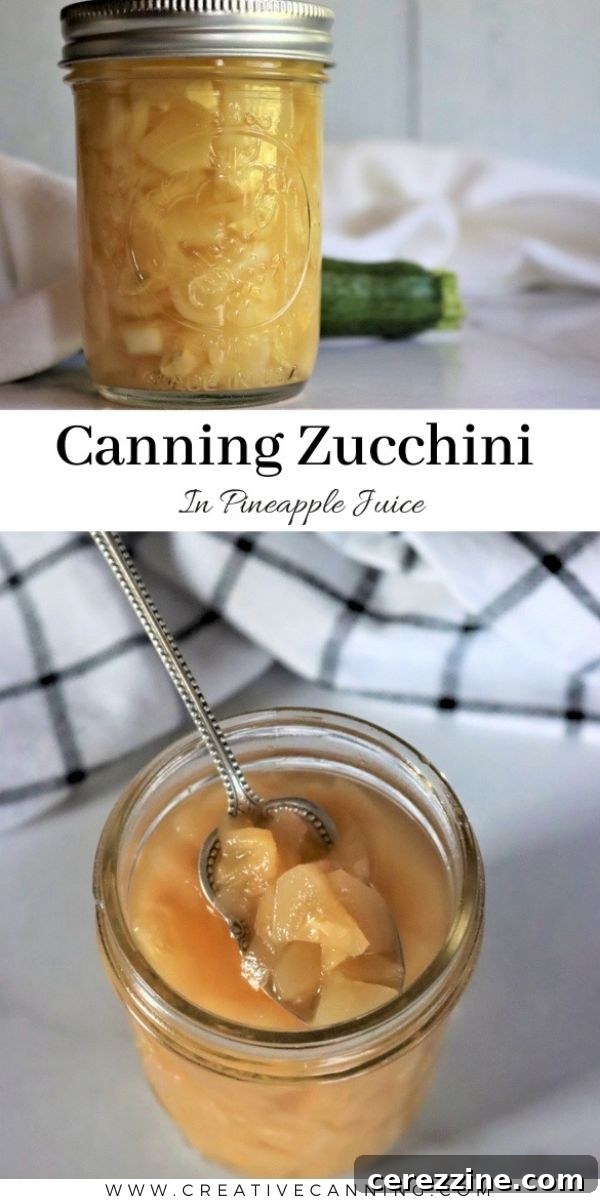
Canning Zucchini in Pineapple Juice: The Ultimate Guide to “Mock Pineapple”
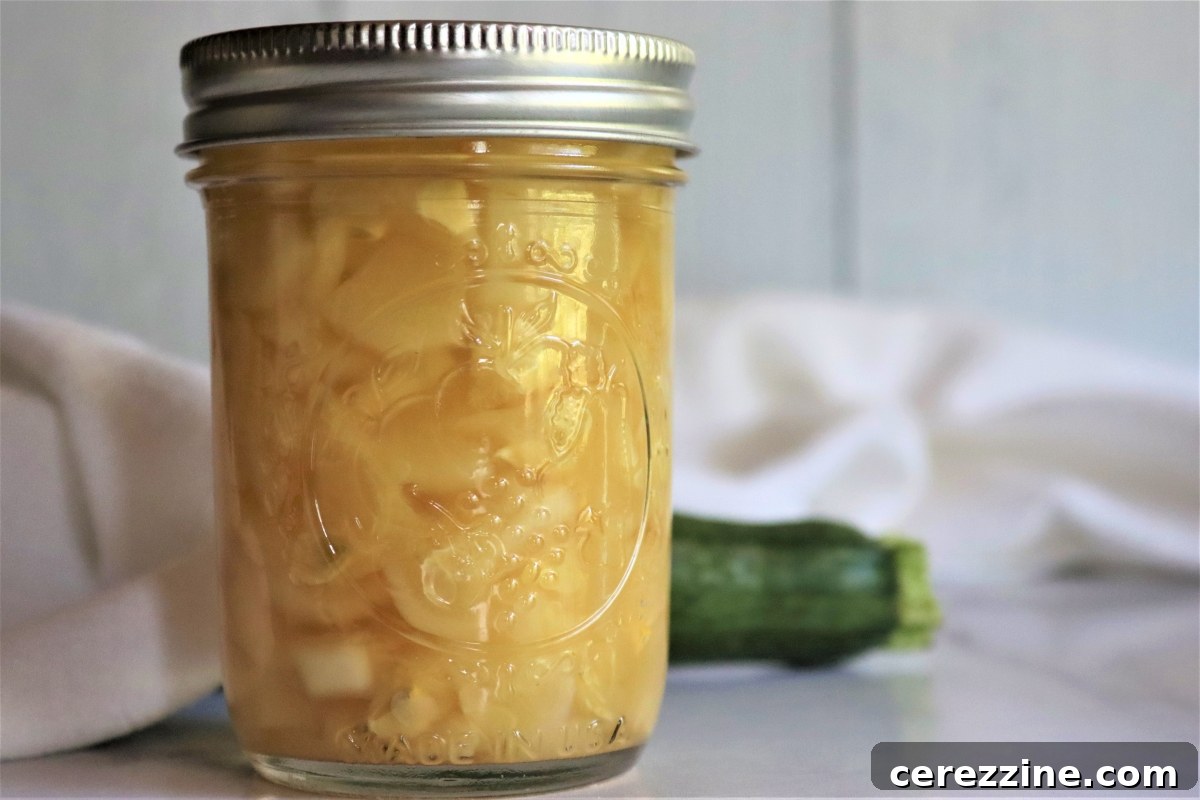
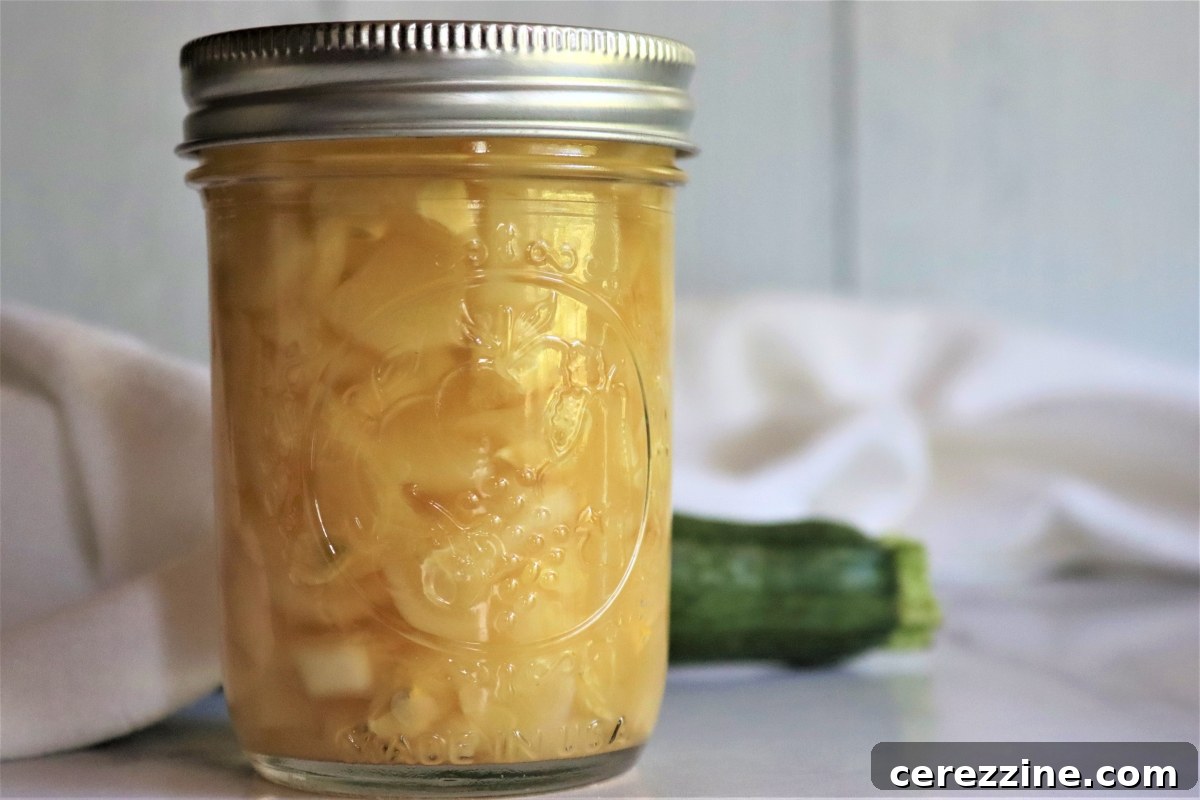
Transforming garden-fresh zucchini into a tropical delight may sound like a culinary magic trick, but it’s a wonderfully real and incredibly delicious way to preserve your summer bounty. Canning zucchini in pineapple juice, often dubbed “mock pineapple,” offers a unique twist on traditional home canning. This method is not only a fantastic way to utilize an abundant harvest but also provides one of the few USDA-approved recipes for canning zucchini at home using a water bath canner. The result is a sweet, tangy, and versatile “fruit” that tastes remarkably like real pineapple, perfect for snacks, desserts, and savory dishes.
Why Can Zucchini in Pineapple Juice? Unlocking a World of Flavor and Preservation
At first glance, the idea of combining zucchini and pineapple juice might seem unusual. Why would anyone want to turn a humble squash into a tropical fruit? The answer lies in zucchini’s remarkable versatility and the inherent challenges of preserving it effectively. Understanding these benefits will surely make you eager to try this ingenious canning method.
Zucchini’s Flavor-Absorbing Power: A Culinary Chameleon
Zucchini, with its mild flavor and high water content, acts like a culinary sponge, readily absorbing the tastes of its surrounding ingredients. This characteristic is what makes it so adaptable in a wide array of recipes, from savory stir-fries to sweet breads. When immersed in sweet, acidic pineapple juice and a touch of lemon, zucchini undergoes a remarkable transformation. It sheds its garden-vegetable identity and takes on the vibrant, sweet-tart essence of pineapple. With a hint of sugar to balance the acidity and enhance the tropical profile, you’ll be hard-pressed to distinguish it from actual canned pineapple. This culinary illusion has a historical precedent; during the Great Depression and pioneer days, zucchini was famously used to create “mock apple pie” before apple orchards were widespread. Similarly, “mock pineapple” taps into this transformative power, turning an ordinary vegetable into an extraordinary fruit substitute.
Overcoming Zucchini Preservation Challenges: A Safe and Delicious Solution
While zucchini plants are famously prolific, yielding an overwhelming abundance during peak season, preserving this bounty can be surprisingly difficult. Unlike many other vegetables, zucchini doesn’t freeze particularly well; its high water content often leads to a mushy, unappetizing texture upon thawing. Dehydrating zucchini can be a viable option for making things like zucchini flour, but it’s not ideal for retaining a fruit-like consistency for snacking or baking. This leaves canning as a prime method, but even here, zucchini presents hurdles.
Being a low-acid vegetable, zucchini generally requires pressure canning to be safely preserved on its own. However, its soft texture often causes it to disintegrate under the intense heat and pressure of a pressure canner, resulting in an unappealing, mushy product. This is why most approved zucchini canning recipes involve significant acidification. You’ll find recipes for zucchini marmalade, zucchini pickles, or zucchini relish, all of which use vinegar or lemon juice to create a high-acid environment suitable for water bath canning. The only USDA-approved pressure canning recipe for plain zucchini typically involves combining it with tomatoes to boost acidity, essentially creating a zucchini pasta sauce. If pickles and tomato-based sauces aren’t your preferred ways to preserve zucchini, then canning it in pineapple juice offers a refreshing and delightful alternative. This recipe allows you to safely process zucchini using a simple water bath canner, bypassing the complexities of pressure canning for most zucchini products, and yielding a product that tastes remarkably like home-canned pineapple. It’s truly amazing to produce such a tropical treat from a northern garden!
(You can even enhance the homemade touch by using home-canned pineapple juice for this recipe!)
Preparing Zucchini Pineapple: From Garden to Tropical Delight
The journey to delicious zucchini pineapple begins with careful preparation. Every step, from selecting your zucchini to pre-cooking it, contributes to the final texture, flavor, and safety of your canned product.
Choosing and Preparing Your Zucchini
When selecting zucchini for this recipe, aim for medium-sized, firm zucchini. Overly large zucchini can be stringy and have larger seeds, which might impact the texture of your mock pineapple. Freshness is key for the best results. The first decision you’ll make is whether to dice or shred your zucchini. Both methods work wonderfully, but yield slightly different textures and are best suited for different uses:
- Shredded Zucchini Pineapple: This option is quick and easy, resulting in a product much like crushed pineapple. It’s ideal for use in baked goods such as cakes, muffins, and breads, or as a topping for yogurt and ice cream where a finer texture is desired.
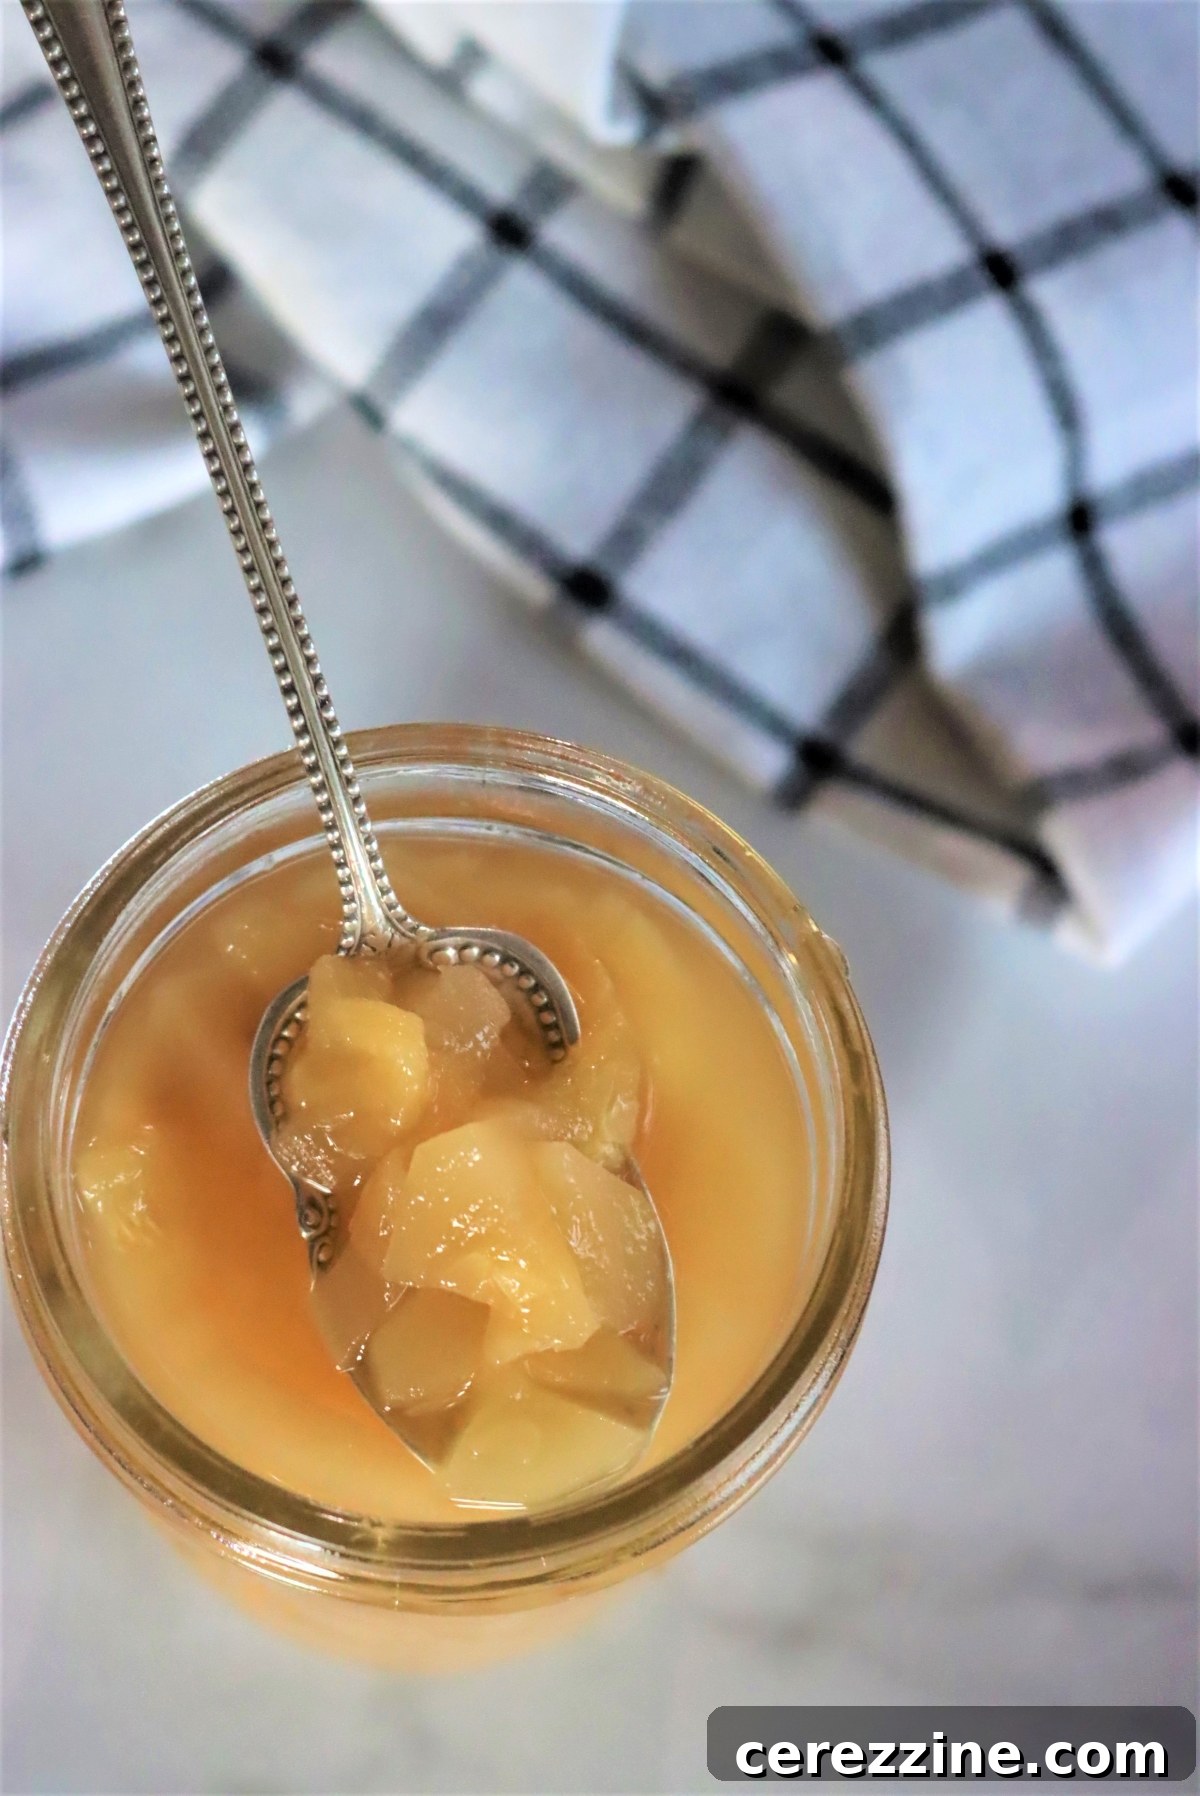
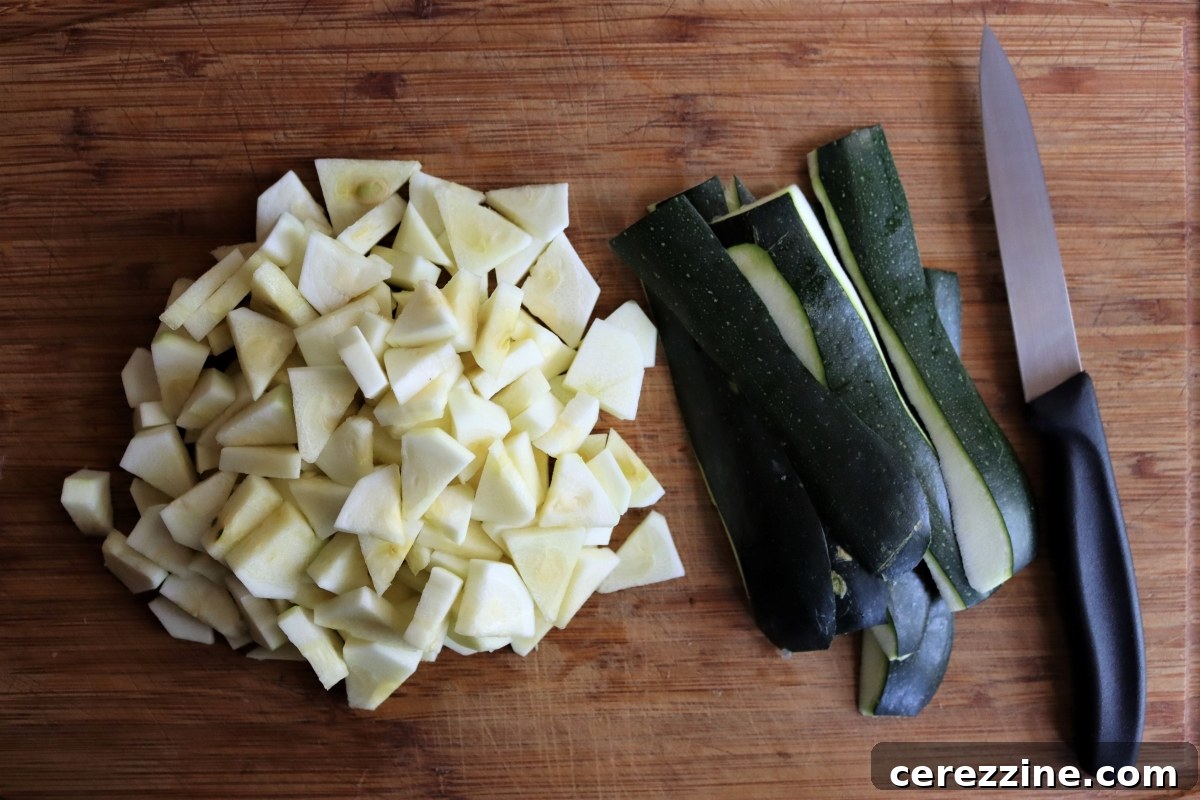
- Diced Zucchini Pineapple: If you prefer a texture resembling pineapple chunks, dicing is the way to go. This is excellent for snacking straight from the jar, adding to fruit salads, or using in recipes where distinct pieces are preferred. For a more authentic pineapple look, cut your zucchini into 1/2-inch cubes or small triangles. You can achieve the triangular shape by first slicing the zucchini into rounds, then cutting each round into pie-like wedges.
To Peel or Not to Peel? Peeling the zucchini is optional. If you leave the peels on, your canned zucchini pineapple will have green specks, which is perfectly fine and doesn’t affect the taste or safety. However, if you’re aiming for a true “mock pineapple” illusion, especially if you plan to surprise skeptical eaters (like kids!), peeling the zucchini will ensure a uniformly yellow appearance that more closely mimics real pineapple.
Essential Pre-Canning Steps: Hot Pack Method for Safety and Flavor
Before you begin the cooking process, ensure your canning equipment is ready. Prepare a water bath canner by filling it with water and bringing it to a simmer (around 180°F / 82°C). This ensures your canner is ready for the hot jars once packed. Also, wash and prepare your canning jars and lids according to manufacturer instructions. Jars should be clean and hot, and lids should be new and ready to seal.
This recipe utilizes the “hot pack” method, which is crucial for both safety and quality. The diced or shredded zucchini is cooked with the pineapple juice, lemon juice, and sugar before being packed into jars. This pre-cooking step serves several vital purposes:
- Ensures Full Acidification: It’s imperative that the zucchini is fully cooked and, more importantly, thoroughly penetrated by the acidic pineapple and lemon juice. This ensures that the pH level of the zucchini is consistently low throughout each piece, which is critical for safe water bath canning. Simmering for 20 minutes allows the acidity to reach the core of every zucchini piece.
- Better Texture: The hot pack process softens the zucchini, preventing it from floating in the jars during canning and creating a more desirable, consistent texture akin to canned fruit.
- Enhanced Flavor Infusion: Cooking the zucchini in the pineapple juice mixture allows the flavors to meld and deepen, ensuring every piece is infused with that delightful tropical taste.
Combine your prepared zucchini, pineapple juice, bottled lemon juice, and sugar in a large saucepan. Bring the mixture to a rolling boil, then reduce the heat and simmer for a full 20 minutes. Do not skip or shorten this simmering time; it is a critical step for ensuring the safety of your canned product.
Canning Zucchini Pineapple: A Step-by-Step Guide for Home Preservers
Once your zucchini has been thoroughly pre-cooked and acidified, the canning process is straightforward. Following these steps carefully will ensure a safe and successful batch of homemade zucchini pineapple.
Packing and Processing Your Jars
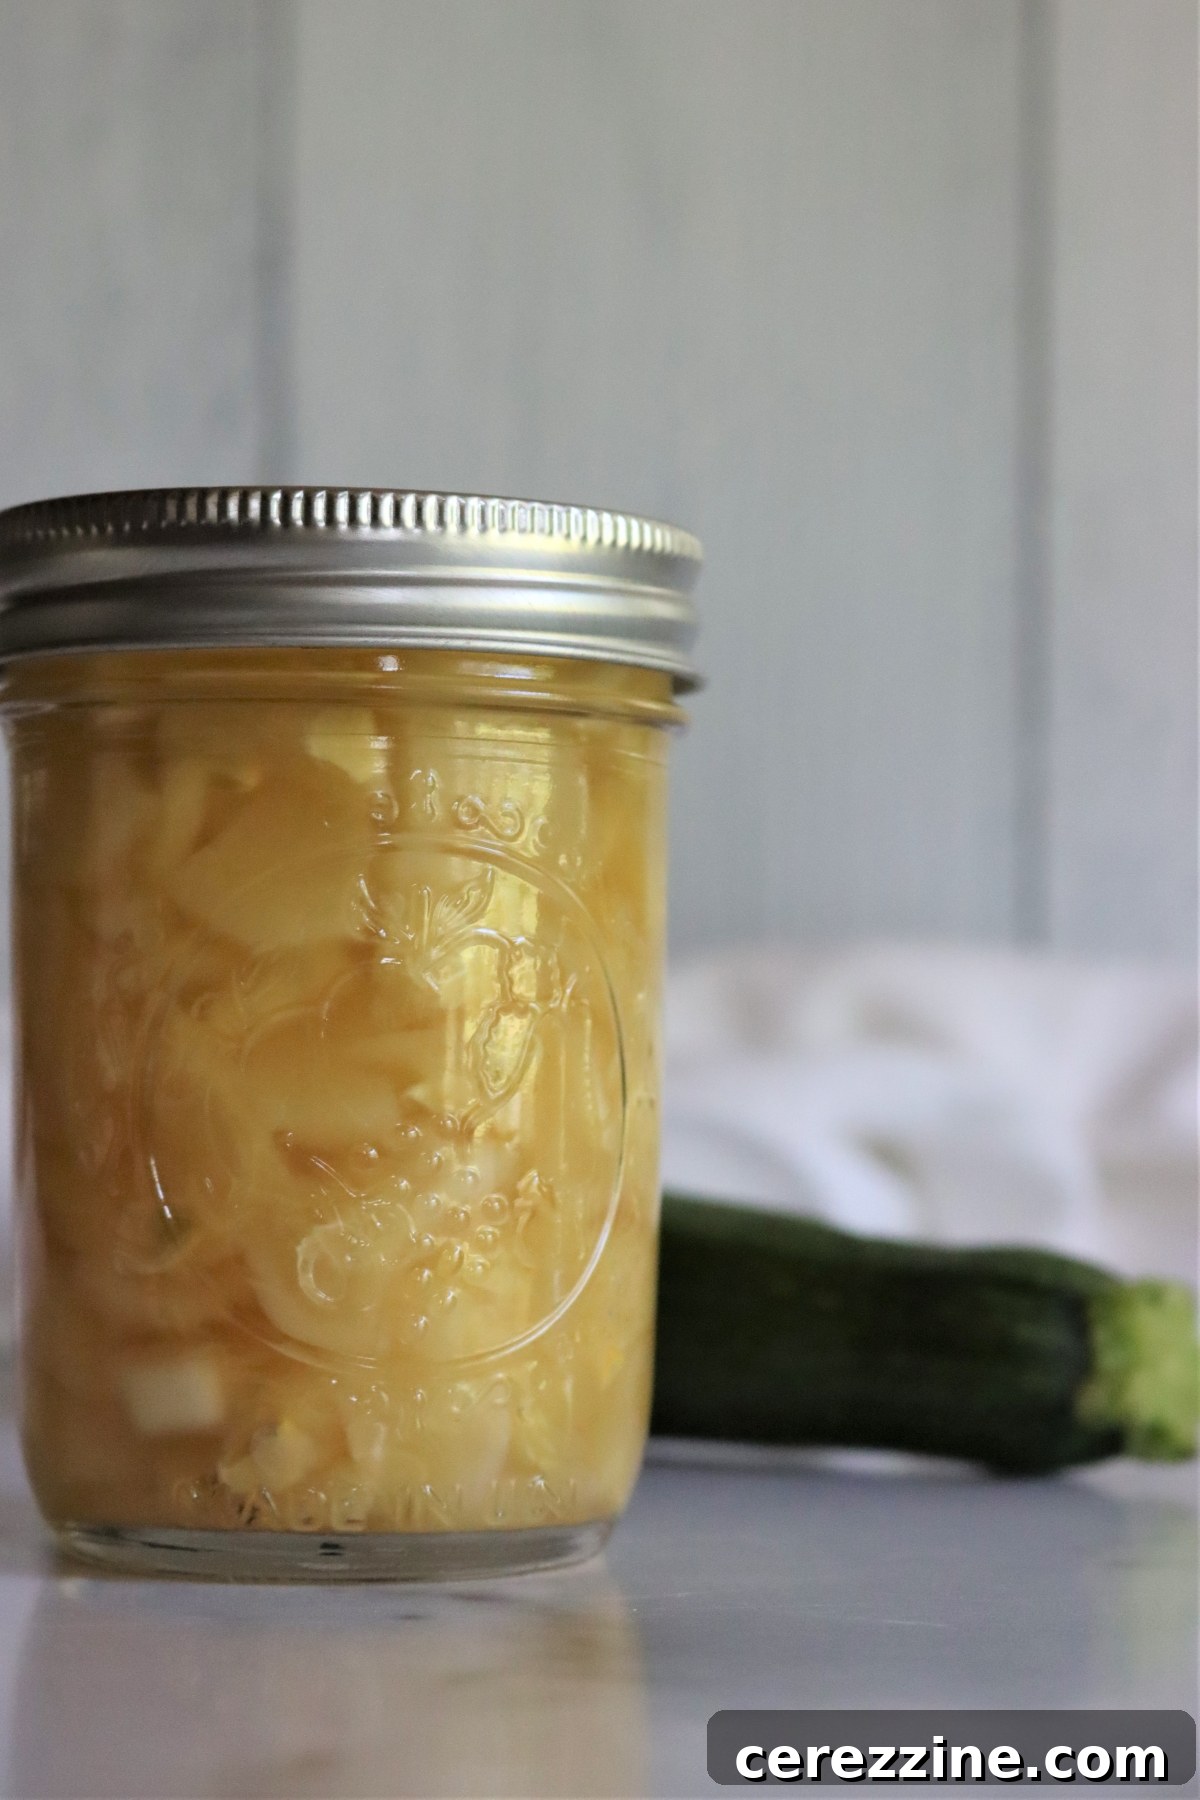
- Pack Jars: Carefully spoon the hot zucchini pineapple mixture into your prepared, hot canning jars, leaving 1/2 inch of headspace. Headspace is the empty space between the food and the rim of the jar, which is essential for proper sealing and to prevent food from boiling out during processing. Use a non-metallic utensil to remove any air bubbles by running it around the inside of the jar. Top off with additional hot pineapple juice mixture if necessary, ensuring the zucchini is completely submerged.
- Wipe Rims and Seal: Wipe the rims of the jars clean with a damp cloth to remove any food particles that could interfere with the seal. Center a clean, new lid on each jar, and then apply a screw band to finger-tight. Do not overtighten, as this can prevent air from escaping and compromise the seal.
- Load Canner: Carefully place the filled and sealed jars into the simmering water bath canner, ensuring they are fully submerged by at least 1-2 inches of water. Bring the canner to a full, rolling boil.
- Process Jars: Once the water reaches a full rolling boil, begin your processing time. For half-pints and pint jars, process for 15 minutes at altitudes below 1,000 feet. It is crucial to adjust processing times for higher altitudes to ensure food safety. Refer to the table below for precise adjustments:

Altitude Adjustment Table for Canning Zucchini Pineapple:
- 0 to 1,000 feet: Process for 15 minutes
- 1,001 to 6,000 feet: Process for 20 minutes
- 6,001 feet or higher: Process for 25 minutes
These adjustments are necessary because water boils at a lower temperature at higher altitudes, requiring longer processing times to achieve the same sterilization effect. Always adhere to these guidelines for safe canning.
Cooling and Storage
Once the processing time is complete, turn off the heat and allow the jars to remain in the canner for an additional 5 minutes. This brief resting period helps to prevent siphoning (loss of liquid from the jars) and encourages a stronger seal. After 5 minutes, carefully remove the jars from the canner using a jar lifter and place them on a towel-lined counter or a wire rack, ensuring there is space between each jar for air circulation. Allow them to cool undisturbed for 12 to 24 hours.
After the cooling period, check all seals. A properly sealed jar will have a lid that is concave (curved inwards) and does not flex when pressed. If any jar has not sealed, refrigerate it immediately and consume its contents within a few days. Properly sealed jars of zucchini pineapple can be stored in a cool, dark place for 12 to 18 months, maintaining their peak quality. Before storing, remove the screw bands, wipe down the jars, and label them with the contents and date.
Creative Ways to Use Zucchini Pineapple: Beyond the Jar
Once you’ve successfully canned your zucchini pineapple, you’ll discover its incredible versatility. It can be used in almost any application where you would typically use canned pineapple, adding a unique, garden-fresh twist to your favorite recipes.
Sweet & Savory Applications
- Baked Goods: If you opted for shredded zucchini pineapple, it’s a perfect substitute for crushed pineapple in carrot cakes, zucchini breads, muffins, and even pineapple upside-down cakes. Its moist texture and tropical flavor will elevate your desserts. Diced zucchini pineapple can also be incorporated into these recipes for a chunkier texture, or used as a topping.
- Dessert Toppings: Spoon it over ice cream, yogurt, cottage cheese, or pancakes for a delightful tropical touch. It makes a surprisingly good filling for crepes or tarts.
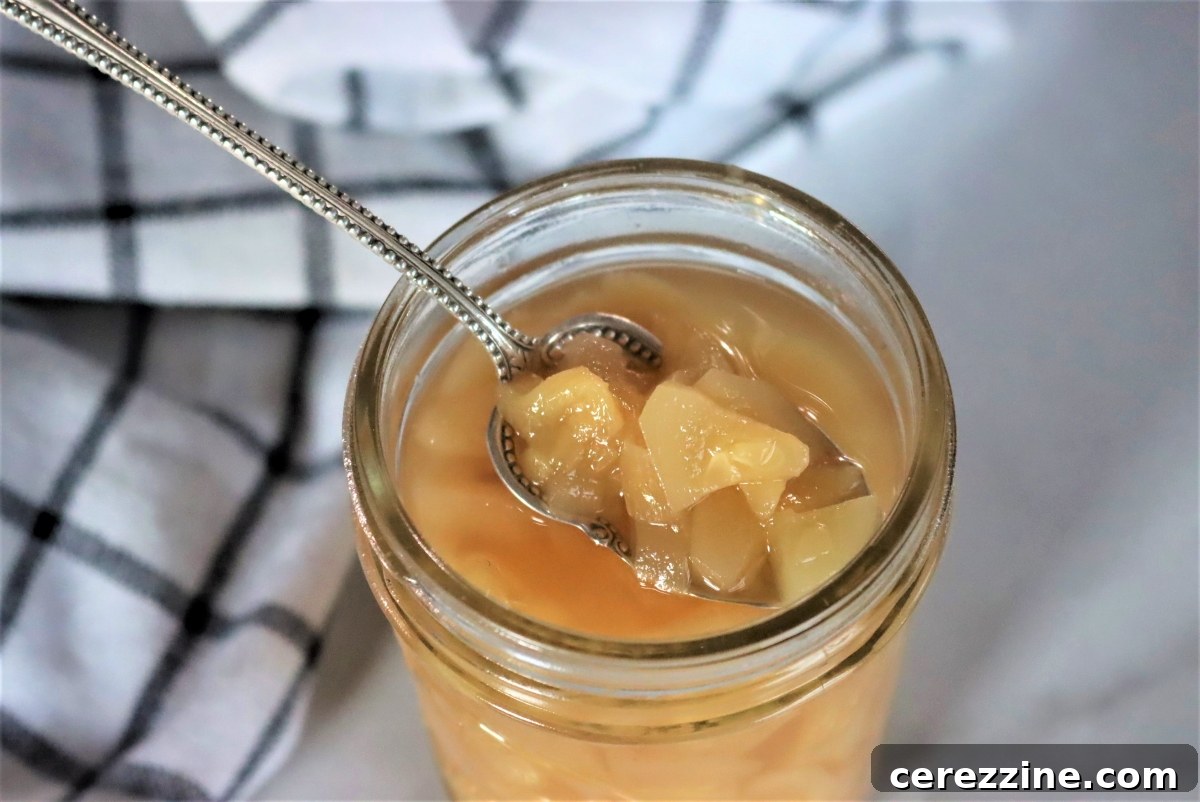
- Snack Time: Eat it straight out of the jar! It’s a refreshing and healthy snack that both kids and adults will love.
- Smoothies: Add a few spoonfuls to your morning smoothie for an extra boost of fruit flavor and a subtle sweetness.
- Savory Dishes: Don’t limit zucchini pineapple to just sweet recipes. Its tangy-sweet profile makes it a fantastic addition to savory dishes. Try adding diced zucchini pineapple to:
- Thai Curries: It pairs beautifully with coconut milk, spices, and chicken or tofu.
- Pineapple Chicken or Pork: Incorporate it into stir-fries or glazes for a delicious tropical infusion.
- Salsas: Combine it with red onion, cilantro, bell peppers, and jalapeño for a vibrant tropical salsa that’s excellent with grilled fish or chicken.
- Salads: Add it to a green salad with a light vinaigrette for a burst of unexpected flavor.
Canning Zucchini in Pineapple Juice: The Recipe
This recipe yields approximately 8 to 9 pints of delicious zucchini pineapple, perfect for stocking your pantry.
Equipment
- Large stock pot
- Water Bath Canner
- Canning jars (pints or half-pints)
- New canning lids and screw bands
- Jar lifter
- Non-metallic utensil for removing air bubbles
- Clean towels
Ingredients
- 16 cups zucchini, cubed or shredded (approx. 4 quarts)
- 5 3/4 cups unsweetened pineapple juice (from a 46 oz can or glass bottle)
- 1½ cup bottled lemon juice (critical for acidification)
- 3 cups sugar (adjust to taste, see notes)
Instructions
- Prepare your water bath canner by filling it with water and bringing it to a simmer (around 180°F / 82°C). Also, prepare your canning jars and lids by washing and heating them.
- Wash and peel the zucchini (peeling is optional but recommended for a “mock pineapple” appearance). Either shred it or dice it into 1/2-inch cubes or triangles.
- In a large stock pot, combine the prepared zucchini, pineapple juice, bottled lemon juice, and sugar. Bring the mixture to a full boil, then reduce heat and simmer for 20 minutes. This crucial step ensures the zucchini is fully cooked and acidified throughout.
- Carefully pack the hot zucchini pineapple mixture into the hot canning jars, leaving 1/2 inch of headspace. Use a non-metallic utensil to remove any air bubbles. Ensure the zucchini is fully submerged in the juice mixture.
- Wipe the jar rims clean, center a new lid on each jar, and apply screw bands to finger-tight.
- Load the packed jars into the simmering water bath canner, ensuring they are covered by 1-2 inches of water. Bring the canner to a full, rolling boil.
- Process the jars for the recommended time based on your altitude:
- 0 to 1,000 feet: 15 minutes
- 1,001 to 6,000 feet: 20 minutes
- 6,001 feet or higher: 25 minutes
- Once the processing time is complete, turn off the heat and allow the jars to sit in the canner for an additional 5 minutes.
- Carefully remove the jars from the canner using a jar lifter and place them on a towel-lined counter or wire rack to cool undisturbed for 12 to 24 hours.
- After 24 hours, check the seals. Lids should be concave and not flex when pressed. Any unsealed jars should be refrigerated and consumed immediately.
- Remove screw bands, clean jars, label, and store properly sealed jars in a cool, dark place.
Important Notes for Success
- This recipe is tested for half-pint and pint-sized jars. Do not use larger jars. Smaller quarter-pint jars are acceptable.
- Sugar Substitutions: The sugar in this recipe serves to balance the tartness of the lemon juice and to achieve a sweet taste comparable to commercially canned pineapple. While it enhances flavor, sugar is not required for the preservation safety of this recipe due to the high acidity of the lemon and pineapple juices. You can reduce the amount of sugar or substitute it with canning-safe sweeteners to suit your dietary needs or taste preferences.
- Bottled Lemon Juice and Pineapple Juice: For safety, this recipe specifically calls for bottled lemon juice and bottled pineapple juice. These products are standardized for acidity, ensuring a consistent and safe pH level for water bath canning. Do not substitute with fresh lemon juice or freshly squeezed pineapple juice, as their acidity levels can vary significantly and may compromise the safety of the canned product. For the best flavor, seek out bottled pineapple and lemon juices that come in glass bottles rather than tin cans or plastic, as these can sometimes impart a metallic or plastic taste to highly acidic foods.
Nutrition Information (Approximate per serving, based on 48 servings)
(Please note that nutrition information is automatically calculated and should only be used as an approximation.)
- Calories: 72 kcal
- Carbohydrates: 18g
- Protein: 1g
- Fat: 0.2g
- Saturated Fat: 0.04g
- Polyunsaturated Fat: 0.1g
- Monounsaturated Fat: 0.01g
- Sodium: 4mg
- Potassium: 153mg
- Fiber: 0.5g
- Sugar: 17g
- Vitamin A: 85 IU
- Vitamin C: 13mg
- Calcium: 11mg
- Iron: 0.3mg
More Canning Recipes to Explore
If you’ve enjoyed the process of making zucchini pineapple and are looking for more delicious ways to preserve the bounty of your garden, explore these other canning recipes:
Summer Canning Recipes
Preserve the taste of summer with these fruit and vegetable canning guides:
- 12+ Corn Canning Recipes
- Canning Peaches
- Canning Blackberries
- Canning Plums
- Canning Blueberries
- Canning Cherries
Vegetable Canning Recipes
Beyond zucchini, there are many other ways to preserve your favorite garden vegetables:
- Canning Corn
- Canning Tomatillos
- 30+ Tomato Canning Recipes
- Zucchini Relish
- Zucchini Pickles
- Zucchini Marmalade
- Zucchini in Tomato Juice (pressure canning)