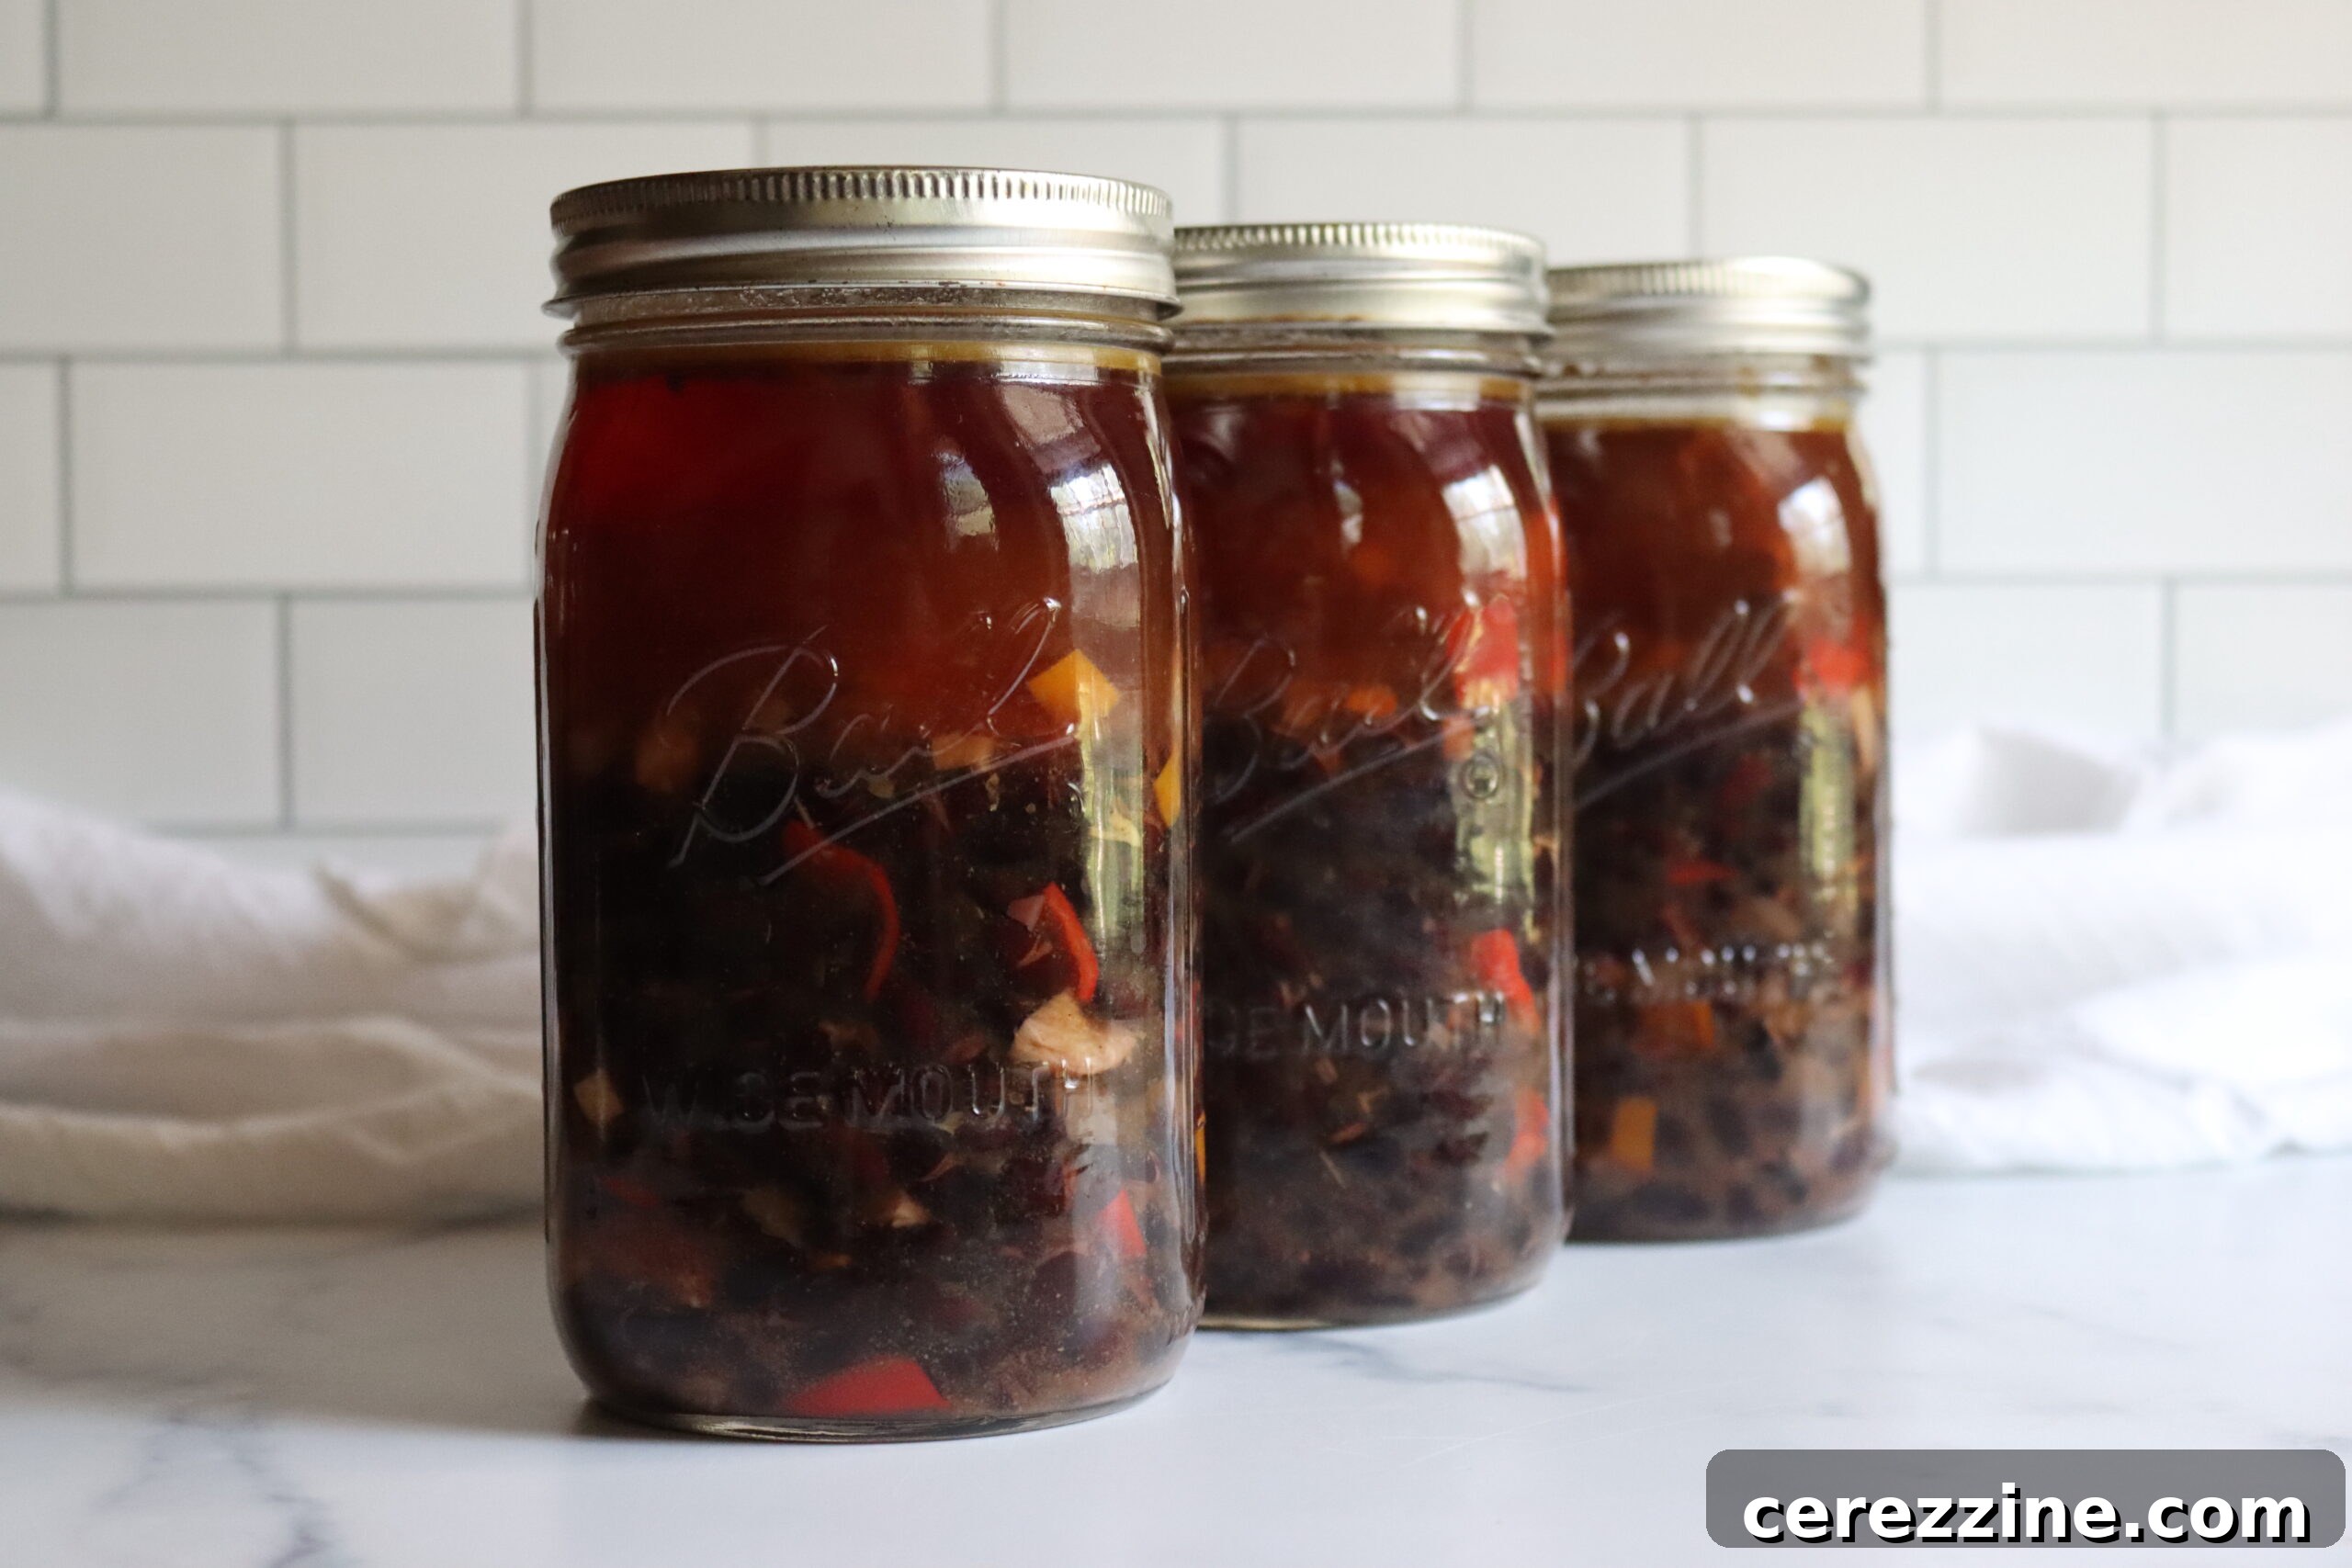
Imagine a hearty, flavorful bowl of traditional Cuban Black Bean Soup, rich with spices and depth, ready in minutes on a busy weeknight. This isn’t just a dream – it’s a delicious reality when you master the art of pressure canning this incredible recipe! Our comprehensive guide will show you how to transform humble dried black beans into a shelf-stable pantry staple, ensuring a quick, healthy, and authentic Cuban meal is always within reach.
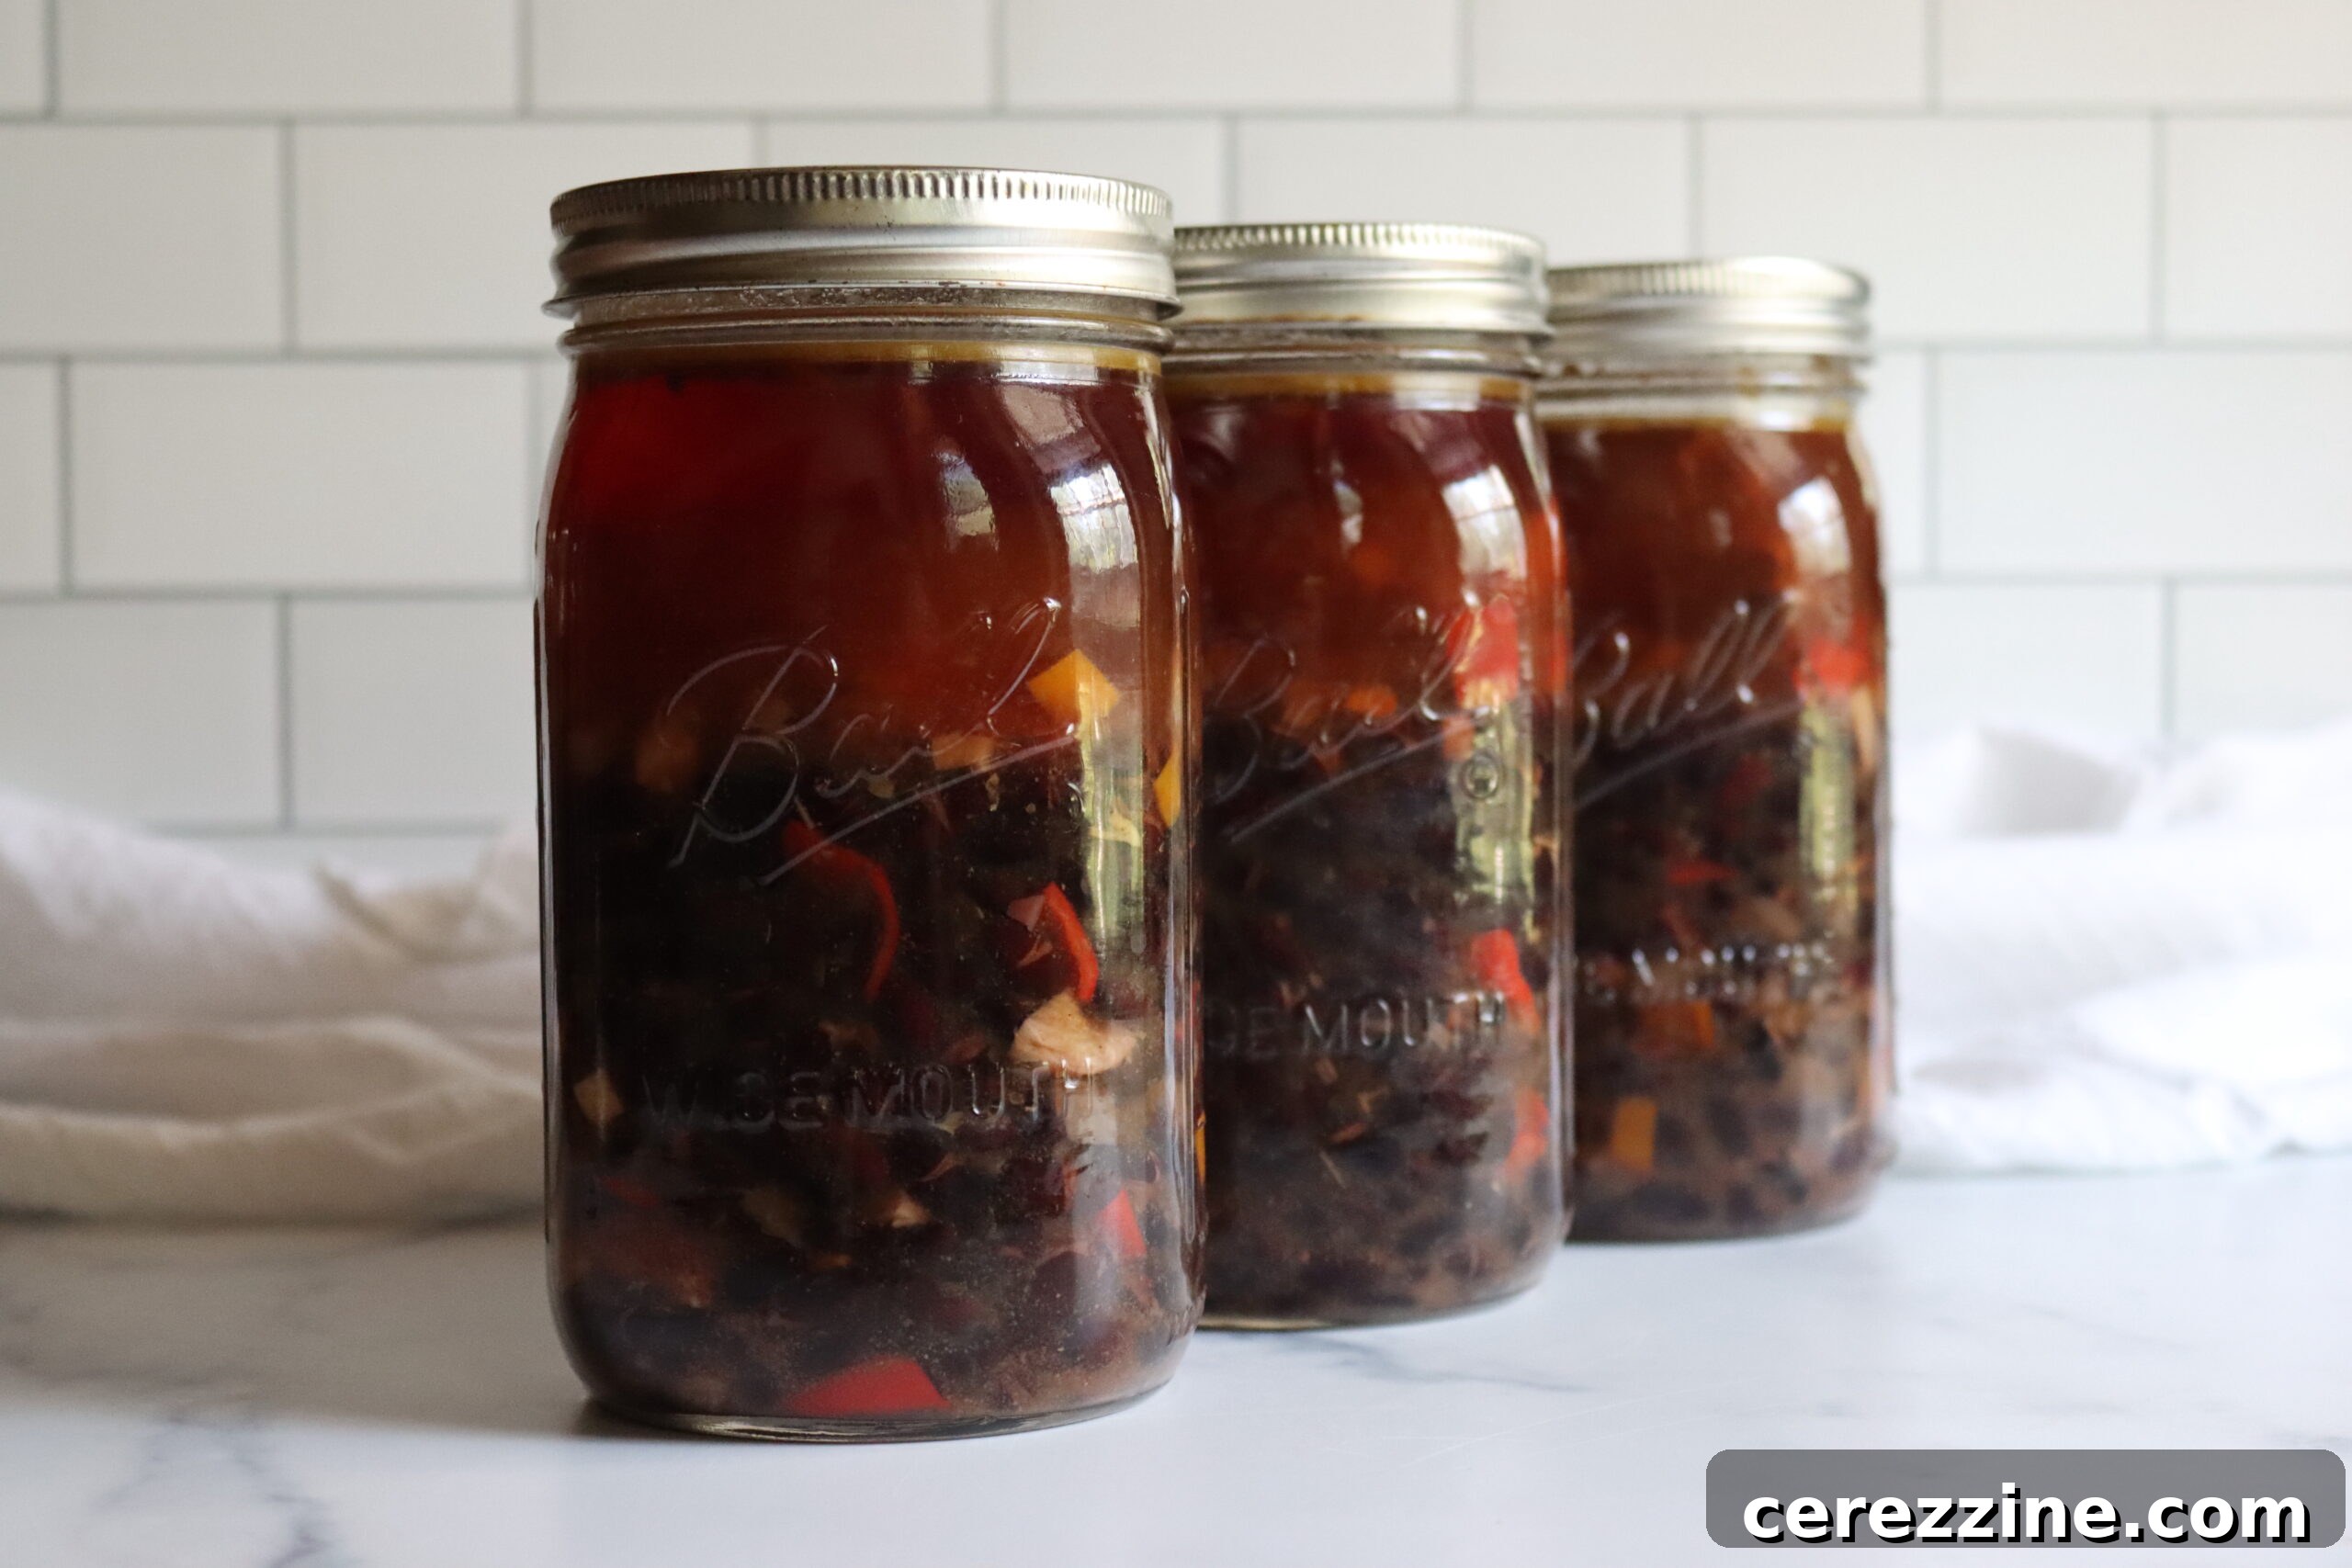
For home canners and food enthusiasts, finding reliable, tested recipes for pantry staples is a constant pursuit. I embarked on a similar quest for a safe pressure canning black bean soup recipe, often encountering bland versions or methods lacking proper safety guidelines. My search finally led me to an exceptional recipe from the esteemed University of California Cooperative Extension (UCCE) Master Food Preserver program. This wasn’t merely another black bean soup; it was an authentic Cuban Black Bean Soup, bursting with vibrant, savory flavors. It quickly became a cherished recipe, offering the convenience of a quick, healthy meal in a jar without compromising on taste or safety.
While perfectly satisfying as a stand-alone meal, this home-canned Cuban Black Bean Soup truly shines with a few thoughtful garnishes. Elevate each serving with a dollop of creamy sour cream or a swirl of plain Greek yogurt, a few slices of ripe avocado for a buttery contrast, and a generous sprinkle of fresh cilantro for a pop of herbaceous freshness. For added texture and crunch, consider crushed tortilla chips or a side of warm, buttery cornbread. The beauty of this soup lies in its versatility, allowing you to customize it to your heart’s desire.
One of the standout features of this Cuban Black Bean Soup recipe is its adaptability. The original formulation includes ham, which contributes a traditional smoky depth that is characteristic of Cuban cuisine. However, for those seeking a plant-based option, simply omit the ham entirely. Replace the meat broth with a high-quality homemade or store-bought vegetable broth, and you’ll have a wonderfully rich and satisfying vegetarian soup that’s safe for pressure canning. This makes it an ideal choice for diverse dietary preferences, ensuring everyone can enjoy its incredible flavor.
Ingredients for Canning Black Bean Soup
Crafting this delicious Cuban Black Bean Soup for pressure canning requires a carefully measured list of ingredients to ensure both outstanding flavor and canning safety. This recipe, meticulously developed by the UCCE Master Food Preserver program at the University of California, yields a generous batch of 7 quarts, perfect for stocking your pantry. Each component plays a crucial role in building the soup’s iconic taste profile. Here’s what you’ll need:
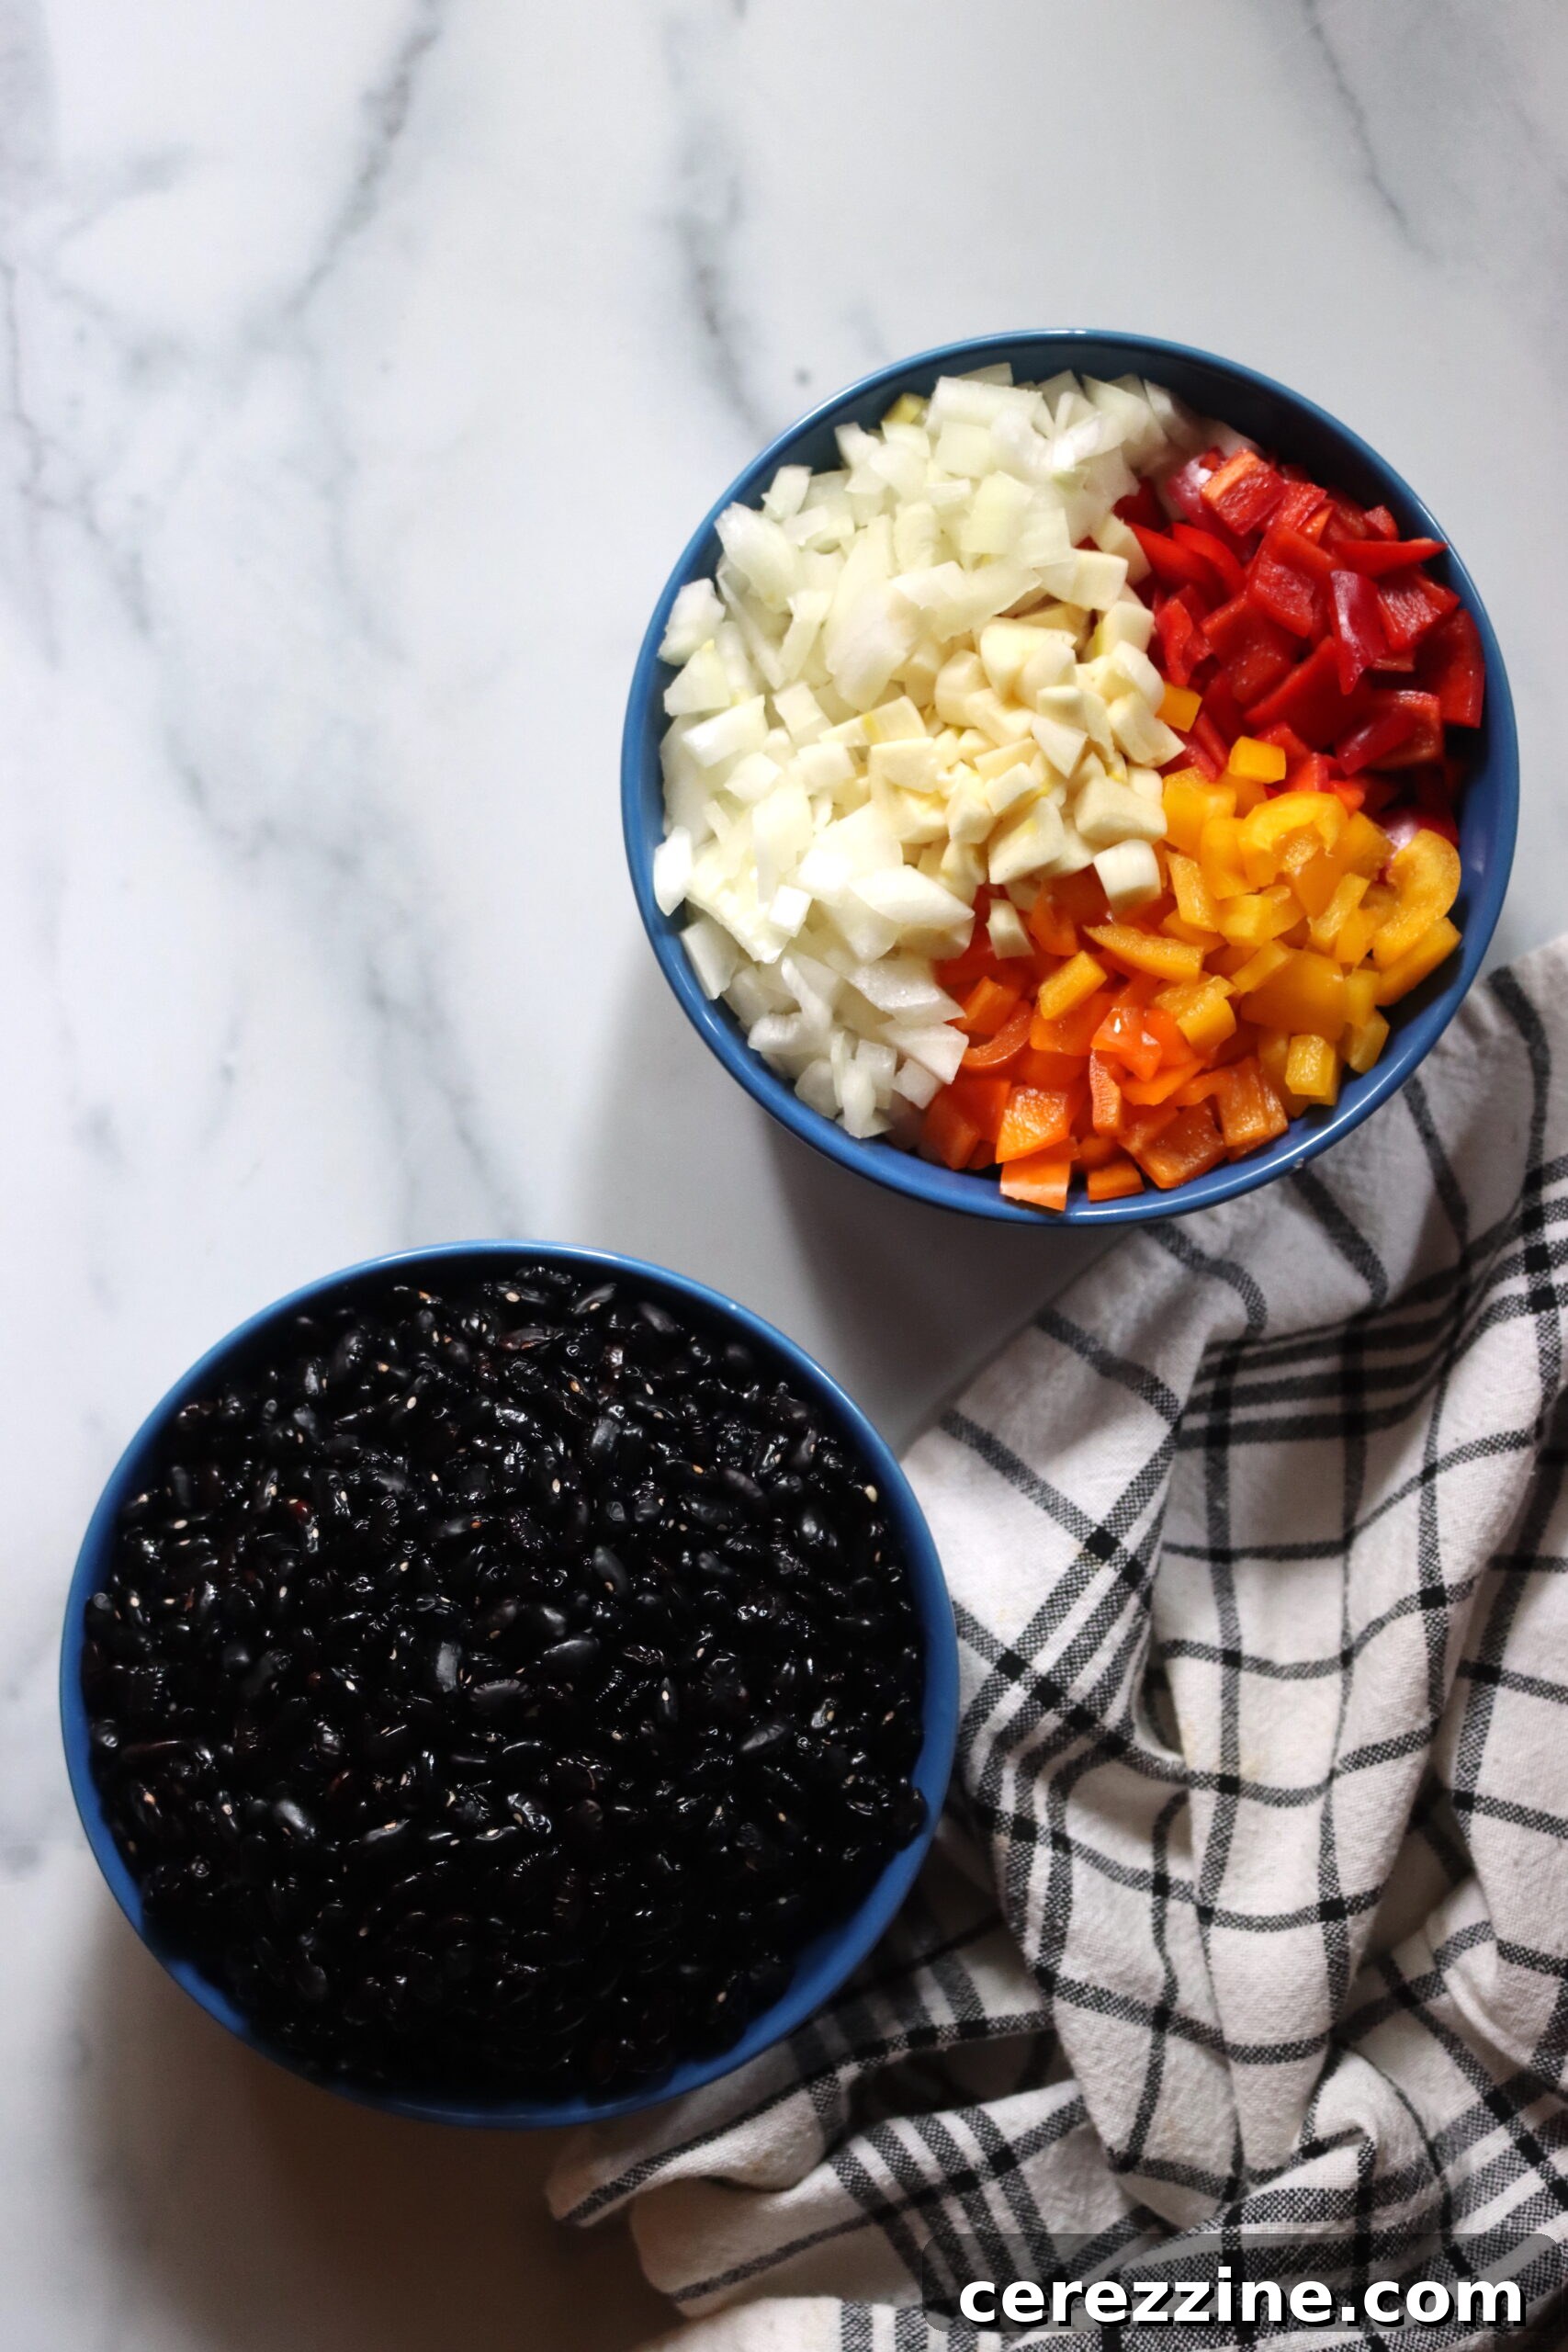
- 2 pounds dried black beans (about 5 cups)
- 2 cups onions, chopped (250 g)
- 1 cup peppers, sweet or hot, chopped (100 g)
- 6 Tbsp garlic, chopped
- 2 Tbsp Oil
- 1 ½ Tbsp Salt
- 1 ½ Tbsp ground Cumin
- 1 Tbsp dried oregano
- ¼ cup red wine vinegar or cider vinegar
- ½ pound ham, cubed into ½ inch pieces (optional)
- 16 cups meat or vegetable broth
- Water
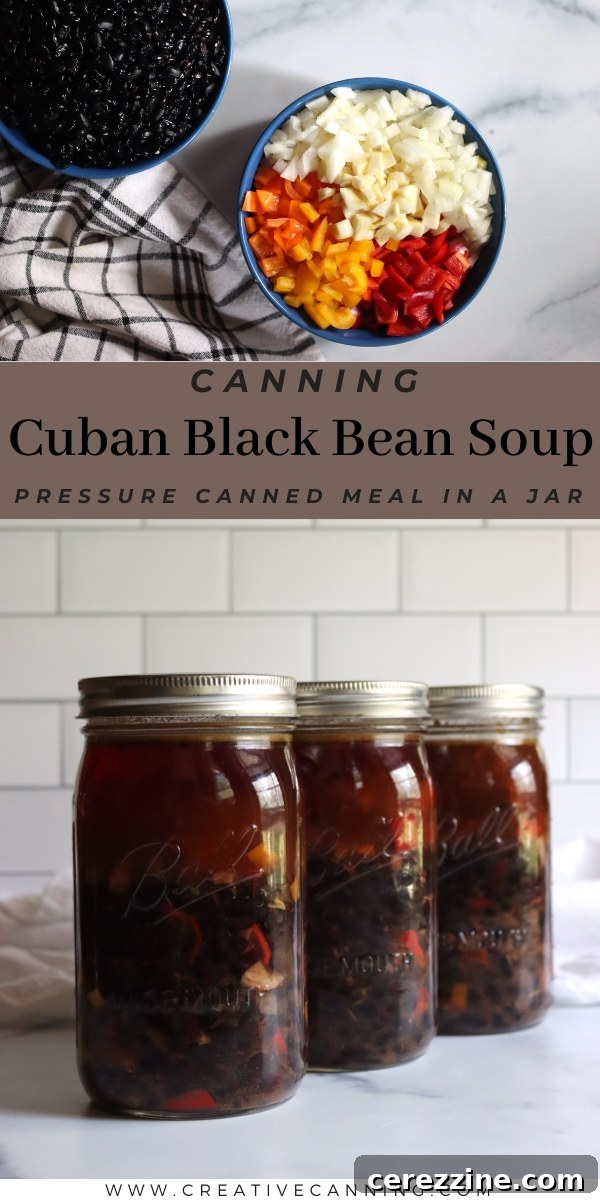
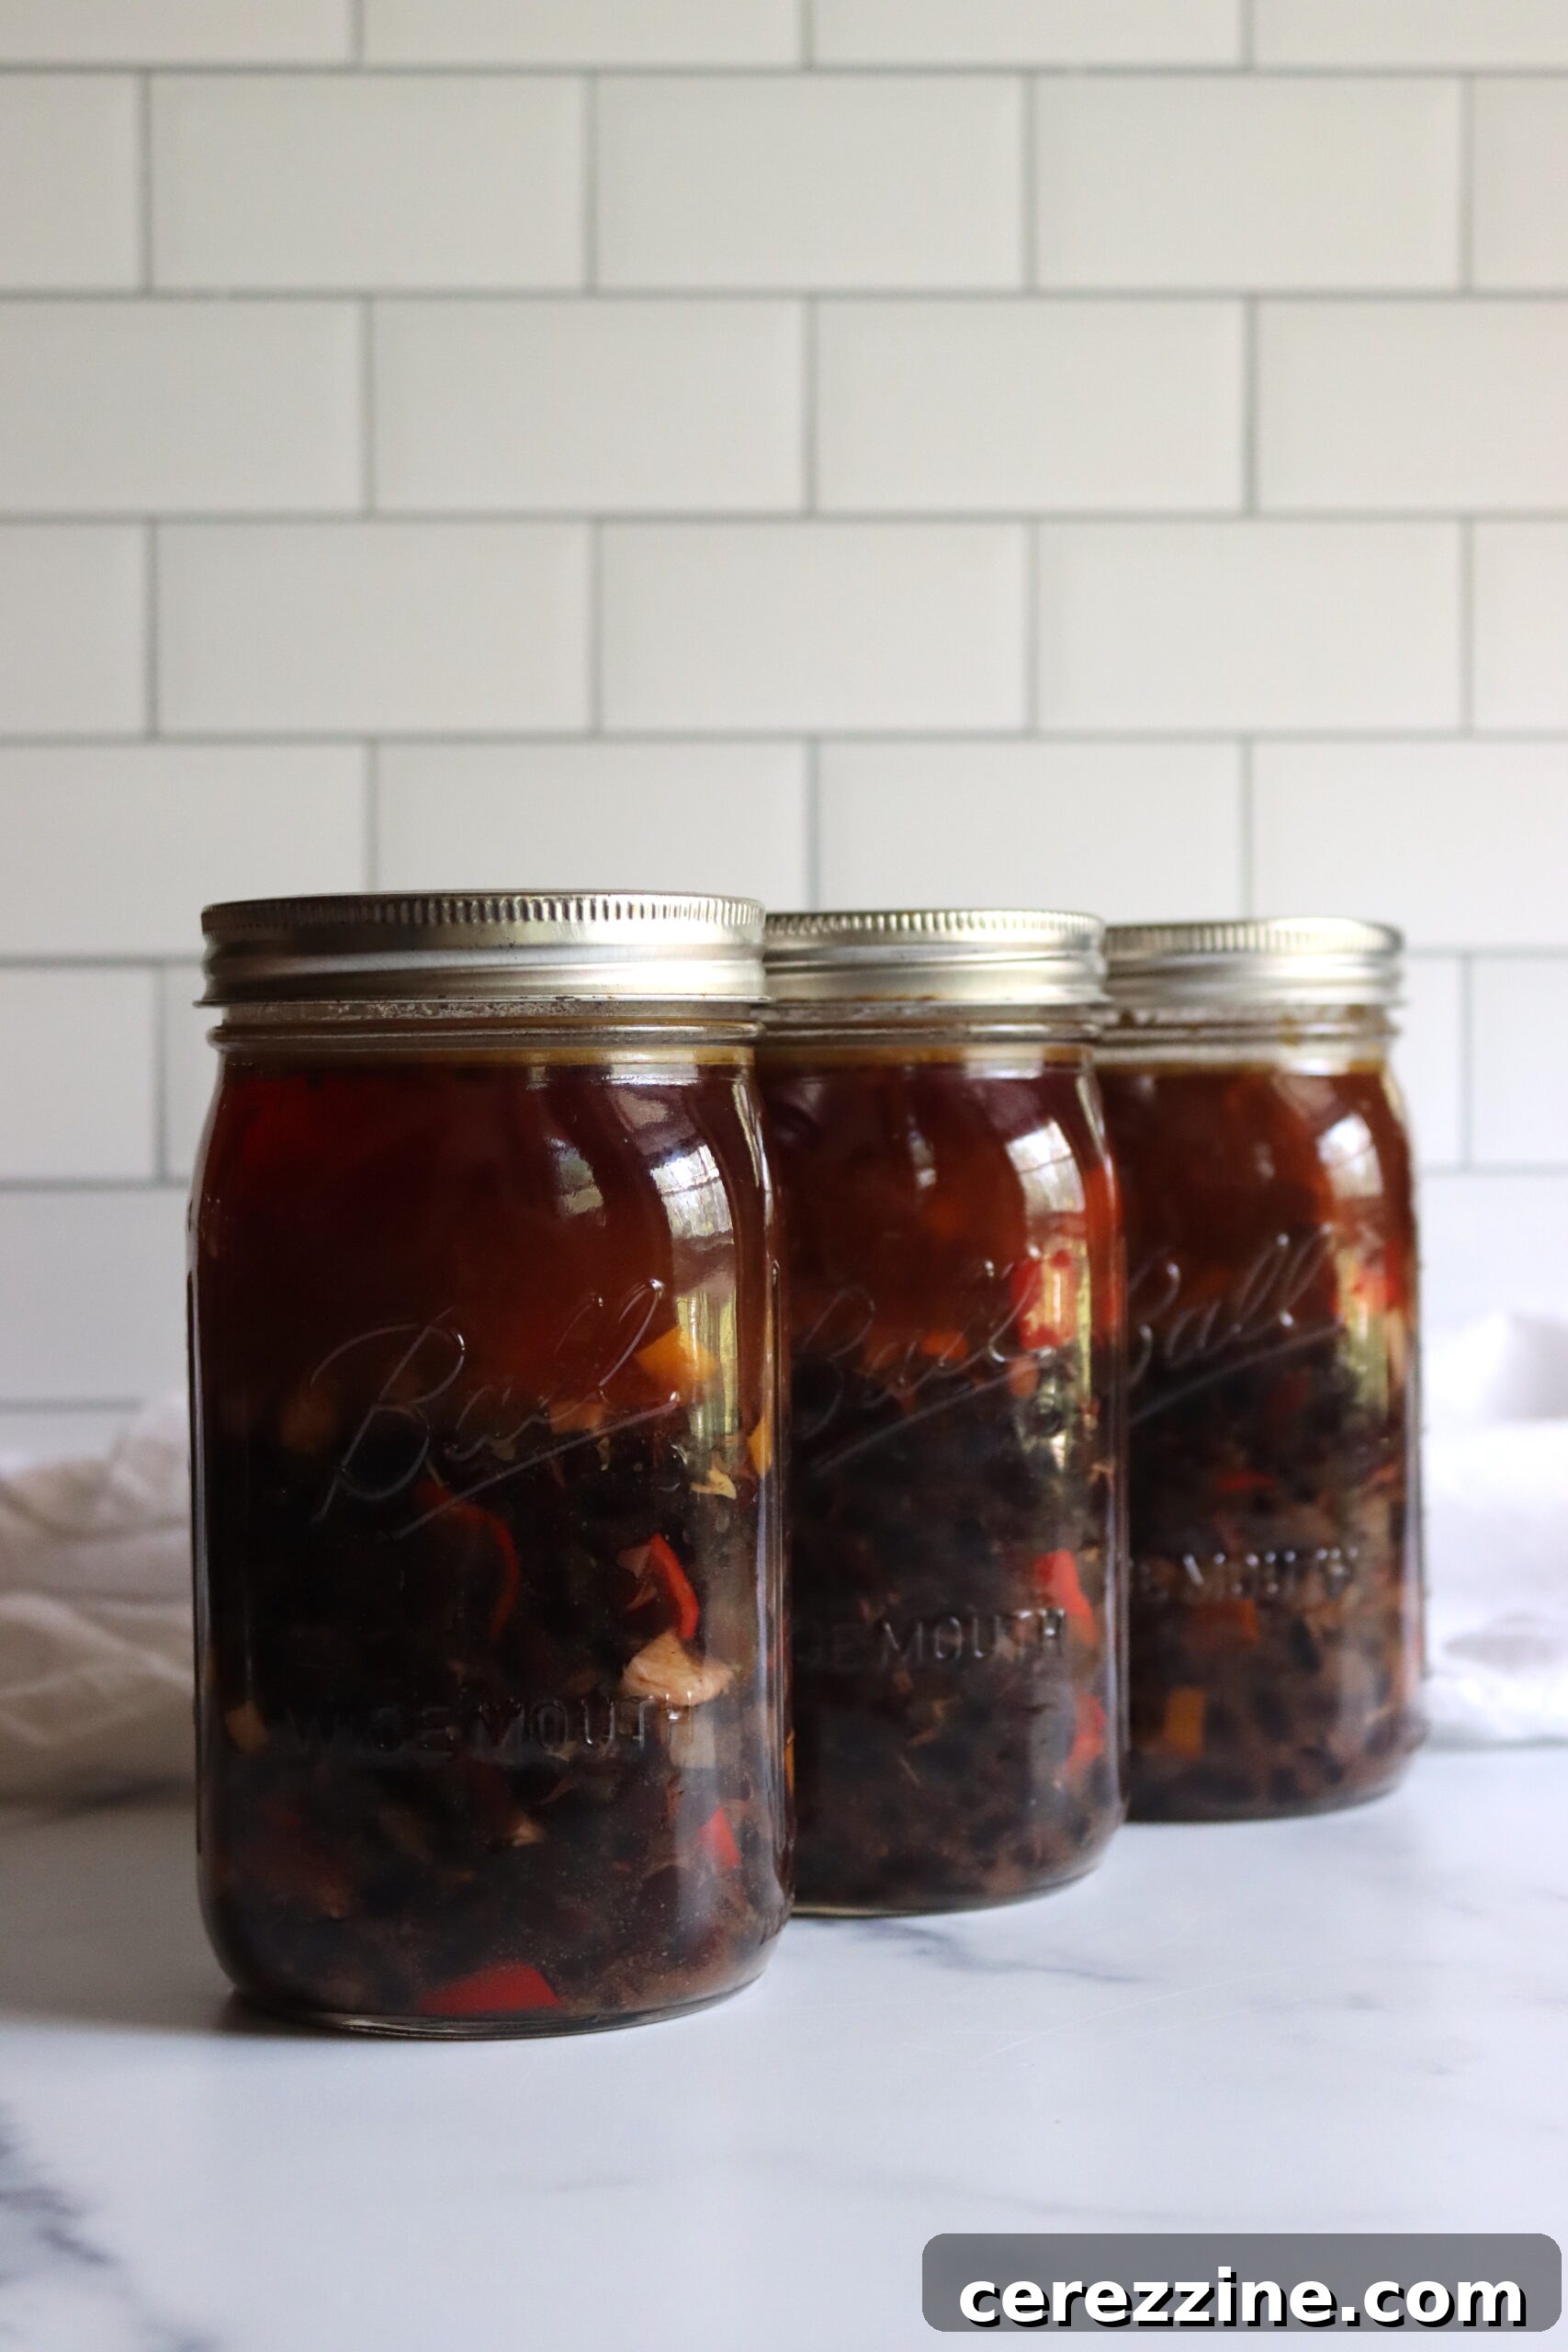
It’s crucial to understand that this recipe adheres to the USDA’s ‘Your Choice Soup’ guidelines for pressure canning. These guidelines wisely advise filling jars approximately halfway with solid ingredients, then topping off with liquid. This method is perfectly suited for black bean soup, as the beans will naturally expand during the canning process and again slightly when reheated. While the jars may initially appear only half-filled with solids, rest assured that upon serving, your soup will be wonderfully hearty and robust, far from brothy. Adhering to this headspace rule is vital for safe and successful pressure canning, preventing food from expanding too much and potentially compromising the seal.
Preparing Cuban Black Bean Soup for Canning
Preparing your Cuban Black Bean Soup for pressure canning involves a few straightforward steps designed to ensure both food safety and optimal flavor development. Following these instructions diligently is key to achieving a perfectly preserved and delicious result.
Begin by thoroughly washing and sorting your dried black beans to remove any small stones or debris. Once cleaned, combine the beans with 12 cups (3 quarts) of water in a large stockpot and bring to a rapid boil. Allow them to boil vigorously for precisely 2 minutes, then remove the pot from the heat and let the beans stand, covered, for 1 hour. Alternatively, for those with more time, you can opt for an overnight soak of 8 to 12 hours, which helps reduce cooking time. After either method, drain the beans completely and rinse them under cool water, then set them aside.
In the same large stockpot, add 2 tablespoons of oil and heat it over medium heat. Add the chopped onions, peppers (whether sweet bell peppers or a touch of heat from a jalapeño or serrano, if desired), and minced garlic. Sauté these aromatics for 5 to 7 minutes, stirring occasionally, until the onions become translucent and the mixture releases a wonderfully fragrant aroma. This step is essential for building a rich flavor base for your soup.
Once the aromatics are softened and fragrant, incorporate the remaining ingredients into the pot, including the salt, ground cumin, dried oregano, red wine vinegar (or cider vinegar), optional cubed ham, and the 16 cups of meat or vegetable broth. Bring this entire mixture to a vigorous boil and let it simmer for 5 minutes. During this time, it’s a good practice to also bring about 4 cups of water to a boil in a separate kettle. This hot water will be used later to top off your canning jars to the precise headspace, if needed.
Canning Instructions for Black Bean Soup
Pressure canning is the only safe method for preserving low-acid foods like this black bean soup. Following these detailed instructions carefully is paramount for food safety and achieving a successful, shelf-stable product.
Before beginning, ensure your 7-quart canning jars are clean and warm. Using a slotted spoon, carefully ladle the solid ingredients from the soup mixture into each prepared jar. Aim to fill each jar approximately halfway with solids, ensuring an even distribution of beans and vegetables. It is absolutely crucial not to overpack the jars beyond this halfway mark, as the black beans will significantly expand during the pressure canning process. This expansion is natural and expected; overfilling can lead to compromised seals and unsafe products.
Next, evenly distribute the hot broth from the stockpot among the jars, leaving a precise 1-inch headspace from the rim of each jar. If you find yourself short on broth to achieve the exact 1-inch headspace in every jar, use the hot water you prepared in the kettle to top them off. Properly maintaining headspace is critical for creating a strong vacuum seal.
Wipe the rims of the jars clean to remove any food particles, which could interfere with the seal. Center new two-part canning lids on the jars and apply the bands finger-tight. Place the filled jars onto the rack in your preheated pressure canner. Secure the canner lid, but do not yet add the weighted gauge (if applicable). Turn the heat to high and allow a steady stream of steam to vent from the canner for a full 10 minutes. This essential step ensures all air is removed from the canner, preventing false pressure readings.
After venting for 10 minutes, place the canning weight onto the vent and bring the pressure canner up to the appropriate pressure level for your altitude (refer to the altitude adjustment chart below). Once the target pressure is reached, begin processing the jars. For quart-sized jars, process for 75 minutes. If you are using pint-sized jars, the processing time is 60 minutes. Maintain consistent pressure throughout the entire processing duration.
Once the processing time is complete, turn off the heat. Allow the pressure canner to cool naturally and completely, without any forced cooling. Do not attempt to open the canner until the pressure has dropped to zero and the lid can be removed safely. Carefully remove the hot jars using a jar lifter and place them on a towel-lined surface, spaced apart, to cool undisturbed for 12 to 24 hours. After cooling, check all seals. Any jars that have not sealed properly should be stored in the refrigerator and consumed within a few days. Properly canned and sealed jars can be stored in a cool, dark pantry for 12 to 18 months, maintaining their peak quality and flavor.
Altitude Adjustments
With pressure canning, the processing times stay the same at higher altitudes, but the pressures change. Here are the altitude adjustments for pressure canning:
For dial gauge pressure canners:
- 0 to 2,000 feet in elevation – 11 lbs pressure
- 2,001 to 4,000 feet in elevation – 12 lbs pressure
- 4,001 to 6,000 feet in elevation – 13 lbs pressure
- 6,001 to 8,000 feet in elevation – 14 lbs pressure
For weighted gauge pressure canners:
- 0 to 1,000 feet in elevation – 10 lbs pressure
- Above 1,000 feet – 15 lbs pressure
Serving Home Canned Black Bean Soup
Serving your delicious home-canned Cuban Black Bean Soup is wonderfully simple. Pour the entire contents of a sealed jar into a saucepan and gently simmer over medium heat for approximately 10 minutes, allowing the flavors to meld and the soup to heat through evenly. For those who prefer a smoother, creamier texture, you can use an immersion blender to puree about half of the soup directly in the saucepan. This creates a delightful contrast between creamy and chunky elements. Enjoy the soup as is, or personalize it with your favorite toppings such as fresh avocado slices, a dollop of sour cream or Greek yogurt, a sprinkle of fresh cilantro, crispy tortilla chips, or a slice of warm cornbread. The possibilities are endless for making this comforting soup your own.
Servings: 14 servings, Makes 7 Quarts
Cuban Black Bean Soup (Pressure Canning Recipe)
By Ashley Adamant
Cuban Black Bean Soup is a delicious traditional soup, and it’s even better if you can plan ahead and save time on busy weeknights with this pressure-canning recipe! Make the soup ahead and store it right on your pantry shelf for a quick heat-and-eat meal.
Prep Time: 1 hr 30 mins
Cook Time: 15 mins
Canning Time: 1 hr 15 mins
Total Time: 3 hrs
Equipment
-
Pressure Canner
Ingredients
- 2 pounds dried black beans, about 5 cups
- 2 cups onions, chopped (250 g)
- 1 cup peppers, sweet or hot, chopped (100 g)
- 6 Tbsp garlic, chopped
- 2 Tbsp Oil
- 1 ½ Tbsp Salt
- 1 ½ Tbsp ground Cumin
- 1 Tbsp dried oregano
- ¼ cup red wine vinegar, or cider vinegar
- ½ lbs ham, cubed into ½ inch pieces (optional)
- 16 cups meat or vegetable broth
- Water
Instructions
- Wash and sort dry beans. Cover with 12 cups (3 quarts) water and bring to a boil. Boil for 2 minutes, then turn off the heat. Allow to stand for 1 hour. (Alternately, soak 8 to 12 hours.)
- Drain the beans and rinse. Set aside.
- Add 2 tbsp oil to the bottom of a stock pot and use it to saute the onions, peppers, and garlic for about 5 to 7 minutes, until the onions are translucent and the mixture is fragrant.
- Add the remaining ingredients and bring the mixture to a boil. Boil for 5 minutes.
- While the soup is boiling, bring about 4 cups of water to a boil in a kettle. You may (or may not) need this for topping off the jars.
- Use a slotted spoon to ladle the solids into 7-quart jars, evenly distributing the contents. The solids should fill each jar about halfway. This is important! The jars will not be filled with solids. Do not overpack the jars; they should only be about half filled with solids before canning. The beans will expand in the canner.
- Distribute the broth evenly across the jars, leaving 1 inch of headspace. You may need to top off the jars with water from your side kettle to bring them to exactly 1-inch headspace.
- Cap with 2-part canning lids to finger tight.
- Load the jars into a preheated pressure canner and add the lid, but don’t add the canning weight yet. Turn the heat to high and allow steam to vent for 10 minutes.
- Add the canning weight and bring the canner up to pressure (see notes).
- Once at pressure, process the jars for 75 minutes for quarts (or 60 minutes for pints).
- When the canning time is complete, turn off the heat and allow the canner to cool completely before opening and removing the jars. Check seals and store any unsealed jars in the refrigerator. Properly canned and sealed jars may be stored in the pantry and will maintain peak quality for 12 to 18 months.
- To serve, pour the contents of the jar into a saucepan and simmer for 10 minutes. For a creamy soup, you can puree about half the contents with a stick blender, if desired.
- Enjoy as is, or top with avocado, sour cream, cilantro, tortilla chips, cornbread, or whatever you like!
Notes
Pressure Canning Altitude Adjustments
With pressure canning, the processing times stay the same at higher altitudes, but the pressures change. Here are the altitude adjustments for pressure canning Cuban Black Bean Soup:
For dial gauge pressure canners:
- 0 to 2,000 feet in elevation – 11 lbs pressure
- 2,001 to 4,000 feet in elevation – 12 lbs pressure
- 4,001 to 6,000 feet in elevation – 13 lbs pressure
- 6,001 to 8,000 feet in elevation – 14 lbs pressure
For weighted gauge pressure canners:
- 0 to 1,000 feet in elevation – 10 lbs pressure
- Above 1,000 feet – 15 lbs pressure
Nutrition
Calories: 299kcal, Carbohydrates: 45g, Protein: 18g, Fat: 6g, Saturated Fat: 1g, Polyunsaturated Fat: 1g, Monounsaturated Fat: 3g, Trans Fat: 0.01g, Cholesterol: 10mg, Sodium: 946mg, Potassium: 1091mg, Fiber: 11g, Sugar: 3g, Vitamin A: 65IU, Vitamin C: 11mg, Calcium: 106mg, Iron: 4mg
Nutrition information is automatically calculated, so should only be used as an approximation.
More Bean Canning Recipes
Looking for more ways to put up delicious beans in a jar for your pantry?
- Canning Boston Baked Beans
- Canning White Bean and Greens Soup
- Butternut Squash and White Bean Soup
- Cajun Red Beans and Sausage
Explore More Soup Canning Recipes
There are so many different soup canning recipes out there to explore. Why not try adding these to your home-canned pantry collection?
- Sausage, Potato, and Kale Soup
- Carrot Soup
- Split Pea Soup
- Chicken Soup