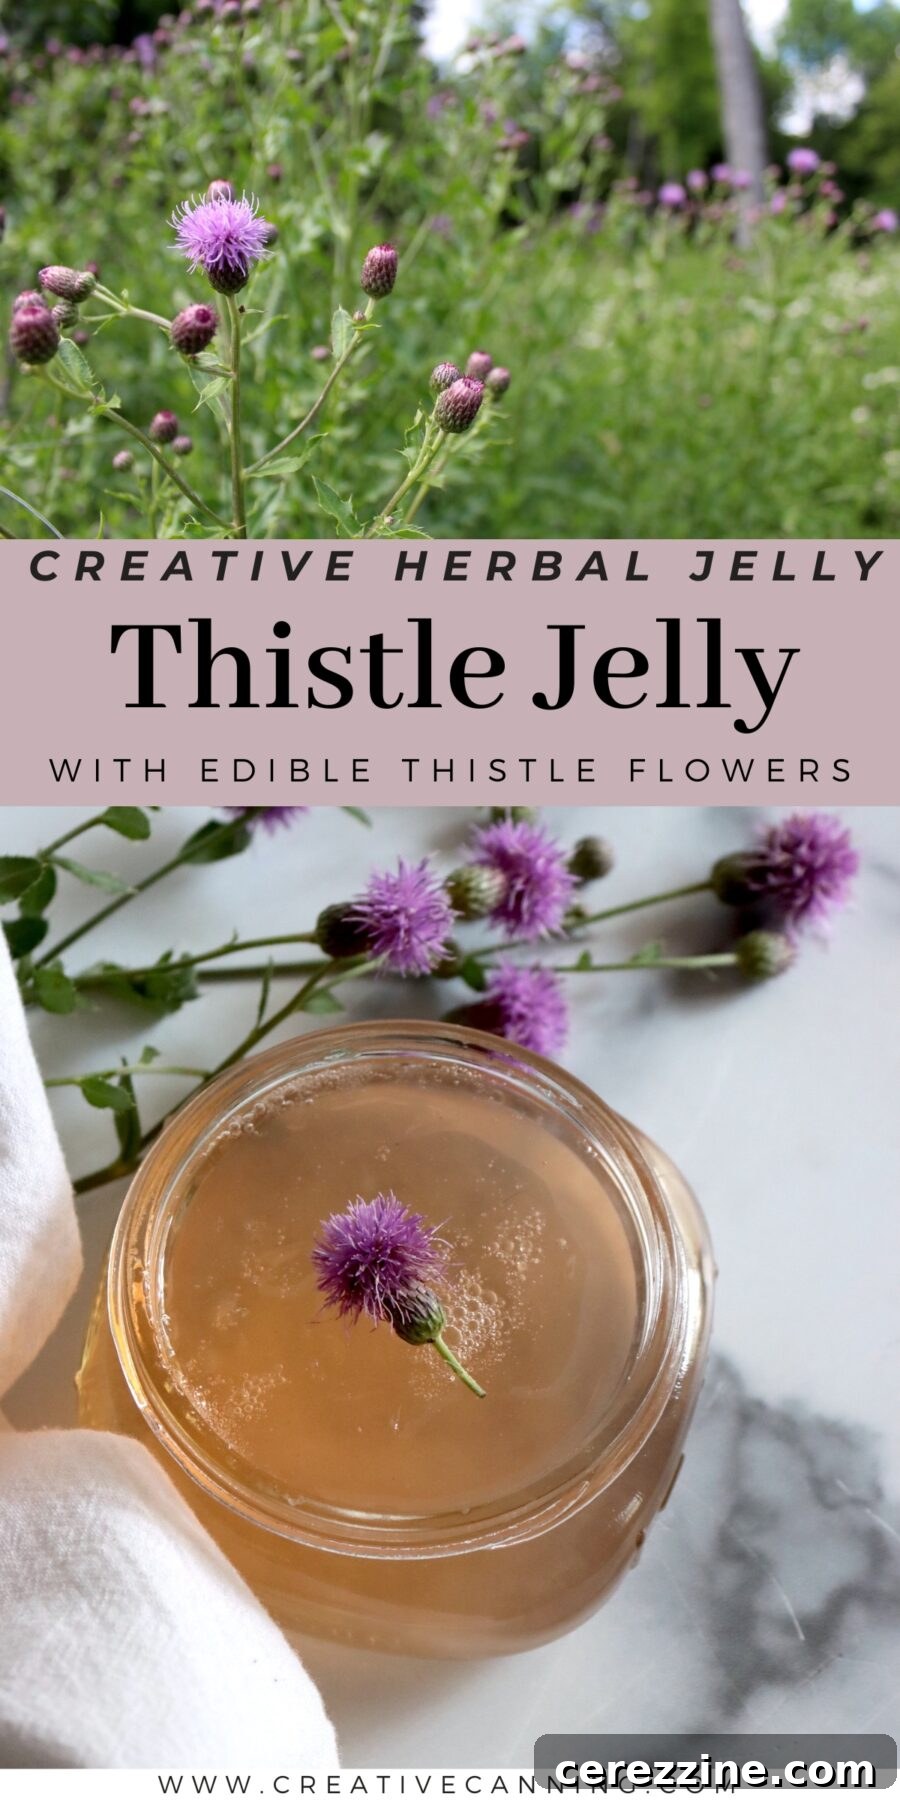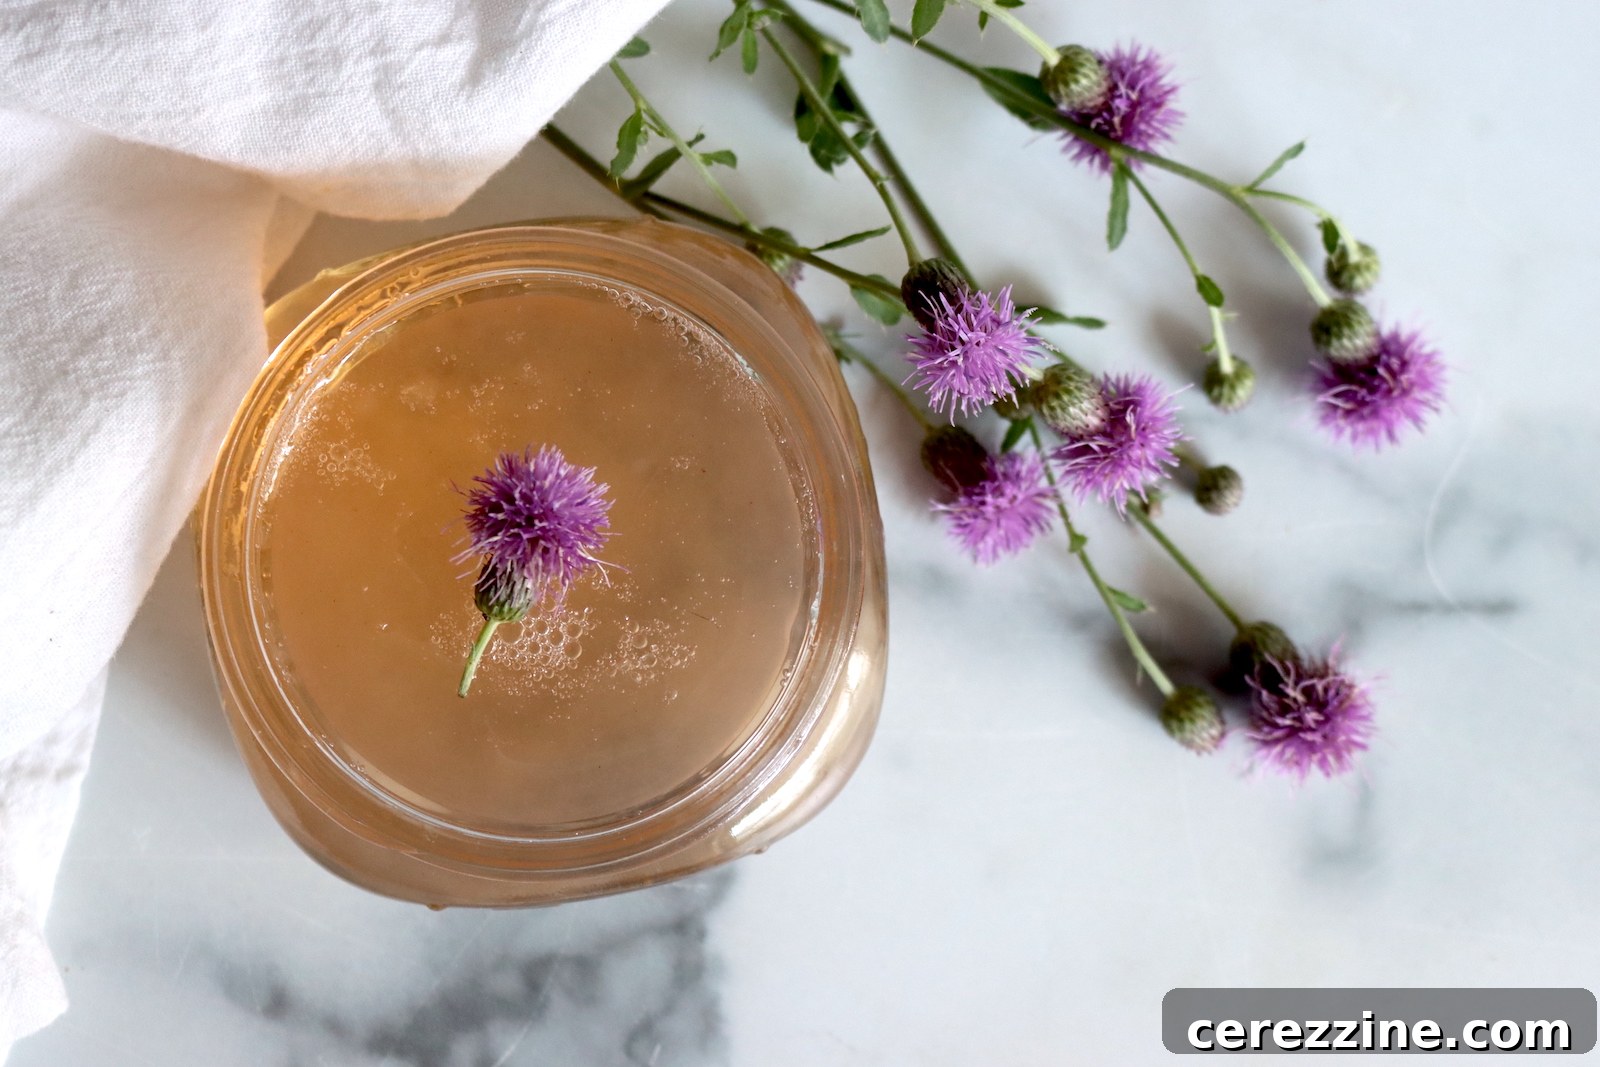
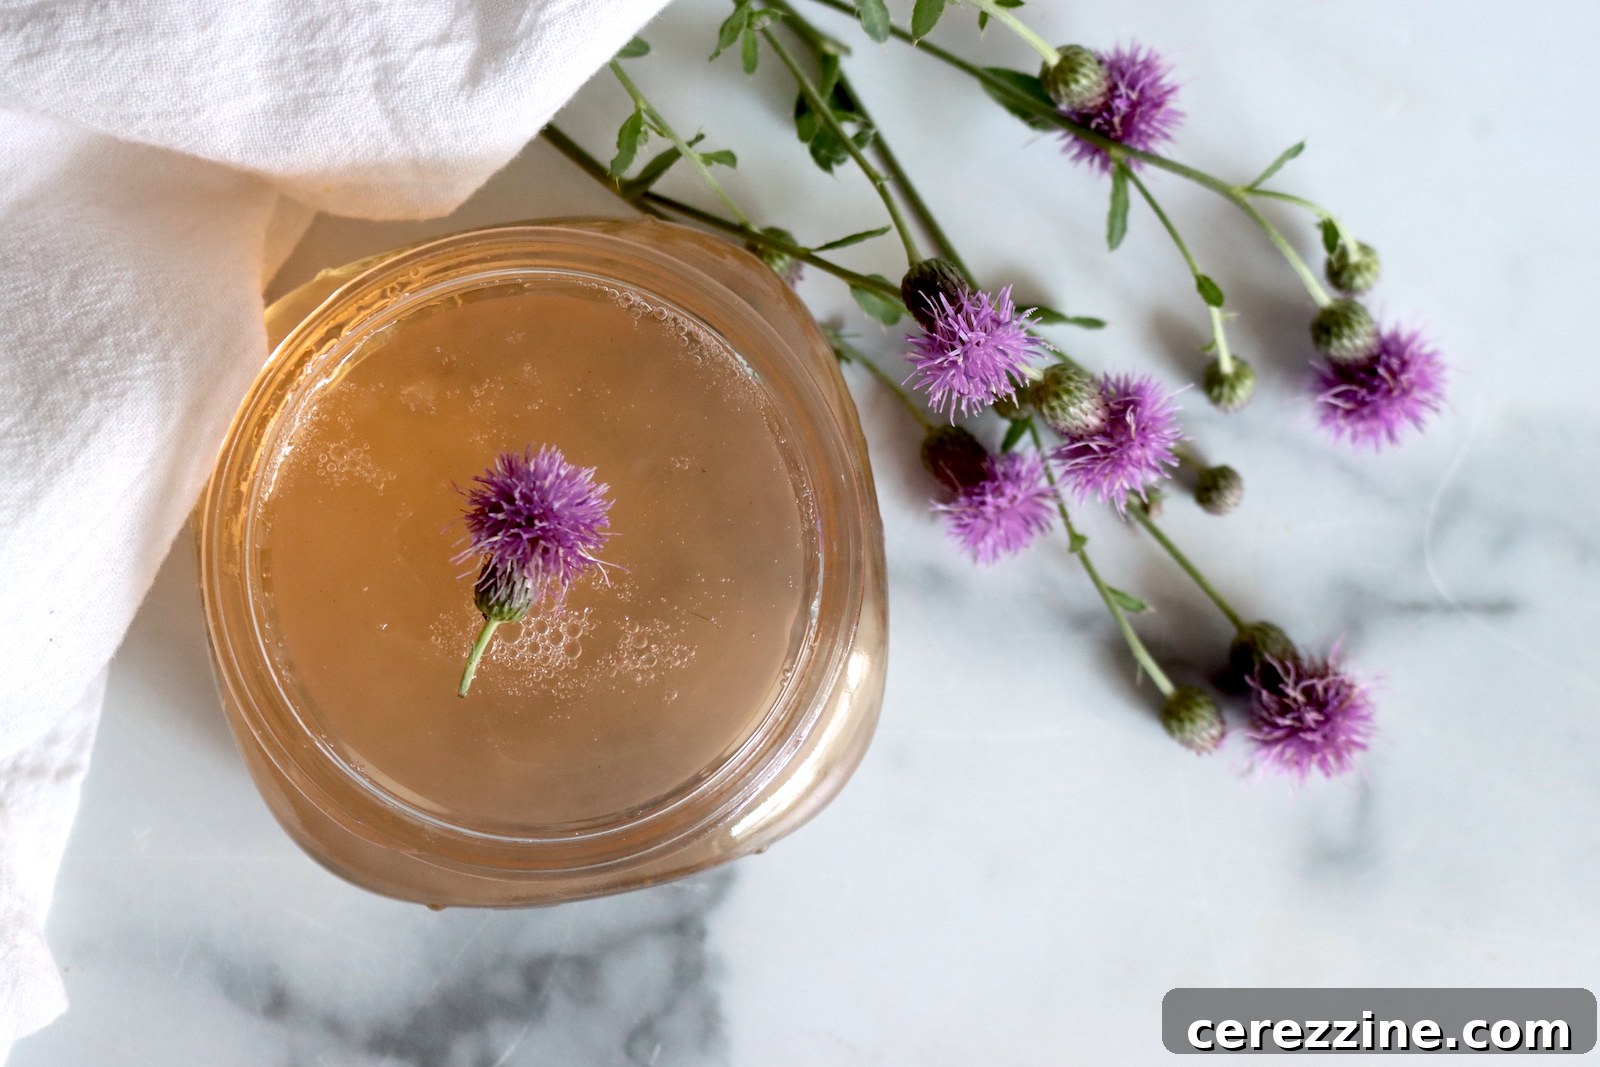
Thistle Jelly is an enchanting and surprisingly delicate preserve that magically transforms the vibrant purple blossoms of the wild thistle plant into a sweet, honey-like spread. Creating this jelly is a wonderful way to find beauty and purpose in one of the most persistent weeds you might find in your garden or local fields. By harvesting the flowers, you not only get a delicious treat but also help manage their spread, all while leaving plenty for the appreciative local bee population.
This Thistle Jelly recipe has been carefully reviewed for safety and accuracy by a Master Food Preserver, certified through the esteemed University of Cornell Cooperative Extension program.
The concept of turning a prickly thistle into a sweet jelly might seem like something from a storybook, and that’s precisely its charm. Many gardeners and homesteaders are in a constant battle with invasive species like Canada thistle, known for its tenacious nature. This plant spreads aggressively through both its complex root system and wind-carried seeds, making it a formidable opponent in any pasture or garden bed.
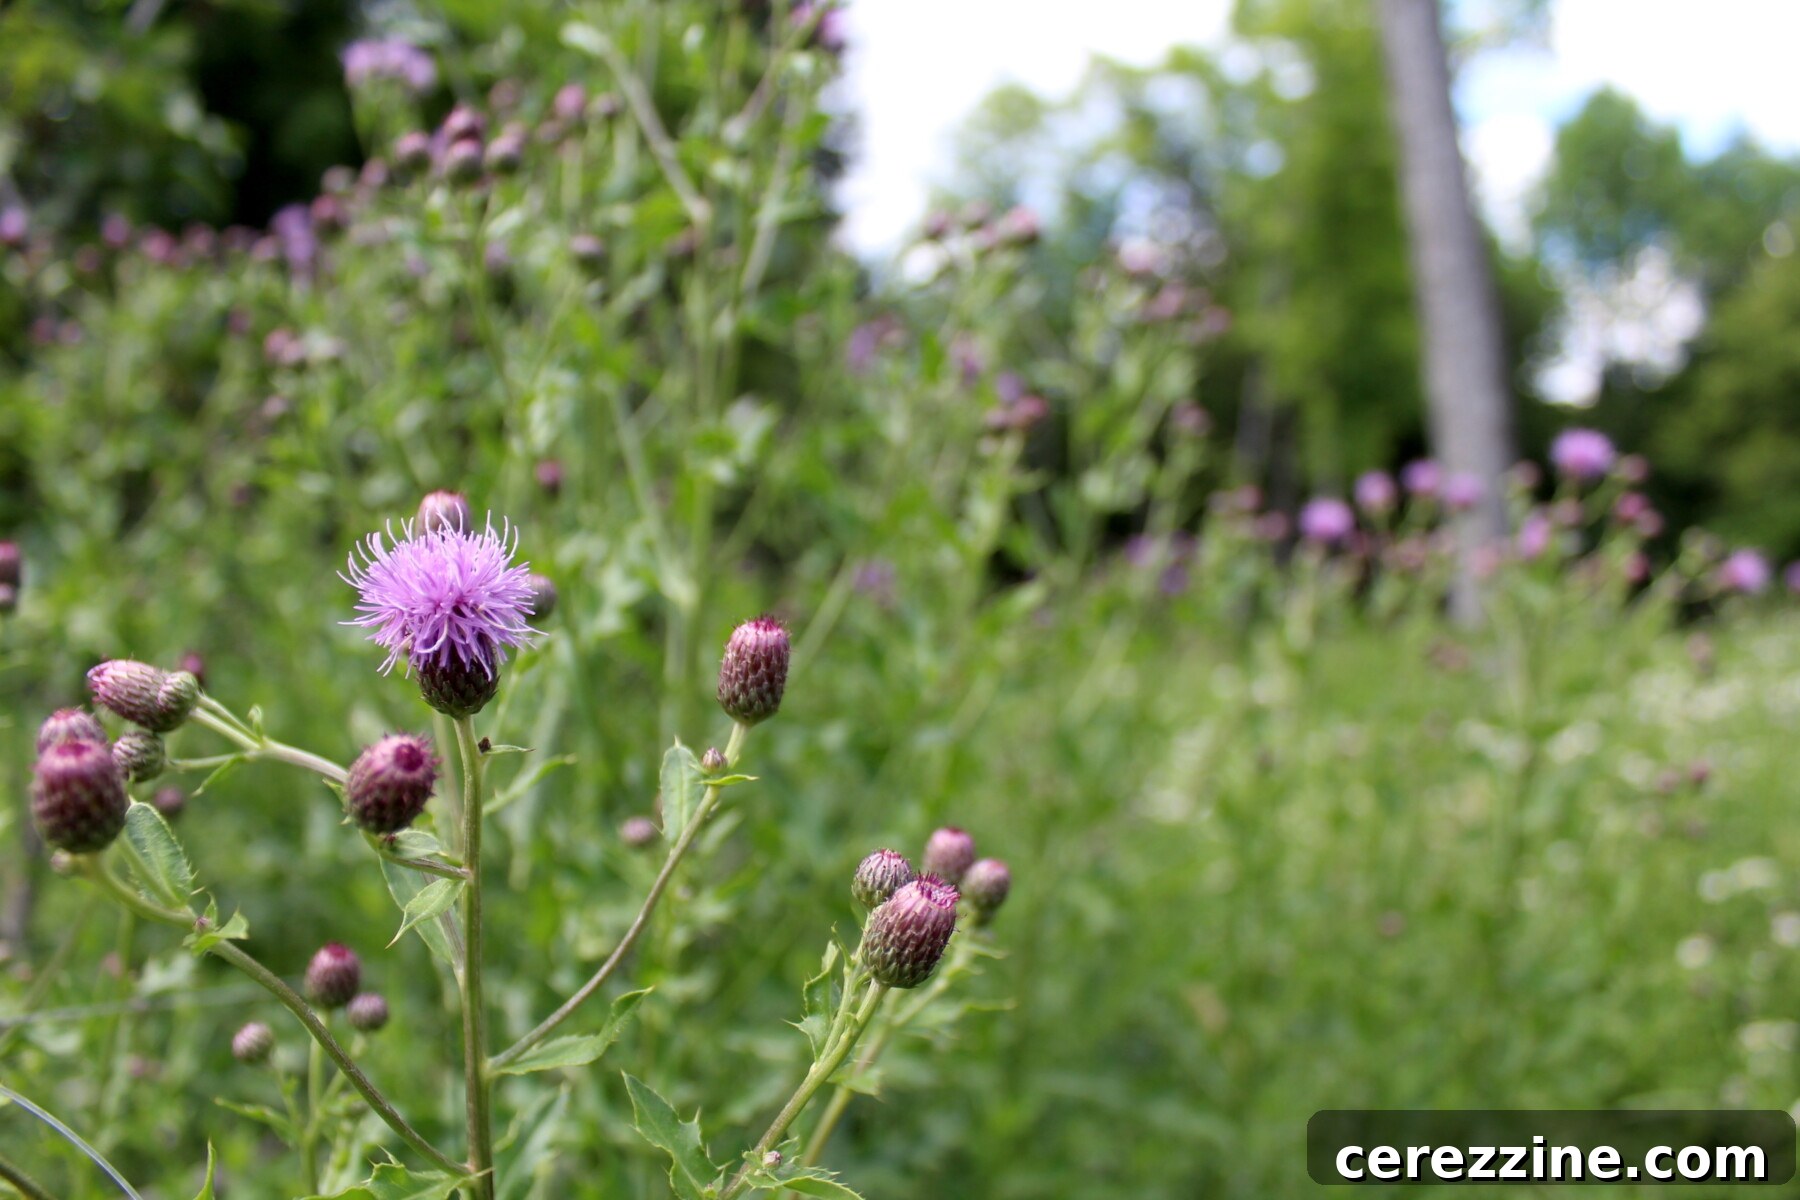
However, there’s a silver lining to this prickly plant. While its spiny leaves are intimidating, the purple blossoms are soft, fragrant, and a vital source of nectar for pollinators. By foraging for these flowers before they turn to seed, you can perform a satisfying act of land management while gathering the key ingredient for an exquisite, wild-foraged jelly. It’s a perfect example of sustainable and resourceful living.
Don’t worry if you don’t have Canada thistle specifically. This recipe is versatile and works beautifully with any edible thistle variety. Common edible thistles include bull thistle, milk thistle, blessed thistle, and meadow thistle. They all belong to the same botanical family and their flowers share a similar sweet, mild, and floral flavor profile. When foraging, the key is to look for fresh, vibrant purple or pink blooms that have not yet begun to look faded or develop their fluffy, seed-bearing pappus.
Notes from My Kitchen

Watching the bees swarm our thistle patches, it’s easy to see how much they adore these flowers. After tasting this jelly for the first time, I finally understood why. The incredible sweetness the bees gather is perfectly captured in the jelly’s delicate, honeyed flavor. It’s reminiscent of a classic clover jelly, but with a more intricate and nuanced floral note that is uniquely its own. While harvesting requires a bit of patience and a sturdy pair of gloves, the blossoms themselves are surprisingly soft and much less prickly than the rest of the plant.
There’s a deep satisfaction in knowing that every flower I pick is one less seed head that could spread across our fields. The final product is a reward in itself: a shimmering, pale golden jelly that looks beautiful in the jar. It makes for a truly unique and thoughtful gift for friends and family who appreciate the wonders of wild-foraged foods.
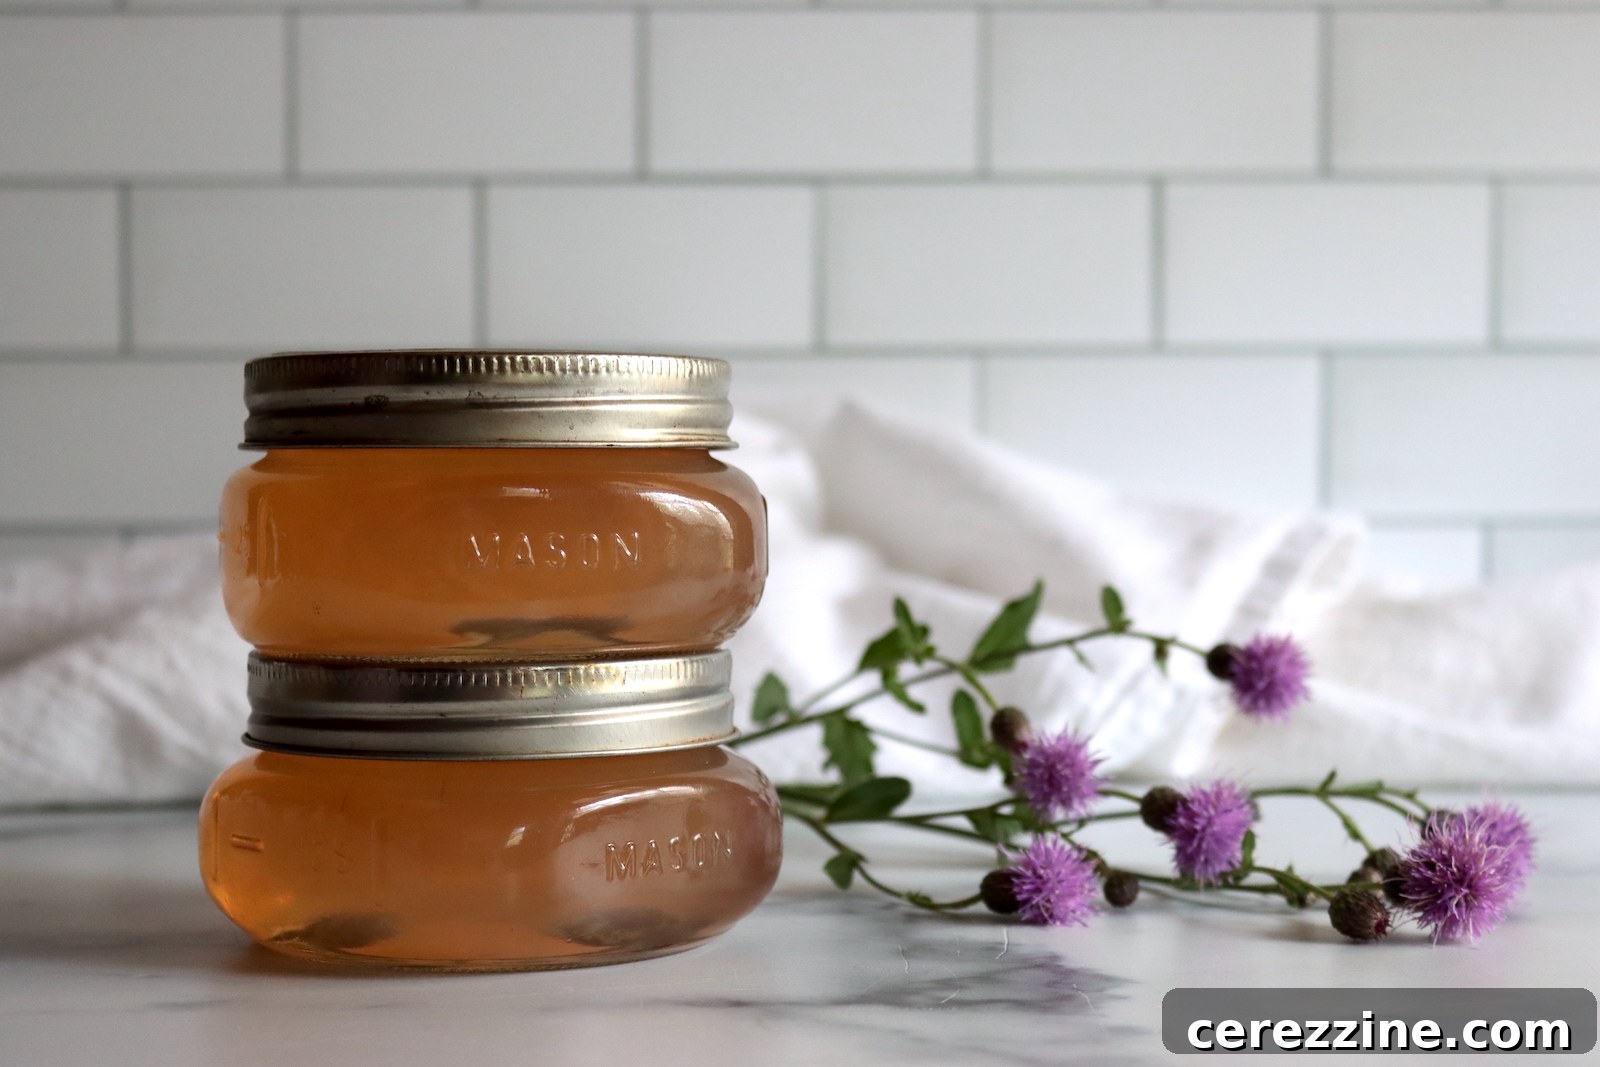
Thistle Jelly Recipe at a Glance
- Recipe Name: Wild Thistle Jelly
- Recipe Type: Foraged Flower Jelly Recipe
- Canning Method: Beginner-Friendly Water Bath Canning
- Prep/Cook Time: Approximately 90 Minutes (includes steeping time for the flowers)
- Canning Time: 10 Minutes (plus altitude adjustments)
- Yield: 4 to 5 half-pint (8 oz) jars
- Jar Sizes: Works well with Quarter-Pint, Half-Pint, or Pint jars
- Headspace: 1/4 inch
- Key Ingredients: Fresh thistle blossoms, filtered water, bottled lemon juice, granulated sugar, and powdered pectin.
- Difficulty: Easy. If you can make tea, you can make this jelly. The process is straightforward and perfect for novice canners.
- Similar Recipes: The method is nearly identical to other beloved foraged floral jellies, such as Fireweed Jelly, Dandelion Jelly, Clover Jelly, or the elegant Violet Jelly.
What Does Thistle Jelly Taste Like?
Many people are surprised by the flavor of thistle jelly. Despite the plant’s rugged and spiky appearance, the jelly is anything but harsh. It boasts a remarkably delicate and sweet flavor profile with distinct notes of honey and a light floral essence. The taste is clean, mild, and incredibly pleasant, making it a versatile addition to your pantry. It shares a similar character with other light floral preserves like clover jelly or borage jelly, carrying that gentle, nectar-like sweetness that pollinators find so irresistible.
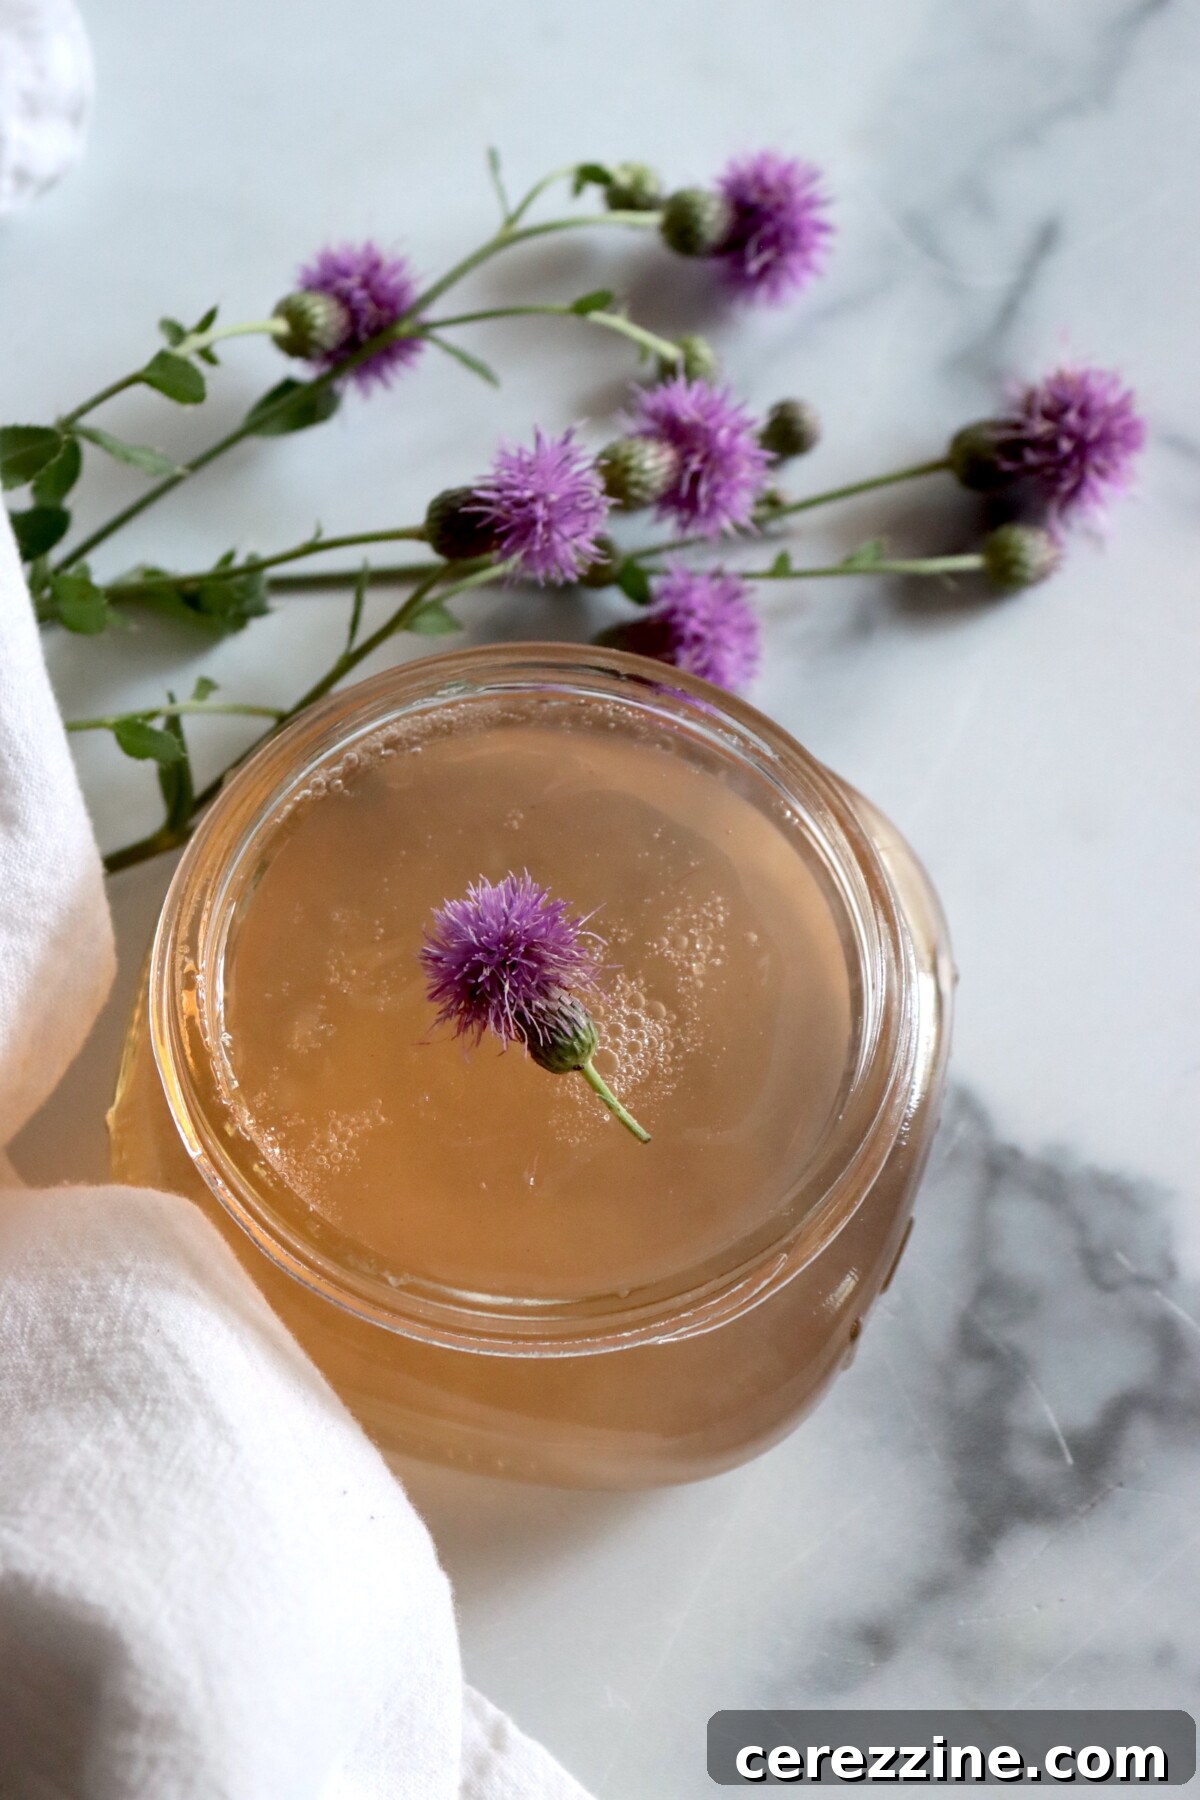
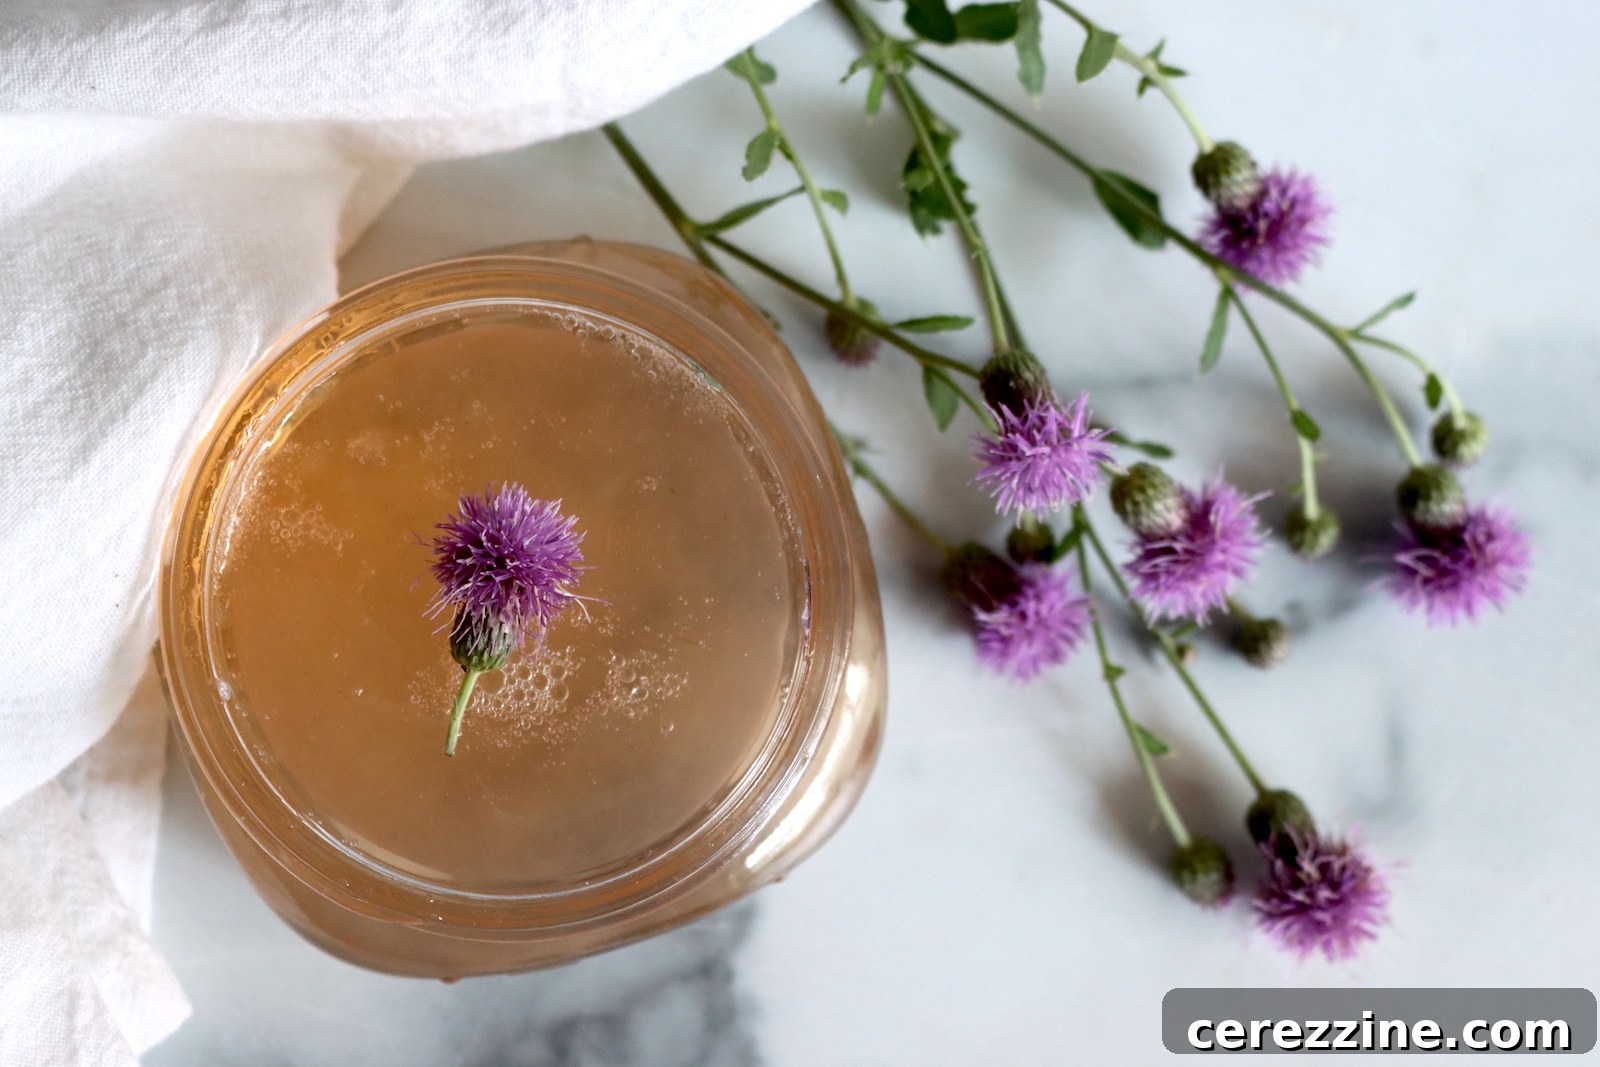
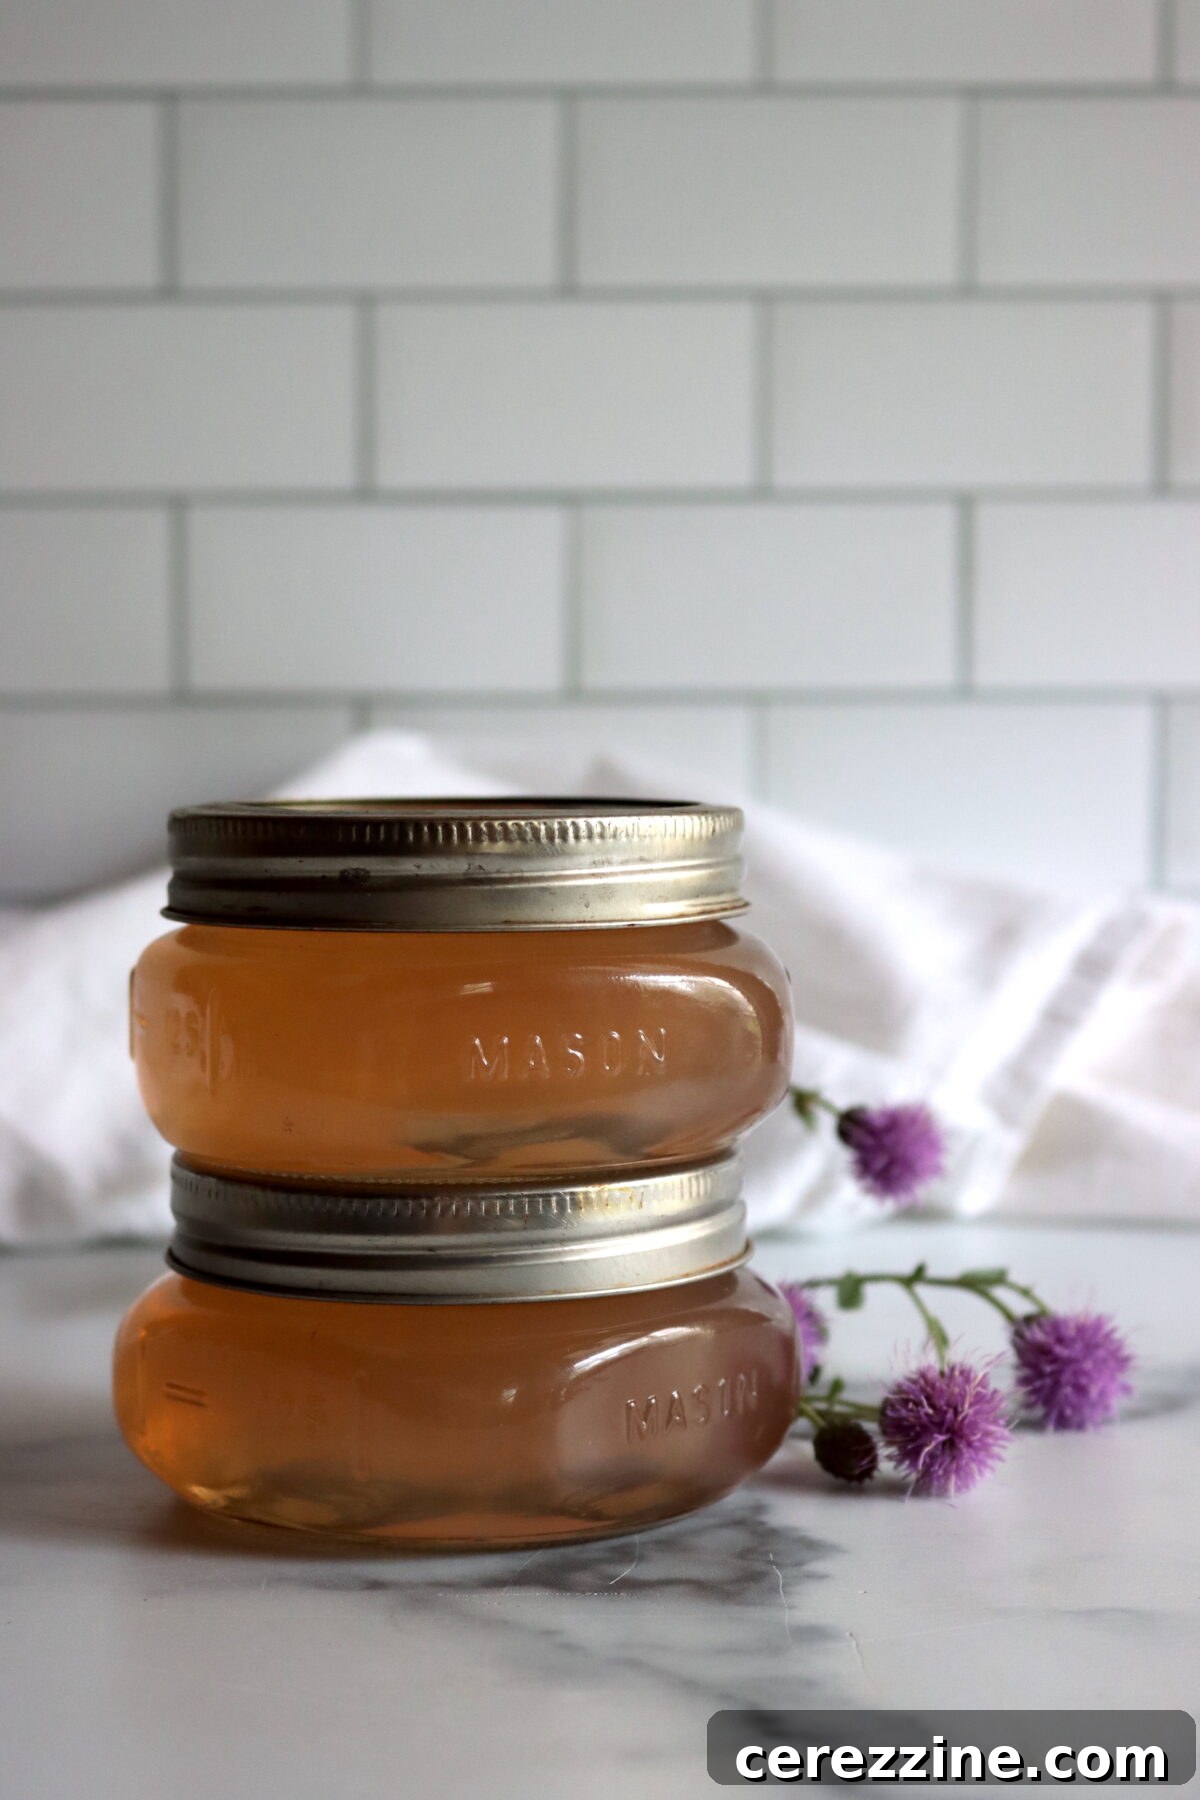
Visually, the finished jelly is stunning. It sets into a beautiful, clear, pale golden hue, sometimes with a hint of pink depending on the blossoms used. It has a subtle shimmer that catches the light, making it look as delightful on a slice of toast as it does in the jar on your shelf.
A Forager’s Guide: Identifying and Harvesting Thistle
Proper identification is the most critical step in foraging. Fortunately, most true thistles in the Cirsium genus are considered edible. This includes common varieties like Canada thistle (Cirsium arvense), bull thistle (Cirsium vulgare), milk thistle (Silybum marianum), and blessed thistle (Cnicus benedictus). Always be 100% certain of your plant identification before consuming any wild plant. Use a reliable field guide or consult with an experienced local forager if you have any doubts.
When you’re ready to harvest, here are some best practices:
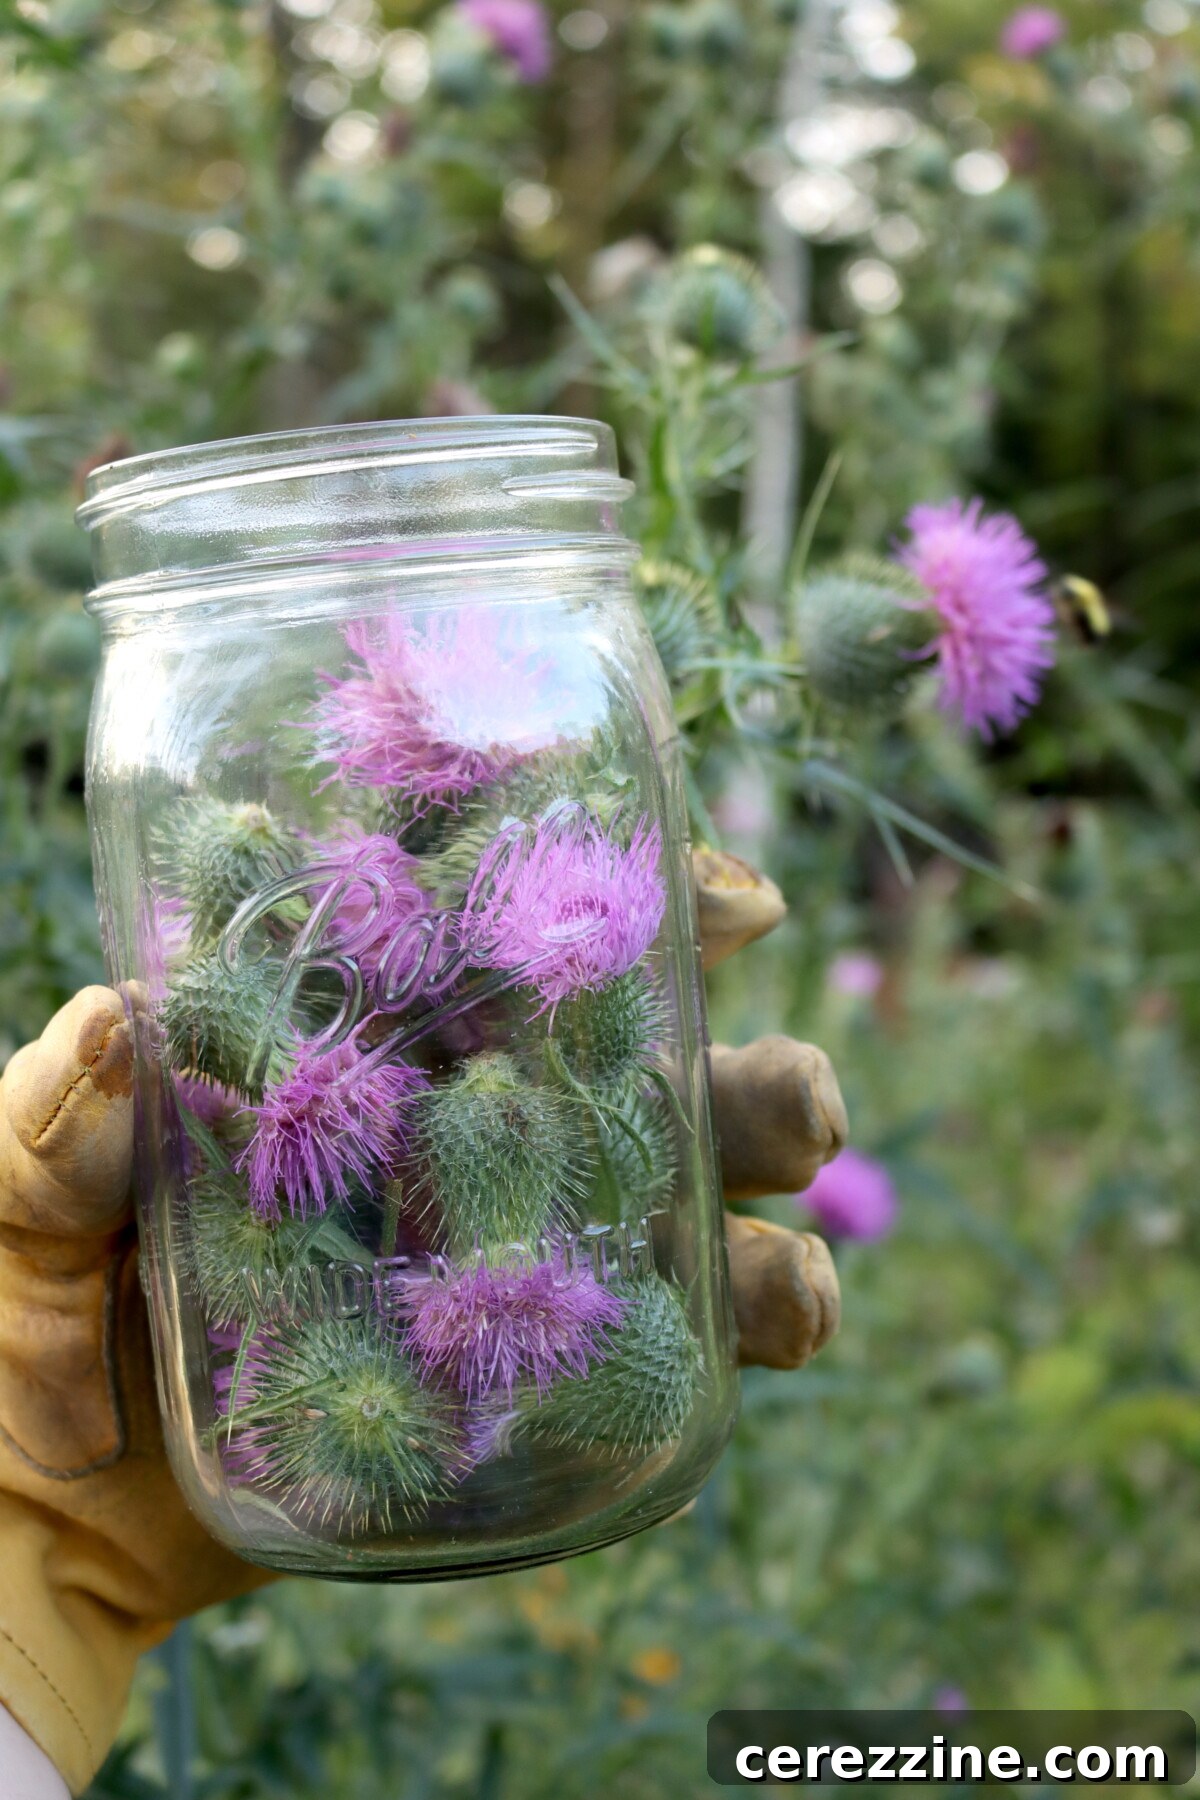
- Wear Protective Gear: A good pair of gardening gloves is essential to protect your hands from the spiny leaves and stems.
- Target the Right Flowers: Look for blossoms that are freshly opened, fully colored, and vibrant. Avoid any flowers that have started to wilt, turn brown, or develop their white, fluffy seed heads.
- Harvesting Technique: Use scissors or snips to cut the flower heads from the stalk. You will need about 2 cups of tightly packed blossoms for this recipe.
- Timing is Everything: The best time to harvest is in the morning, right after the dew has evaporated but before the sun becomes too intense. This is when the nectar content is at its highest.
- Be Mindful of Pollinators: You’ll likely be sharing the thistle patch with bees and other insects. Be patient and work around them. Always leave plenty of flowers behind to support the local ecosystem.
Once you bring your harvest home, give the blossoms a gentle shake to dislodge any insects and rinse them lightly under cool water. Pat them dry before proceeding with the recipe.
Understanding the Ingredients for Thistle Jelly
This recipe follows the classic formula for most flower jellies. It starts with a floral infusion (tea), which is then set into a jelly using sugar, pectin, and an acid. Each ingredient plays a crucial role.
- Thistle Blossoms: The star of the show. You can use just the soft purple petals or include the entire flower head for a stronger, more colorful infusion. The fresher the blossoms, the more vibrant the flavor will be.
- Water: The base for your floral tea. If your tap water has a strong mineral or chlorine taste, it’s best to use filtered water to ensure the delicate flavor of the thistle isn’t masked.
- Bottled Lemon Juice: This ingredient is non-negotiable for safety and success. It serves three vital functions: it lowers the pH of the jelly to a safe level for water bath canning, it helps the pectin achieve a proper set, and its acidity brightens and balances the sweetness, allowing the floral notes to shine. Use bottled lemon juice for its consistent acidity level.
- Granulated Sugar: Sugar is not just for sweetness; it’s also a preservative and is essential for the texture of the jelly. This recipe uses a traditional ratio that ensures a beautiful set and a long shelf life.
- Powdered Pectin: Pectin is a naturally occurring starch that causes jellies to gel. This recipe is designed for regular powdered pectin, like Sure Jell, which provides reliable and consistent results. If you wish to use a low-sugar variety, you must use a pectin formulated for low-sugar recipes.
For those who prefer a less sweet preserve, you can use a low-sugar pectin. If you do, follow the instructions on that specific pectin’s package, as the method will differ. Typically, you will use significantly less sugar and may need to increase the amount of lemon juice to ensure safety and a good set.
Step-by-Step Guide to Making Thistle Jelly
The process is wonderfully simple. You’ll first create a fragrant floral tea and then turn that tea into a shimmering jelly. The key to success is following the steps in the correct order, especially when adding the pectin and sugar. Remember, do not skip the lemon juice; it is essential for both the flavor and preservation of your jelly.
Step 1: Prepare the Thistle Blossoms
Begin with approximately 2 cups of fresh, tightly packed thistle blossoms. Gently rinse them under cool water and pat them dry. You can either pluck the soft, fluffy purple petals from the green base or use the whole flower heads. Using the whole heads often results in a deeper color and flavor.
Step 2: Make the Thistle Tea
In a saucepan, bring 4 cups of water to a rolling boil. Remove the pan from the heat and let it cool for a minute. Add your prepared thistle blossoms to the hot water, pushing them down with a spoon to ensure they are fully submerged. Cover the pan and let the blossoms steep for at least one hour. For a more robust flavor, you can let it steep for several hours or even overnight in the refrigerator.
After steeping, strain the liquid through a fine-mesh sieve or a jelly bag into a measuring cup. Gently press the blossoms to extract all the flavorful liquid. You should have exactly 4 cups of thistle tea. If you are a little short, simply top it up with a bit of fresh water.
Step 3: Combine Tea, Lemon Juice, and Pectin
Pour the 4 cups of strained thistle tea into a large, heavy-bottomed pot or Dutch oven. Add 1/4 cup of bottled lemon juice and stir. Sprinkle the entire box of powdered pectin over the liquid and whisk vigorously until it is completely dissolved and there are no lumps. Place the pot on the stove over high heat and bring the mixture to a full, rolling boil that cannot be stirred down.
Step 4: Add the Sugar and Set the Jelly
Once the mixture is at a hard boil, add all 4 cups of sugar at once. Continue to stir constantly to dissolve the sugar. Bring the mixture back to a full, rolling boil. Once it reaches this stage, boil it hard for exactly one minute, stirring constantly. After one minute, remove the pot from the heat. Skim off any foam that has formed on the surface with a metal spoon. Immediately ladle the hot jelly into your prepared, sterilized canning jars, leaving 1/4 inch of headspace at the top.
Canning Thistle Jelly for Long-Term Storage
While you can store this jelly in the refrigerator for immediate enjoyment (where it will last for several weeks), water bath canning is the best way to preserve its fresh, floral flavor for the pantry. Properly canned jelly will remain shelf-stable for 12 to 18 months.
If you’re new to canning, ensure your water bath canner, jars, and lids are clean and ready before you start making the jelly. After filling your hot jars with the hot jelly, wipe the rims with a clean, damp cloth to remove any residue. Center the flat lids on the jars and screw on the bands until they are “fingertip tight”—just secure, not overly tight.
Carefully lower the jars into your prepared water bath canner, ensuring they are covered by at least 1-2 inches of water. Bring the water to a rolling boil and process for 10 minutes. When the time is up, turn off the heat, remove the canner lid, and let the jars sit in the hot water for 5 more minutes before removing them to a towel-lined countertop. Let them cool, undisturbed, for 24 hours. You’ll hear the satisfying “ping” as the jars seal. Check the seals before storing.
Canning Altitude Adjustments
Processing times for water bath canning must be adjusted for higher elevations to ensure safety:
- 0 to 6,000 feet: Process for 10 minutes.
- Above 6,000 feet: Process for 15 minutes.
Creative Ways to Use Thistle Jelly
This exquisite floral jelly is far more versatile than you might think. Here are some wonderful ways to enjoy it:
- On Breakfast Breads: Spread it on warm biscuits, fresh scones, toast, or English muffins.
- With Dairy: Swirl it into plain yogurt or cottage cheese for a touch of sweetness.
- On a Cheese Board: It pairs beautifully with soft, creamy cheeses like brie, camembert, or fresh goat cheese.
- As a Glaze: Use it as a glaze for roasted chicken, pork, or even baked ham for a subtle sweet and floral finish.
- In Desserts: Use it as a filling for thumbprint cookies, a topping for cheesecake, or a layer in a parfait.
- In Beverages: Stir a spoonful into a cup of hot black or green tea, or use it to create a unique simple syrup for cocktails.
Thistle Jelly FAQs
Yes, any edible thistle from the Cirsium genus, such as Canada thistle, bull thistle, or milk thistle, will work wonderfully. The key is to use fresh, brightly colored blossoms that have not yet gone to seed to ensure the best flavor and color.
Wearing gloves is highly recommended to protect your hands from the spiny leaves and stems. However, the flower petals themselves are quite soft and not spiky. If you are careful, you can harvest the blossoms without much trouble.
The most common culprits for unset jelly are an incorrect order of ingredients (always add pectin before sugar), not bringing the mixture to a full rolling boil, or attempting to double the recipe. Jelly making is a science, and altering batch sizes can disrupt the delicate balance of pectin, sugar, and acid. If your jelly doesn’t set after 48 hours, you can enjoy it as a delicious floral syrup for pancakes or cocktails.
Yes, but you cannot simply reduce the sugar in this recipe. You must use a pectin specifically designed for low or no-sugar recipes, such as Sure-Jell Low Sugar or Pomona’s Universal Pectin. Follow the directions on that package carefully, as the method will be different. You will also need to increase the lemon juice to 1/2 cup to maintain a safe acidity level.
More Flower Jelly Recipes
How to Make Flower Jelly (with 20+ Recipes!)
Redbud Jelly (& Syrup)
Rose Petal Jelly
If you tried this Thistle Jelly recipe, or any other recipe on my site, please leave a ⭐ star rating and let me know what you think in the 📝 comments below!
Stay in touch by following on social media!
Thistle Jelly
Rate
Equipment
-
Boiling Water Bath Canner
-
Half Pint Mason Jars
-
Canning lids and bands
-
Jar lifter
-
Canning Funnel
-
Fine Mesh Strainer or Jelly Bag
-
Large Pot
Ingredients
For the Thistle Tea
- 2 cups fresh thistle blossoms, tightly packed
- 4 cups water
For the Jelly
- 4 cups thistle tea, strained
- 1/4 cup bottled lemon juice
- 1 box powdered pectin, 1.75 oz, such as Sure-Jell original
- 4 cups granulated sugar
Instructions
-
Bring 4 cups of water to a boil. Remove from heat and let cool for 1-2 minutes. Add the thistle blossoms and push them down until fully submerged. Cover and steep for at least 1 hour, or overnight in the refrigerator for a stronger flavor.
-
Strain the tea through a fine mesh strainer or jelly bag, pressing gently on the blossoms. Measure out 4 cups of tea, adding a bit of fresh water if needed to reach the full amount.
-
Pour the thistle tea into a large pot. Add the bottled lemon juice. Whisk in the powdered pectin until it is completely dissolved with no lumps. Bring the mixture to a full rolling boil over high heat, stirring constantly.
-
Add all of the sugar at once and stir until it dissolves. Return the mixture to a full rolling boil and boil hard for exactly 1 minute, continuing to stir.
-
Remove the pot from the heat and skim off any foam. Immediately ladle the hot jelly into prepared, sterilized jars, leaving 1/4 inch of headspace. Wipe the rims clean, center the lids, and apply the bands until fingertip-tight.
-
Process the jars in a boiling water bath canner for 10 minutes, adjusting for your altitude. After processing, turn off the heat and let the jars rest in the canner for 5 minutes before removing. Let them cool on a towel for 12-24 hours before checking the seals.
Notes
Low Sugar Option: For a less sweet jelly, you must use a pectin formulated for low-sugar recipes, like Sure-Jell Low Sugar or Pomona’s Universal Pectin. Follow the package instructions and increase the lemon juice to 1/2 cup for safety.
Altitude Adjustments:
• 0–6,000 feet: 10 minutes
• Above 6,000 feet: 15 minutes
Do not double this recipe, as it may prevent the jelly from setting correctly. Make one batch at a time.
Nutrition
Nutrition information is automatically calculated and should be considered an approximation.
Like this? Leave a comment below!
Jelly Canning Recipes
Wild Grape Jelly
Black Raspberry Jelly (Seedless)
Watermelon Jelly
Find the perfect recipe
Searching for something else? Enter keywords to find the perfect recipe!