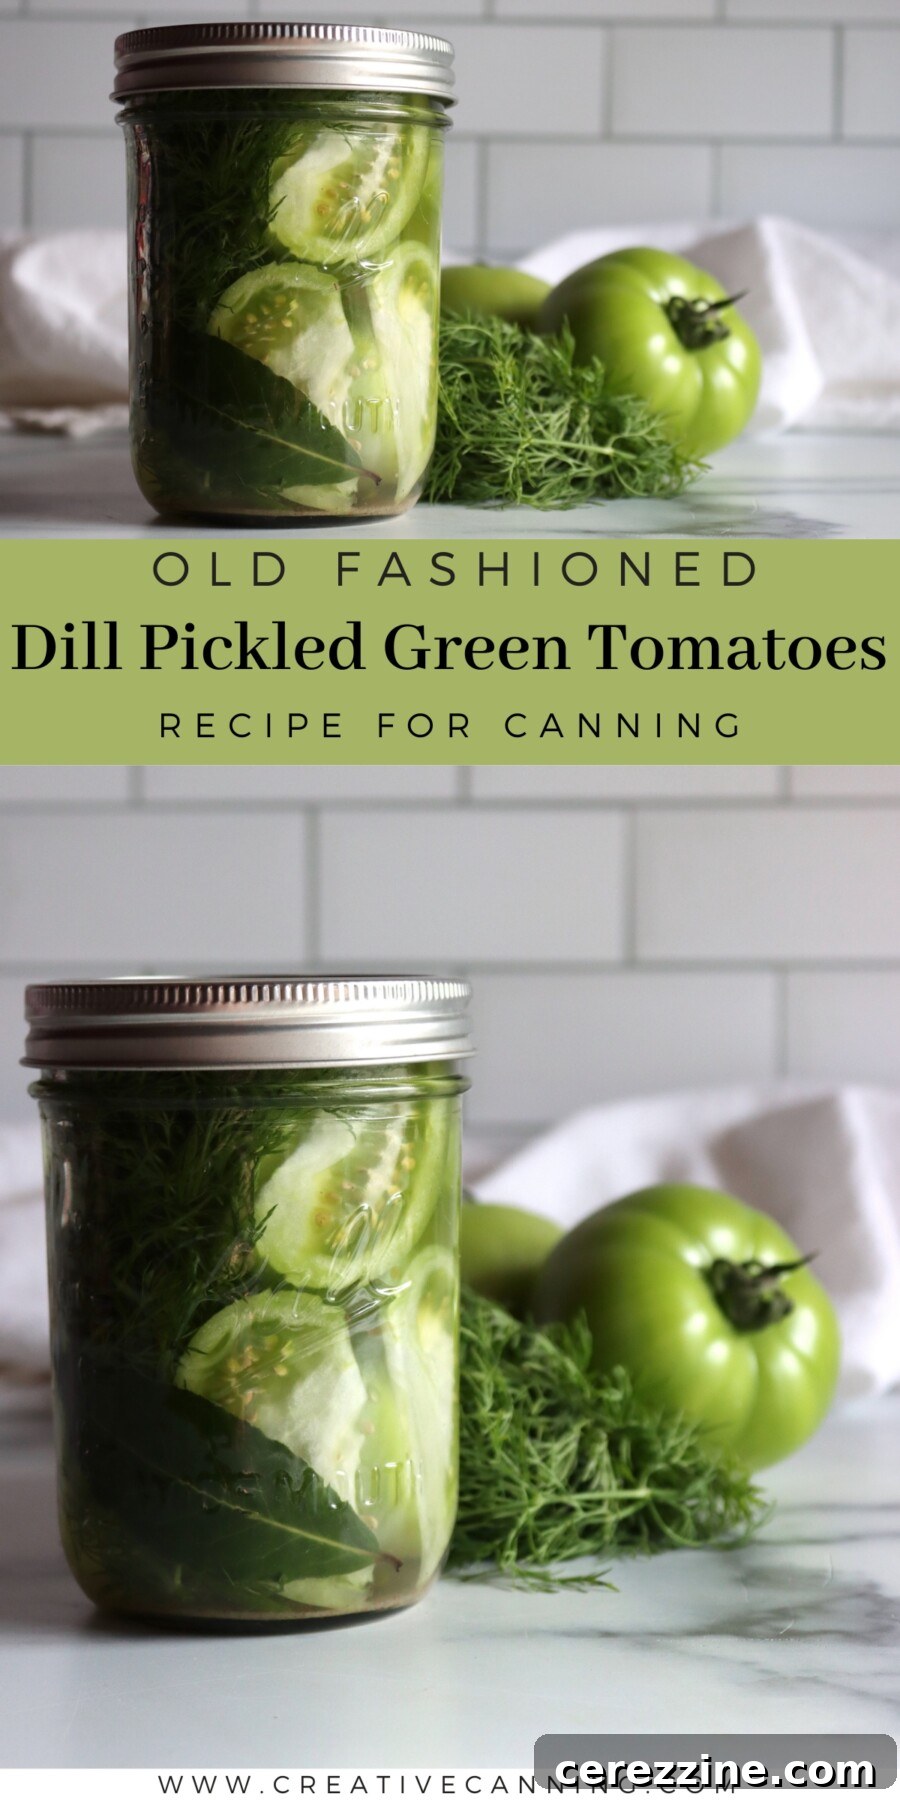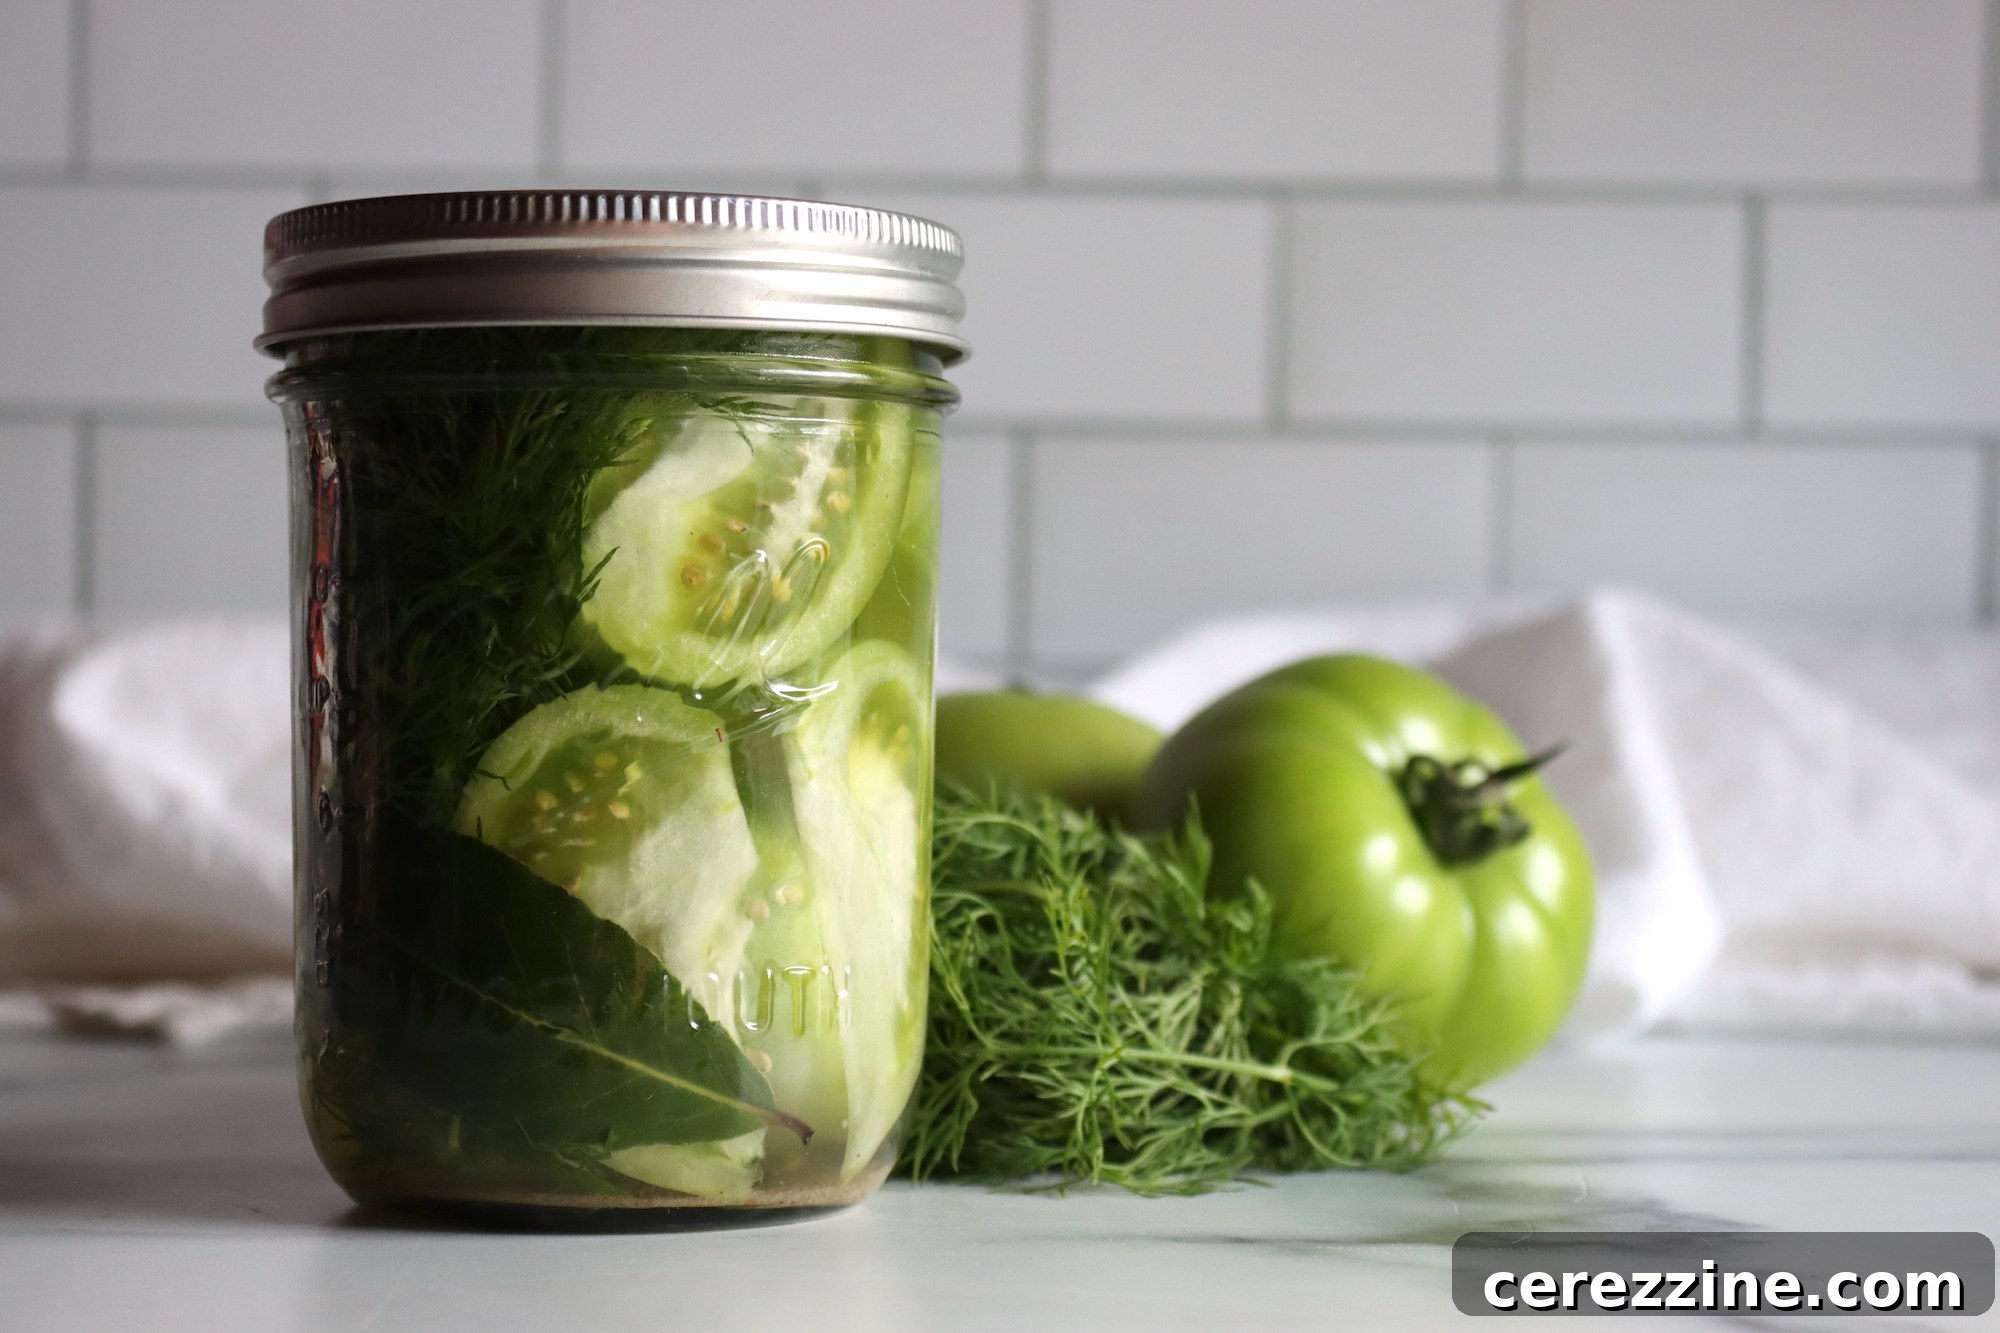
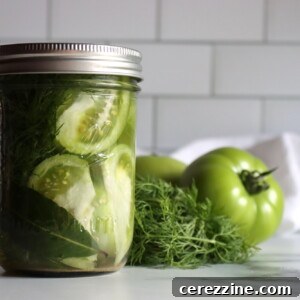
Dill pickled green tomatoes are a culinary delight, offering a perfect blend of crispness, garlicky zest, and just the right amount of tartness. These classic pickles are experiencing a well-deserved revival, proving to be an incredibly versatile accompaniment to everything from hearty sandwiches and gourmet snack boards to a simple, satisfying standalone bite. Far from being merely a seasonal treat, they transform the late-season abundance of green tomatoes into a pantry staple eagerly anticipated all winter long.
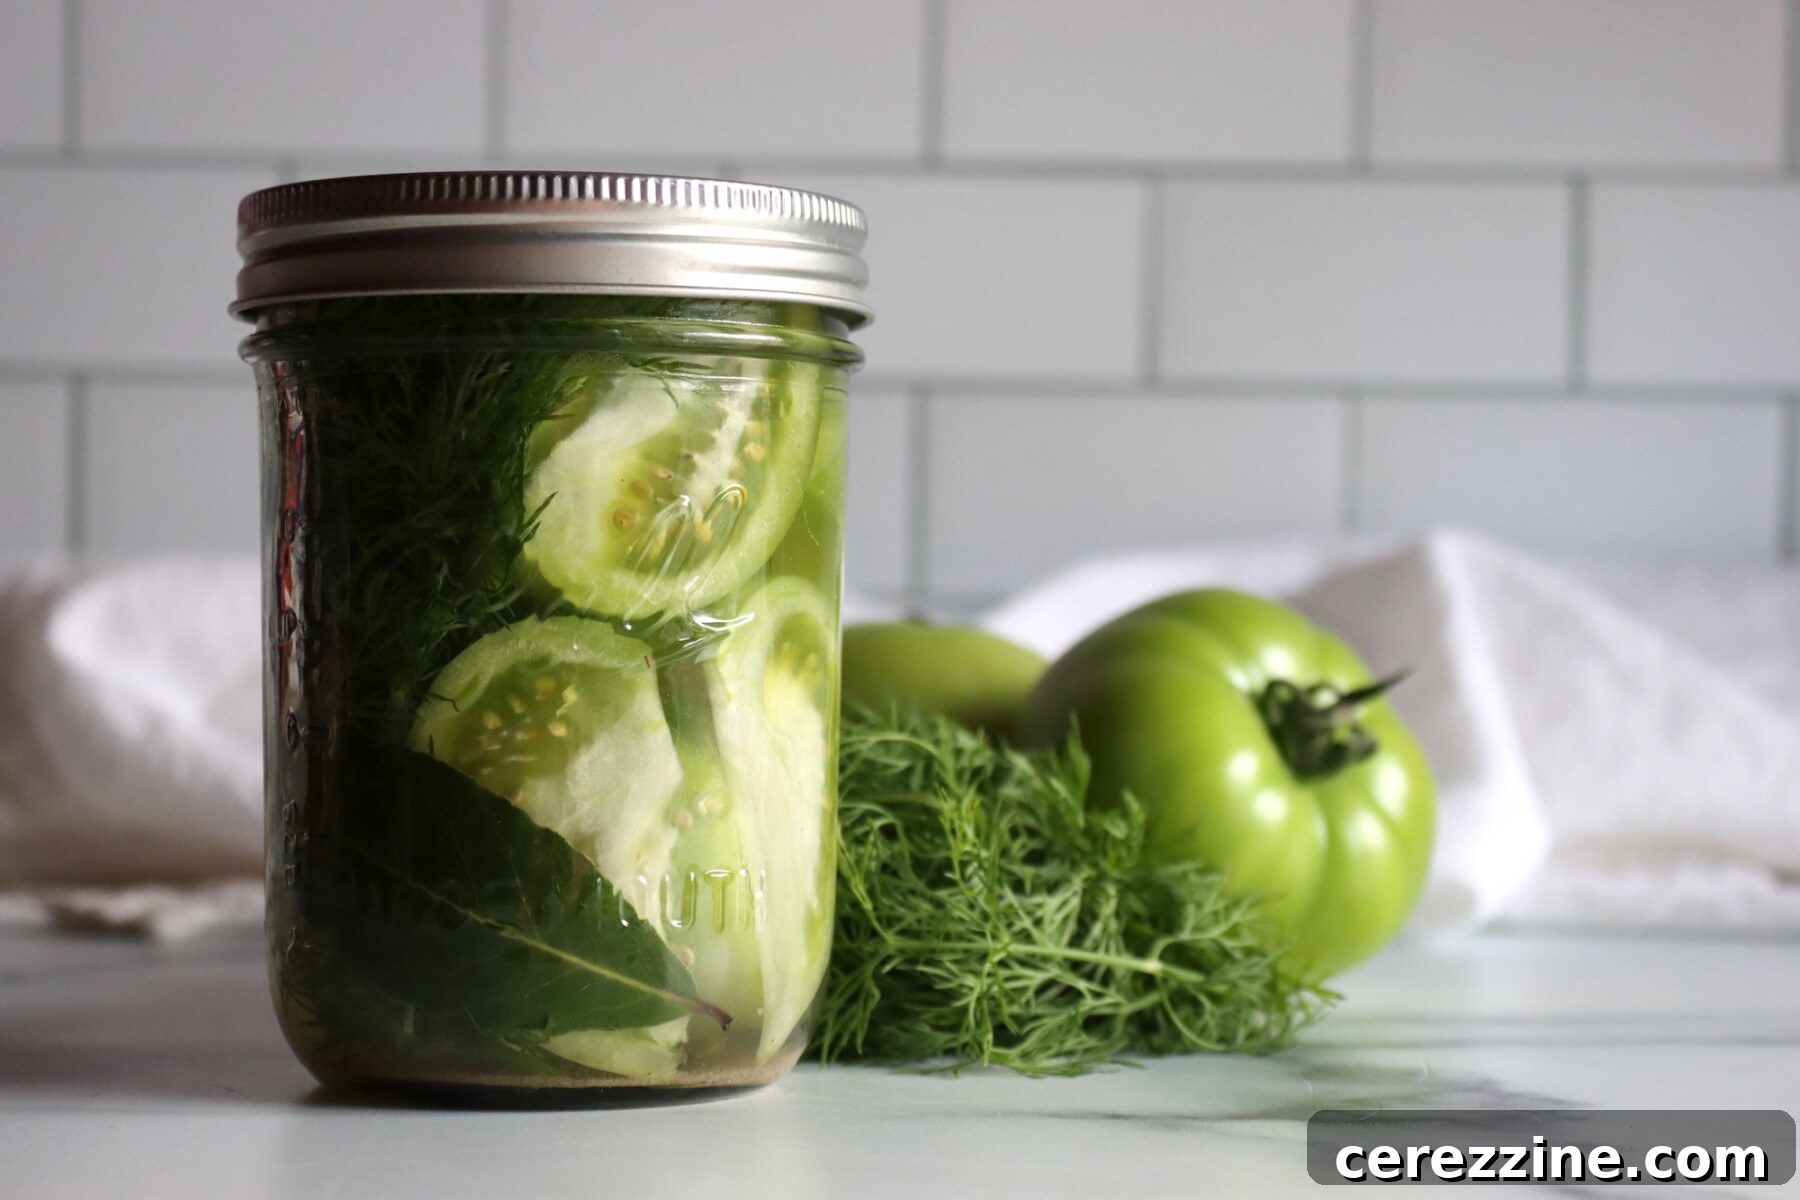
As autumn approaches and the weather begins to cool, gardeners often find themselves with an overwhelming harvest of green tomatoes. These firm, unripe fruits, while delicious fried, don’t always ripen quickly enough to be enjoyed fresh before the first frost hits. This annual end-of-season gift can, at times, feel like a culinary challenge. Fortunately, the age-old art of canning provides an ingenious solution, transforming these garden treasures into something truly extraordinary.
Embracing the world of green tomato canning recipes is the perfect way to harness this late-season bounty. Among the various methods, pickling stands out as a favorite for preserving their unique texture and tangy flavor. From vibrant green tomato relishes, including beloved old-fashioned green tomato chow-chow and piccalilli, to the simple yet profound dill pickle, these recipes ensure that no tomato goes to waste, offering delicious options for every palate.
Intriguingly, a glance through vintage cookbooks reveals a fascinating historical preference: green tomato pickling recipes often outnumber those for cucumber pickles. For instance, the 1911 Canadian Farm Cookbook features a remarkable 40 green tomato recipes out of 120 total pickle, relish, and sauce entries. This historical insight underscores the enduring appeal and practical advantages of pickling green tomatoes. They naturally maintain a superior crispness even after processing in a canner, and they possess a more complex, subtly tart flavor profile that distinguishes them from their cucumber counterparts. This inherent quality makes them ideal candidates for preserving, promising a delightful texture and taste that lasts.
Long before what we now consider the quintessential classic dill pickled cucumber or dill cucumber relish became commonplace, it was the robust dilled green tomato pickle that proudly lined pantry shelves across homes. These pickles represent a rich culinary heritage, offering a taste of tradition that resonates with modern palates seeking authentic flavors and sustainable practices. Their resurgence is a testament to their timeless appeal and superior qualities.
This meticulously tested dill pickled green tomato recipe is thoughtfully adapted from the authoritative Ball Blue Book of Preserving, a trusted resource for home canners for generations. You’ll find a very similar, reliable formula within the even more comprehensive Ball Complete Book of Home Preserving. This recipe features a simple yet effective brine, expertly crafted to ensure the tomatoes remain delightfully crisp while absorbing an abundance of fresh dill and aromatic garlic flavors. Whether you’re working with small, cherry-sized green tomatoes, which can be pickled whole, or larger heirloom varieties that are best quartered, this method guarantees a beautiful texture that holds up splendidly in the jar.
These dilled green tomatoes make an effortless and impactful addition to various meals and occasions. Imagine them as a vibrant side for hearty winter stews, a zesty component on an elaborate charcuterie board, or simply a quick, tangy snack pulled straight from the refrigerator. Their enduring appeal lies in their robust flavor and satisfying crunch, offering a versatile culinary component that brightens any dish.
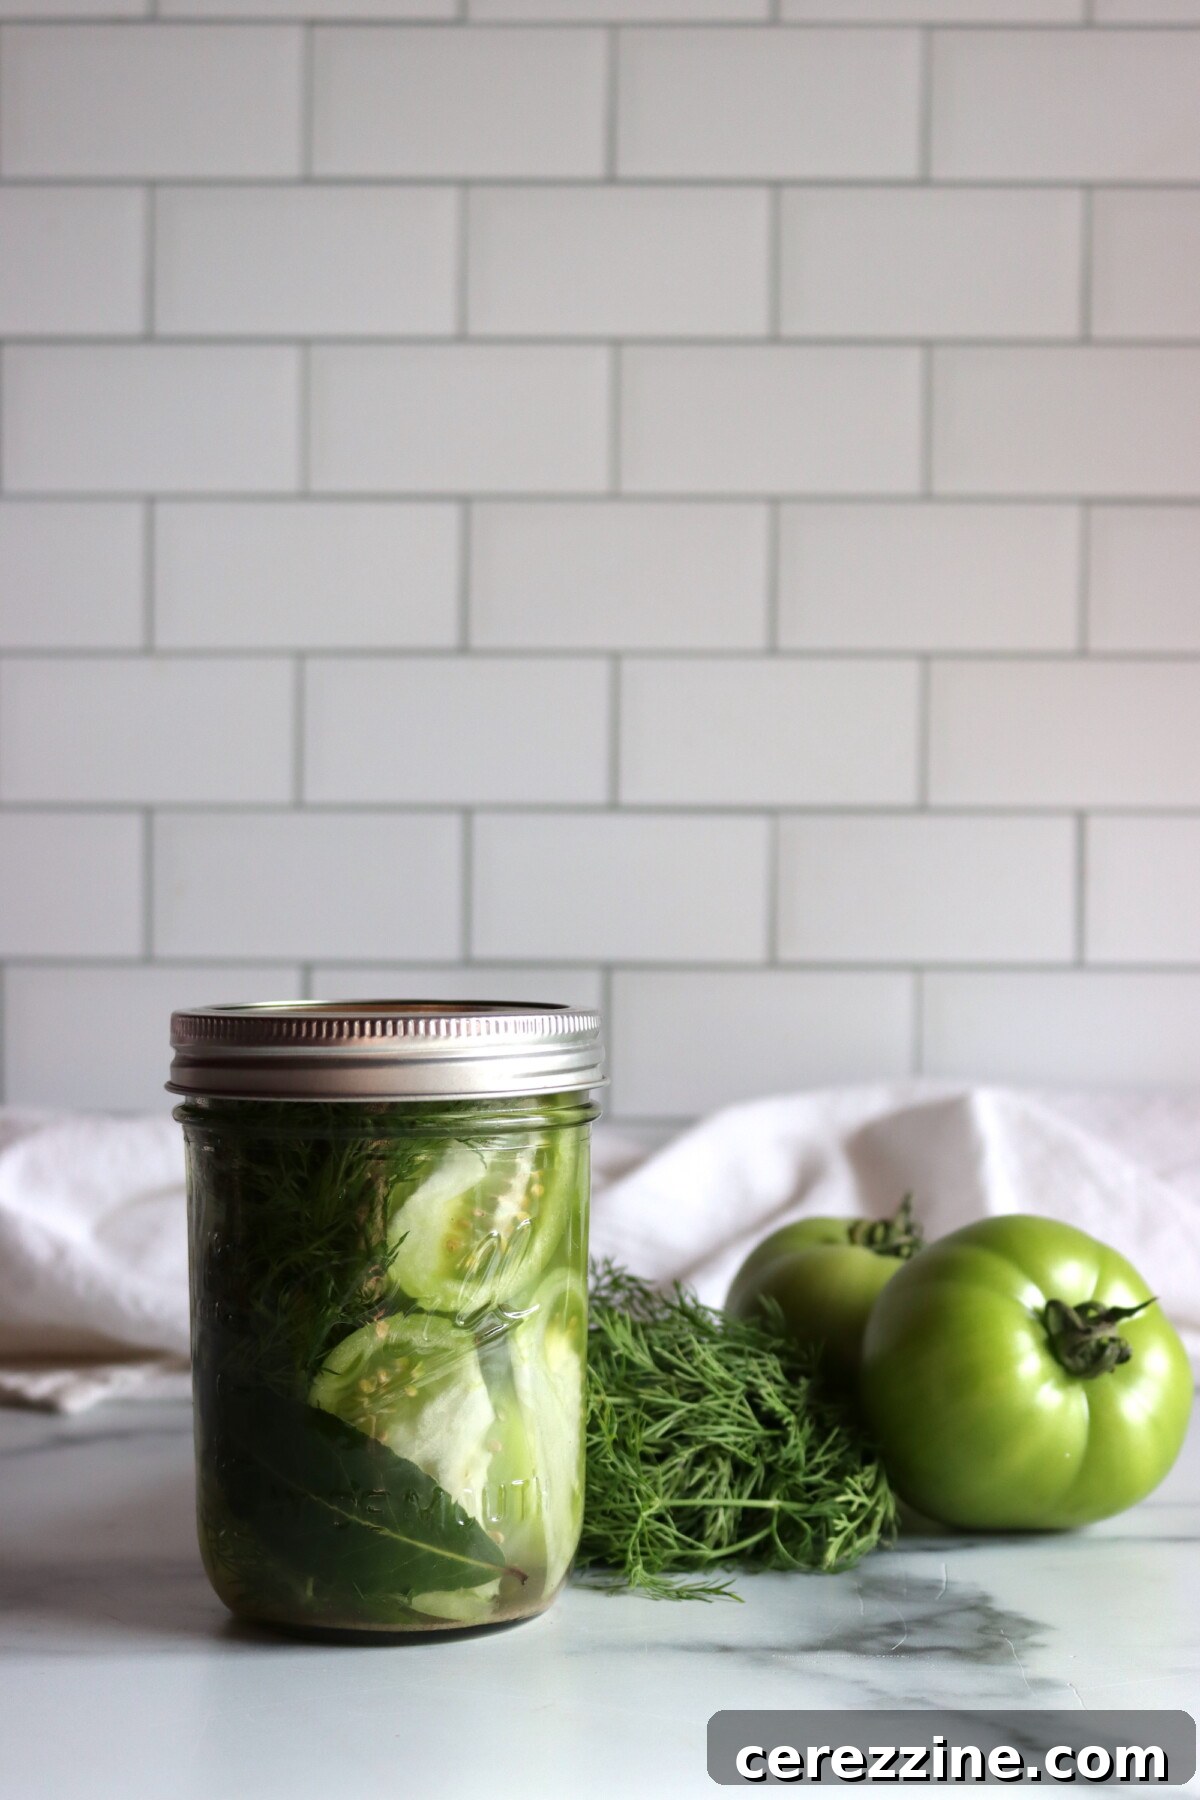
Essential Ingredients for Crafting Dill Pickled Green Tomatoes
This recipe is ideally scaled to produce approximately 6 pint jars of delicious dill pickled green tomatoes. Keep in mind that the exact yield can fluctuate slightly based on the size and variety of your green tomatoes, how precisely you cut them (or choose to leave them whole), and the efficiency with which you pack your jars. A good rule of thumb to estimate your needs is that you’ll typically require a bit less than one pound of green tomatoes per pint jar, alongside roughly one cup of brine for each pint.
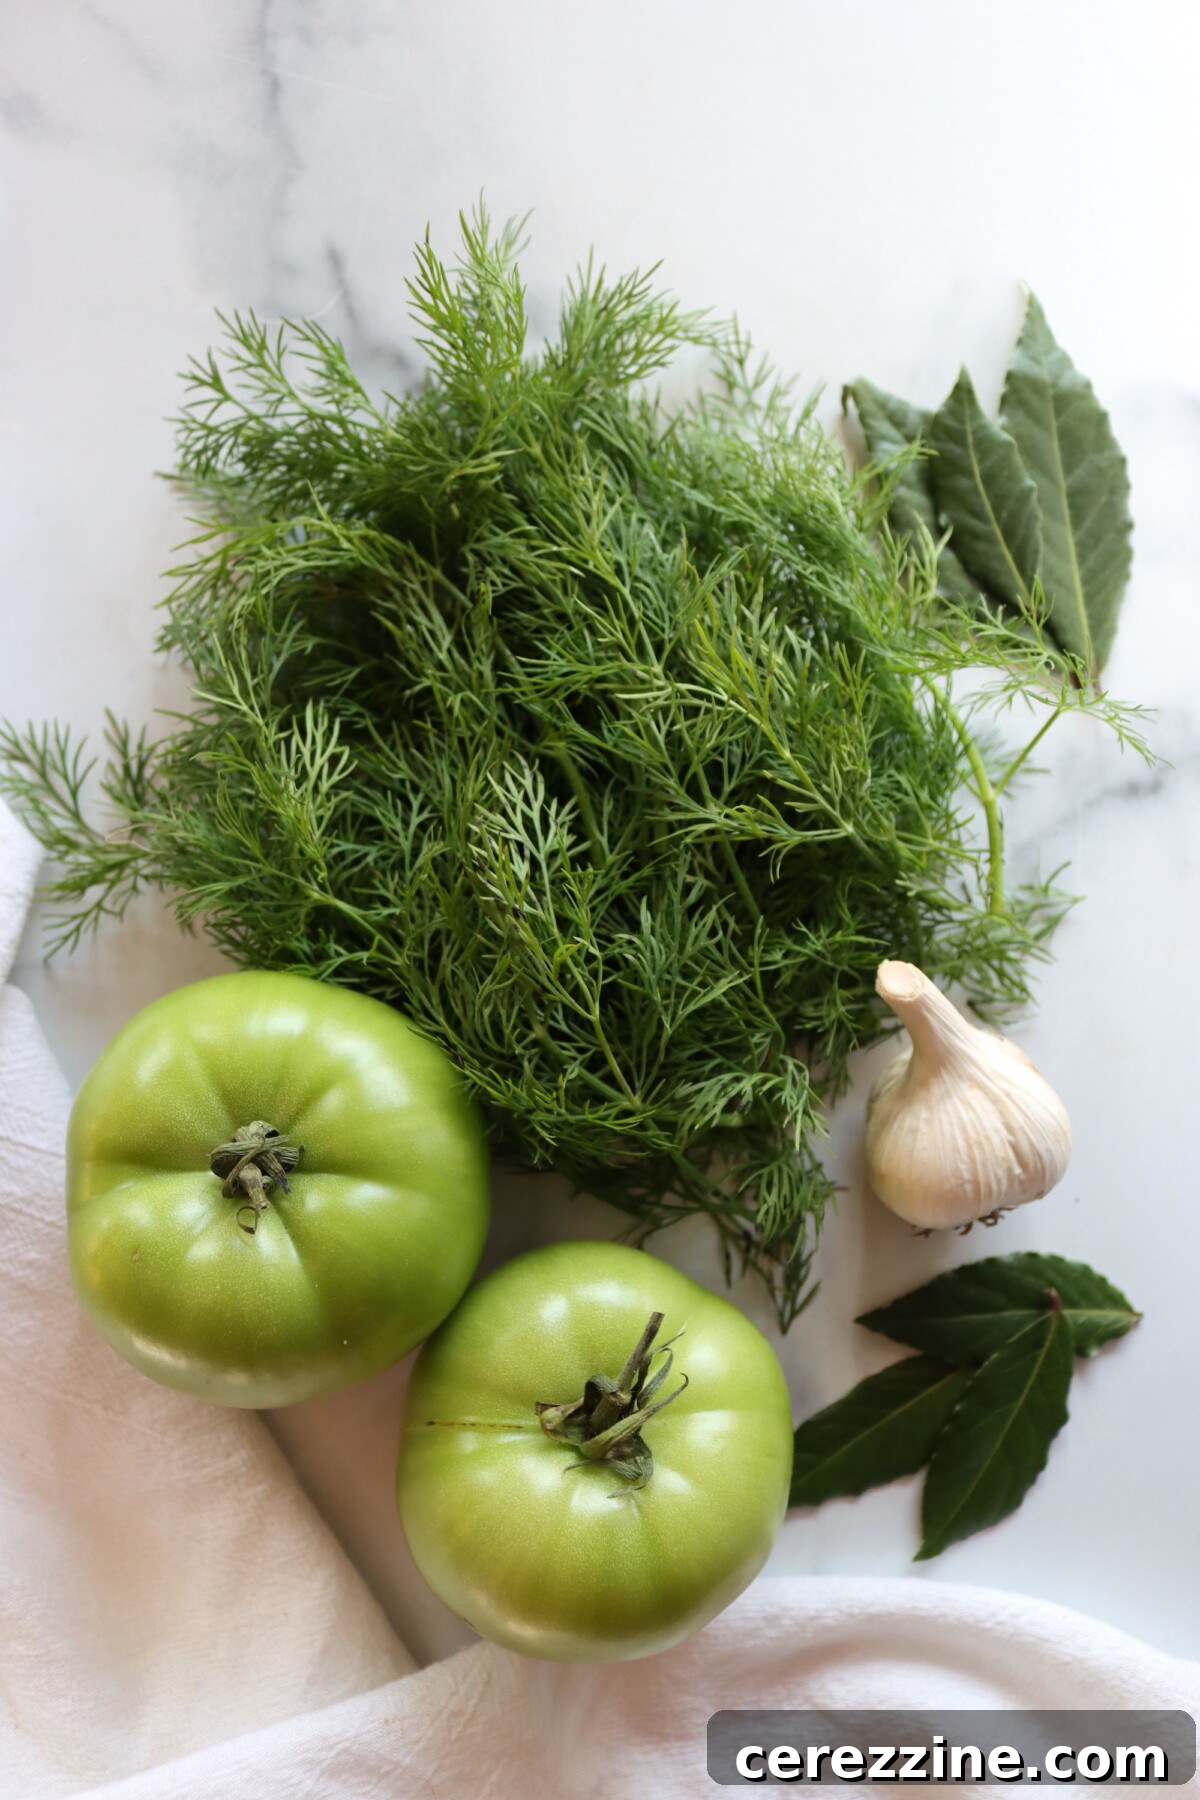
To prepare about 6 pint jars of these exceptional dill pickled green tomatoes, gather the following high-quality ingredients:
- 5 pounds green tomatoes: Choose firm, unblemished fruits. Halve or quarter larger varieties, while smaller cherry-sized green tomatoes can be left whole.
- ¼ cup pickling or canning salt: This specific type of salt is crucial as it lacks anti-caking agents that can cloud your brine.
- 3 ½ cups vinegar (5% acidity): White vinegar offers a sharp, clean flavor, whereas apple cider vinegar provides a slightly mellower, warmer profile. Ensure your chosen vinegar is at least 5% acidity for safe preservation.
- 3 ½ cups water: Filtered water is recommended for the purest flavor.
- 6 cloves garlic, peeled: Fresh garlic provides essential aromatic depth. Feel free to add more for an extra garlicky kick.
- 6 heads fresh dill: If fresh dill is unavailable, use 1 tablespoon of dill seed per pint jar for a similar flavor profile.
- 6 bay leaves: One bay leaf per jar adds a subtle, earthy note that complements the dill and garlic beautifully.
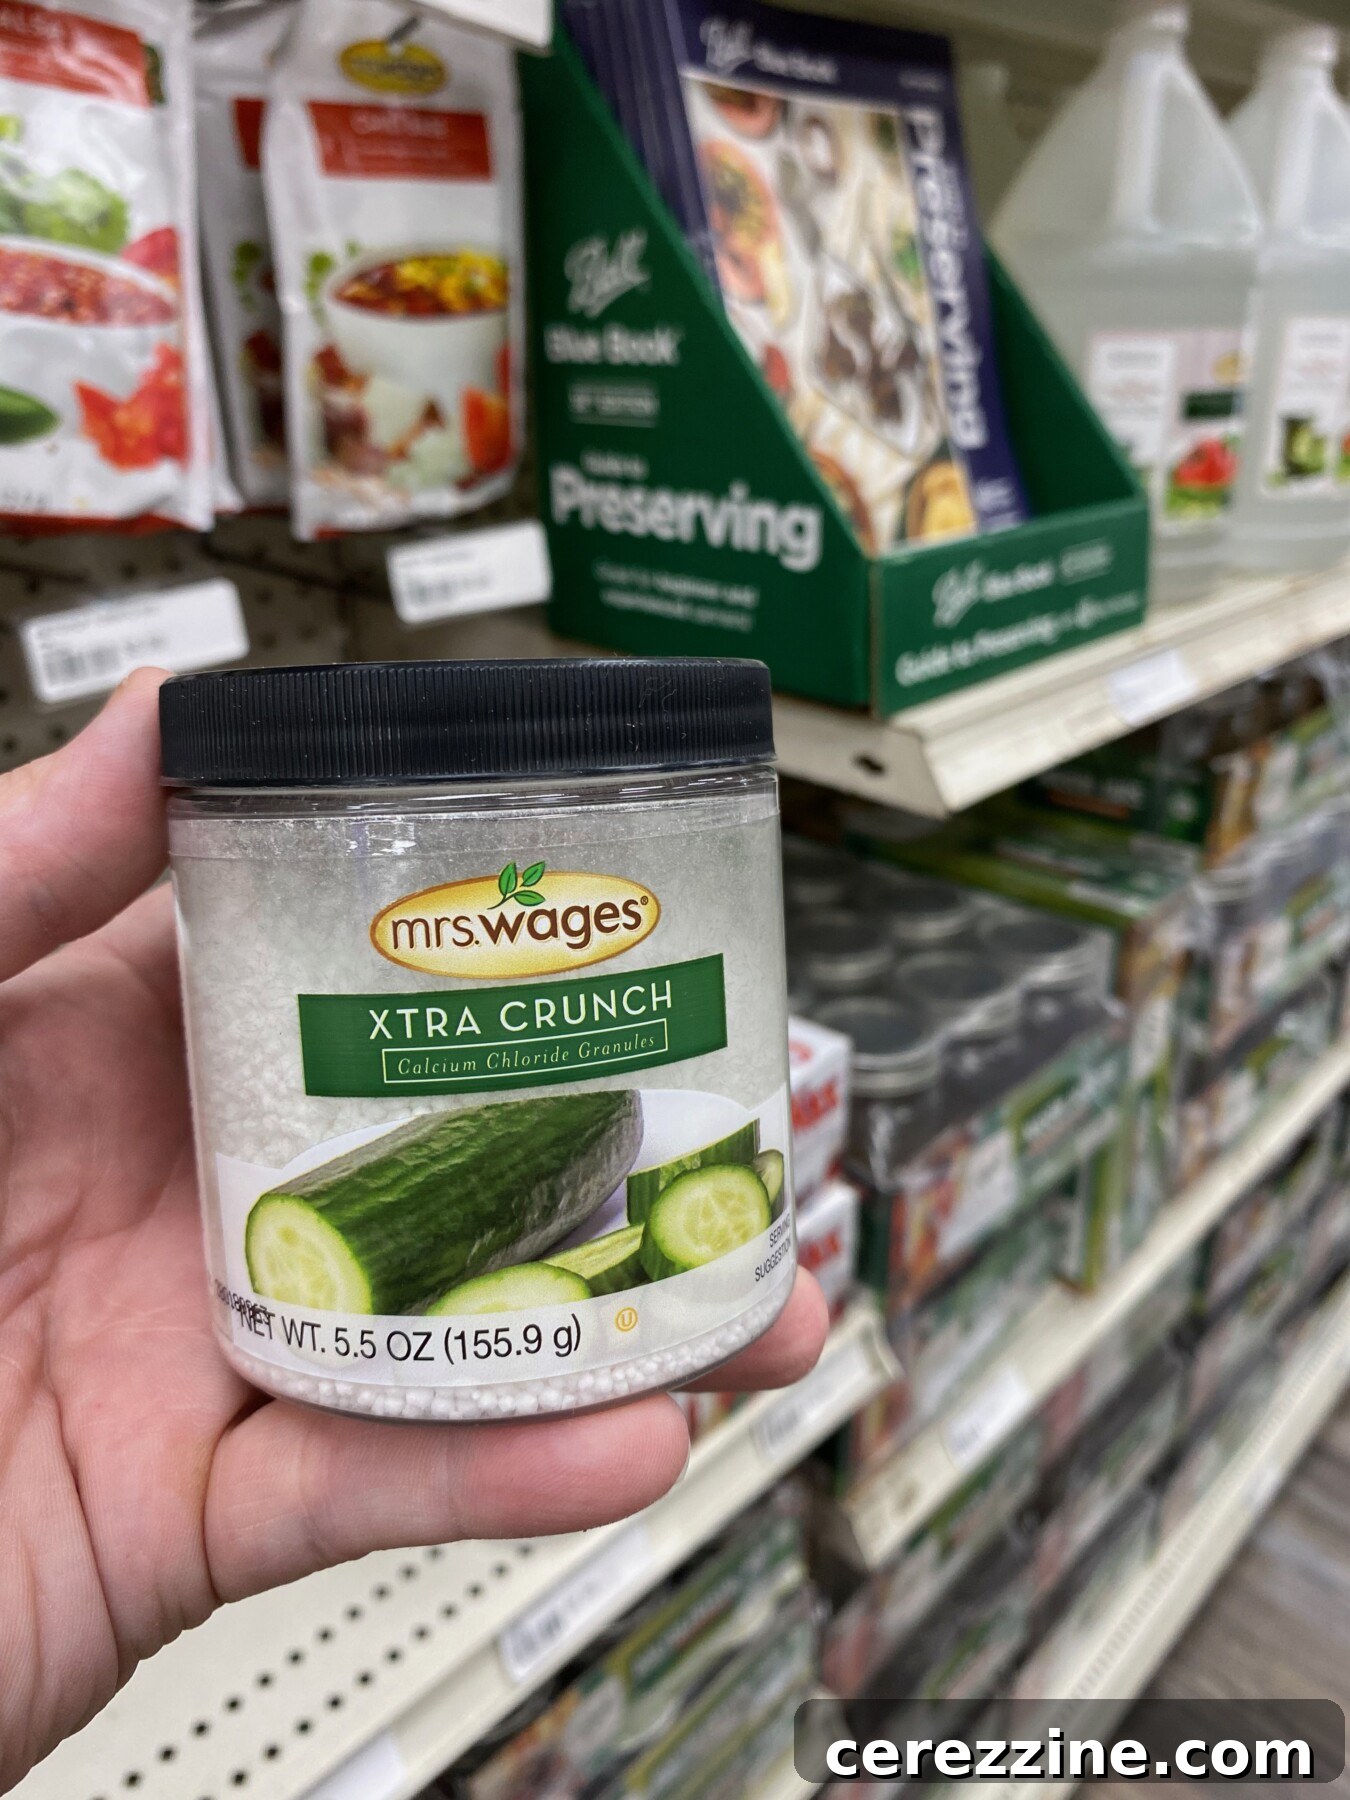
- Optional: ⅛ teaspoon calcium chloride (pickle crisp) per pint: Highly recommended for ensuring maximum crispness in your finished pickles.
Important Considerations for Brine Safety and Flavor:
It is paramount that you do not increase the proportion of water in the brine. For safe home preservation, the brine must maintain at least 5% acidity, meaning it needs to be composed of at least half vinegar (at 5% acidity). You have the flexibility to use any type of vinegar, provided it meets the 5% acidity requirement, which is typically listed on the label. While white vinegar imparts a very clean, sharp flavor to the pickles, some find it a bit abrasive. Cider vinegar, on the other hand, offers a warmer, slightly fruitier flavor and is generally perceived as less harsh. Both options are perfectly acceptable for this recipe, allowing you to tailor the flavor profile to your preference.
This recipe calls for a notable amount of salt, aligning with the traditional salty-sour profile characteristic of classic dill pickles, rather than a sweet one. If you prefer a less salty pickle, you absolutely can reduce the amount of pickling salt without compromising the safety of the preservation process, as salt primarily contributes to flavor in this recipe, not acidity for safety. For those who find the sourness of the vinegar a bit intense, incorporating a tablespoon or two of granulated sugar can help balance the flavor. This addition will subtly cut the sharp sour notes without making the pickles distinctly sweet. However, many enthusiasts deliberately favor the pronounced sourness of dill pickles, which is why sugar is not a standard ingredient in the initial recipe.
The beauty of this dill pickle recipe lies in its adaptability when it comes to seasonings. Feel free to customize them to perfectly match your taste preferences. For garlic lovers, adding an extra clove or two of peeled garlic to each jar will amplify that pungent aroma and flavor. If you enjoy a touch of heat, a teaspoon of red pepper flakes per jar will introduce a pleasant warmth. While classic dill pickles often feature only garlic and dill (either fresh fronds or dill seeds), you can certainly experiment further. Consider adding a teaspoon of whole black peppercorns, coriander seeds, or mustard seeds to each jar for additional layers of complexity and aroma. These variations are not included in the original Ball recipe but are safe and delicious additions that can elevate your pickles.
A crucial ingredient for achieving that satisfying crunch is Calcium Chloride, widely available as Pickle Crisp from Ball or Xtra Crunch from Mrs. Wages. This additive is highly recommended for these pickles as it significantly helps in maintaining their firmness during the canning process. While its inclusion is optional, using it yields a vastly superior and more enjoyable texture. Historically, canners would use pickling lime for crispness, but that involves a more complex and time-consuming process. Pickle Crisp offers a modern, much simpler, and equally effective solution for consistently crisp pickles.
Step-by-Step Guide: How to Make Dill Pickled Green Tomatoes
This recipe comes together quite efficiently, making it a rewarding project. If you intend to can these pickles for long-term storage, it’s wise to begin by preparing your water bath canner and sterilizing your pint jars well in advance, ensuring they remain hot and ready for filling as you proceed with the recipe.
- Prepare the Tomatoes: Start by thoroughly washing the green tomatoes under cold, running water and draining them completely. For larger green tomatoes, carefully core them and cut them into halves or quarters, ensuring they will fit snugly and neatly into your pint jars. If you’re using small, cherry-sized green tomatoes, they can be left whole, but it’s essential to prick each one several times with a fork or a sharp skewer. This crucial step allows the hot brine to penetrate effectively, preventing the tomatoes from splitting during processing and ensuring even flavor distribution. Set your prepared tomatoes aside while you focus on mixing the brine.
- Prepare the Brine: In a large, nonreactive pot (such as stainless steel or enamel-coated), combine the measured pickling salt, vinegar, and water. Place the pot over medium-high heat and bring the mixture to a rolling boil, stirring continuously to ensure the salt is completely dissolved. Once it reaches a boil, reduce the heat to a gentle simmer and allow it to cook for about 5 minutes. This simmering period ensures all ingredients are fully integrated into the brine and that the brine is adequately hot when it’s time to fill your jars. Keep the brine at a low simmer while you proceed with packing the jars.
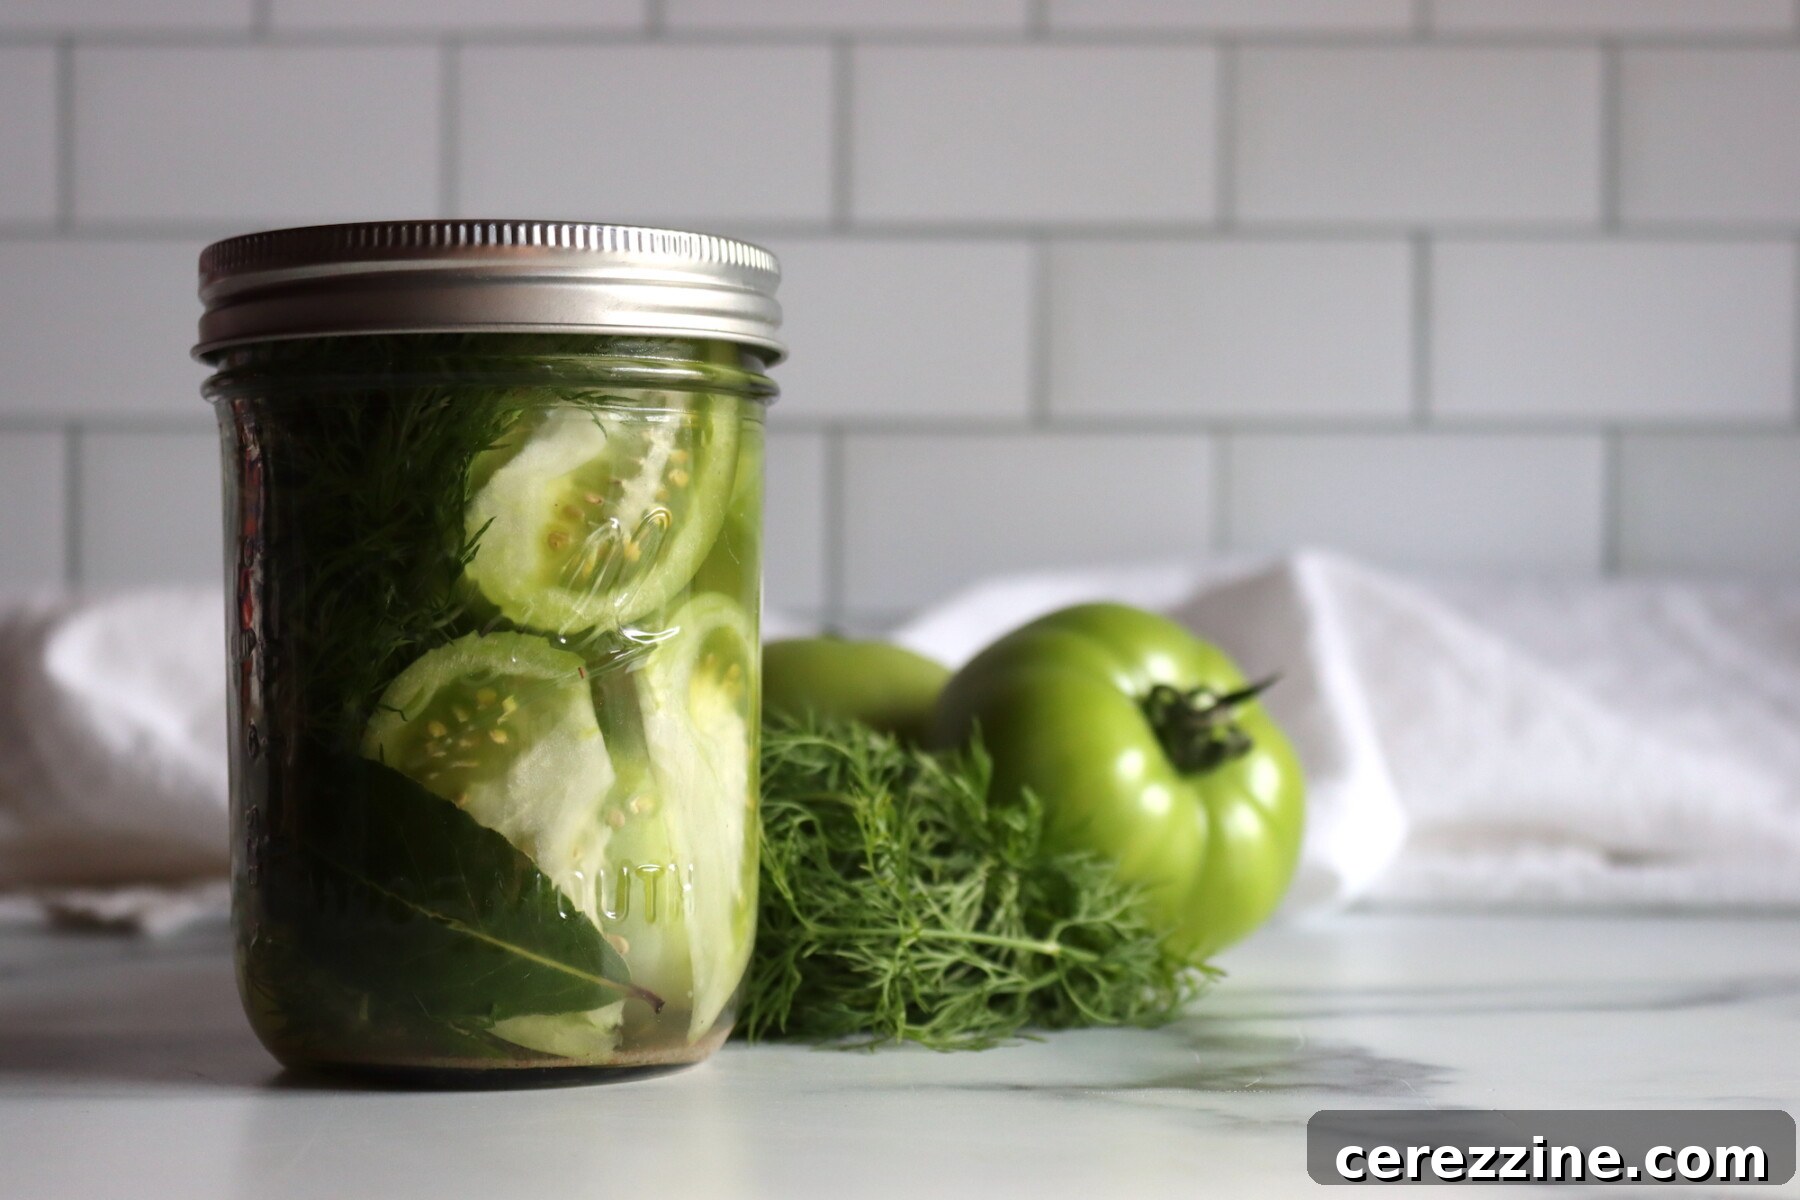
- Pack the Jars: Carefully pack the raw, prepared green tomatoes firmly into your hot, sterilized pint jars, leaving a consistent ½-inch headspace at the top of each jar. As you pack each individual jar, add 1 peeled clove of garlic, 1 head of fresh dill (or 1 tablespoon of dill seed), and 1 whole bay leaf. If you are opting for extra crispness, now is the time to add ⅛ teaspoon of calcium chloride (Pickle Crisp) to each pint jar.
- Fill with Brine and Remove Air Bubbles: Ladle the simmering hot brine over the packed tomatoes in each jar, once again ensuring that you maintain the critical ½-inch headspace. To release any trapped air pockets along the sides of the jar, gently insert a bubble remover tool or a clean, non-metallic utensil (like a chopstick or plastic knife) down the sides of the jar, moving it around. Add more hot brine if necessary to restore the ½-inch headspace after air bubbles have been removed.
- Seal the Jars: With a clean, damp cloth, meticulously wipe the rims of each jar to remove any stray brine or food debris, which could interfere with a proper seal. Center the warm lids onto the jars, then screw on the bands until they are “fingertip-tight.” This means tightening just enough until you feel resistance, but without overtightening, which can prevent proper sealing.
Mastering the Canning Process for Dill Pickled Green Tomatoes
Once your jars are meticulously filled and securely closed, the crucial step of water bath canning begins to ensure their long-term preservation. Carefully place the jars onto the rack inside your prepared water bath canner. Make certain that the jars are completely submerged under at least 1 to 2 inches of water. Secure the canner lid and bring the water to a full, rolling boil. This is a vigorous boil that cannot be stirred away.
Once the water achieves a full rolling boil, start your timer. Process pint jars for a duration of 15 minutes. It is imperative to maintain a steady, vigorous boil throughout the entire processing time to ensure proper heat penetration and safety.
When the processing time has elapsed, turn off the heat source and carefully remove the canner lid. Allow the jars to rest undisturbed in the hot water within the canner for approximately 5 minutes. This brief resting period is crucial as it helps to temper the temperature difference, significantly reducing the likelihood of siphoning (loss of brine) when the jars are eventually removed from the canner. After resting, use a jar lifter to carefully transfer the hot jars to a towel-lined counter or a cooling rack. Arrange the jars with adequate space between them to allow for even cooling and to prevent them from touching, which could hinder the sealing process.
Allow the jars to cool completely and undisturbed for 12 to 24 hours. During this cooling period, you should hear a satisfying “ping” sound as the lids seal, indicating a successful vacuum seal. Once the jars are entirely cool, proceed to check their seals. To do this, press down on the center of each lid; if it does not flex or pop, the jar is sealed. Any jars that have not sealed properly should be immediately refrigerated and consumed first, typically within a few weeks. Wipe down the sealed jars to remove any water spots or residue, then label them clearly with the contents and date of canning. Store your beautifully preserved dill pickled green tomatoes in a cool, dark, and dry place. For the absolute best flavor development and integration of the dill and garlic, allow the pickles to cure for a minimum of 2 weeks before opening and enjoying. This curing period allows the flavors to meld and intensify, resulting in a superior pickle.
Altitude Adjustments for Canning and Creative Serving Suggestions
For safe and effective water bath canning, processing times must be meticulously adjusted based on your altitude. This ensures adequate heat penetration and maintains the necessary acidity levels to prevent spoilage. Please refer to the following guidelines for processing pint jars of dill pickled green tomatoes:
- 0 to 1,000 feet: Process for 15 minutes
- 1,001 to 6,000 feet: Process for 20 minutes
- Above 6,000 feet: Process for 25 minutes
Always remember to start your processing timer only after the water in your canner has returned to a full, vigorous rolling boil. This is a critical safety measure.
Unlock Your Creativity: Exciting Canning Variations
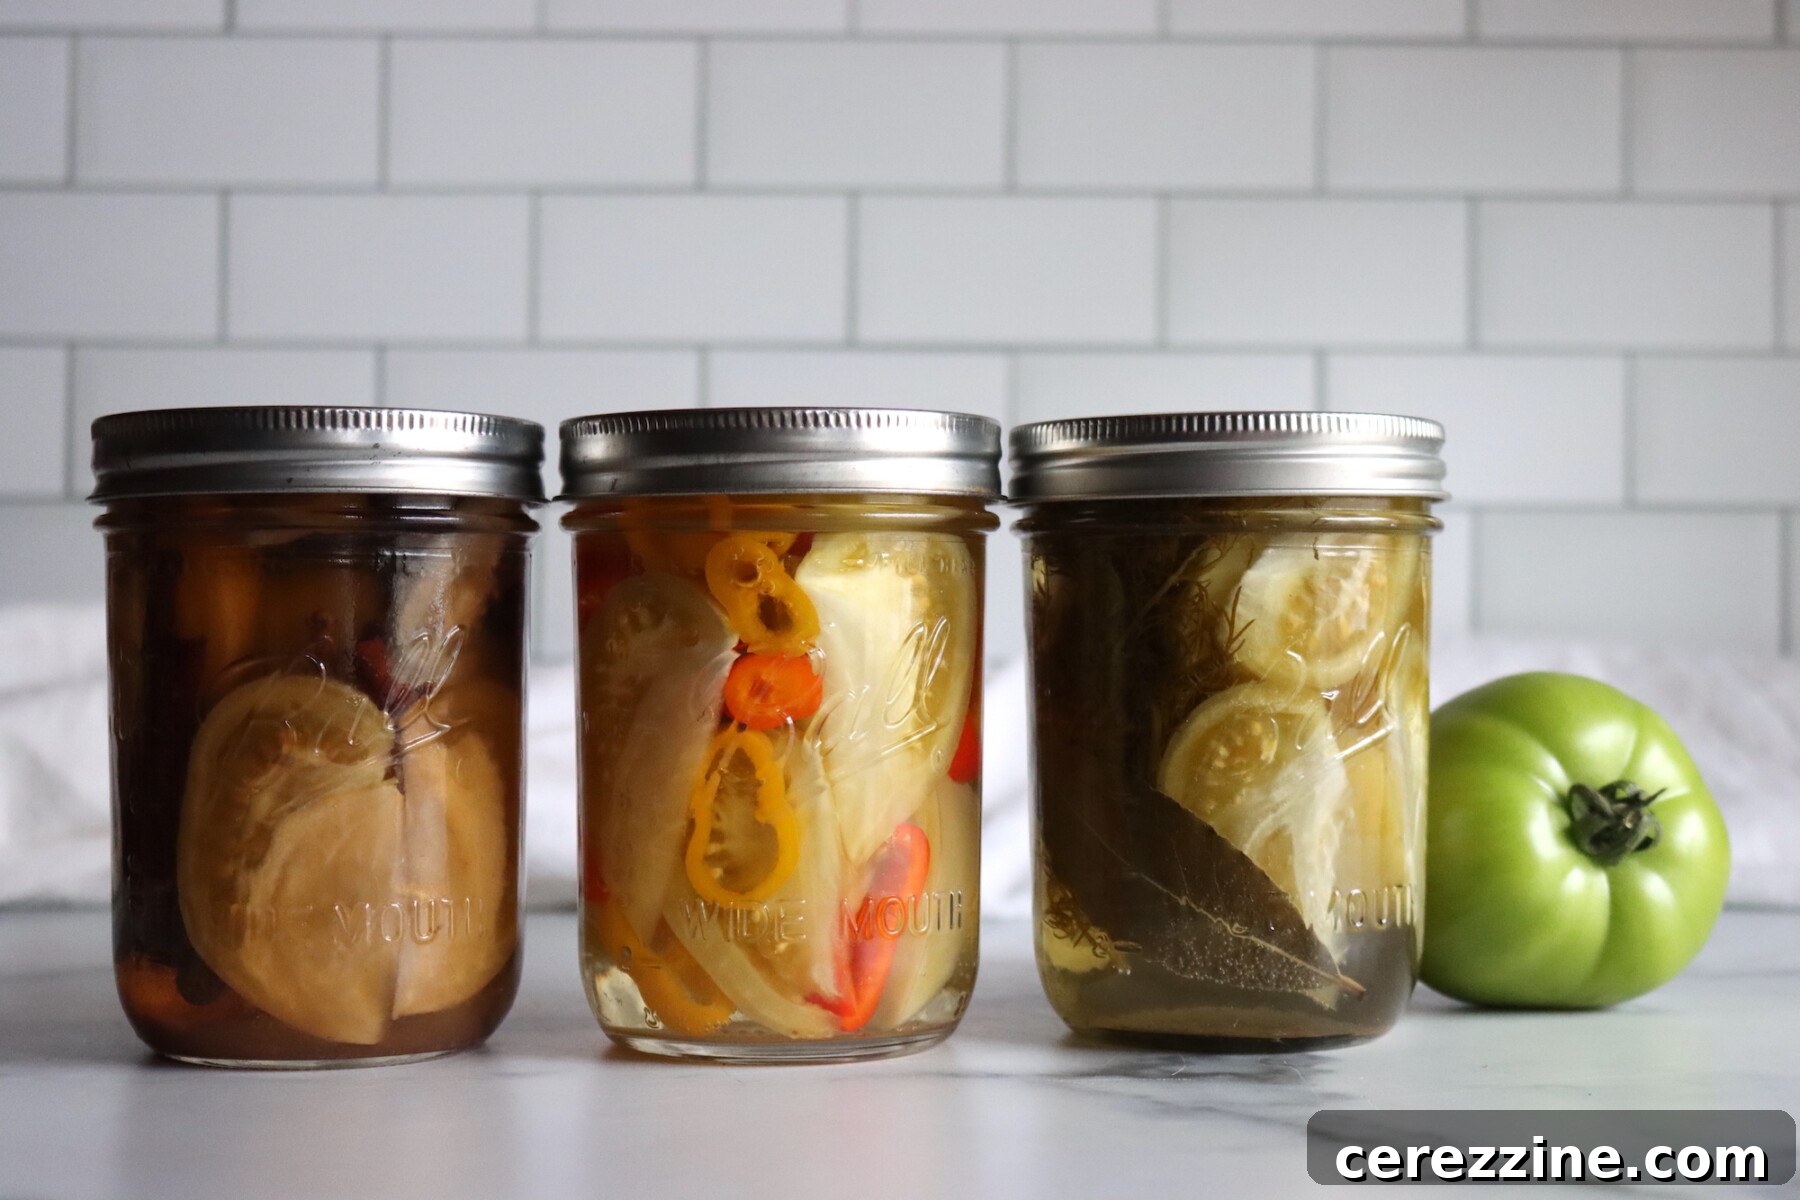
Dill pickled green tomatoes are wonderfully versatile, lending themselves to endless customization, provided you consistently maintain the crucial vinegar-to-water ratio in the brine for safety. The most straightforward and safest way to experiment with this recipe is by modifying the spices and aromatics you add to each individual jar. For instance, if you’re a devoted garlic enthusiast, feel free to include a few extra garlic cloves for a super garlicky batch, similar to how you might enhance garlic dill cucumber pickles. To introduce a delightful warmth, simply sprinkle in some red pepper flakes for a spicy version that adds a pleasant kick. Furthermore, a few whole black peppercorns, fragrant mustard seeds, or earthy coriander seeds added to each jar can impart wonderful depth of flavor without altering the vital acidity of the recipe, ensuring your pickles remain safe and delicious.
You can also subtly transform the character of the brine itself by experimenting with different types of vinegar. While plain white vinegar yields a clean, sharply defined flavor profile, apple cider vinegar offers a slightly softer, more complex, and fruitier nuance. As long as your chosen vinegar maintains at least 5% acidity, you have the flexibility to mix and match to achieve your desired taste. For those aspiring to create a “deli-style” green tomato pickle reminiscent of a classic New York deli, consider using predominantly white vinegar, perhaps with just a splash of cider vinegar, and generously incorporate plenty of garlic and dill seed for that authentic, robust flavor.
If you’re already in the rhythm of chopping and preparing, why not create a mixed batch for even more variety? Enhance some of your jars by adding a few slices of thinly cut hot peppers or sweet onions. When doing so, remember to keep the total amount of vegetables in each jar relatively consistent with the original recipe. Think of these additional ingredients more as complementary seasonings rather than major components. This approach allows you to safely stay within the established parameters of the original Ball recipe, yet emerge from a single canning session with an exciting array of distinct flavors ready to grace your pantry shelves. Explore other pickled green tomato adventures, including sweet pickled green tomatoes and look forward to forthcoming spicy pickled green tomatoes recipes!
Delightful Ways to Serve Dill Pickled Green Tomatoes
Once your jars of dill pickled green tomatoes have had ample time to cure, the real enjoyment begins! These pickles are remarkably versatile and can elevate a wide array of dishes. Their bright, tangy flavor and satisfying crunch make them a fantastic addition to almost any meal or snack. Consider serving them as a vibrant component on elegant appetizer boards, where their color and zest stand out among cheeses and cured meats. They tuck perfectly into classic sandwiches, adding a much-needed zing, or can be sliced and layered onto juicy burgers as a flavorful alternative to traditional cucumber dill pickle slices.
Beyond the obvious, imagine the textural and flavor boost they bring when chopped into creamy potato salad, savory egg salad, or fresh tuna salad – providing a delightful tangy crunch that cuts through richness. I also love to finely dice them and incorporate them into hearty grain salads for an unexpected burst of flavor. They make an excellent topping for tacos or nachos, introducing a zesty counterpoint, and are superb served alongside roasted meats or rich stews, where their acidity beautifully balances and enhances the overall profile of the dish. Because green tomatoes possess an inherent firmness, they hold up exceptionally well both in the jar and on the plate, ensuring you consistently enjoy a crisp, garlicky pickle that evokes the warmth and bounty of an autumn harvest with every single bite.
More Green Tomato Canning Recipes to Explore
Southern Chow Chow (Traditional Green Tomato Relish)
Old-Fashioned Green Tomato Jam
Pickled Green Tomatoes (Basic Recipe)
Tangy Green Tomato Chutney
8 Pints
Dill Pickled Green Tomatoes Recipe
10 mins
5 mins (brine simmer)
15-25 mins (based on altitude)
Approx. 30 mins active + curing
Print Recipe
Equipment
-
Water Bath Canner
-
Large Nonreactive Pot
-
Pint Jars with Lids and Bands
-
Jar Lifter, Funnel, Bubble Remover
Ingredients
- 5 pounds green tomatoes, halved or quartered if large, or left whole if cherry sized
- ¼ cup pickling or canning salt
- 3 ½ cups vinegar, 5% acidity, white or cider
- 3 ½ cups water
- 6 cloves garlic, peeled
- 6 heads fresh dill, or 1 tablespoon dill seed per pint
- 6 whole bay leaves, one per pint
- Optional: ⅛ teaspoon calcium chloride, pickle crisp per pint
Instructions
-
Prepare a water bath canner, pint jars, and two-piece lids. Keep jars hot until ready to fill.
-
Wash green tomatoes thoroughly. Core larger tomatoes and cut into halves or quarters. Prick cherry-sized tomatoes several times with a fork.
-
In a large nonreactive pot, combine pickling salt, vinegar, and water. Bring to a boil, stirring to dissolve salt. Reduce heat and simmer for 5 minutes. Keep brine hot.
-
Pack raw green tomatoes firmly into hot pint jars, leaving ½ inch headspace. Add 1 clove garlic, 1 dill head (or 1 tbsp dill seed), and 1 bay leaf to each jar. If using, add ⅛ tsp calcium chloride.
-
Ladle hot brine over tomatoes, maintaining ½ inch headspace. Remove air bubbles by running a clean utensil around jar interior; adjust brine as needed.
-
Wipe jar rims clean. Center lids on jars and screw on bands until fingertip-tight.
-
Place jars in water bath canner, ensuring they are covered by 1-2 inches of water. Bring to a full rolling boil. Process pint jars for 15 minutes, adjusting for altitude (see notes below).
-
Turn off heat, remove canner lid, and let jars rest in hot water for 5 minutes. Transfer to a towel-lined counter to cool for 12-24 hours.
-
Check seals. Refrigerate any unsealed jars and use promptly. Label and store sealed jars in a cool, dark place. Cure for at least 2 weeks before opening for best flavor.
Notes
As written, this recipe results in a salty pickle, which is a traditional preference for dill pickles. If you prefer less salty pickles, you can safely use half as much salt (2 tablespoons) without compromising safety; the salt is for flavor, not preservation.
Any variety of firm, underripe green tomatoes can be used. Select fruits free from cracks or soft spots to ensure quality pickles.
Once opened, store jars in the refrigerator and consume within several weeks for optimal texture and flavor.
Altitude Adjustments for Water Bath Canning
- 0 to 1,000 feet: 15 minutes
- 1,001 to 6,000 feet: 20 minutes
- Above 6,000 feet: 25 minutes
Enjoyed this recipe? Share your thoughts!
Leave a comment and let us know how your dill pickled green tomatoes turned out!
More Dill Canning Recipes for Your Pantry
If you adore the vibrant, distinctive flavor of dill, these additional dill canning recipes are perfect for filling your pantry shelves with delicious homemade preserves!
Pickled Dilly Beans (Dill Pickled Green Beans)
Crisp Dill Pickle Spears
Timeless Classic Dill Pickles
Authentic Kosher Dill Pickles