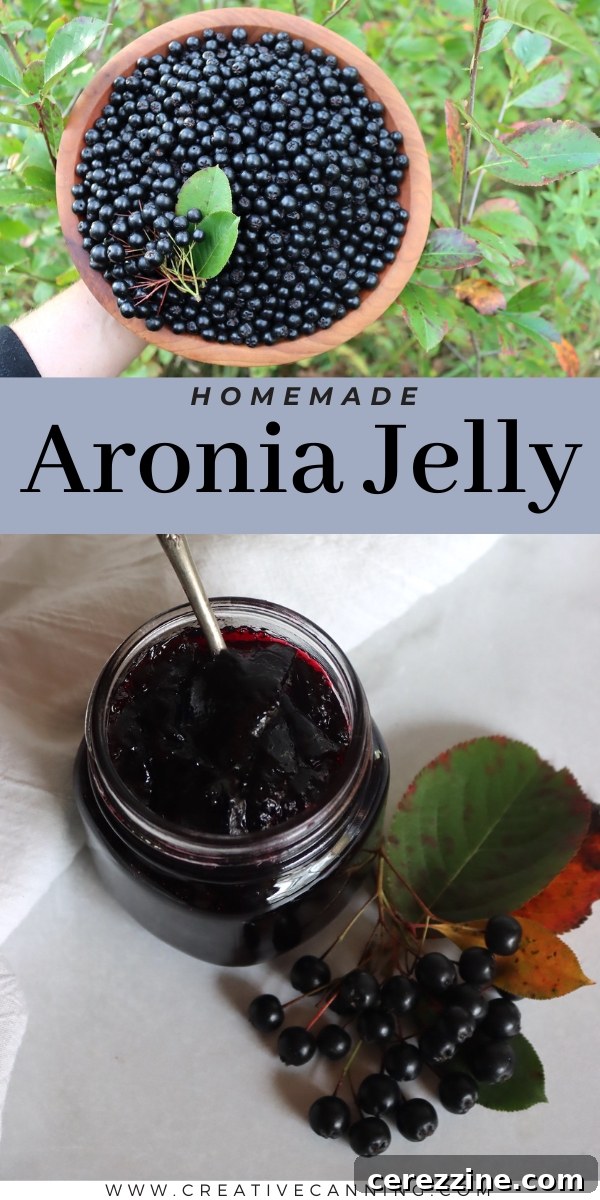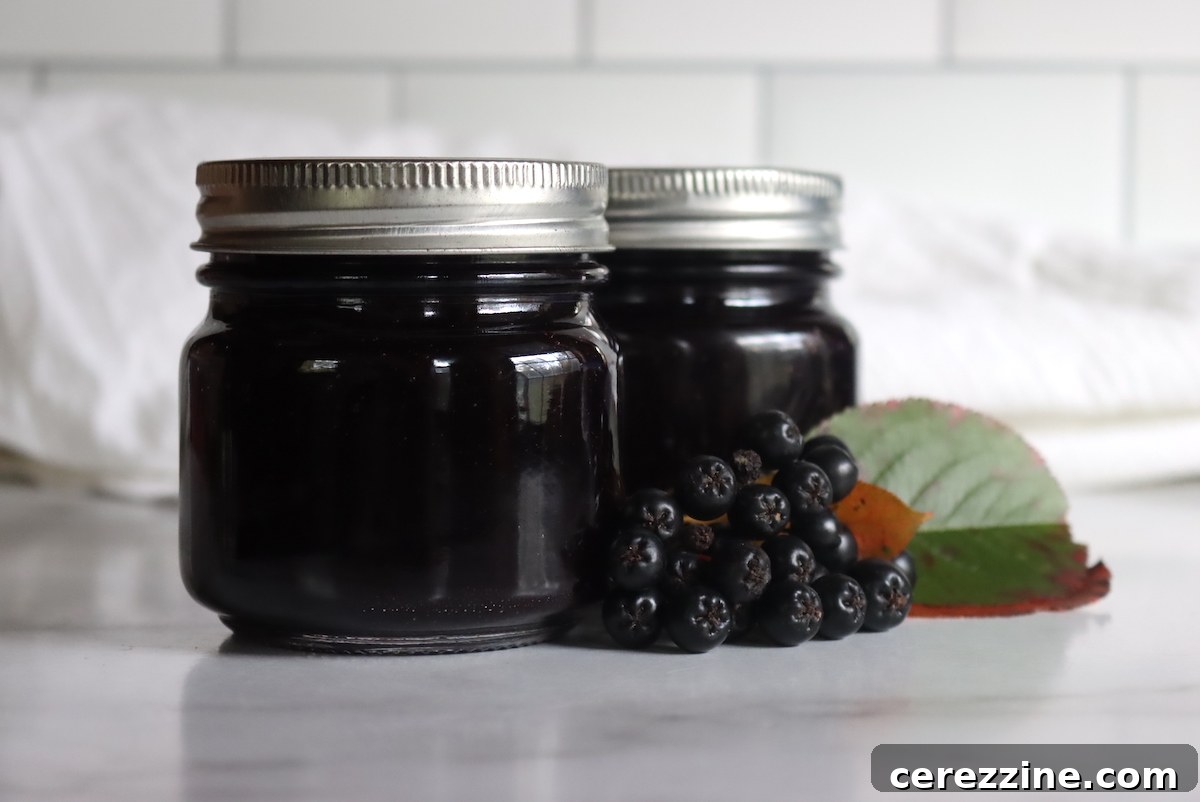
Aronia Jelly offers a delightful way to harness the unique flavors and potent health benefits of fresh aronia berries during their peak season. This rich, deep-hued jelly, packed with antioxidants, can be prepared using either freshly harvested aronia berries or convenient store-bought aronia juice, making it accessible to everyone.
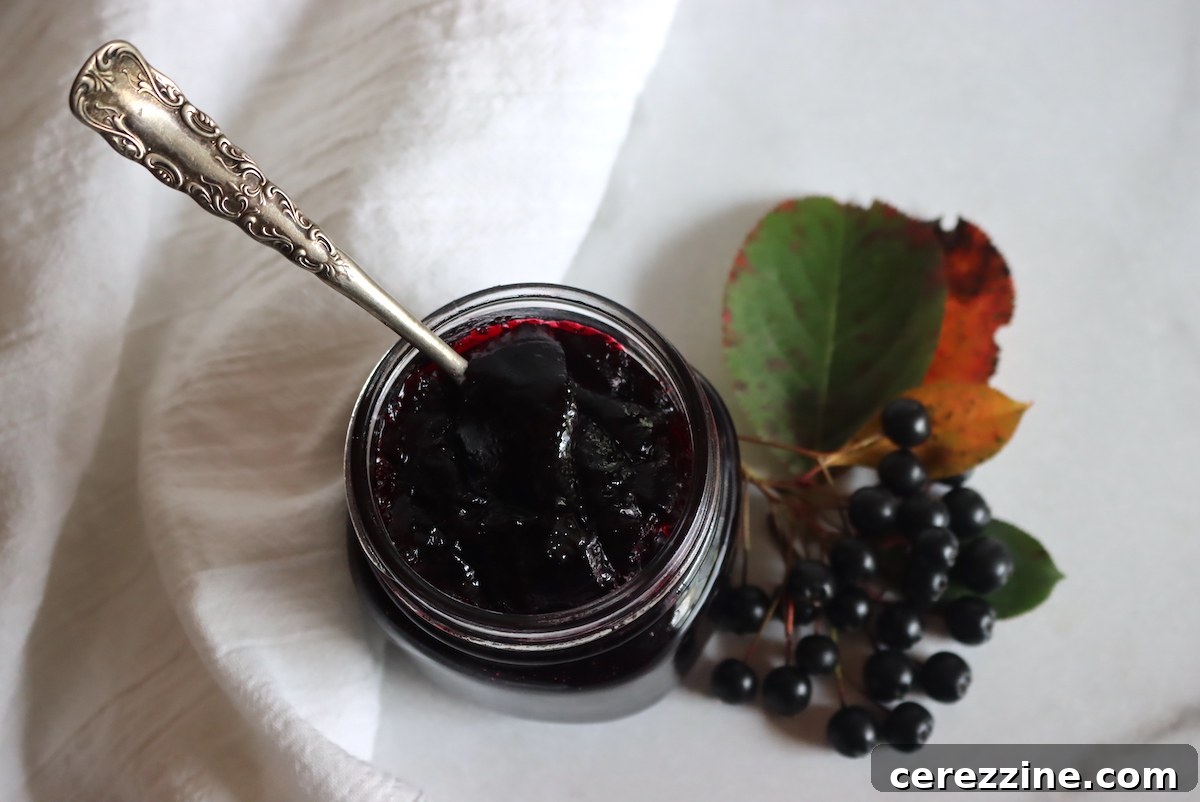
Here on our homestead, we cultivate aronia (Aronia melanocarpa), also widely known as chokeberries. While celebrated as an antioxidant-rich superfood, finding diverse and appealing ways to incorporate aronia into daily meals can sometimes be a creative challenge. The berries themselves possess a distinct tartness and astringency that can be quite intense when eaten raw, limiting how many you might enjoy straight from the bush.
Many turn to freezing aronia berries for smoothies, which certainly helps, but often requires balancing their intense flavor with an abundance of other sweet fruits. This is where homemade aronia jelly truly shines. It transforms these vibrant berries into a sweet, palatable spread, perfectly balancing their natural tartness.
Beyond the sweetness, there’s a fascinating interaction at play: the pectin in the jelly seems to mitigate some of the compounds responsible for aronia berries’ astringent qualities. The result is a smooth, flavorful aronia jelly that is considerably less astringent than plain aronia juice or syrup. For us, it has become one of the most cherished methods for utilizing our generous aronia harvest each season, ensuring none of these beneficial berries go to waste.
(For those who don’t grow their own aronia berries, rest assured that this delicious aronia jelly recipe works beautifully with pre-made aronia juice, available at many health food stores or online.)
Aronia Berries: A Nutritional Powerhouse
Before we dive into the delicious world of aronia jelly, it’s worth highlighting why these berries are gaining such immense popularity. Aronia berries are often hailed as a superfruit due to their exceptionally high levels of antioxidants, particularly anthocyanins, which give them their striking dark purple hue. These powerful compounds are known to support overall health, combat oxidative stress, and may contribute to a stronger immune system.
Native to North America, aronia shrubs are hardy and adaptable, thriving in a variety of climates. They are relatively low-maintenance, making them an excellent choice for home gardens or small homesteads. Understanding their unique flavor profile – intensely tart with a hint of bitterness – is key to appreciating how preparations like jelly transform them into a culinary delight. While challenging to eat raw in large quantities, their robust flavor makes them ideal for jams, jellies, syrups, and baked goods where sugar can temper their intensity.
Harvesting Aronia for Jelly
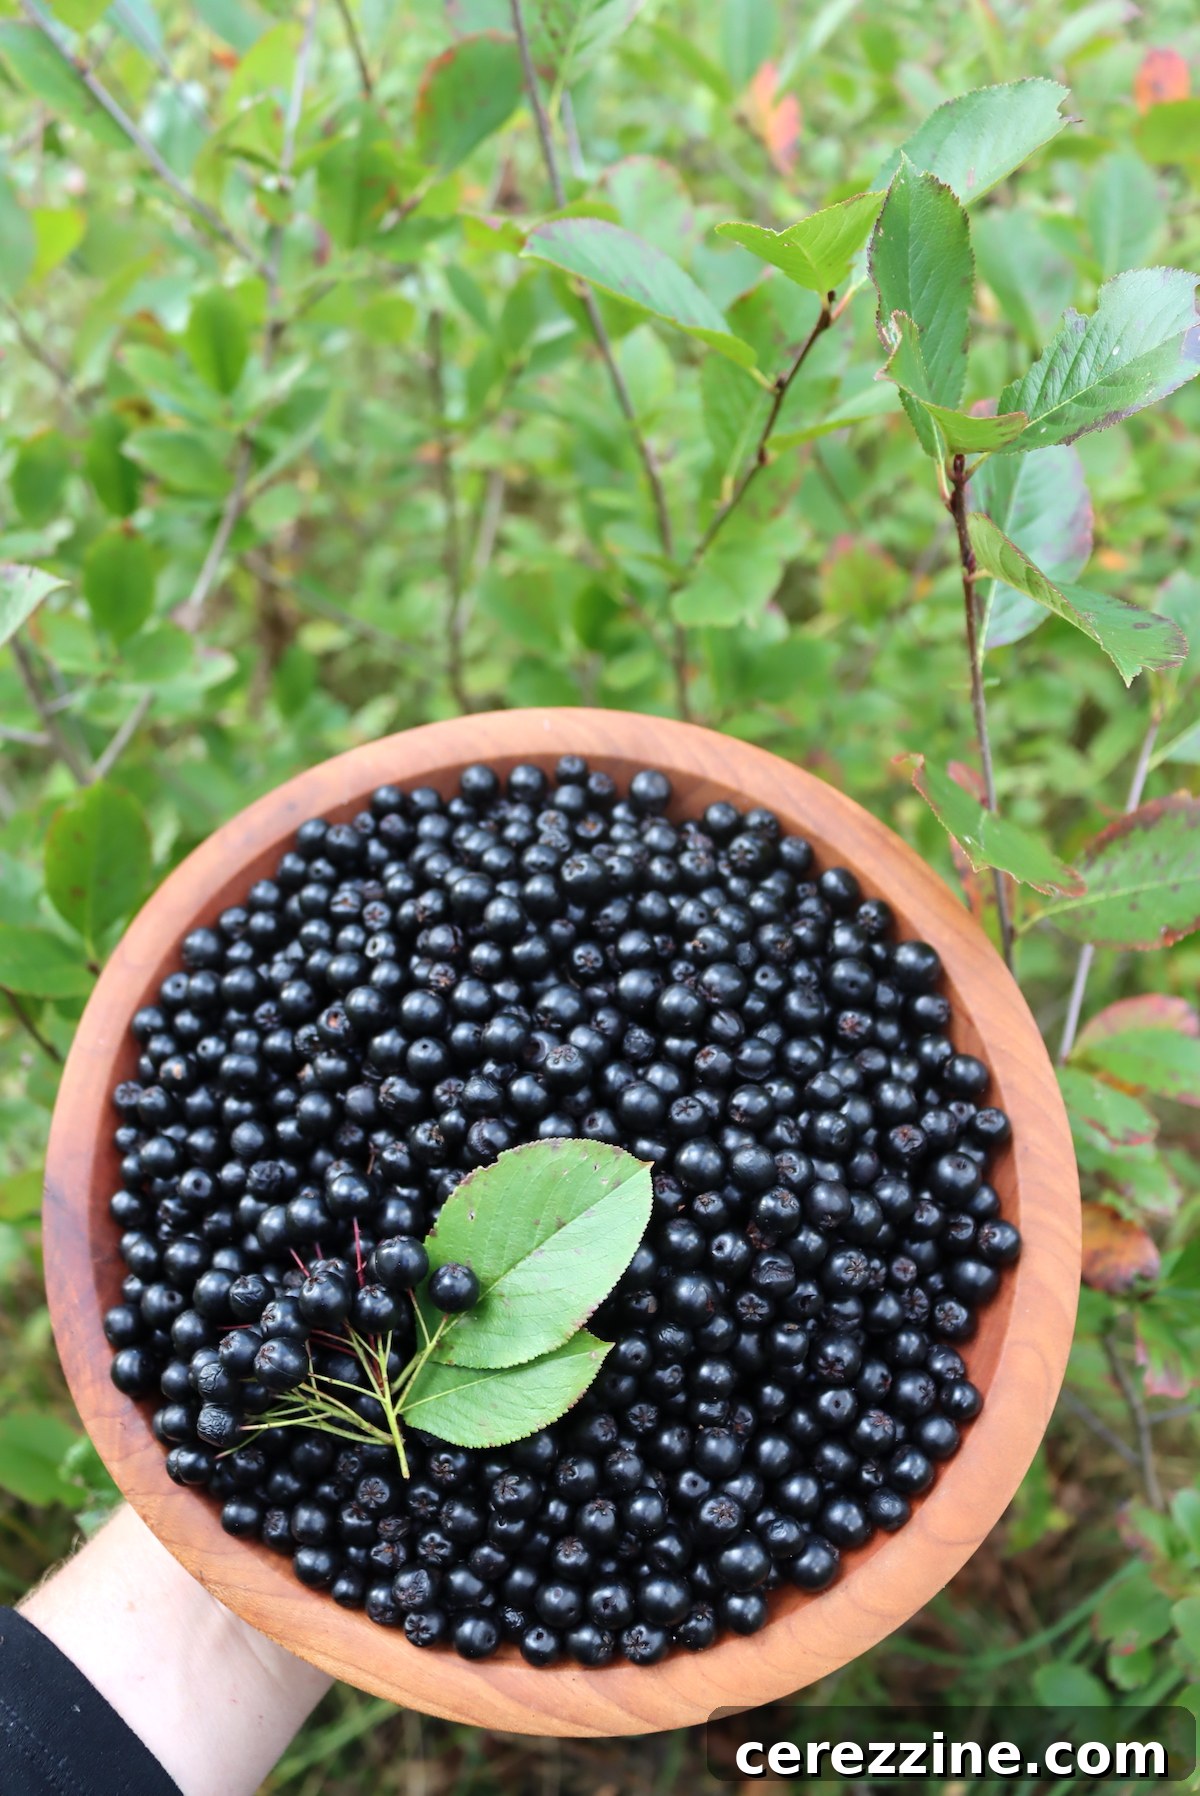
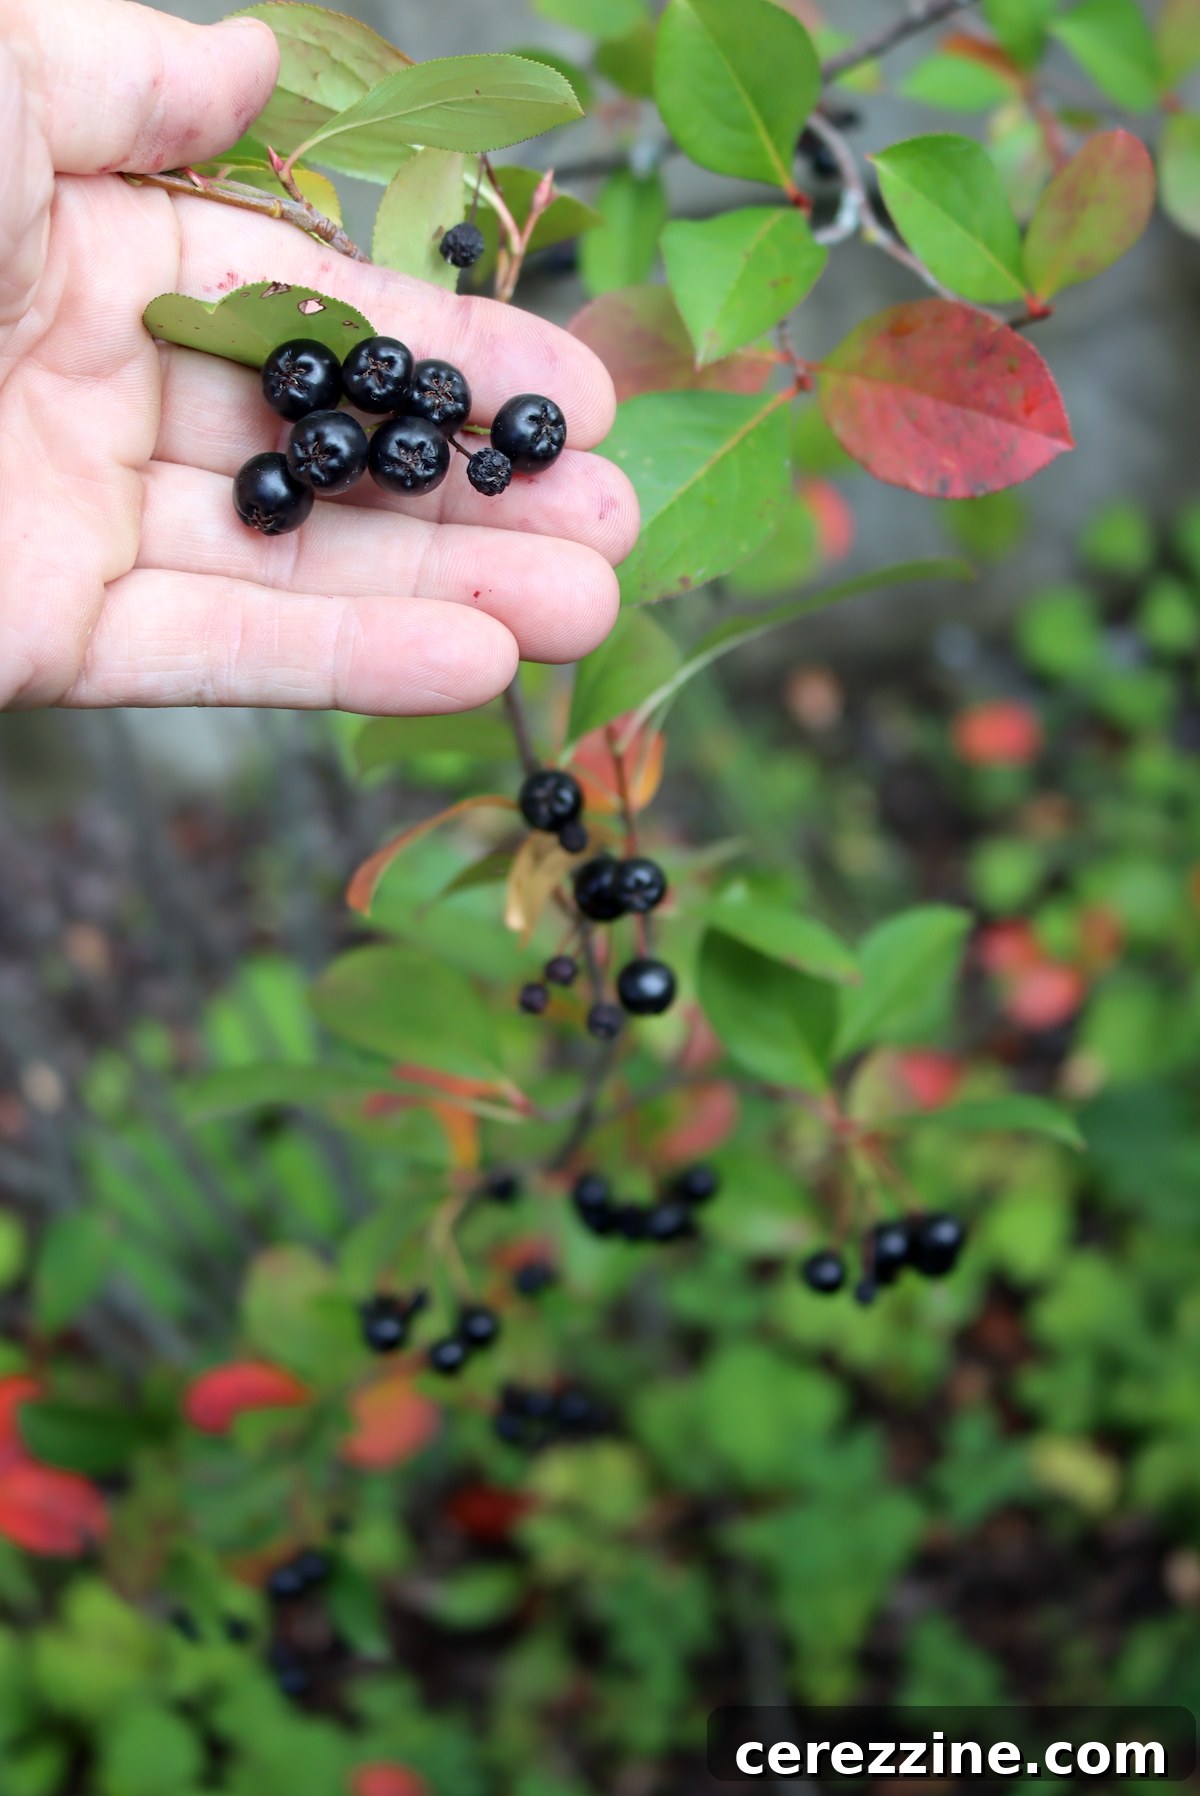
Aronia berries are not only a cultivated fruit but also a common wild species, and you can forage aronia (also known as black chokeberry) in many wild landscapes. They typically ripen in late summer to early fall, turning a deep, almost blackish-purple color.
If you’re new to foraging, positive identification is paramount. Always be 100% certain you have the correct plant before harvesting or consuming any wild fruit. A distinguishing feature that can aid in identification is the distinctive blossom end of the fruit, which often retains a small, star-shaped calyx.
When harvesting from your garden or the wild, look for plump, firm berries. They can be picked individually or by snipping off whole clusters. Handle them gently to avoid bruising, which can release their juice prematurely. Collecting ripe aronia berries at their peak ensures the best flavor and highest antioxidant content for your homemade jelly.
Ingredients for Aronia Jelly
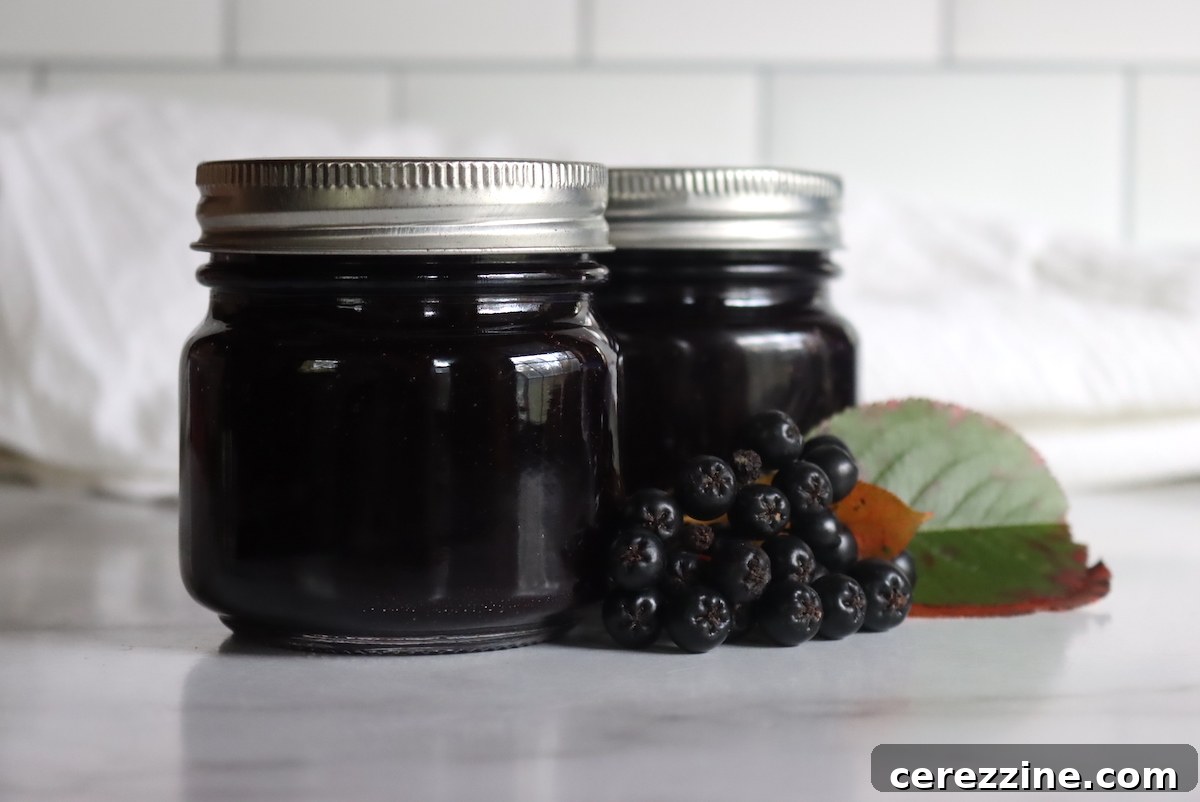
This aronia jelly recipe is designed to yield approximately 4 to 5 half-pint jars (8 oz each) of vibrant, flavorful jelly. Gathering your ingredients before you begin ensures a smooth and enjoyable jelly-making process.
- 4 cups aronia/chokeberry juice: This can be freshly extracted from approximately 4 quarts of fruit, or purchased as ready-made aronia juice for convenience.
- 4 cups granulated sugar: Sugar is crucial not only for sweetness but also for the jelly’s set and preservation.
- 1 box (1.75 oz) powdered pectin: You can use either regular or low-sugar powdered pectin, depending on your preference for sweetness and the acidity of your berries.
If you opt to use fresh aronia berries, plan on needing about 4 quarts of fruit to yield the required 4 cups of juice. The exact amount can vary slightly based on the juiciness of your berries.
Adding lemon juice to this recipe is entirely optional. Aronia berries are naturally quite acidic, which is a key component in helping pectin set. Therefore, additional lemon juice isn’t usually necessary for the jelly to firm up correctly. However, if you wish to introduce an extra layer of brightness to balance the sweetness of the sugar or simply prefer a slightly tangier flavor profile, you may add around 1 to 2 tablespoons of fresh lemon juice. Personally, I find aronia’s natural acidity sufficient and typically omit the lemon.
The Science of Jelly Making: Sugar, Acid, and Pectin
Understanding the fundamental chemistry behind jelly making can turn a good recipe into a consistently great one. Jelly relies on a delicate balance of three key ingredients: fruit (for flavor, liquid, and natural pectin/acid), sugar, and added pectin (if the fruit’s natural pectin is low). Pectin is a natural soluble fiber found in fruit, particularly in the cell walls. When heated with sugar and acid, pectin forms a gel network that traps the liquid, giving jelly its characteristic consistency.
Aronia berries are naturally high in both pectin and acid, which makes them an excellent candidate for jelly. However, adding commercial pectin ensures a reliable set, especially when a precise sugar ratio is desired. The sugar not only sweetens the jelly but also helps draw moisture out of the pectin molecules, allowing them to link together more effectively. The acid, naturally present in aronia, is essential for pectin to gel. This intricate dance between these three elements creates the perfect firm, yet spreadable, aronia jelly.
How to Make Aronia Jelly
This versatile recipe can utilize aronia or chokeberry juice, whether freshly extracted from frozen or fresh berries, or conveniently purchased. The process is straightforward, ensuring a delightful homemade jelly.
Step 1: Extracting Aronia Berry Juice (if using fresh berries)
If you’re starting with fresh aronia berries, begin by thoroughly washing them under cool running water. Place the cleaned berries into a large, non-reactive saucepan. Add 4 cups of water to the pan. As you bring the pot to a gentle simmer over medium heat, use a potato masher or similar tool to mash the berries. This helps to break down their skins and release their flavorful juices.
Continue to simmer the mashed aronia berries and water for at least 10 minutes, stirring occasionally. This crucial step allows the berries to fully impart their vibrant color and robust flavor into the liquid mixture, creating a concentrated juice base. You’ll notice the berries becoming softer and more broken down.
Once the berries have visibly fallen apart and generously released their flavors, remove the saucepan from the heat. Carefully pour the entire mixture into a jelly bag suspended over a large bowl or pot. Allow the juice to drain undisturbed for at least two hours, or even overnight, to ensure maximum juice extraction and clarity. Resist the urge to squeeze the bag too forcefully during this initial draining, as this can force pulp through and result in a cloudy jelly.
Should you not possess a specialized jelly bag, a fine-mesh colander generously lined with several layers of cheesecloth can serve as an effective substitute. In this case, gentle squeezing may be necessary towards the end to collect all the precious juice, but again, be mindful not to push pulp through.
After the draining process, you should have approximately 4 cups of pure aronia berry juice. If your yield is slightly less, you can top it off with a small amount of water or another fruit juice (like apple juice) to reach the full 4 cups, ensuring the recipe ratios remain consistent.
Discard the spent berry remnants, and now you’re ready to make the jelly!
Step 2: Making the Aronia Berry Jelly
Before you begin cooking the jelly, ensure your canning jars and lids are sterilized and ready, especially if you plan on canning for long-term storage. If canning, also preheat your water bath canner according to instructions.
Pour the prepared 4 cups of aronia juice into a clean, large saucepan. Bring the juice to a full, rolling boil over high heat – a boil that cannot be stirred down. Once achieved, promptly add in your pectin (and the optional lemon juice, if you’re including it). Whisk vigorously for 1-2 minutes to thoroughly incorporate the pectin into the boiling juice, preventing lumps. Maintain a hard, rolling boil for one full minute, stirring constantly.
After this mixture of juice and pectin has boiled intensely for one minute, stir in the granulated sugar. Continue stirring until the sugar is completely dissolved. Return the mixture to a hard, rolling boil once more, and boil for another full minute. This second boiling stage is crucial for ensuring the pectin activates properly with the sugar.
Immediately remove the saucepan from the heat. Skim off any foam that may have formed on the surface using a metal spoon. Ladle the hot aronia jelly into your prepared jars, leaving approximately ¼ inch of headspace from the rim. If you plan to refrigerate the jelly, allow the jars to cool completely to room temperature before transferring them to the refrigerator or freezer.
Aronia Jelly Variations
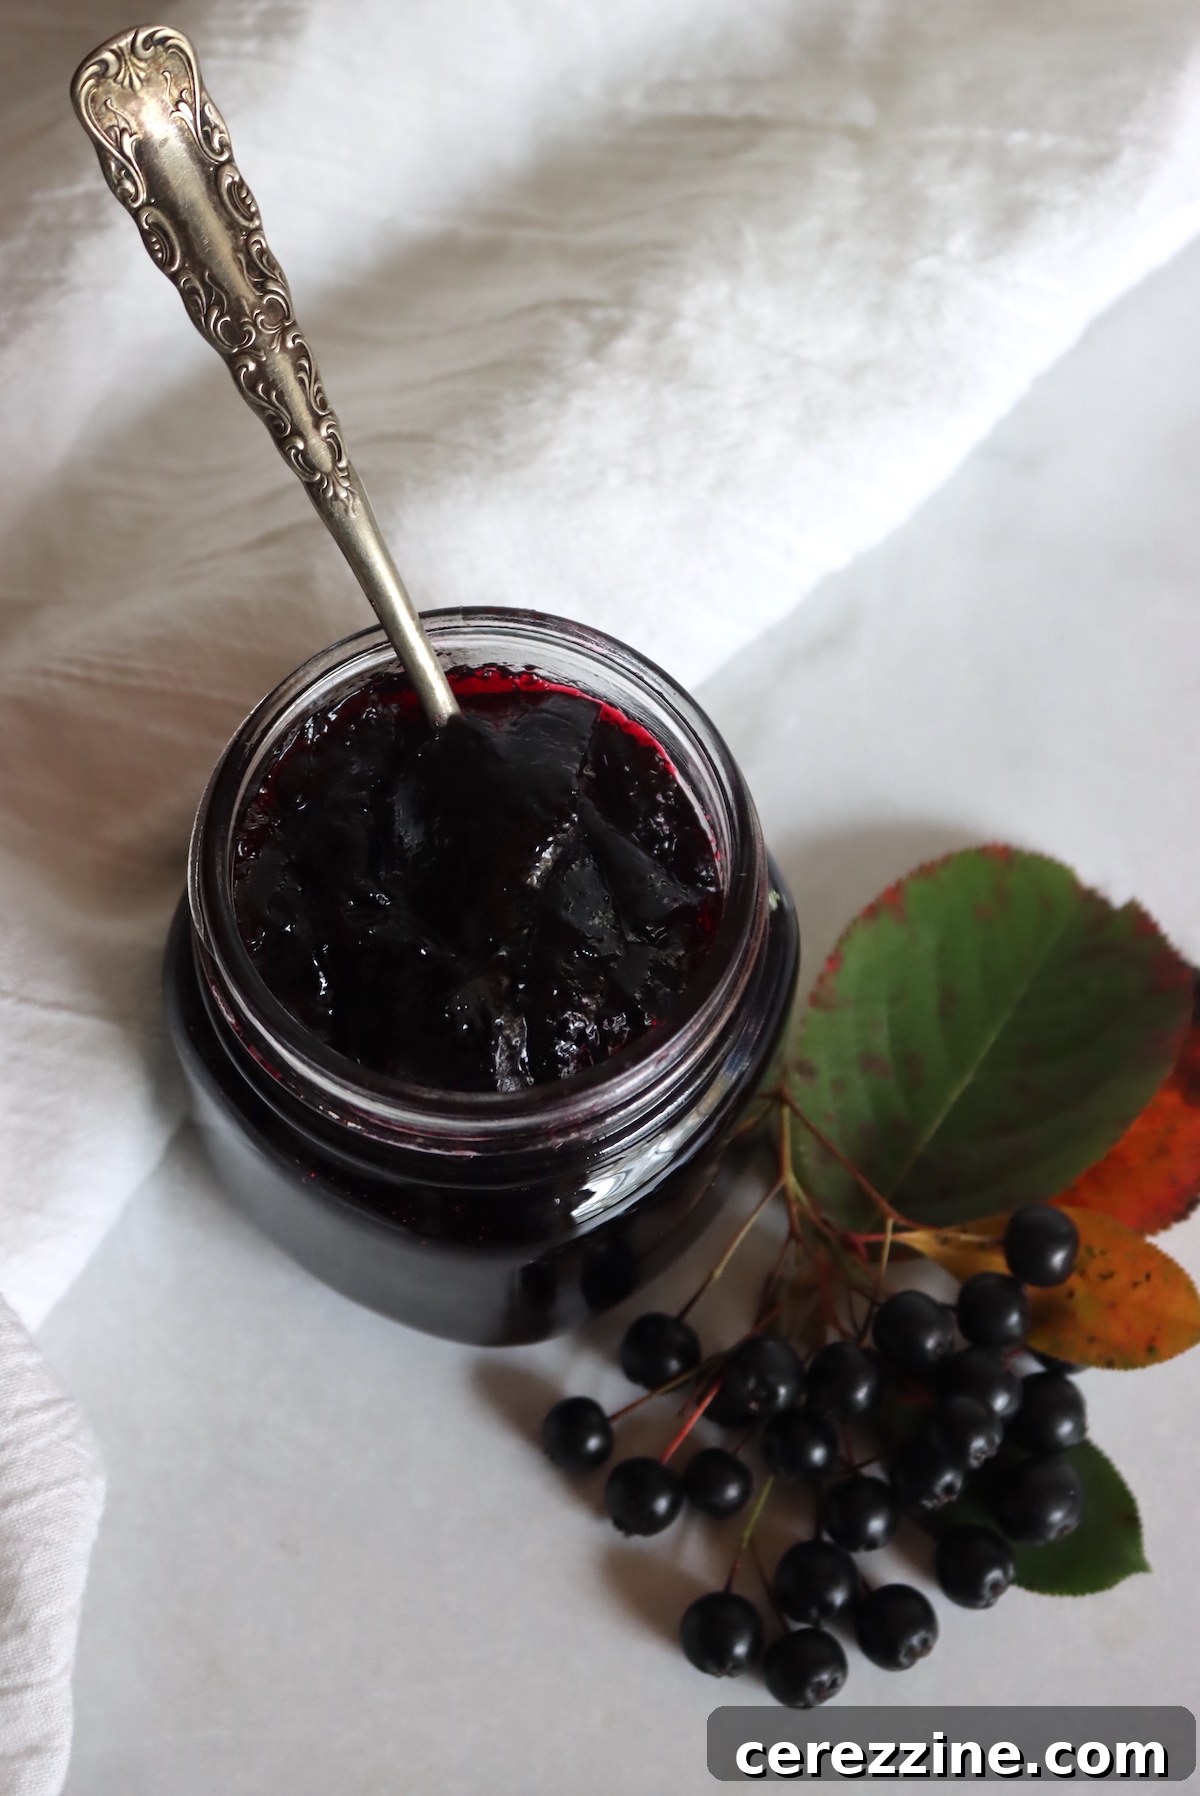
While classic aronia jelly is a treat in itself, these variations allow you to customize the flavor and adapt it to your dietary preferences.
Low Sugar Variation
This recipe is designed with a traditional 1:1 ratio of juice to sugar, making it compatible with both regular and low-sugar powdered pectin. However, if you desire a less sweet jelly, you can certainly reduce the sugar content, but it is imperative to use a low-sugar or no-sugar-needed pectin to ensure a proper set. Regular pectin requires a certain amount of sugar to gel correctly.
Consider using a product like Sure Jel Low Sugar pectin, which allows for significantly less sugar – as little as one cup for a very tart jelly. For a jelly that strikes a pleasing balance between tartness and sweetness, I recommend using 2 to 3 cups of sugar with a low-sugar pectin. Always follow the specific instructions on the low-sugar pectin package for best results.
Other Flavor Enhancements
Aronia berries create a spectacular jelly on their own, but their robust flavor profile also lends itself wonderfully to complementary ingredients. Experimentation can lead to truly intriguing combinations.
- Spiced Aronia Jelly: Adding a little grated ginger or orange zest during the last few minutes of cooking can introduce a warm, aromatic dimension to your jelly. Cinnamon or a tiny pinch of cloves could also be lovely.
- Almond Aronia Jelly: A splash of almond extract, added off the heat, offers a delicate, nutty undertone that pairs surprisingly well with the aronia’s fruitiness.
- Fruity Blends: Some recipes suggest combining aronia with other fruits. For instance, adding a portion of rhubarb juice can create a more complex tartness, while a sweeter fruit like apple or pear juice could mellow the aronia’s intensity and add depth.
Canning Aronia Jelly for Long-Term Storage
The method you choose for storing your aronia jelly depends on how quickly you anticipate using it. If you plan to enjoy your jelly within the next few weeks, refrigeration is perfectly adequate. Aronia jelly will safely keep in the refrigerator for up to 4 weeks. For slightly longer storage, freezing is an excellent option, preserving the jelly for up to 6 months.
When freezing your jelly, make sure to use freezer-safe jars or containers, leaving ample headspace (about 1 inch) to accommodate the jelly’s expansion as it freezes. Label your jars with the date to easily track their storage duration. Always allow the jelly to cool completely to room temperature before placing it in the freezer or refrigerator to prevent condensation and ensure proper chilling.
However, if you wish to store your delicious aronia jelly at room temperature, whether for pantry stocking or for gifting to friends and family, canning is the recommended method. Proper water bath canning ensures a shelf-stable product.
Water Bath Canning Process:
- Prepare Jars and Lids: Before you even start cooking your jelly, make sure to sterilize canning-approved glass jars and new two-piece canning lids. You can sterilize jars by boiling them for 10 minutes or running them through a dishwasher’s sanitizing cycle. Keep jars hot until ready to fill.
- Prepare Canner: Fill your water bath canner with water and bring it to a simmer (around 180°F or 82°C) or a gentle boil while your jelly cooks. This ensures the canner is ready as soon as your jelly is complete.
- Fill Jars: Once your aronia jelly is ready and still hot, carefully ladle it into the hot, sterilized canning jars, being meticulous to leave precisely ¼ inch of headspace from the rim.
- Clean Rims: Wipe the rims of each jar thoroughly with a clean, damp cloth. Any residue on the rim can prevent a tight seal, compromising the safety and shelf life of your jelly.
- Apply Lids: Place the prepared, hot lids onto the jar rims, then screw on the bands finger-tight. Avoid overtightening, as air needs to escape during processing for a vacuum seal to form.
- Process Jars: Carefully lower the filled jars into the preheated water bath canner, ensuring they are fully submerged by at least 1 inch of water. Bring the water to a rolling boil.
- Process Time: Process half-pint or pint jars for 10 minutes. If you are at an altitude above 6,000 feet, increase the processing time to 15 minutes to account for lower boiling points.
- Cool and Check Seals: After the processing time, turn off the heat and let the jars sit in the canner for 5 minutes before carefully removing them. Place the hot jars on a clean towel on your countertop, leaving space between them to cool undisturbed for 12 to 24 hours. After cooling, check the seals: the center of the lid should be concave and not flex when pressed. If any jars haven’t sealed, refrigerate them and consume within a few weeks.
Properly sealed and stored aronia jelly will maintain its quality for 18 months in a cool, dark place. Once a jar is opened, always refrigerate it.
Ways to Use Aronia Jelly: Beyond the Toast
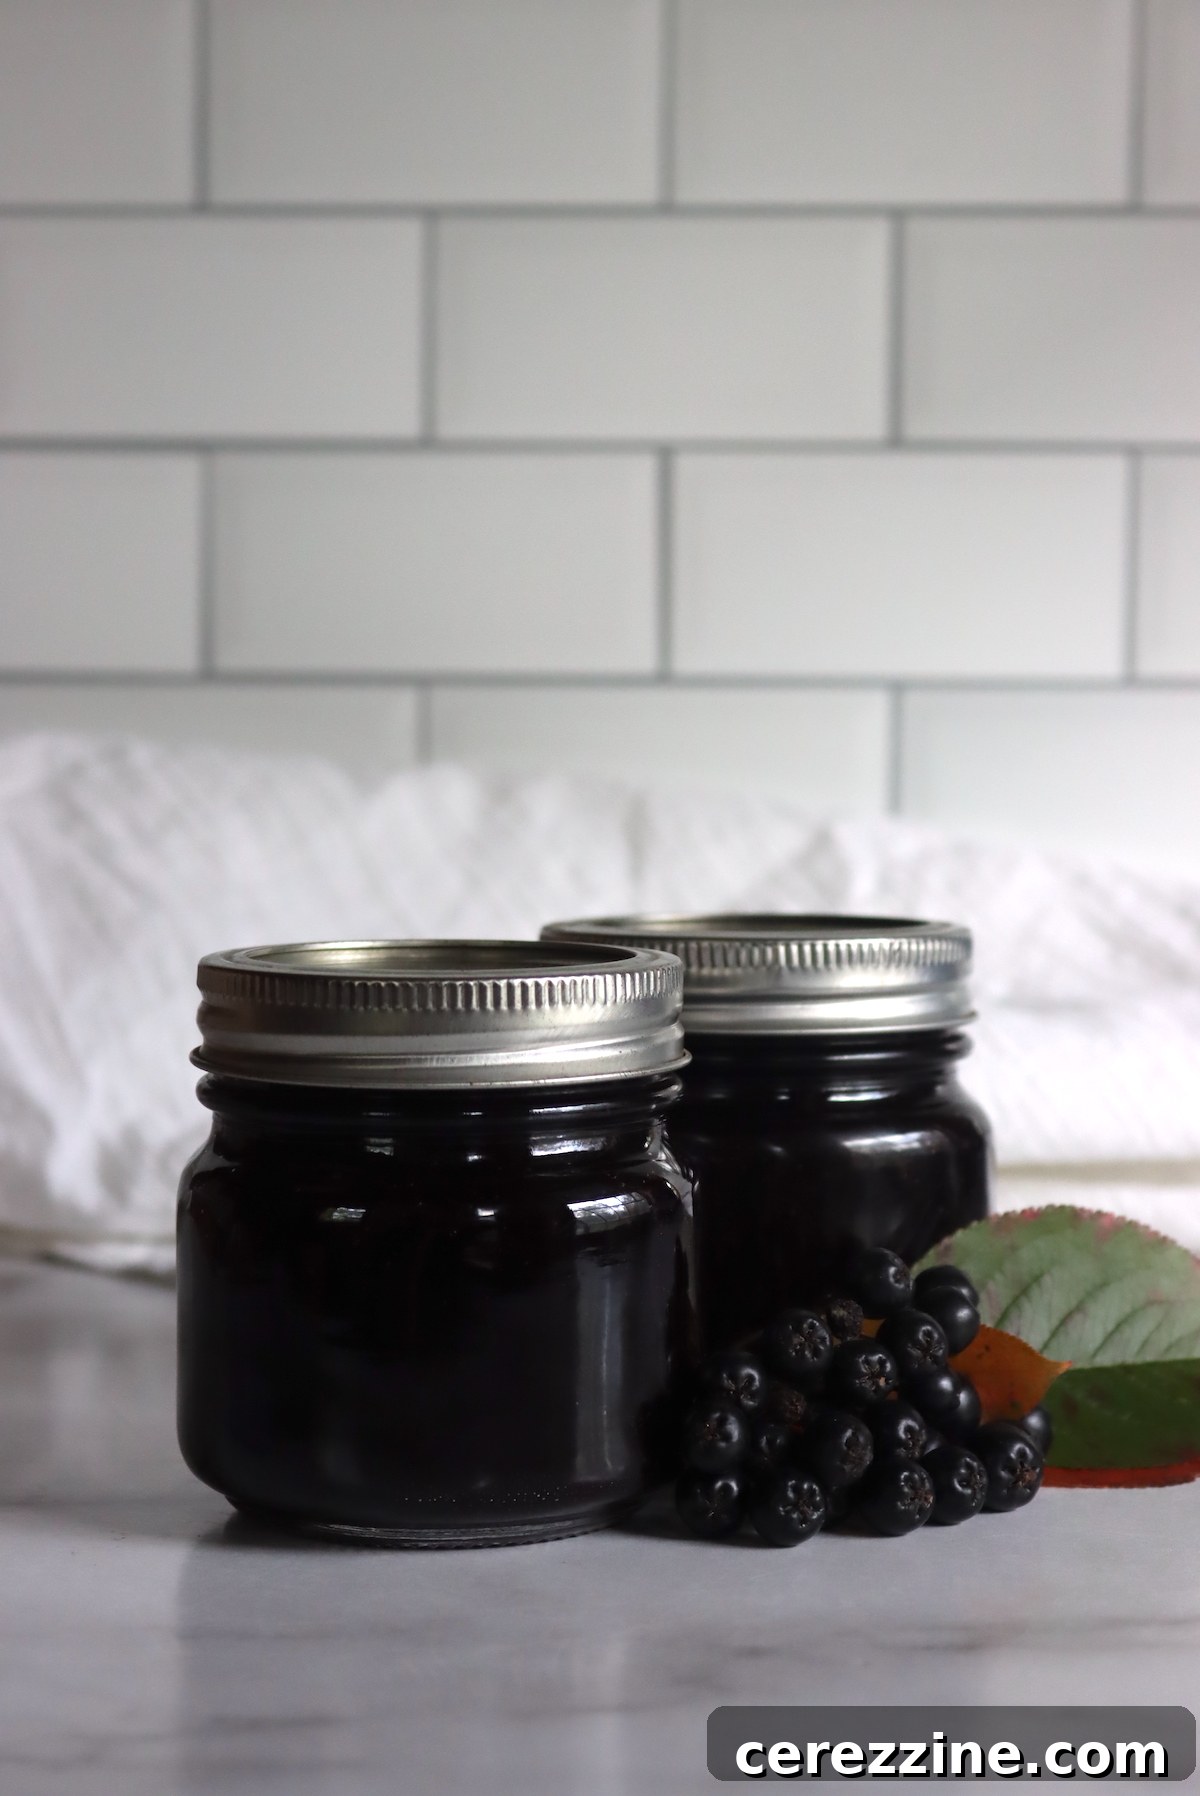
Aronia jelly, with its unique sweet and tart flavor profile, is incredibly versatile and can elevate a wide array of dishes, moving far beyond its traditional role as a simple spread.
- Breakfast & Brunch: Its most classic application is, of course, slathered generously on toast, English muffins, scones, or warm biscuits. It’s also a fantastic topping for pancakes, waffles, or a dollop stirred into oatmeal or yogurt parfaits for a burst of flavor and antioxidants.
- Savory Pairings: The tartness of aronia jelly makes it an exceptional accompaniment to savory dishes. Consider incorporating it into a glistening glaze for roasted meats like duck, pork tenderloin, or other game. It can also be served alongside roasted chicken or turkey.
- Cheese & Charcuterie Boards: Aronia jelly adds a sophisticated touch to cheese and charcuterie boards. Its fruity tartness beautifully cuts through the richness of cheeses (especially goat cheese, brie, or sharp cheddar) and complements cured meats.
- Cozy Snacks: For a simple yet comforting snack, pair aronia jelly with rustic bread and a knob of good butter.
- Dessert Innovations: Infuse your desserts with its distinctive taste. Use it as a tart yet fruity filling for pastries such as small turnovers, thumbprint cookies, or even in delightful Danish pastries for a surprising flavor. When the weather heats up, create refreshing treats by swirling aronia berry jelly with Greek yogurt, honey, and fresh berries, then freezing the mixture to make delicious cheesecake popsicles or homemade fruit bars.
- Beverages: A spoonful of aronia jelly can even be stirred into hot tea for a fruity sweetener, or dissolved in warm water to create a refreshing aronia drink.
Homemade Aronia Jelly Recipe
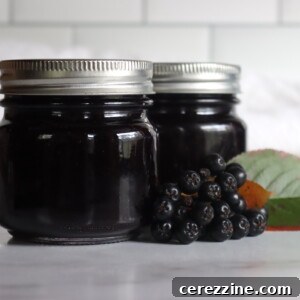
Servings: Approximately 40 servings, yielding about 4 to 5 half-pint jars (8 oz each)
Aronia Jelly
By Ashley Adamant
Aronia jelly is a simple preserve that’s easy to make with fresh aronia fruit or store-bought aronia juice.
Prep Time: 2 hours (mostly for juice draining)
Cook Time: 10 minutes
Additional Time: 10 minutes (for cooling)
Total Time: 2 hours 20 minutes
Equipment
- Water Bath Canner (if canning)
- Large saucepan
- Jelly bag or fine-mesh colander with cheesecloth
- Potato masher (if using fresh berries)
- Sterilized canning jars and lids
Ingredients
- 4 cups aronia juice, purchased or extracted from 4 quarts of fresh fruit
- 4 cups granulated sugar
- 1 box powdered pectin, 1.75 oz pectin or 6 tbsp (regular or low sugar type)
- Optional: 1-2 tbsp lemon juice (for extra tartness, not strictly necessary for set)
Instructions
To Extract Aronia Berry Juice:
-
To extract the juice from fresh aronia berries, wash and place 4 quarts of fresh berries in a large pot. Add in 4 cups of water and slowly bring to a simmer. Mash the berries as the mixture heats using a potato masher or similar tool.
-
Simmer the mixture for at least 10 minutes, allowing the berries to break down and impart their flavor into the liquid mixture.
-
Once berries have fallen apart and released their juices, remove from heat and pour into a jelly bag to extract the juice. Allow to drain for at least two hours, squeezing gently if needed to release all the juice, but avoid pressing pulp through.
-
You should find yourself with 4 cups of aronia berry juice. If somewhat short, consider adding a little water or fruit juice (like apple) to make the full 4 cups.
To Make Aronia Berry Jelly:
-
Prepare jars and lids. Preheat water bath canner if canning, bringing water to a simmer.
-
Pour 4 cups of aronia berry juice into a fresh pot or saucepan. Bring the mixture to a full, rolling boil that cannot be stirred down. Once at a hard boil, add in your pectin (and lemon juice if using), whisking or stirring to incorporate. Maintain a hard boil for one full minute.
-
After this mixture of juice and pectin has boiled for a full minute, stir in the sugar until completely dissolved. Return to a rolling boil and boil for another full minute. Remove from heat.
-
Immediately spoon into prepared jars, leaving ¼ inch headspace. If refrigerating or freezing, allow jars to fully cool to room temperature before storing. For canning, process in a water bath canner for 10 minutes (or 15 minutes if above 6,000 feet in elevation).
Notes
Nutrition (per serving, approximate)
Nutrition information is automatically calculated, so should only be used as an approximation.
More Aronia Recipes to Explore
If you’re now inspired to use more of these incredible aronia fruits, here are a few other delightful recipes to try:
- Aronia Simple Syrup: Perfect for cocktails, mocktails, or drizzling over desserts.
- Aronia Oatmeal Crumble Bars: A hearty and healthy snack or breakfast option.
- Aronia Oatmeal Cake: A comforting baked good featuring the unique flavor of aronia.
- Aronia Cookies: A creative way to incorporate aronia into your baking.
Homemade Jelly: Beyond Aronia
Once you master the art of aronia jelly, a world of homemade preserves opens up. I have several other easy homemade jelly recipes, many of which utilize wild-foraged fruits, alongside traditional garden favorites. Delve into these other flavorful options to expand your preserving repertoire:
- Saskatoon Jelly
- Elderberry Jelly
- Gooseberry Jelly
- Black Raspberry Jelly (Seedless)
- Quince Jelly
- Raspberry Jelly
- Rose Petal Jelly
Summer Fruit Canning Recipes
For those looking to preserve an abundance of summer’s bounty, canning fresh fruit is a rewarding and practical skill. I offer plenty of fruit canning recipes to help you stock your pantry with delicious, home-canned goodness:
- Canning Peaches
- Canning Plums
- Canning Blueberries
- Canning Blackberries
- Canning Raspberries