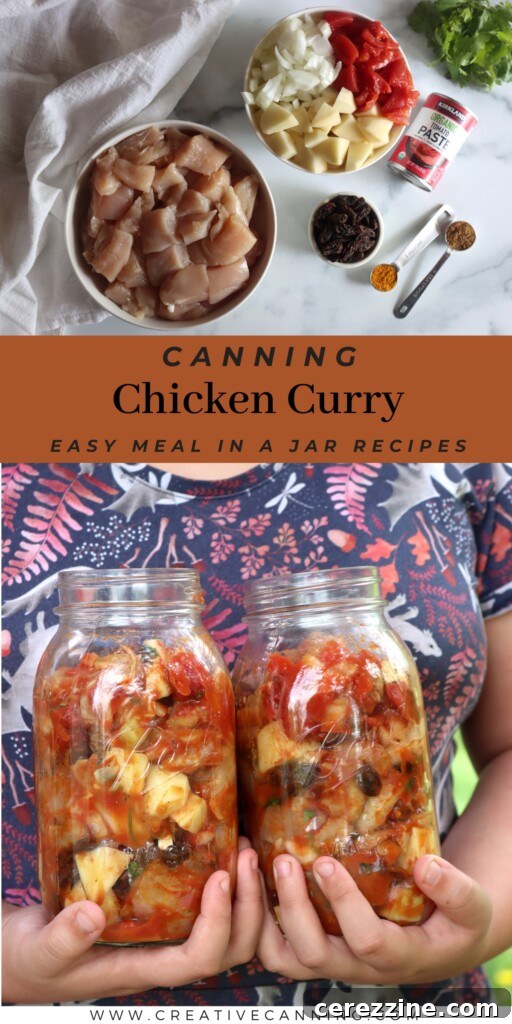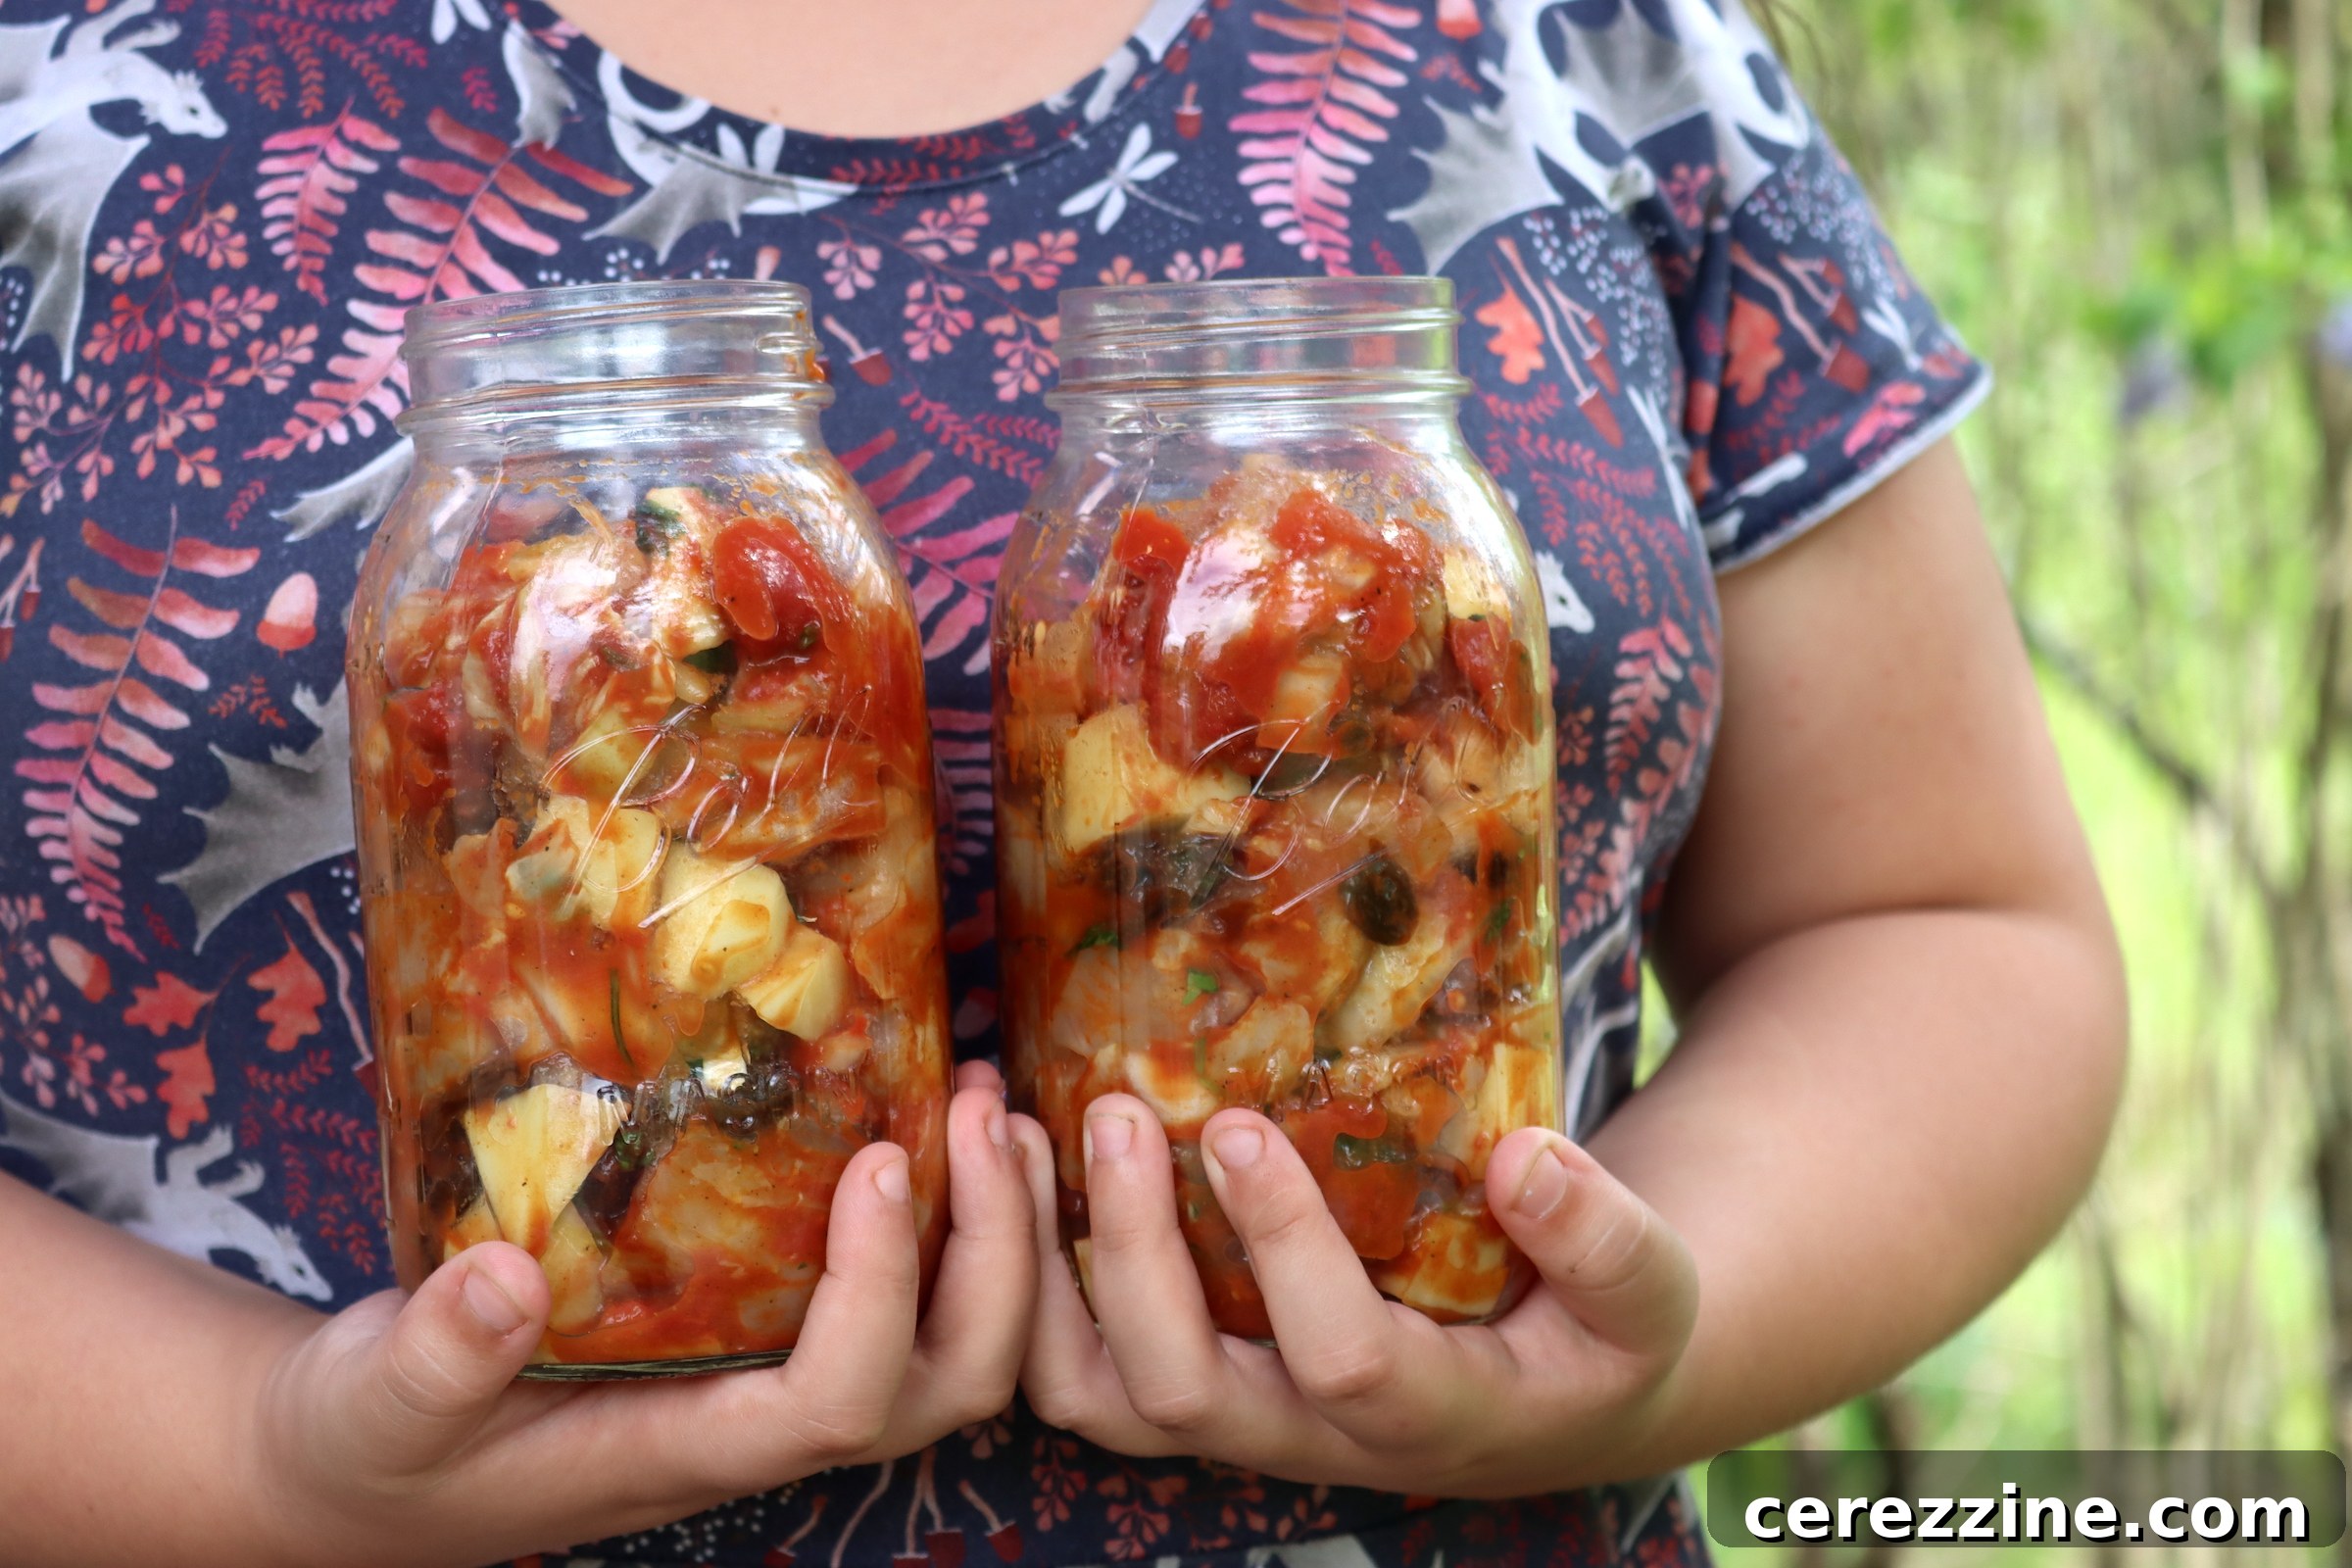
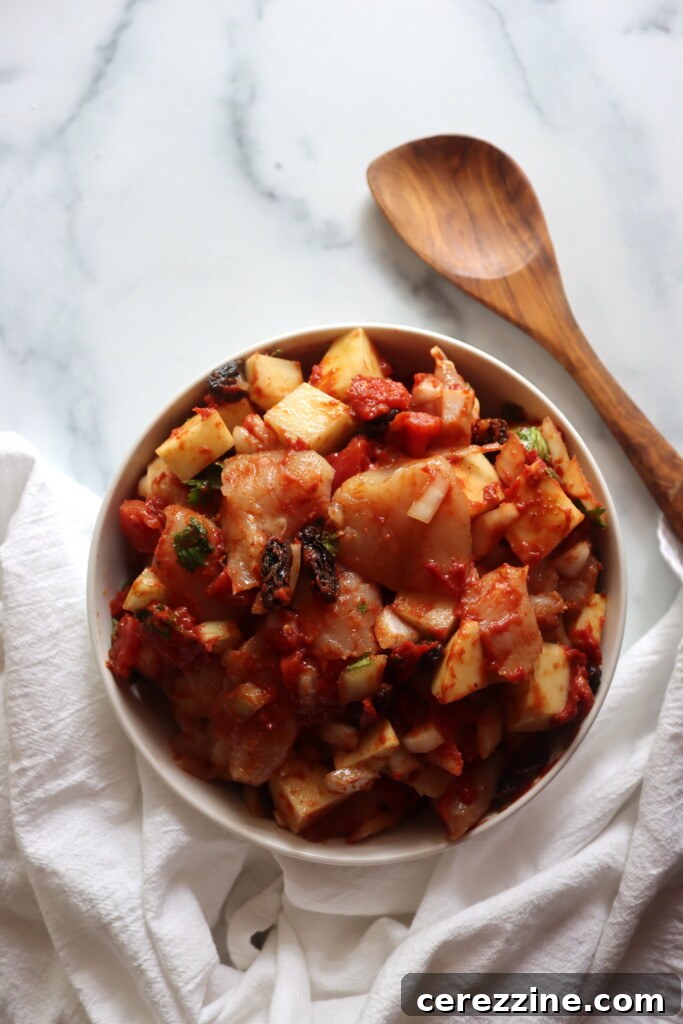
Imagine the rich aroma of spices filling your kitchen, the tender chicken melting in your mouth, and the comforting warmth of a homemade curry – all from a jar you prepared yourself. Pressure canning chicken curry transforms a slow-simmered, flavor-packed dish into a convenient, ready-to-heat meal. This ingenious method allows you to store delicious, wholesome chicken curry on your pantry shelf, ready to be enjoyed on even the busiest weeknights. Just heat and serve over a bed of fluffy rice, and you’ll have an easy, deeply satisfying dinner that tastes like it cooked for hours.
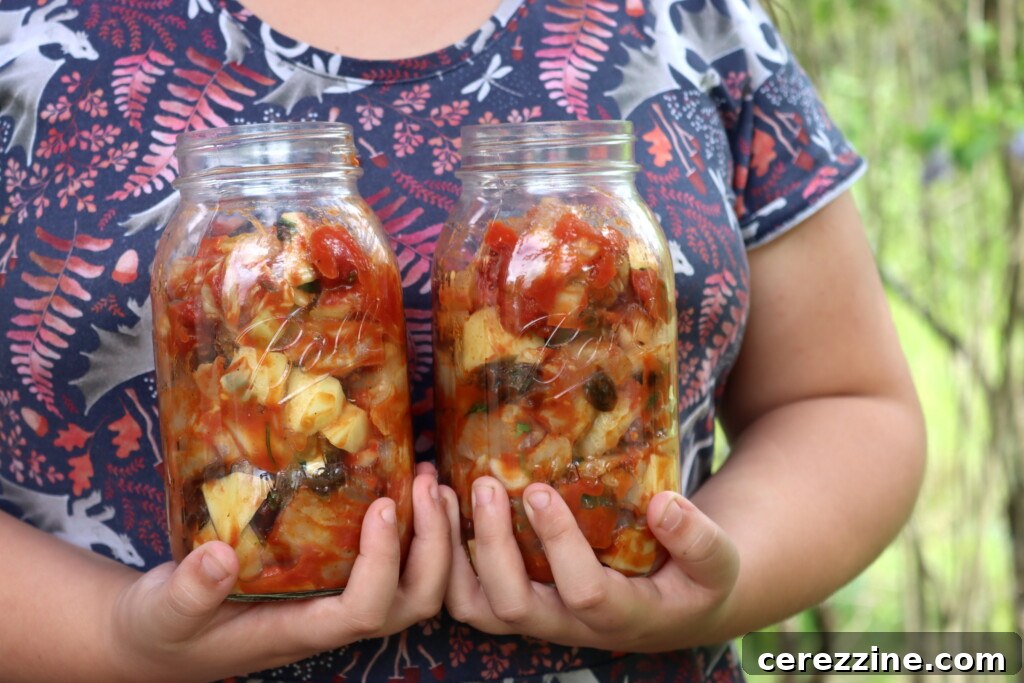
This exceptional recipe for “meal in a jar” chicken curry is a raw-pack method developed by the trusted experts at Ball Canning, featured in their renowned All New Book of Canning and Preserving. Like many of their meticulously tested, small-batch canning recipes, it’s designed for efficiency and safety. You can prepare it quickly and process it securely in a pressure canner, resulting in a fully cooked, tender meal that’s ready whenever you are. This method ensures that the robust flavors of the curry deepen and meld beautifully during the canning process, creating a truly irresistible dish.
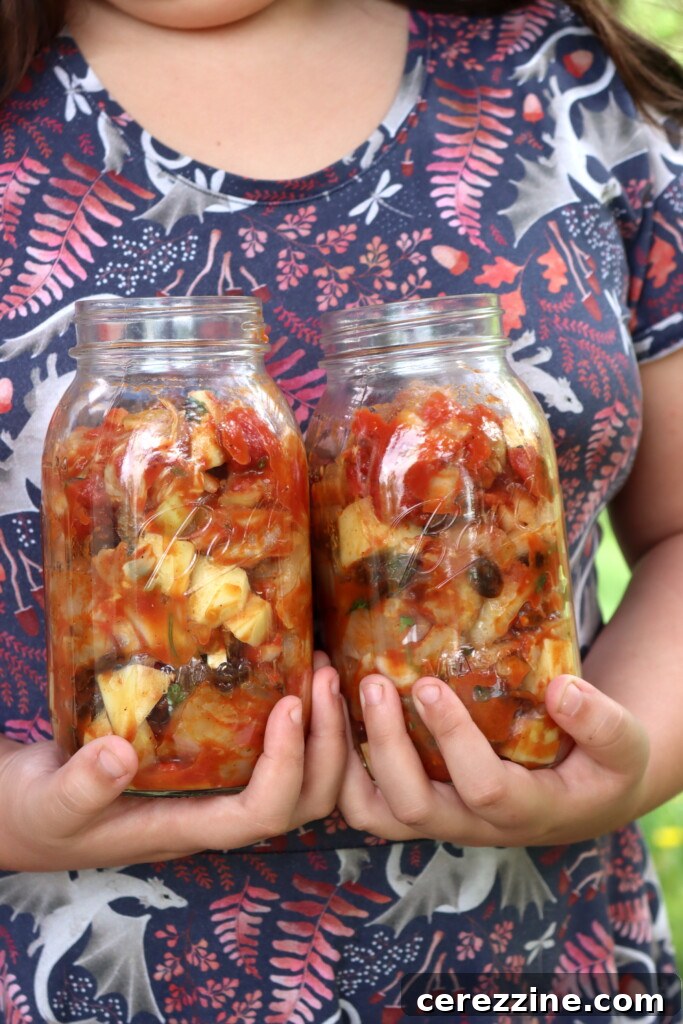
Each quart jar of this chicken curry provides approximately two generous servings, making it an ideal choice for quick family dinners or individual meals. Stockpiling these flavorful jars in your pantry is a smart way to ensure you always have a warm, homemade option available, perfect for those evenings when cooking from scratch feels like too much effort, but you still crave comforting, nutritious food. It’s not just about convenience; it’s about providing your family with delicious, high-quality meals without compromising on taste or health.
Why Pressure Can Chicken Curry? The Benefits of Home Canning
Pressure canning is a time-honored preservation method that allows you to safely store low-acid foods like meats and vegetables at room temperature for extended periods. For a complex dish like chicken curry, this means you can capture its fresh flavors and nutritional value at their peak. Unlike freezing, which can sometimes alter the texture of certain ingredients, pressure canning creates a shelf-stable product that maintains its integrity and taste remarkably well.
The benefits extend beyond mere preservation. Having home-canned chicken curry on hand simplifies meal planning dramatically. It’s perfect for emergency preparedness, busy weeknights, or even as a thoughtful gift. The convenience of simply opening a jar and heating a delicious, ready-made meal saves precious time and effort, especially after a long day. Furthermore, canning allows you to control the ingredients, ensuring your family consumes meals free from unwanted additives or preservatives often found in store-bought alternatives. By making large batches when ingredients are on sale, like chicken, you can also realize significant cost savings.
Ingredients for Homemade Chicken Curry in a Jar
This recipe yields 2 quarts or 4 pints, which is the minimum safe load recommended for most pressure canners. However, you can easily scale up the recipe if you wish to stock your pantry more extensively. For instance, a larger canner like my All American Brand 930 canner can hold 14 quarts, allowing you to prepare a substantial supply of these delightful meals when chicken is on sale or after a productive batch cooking session. Here’s a detailed look at the core components that create this wonderfully cozy curry:
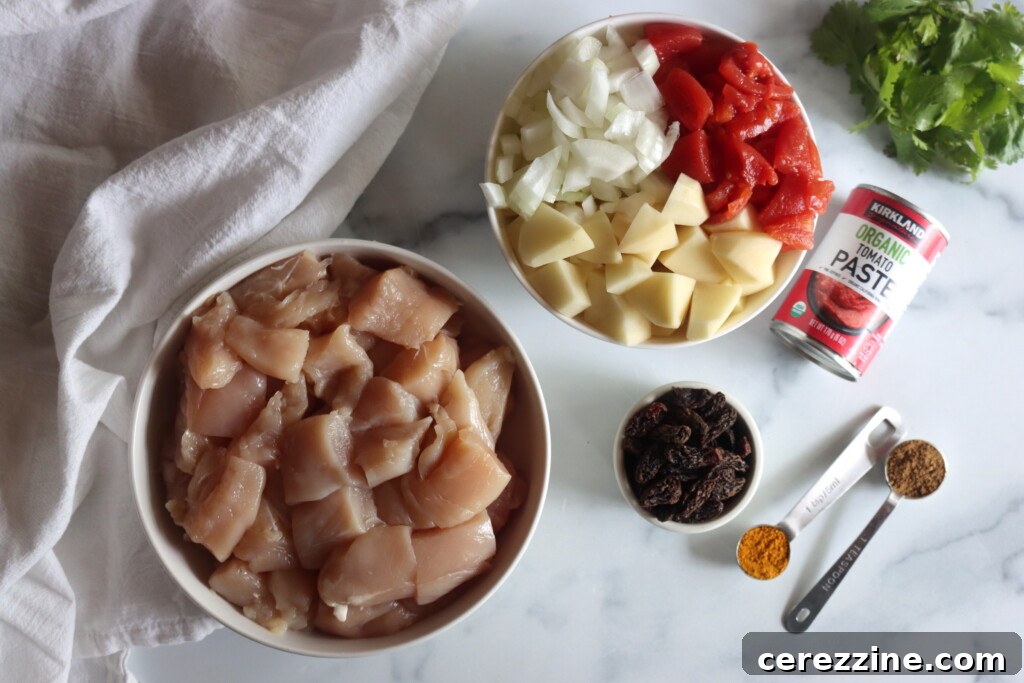
- Chicken: You can use boneless chicken breasts, thighs, or a combination of both. It’s crucial to cut the meat into uniform 2-inch pieces. This size ensures the chicken cooks evenly and retains its shape without becoming stringy during the pressure canning process. While dark meat tends to become incredibly tender and contributes to a richer sauce, white meat holds its form a bit better. Choose the cut you prefer based on your texture preference.
- Onion, Tomato, and Potato: These foundational vegetables contribute significantly to the body, texture, and flavor profile of the curry, transforming it into a complete, hearty meal in a single jar. The original recipe specifies “finely chopped tomato” without mentioning peeling or seeding, so these steps are optional based on your preference. Alternatively, you can opt for 1 cup of canned diced tomatoes for convenience. For all vegetables, ensure they are finely chopped to guarantee even cooking and to allow them to nestle snugly around the chicken within the jar.
- Raisins (Optional): A traditional and delightful addition to many mild curry recipes, raisins impart a subtle sweetness and a touch of richness that complements the savory spices. They are entirely optional, so feel free to omit them if you’re not a fan of fruit in savory dishes.
- Cilantro: Freshly chopped cilantro offers a vibrant burst of herbaceous, citrusy flavor that elevates the curry. If fresh cilantro isn’t available or if you’re among those with an aversion to its taste, fresh parsley can be a suitable substitute, or you can simply omit it from the canning process and add fresh herbs upon serving.
- Tomato Paste: Incorporating a couple of tablespoons of tomato paste per jar is essential. It provides a concentrated umami depth, enriching the curry’s flavor, and helps to build a thick, luxurious base for the sauce once the meal is heated and served.
- Spices (Curry Powder & Garam Masala): These two spice blends are the heart and soul of this chicken curry, lending it its signature warm, aromatic, and complex flavor profile. Both curry powder and garam masala are shelf-stable. While their flavors may mellow slightly during the pressure canning process, don’t be shy about seasoning generously to ensure a robust taste.
- Broth or Water: You will need hot liquid to fill the jars before canning. Chicken stock or broth is highly recommended as it imparts the most flavor and depth to the curry. However, in a pinch, hot water will also suffice to ensure proper processing and food safety.
A critical step for both safety and quality is to mix all the ingredients thoroughly in a large bowl before raw packing them into the jars. While it might be tempting to layer the ingredients directly into each jar, this will prevent them from mixing properly during the canning process. Uneven distribution can lead to dense pockets of spices or tomato paste that don’t process well, resulting in inconsistent flavor and potentially compromising the safety of the canned product. Ensure every component is well combined for the best results.
How to Prepare Chicken Curry for Pressure Canning
The preparation process for this raw-pack chicken curry is straightforward, focusing on proper ingredient handling and thorough mixing for optimal results. Begin by finely chopping your onions, tomatoes, and potatoes. Peel the potatoes before dicing them into small, even pieces. Next, cut your boneless chicken (breasts, thighs, or a mix) into uniform 2-inch cubes. Precision in cutting ensures all ingredients cook consistently within the jar.
Once your ingredients are prepped, add the chopped chicken, onions, tomatoes, potatoes, optional raisins, fresh cilantro, tomato paste, salt, curry powder, and garam masala to a large mixing bowl. This is a crucial step: mix all these ingredients thoroughly until the seasoning is evenly distributed throughout the entire mixture. Do not simply layer the ingredients directly into the canning jars. Proper mixing ensures that flavors meld and that heat penetrates uniformly during the canning process. Without this step, you might end up with unmixed pockets of tomato paste or spices, leading to an inconsistent curry flavor and potentially affecting the safety of the canned goods.
Once the curry mixture is perfectly combined, set the bowl aside and begin preparing your pressure canner and canning jars. Ensure your jars are clean, warm, and ready to be filled.
Step-by-Step Guide: Pressure Canning Chicken Curry
Canning chicken curry involves a precise sequence of steps to ensure both safety and a delicious outcome. Follow these instructions carefully:
- Prepare Your Canner and Jars: Start by preparing your pressure canner according to the manufacturer’s instructions. Ensure jars are clean, warm, and equipped with new lids and rings. Keep your chicken stock or water heating on the stovetop so it’s hot and ready when you need to fill the jars.
- Pack the Jars: Carefully pack the raw chicken curry mixture into the prepared hot jars. Use a jar funnel to minimize mess and ensure a neat fill. Leave a precise 1-inch headspace from the rim of the jar. This headspace is vital for proper sealing and to allow for food expansion during processing.
- Add Hot Liquid: Pour the hot broth or water over the solids in each jar, ensuring that the 1-inch headspace is maintained. Each quart jar will typically require about 1 cup of hot liquid, but this can vary slightly depending on how densely packed the solids are. It’s always a good idea to have extra hot water in a kettle just in case you need more.
- Remove Air Bubbles: Using a non-metallic utensil (like a plastic spatula or de-bubbler), gently run it around the inside of each jar to release any trapped air bubbles. This step is crucial to prevent false seals and ensure even heat distribution.
- Adjust Liquid and Wipe Rims: After removing air bubbles, recheck the headspace. If necessary, add a little more hot liquid to maintain the 1-inch headspace. Then, thoroughly wipe the jar rims with a clean, damp cloth to remove any food particles. This ensures a clean surface for the lids to seal properly.
- Secure Lids and Rings: Center a new, pre-warmed lid on each jar, and then screw on the band fingertip tight. Avoid over-tightening, as this can prevent air from escaping during processing and lead to seal failures.
- Process in Pressure Canner: Place the filled jars onto the rack in your pressure canner. Secure the canner lid and bring it to a boil over high heat until a steady stream of steam is released for 10 minutes (venting). This expels air from the canner.
- Maintain Pressure: After venting, place the weighted gauge on the vent or close the petcock for a dial gauge. Bring the canner up to the correct pressure for your altitude. Process pints for 75 minutes and quarts for 90 minutes.
Altitude Adjustments: Remember that processing pressure changes with elevation, but the processing time remains the same. Always consult the appropriate guidelines for your altitude:
Altitude Adjustments for Pressure Canning
Processing times do not change with elevation, but the pressure setting does. Always use the correct pressure for your altitude:
Dial Gauge Canners
- 0–2,000 ft: 11 lbs pressure
- 2,001–4,000 ft: 12 lbs pressure
- 4,001–6,000 ft: 13 lbs pressure
- 6,001–8,000 ft: 14 lbs pressure
Weighted Gauge Canners
- 0–1,000 ft: 10 lbs pressure
- Above 1,000 ft: 15 lbs pressure
Once the processing time is complete, turn off the heat and allow the pressure canner to cool naturally and depressurize completely without forced cooling. Do not attempt to open the canner until the pressure gauge reads zero. Once depressurized, remove the jars carefully using a jar lifter and place them on a towel-covered counter, ensuring there is space between each jar for proper air circulation. Let them sit undisturbed for 12 to 24 hours to cool and seal properly. After this cooling period, check the seals. Lids should be concave and not flex when pressed. Remove the bands, wipe the jars clean, label them with the contents and date, and store them in a cool, dark place.
How to Serve Your Delicious Home-Canned Chicken Curry
Serving your homemade, pressure-canned chicken curry is incredibly simple and satisfying. To enjoy, carefully pour the contents of a sealed jar into a saucepan. Gently simmer the curry over medium heat for approximately 10 minutes, stirring occasionally to ensure even heating. While the mixture is already fully cooked from the canning process, this gentle simmering allows the flavors to fully awaken and meld together, enhancing the overall taste and bringing it to the perfect serving temperature.
This flavorful chicken curry is traditionally served over hot, fluffy cooked rice for a quick, wholesome, and filling meal. For an even richer, creamier, and more indulgent sauce, you can stir in a splash of coconut milk or heavy cream during the simmering stage. This addition transforms the texture and adds another layer of complexity. Elevate your meal further by pairing it with warm naan bread, flaky roti, or any other flatbread for dipping. A simple side salad of fresh greens or a cucumber raita can provide a refreshing contrast, creating a complete and delightful dinner experience.
Canning Chicken Curry (Ball Canning Recipe)
This pressure canned chicken curry is a flavorful, ready-to-heat dinner packed with tender chicken, vegetables, and aromatic spices. Just warm it up and serve over rice for an easy, home-cooked meal—perfect for busy nights when you need dinner fast.
- Servings: 4 servings (2 quarts or 4 pints)
- Prep Time: 15 minutes
- Cook Time: 1 hour 30 minutes (Canning process)
- Total Time: 1 hour 45 minutes
Equipment
- Pressure Canner
- Canning Jars (Pint or Quart size)
- New Lids and Rings
- Large Mixing Bowl
- Jar Lifter
- Jar Funnel
- Non-metallic Spatula/De-bubbler
Ingredients
- 2 lbs chicken, boneless, white or dark meat, cut into 2-inch cubes
- 1 cup onion, finely chopped
- 1 cup tomatoes, finely chopped, fresh or canned (peeling/seeding optional)
- 1 cup potato, peeled and diced (into small, even pieces)
- ½ cup raisins, optional
- 4 tbsp fresh cilantro, finely chopped (or substitute parsley, or omit)
- 4 tbsp tomato paste
- 2 tsp salt, or to taste
- 1 tsp curry powder
- 1 tsp garam masala
- Hot chicken broth or water, to fill jars (about 1 cup per quart, see notes)
Instructions
- Prepare your pressure canner and ensure canning jars are clean and warm before beginning the recipe.
- Finely chop the onion, tomato, and potato. Cube the chicken into uniform 2-inch pieces.
- In a large mixing bowl, combine the chicken, onion, tomato, potato, optional raisins, cilantro, tomato paste, salt, curry powder, and garam masala. Mix all ingredients thoroughly to ensure even distribution of spices and vegetables. This step is crucial for even heating and flavor.
- Heat chicken broth or water in a separate pot until hot, but not boiling.
- Carefully pack the combined curry mixture into your hot, prepared canning jars, leaving precisely 1-inch headspace from the rim.
- Pour the hot broth or water over the solids in each jar, maintaining the 1-inch headspace.
- Use a non-metallic spatula or de-bubbler to remove any trapped air bubbles from the jars. Adjust the liquid level if necessary to maintain the 1-inch headspace.
- Wipe the jar rims meticulously with a clean, damp cloth to ensure no food particles interfere with the seal.
- Apply new, pre-warmed lids and screw on the bands fingertip tight.
- Process the jars in a pressure canner at 10 lbs pressure (for weighted gauge) or 11 lbs pressure (for dial gauge), adjusting pressure for your altitude (refer to the altitude adjustment chart below). Process pint jars for 75 minutes and quart jars for 90 minutes.
- Once the processing time is complete, turn off the heat and allow the canner to cool completely and depressurize naturally before opening. Do not force cool the canner.
- Carefully remove the jars from the canner with a jar lifter and place them on a towel-covered counter, spaced apart. Let them cool undisturbed for 12 to 24 hours.
- After cooling, check all seals. Lids should be concave and not flex when pressed. Remove bands, wipe jars, label with contents and date, and store in a cool, dark place.
Notes
Each quart jar typically requires about 1 cup of hot water or broth to reach the proper headspace, but this can vary slightly. Always have extra hot liquid on hand in a kettle to top off jars as needed.
Canning Safety Note
This is a rigorously tested recipe from Ball Canning’s All New Book of Canning and Preserving. Due to the inclusion of meat and low-acid vegetables, this recipe must be pressure canned. Water bath canning is not a safe method for preserving this type of meal. Always adhere strictly to the recommended pressure and processing times for your specific altitude to ensure food safety.
Altitude Adjustments
Use these pressure guidelines when canning at higher elevations:
Dial Gauge Canners
- 0–2,000 ft: 11 lbs pressure
- 2,001–4,000 ft: 12 lbs pressure
- 4,001–6,000 ft: 13 lbs pressure
- 6,001–8,000 ft: 14 lbs pressure
Weighted Gauge Canners
- 0–1,000 ft: 10 lbs pressure
- Above 1,000 ft: 15 lbs pressure
Serving Suggestions
To serve, simply heat the contents of a jar in a saucepan for about 10 minutes, stirring frequently until warmed through. Spoon over hot cooked rice, quinoa, or your preferred grain. For a richer, more saucy consistency, consider adding a splash of coconut milk or heavy cream during heating. For a twist reminiscent of classic butter chicken, a knob of butter and a swirl of cream can be added. Serve with fresh cilantro, naan, or other flatbreads.
Nutrition
(Approximate values per serving based on 4 servings per recipe)
- Calories: 630 kcal
- Carbohydrates: 33g
- Protein: 40g
- Fat: 38g
- Saturated Fat: 10g
- Polyunsaturated Fat: 8g
- Monounsaturated Fat: 16g
- Trans Fat: 0.2g
- Cholesterol: 222mg
- Sodium: 314mg
- Potassium: 1154mg
- Fiber: 4g
- Sugar: 5g
- Vitamin A: 765 IU
- Vitamin C: 23mg
- Calcium: 51mg
- Iron: 3mg
Nutrition information is automatically calculated and should only be used as an approximation. Actual values may vary based on ingredient brands and preparation.
Explore More Delicious Chicken Canning Recipes
Are you inspired to fill your pantry with more convenient and flavorful chicken canning recipes for effortless weeknight meals? This chicken curry is just the beginning of a world of delicious home-canned options.
If you’re looking for a recipe with a distinctly different profile, perhaps something creamier and with a hint of heat, try my Thai Red Curry Chicken. This recipe incorporates authentic red curry paste directly into the canning mixture, and when served with a swirl of coconut milk, it transforms into a smooth, spicy-sweet dish that’s wonderfully aromatic and far from ordinary.
For those who crave classic comfort food, Canning Chicken and Gravy is an absolute pantry essential and always a family favorite. This versatile preparation is perfect served over creamy mashed potatoes, flaky biscuits, or as a convenient, flavorful base for a hearty chicken pot pie.
Another popular choice is Chicken Chili Verde. This vibrantly seasoned, Southwestern-style meal in a jar features tender chicken, wholesome white beans, and tangy salsa verde. It’s fantastic topped with a dollop of sour cream and served with crunchy tortilla chips for a satisfying texture contrast.
And, of course, no pantry is complete without the timeless staple: Canning Chicken Soup. This nourishing and comforting classic is perfect for chilly days or when you need a gentle, homemade pick-me-up. Simply add rice or noodles when reheating for a complete and deeply satisfying bowl of goodness.