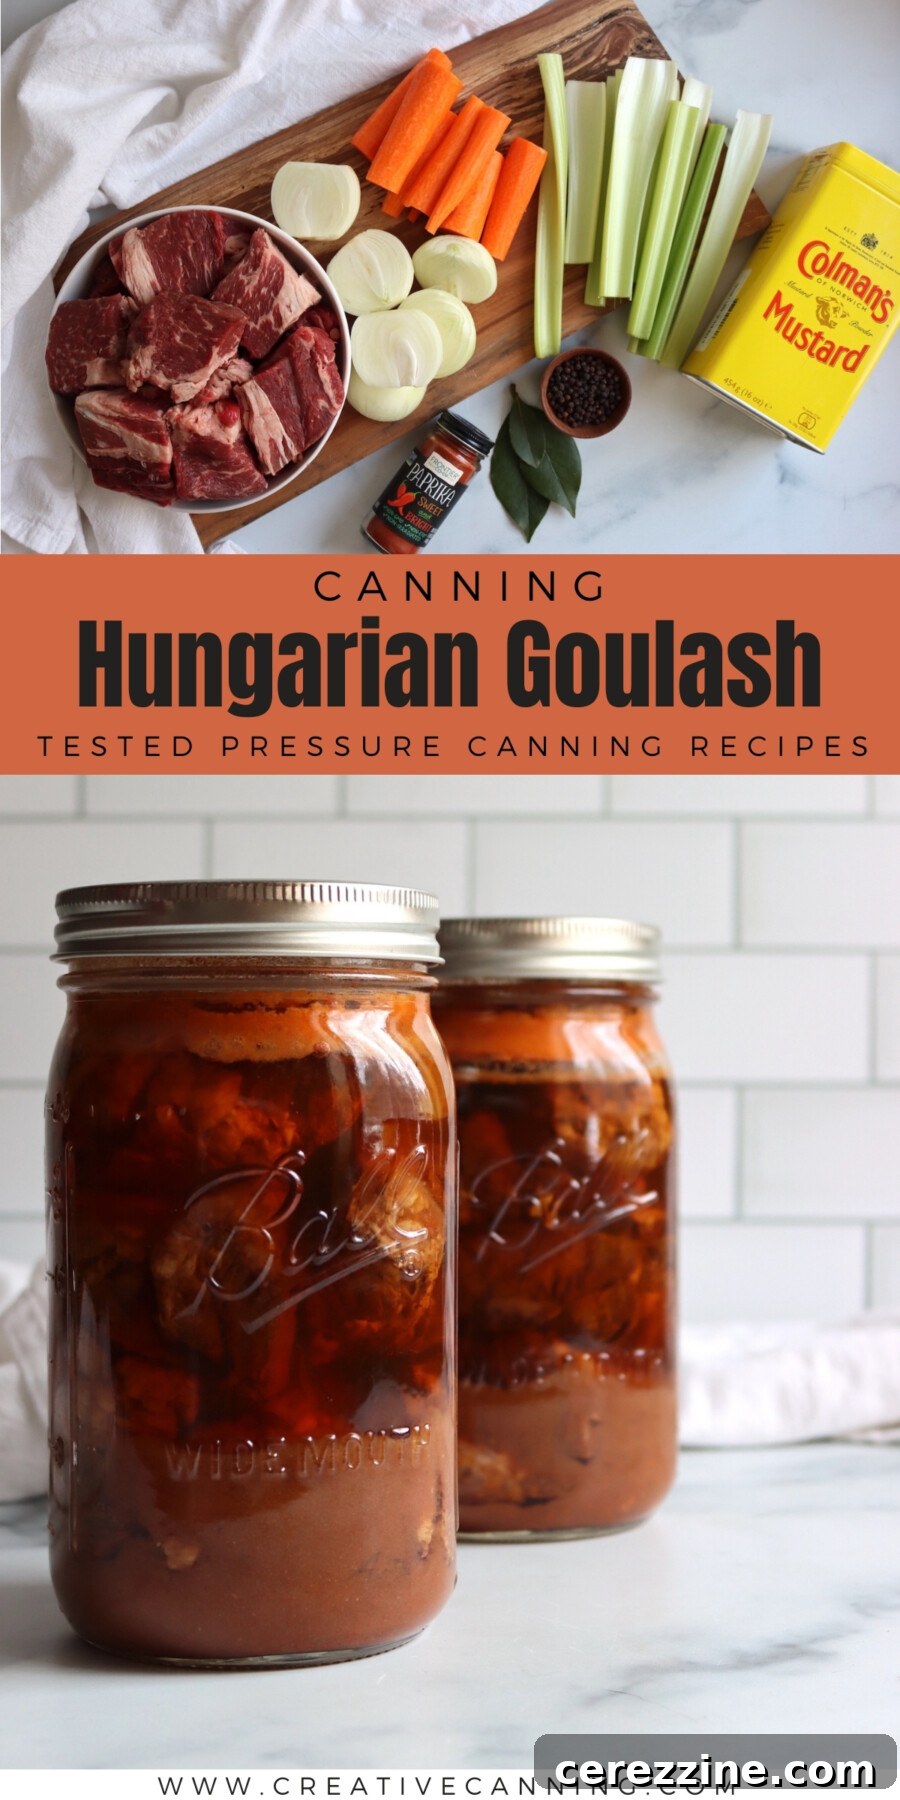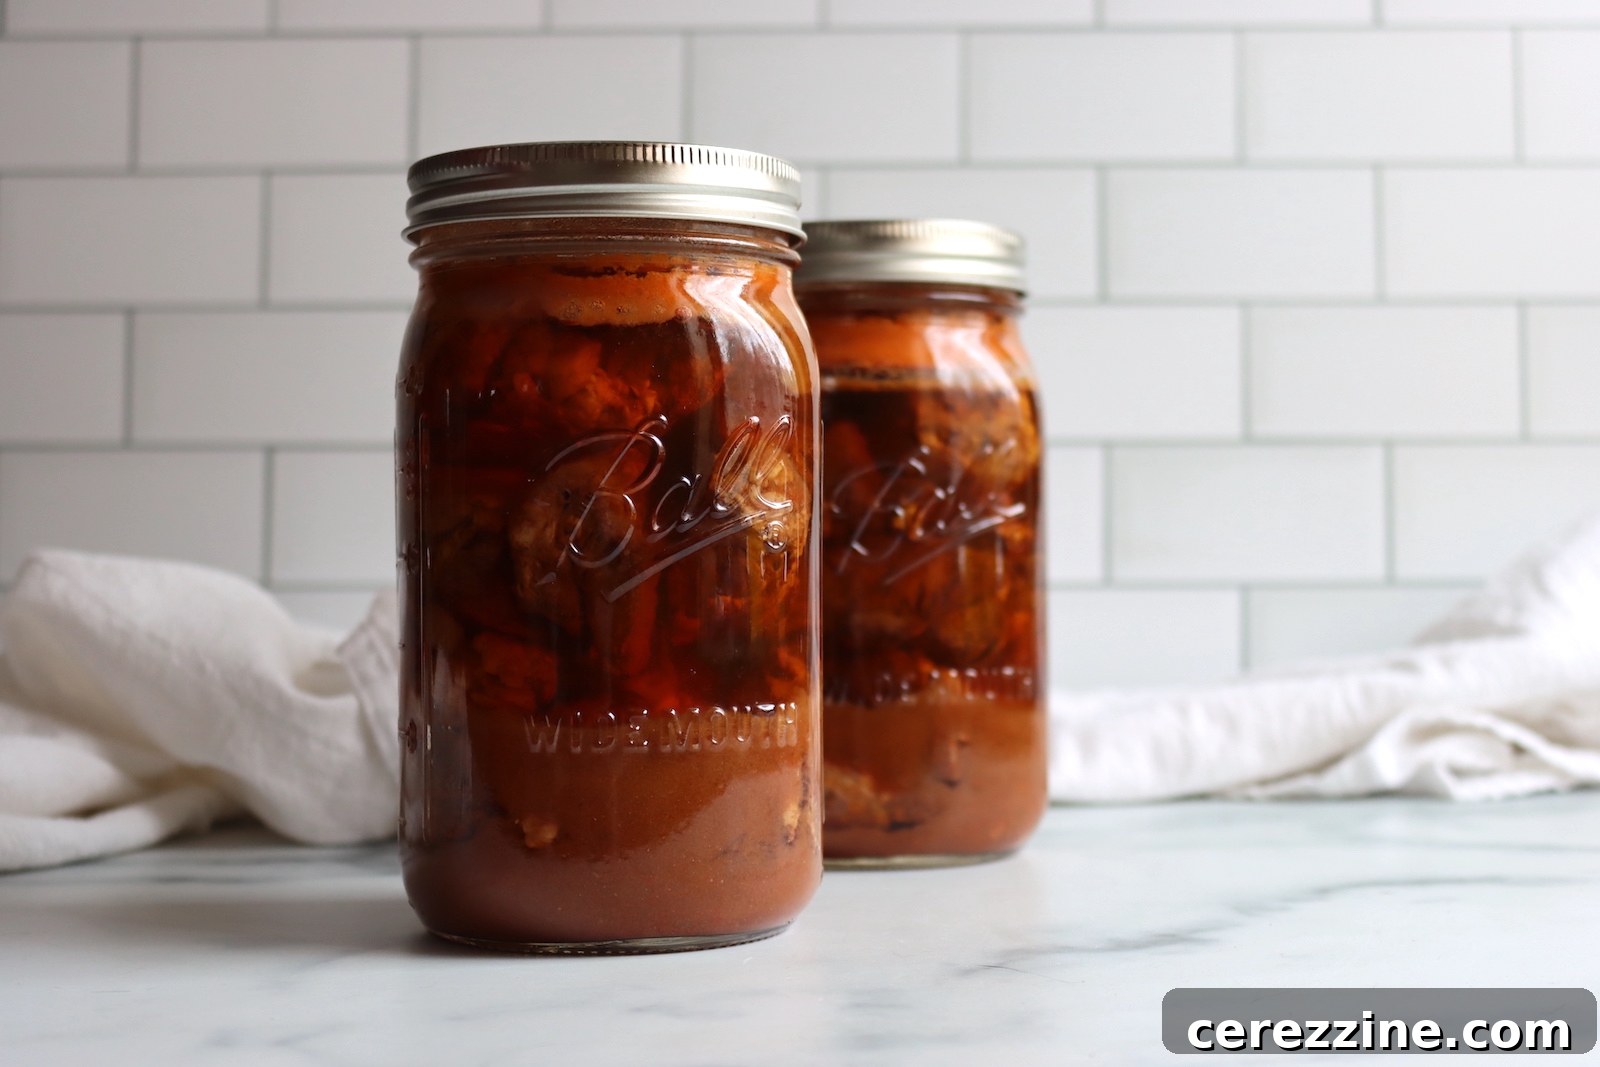
Transforming hearty meals into shelf-stable jars is a fulfilling aspect of home preserving, and canning goulash stands out as a true delight. This Hungarian-inspired, pressure-canned beef goulash recipe delivers an astonishingly rich, deeply flavored, and savory meal ready to be enjoyed straight from your pantry. Built around succulent, paprika-coated beef that simmers slowly to perfection, this recipe ensures that every jar holds a taste of comfort and tradition.
Imagine having a robust, flavorful goulash, a complete meal in a jar, waiting to provide a warm and satisfying dinner on any busy weeknight. This makes homemade goulash canning an invaluable skill for any home preserver, offering both convenience and an impressive depth of flavor that can only be achieved through careful, slow cooking and proper preservation techniques.
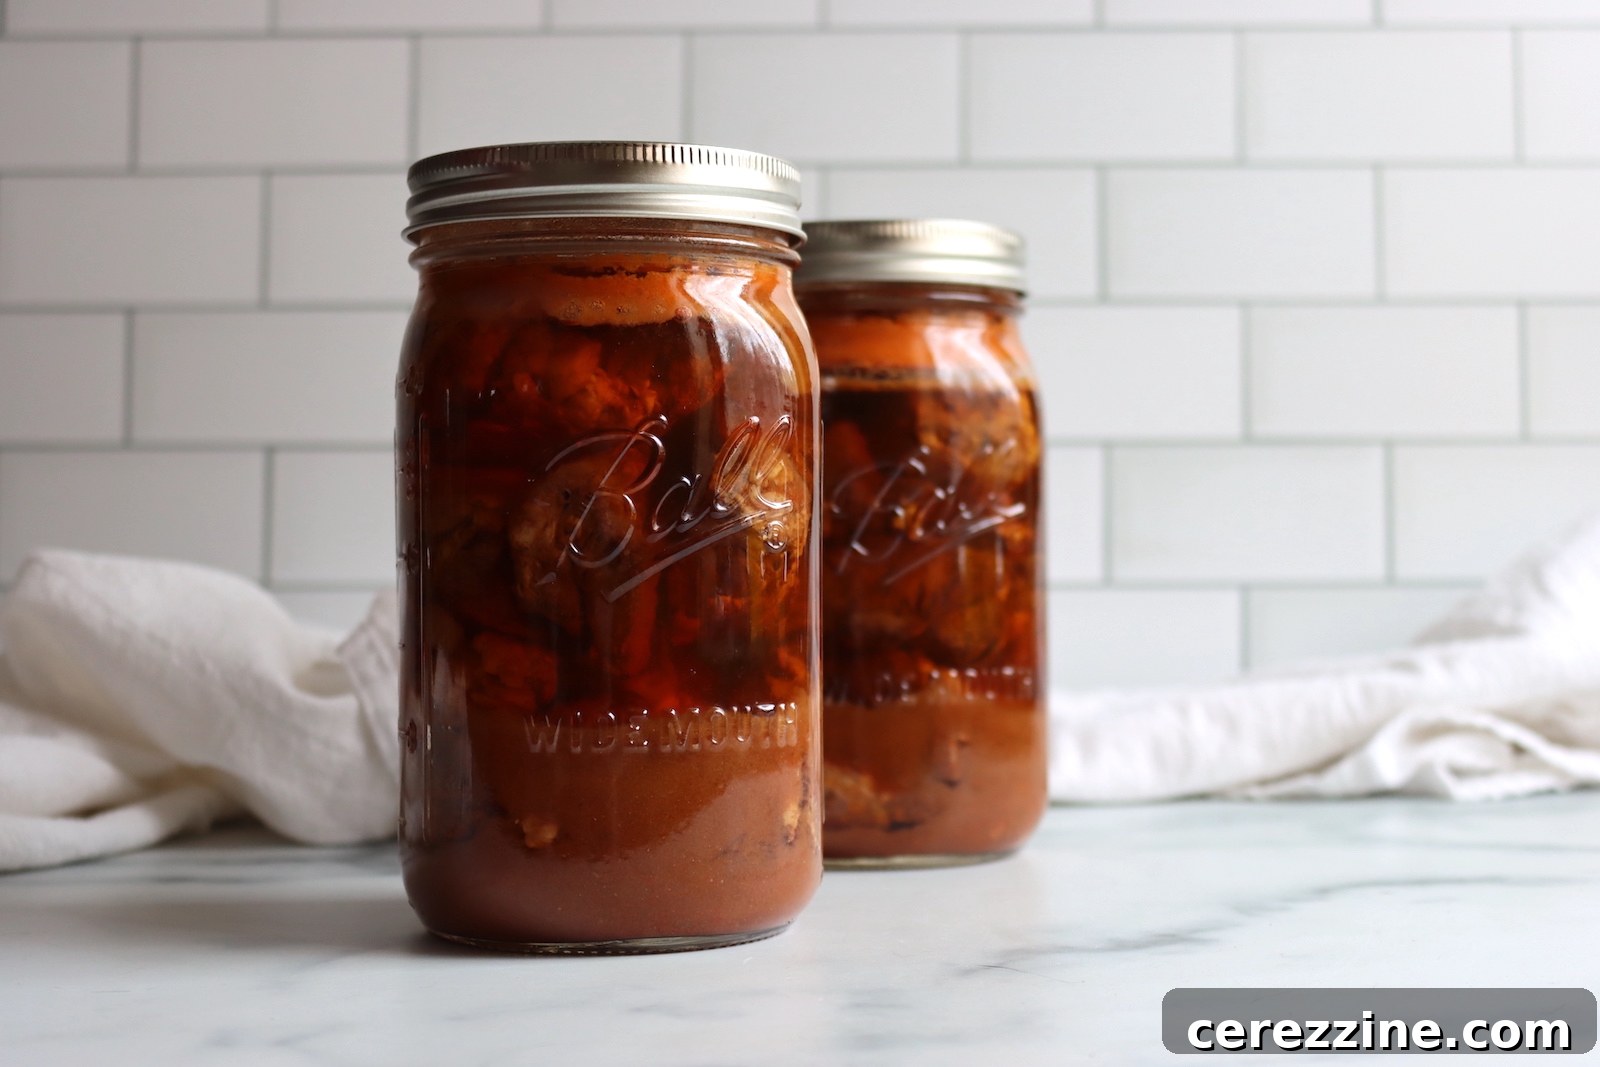
This recipe has been meticulously reviewed for safety and accuracy by a Master Food Preserver, certified through the esteemed University of Cornell Cooperative Extension. This ensures that you can confidently follow these instructions for a safe and delicious home-canned goulash.
Our goulash canning recipe draws its foundation from two highly respected and thoroughly tested sources in the world of home preserving: the Ball Blue Book of Canning and the Bernardin Guide to Home Preserving. Both guides are recognized authorities, and their versions of this recipe are remarkably similar, underscoring its reliability and proven methodology.
However, it’s worth noting a crucial detail we discovered and corrected: a misprint in the recommended amount of water for simmering. The original texts suggest only 1 cup of water, which we found to be insufficient for an hour-long simmer, risking scorching the meat and leaving inadequate broth for proper jar packing. Through testing, we’ve determined that exactly 1 quart (4 cups) of water is necessary. This ensures the beef simmers perfectly without burning, allowing ample broth to develop and be utilized when filling your canning jars. This adjustment is vital for achieving both the desired tenderness and rich flavor of the goulash, as well as proper canning safety.
We’ve meticulously followed the core guidelines from both trusted sources while incorporating this essential water adjustment and noting any other minor variations in the recipe instructions. This allows you the flexibility to adapt the recipe to your preferences, ensuring the best possible outcome for your pantry.
Why You’ll Adore This Goulash Canning Recipe!

Admittedly, I approached this recipe with a hint of skepticism. The extensive pre-cooking phase, which occurs even before the goulash enters the canner, initially felt like a considerable investment of time and effort. However, this preparatory step is truly the secret to unlocking the most incredible depth of flavor in the meat. As the broth slowly simmered, my entire kitchen was filled with an irresistible aroma, promising a culinary masterpiece. The beef, after this long, gentle cook, emerged incredibly rich and tender, achieving a texture and flavor profile that simply can’t be matched by quicker cooking methods.
The vegetables included in this recipe—carrots, celery, and onions—serve a dual purpose. They are primarily introduced as robust flavor agents, cooked in generous pieces to infuse the broth with their essence during the long simmer. While the original recipe suggests discarding them before canning, you absolutely have the option to include them in your jars for a heartier, more visually appealing meal. In my experience, these cooked vegetables are so delicious that they make for an excellent snack right out of the pot. My children devoured every last carrot while I was loading the canner, and I found myself happily picking at the onions. So, whether you choose to enjoy them immediately, add them to your jars, or discard them, they contribute immensely to the overall success of this goulash.
This recipe proved to be surprisingly rewarding and well worth every bit of effort. Its exceptional taste and the convenience it offers have firmly secured its permanent place in my canning rotation, and I’m confident it will earn a similar spot in yours.
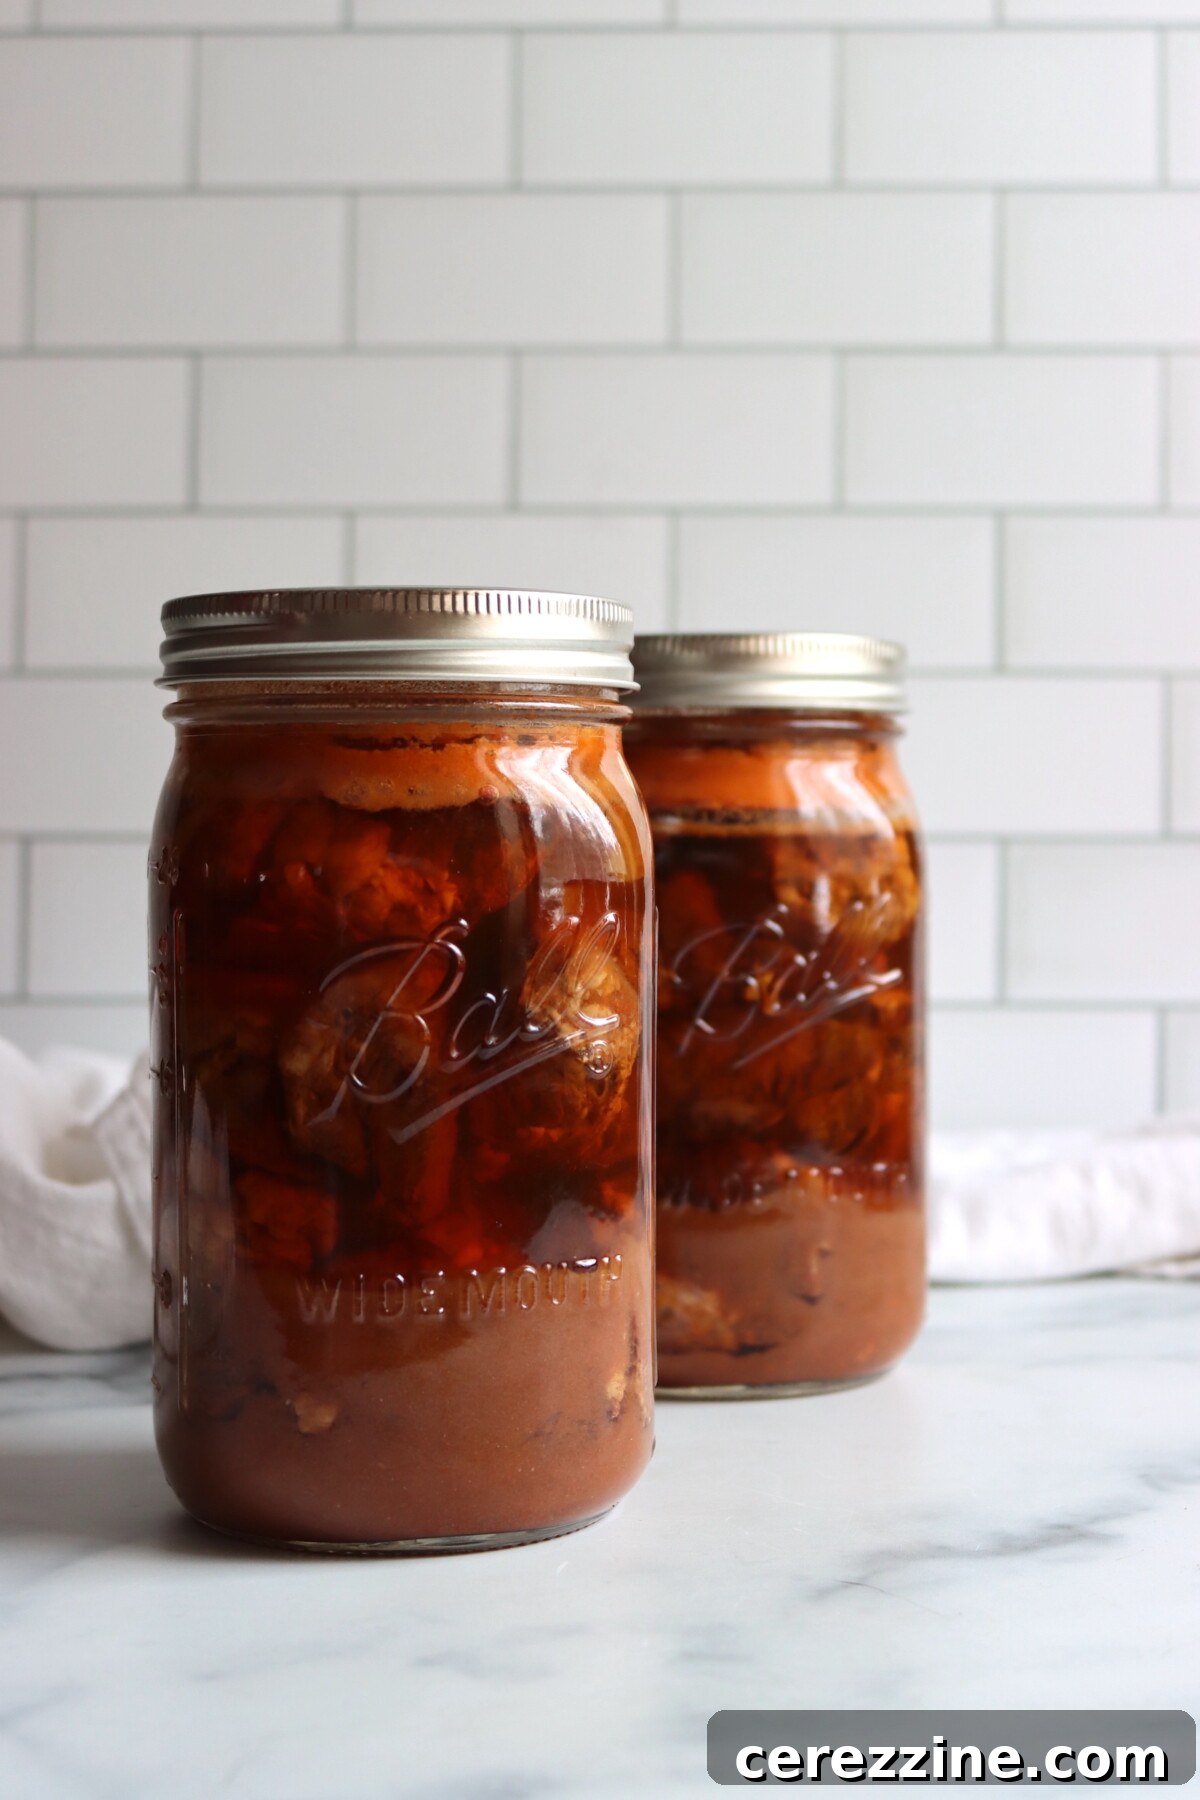
Quick Overview: Canning Goulash
- Recipe Name: Pressure Canned Hungarian Goulash
- Recipe Type: Hearty Meal in a Jar Canning Recipe
- Canning Method: Pressure Canning (essential for safety)
- Prep & Cook Time: Approximately 45 minutes for preparation, followed by a 1-hour simmer.
- Canning Time: 75 minutes for pint jars, and 90 minutes for quart jars.
- Yield: This recipe makes 4 pints or 2 quarts. It can be easily doubled or tripled to suit your needs and canner capacity.
- Recommended Jar Sizes: Pints or Quarts.
- Headspace Requirement: 1 inch (crucial for proper sealing and safety).
- Key Ingredients: Tender stewing beef or pork, authentic paprika, fresh carrots, celery, onion, a touch of vinegar, and a balanced blend of aromatic spices.
- Safe Canning Recipe Source: Verified and adapted from the Ball Blue Book of Canning and the Bernardin Guide to Home Preserving.
- Difficulty Level: Moderate. While the browning of meat and the slow simmering process require some time and attention, the overall canning procedure is straightforward. The rich, rewarding results make the effort unequivocally worthwhile.
- Similar Recipes: If you appreciate robust pressure canning recipes, this goulash aligns perfectly with other beef canning recipes such as Beef Stew, Beef Burgundy, Beef Stroganoff, and Chipotle Beef Taco Meat, all designed for long-term storage and convenience.
Essential Ingredients for Perfect Canned Goulash
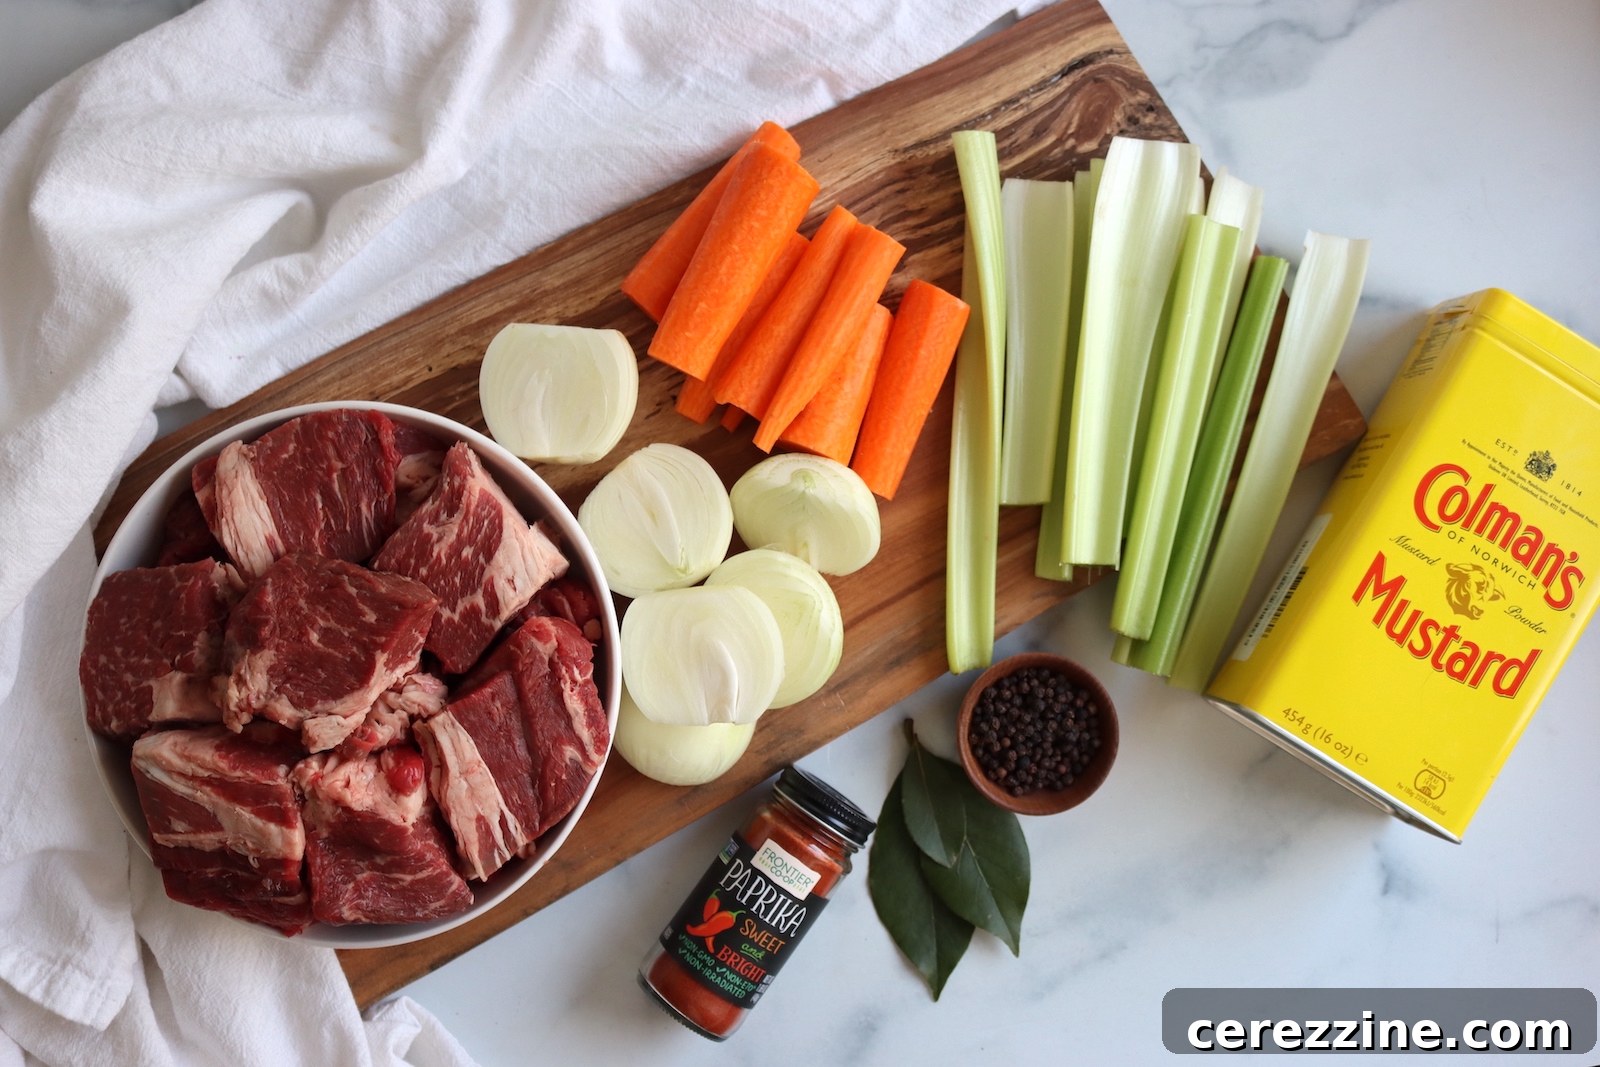
This goulash recipe relies on a deceptively short yet exquisitely balanced list of ingredients. Each component plays a vital role in building the signature rich, paprika-forward broth and tender meat that defines this classic dish. The careful selection and preparation of these ingredients are key to developing a complex flavor profile, where the vegetables and spice blend work harmoniously with the meat, and the vinegar adds a subtle, bright acidity that beautifully rounds out the richness. While the spices and vinegar contribute significantly to flavor, not preservation, they can be subtly adjusted to personal taste, though we find the quantities provided to be ideally perfect.
- Stewing Beef or Pork: The foundation of this hearty goulash. For beef, opt for cuts like chuck roast, round, or any well-marbled stewing beef. These cuts become incredibly tender and flavorful during the slow simmer and pressure canning process. If you prefer pork, any stewing cut will work splendidly; the Bernardin guide specifically recommends pork leg roast for its excellent texture and taste.
- Vegetable Oil: A neutral oil, such as vegetable oil, is used to brown the meat before simmering. This crucial step develops a rich fond at the bottom of the pan, which contributes immense depth and color to the finished broth, enhancing the overall savory experience.
- Carrots: Prepared in large, halved pieces, carrots are simmered with the meat to infuse the broth with their natural sweetness and earthy notes. They wonderfully absorb the vibrant paprika flavors. As per our adjustment, you can choose to remove them before jarring or include them in the jars for a more substantial texture and nutritional boost.
- Celery: Cut in half lengthwise, celery adds a distinctive aromatic and savory depth to the simmering broth. Similar to the carrots, you have the option to discard them, enjoy them as a flavorful side dish, or pack them into your jars.
- Onions: Halved with the root end intentionally left intact, the onions hold together well during the long cooking process. They impart a natural sweetness and body to the broth and, surprisingly, become incredibly delicious straight from the pot, making them a tempting cook’s treat.
- Paprika: This is the star spice and defining characteristic of goulash. Hungarian paprika is the most traditional and highly recommended choice, known for its sweet, vibrant, and deep red hue. Spanish paprika can be used as a suitable alternative. Investing in a good quality paprika is paramount, as its flavor truly shines through in this dish.
- Salt: Essential for seasoning both the meat and the broth, salt helps to balance and enhance all the flavors, preventing the finished goulash from tasting flat. It is used for flavor purposes only and can be adjusted or omitted based on your dietary preferences, allowing you to salt to taste at the time of serving.
- Mustard Powder: A small but significant addition, mustard powder introduces a subtle sharpness and warmth to the overall spice blend, adding another layer of complexity to the goulash’s profile. Dry mustard powder is ideal, but prepared mustard can be substituted if necessary.
- Caraway Seeds: Listed as optional, caraway seeds contribute a unique, faintly anise-like warmth that is traditional in certain regional variations of goulash. They add an intriguing layer of flavor that many find delightful. Feel free to omit them if you prefer a simpler flavor profile or if your family is not fond of their distinctive taste.
- Whole Peppercorns and Bay Leaves: These aromatics are bundled into a cheesecloth spice bag and simmered with the meat throughout the cooking process. They impart a foundational savory and subtly spicy note to the broth and are easily removed before the goulash is packed into jars.
- Vinegar: Added to the pot purely for flavor, not for preservation, vinegar brightens the rich, meaty flavors of the beef and paprika. It introduces a subtle complexity and tangy balance that elevates the goulash. Since this is a pressure-canned recipe, the type of vinegar and its acidity level do not impact canning safety.
- Water: Crucial for deglazing the pan after browning the meat, water captures all the delicious browned bits (fond) and integrates them into the broth, intensifying its flavor. It also ensures the meat simmers properly without scorching. Our corrected quantity of 4 cups ensures sufficient liquid for both simmering and packing.
This goulash recipe not only adheres to the rigorously tested guidelines from Ball and Bernardin, but it also benefits from adaptations permitted by the University of Alaska Cooperative Extension Hearty Soups Protocol. This protocol provides excellent flexibility regarding the inclusion of vegetables. According to these safe guidelines, the carrots, celery, and onions can be safely left in the jars rather than being discarded, provided that all solid ingredients remain fully submerged in the flavorful broth and the proper headspace is maintained.
It is important to remember certain limitations for safe canning. You absolutely cannot add thickeners (like flour or cornstarch), dairy products, pasta, rice, or pureed vegetables before canning. These ingredients can affect heat penetration and compromise safety during the pressure canning process. For the meat component, you have a wide array of choices: beef, pork, venison, bison, elk, or other game meats are all suitable, as the recipe follows guidelines accommodating a range of red meats. Furthermore, this recipe is incredibly versatile and can be easily doubled or tripled to efficiently fill your pressure canner and meet your household’s needs, maximizing your efforts in the kitchen.
Step-by-Step Instructions for Canning Goulash
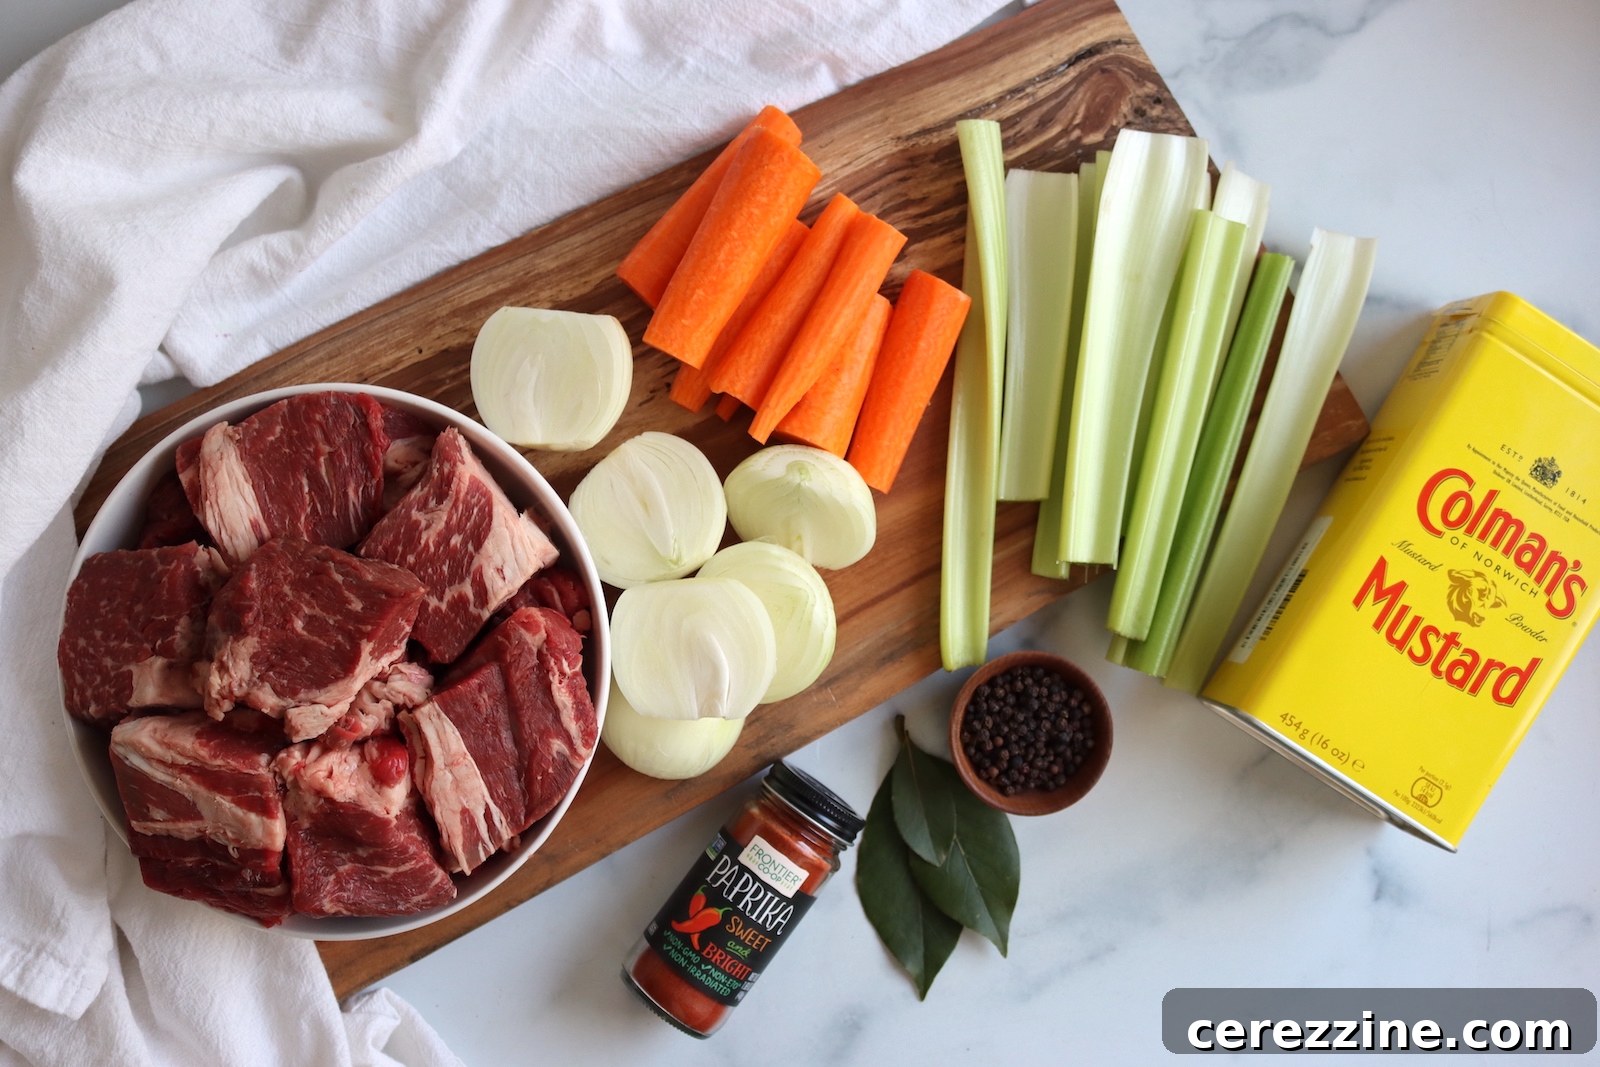
- Preparation: Begin by preparing your pressure canner, jars, lids, and bands according to the manufacturer’s instructions, keeping the jars hot until they are needed. Cut your chosen beef or pork into uniform 1 to 2-inch cubes. Wash and halve the celery stalks lengthwise. Peel and halve the carrots lengthwise. Halve the onions, ensuring the root end remains intact to keep them from falling apart during cooking. To create a spice bag, bundle the whole peppercorns, bay leaves, and optional caraway seeds in a piece of cheesecloth tied securely with kitchen twine. In a separate bowl, combine the paprika, salt, and mustard powder. Toss the meat cubes with this spice mixture in batches, ensuring each piece is evenly coated.
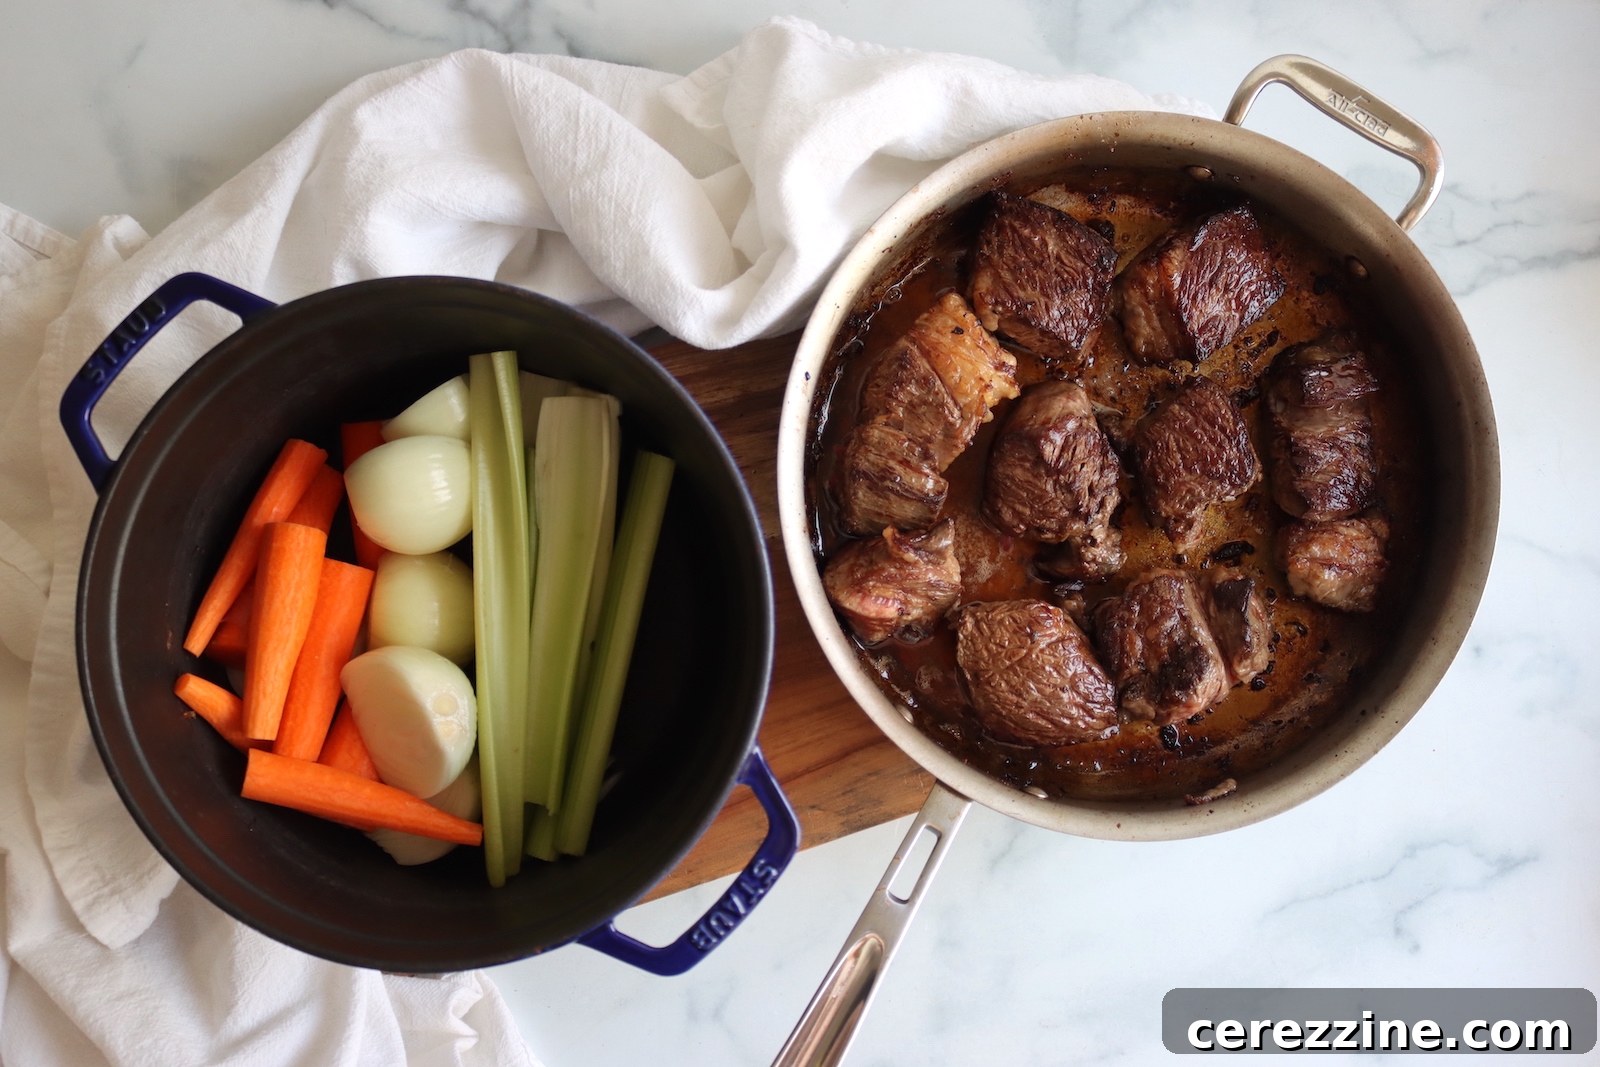
- Browning and Simmering Setup: Heat 2 to 4 tablespoons of vegetable oil in a large, heavy-bottomed pan over medium-high heat. Brown the seasoned meat cubes in batches, ensuring not to overcrowd the pan. Browning is crucial for flavor development. As each batch finishes, transfer it to a large, sturdy pot along with the prepared vegetables (carrots, celery, and onions). Once all meat is browned, deglaze the frying pan with 4 cups of water, scraping up all the savory browned bits from the bottom of the pan; this liquid is full of flavor. Pour this deglazing liquid into the large pot with the meat and vegetables. Add the prepared spice bag and the vinegar.
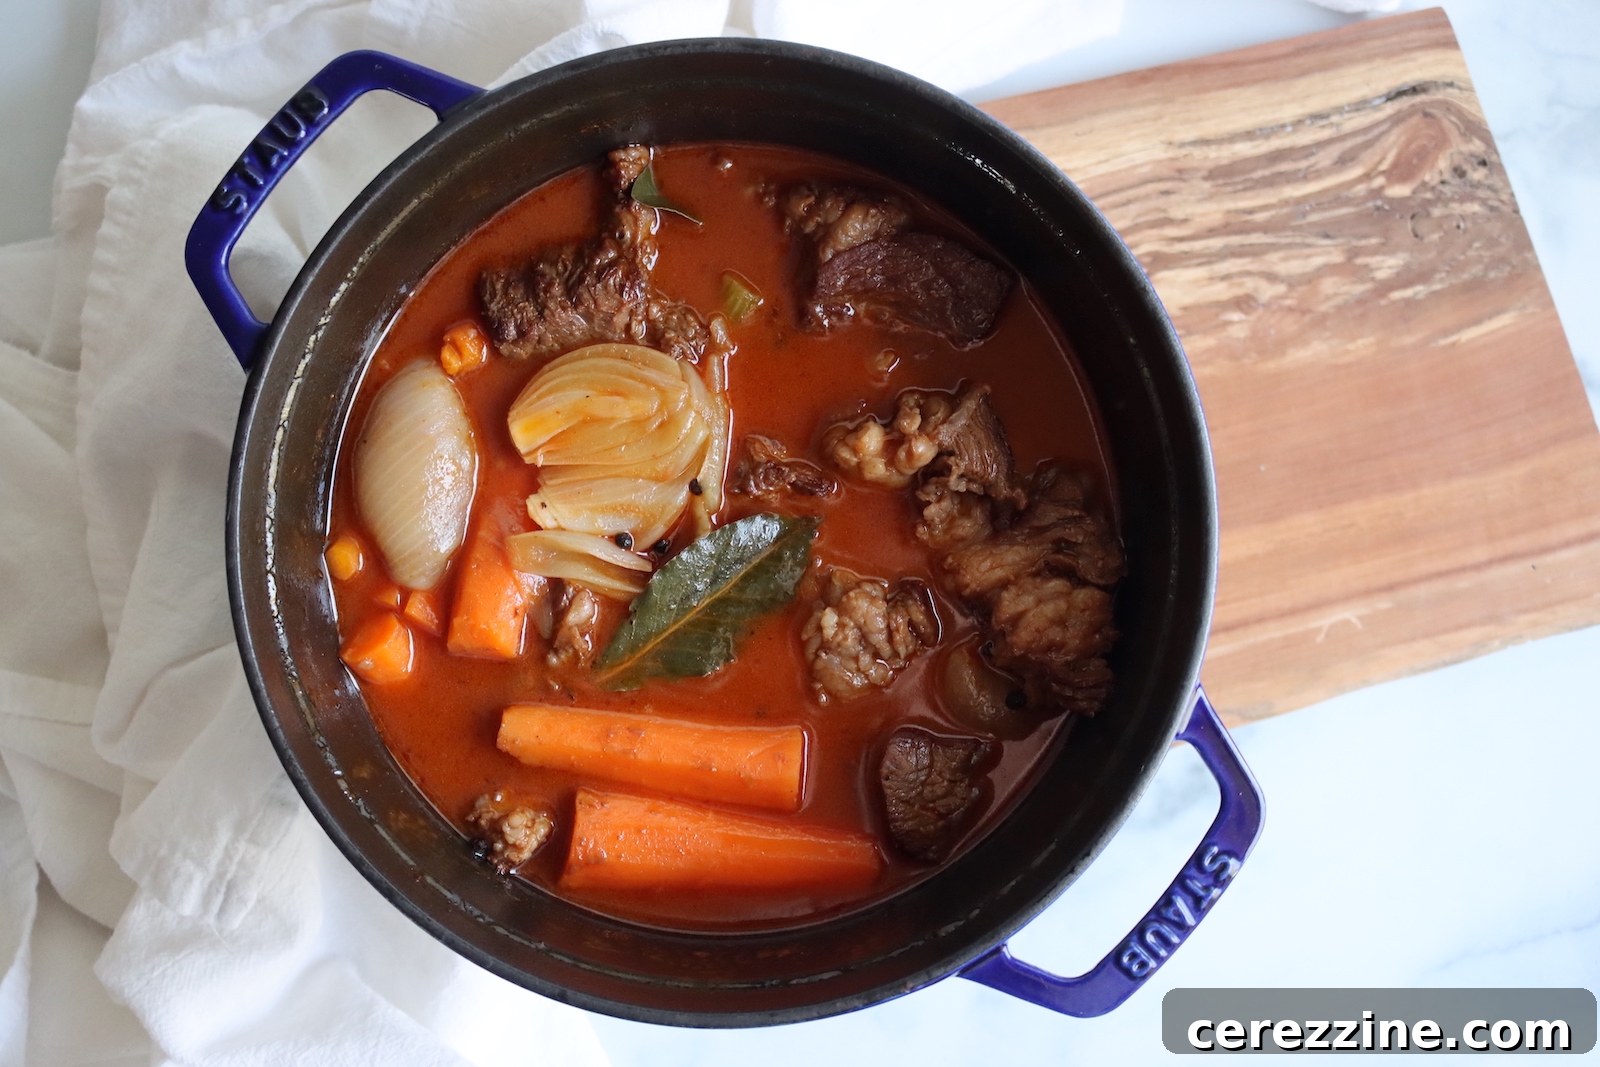
- Simmering and Jar Packing: Bring the goulash mixture in the large pot to a full boil, then reduce the heat to a gentle simmer. Cook, covered, for approximately 1 hour, or until the meat is just tender but still holds its shape. Alternatively, you can pressure cook it on high for 7 to 10 minutes. Once cooked, carefully remove and discard the spice bag. At this point, you can either remove and discard the large vegetables (carrots, celery, onions) or, if following the University of Alaska Cooperative Extension Hearty Soups Protocol, you may leave them in the goulash. Ladle the hot goulash into your prepared hot jars, ensuring an equitable distribution of meat and broth in each. Top off with additional boiling water or broth if needed to ensure all solids are submerged. Maintain a precise 1-inch headspace in each jar. Carefully remove any trapped air bubbles using a debubbler tool, wipe the jar rims clean to ensure a good seal, and apply the lids and bands to fingertip-tight.
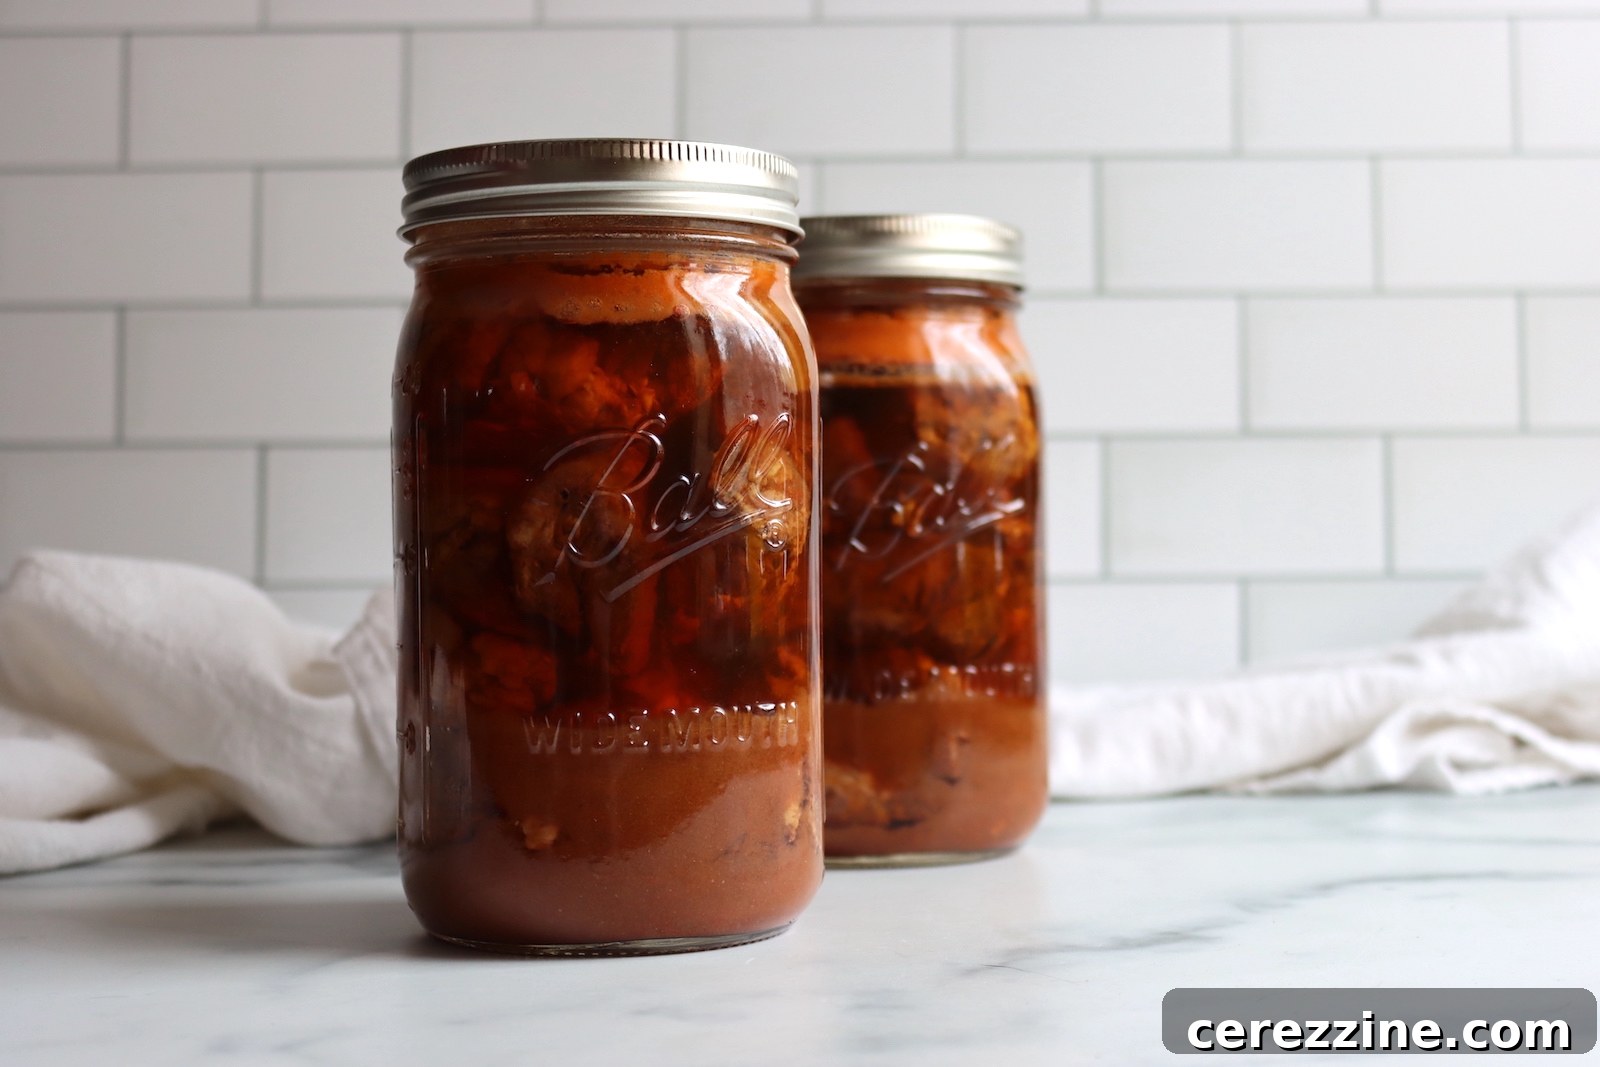
- Pressure Canning Process: Load the filled jars into your preheated pressure canner. Securely lock the canner lid. Bring the canner to a boil and vent steam for 10 minutes to ensure all air is purged. Then, bring the canner to the required pressure. Process pint jars for 75 minutes and quart jars for 90 minutes, carefully adjusting the pressure for your specific altitude (refer to the altitude adjustments table below). Once the processing time is complete, turn off the heat and allow the pressure canner to depressurize naturally until the gauge reads zero. Wait a few additional minutes before carefully removing the lid. Remove the hot jars and place them on a towel-lined counter or a wire rack, allowing them to cool undisturbed for 12 to 24 hours. After cooling, check all seals to ensure they are concave and do not flex. Label your jars with the contents and date, then store them in a cool, dark place.
Understanding the Canning Process for Goulash
This goulash recipe utilizes the “hot pack” method, which is paramount for both flavor quality and safety. The meat is thoroughly browned and then simmered until it reaches a tender consistency before being carefully packed into the jars. This pre-cooking ensures optimal flavor development and crucially, guarantees proper heat distribution throughout the contents of each jar during the pressure canning cycle. It is vital to note that you must never pack raw meat for this recipe, as it has been specifically tested and approved for safety as a hot pack method only. Deviating from this could compromise the safety of your home-canned product.
As formulated, this recipe yields a modest batch of 4 pint jars or 2 quart jars. For those looking to maximize their canning efficiency and fill a full canner load, we highly recommend doubling or even tripling the recipe. This strategy allows you to produce a larger quantity of delicious, shelf-stable goulash with minimal additional effort.
To safely preserve your goulash, process pint jars for 75 minutes and quart jars for 90 minutes. For weighted gauge canners, maintain a pressure of 10 pounds. For dial gauge canners, maintain a pressure of 11 pounds. Always remember to adjust these pressures according to your specific altitude, as detailed in the comprehensive altitude adjustments section below, to ensure proper sterilization.
Crucial Altitude Adjustments for Pressure Canning Goulash
When pressure canning, it’s critical to understand that while processing times remain constant regardless of elevation, the required pressure must be adjusted at higher altitudes. This ensures that the internal temperature within the canner reaches a safe level to sterilize low-acid foods like goulash. Please refer to these guidelines for safe pressure canning goulash at various altitudes:
For users of dial gauge pressure canners:
- From 0 to 2,000 feet in elevation: Maintain 11 lbs pressure
- From 2,001 to 4,000 feet in elevation: Maintain 12 lbs pressure
- From 4,001 to 6,000 feet in elevation: Maintain 13 lbs pressure
- From 6,001 to 8,000 feet in elevation: Maintain 14 lbs pressure
For users of weighted gauge pressure canners:
- From 0 to 1,000 feet in elevation: Use a 10 lbs weighted gauge
- Above 1,000 feet in elevation: Use a 15 lbs weighted gauge (the only option for weighted gauges at higher altitudes)
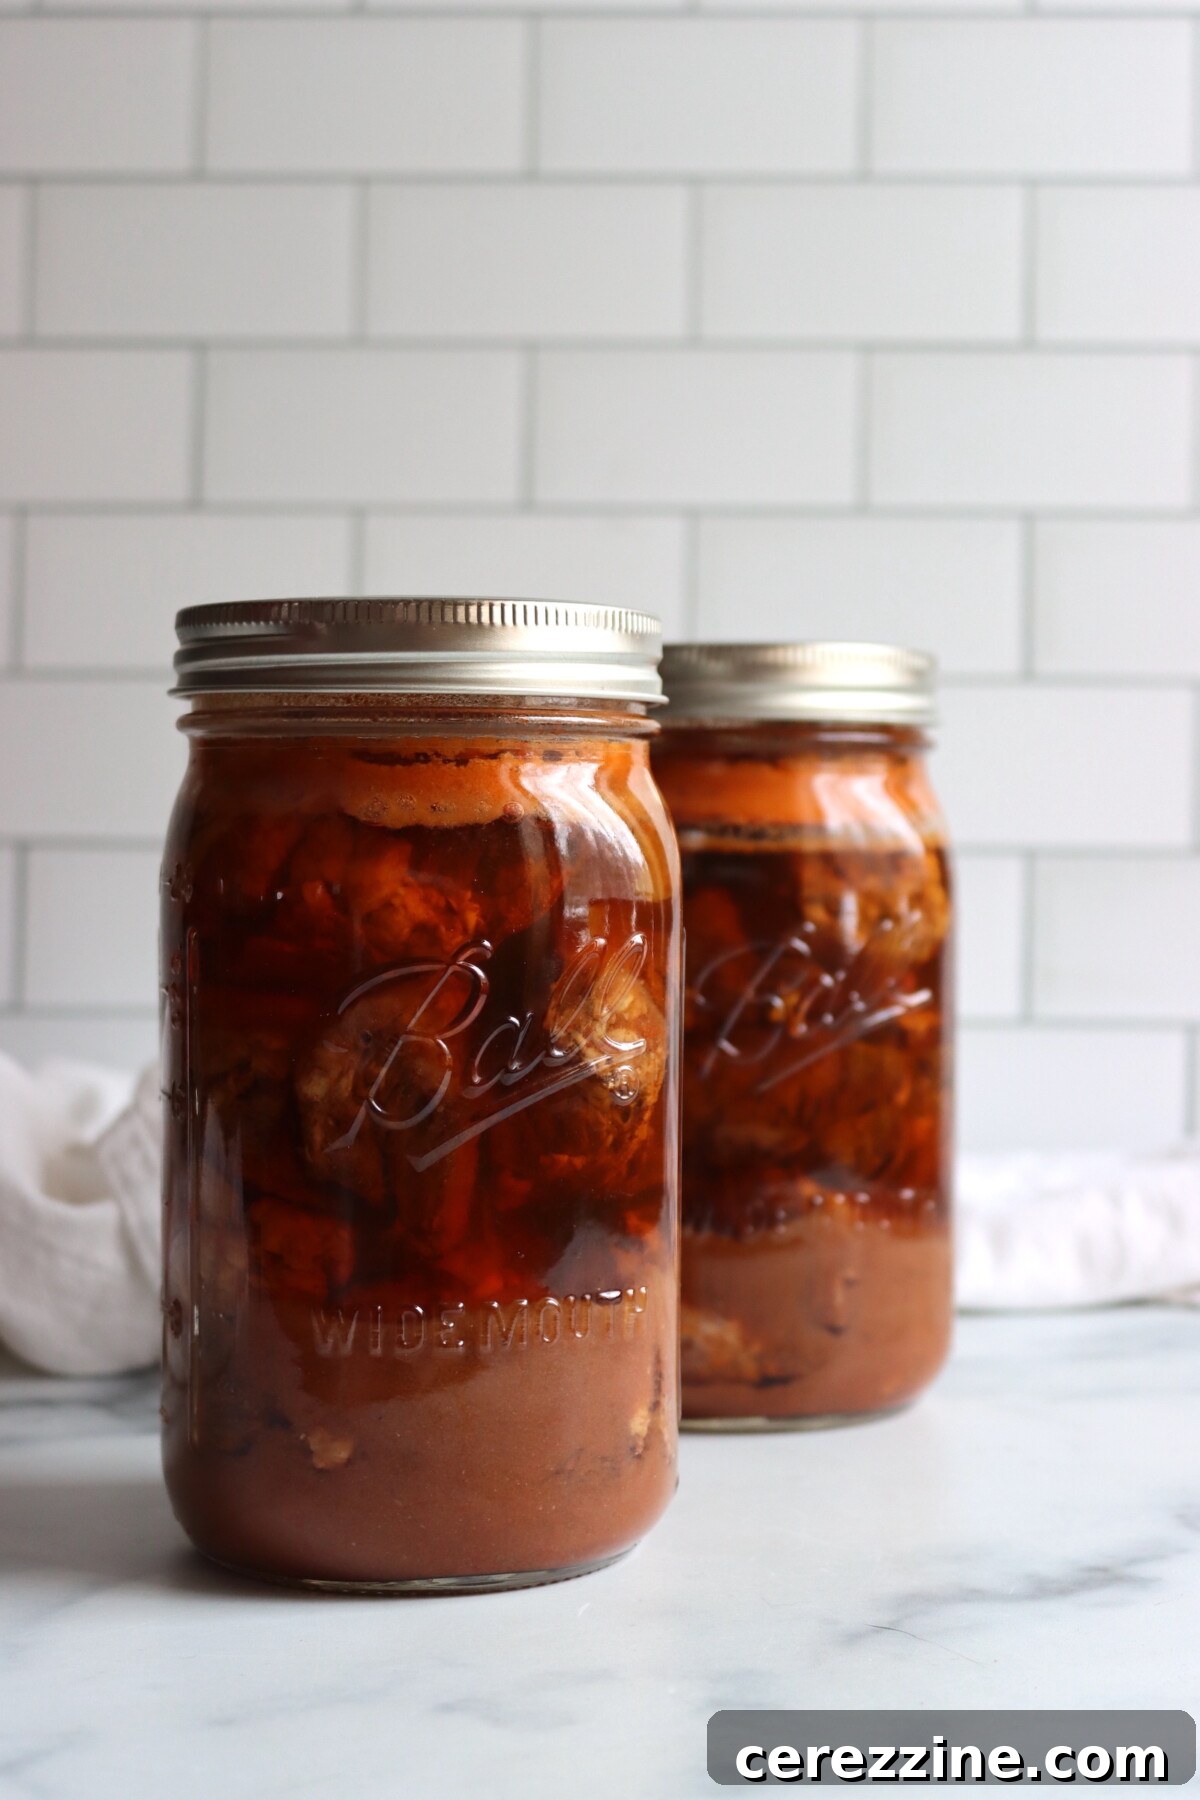
Delightful Serving Ideas for Your Canned Goulash
The beauty of home-canned goulash lies in its versatility and convenience. Traditionally, goulash is cherished as a rustic, broth-based dish, simply ladled into a deep bowl and served alongside a thick, crusty slice of bread. This humble presentation allows the rich, paprika-infused broth and tender meat to be the undisputed stars of the meal, offering a profoundly simple yet incredibly satisfying dining experience.
However, the serving possibilities for your preserved goulash extend far beyond tradition. If you desire a more substantial and hearty meal, consider adding a few homemade dumplings directly to the pot during reheating, allowing them to cook and soak up the flavorful broth. Alternatively, serving the goulash over a bed of fluffy egg noodles or wide pasta ribbons provides an excellent textural contrast and a more filling meal.
For those who enjoy a less traditional approach, the broth from your canned goulash can be transformed into a thicker, more gravy-like consistency. Simply prepare a simple slurry of flour or cornstarch mixed with a little cold water, and stir it into the simmering goulash after opening. This thickened goulash is absolutely wonderful served over creamy mashed potatoes, providing a comforting and classic pairing. It also pairs beautifully with a bed of gently braised cabbage and onions, offering a delightful European-inspired meal. For an incredibly quick one-pot solution on a busy evening, you can even toss in some macaroni or other small pasta shapes directly into the simmering goulash after opening, allowing it to cook right in the rich broth. While this variation might lean closer to Beef Stroganoff in style, its unique spice profile ensures it remains a distinct and utterly delicious meal.
Ultimately, for the ultimate in convenience, a jar of your home-canned goulash can simply be heated on the stovetop and served as is. It is fully cooked, perfectly seasoned, and ready to eat with minimal effort, embodying the very essence of why we dedicate time to preserving these wholesome meals for our pantry.
Frequently Asked Questions About Canning Goulash
Yes, absolutely! While the original Ball Blue Book recipe uses vegetables primarily as flavor agents and suggests removing them before canning, it is perfectly safe to leave them in the jars. This flexibility is supported by the University of Alaska Cooperative Extension Hearty Soups Protocol, which is a tested and approved guideline for pressure canning mixed meat and vegetable recipes. The key safety requirement is to ensure that all solid ingredients, including the vegetables, remain completely submerged under the broth and that you maintain the correct 1-inch headspace in each jar.
Indeed, pork is an excellent and perfectly acceptable alternative to beef in this goulash recipe. The Bernardin Guide to Home Preserving specifically highlights pork leg roast as a fantastic option due to its flavor and texture when canned. Any stewing cut of pork will yield delicious results. Furthermore, this recipe’s guidelines are versatile enough to accommodate other red game meats, such as venison, bison, or elk, allowing you to customize the goulash to your preferences or available ingredients.
When it comes to adding other vegetables, there are specific guidelines to follow for safety. Under the tested Hearty Soups Protocol, you can safely incorporate most firm vegetables, including diced potatoes, additional carrots, celery, corn, and green beans, provided they remain fully submerged in the broth. However, it is critical to avoid certain ingredients before canning, as they can interfere with safe heat penetration. These include pureed vegetables, sweet potatoes, winter squash, dry beans, pasta, rice, any kind of thickener (like flour or cornstarch), dairy products, or cured meats. These should only be added at the time of serving, after the jar has been opened and the goulash reheated.
Goulash, by its very nature, contains meat and low-acid vegetables, which means it absolutely requires pressure canning for safe preservation. Foods that are low in acid, like meats, poultry, and most vegetables, can harbor harmful bacteria, specifically Clostridium botulinum, which produces a deadly toxin if not destroyed. Water bath canning, which operates at temperatures below boiling point, does not reach high enough temperatures to safely eliminate these bacteria and their spores. Pressure canning, on the other hand, achieves the much higher temperatures (typically 240°F/116°C and above) necessary to safely process low-acid foods. Therefore, for the safety and well-being of you and your family, this goulash recipe must always be made using a proper, functioning pressure canner.
Explore More Beef Canning Recipes
Canning Beef Stew with Mushrooms
Canning Hungarian Goulash
Canning Vegetable Beef Stew
If you tried this Canning Goulash recipe, or any other recipe on Creative Canning, leave a ⭐ star rating and let me know what you think in the 📝 comments below!
And make sure you stay in touch with me by following on social media!
- Substack
Canning Goulash
This pressure canned goulash recipe, thoughtfully adapted from the Ball Blue Book of Canning, promises a deeply satisfying, paprika-rich flavor in every jar. The beef is meticulously browned and then slow-simmered with aromatic vegetables and a classic spice blend, creating a tender, flavorful base before being packed into pints or quarts for your pantry. It represents a hearty, shelf-stable meal, ready to be heated and served on any day of the week, offering both convenience and homemade goodness.
Servings: 8 servings (makes 4 pints or 2 quarts)
Prep Time: 45 mins
Cook Time: 1 hr
Canning Time: 1 hr 30 mins
Total Time: 3 hrs 15 mins
Equipment
- Pressure Canner
- Large heavy-bottomed pot
- Large frying pan
- Canning jars (pint or quart size)
- Lids and bands
- Cheesecloth and kitchen twine
- Debubbler tool
Ingredients
For the Goulash:
- 4 lbs stewing beef or pork, such as beef chuck or round, cut into 2-inch cubes
- 2 to 4 Tbsp vegetable oil, as needed for browning meat, or other neutral oil
- 6 stalks celery, halved lengthwise
- 4 large carrots, peeled and halved lengthwise
- 3 medium onions, peeled and halved root-end intact
- 3 tbsp paprika, Hungarian paprika preferred
- 1 tbsp salt, see notes below for adjustment
- 2 tsp mustard powder
- 20 whole peppercorns
- 3 whole bay leaves
- 2 tsp caraway seeds, optional
- 4 cups water
- 1/4 cup vinegar, any type
Instructions
- Prepare your pressure canner, jars, lids, and bands according to the manufacturer’s instructions. Keep jars hot until needed.
- Wash and halve the celery stalks lengthwise, peel and halve the carrots, and halve the onions root-end intact so they hold their shape. Bundle the peppercorns, bay leaves, and caraway seeds in a piece of cheesecloth tied with kitchen twine to make a spice bag. Set aside.
- Combine the paprika, salt, and mustard powder in a small bowl. Toss the meat cubes with the spice mix in batches until evenly coated. Heat some of the oil in a large heavy-bottomed pan over medium-high heat and brown the meat in batches, adding more oil as needed. Transfer each batch to a large pot with the prepared vegetables as it finishes.
- Deglaze the frying pan with the water, scraping up all the browned bits from the bottom, and pour that liquid into the pot. Add the spice bag and vinegar. Bring to a boil, then reduce heat and simmer covered for about 1 hour until the meat is just tender but not falling apart. Alternatively, pressure cook on high for 7 to 10 minutes.
- Remove the spice bag. Remove and discard the vegetables, or leave them in if following the Hearty Soups Protocol. Ladle the hot goulash into prepared jars, making sure each jar has a good balance of meat and broth. Top with boiling water if needed. Leave 1 inch headspace. Remove air bubbles, wipe jar rims, and apply lids and bands to fingertip tight.
- Load jars into the preheated pressure canner. Lock the lid, vent for 10 minutes, then bring to pressure. Process pints for 75 minutes and quarts for 90 minutes, adjusting pressure for altitude. When processing is complete, turn off heat and allow canner to depressurize naturally. Wait a few minutes, then remove jars and cool on a towel-lined counter for 12 to 24 hours. Check seals, label, and store in a cool dark place.
Notes
Salt: This recipe calls for 1 tablespoon of salt for the full batch, which works out to about 3/4 teaspoon per pint jar. That’s slightly more salt than the standard 1/2 tsp per pint, but the recipe expects that you’ll “discard” the veggies, which will carry some of the salt with them. I find it comes out just about right as written, providing a balanced flavor. Remember, salt is included for seasoning only and can be reduced to suit your tastes; you can always adjust it at the table after opening your jars.
Yield: As written, this recipe yields 4 pints or 2 quarts. It is highly recommended to double or triple the recipe to make a full canner load, optimizing your time and effort. If you choose to include the vegetables in the jars, your overall yield will be slightly higher.
Vegetables: The Ball Blue Book instructs removing the large vegetables after cooking, as their primary role is to build flavor in the broth. However, keeping them in the jars is perfectly permissible and safe under the University of Alaska Cooperative Extension Hearty Soups Protocol, as long as they remain submerged in the liquid and proper headspace is maintained.
Paprika: For the most authentic flavor, Hungarian paprika is the preferred choice. However, Spanish paprika can be used as a suitable substitute if Hungarian is unavailable.
Vinegar: Any type of vinegar can be used in this recipe. Since this is a pressure canned recipe, the acidity level of the vinegar does not impact canning safety; it is included solely for flavor enhancement.
Meat: For beef, chuck, round, or any well-marbled stewing cut works exceptionally well, becoming wonderfully tender during the process. For pork, any stewing cut is suitable, with pork leg roast specifically noted for its excellent results in the Bernardin version of this recipe. This recipe is also adaptable for venison, bison, elk, or other game meats.
Storage: Store your sealed jars of goulash in a cool, dark pantry away from direct light and heat. For optimal quality and flavor, aim to use them within 12 to 18 months. Once a jar is opened, any remaining goulash should be refrigerated and consumed within a few days.
Altitude Adjustments (Detailed)
For dial gauge pressure canners:
- 0 to 2,000 feet in elevation: 11 lbs pressure
- 2,001 to 4,000 feet in elevation: 12 lbs pressure
- 4,001 to 6,000 feet in elevation: 13 lbs pressure
- 6,001 to 8,000 feet in elevation: 14 lbs pressure
For weighted gauge pressure canners:
- 0 to 1,000 feet in elevation: 10 lbs pressure
- Above 1,000 feet: 15 lbs pressure (use only the 15 lb weight)
Nutrition Information (Approximate per 1 cup serving)
Serving: 1 cup, Calories: 713kcal, Carbohydrates: 12g, Protein: 41g, Fat: 55g, Saturated Fat: 19g, Polyunsaturated Fat: 7g, Monounsaturated Fat: 22g, Trans Fat: 3g, Cholesterol: 161mg, Sodium: 1079mg, Potassium: 972mg, Fiber: 4g, Sugar: 4g, Vitamin A: 7481IU, Vitamin C: 6mg, Calcium: 102mg, Iron: 6mg
Please note: Nutrition information is automatically calculated and should only be used as an approximation. Actual values may vary based on specific ingredients and preparation methods.
Enjoyed this recipe? Leave a comment below!
Discover More Meal in a Jar Canning Recipes
Canning Boston Baked Beans
Canning Chili Con Carne
Canning Chicken Pot Pie Filling
Find the perfect recipe
Searching for something else? Enter keywords to find the perfect recipe!