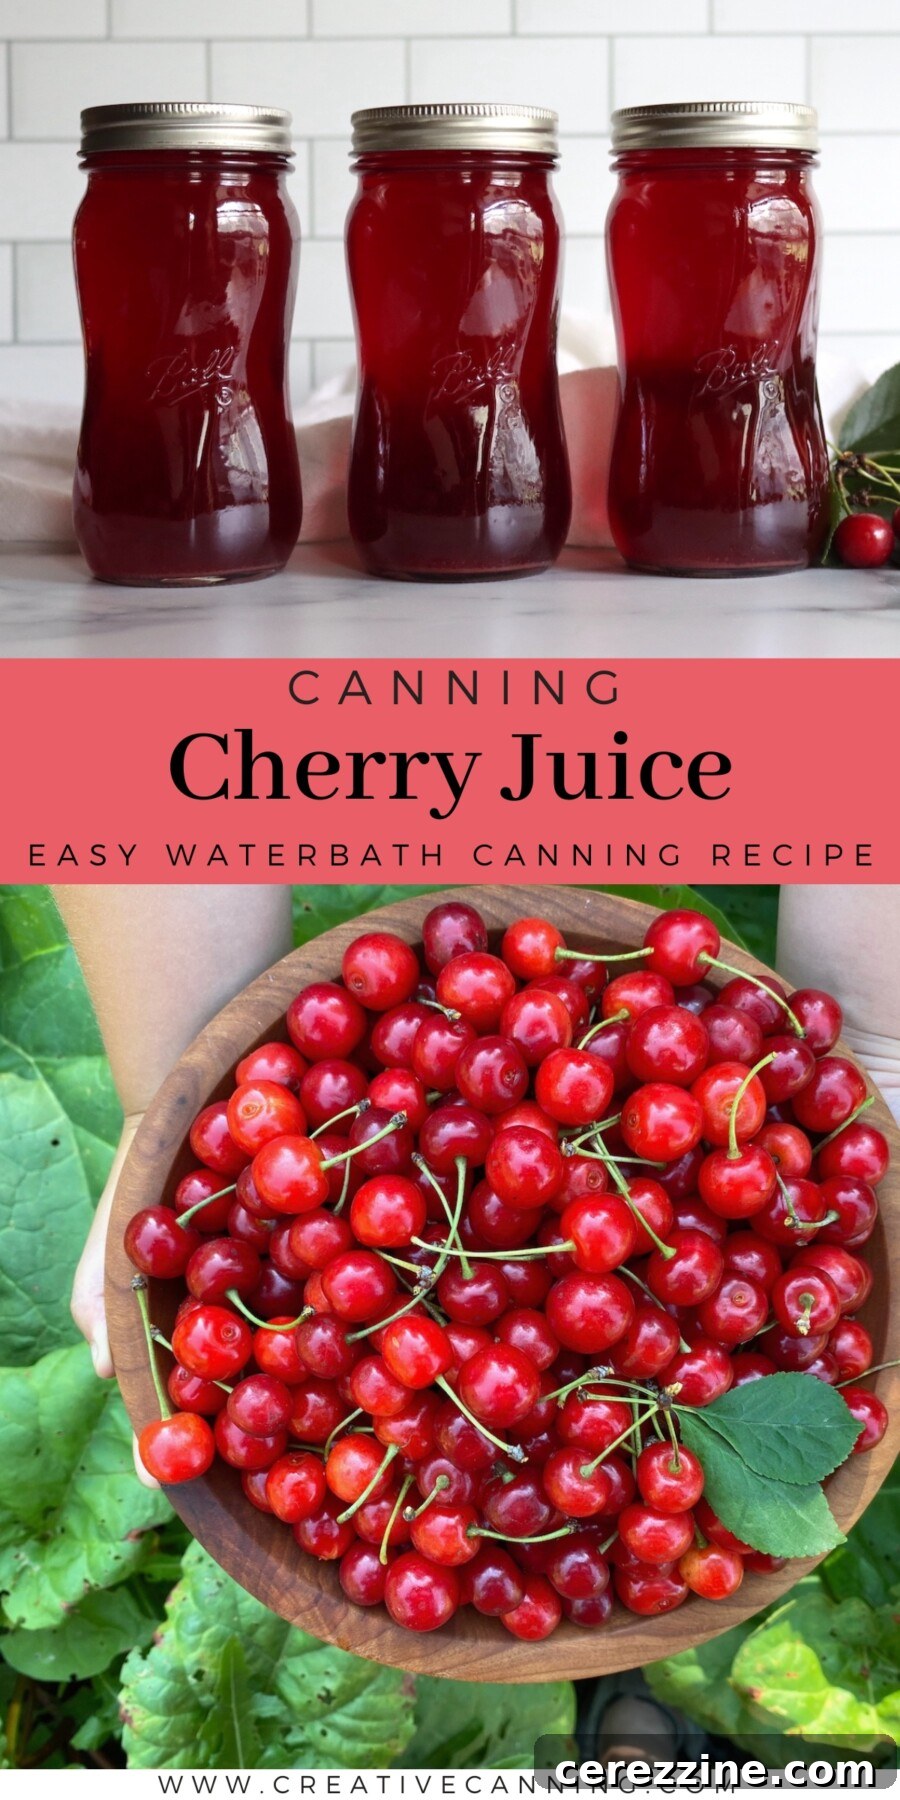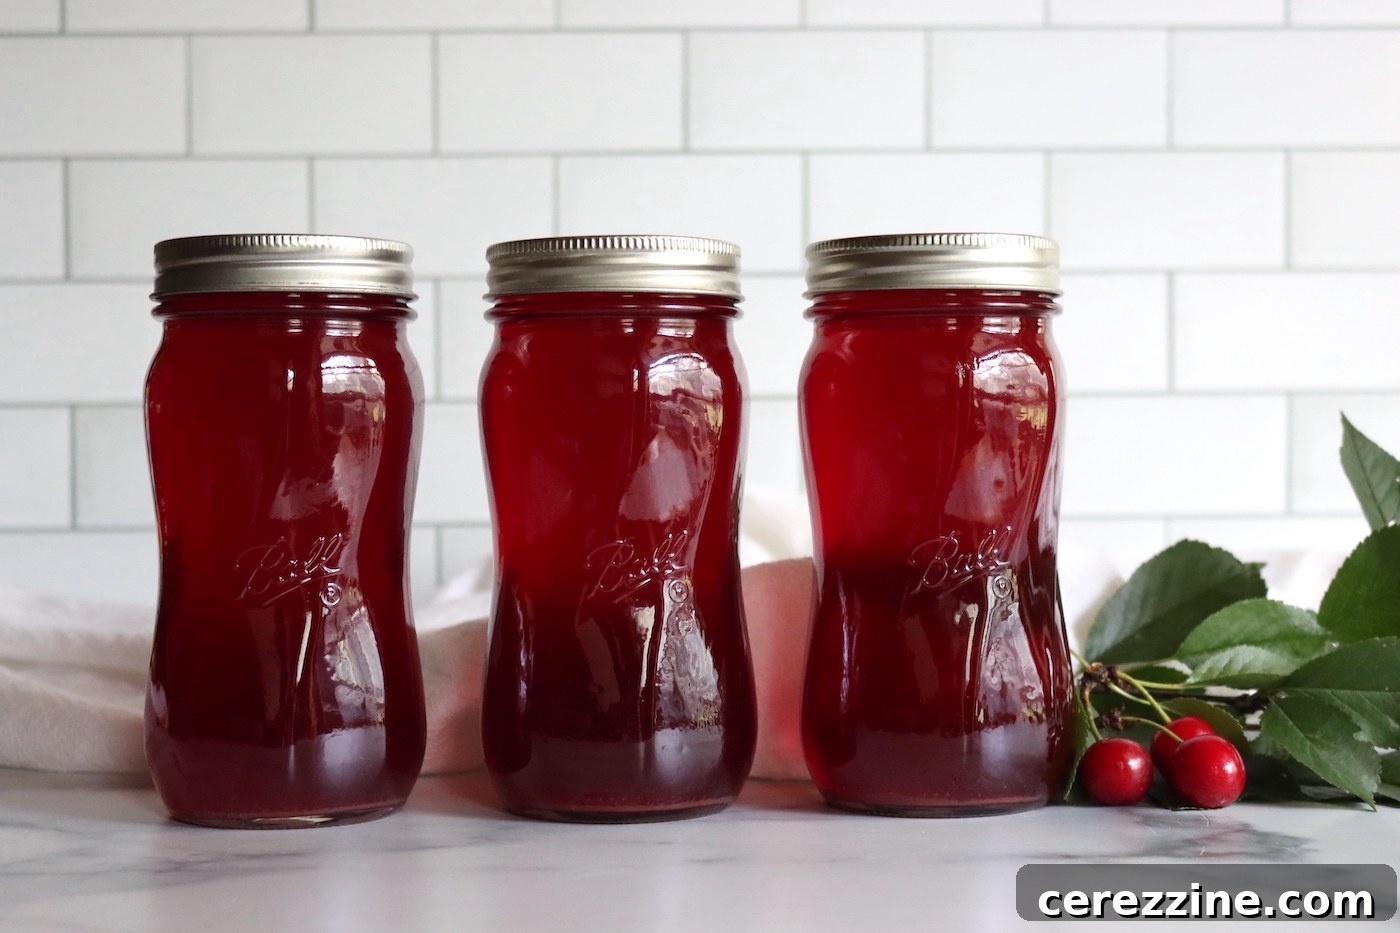
Canning Cherry Juice captures the bright, concentrated flavor of freshly picked cherries in a shelf-stable jar you can enjoy any time of year. Properly canned cherry juice stores easily and can be sipped straight, mixed into sparkling water for a quick soda, poured over ice, or used as a flavorful base in cocktails, sauces, or desserts.
This recipe has been reviewed for safety and accuracy by a Master Food Preserver certified through the University of Cornell Cooperative Extension.
Cherry season can arrive in a rush, and pitting every fruit is time consuming. Canning cherry juice is a simple solution: you cook cherries whole and strain the liquid, leaving pits and skins behind. It’s an efficient way to preserve a large harvest without extra labor, and it pairs well with other cherry canning projects like jelly or butter because the initial cook-and-strain step is the same.
Both tart (sour) and sweet cherries are suitably acidic to be processed safely in a boiling water bath, making this a straightforward home-canning project. Processing times follow standard guidance for canning fruit juices, so no pressure canner is needed. You can extract juice on the stovetop using a jelly bag or with a steam juicer; both methods yield drinkable juice, with the steam juicer giving the highest yield and the stovetop method requiring only common kitchen gear.
Notes from My Kitchen

When cherries ripen in abundance, juice becomes my go-to. I cook whole cherries, strain out the solids, and can the clear or slightly cloudy juice. I usually leave the juice unsweetened and sweeten per glass, which keeps it versatile for drinking or for use in recipes. Four pounds of cherries typically yields around two pints of juice, so I scale the process up to fill a full canner when I have a large harvest.
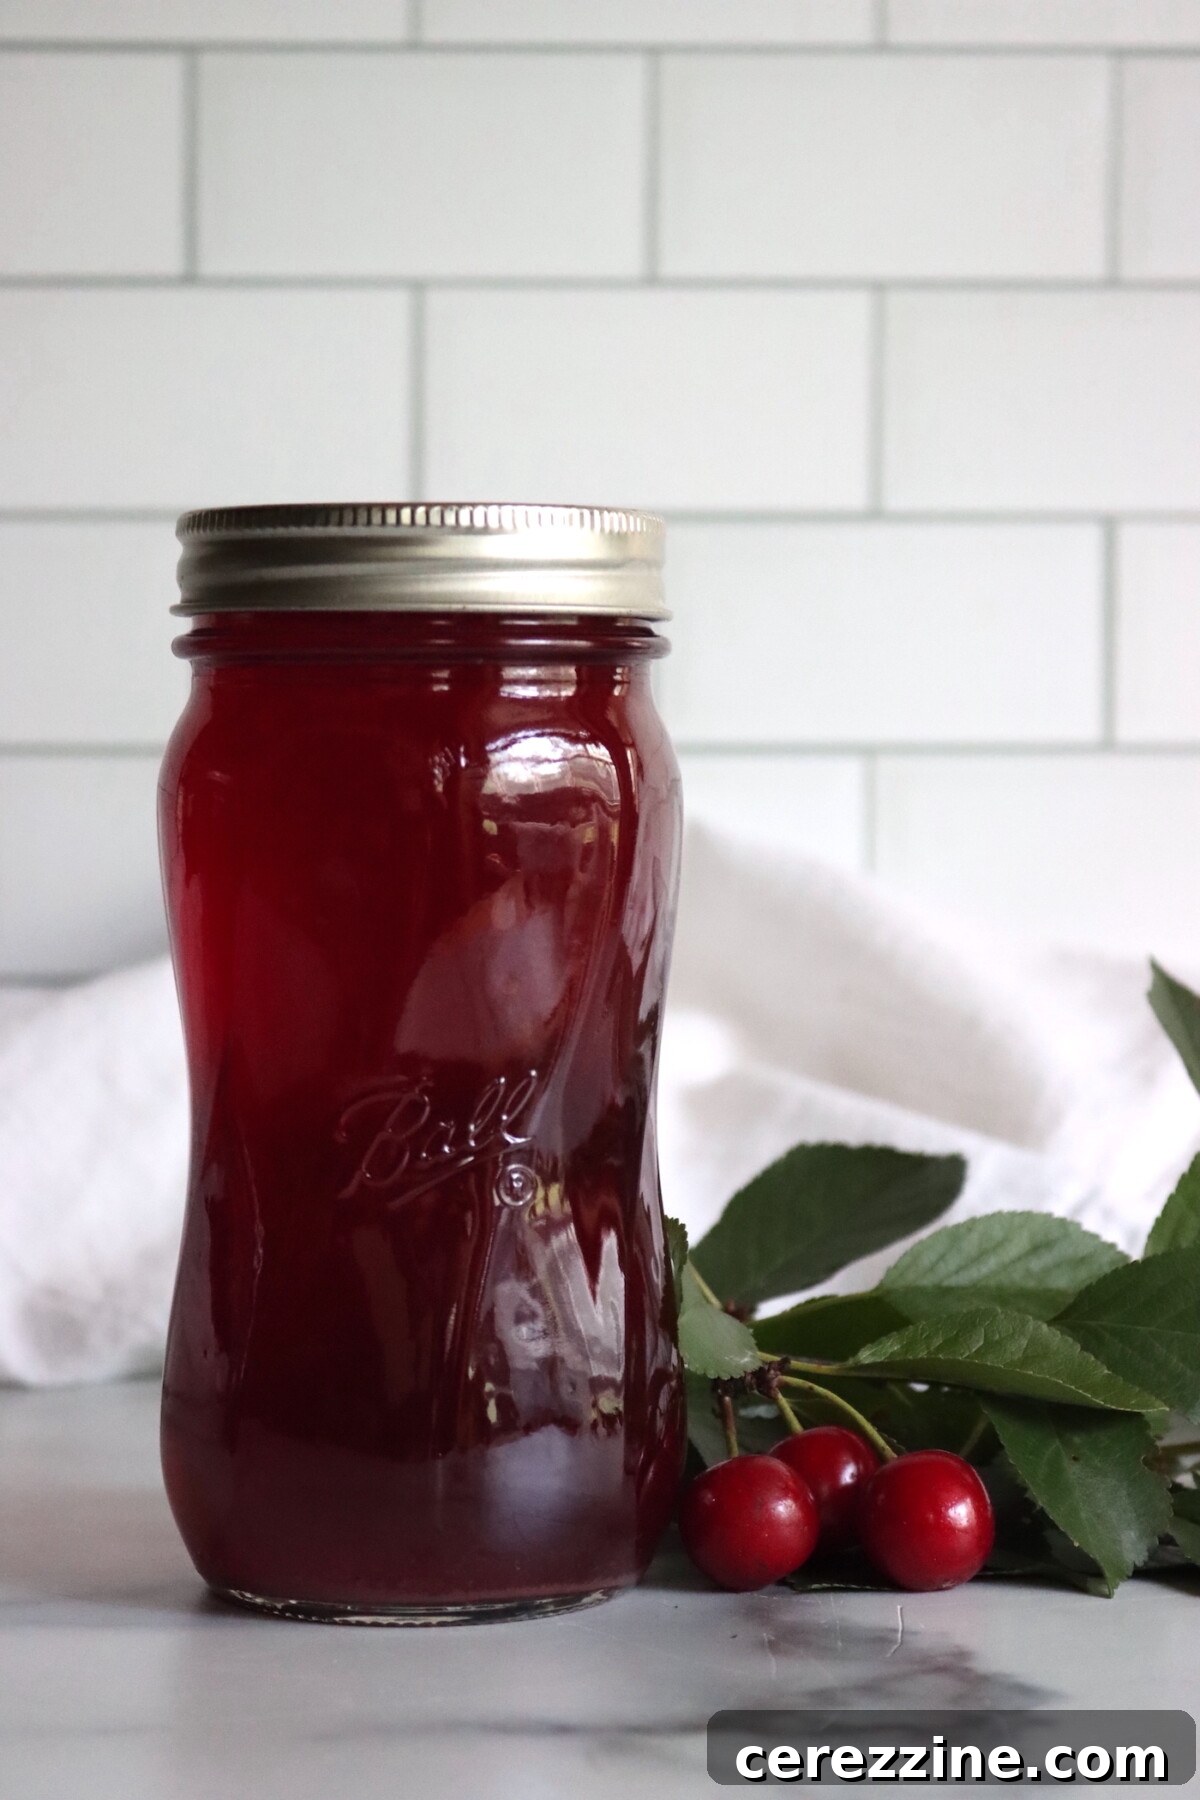
Quick Look at the Recipe
- Recipe Name: Canning Cherry Juice
- Recipe Type: Fruit Juice
- Canning Method: Waterbath Canning
- Prep/Cook Time: About 1 hour, most of it hands-off straining
- Canning Time: 10 minutes (adjust for altitude)
- Yield: About 2 pints per 4 pounds of cherries
- Headspace: 1/4 inch
- Jar Sizes: Pint or Quart
- Ingredients Overview: Cherries, water (stovetop method), sugar optional
- Difficulty: Easy
Cherry Juice Ingredients
The ingredient list is short. Cherries provide the flavor; a splash of water prevents scorching during stovetop cooking, and sugar is purely optional for sweetness.
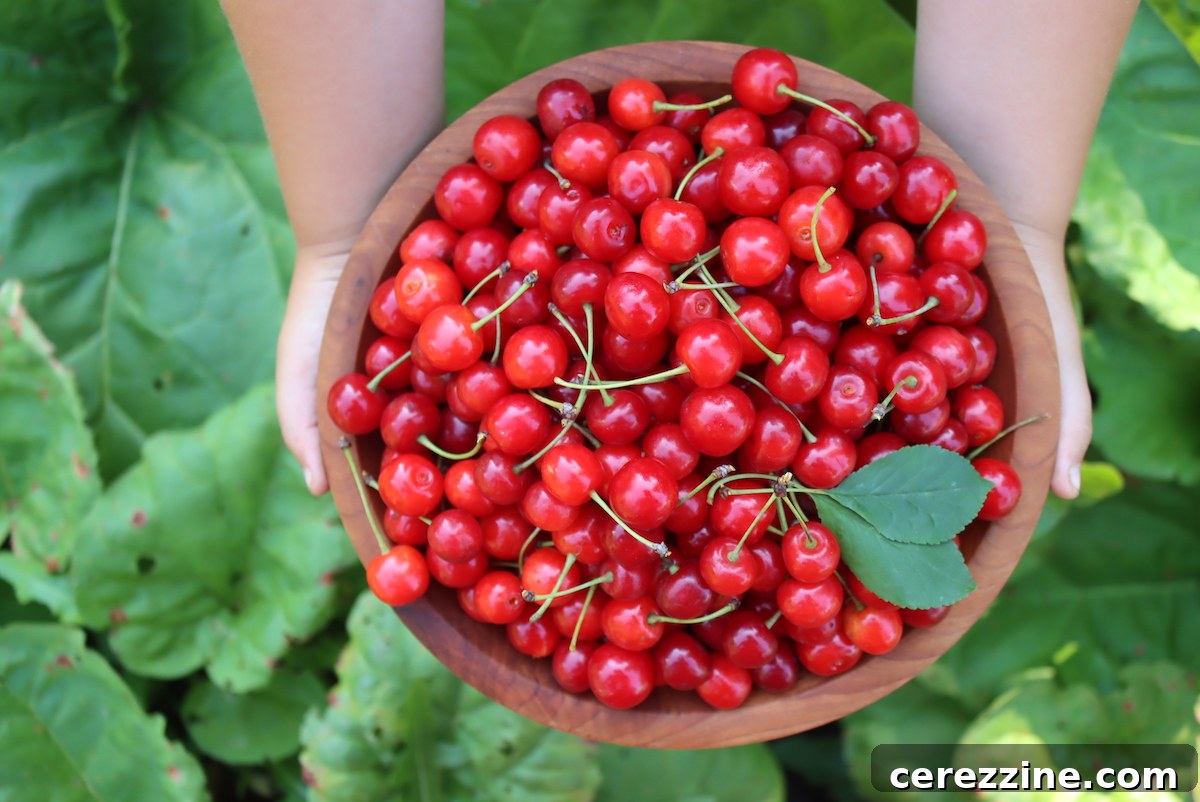
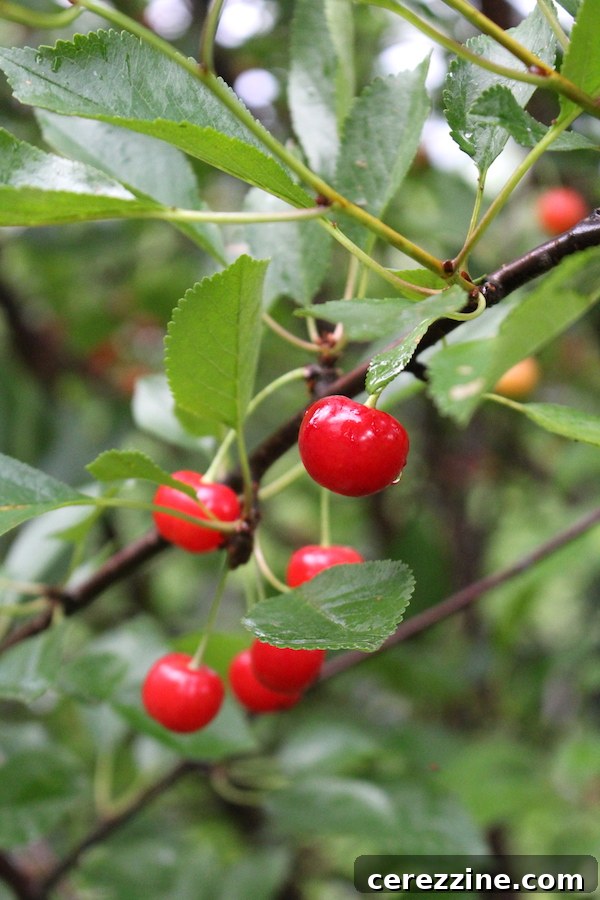
- Cherries: Tart cherries give the strongest flavor and acidity, but sweet, black, and Rainier varieties also work. The fruit is cooked whole, so pitting is not required.
- Water: One cup or so for the stovetop method to prevent scorching. A steam juicer requires no added water in the fruit chamber.
- Sugar: Optional, added to taste after straining if you prefer a sweetened juice.
Expect roughly 3 to 4 pounds of tart cherries to yield 4 cups of juice; sweet cherries may need closer to 4 pounds for the same yield. You may also substitute bottled tart cherry juice—dilute concentrate to regular strength before canning.
Sweeten It to Your Taste
Sugar is not required for safety. Both sour and sweet cherries are acidic enough to can as juice. Many people prefer to can it plain and add sweetener to individual glasses later. If using sweet cherries, 1 to 2 tablespoons of lemon juice can brighten the flavor.
When straining, you can choose clarity or yield. Letting the jelly bag drip without pressing produces a clearer juice. Pressing or squeezing the bag extracts more liquid but introduces more pulp and results in a cloudier product. Either approach is safe; choose based on the texture you prefer.
Yield Notes
Typical batch proportions:
- About 4 pounds of cherries cooked whole yields roughly 4 cups (about 2 pints) of juice.
- 1 cup water for the stovetop extraction only.
- Sugar to taste, optional.
Cherry juice scales easily—multiply the ingredients to fill a full canner or run multiple small batches back to back.
How to Make Cherry Juice
Begin with clean, firm cherries. Discard any that are overripe, bruised, or moldy. Because you cook and strain the fruit, there’s no pitting; pits and skins remain in the strainer or steam juicer chamber.
The process has two main stages: extract the juice, then heat and fill jars for canning. Follow these steps for a successful batch.
Extract the Juice on the Stovetop
Rinse cherries, place them whole in a saucepan or jelly pot with a cup of water, and cook over medium-high heat. Stir as the cherries soften and begin to burst, bring to a boil, then reduce heat, cover, and simmer about 10 minutes until most cherries have split and released their juice. Remove from heat and pour the cooked fruit into a jelly bag set over a bowl. Allow the juice to drip without squeezing for the clearest result. If you don’t have a jelly bag, use several layers of cheesecloth over a strainer.
Or Use a Steam Juicer
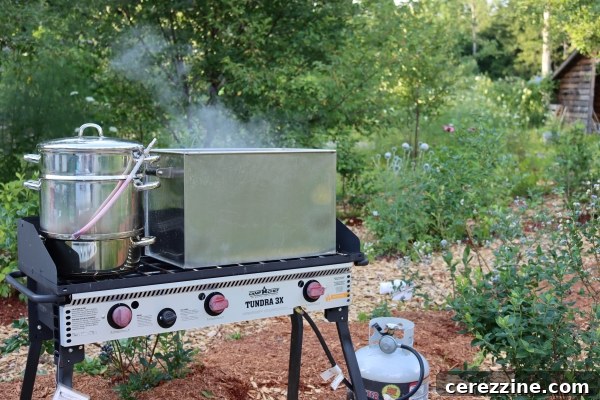
A steam juicer yields the greatest volume because it extracts nearly all available juice. Place cherries in the top basket and water in the lower reservoir, then steam for 45 to 60 minutes until juice collects in the middle chamber. The juice is already strained as it collects, so this method is ideal for larger batches.
Heat and Fill the Jars
Measure the strained juice into a clean pot. If you like it sweetened, add sugar to taste now and stir in 1 to 2 tablespoons of lemon juice if using sweet cherries. Heat until the juice just reaches a boil. Ladle the hot juice into hot, prepared jars, leaving 1/4 inch headspace. Wipe rims, center lids, and apply bands fingertip tight before processing.
Canning Cherry Juice
Set up a boiling water bath canner with jars, lids, and rings. Keep jars hot until filling. Process pints and quarts according to altitude: 10 minutes at sea level, 15 minutes between 1,001 and 6,000 feet, and 20 minutes above 6,000 feet. After processing, turn off the heat and let jars sit in the canner for 5 minutes, then remove and cool undisturbed for 12 to 24 hours. Check seals, refrigerate any unsealed jars, and store sealed jars in a cool, dark pantry. Once opened, refrigerate and use within a few days.
Alternatively, freeze the juice in freezer-safe containers with 1 inch headspace to allow for expansion.
Waterbath Canning Altitude Adjustments
Adjust processing times for altitude as follows:
- Under 1,000 feet: 10 minutes for pints and quarts
- 1,001 to 6,000 feet: 15 minutes for pints and quarts
- Above 6,000 feet: 20 minutes for pints and quarts
Serving Ideas
Canned cherry juice is delicious chilled on its own or poured over ice. Mix it with sparkling water for a quick cherry soda, combine with lemonade or iced tea for a refreshing twist, or freeze into popsicles. Use canned juice as the base for jelly, simmer it down with sugar into a syrup for pancakes and desserts, or incorporate it into cocktails and punches as the cherry component.
Cherry Juice FAQs
No. Cherry juice can be canned safely without sugar. Sweetening is a matter of preference; many people can it plain and add sweetener when serving.
No. The cherries are cooked whole and then strained, so pits and skins remain in the bag or juicer and do not go into the jars.
Yes. Sweet cherries, black cherries, and Rainiers all work—add a bit of lemon to balance sweet varieties if you like. Bottled tart cherry juice is also acceptable; dilute concentrate to normal strength before canning.
After you’ve canned juice, consider using cherries for jam, butter, or pie filling, and reserve some juice for making jelly later in the year. A single jar of canned cherry juice opens many culinary possibilities.
Cherry Canning Recipes
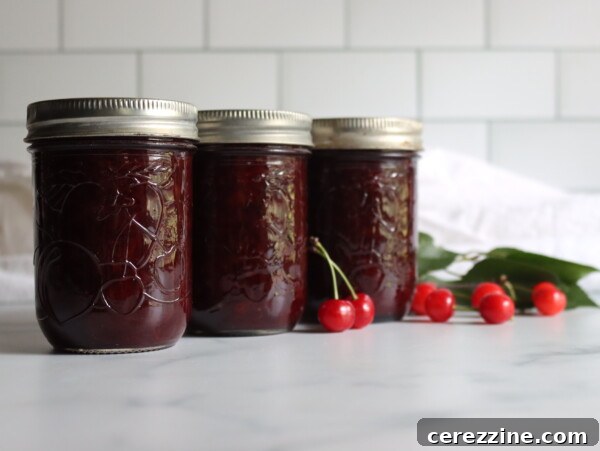
Sour Cherry Jam
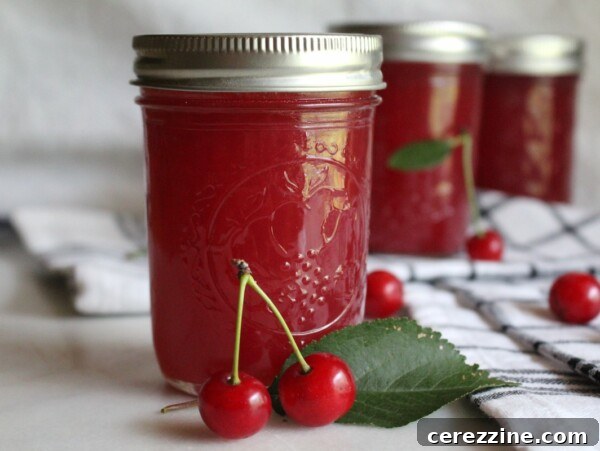
Cherry Jelly
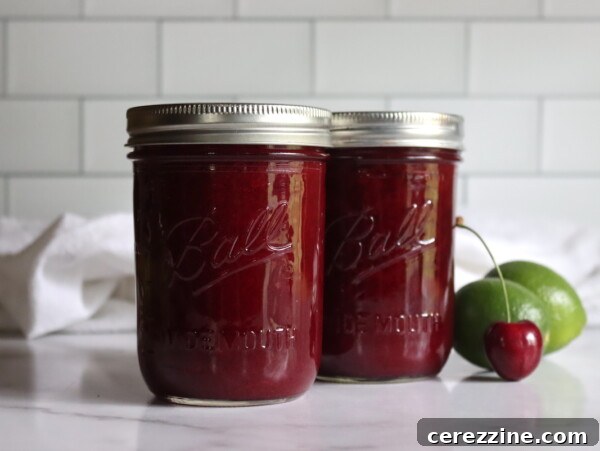
Cherry Limeade Concentrate
If you try this Cherry Juice recipe, please leave a star rating and a comment to share how it turned out. Your feedback helps others get the best results.
Canning Cherry Juice
Equipment
- Water Bath Canner
- Steam Juicer (optional) or stovetop pot
- Jelly Strainer with Bag or cheesecloth
- Canning Funnel
- Canning Jars, Lids and Bands
Ingredients
For the Juice:
- 4 pounds cherries, sour or sweet
- 1 cup water (stovetop method only)
To Taste (Optional):
- Sugar, to taste
- 1 to 2 Tbsp lemon juice (optional, for sweet cherries)
Instructions
- Rinse cherries. For the stovetop method, place them whole in a pot with a little water and cook over medium-high heat, stirring, until the juices burst. Bring to a boil, then cover and simmer until the cherries have released their juice.
- Pour the cooked cherries into a jelly bag set over a bowl and let the juice drip without squeezing for the clearest result. Alternatively, extract the juice with a steam juicer.
- Measure strained juice into a clean pot. Sweeten to taste and add lemon juice if desired, then heat until it just begins to boil.
- Ladle hot juice into prepared jars, leaving 1/4 inch headspace. Wipe rims, center lids, and apply bands fingertip tight.
- Process in a boiling water bath for the recommended time by altitude (see notes). Turn off heat, let jars rest for 5 minutes in the canner, then cool 12 to 24 hours and check seals.
Notes
Yield: About 4 pounds of cherries yields roughly 4 cups (about 2 pints) of juice.
Straining: For clear juice, do not press the jelly bag; pressing increases yield but makes the juice cloudier.
Storage: Properly sealed jars keep up to one year on the pantry shelf. Refrigerate after opening. Unsealed jars should be refrigerated and used quickly. The juice may be frozen instead of canned—leave 1 inch headspace for expansion.
Altitude Adjustments: Process pints and quarts for 10 minutes under 1,000 feet, 15 minutes between 1,000 and 6,000 feet, and 20 minutes above 6,000 feet.
Nutrition
Nutrition information is an approximation.