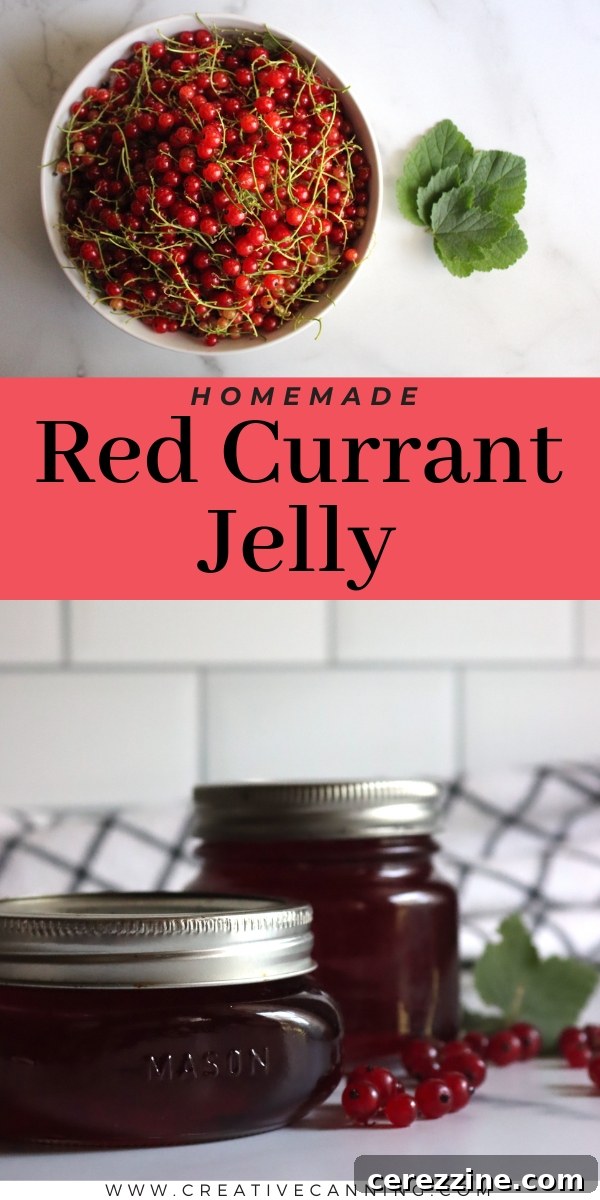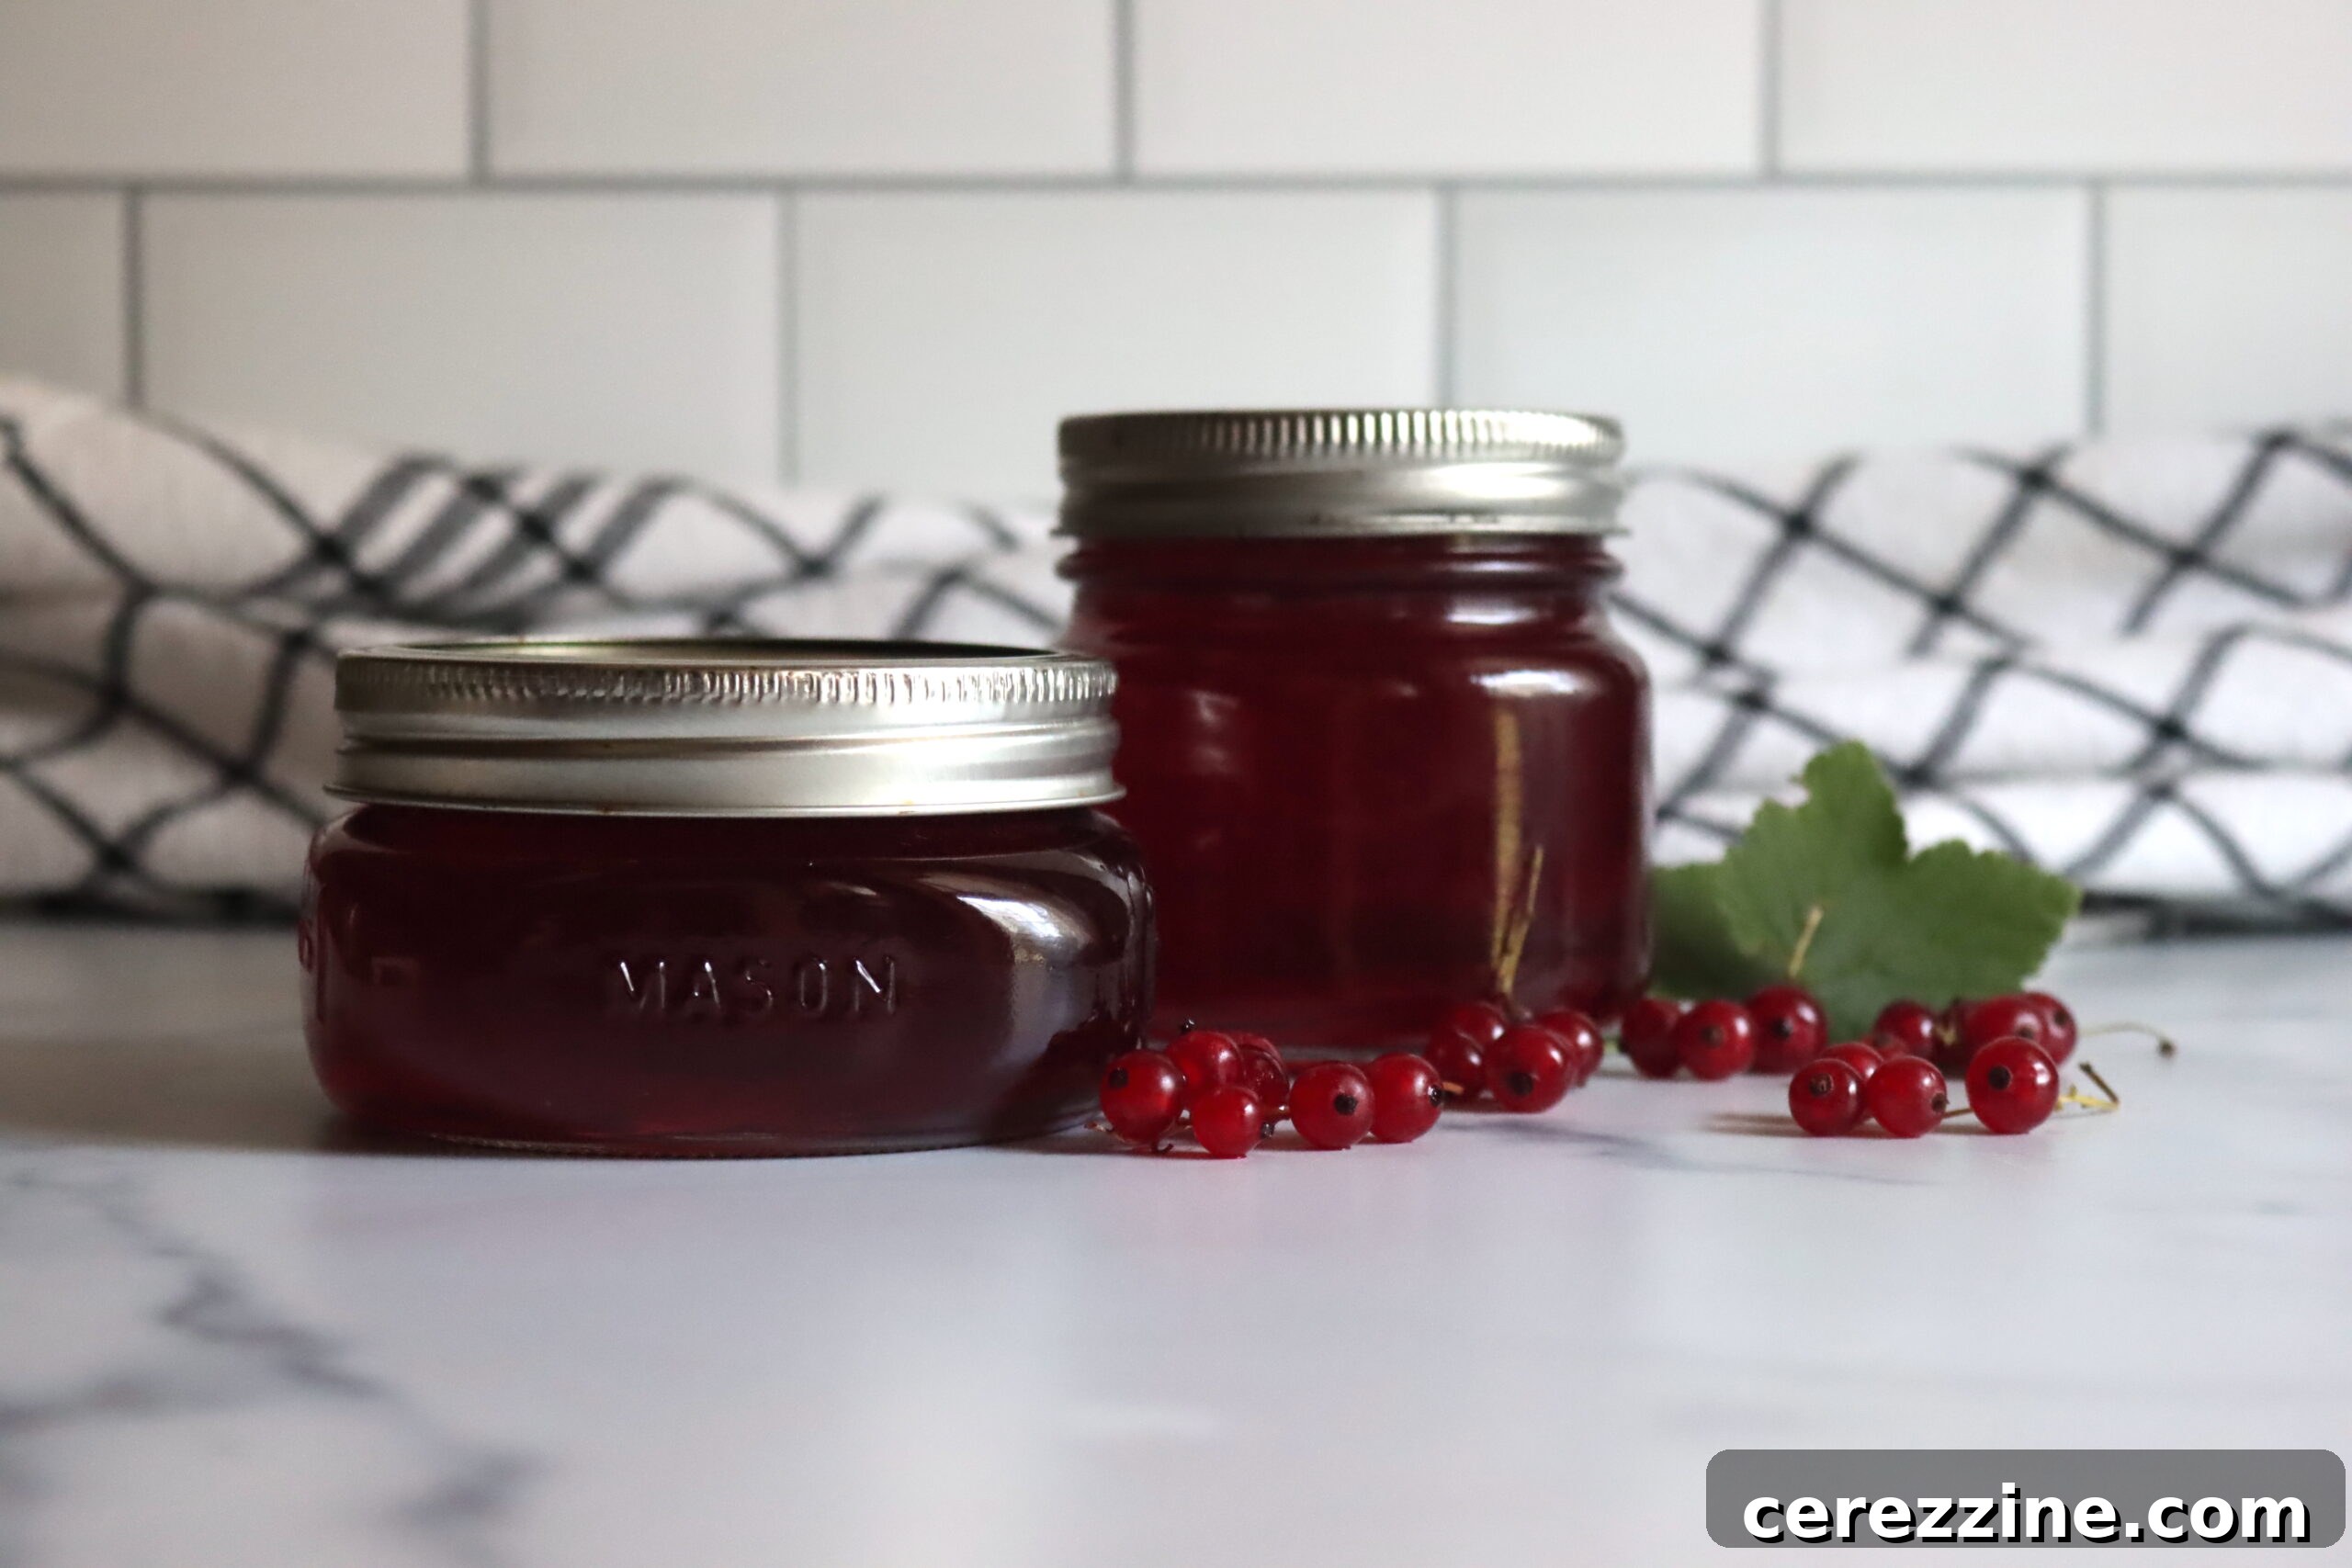
Delight in the rich tradition of homemade red currant jelly, a timeless preserve crafted with just two fundamental ingredients: luscious red currants and pure granulated sugar. This simple yet exquisite recipe brings the authentic taste of summer into your pantry, offering a naturally vibrant and tangy spread that’s a joy to make and savor.
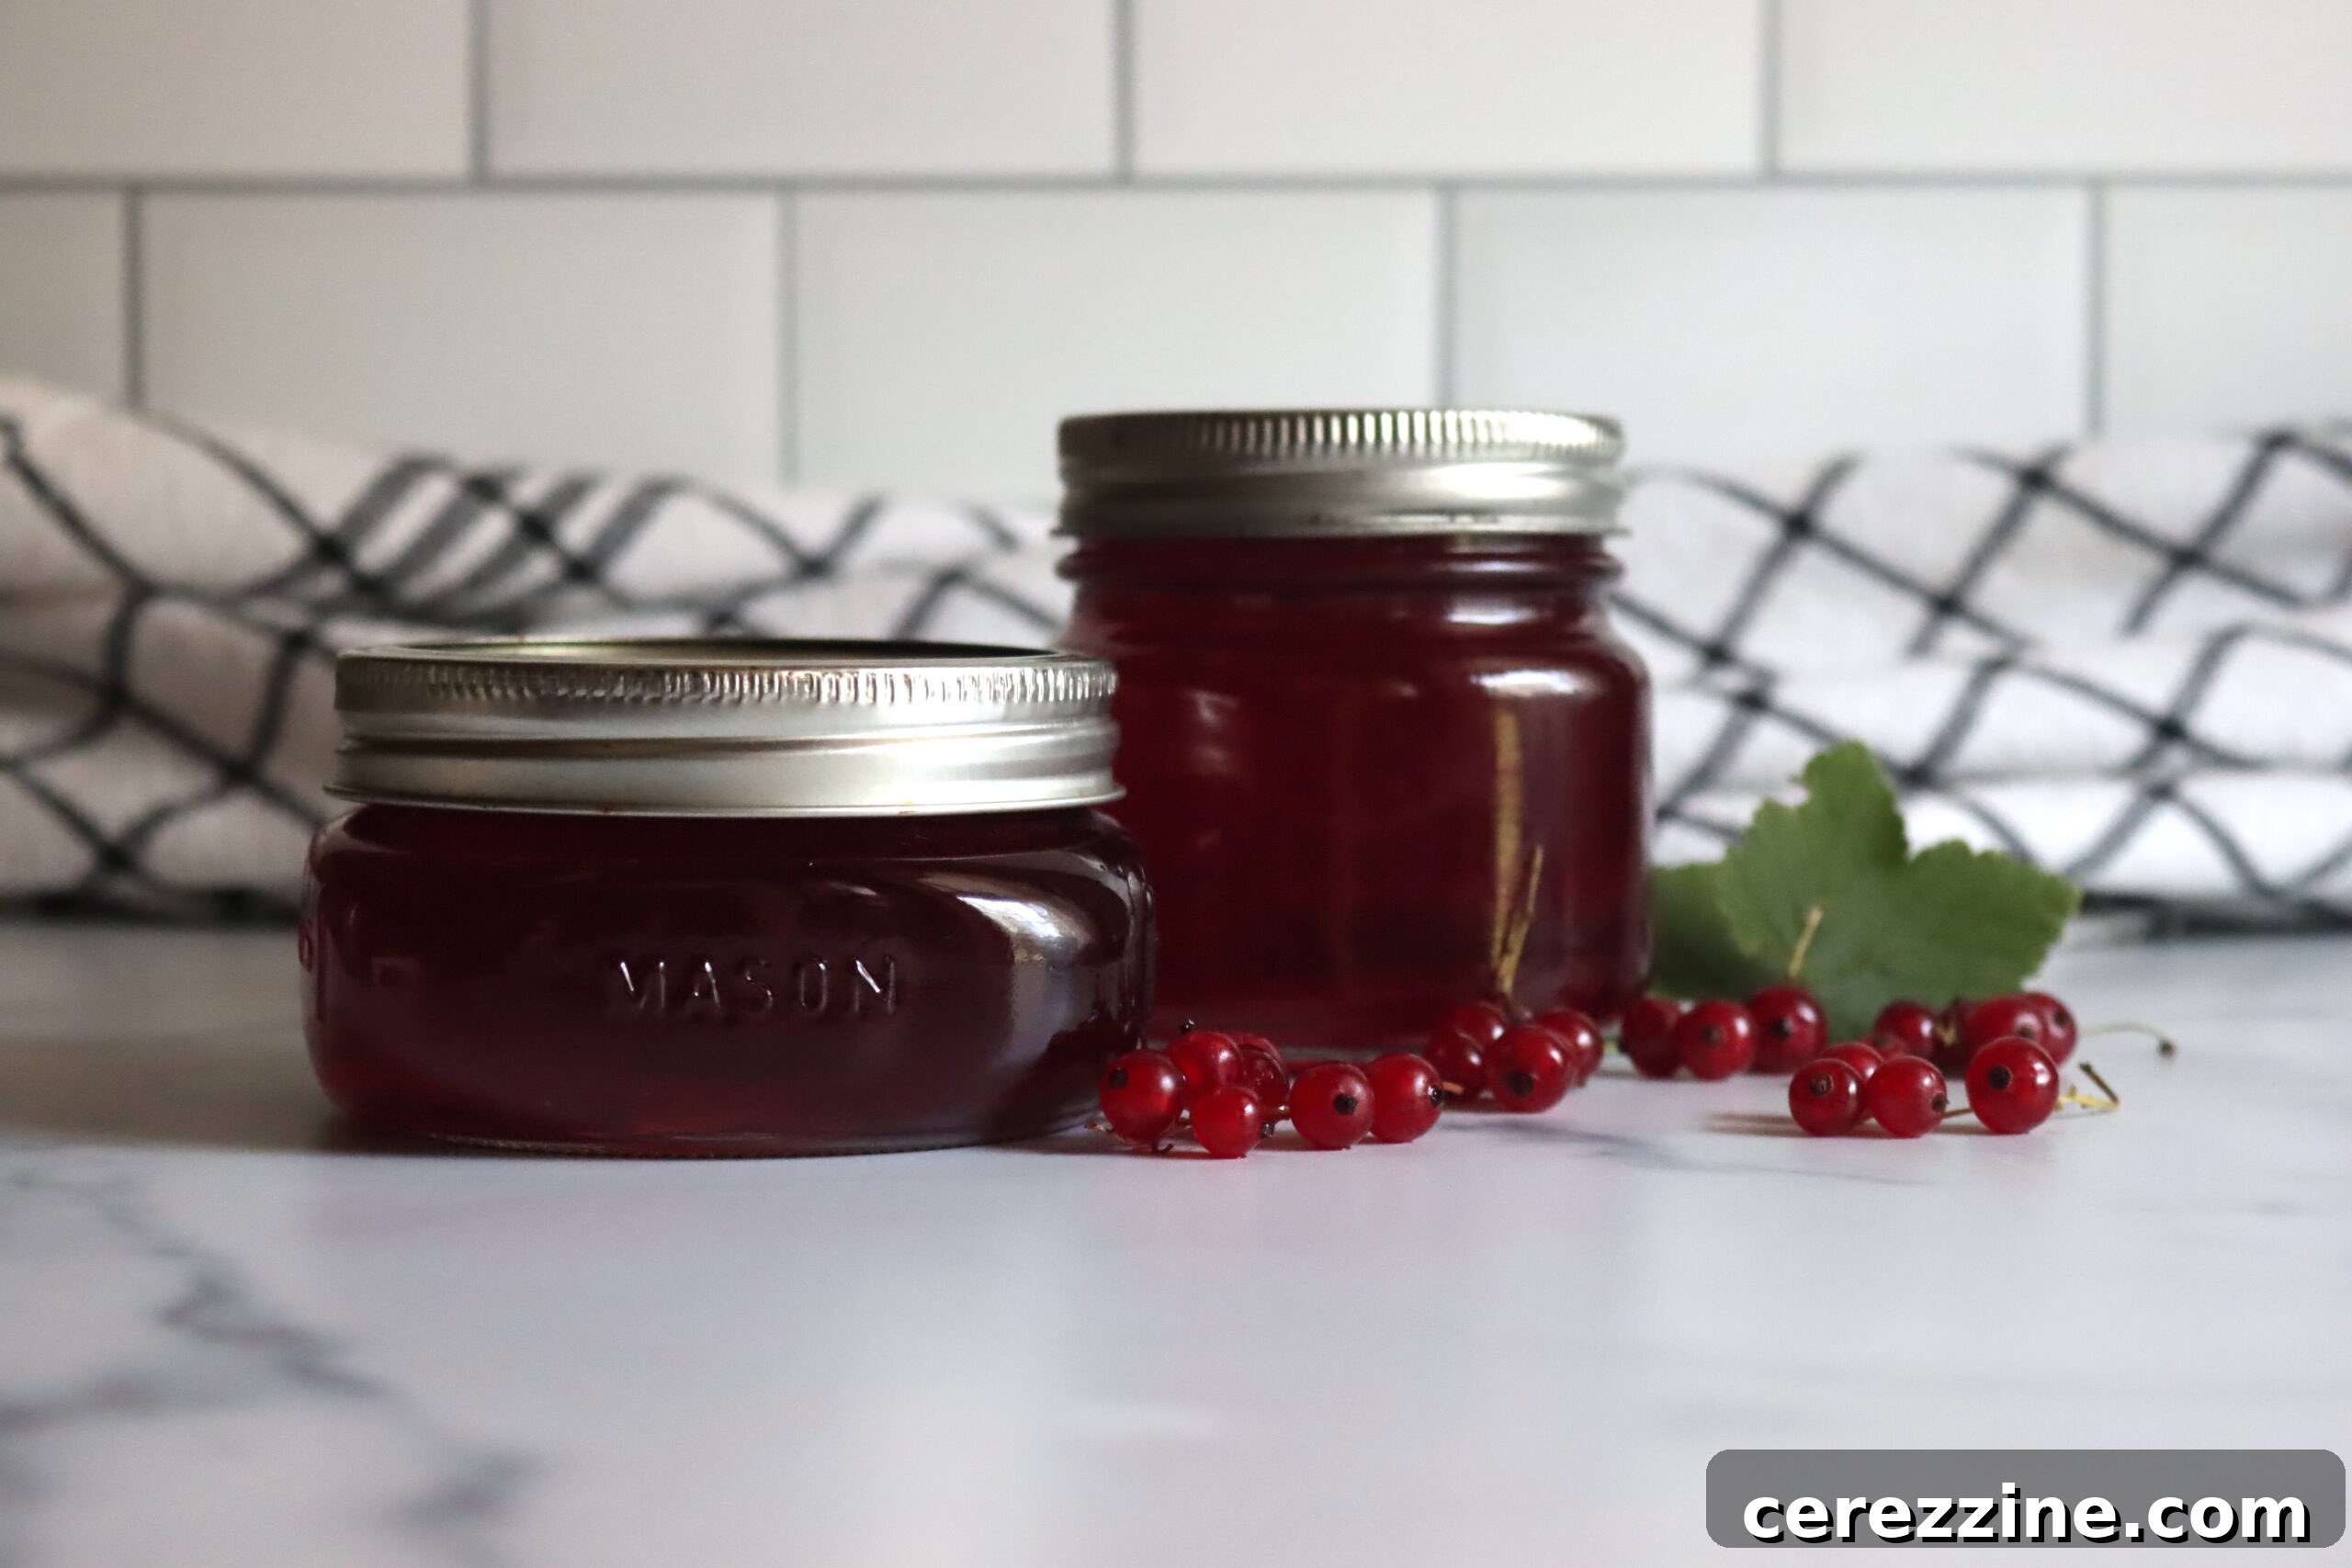
Unveiling the Timeless Charm of Homemade Red Currant Jelly
Red currants, with their striking ruby-red hue and naturally tart flavor, are a true gem of the early summer harvest. What makes these berries particularly perfect for jelly making is their exceptionally high pectin content. Pectin, a natural gelling agent found in many fruits, is abundant in red currants, eliminating the need for any added commercial pectin in this traditional recipe. This characteristic has made red currants a staple in preserving for centuries, allowing for a pure, unadulterated fruit flavor to shine through.
Historically, red currants were not only prized for their standalone jelly but also utilized to boost the gelling power of other early summer fruits. Strawberries and cherries, while delicious, often lack sufficient natural pectin to set a firm jelly or jam on their own. By combining their juices with that of red currants, home preservers could achieve a perfect set without relying on store-bought alternatives. You can still leverage this trick today, replacing up to half of the red currant juice with strawberry or cherry juice and still achieve a beautiful set. However, there’s an undeniable elegance and satisfying simplicity in preparing pure red currant jelly, celebrating the berry’s unique taste just as it is.
This “old-fashioned” approach to jelly making harkens back to a time when kitchens were bustling with the season’s bounty, transforming fresh produce into shelf-stable delicacies. There’s a profound satisfaction in stirring the fruit and sugar, watching it transform into a shimmering, jewel-toned jelly. Beyond its nostalgic appeal, homemade red currant jelly offers unparalleled freshness and flavor compared to store-bought options. It’s a testament to the fact that sometimes, the simplest recipes yield the most extraordinary results.
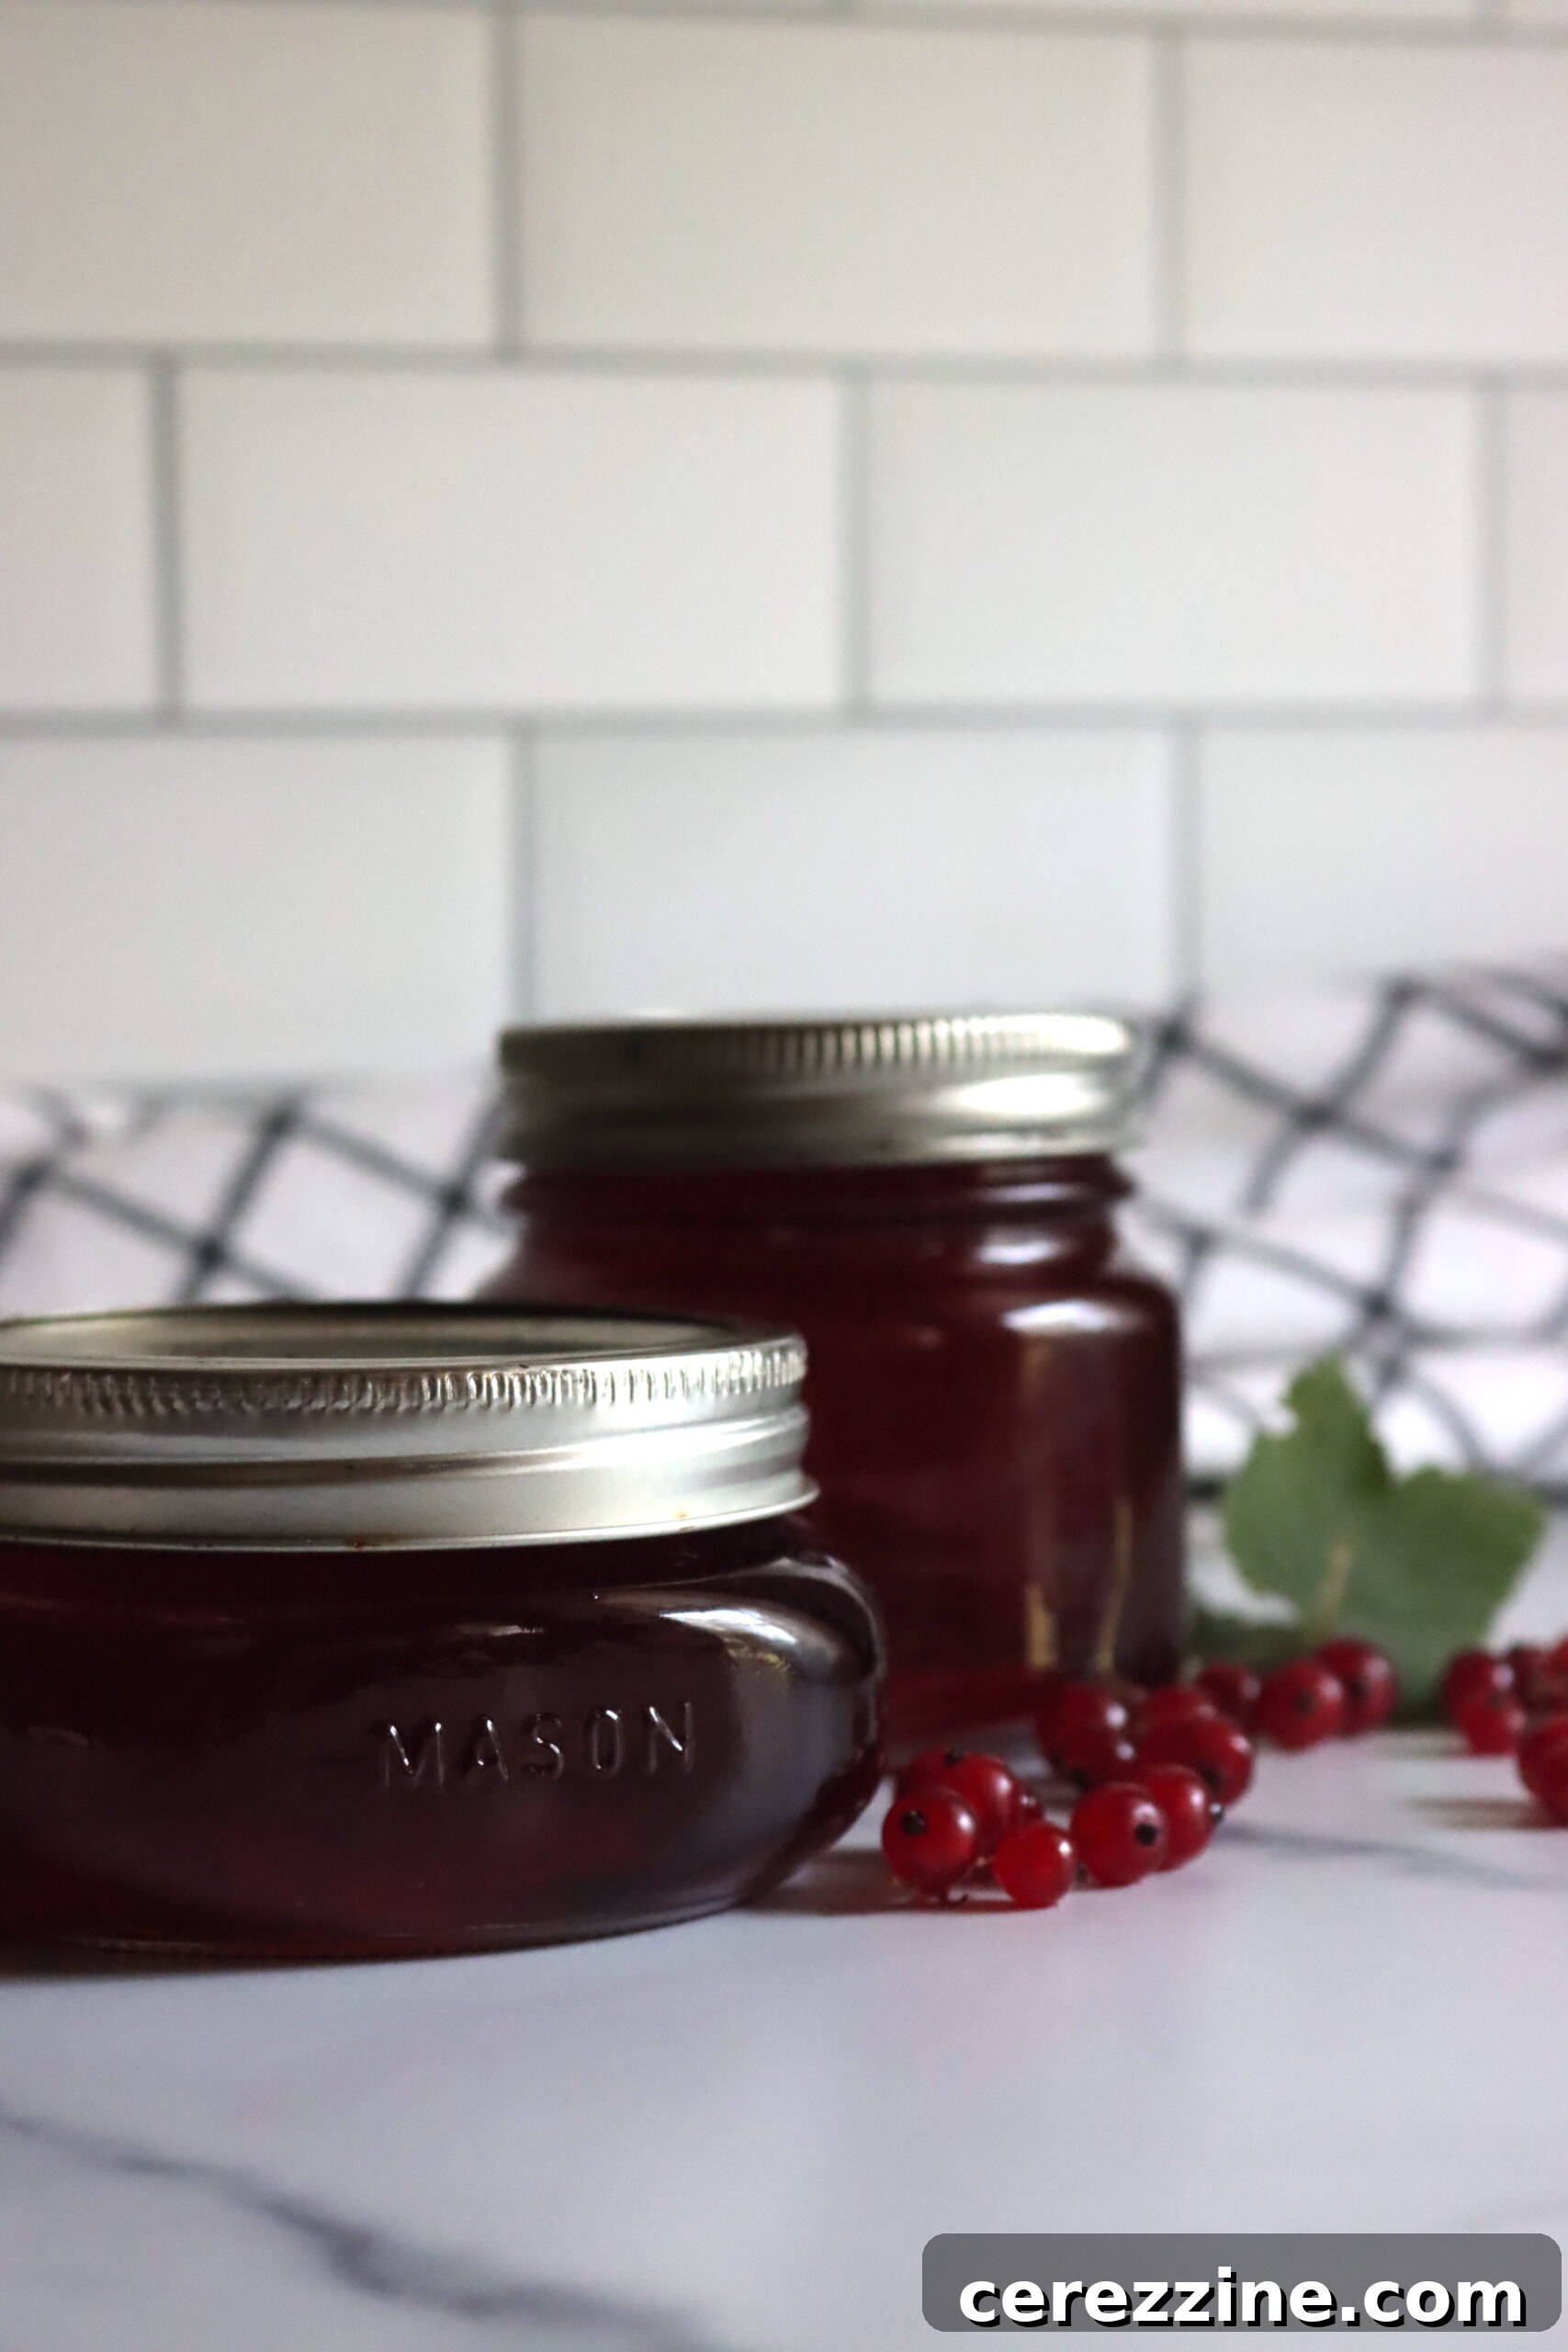
Essential Ingredients for Crafting Your Perfect Red Currant Jelly
Creating a batch of exquisite red currant jelly requires a surprisingly minimal ingredient list. For approximately 5 to 6 half-pint (8-ounce) jelly jars, you will only need these core components, allowing the natural goodness of the fruit to take center stage:
- 4½ lbs. fresh red currants
- 3 cups water
- 4 to 5 cups granulated sugar
- Juice of 1 lemon (optional, but highly recommended)
Choosing the Best Red Currants for Jelly
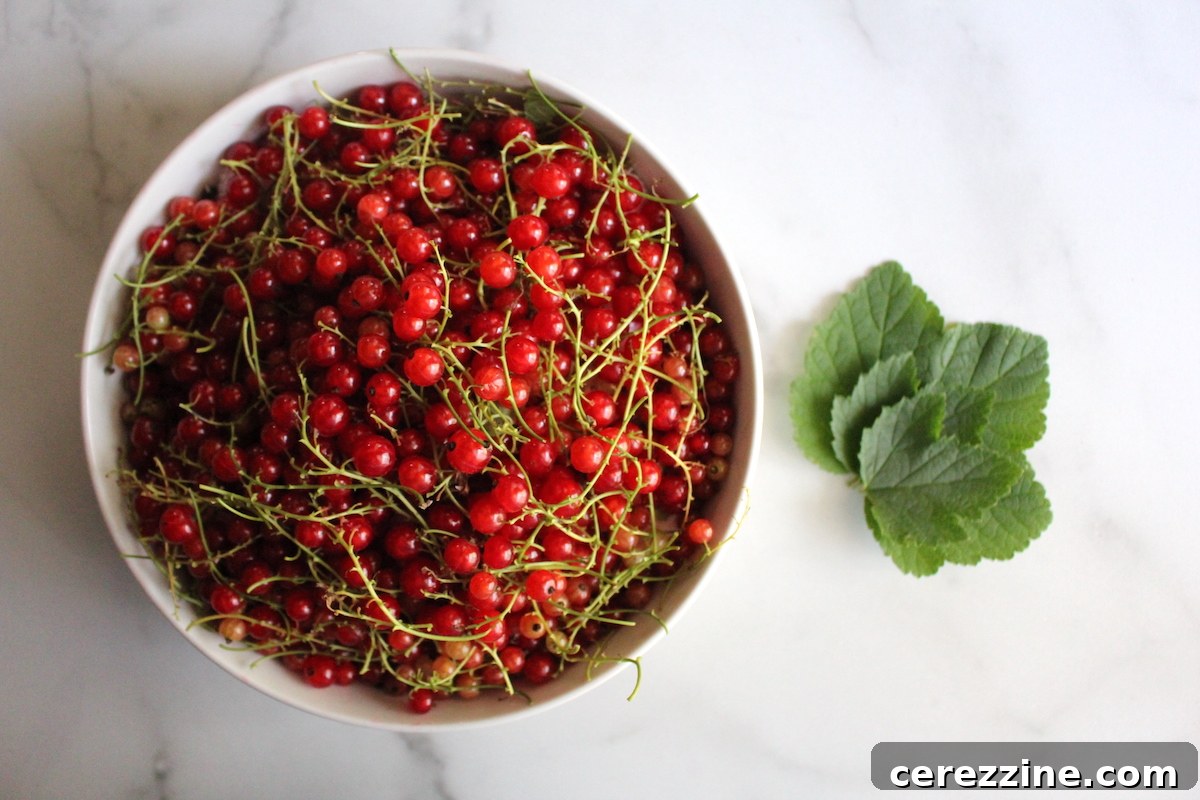
The quality of your jelly begins with the quality of your fruit. When selecting red currants, look for firm, plump berries with a bright, consistent color. They should be free from blemishes, mold, or signs of wilting. Ideally, pick them when they are fully ripe, but slightly under-ripe berries can actually have a higher pectin content, which is beneficial for setting. If you’re harvesting your own, aim for a mix of fully ripe and slightly firm berries for optimal flavor and gelling power. Ensure all stems and leaves are meticulously removed during preparation, as these can impart undesirable flavors and hinder the smooth texture of your jelly.
The Crucial Role of Sugar and Natural Pectin
Red currants are naturally acidic and exceptionally rich in pectin, making them ideal for jelly. This high natural pectin is what allows the jelly to set without any commercial additions. The sugar in this recipe is not just for sweetness; it plays a critical role in the gelling process. Pectin requires sugar and acid (naturally present in currants, enhanced by optional lemon juice) to form the gel structure. Sugar also acts as a preservative, contributing to the jelly’s shelf stability and vibrant color. The amount of sugar used is directly proportional to the amount of juice extracted from the currants, typically a 1:1 ratio. Resist the temptation to drastically reduce the sugar, as this will compromise the jelly’s ability to set properly. If you desire a lower-sugar jelly, you would need to use a specialized low-sugar pectin product designed for such recipes.
Understanding the Role of Lemon Juice
While red currants are naturally high in acid, a touch of lemon juice can elevate your jelly. Lemon juice provides additional acidity, which not only brightens the fruit’s flavor profile but also helps to activate the pectin, ensuring a firmer, more consistent set. It acts as a flavor balancer, cutting through the sweetness and enhancing the tart, complex notes of the currants. Whether you include it is a matter of personal preference, but many find it makes a noticeable difference in both taste and texture.
Essential Equipment for Jelly Making
Having the right tools on hand will make your jelly-making process smoother and more enjoyable. Here’s what you’ll need:
-
Jelly Strainer with Bag (or a large fine-mesh sieve lined with several layers of cheesecloth)
-
Large (6-8 quart) Jam Pot or Saucepan
-
Heat-Resistant Spoon or Potato Masher
-
Deep Bowl (to collect juice)
-
Several Small Plates (for the cold plate gel test)
-
Instant-Read Thermometer (optional, but highly recommended for accuracy)
-
Water Bath Canner and canning jars (if preserving by canning)
-
Canning Funnel and Jar Lifter (if canning)
Step-by-Step Guide: Crafting Your Exquisite Red Currant Jelly
Making homemade red currant jelly is a rewarding process that, once mastered, will fill your pantry with glistening jars of summer’s bounty. Follow these steps carefully to ensure a perfect set and delicious flavor.
1. Prepare Your Currants with Care
Begin by meticulously picking through your harvested red currants. Remove any remaining stems, leaves, or unripe/damaged berries. This step is crucial for both flavor and appearance. Once clean, gently rinse the entire batch of currants under cool, clean running water. Allow them to drain thoroughly in a colander before proceeding. Any residual water will dilute your juice, so good drainage is key.
2. Extracting the Pure Currant Juice
Transfer the rinsed currants to a large (6-8 quart) jam pot or heavy-bottomed saucepan. Add 3 cups of water to the pot. Place the pot over medium-high heat and bring the mixture to a rolling boil, stirring occasionally to prevent scorching. Once boiling, reduce the heat to low and allow the currants to simmer gently for 10 to 15 minutes. During this simmering phase, use a heat-resistant spoon or a potato masher to thoroughly mash the softening currants. Mashing helps to break down the fruit and release maximum juice and pectin. Continue mashing until the berries are well broken apart and have released their vibrant liquid.
3. Straining for Crystal-Clear Jelly
The next step is to separate the juice from the fruit solids. Set up your straining station by placing a jelly bag over a deep bowl, ensuring there’s ample room for the juice to drip through. If you don’t have a jelly bag, line a large fine-mesh sieve with several layers of clean cheesecloth and place it over the bowl. Carefully ladle or pour the hot currant mixture into the prepared bag or sieve. The most important tip here for a truly clear jelly is patience: allow the juice to drip through naturally for several hours, or even overnight, without pressing or squeezing the solids. Squeezing the fruit pulp will force tiny particles into your juice, resulting in a cloudy jelly. Resist the urge!
4. Measuring and Achieving the Perfect Sweetness and Balance
After all the juice has drained, discard the remaining fruit solids. Measure the collected currant juice accurately. The success of your jelly hinges on the correct juice-to-sugar ratio. Rinse your jam pot or saucepan to ensure it’s clean for the final boiling stage. Pour the measured currant juice back into the clean pot. Now, measure out an equal amount of granulated sugar to the amount of juice you have (e.g., if you have 4 cups of juice, use 4 cups of sugar). Add the sugar to the juice in the pot and stir gently until the sugar is completely dissolved. Taste the sweetened juice mixture. If desired, now is the time to add the juice of 1 lemon to enhance both flavor and pectin activation.
5. The Art of the Gel Stage
Place the pot with the juice and sugar mixture back on the stove over medium-high heat. Bring the mixture to a rapid, rolling boil, stirring occasionally until it reaches that vigorous boil. Once it’s boiling vigorously, stop stirring. Excessive stirring can hinder the gelling process. Allow the jelly to boil rapidly until it reaches the critical “gel stage.” This typically takes about 15-25 minutes, but the exact time can vary depending on factors like heat intensity and pectin content.
To confirm the gel stage, you’ll use one of two reliable methods:
The Cold Plate Test (Recommended for Beginners):
Before you even begin boiling the jelly, place 3 to 4 small ceramic or glass plates in your freezer to get them thoroughly chilled. After your jelly mixture has been boiling for about 15-20 minutes, retrieve one cold plate from the freezer. Drop approximately one tablespoon of the hot jelly onto the center of the chilled plate. Immediately return the plate to the freezer for exactly one minute. Remove the plate and gently push the edge of the jelly dollop with your fingertip. If the surface of the jelly visibly “wrinkles” as you push it, and it feels resistant, it has reached the gel stage and is ready! If your finger slides right through the jelly without any wrinkling, continue to boil the mixture for a few more minutes and repeat the cold plate test with another chilled plate until you achieve that characteristic wrinkle. You are aiming for a fairly firm set.
Thermometer Test:
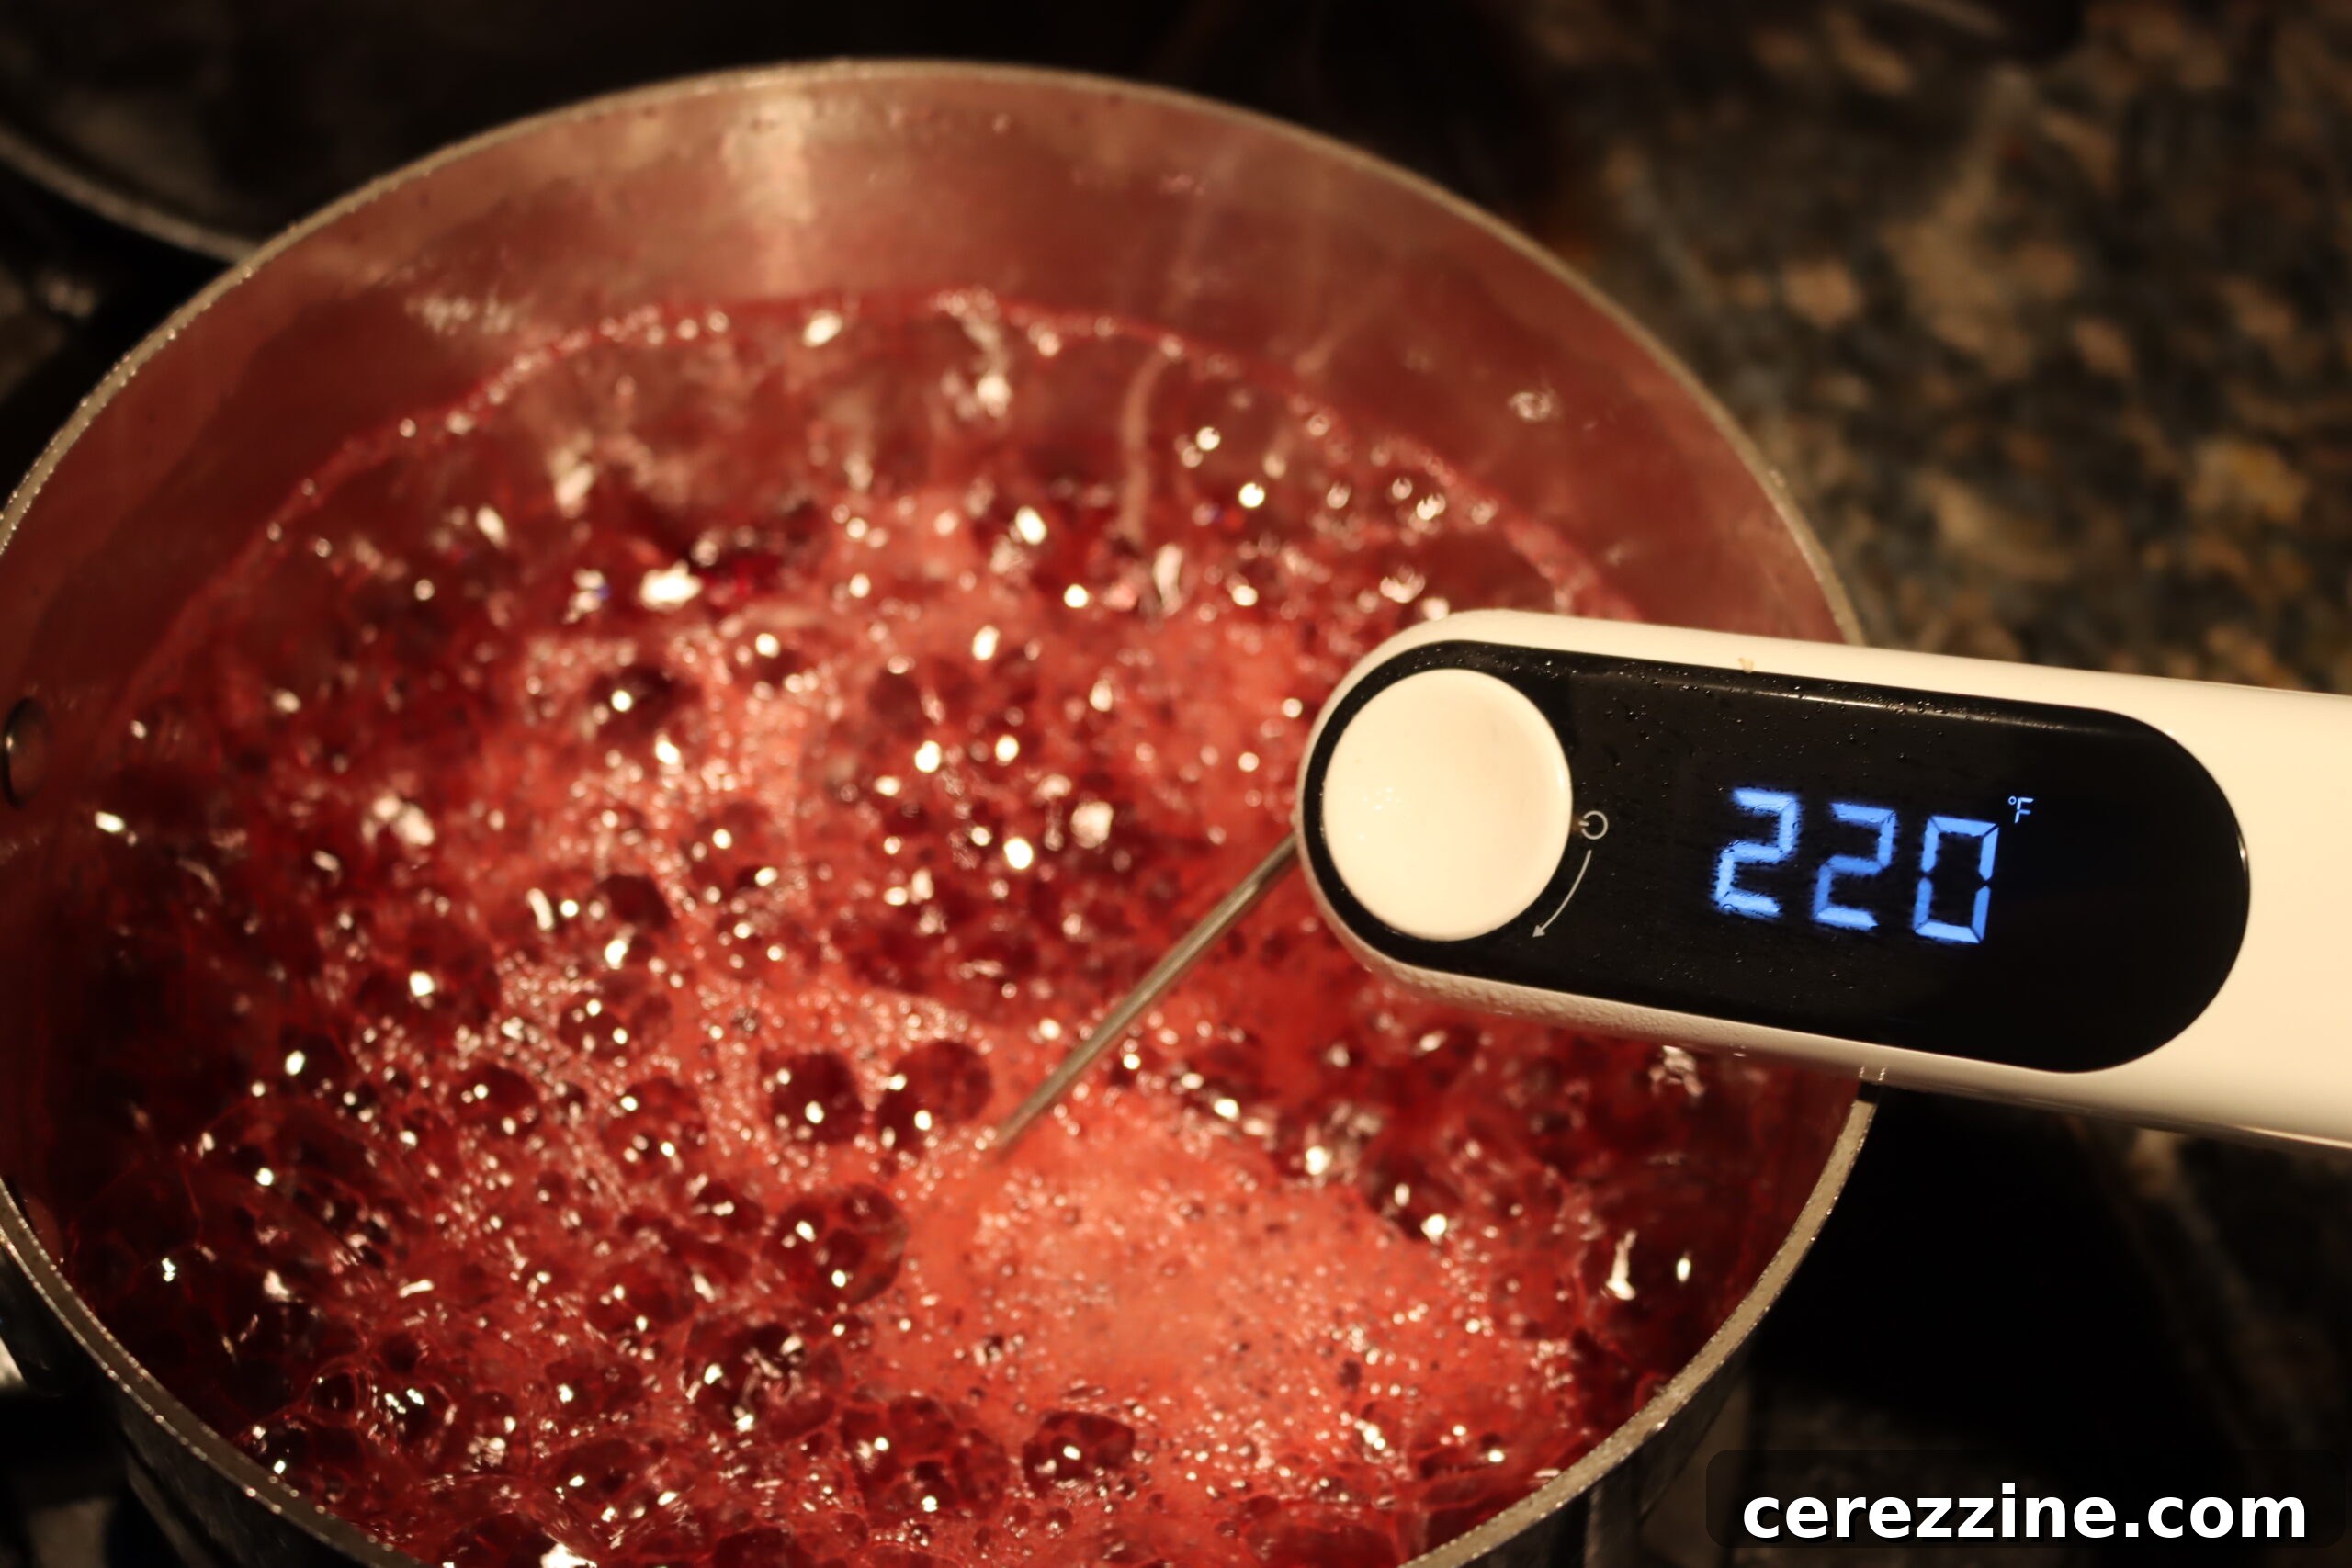
For a more precise method, use an instant-read candy thermometer. The jelly is ready when it reaches a temperature of 220°F (104°C) at sea level. Remember to adjust this temperature for higher altitudes (subtract 2°F for every 1,000 feet above sea level).
6. Filling Your Jars with Care
Once the jelly has reached the gel stage, immediately remove the pot from the heat. Skim off any foam that has risen to the surface using a clean spoon. This foam consists of air bubbles and fruit particles and can affect the clarity and appearance of your finished jelly. Carefully ladle or pour the hot jelly into your prepared hot jars or freezer-safe containers, leaving precisely ¼-inch headspace at the top of each jar. This headspace is essential for proper sealing if canning, or for expansion if freezing.
Storing Your Delicious Red Currant Jelly: Refrigeration, Freezing & Canning
Once you’ve made your delicious red currant jelly, you have several options for storage, depending on how long you want to keep it and your preferred method of preservation.
Quick Storage: Refrigerator or Freezer
If you don’t plan on canning, you can easily store your homemade red currant jelly in the refrigerator or freezer. This is an excellent option for smaller batches or if you’re new to preserving. For refrigerator storage, simply allow the filled jars or containers to cool completely at room temperature for several hours until they are cool enough to handle without a hot pad. Then, transfer them to the refrigerator, where the jelly will stay fresh for 3 to 4 weeks. For longer storage, use freezer-safe containers and lids, ensuring they are designed to withstand freezing temperatures. Again, allow the jelly to cool fully before placing the containers in the freezer. Frozen red currant jelly can be kept for up to 6 months, retaining its vibrant flavor and texture.
Mastering Water Bath Canning for Long-Term Preservation
While refrigerating or freezing is convenient, canning is my preferred method for preserving red currant jelly. It’s a quick, reliable, and straightforward process that allows you to store your homemade jellies on a cool, dry pantry shelf for extended periods, ready to enjoy at a moment’s notice.
Preparation is Key:
Before you even begin cooking your jelly, prepare your water bath canner and jars. Sterilize your canning jars, lids, and bands according to manufacturer instructions. Keep the jars hot in the canner or a separate pot of hot water until ready to fill. This prevents thermal shock when the hot jelly is added.
Filling and Sealing:
Once the jelly has reached the gel stage, carefully ladle or pour the hot jelly into your hot, prepared jars using a canning funnel. Ensure you maintain ¼-inch headspace at the top of each jar. This space is crucial for creating a proper vacuum seal. Wipe the rims of the filled jars thoroughly with a clean, damp cloth to remove any jelly residue, which could interfere with the seal. Apply two-part canning lids (the flat lid and the screw band). Tighten the canning bands only until “finger-tight” – meaning snug, but not overly tight, allowing air to escape during processing.
Processing in a Water Bath Canner:
Using a jar lifter, gently place the filled, lidded jelly jars into your preheated water bath canner, ensuring they are completely submerged in at least 1-2 inches of water. Bring the water to a full, rolling boil. Once the water reaches a vigorous boil, start your timer and process half-pint or pint jars for 10 minutes. If you are canning at altitudes above 6,000 feet, increase the processing time to 15 minutes to account for lower boiling points.
Cooling and Checking Seals:
After the processing time is complete, turn off the heat and allow the jars to sit undisturbed in the canner for an additional 5 minutes. This prevents thermal shock, which can sometimes lead to siphoning (loss of liquid from the jars). After 5 minutes, carefully remove the jars from the canner using a jar lifter and place them on a towel-lined counter or a wire rack, ensuring there’s space between each jar for air circulation. Let them cool undisturbed for 12 to 24 hours. As they cool, you’ll hear the satisfying “ping” sound, indicating that the lids have sealed. After 24 hours, check the seals by pressing down on the center of each lid. If the lid does not flex, it is properly sealed. Any unsealed jars should be stored in the refrigerator and used within a few weeks.
Pantry Storage:
Store your properly sealed, canned red currant jelly in a cool, dry, dark place, such as a pantry or cellar. It will maintain peak quality on the shelf for about 12 to 18 months, and often remains safe to eat well beyond that, as long as the jar remains sealed. Once a jar is opened, always refrigerate any leftovers.
Creative Variations for Red Currant Jelly
While classic red currant jelly is wonderful on its own, its inherent tartness and high pectin make it incredibly versatile for creative flavor combinations. Don’t be afraid to experiment and personalize your batches!
Delectable Fruit Combinations
Red currants play exceptionally well with other sweet fruits, balancing their richness with a delightful tang. Try these pairings by replacing a portion of the red currant juice (up to half) with another fruit’s juice:
- Currant and Apple Jelly: The mild sweetness of apple juice provides a wonderful backdrop for the currants, creating a harmonious blend that’s perfect for toast or cheese boards.
- Currant and Cherry Jelly: Enhance the deep red color and add a touch of summery sweetness with tart cherry juice. This combination is particularly beautiful and delicious.
- Currant and Plum Jelly: Plums offer a rich, stone-fruit sweetness that contrasts beautifully with the currants’ brightness, yielding a complex and sophisticated jelly.
- Currant and Raspberry Jelly: A classic berry pairing that combines the sharp notes of currant with the vibrant sweetness of raspberries for an intensely fruity spread.
- Currant and Peach Jelly: For a softer, sweeter profile, mix with peach juice. The subtle peach flavor will round out the tartness of the currants.
Spice and Flavor Infusions
Infusing your red currant jelly with spices or extracts can add an exciting depth of flavor. Consider adding these during the final boiling stage, just before the gel set:
- Vanilla Extract: A teaspoon or two of pure vanilla extract can add a warm, comforting note that complements the fruit beautifully.
- Almond Extract: A subtle hint of almond provides a sophisticated, almost cherry-like undertone. Use sparingly, as it can be potent.
- Warm Spices: Cinnamon sticks, a few whole cloves, or a pinch of ground allspice can transform your jelly into a more autumnal or festive spread. Add whole spices during the simmering stage with the currants, then remove them before straining. Add ground spices sparingly during the final boil.
- Fresh Herbs: A sprig of fresh rosemary or thyme added during the initial simmer can lend an unexpected savory dimension, especially appealing for serving with meats.
- Citrus Zest: Fine zest from an orange or lime can brighten the flavor even further and add aromatic complexity.
Delightful Ways to Enjoy Your Homemade Red Currant Jelly
Once you’ve made your beautiful red currant jelly, you’ll discover its versatility extends far beyond breakfast toast. Its balanced tartness and sweetness make it a fantastic accompaniment for both sweet and savory dishes.
Classic Pairings and Breakfast Delights
- Breakfast Staples: The most obvious and beloved use is slathered generously on warm toast, English muffins, crumpets, croissants, or flaky scones.
- Yogurt and Oatmeal: Stir a spoonful into your morning yogurt, cottage cheese, or oatmeal for a burst of fruity flavor and natural sweetness.
- Pancakes and Waffles: Drizzle over a stack of fluffy pancakes or crispy waffles instead of maple syrup for a delightful change.
Savory Applications: Elevating Meals
The tartness of red currant jelly makes it an exceptional partner for savory dishes, cutting through richness and adding a bright counterpoint:
- Roasted or Grilled Meats: Serve alongside roasted turkey, chicken, pork loin, or game meats like venison. It’s a classic pairing, much like cranberry sauce with turkey.
- Glazes and Marinades: Whisk it into a glaze for roasted chicken breasts, pork chops, or even meatballs. It adds a beautiful sheen and a tangy-sweet flavor. For a simple marinade, combine with a little soy sauce, garlic, and ginger.
- Cheese Boards: A dollop of red currant jelly is a fantastic addition to any cheese board, especially alongside creamy brie, sharp cheddar, or goat cheese.
- Sandwich Spreads: Mix with a little Dijon mustard for a gourmet spread on ham or turkey sandwiches.
Baking and Dessert Enhancements
- Tarts and Pastries: Use as a filling for tarts, linzer cookies, or as a glaze for fruit tarts to add shine and flavor.
- Thumbprint Cookies: Fill the center of classic thumbprint cookies for a festive and flavorful treat.
- Cake Layer: Spread a thin layer between cake layers for a bright, fruity contrast.
Cocktails and Beverages
- Cocktail Sweetener: Incorporate a spoonful into cocktails for a unique sweet and tart element. It works wonderfully in gin-based drinks or even a simple prosecco spritzer.
- Iced Tea Infusion: Stir into iced tea for a refreshing, fruity twist on a classic.
The Pectin Powerhouse: A Secret Weapon
Beyond its delicious flavor, remember that red currant jelly can also be used as a “pectin booster.” If you’re making another jelly or jam with a fruit that’s low in pectin (like ripe peaches or strawberries) and you prefer not to add commercial pectin, you can combine some of your red currant juice with it. This leverages the natural gelling power of currants to help achieve a firm set in other preserves.
Exploring More Old-Fashioned Jelly Recipes
White Currant Jelly
Red Currant Jelly
Canning Currant Pie Filling
48
servings, makes about 5 to 6 half-pint (8-ounce) jelly jars
Red Currant Jelly Recipe
Ashley Adamant
20
20
10
50
Print Recipe
Equipment
-
Jelly Strainer with Bag
-
Water Bath Canner
-
Large (6-8 quart) Jam Pot or Saucepan
-
Heat-Resistant Spoon or Masher
-
Deep Bowl
-
Several Small Plates (for gel test)
-
Instant-Read Thermometer (optional)
-
Canning Funnel and Jar Lifter (if canning)
Ingredients
- 4½ lbs fresh red currants
- 3 cups water
- 4 to 5 cups granulated sugar
- Juice of 1 lemon, optional
Instructions
-
Thoroughly pick through your red currants, removing all stems, leaves, and any debris. Rinse them well under cool, clean water, then drain completely.
-
Place the cleaned currants in a large (6-8 quart) jam pot or saucepan. Add 3 cups of water.
-
Bring the currant mixture to a boil over medium-high heat, stirring occasionally. Once boiling, reduce the heat to low and simmer for about 15 minutes. As the currants soften, mash them thoroughly with a large spoon or potato masher to extract as much juice as possible.
-
Set up your straining apparatus: place a jelly bag over a large, deep bowl, or line a fine-mesh sieve with several layers of cheesecloth over the bowl.
-
Carefully ladle or pour the cooked currant mixture into the prepared jelly bag or sieve. Allow the juice to drip through naturally for several hours, or even overnight, without pressing or squeezing the solids. Squeezing can result in cloudy jelly.
-
Once all the juice has drained, discard the currant solids. Measure the collected currant juice. Rinse the jam pot or saucepan used previously and pour the measured juice back into it.
-
Measure an equal amount of granulated sugar as you have currant juice (e.g., if you have 4 cups of juice, use 4 cups of sugar). Add the sugar to the juice in the pot and stir until it is completely dissolved.
-
Taste the sweetened currant juice. If desired, add the juice of 1 lemon to enhance flavor and aid pectin activation.
-
Place the pot back on the stove over medium-high heat. Bring the mixture to a rapid rolling boil, stirring occasionally until boiling.
-
Once a vigorous boil is achieved, stop stirring and allow the jelly to boil rapidly until it reaches the gel stage. This usually takes about 15-25 minutes, but can vary.
-
To test for the gel stage, use the cold plate test: Before you start boiling the jelly, place 3-4 small plates in the freezer. After the jelly has boiled for about 15-20 minutes, retrieve a cold plate from the freezer. Drop approximately one tablespoon of the hot jelly onto the chilled plate, then return the plate to the freezer for one minute. Remove the plate and gently push the edge of the jelly with your fingertip. If the jelly surface wrinkles, it has reached the gel stage and is ready. If your finger slides right through the jelly without wrinkling, continue boiling for a few more minutes and repeat the cold plate test until a firm set is achieved. Alternatively, use an instant-read thermometer to reach a target temperature of 220°F (104°C) at sea level.
-
Once the jelly has reached the gel stage, remove it from the heat immediately. Skim off any foam that has risen to the surface with a spoon.
-
Carefully ladle or pour the hot jelly into your prepared hot jars or freezer-safe containers, leaving ¼-inch headspace at the top of each jar.
-
For Canning: If canning, wipe the rims of the filled jars with a clean, damp cloth. Apply two-part canning lids and tighten the bands finger-tight. Place the jars in a preheated water bath canner, ensuring they are covered by at least 1-2 inches of water. Bring the water to a rolling boil and process pint jars for 10 minutes (adjust for altitude: 15 minutes if above 6,000 feet). After processing, turn off the heat and let jars rest in the canner for 5 minutes. Remove jars to a towel-lined counter to cool for 12-24 hours. Check seals; unsealed jars should be refrigerated and used promptly. Canned jelly will keep in a cool, dry pantry for 12-18 months. Refrigerate after opening.
-
For Refrigerator or Freezer Storage (Not Canning): Allow the jelly to cool completely in the jars or containers for several hours at room temperature until it’s cool enough to handle without a hot pad. Then, store in the refrigerator for up to 3-4 weeks, or transfer to freezer-safe containers and freeze for up to 6 months.
Notes
Nutrition Information (Approximate Per Serving)
Carbohydrates: 22g,
Protein: 1g,
Fat: 0.1g,
Saturated Fat: 0.01g,
Polyunsaturated Fat: 0.04g,
Monounsaturated Fat: 0.01g,
Sodium: 1mg,
Potassium: 117mg,
Fiber: 2g,
Sugar: 20g,
Vitamin A: 18IU,
Vitamin C: 17mg,
Calcium: 15mg,
Iron: 0.4mg
Nutrition information is automatically calculated and should be used as an approximation only. Actual values may vary.
Enjoyed this recipe? Share your thoughts below!
Discover More Old-Fashioned Jelly Recipes
If you’ve fallen in love with the simple art of making jelly the old-fashioned way—with just fruit, sugar, and a touch of heartfelt effort in each jar—then you’re in for a treat. Explore these other beloved recipes that celebrate natural pectin and time-honored techniques. Each one promises a taste of tradition, proving that some of the best flavors require no shortcuts, just a little patience and love.
- Gooseberry Jelly
- Black Raspberry Jelly (Seedless)
- Quince Jelly
- Raspberry Jelly
- Cranberry Jelly