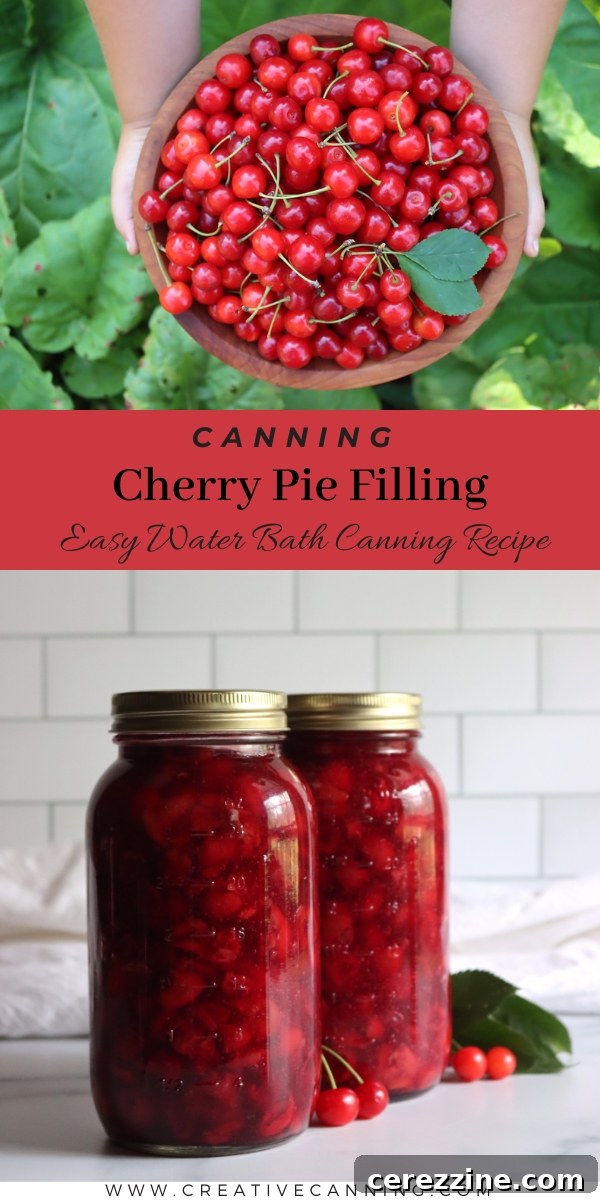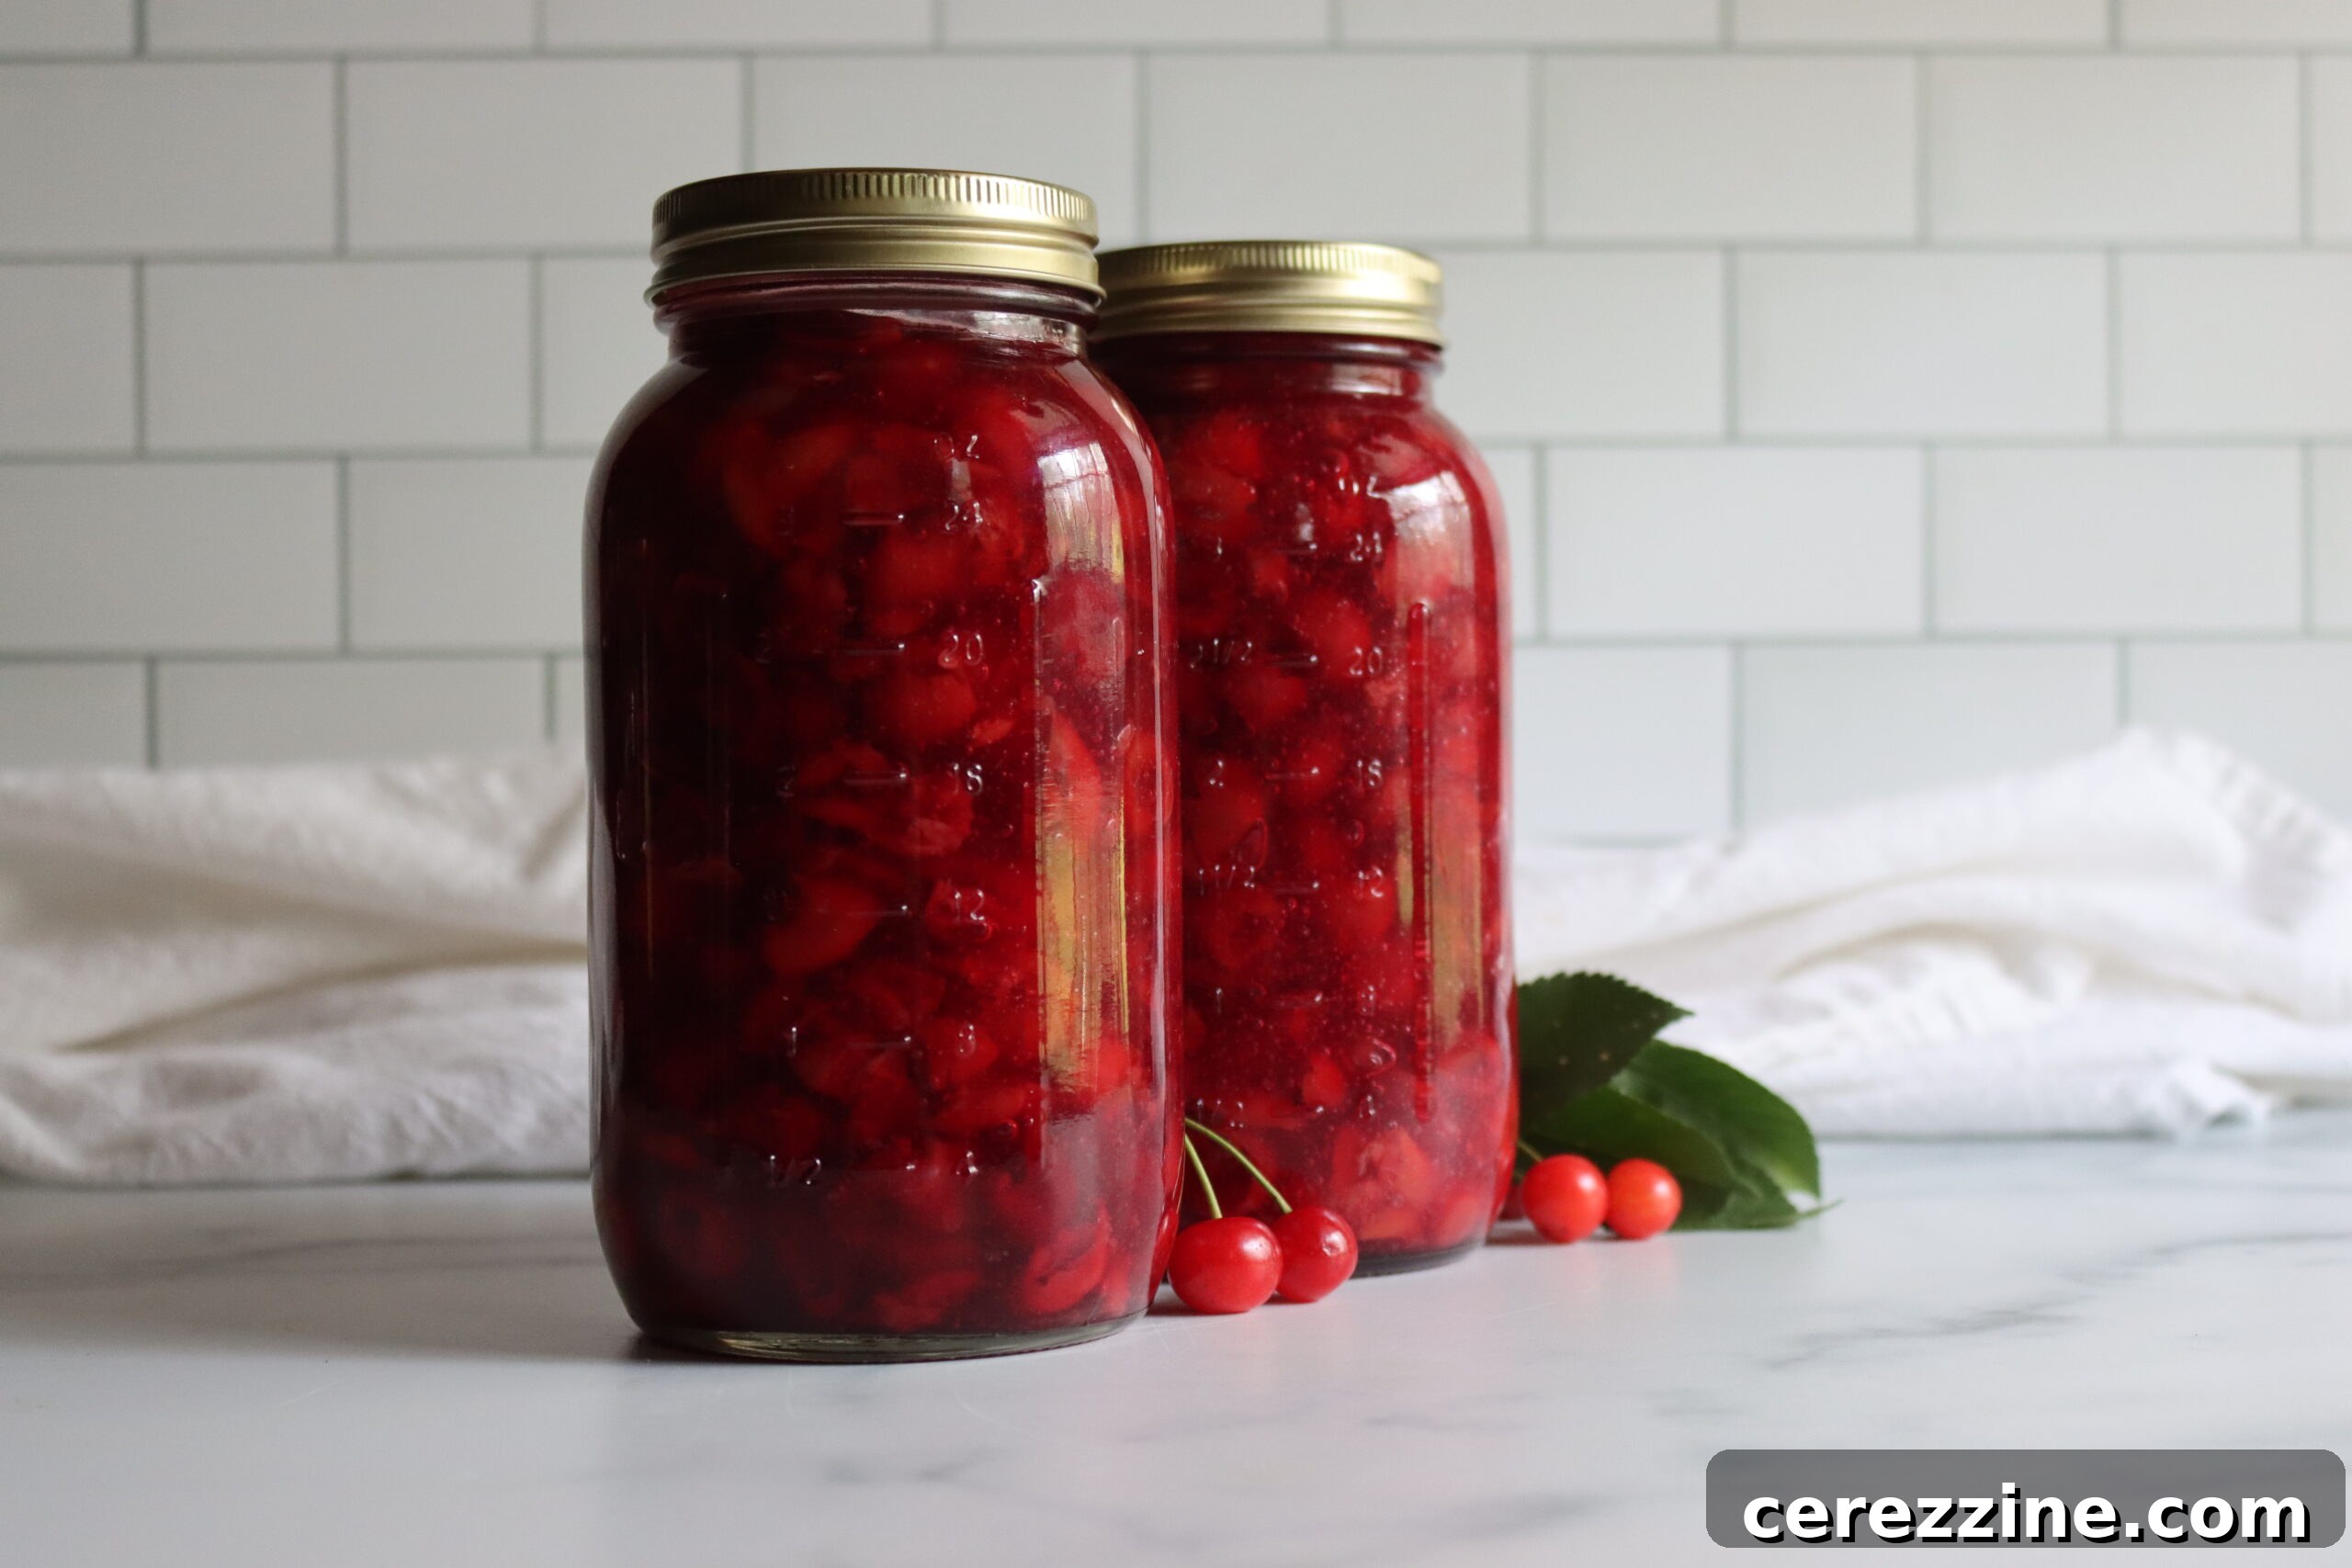
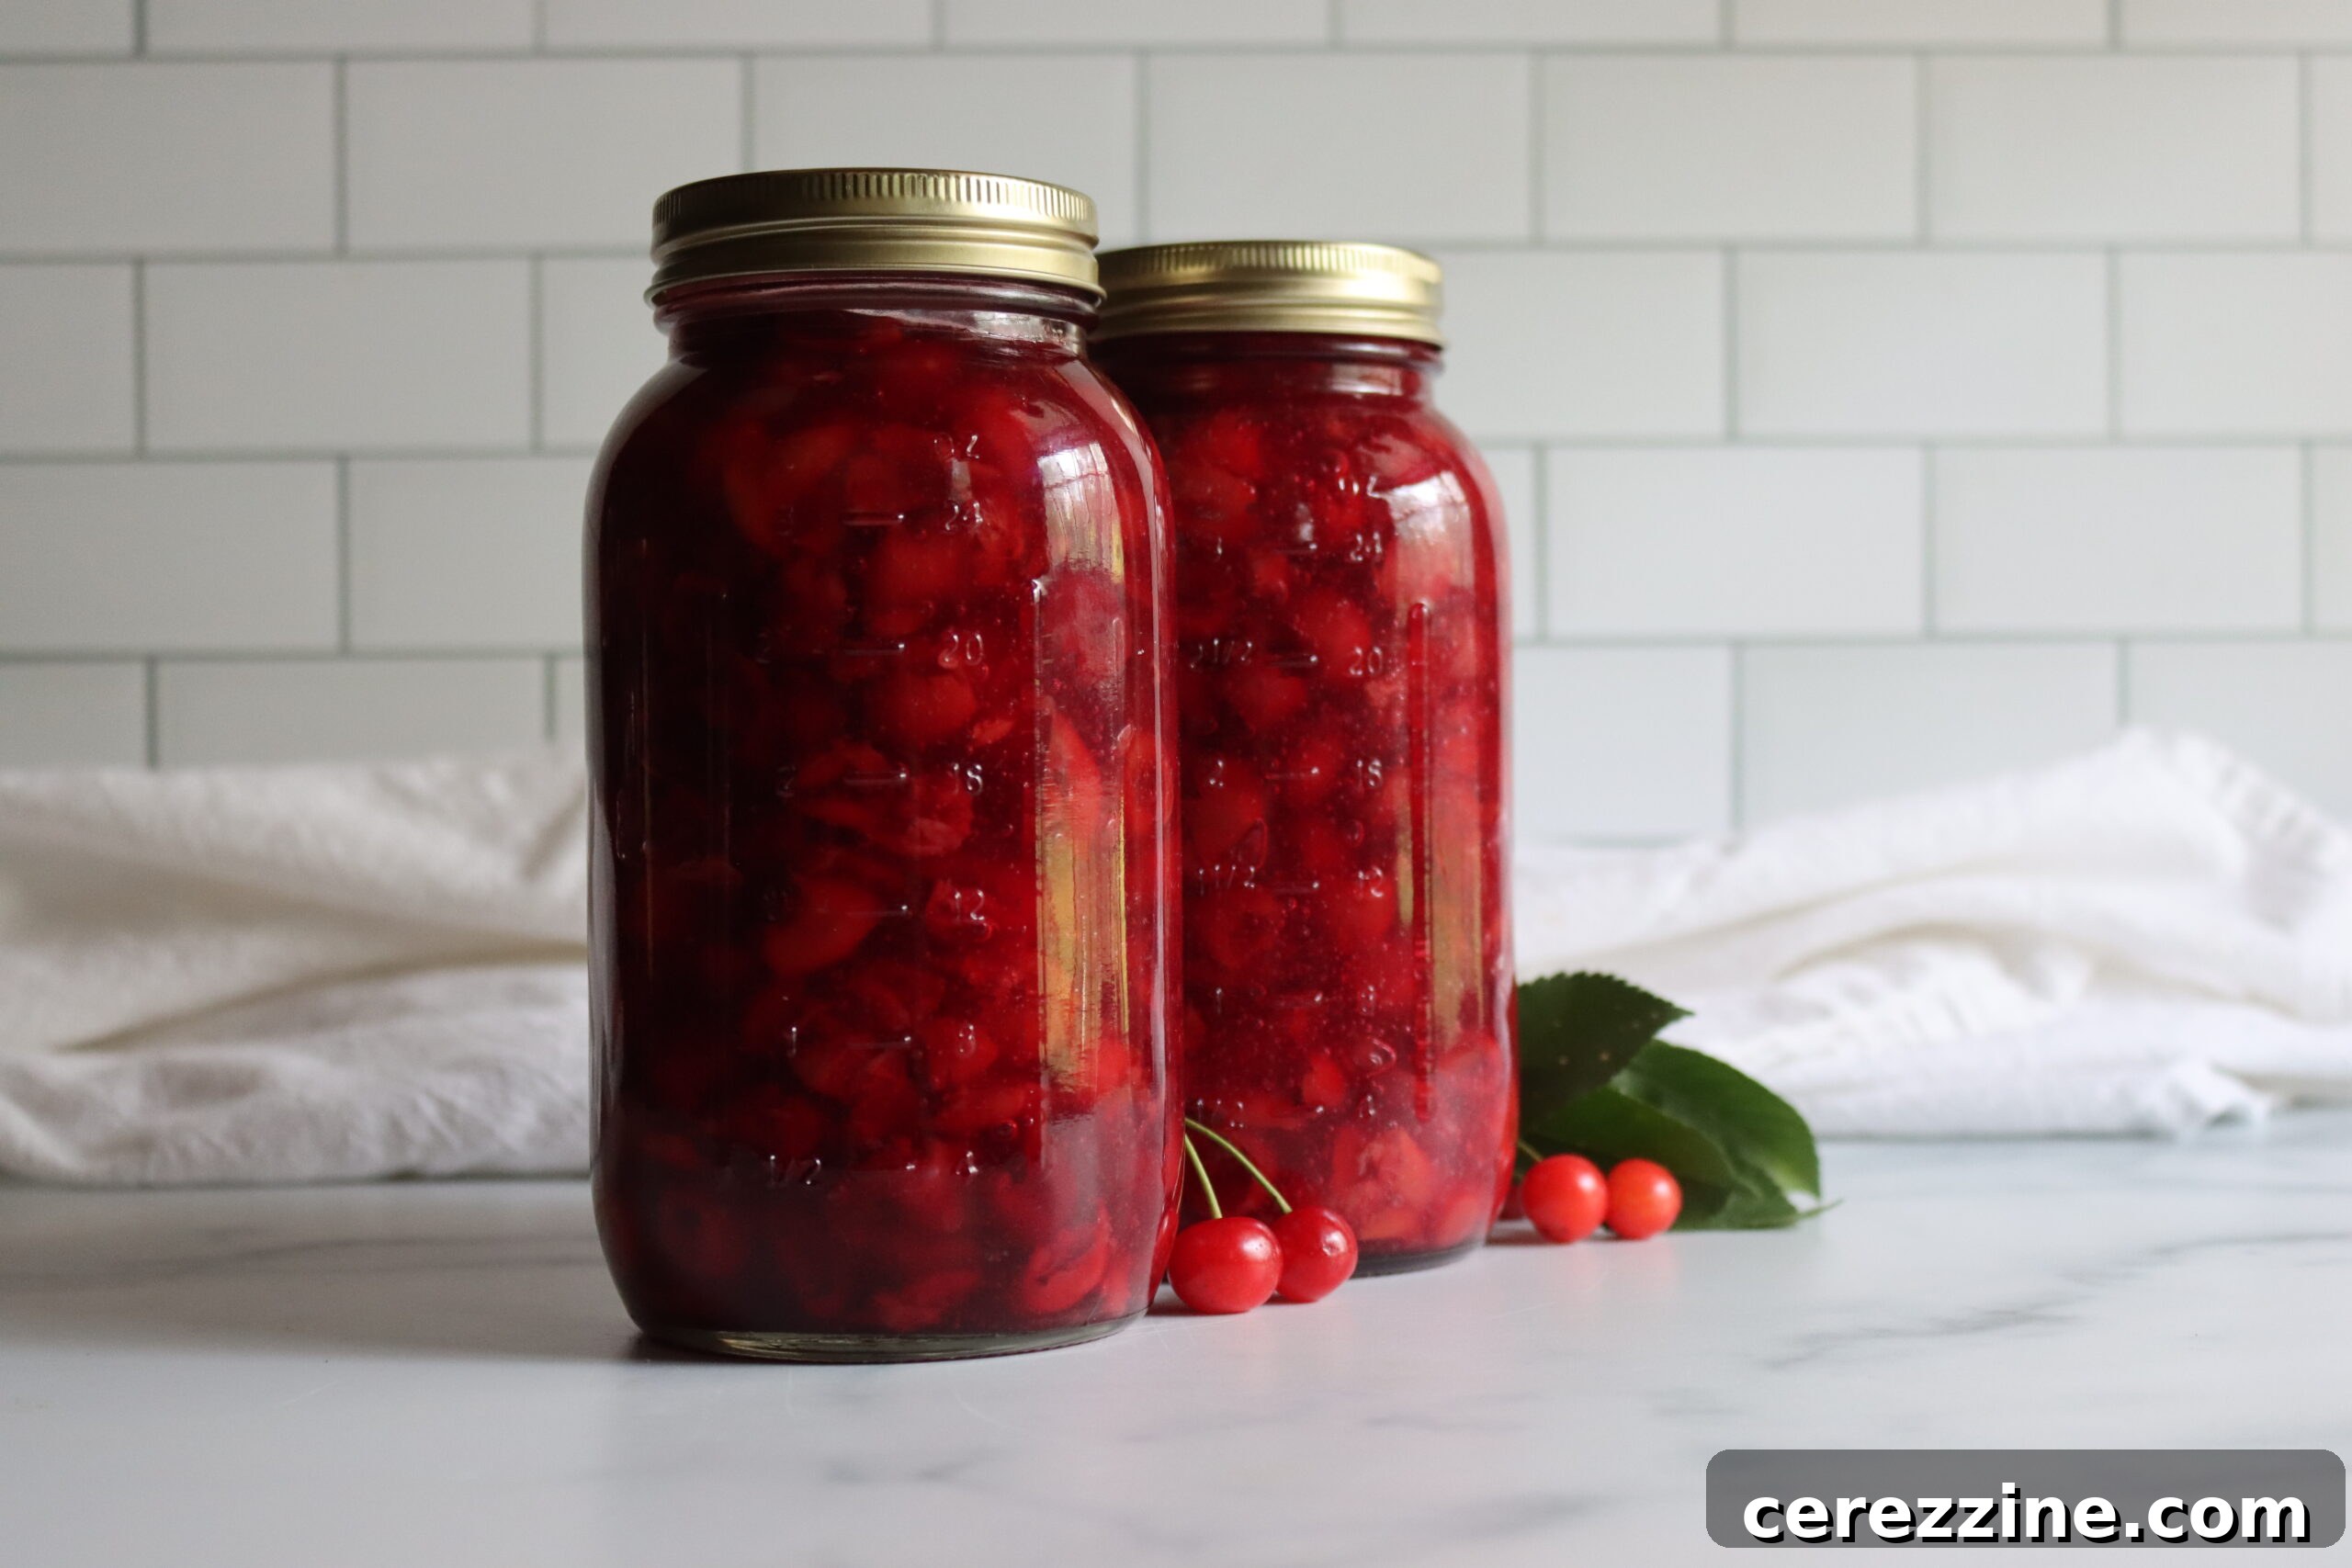
Cherry pie filling isn’t just a delightful treat; it’s a testament to the timeless art of home preservation. Capturing the vibrant flavor of fresh cherries in a jar allows you to savor summer’s bounty all year long. This guide will walk you through the simple yet rewarding process of canning your own cherry pie filling, ensuring you have a versatile ingredient ready for pies, desserts, and countless other culinary creations.
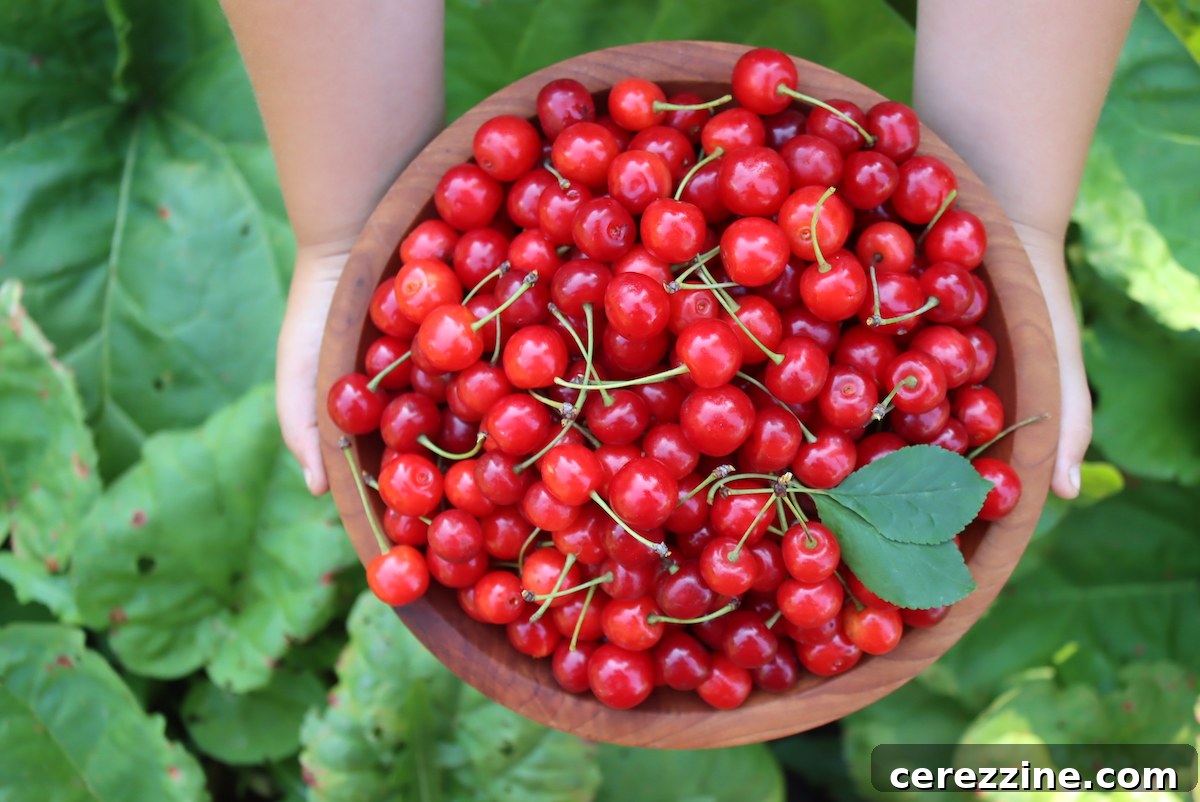
There’s nothing quite like the taste of a homemade cherry pie, especially when it’s made with filling preserved right in your kitchen. For those in northern climates, sour cherries, also known as pie cherries, are a seasonal treasure. Their intense flavor and vivid color make them ideal for canning, transforming their inherent tartness into a perfectly balanced sweetness when combined with sugar. While they may require a bit more effort to pit due to their softer flesh, the exceptional results are undoubtedly worth every minute of preparation.
Choosing the Best Cherries for Your Filling
Cherries are broadly categorized into two main types: sweet and sour. Understanding their differences is key to achieving the perfect pie filling.
Sour Cherries: The Pie Filling Champion
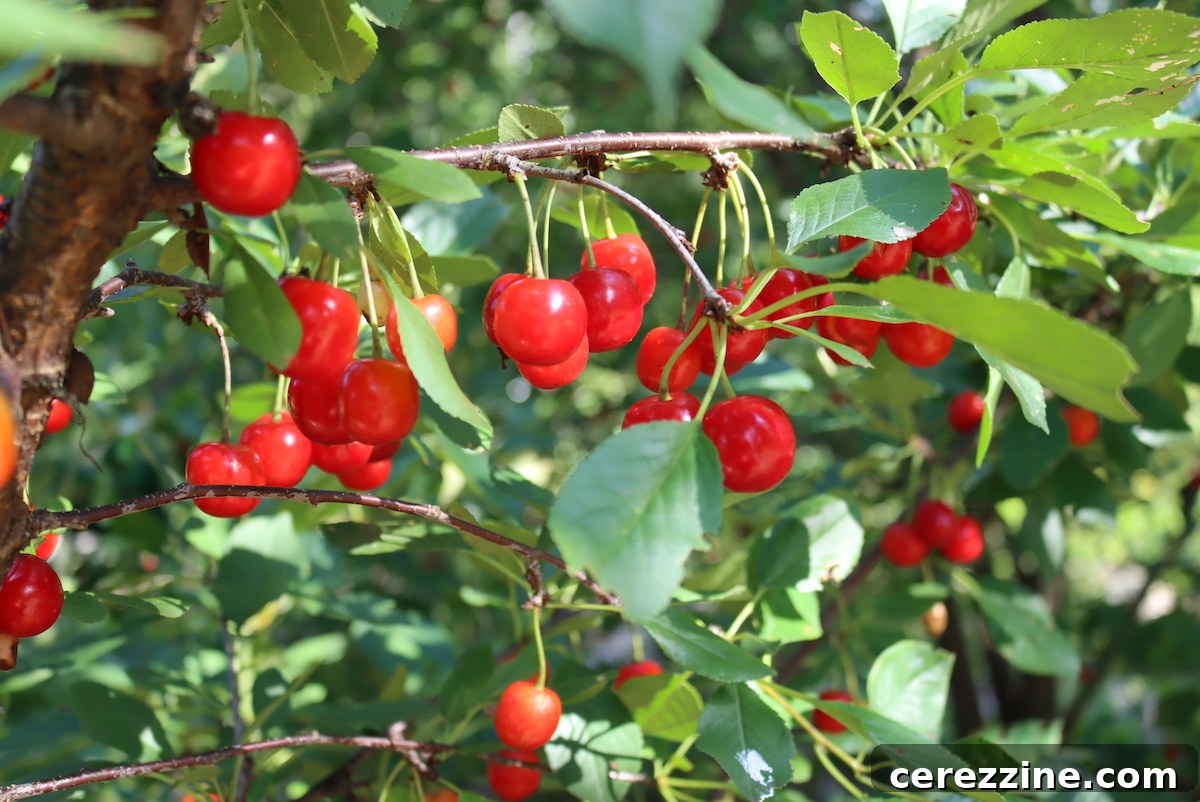
Sour cherries, often referred to as tart cherries or pie cherries, are typically in season from June to August. These varieties thrive in colder northern climates where sweet cherries struggle. Popular sour cherry varieties include Montmorency, Balaton, and Morello. What makes them exceptional for pie filling is their robust, concentrated cherry flavor and bright red hue. Their natural tartness, when balanced with sugar during the canning process, creates a depth of flavor that is simply unparalleled. This tartness mellows beautifully, resulting in a rich, complex filling that is neither too sweet nor too sharp. If your goal is the absolute best home-canned cherry pie filling, seeking out tart cherries is highly recommended.
Sweet Cherries: When to Use Them
Sweet cherries, such as Bing, Rainier, and Chelan, are generally in season from May to July. While delicious for fresh eating, snacking, and certain preserves, their milder flavor and higher sugar content make them less ideal for pie filling, which typically requires added sugar. Using sweet cherries in a pie filling recipe designed for sour cherries might result in an overly sweet and less “cherry-forward” product. However, sweet cherries are fantastic for making cherry wine, or exquisite jams like Black Cherry Jam or a golden-colored Rainier Cherry Jam. If you do use sweet cherries for pie filling, be prepared to significantly reduce the sugar content in the recipe to prevent it from becoming cloyingly sweet.
Essential Ingredients for Canning Cherry Pie Filling
Successful home canning relies on precise measurements and the right ingredients. For your cherry pie filling, select firm, ripe cherries. Both fresh and frozen cherries can be used effectively. If using frozen cherries that had sugar added to them (often labeled “sweetened”), it’s crucial to rinse off the excess sugar while the fruit is still frozen to maintain proper sweetness levels in the recipe.
The Role of Clear Jel: A Canning Essential
When it comes to thickening pie fillings for canning, Clear Jel is the only starch recommended and approved for home canning safety. Its unique properties allow it to thicken uniformly without breaking down during the high-heat canning process or storage, ensuring your filling maintains its desired texture. It’s vital to use the “regular” type of Clear Jel, which activates upon heating. Instant Clear Jel, commonly used for no-cook recipes, cannot be substituted as it behaves differently under heat and could compromise canning safety by affecting heat penetration.
Why Bottled Lemon Juice Matters
Bottled lemon juice is a critical component for canning safety. Its consistent acidity helps ensure the pH of your pie filling is low enough to prevent the growth of harmful bacteria, particularly Clostridium botulinum. Unlike fresh lemon juice, which can vary in acidity, bottled lemon juice provides a reliable standard, making it heavily recommended for all canning recipes that require it.
Enhancing Flavor with Spices and Extracts
While the star of the show is undoubtedly the cherries, a touch of spice or extract can elevate the flavor profile. Cinnamon offers a warm, comforting note that beautifully complements cherries, while almond extract can deepen the overall fruit flavor, adding a subtle richness. These additions are optional, allowing you to tailor the filling to your personal preference.
Here are the precise measurements for making your cherry pie filling:
For a Single Quart Jar:
- 3 ⅓ cups sour cherries, fresh or thawed
- 1 cup granulated sugar
- ¼ cup plus 1 tablespoon Clear Jel
- 1 ⅓ cups cold water
- 1 tablespoon plus 1 teaspoon bottled lemon juice
- ⅛ teaspoon cinnamon (optional)
- ¼ teaspoon almond extract (optional)
For a 7-Quart Canner Batch:
- 6 quarts sour cherries, fresh or thawed
- 7 cups granulated sugar
- 1 ¾ cups Clear Jel
- 9 ⅓ cups cold water
- ½ cup bottled lemon juice
- 1 teaspoon cinnamon (optional)
- 2 teaspoons almond extract (optional)
Customizing Your Cherry Pie Filling Recipe
While canning requires adherence to safety guidelines, some recipe adjustments can be made to suit your taste preferences.
Adjusting Sweetness and Flavor
The amount of sugar and optional spices (cinnamon, almond extract) can be adjusted to personal taste without compromising canning safety. If you prefer a more tart filling, you can increase the amount of bottled lemon juice, but under no circumstances should it be decreased below the amount specified in the recipe. The tartness from the lemon juice is essential for ensuring a safe pH level for preservation.
Similarly, you can decrease the amount of Clear Jel if you desire a looser, less dense pie filling, but never increase it beyond the recommended amount. A good starting point for a looser set is to reduce the Clear Jel by about one-quarter (approximately 3 to 4 tablespoons per quart). Experimenting with these minor adjustments can help you achieve your ideal pie filling consistency and flavor.
The Non-Negotiables for Canning Safety
It’s crucial to emphasize that no other starches, such as cornstarch or tapioca starch, are approved for canning pie fillings. These starches tend to break down over time in jars and can interfere with the heat penetration during the canning process, potentially leading to unsafe home-canned goods. Always use regular Clear Jel as specified to ensure both quality and safety. Sticking to the exact quantities for Clear Jel and bottled lemon juice (or increasing them) is paramount for safe, shelf-stable preservation.
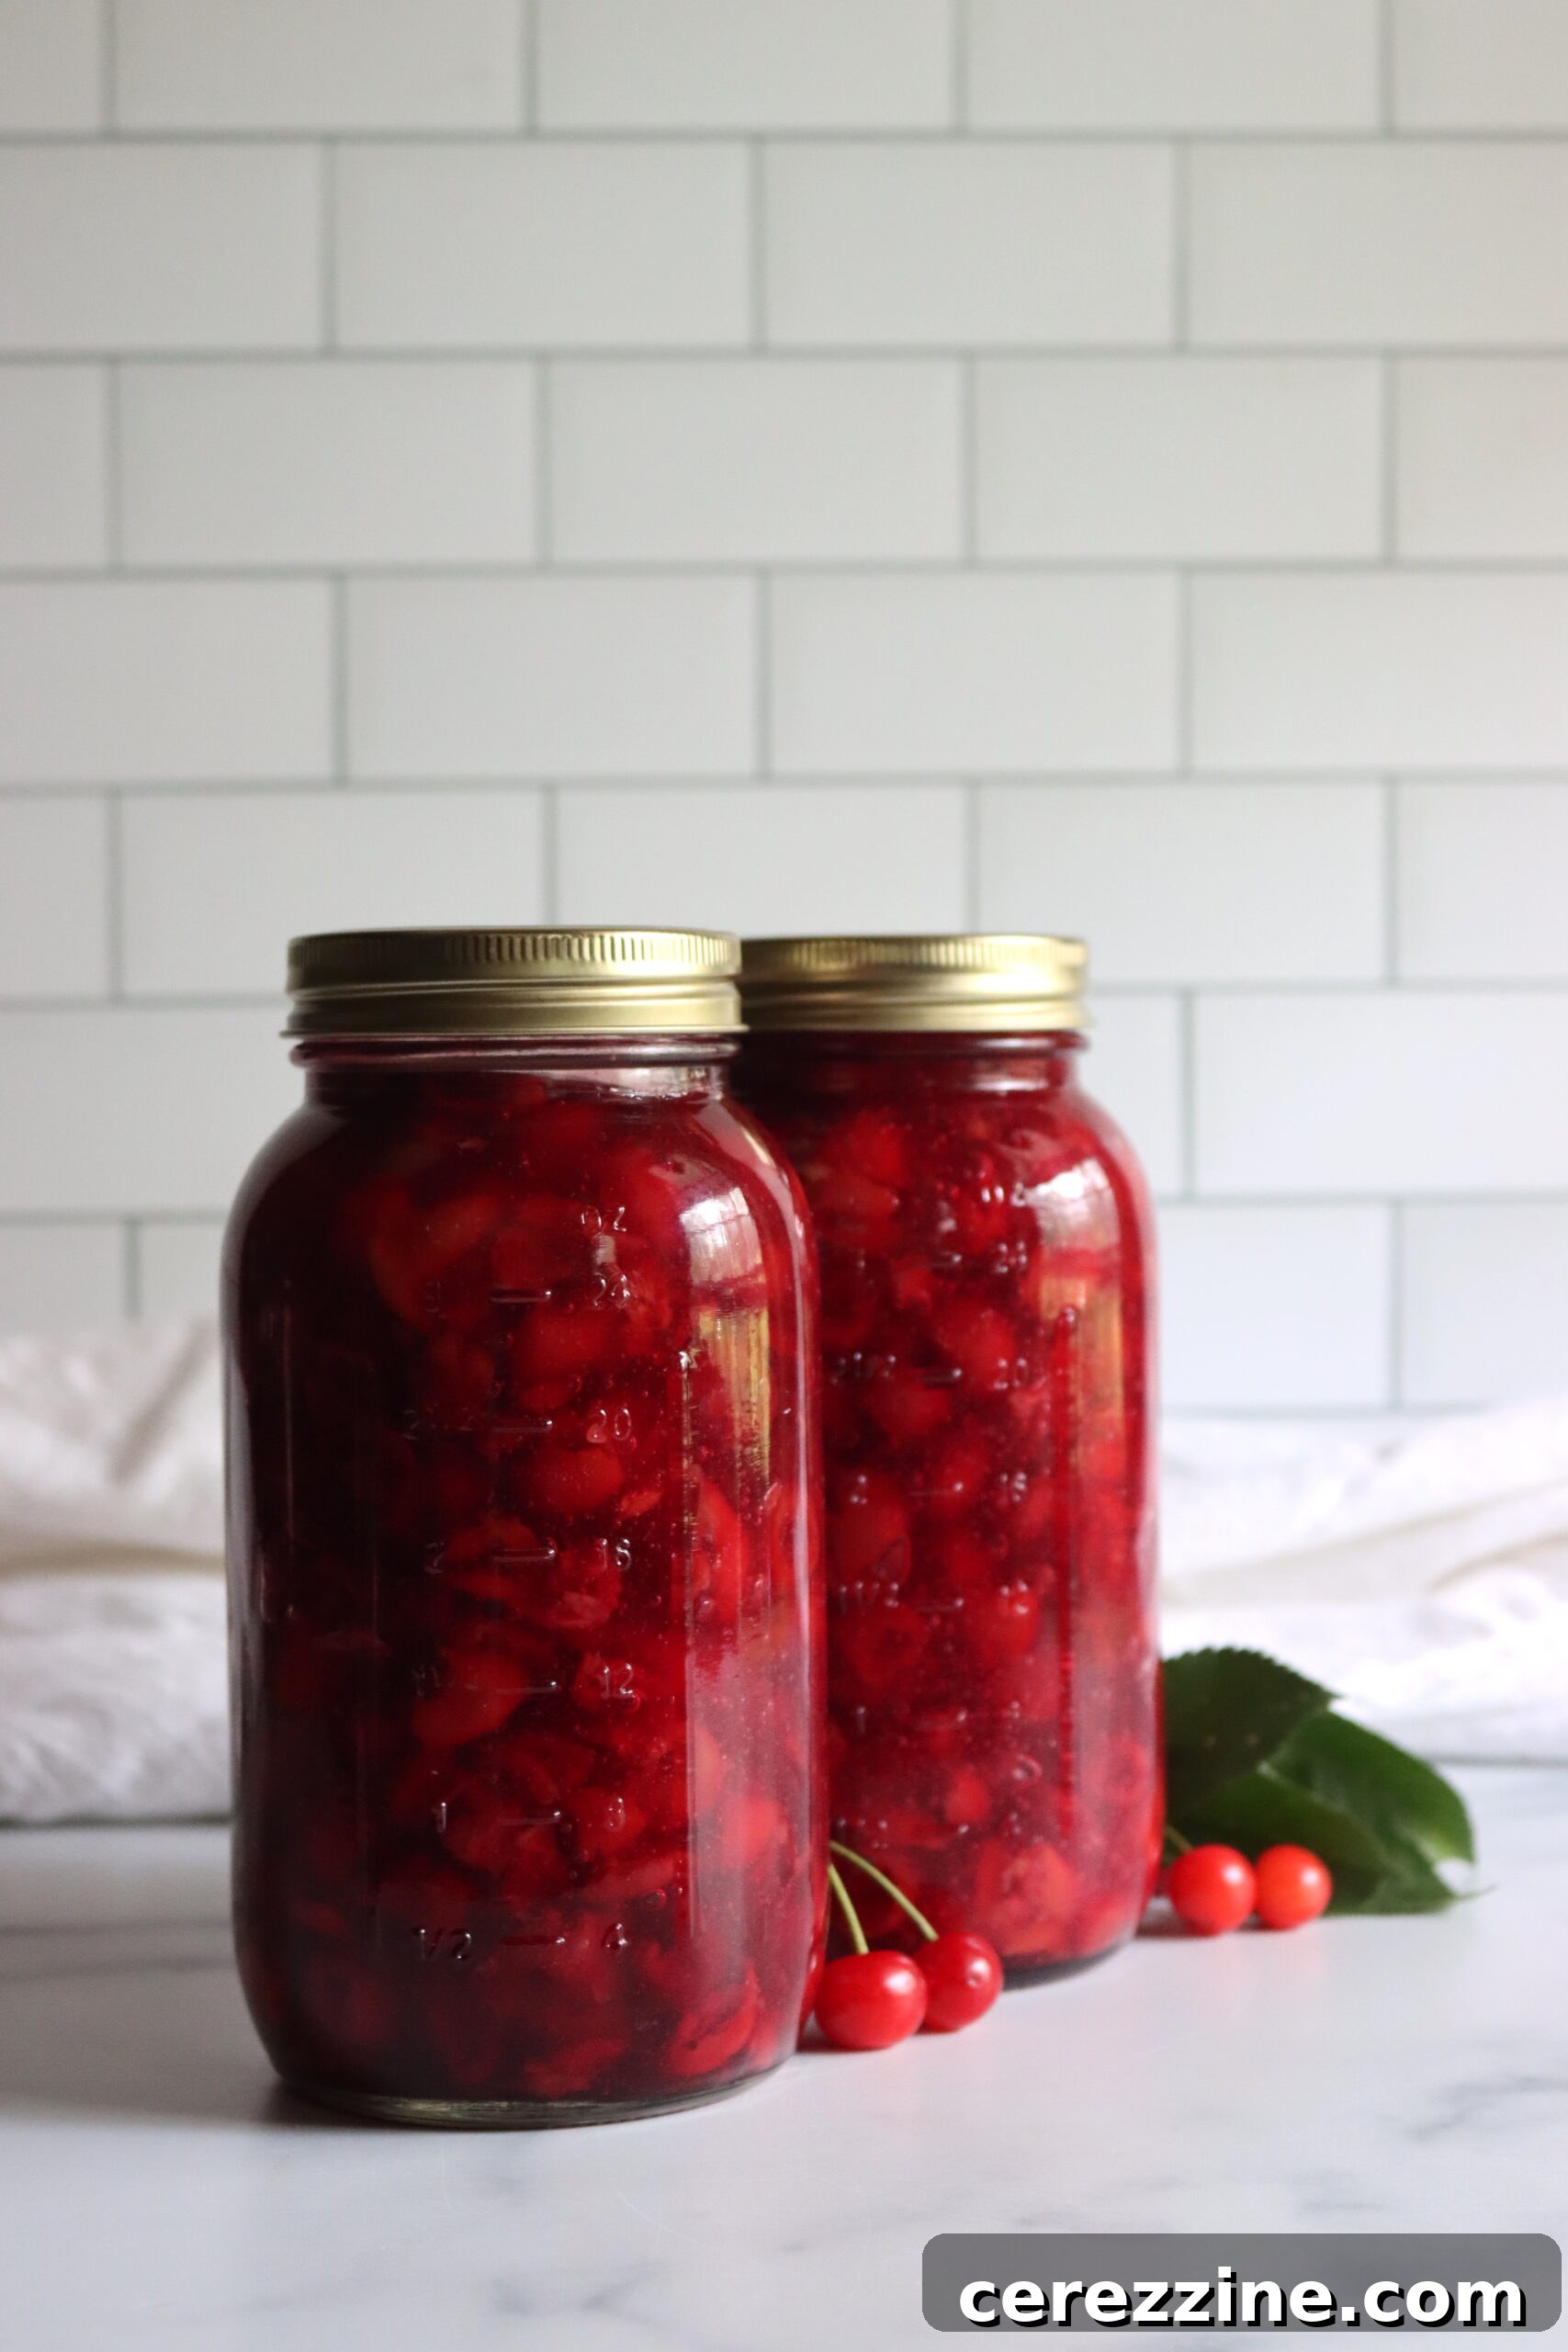
Mastering the Canning Process: Step-by-Step Guide
Canning cherry pie filling is a straightforward process when you follow the steps carefully. If you are new to water bath canning, a comprehensive beginner’s guide to water bath canning is highly recommended before you begin.
Preparing Your Cherries for Canning
- Prepare Jars and Canner: Begin by preparing your canning jars, lids, and a water bath canner. Jars should be sterilized and kept warm until filling.
- Process Fresh or Frozen Cherries:
- If using frozen fruit, set it out to thaw in a colander placed over a bowl to collect any thawing liquid. If the fruit was sweetened, rinse off the sugar while it’s still frozen. The collected juice can be measured and substituted for a portion of the cold water in the recipe, enhancing cherry flavor.
- For fresh cherries, rinse them thoroughly, remove stems, and pit them. To prevent stem-end browning, an optional cosmetic step is to submerge pitted cherries in a solution of 1 teaspoon ascorbic acid crystals (or six 500-mg vitamin C tablets) mixed into a gallon of water.
- Blanch Fresh Cherries (if using fresh): Bring a pot of water to a boil. Cook fresh cherries in batches for one minute, then drain and place them in a covered bowl or pot to keep warm. Set the fruit aside.
Crafting the Perfect Filling Base
- Mix Dry Ingredients: In a large, heavy-bottomed pot, combine the Clear Jel and granulated sugar. Whisk or stir thoroughly to ensure the Clear Jel is completely dissolved and no lumps remain. This step is crucial to prevent clumping when heat is applied.
- Add Liquids and Spices: Gradually add the cold water (or collected cherry juice) and any desired spices or extracts (cinnamon, almond extract) to the sugar and Clear Jel mixture. Continue stirring until everything is smoothly incorporated.
- Thicken the Mixture: Place the pot over medium-high heat. Stir the mixture constantly as it warms and thickens. Once it begins to bubble, add the bottled lemon juice. Continue boiling and stirring for one more minute to ensure proper thickening and acidity.
Filling and Sealing Your Jars
- Incorporate Cherries:
- If using blanched fresh fruit: Remove the thickened mixture from the heat, gently fold in the warm, blanched cherries.
- If using frozen (thawed) fruit: Add the thawed cherries to the thickened mixture and return it to a boil briefly before removing it from the heat.
- Fill Jars: Carefully ladle the hot cherry pie filling into the prepared, warm canning jars, leaving a precise 1-inch headspace. This headspace is essential for proper sealing and to prevent siphoning. Use a de-bubbler tool or a non-metallic spatula to remove any trapped air bubbles in the jars.
- Clean Rims and Seal: Wipe the rims of the jars clean with a damp cloth to remove any residue that could interfere with the seal. Apply two-part canning lids, tightening the bands fingertip-tight.
Water Bath Canning: The Safety Protocol
- Process in Canner: Immediately place the filled and sealed jars into the water bath canner. Ensure the jars are covered by at least 1-2 inches of simmering water. Bring the water to a full rolling boil, then process for 30 minutes, adjusting the processing time for your specific altitude.
- Cool Down: Once the processing time is complete, turn off the heat but leave the jars in the hot water for an additional 10 minutes. This gradual cooling helps reduce the chances of siphoning (liquid loss from the jars).
- Final Resting: Carefully remove the jars from the canner using a jar lifter and place them upright on a towel-covered surface, away from drafts and other kitchen activities. Allow them to cool undisturbed for 12 to 24 hours.
- Check Seals and Store: After cooling, check all jar seals. A properly sealed lid will be concave and will not flex when pressed. Any unsealed jars should be refrigerated and consumed within a short period. Properly sealed and stored jars of cherry pie filling will maintain peak quality for up to one year. Store them in a cool, dry, dark place. Refrigerate any opened jars.
Altitude Adjustments for Safe Canning
Altitude affects the boiling point of water, so processing times must be adjusted to ensure food safety. Always use the appropriate processing time for your elevation:
- 0 to 1,000 Feet in Elevation: 30 minutes
- 1,001 to 3,000 Feet in Elevation: 35 minutes
- 3,001 to 6,000 Feet in Elevation: 40 minutes
- Above 6,000 Feet in Elevation: 45 minutes
Utilizing Cherry Juice for Enhanced Flavor
To infuse your pie filling with an even more intense cherry flavor, consider substituting some of the water in the recipe with cherry juice.
Collecting Thawing Juice
As mentioned, if you’re using frozen cherries, collect the liquid that thaws out by placing a bowl beneath your colander. This flavorful juice can replace a portion of the cold water in your pie filling recipe.
Extracting Juice from Fresh Cherries
If you have an abundance of fresh cherries, you can easily extract your own juice. This process is similar to making cherry jelly. Simmer the pitted or unpitted cherries in a small amount of water for about 15 minutes, or until the fruit begins to break down. Gently mash the cherries to release more juice. Strain the mixture through cheesecloth or a jelly bag, allowing the juice to drip through. This can be prepared ahead of time and stored in the refrigerator until you’re ready to make your pie filling. A countertop juicer can also be used, but remember to pit the cherries first. While you could use other fruit juices, keep in mind that they will alter the pure cherry flavor. For an authentic cherry experience, aim to substitute about ¼ to ½ of the water with cherry juice.
Creative Ways to Enjoy Your Home-Canned Cherry Pie Filling
While a classic cherry pie is always a winner, your home-canned cherry pie filling is incredibly versatile and can be used in a multitude of delicious ways beyond just pies.
Classic Desserts and Beyond
Spoon it generously over slices of pound cake, chocolate desserts, or vanilla ice cream for a quick and elegant treat. It makes a fantastic filling for cupcakes, crepes, or blintzes. For a delightful no-bake option, slather it over chilled cheesecake or layer it into picturesque cheesecake cups. Mix it into a glazed coffee cake or bake it into cherry bars for a comforting dessert.
Breakfast Treats and Savory Pairings
Start your day with a touch of sweetness by using your cherry pie filling as a topping for pancakes, waffles, or oatmeal. It’s also perfect for stuffing into homemade cherry danishes and turnovers. Don’t limit it to just sweet applications; a tangy cherry filling can sometimes be a surprising complement to savory dishes, like accompanying roasted pork or duck, offering a delightful balance of sweet and tart.
For a frosty indulgence, transform your filling into a no-churn cherry ice cream or a vibrant, pink cherry fluff. And if simplicity is what you crave, a sundae piled high with cherry pie filling, granola, and nuts, served with a scoop of vanilla ice cream, is pure bliss. The possibilities are truly endless!
Canning Cherry Pie Filling
Equipment
-
Water Bath Canner
Ingredients
For a Single Quart:
- 3 ⅓ cups sour cherries, fresh or thawed
- 1 cup granulated sugar
- ¼ cup + 1 Tbsp. Clear Jel
- 1 ⅓ cups cold water
- 1 Tbsp plus 1 teaspoon bottled lemon juice
- ⅛ tsp cinnamon, optional
- ¼ tsp almond extract, optional
For a 7 Quart Canner Batch:
- 6 quarts sour cherries, fresh or thawed
- 7 cups granulated sugar
- 1 ¾ cups Clear Jel
- 9 ⅓ cups cold water
- ½ cup bottled lemon juice
- 1 tsp cinnamon, optional
- 2 tsp almond extract, optional
Instructions
-
Begin by preparing jars, lids, and a water bath canner.
-
Fresh fruit should first be washed and pitted with (stems removed as well). Frozen cherries should be thawed beforehand, being set in a colander with a bowl placed below to collect the thawing juice (this juice can be measured and substituted for some of the water used later).
-
Bring some water to a boil to blanch fresh fruit. Once boiling, cook cherries for one minute after the water has returned to boil. Drain or remove with a slotted spoon and place in a covered bowl or pot to keep warm.
-
In a large pot, combine sugar and Clear Jel, adding in cold water (or juice) and any spices or extracts as desired. Whisk or stir well until the Clear Jel dissolves entirely.
-
Once well mixed, set to medium-high heat and stir the mixture as it warms and thickens.
-
When bubbling, add the lemon juice. Boil for 1 minute, stirring continually throughout the process.
-
If using blanched fruit, remove from heat, fold in warm cherries, and immediately ladle into prepared canning jars. If using frozen fruit, add them to the mixture and return to boil before removing from heat and ladling into jars.
-
Wipe rims of any lingering residue, apply 2-part canning lids, and immediately process in a water bath canner for 30 minutes, adjusting time for altitude.
-
After processing time is complete, turn off the water bath canner and allow jars to rest for another 10 minutes before removing them to prevent siphoning. Remove with a jar lifter and place on a towel-covered surface.
-
Check seals after 12 to 24 hours. Any unsealed jars should be moved to the refrigerator and consumed shortly. Jars that are properly sealed and stored will be of peak quality for one year. Refrigerate after opening.
Notes
Be sure to keep jars and fruit warm throughout this process. Jars should be sterilized right before beginning this recipe and kept warm until filled. The hot jars of pie filling should be immediately processed in a water bath canner.
Altitude adjustments for pints and quarts are as follows:
- 0 to 1,000 Feet in Elevation: 30 minutes
- 1,001 to 3,000 Feet in Elevation: 35 minutes
- 3,001 to 6,000 Feet in Elevation: 40 minutes
- Above 6,000 Feet in Elevation: 45 minutes
Once processing time is complete, turn off your water bath canner and allow jars to rest for another 10 minutes before removing. This will reduce the chances of siphoning. Place hot, processed jars on a towel to rest – placing jars directly on cold countertops can cause thermal shock, resulting in cracked jars.
Nutrition
Calories: 136kcal, Carbohydrates: 33g, Protein: 0.4g, Fat: 0.1g, Saturated Fat: 0.02g, Polyunsaturated Fat: 0.02g, Monounsaturated Fat: 0.02g, Sodium: 21mg, Potassium: 124mg, Fiber: 1g, Vitamin A: 243IU, Vitamin C: 4mg, Calcium: 13mg, Iron: 0.3mg
Nutrition information is automatically calculated, so should only be used as an approximation.
Explore More Home Canning Adventures
Other Delightful Pie Fillings to Can
Once you’ve mastered cherry pie filling, you might want to explore other delicious fruit fillings for your pantry:
- Canning Apple Pie Filling
- Canning Blackberry Pie Filling
- Canning Peach Pie Filling
- Canning Cherry Pie Filling
Essential Fruit Canning Recipes
Beyond pie fillings, the world of fruit canning offers endless possibilities to stock your pantry with seasonal goodness. Discover more fantastic fruit canning recipes:
- Canning Peaches
- Canning Blackberries
- Canning Plums
- Canning Blueberries
- Canning Cherries