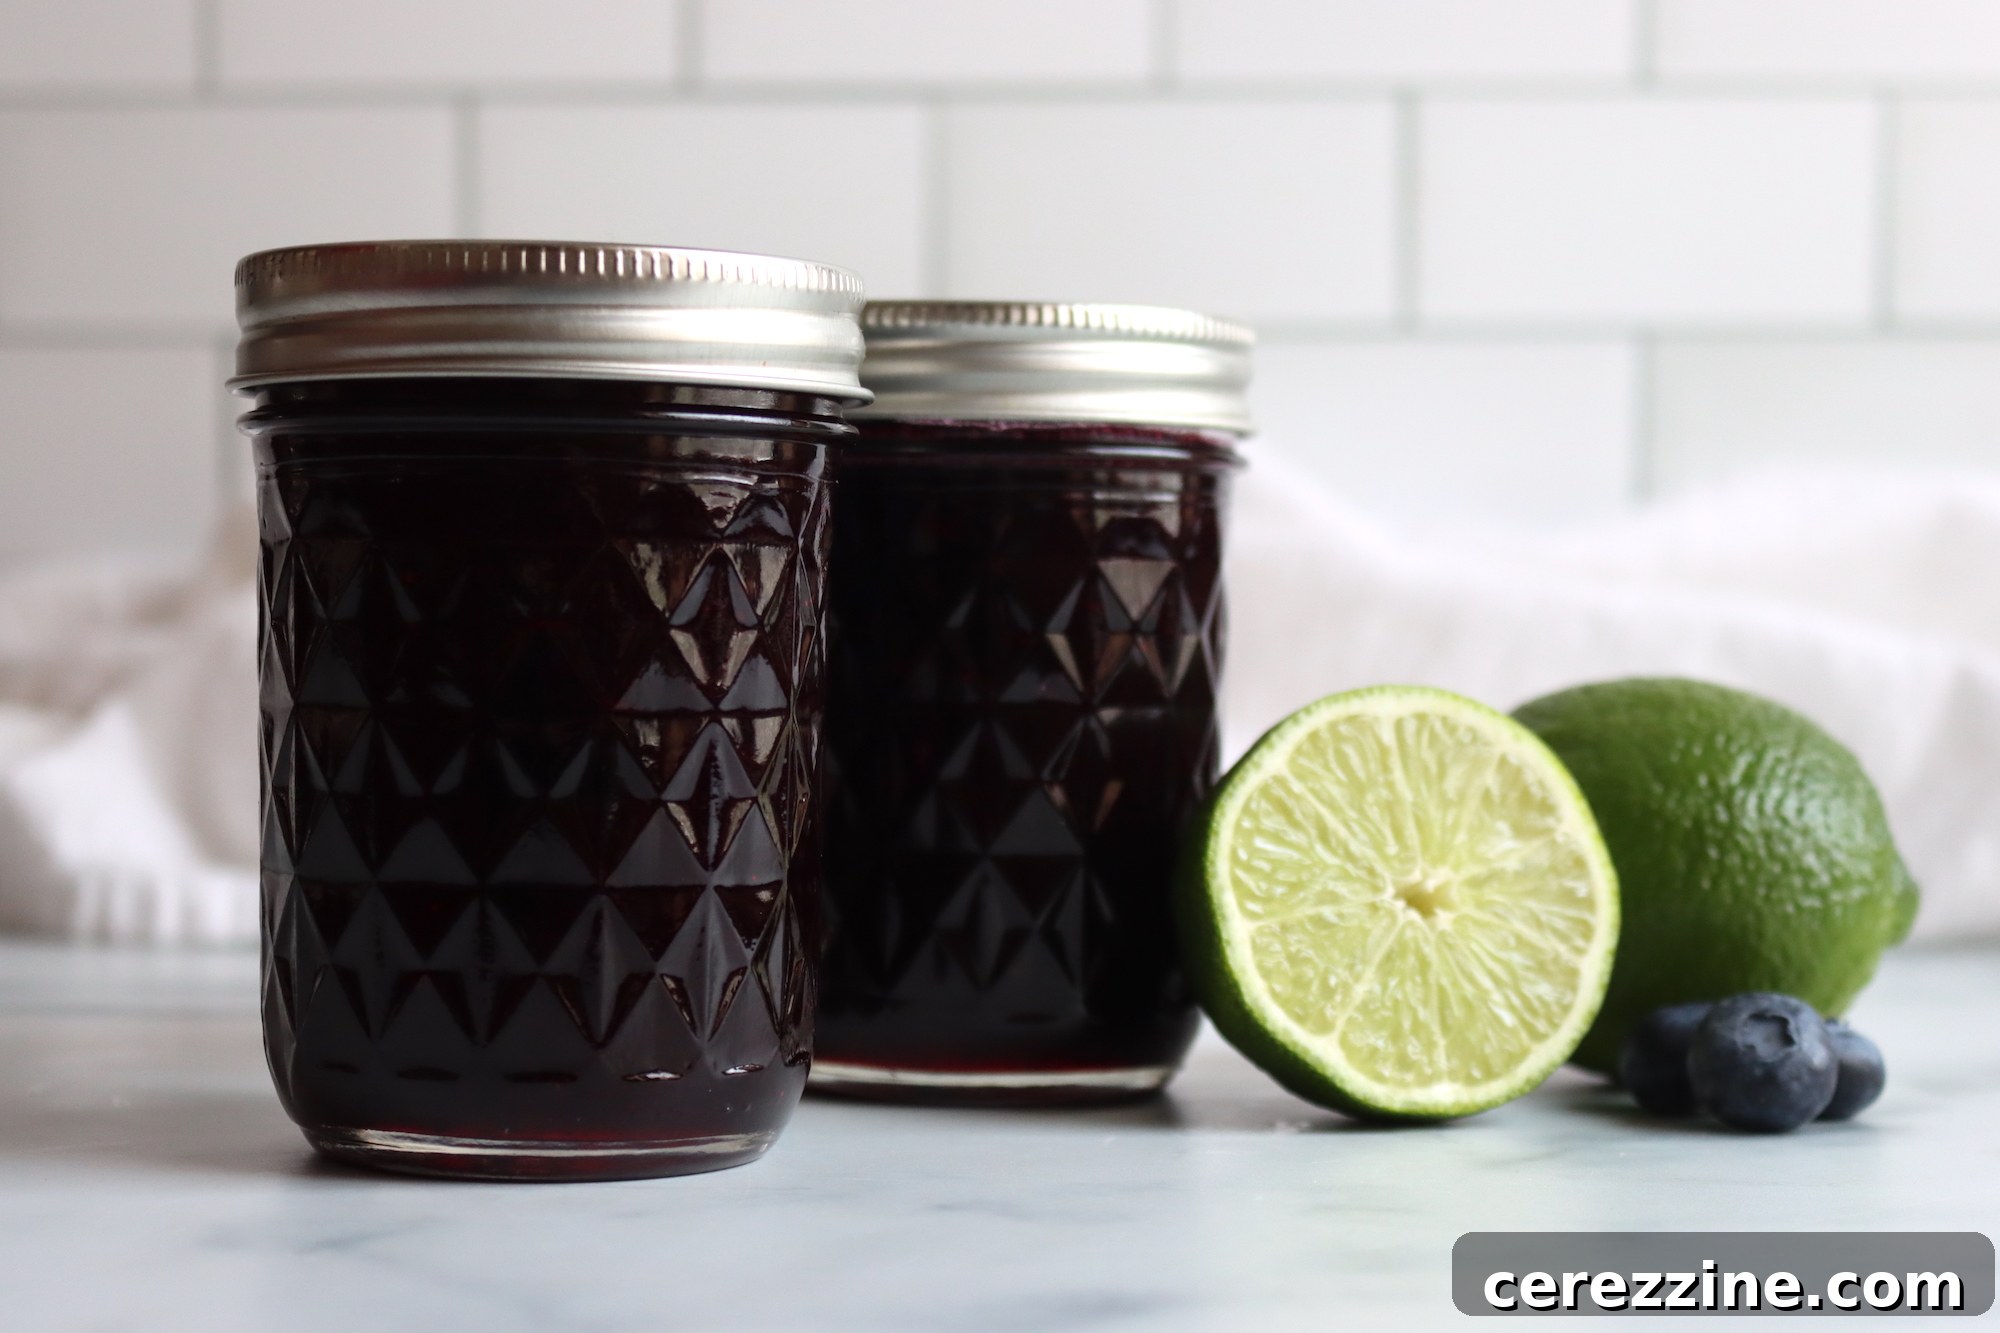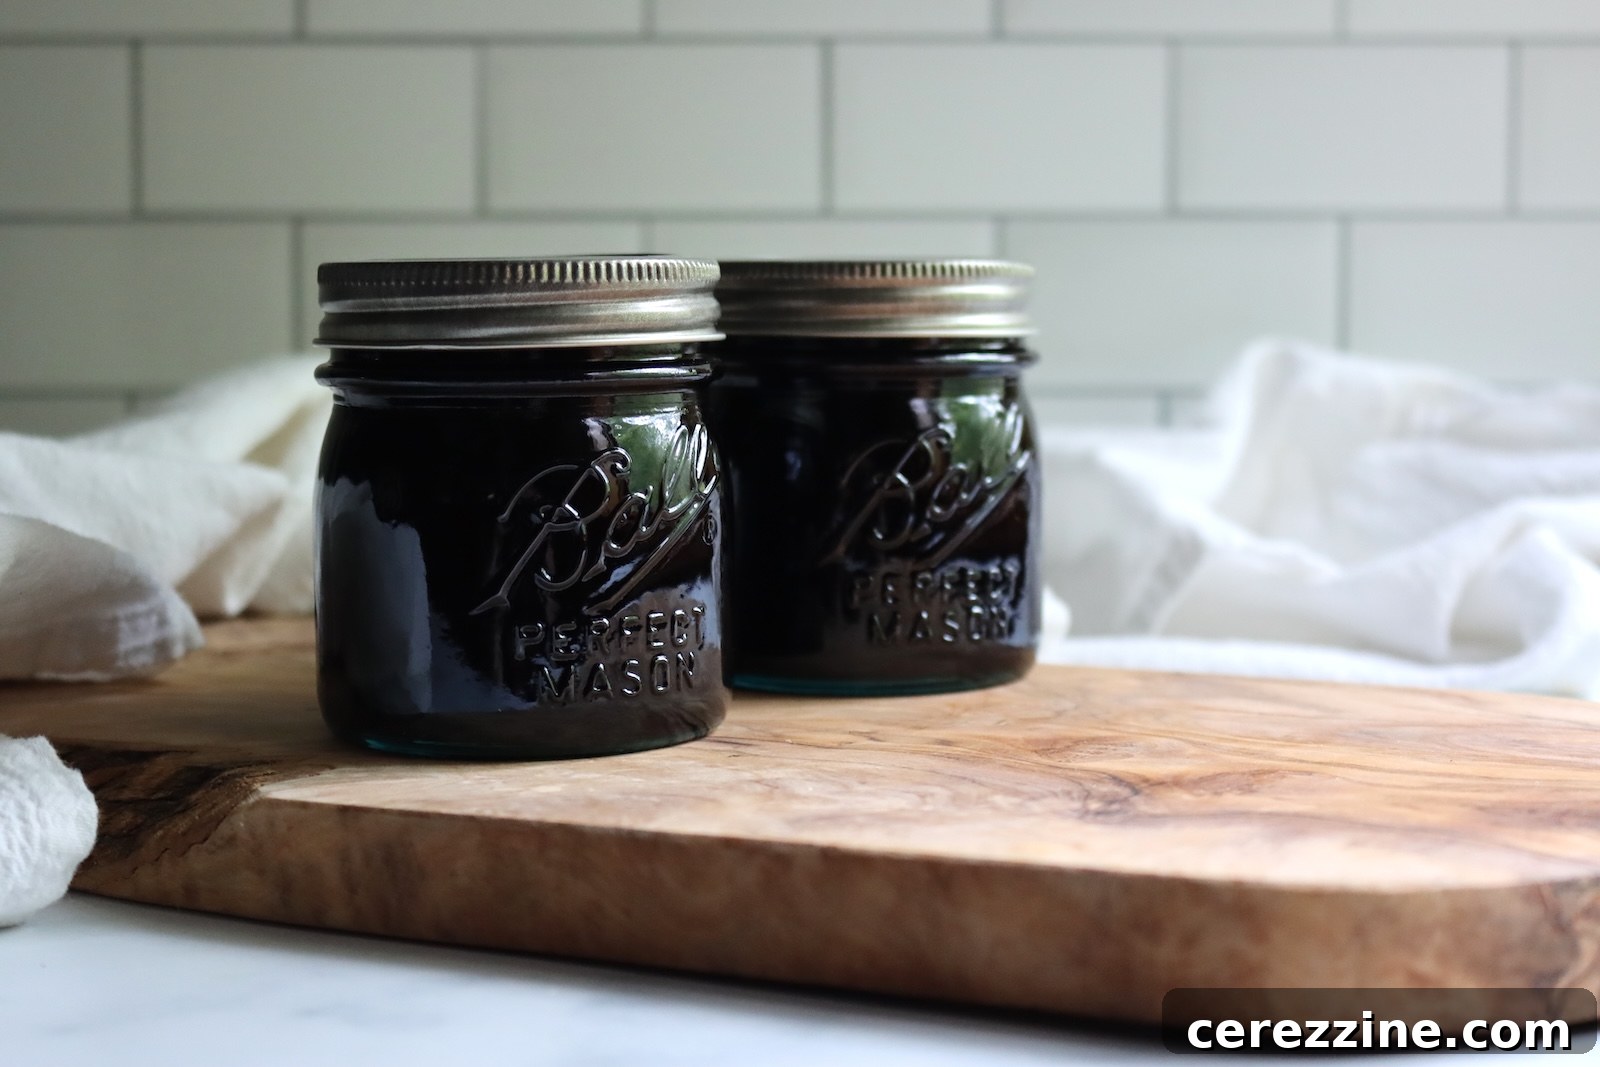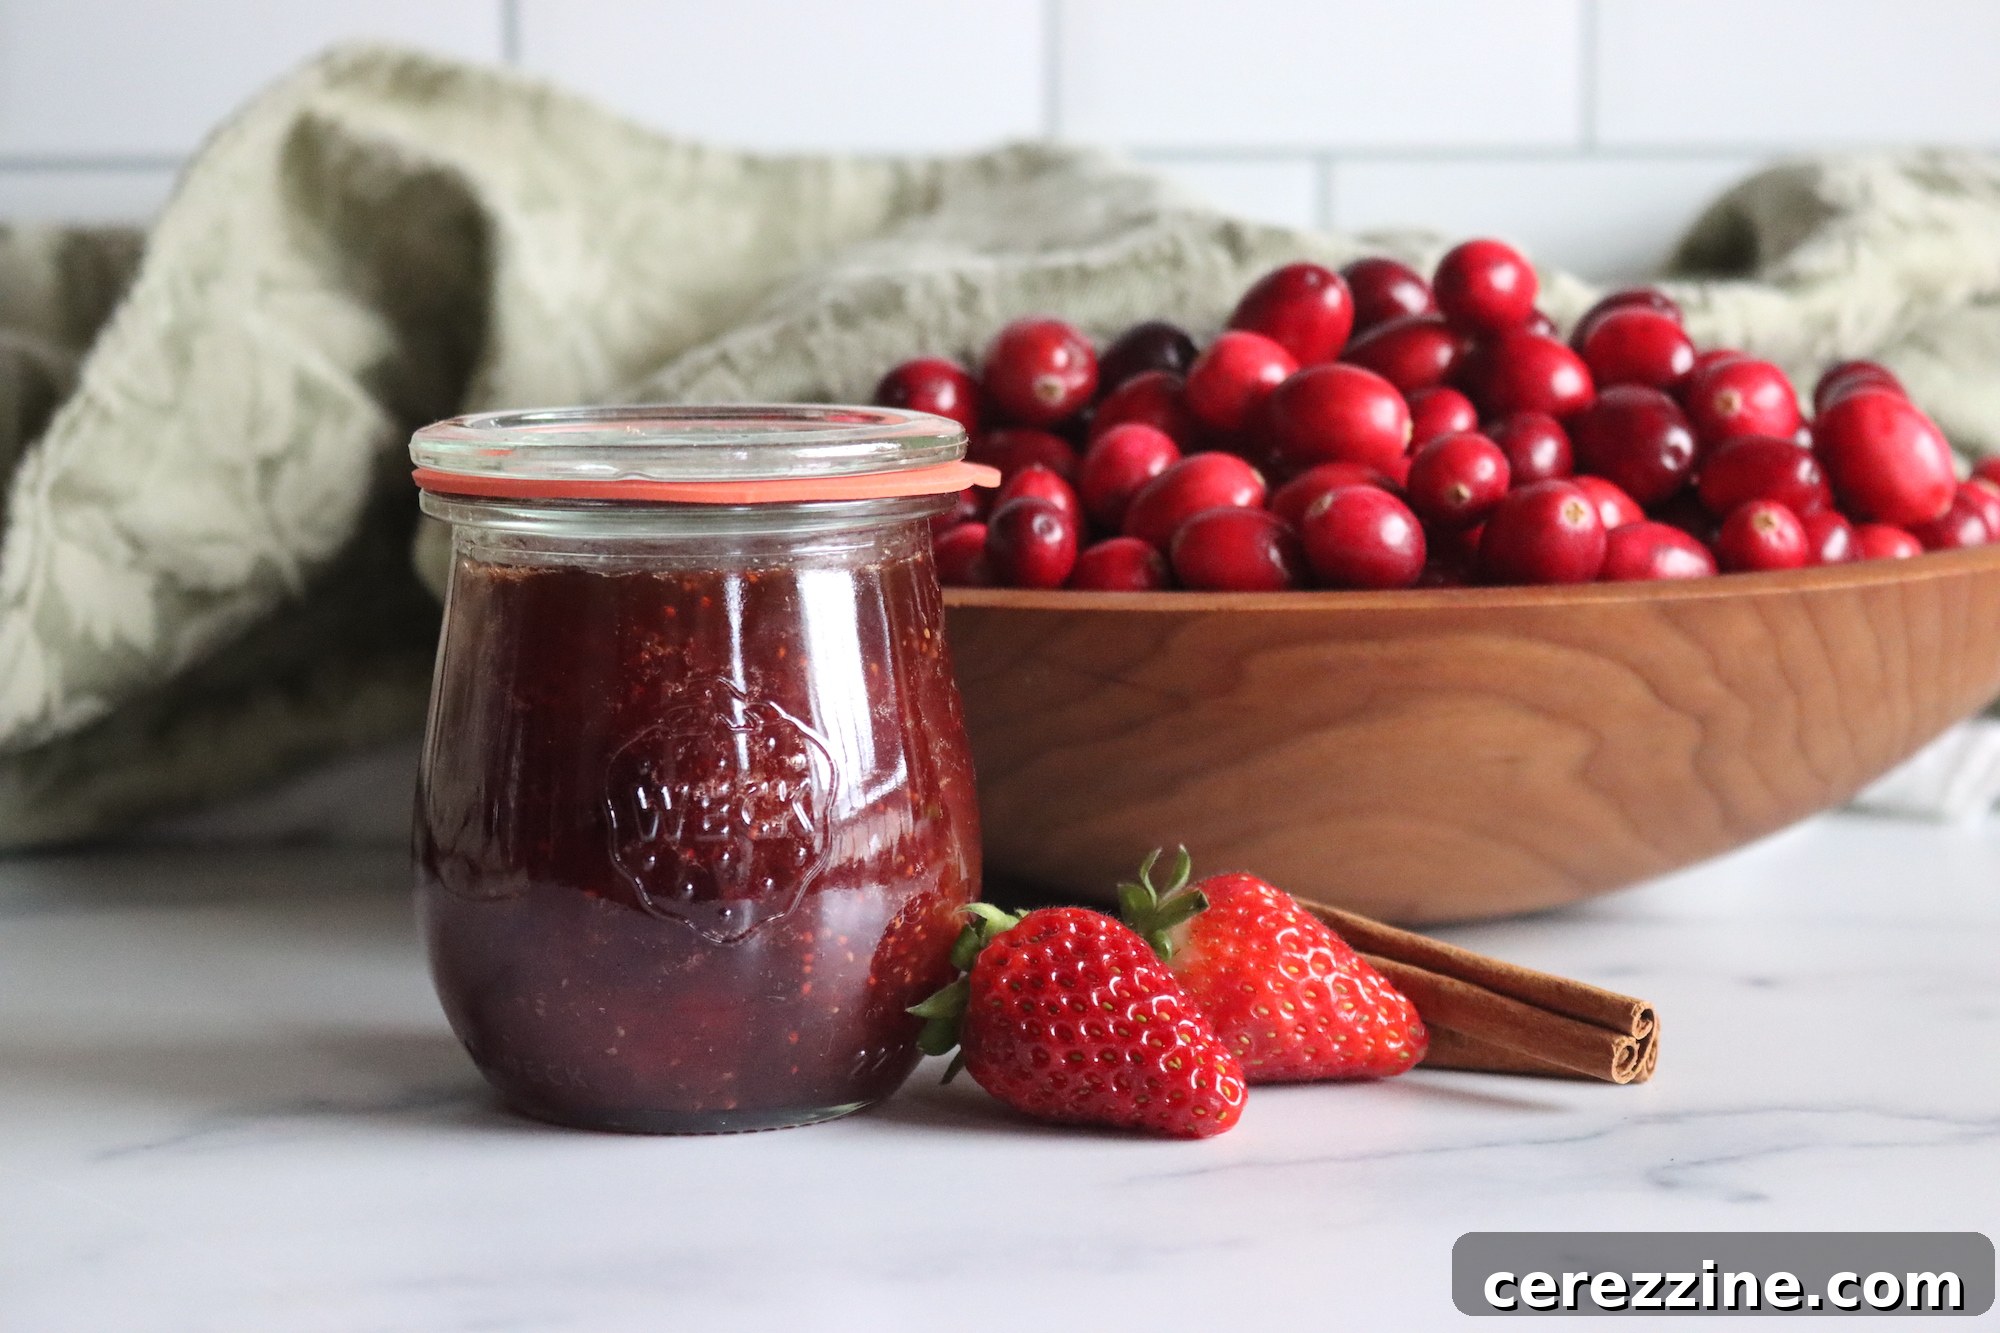
The holiday season is a time for warmth, joy, and delicious homemade treats. Among these cherished traditions, a jar of homemade Christmas jam stands out as a true embodiment of festive spirit. Imagine capturing the cozy embrace of holiday spices and the vibrant flavors of seasonal fruits, all in one delightful spread. This isn’t just any jam; it’s a celebration in a jar, perfect for sharing the cheer with loved ones or savoring by yourself throughout the cooler months.
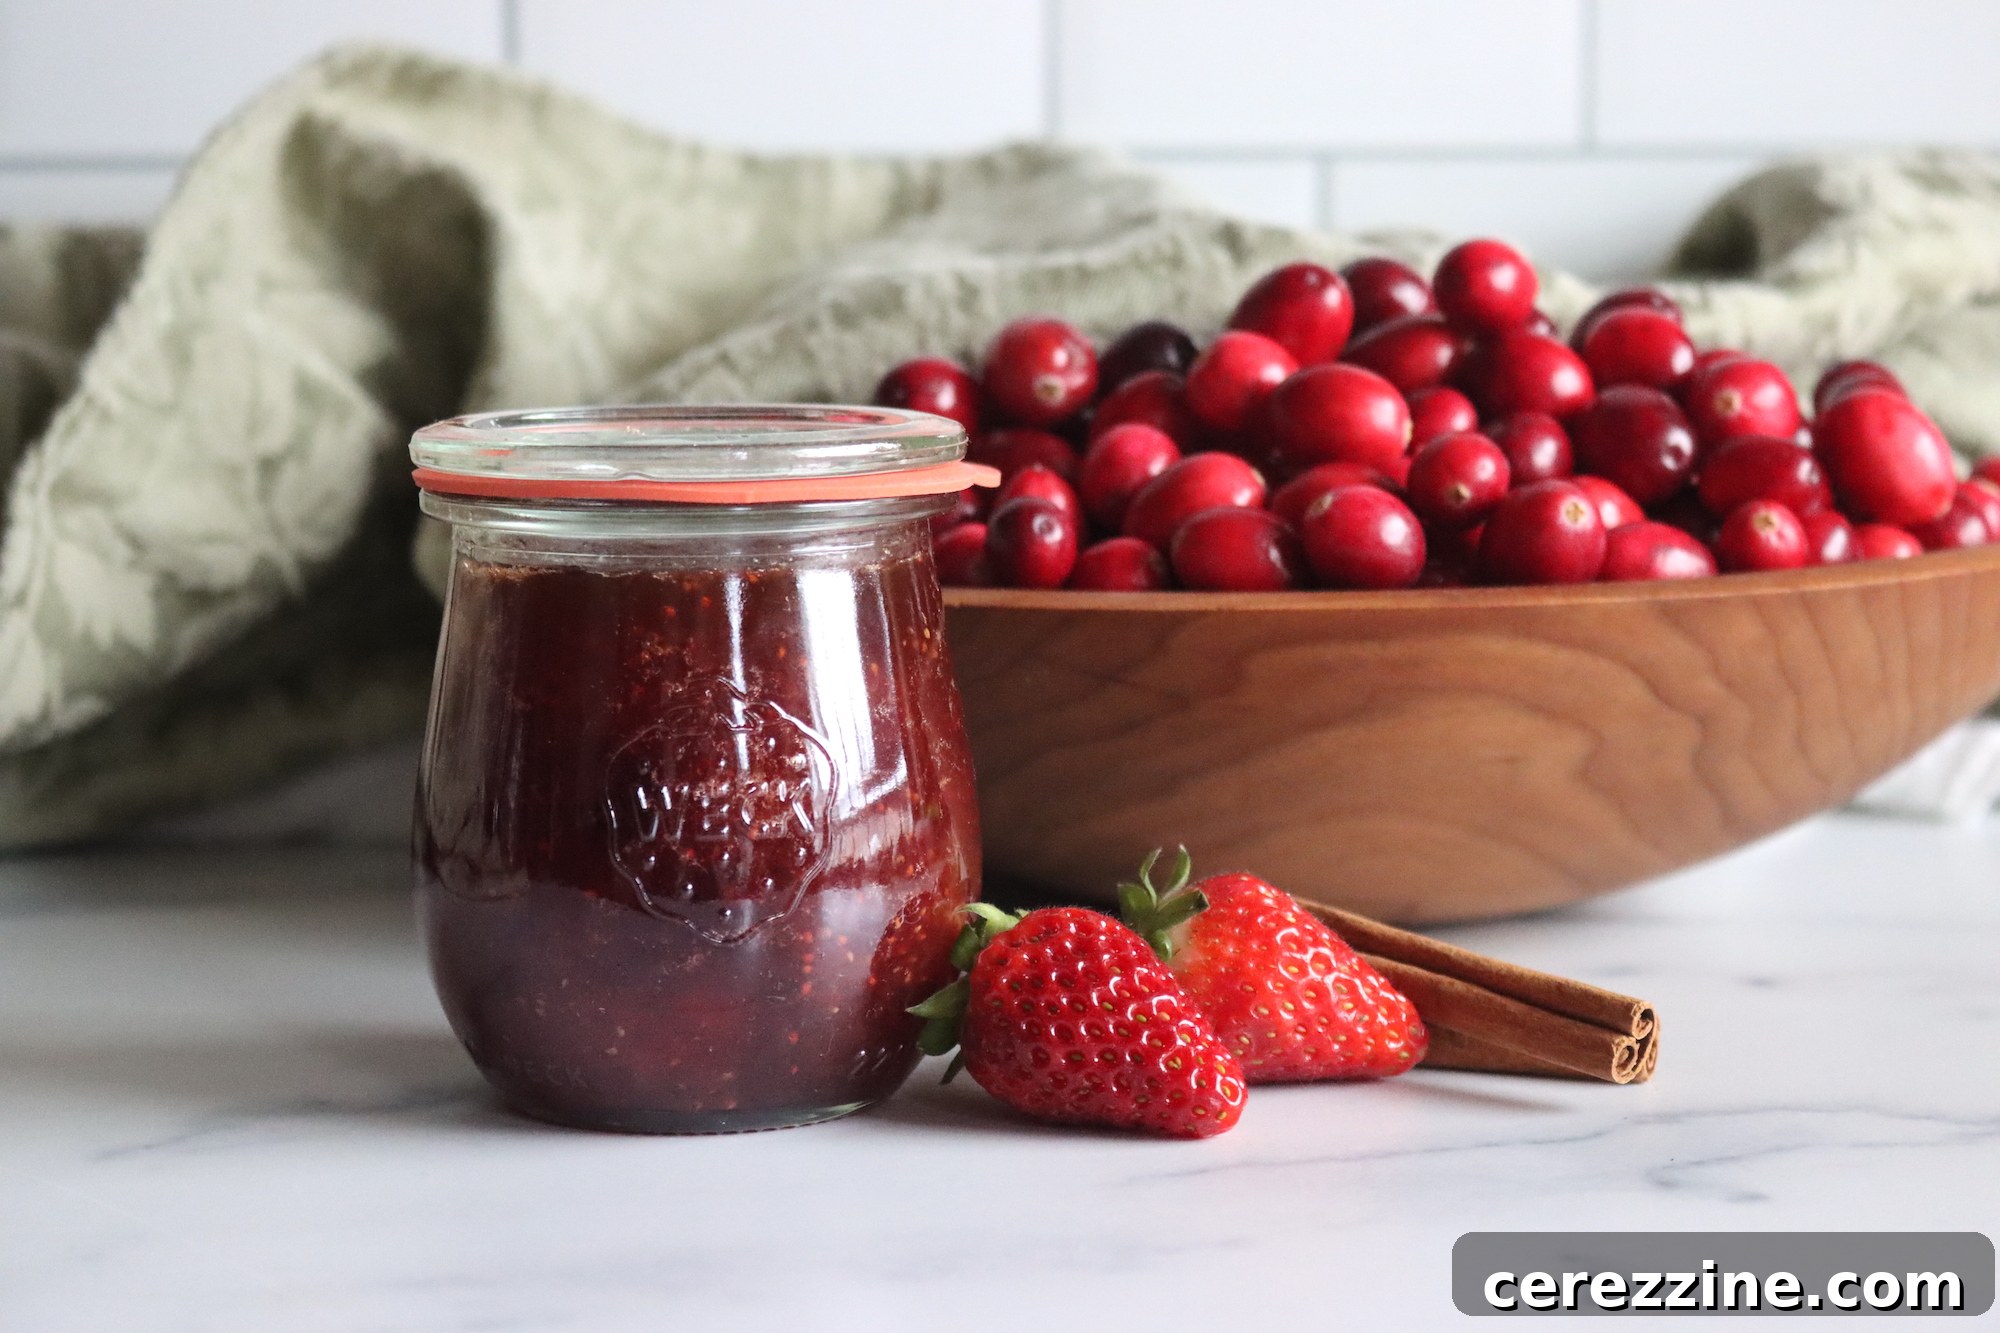
This exquisite Christmas jam combines the tartness of cranberries, the sweetness of strawberries, and the bright zest of oranges, all infused with a comforting blend of warm spices. What makes this recipe particularly appealing is its reliance on the natural pectin found in fresh cranberries, eliminating the need for any artificial boxed pectin. This results in a beautifully set, naturally flavorful jam that truly tastes homemade. It’s incredibly versatile, serving as a charming addition to breakfast toast, a gourmet element in gift baskets, or even a sophisticated topping for your favorite holiday desserts.
Beyond its delicious taste and festive appeal, making your own Christmas jam is a rewarding experience. It’s a wonderful way to preserve the bounty of seasonal fruits, allowing you to enjoy their fresh flavors long after the holidays have passed. Plus, the process of creating something so special with your own hands adds an extra layer of warmth to your holiday preparations. If you’re looking for an easy yet impressive recipe to elevate your festive celebrations, look no further. Crafting this spiced berry and orange jam is simpler than you might imagine, and the results are truly spectacular.
Essential Ingredients for Festive Strawberry Cranberry Jam
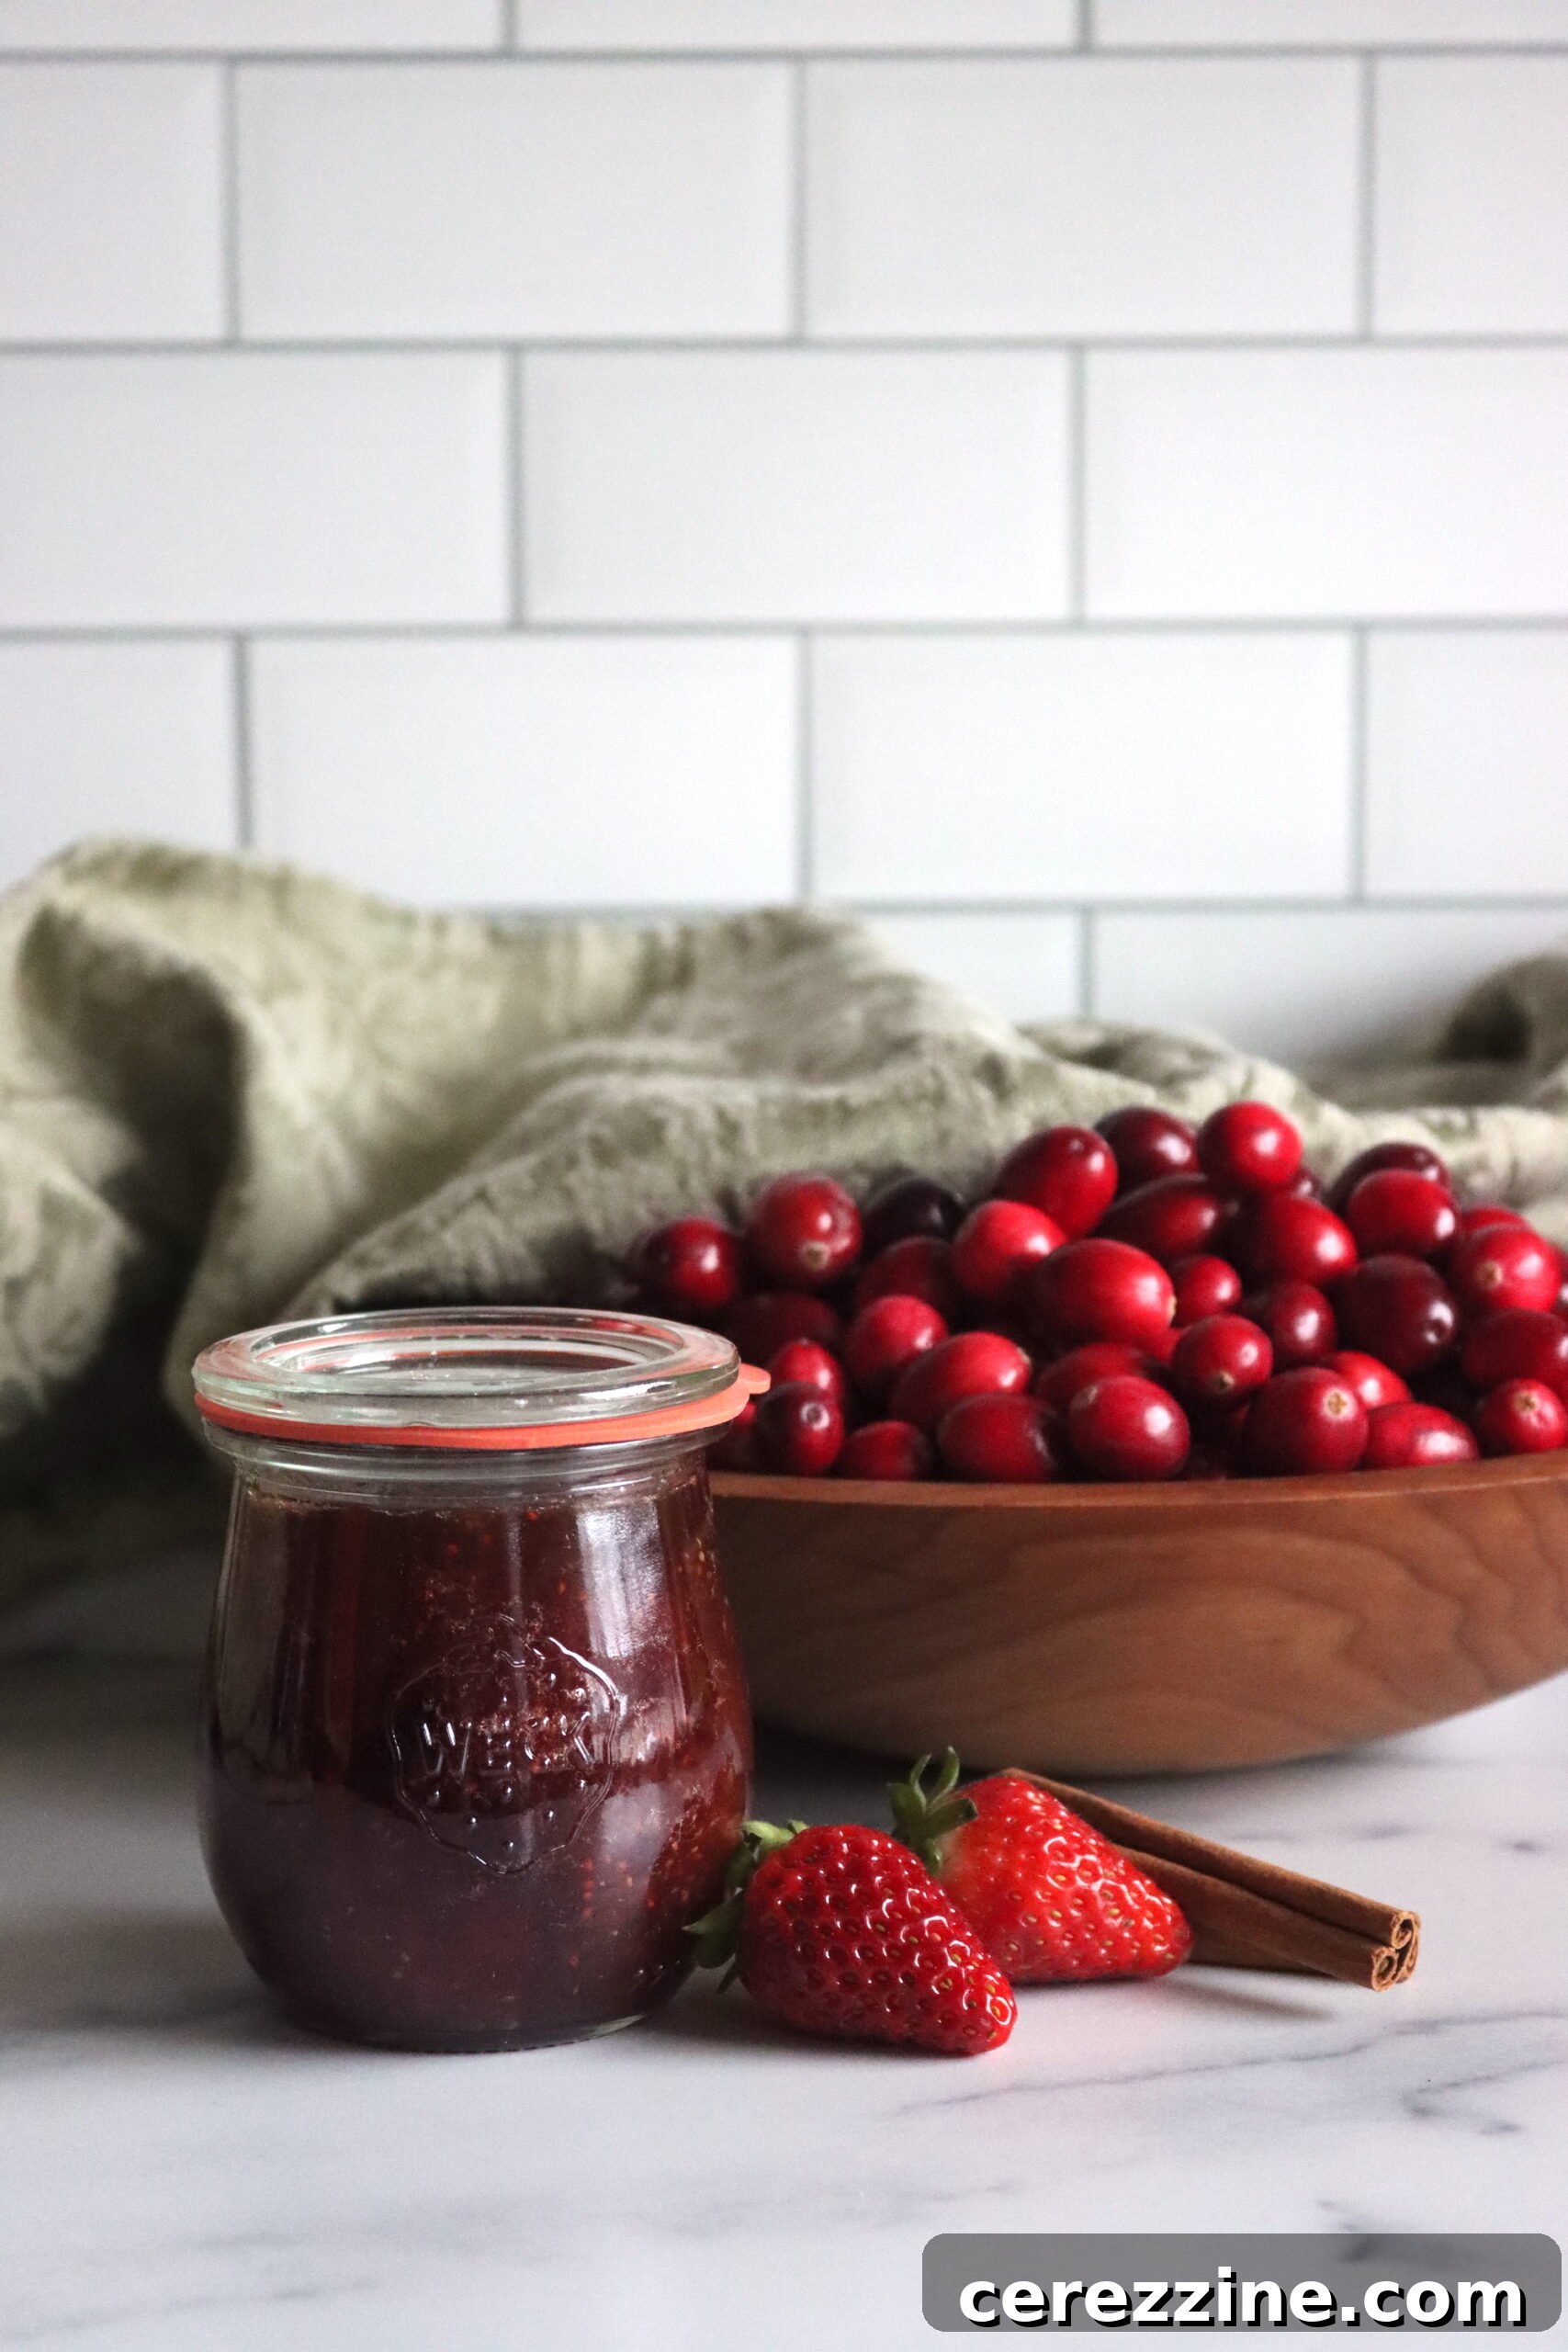
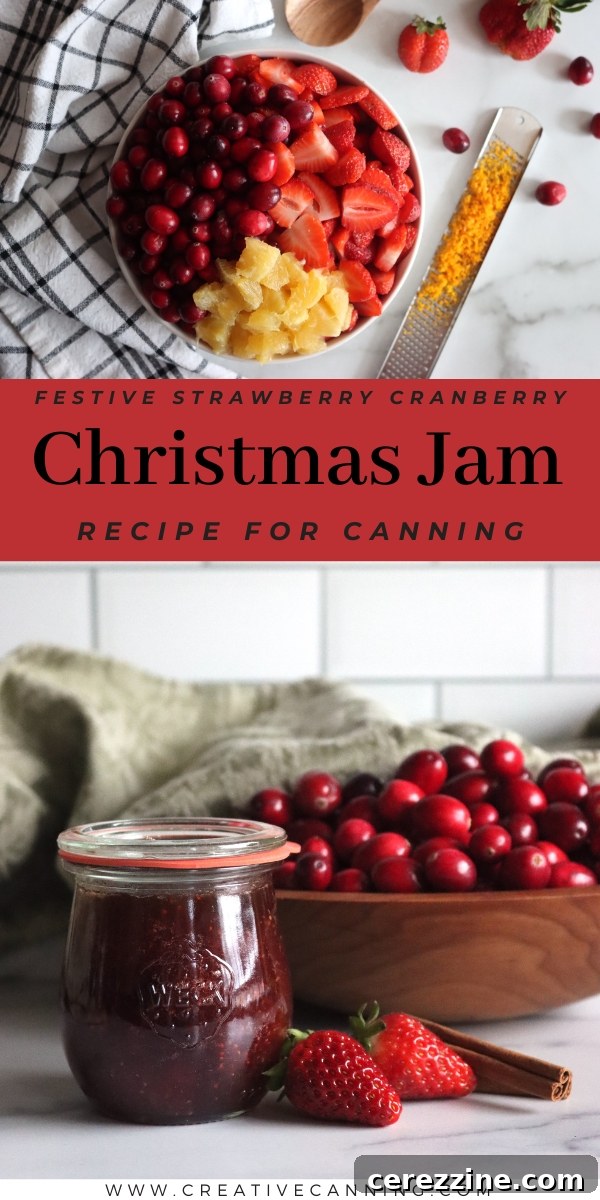
Creating a batch of this vibrant Christmas jam requires only a handful of fresh ingredients, making it accessible for even novice canners. The beauty of this recipe lies in the natural synergy of its components, delivering a robust flavor profile without complex additions. For a standard canner batch, which typically yields four to five 8-ounce (half-pint) jam jars, you’ll need the following:
- 12 oz (approximately 340g) bag of fresh cranberries
- 1 lb (approximately 450g) fresh strawberries
- Zest and chopped fruit of one medium-sized orange
- ¼ cup (60ml) water or freshly squeezed orange juice
- 4 cups (approximately 800g) granulated sugar
- 1 whole cinnamon stick
One of the standout features of this Christmas jam is its reliance on the high natural pectin content found in cranberries. This means you won’t need to add any store-bought pectin, simplifying the process and allowing the pure fruit flavors to shine. While the cinnamon stick provides a fundamental warm note, feel free to customize your jam with additional spices to match your personal preference. For a more complex holiday aroma, consider adding ¼ teaspoon of ground cloves and ¼ teaspoon of allspice. However, if using ground spices, it’s often best to stir them in *after* the canning process, or just before serving, to prevent any potential discoloration or bitterness that can sometimes occur with prolonged cooking.
When working with cinnamon, particularly in jams that undergo a canning process, using a whole cinnamon stick is highly recommended. Ground cinnamon can sometimes develop a bitter taste during extended cooking times and can also darken the jam’s vibrant color. A whole stick, on the other hand, infuses its warm, sweet aroma gently into the mixture and can be easily removed before ladling the jam into jars, ensuring a clean flavor and beautiful presentation. Always select fresh, ripe fruits for the best flavor and natural pectin levels, as this will significantly impact the final quality and set of your homemade Christmas jam.
Step-by-Step Guide to Making Christmas Jam
Crafting this festive jam is a straightforward process that yields incredibly delicious results. The key is careful preparation and attention to detail, especially when it comes to hygiene and reaching the perfect gelling point. Here’s how to make your own batch of homemade Christmas jam:
Prepare Your Canning Equipment
Before you even begin preparing your fruit, it’s crucial to sanitize all your canning equipment. This includes your jars, lids, and rings. Proper sterilization prevents spoilage and ensures your jam remains safe for long-term storage.
There are a few effective ways to sterilize your jars:
- Water-Bath Method: Fill your water-bath canner about two-thirds full with water. Place your clean jars (empty) into the canner. Bring the water to a simmer over medium heat on your stove while you prepare the jam. The simmering water will sterilize the jars. Keep the lids and rings in a separate small saucepan of simmering (not boiling) water to soften the sealing compound and ensure they are sanitized.
- Dishwasher Method: If you have a dishwasher with a sterilization cycle, you can use it to clean and sterilize your jars. Ensure they are still hot when you’re ready to fill them.
Regardless of the method, ensure all equipment is clean and hot when you’re ready to fill the jars.
Cook the Jam Mixture
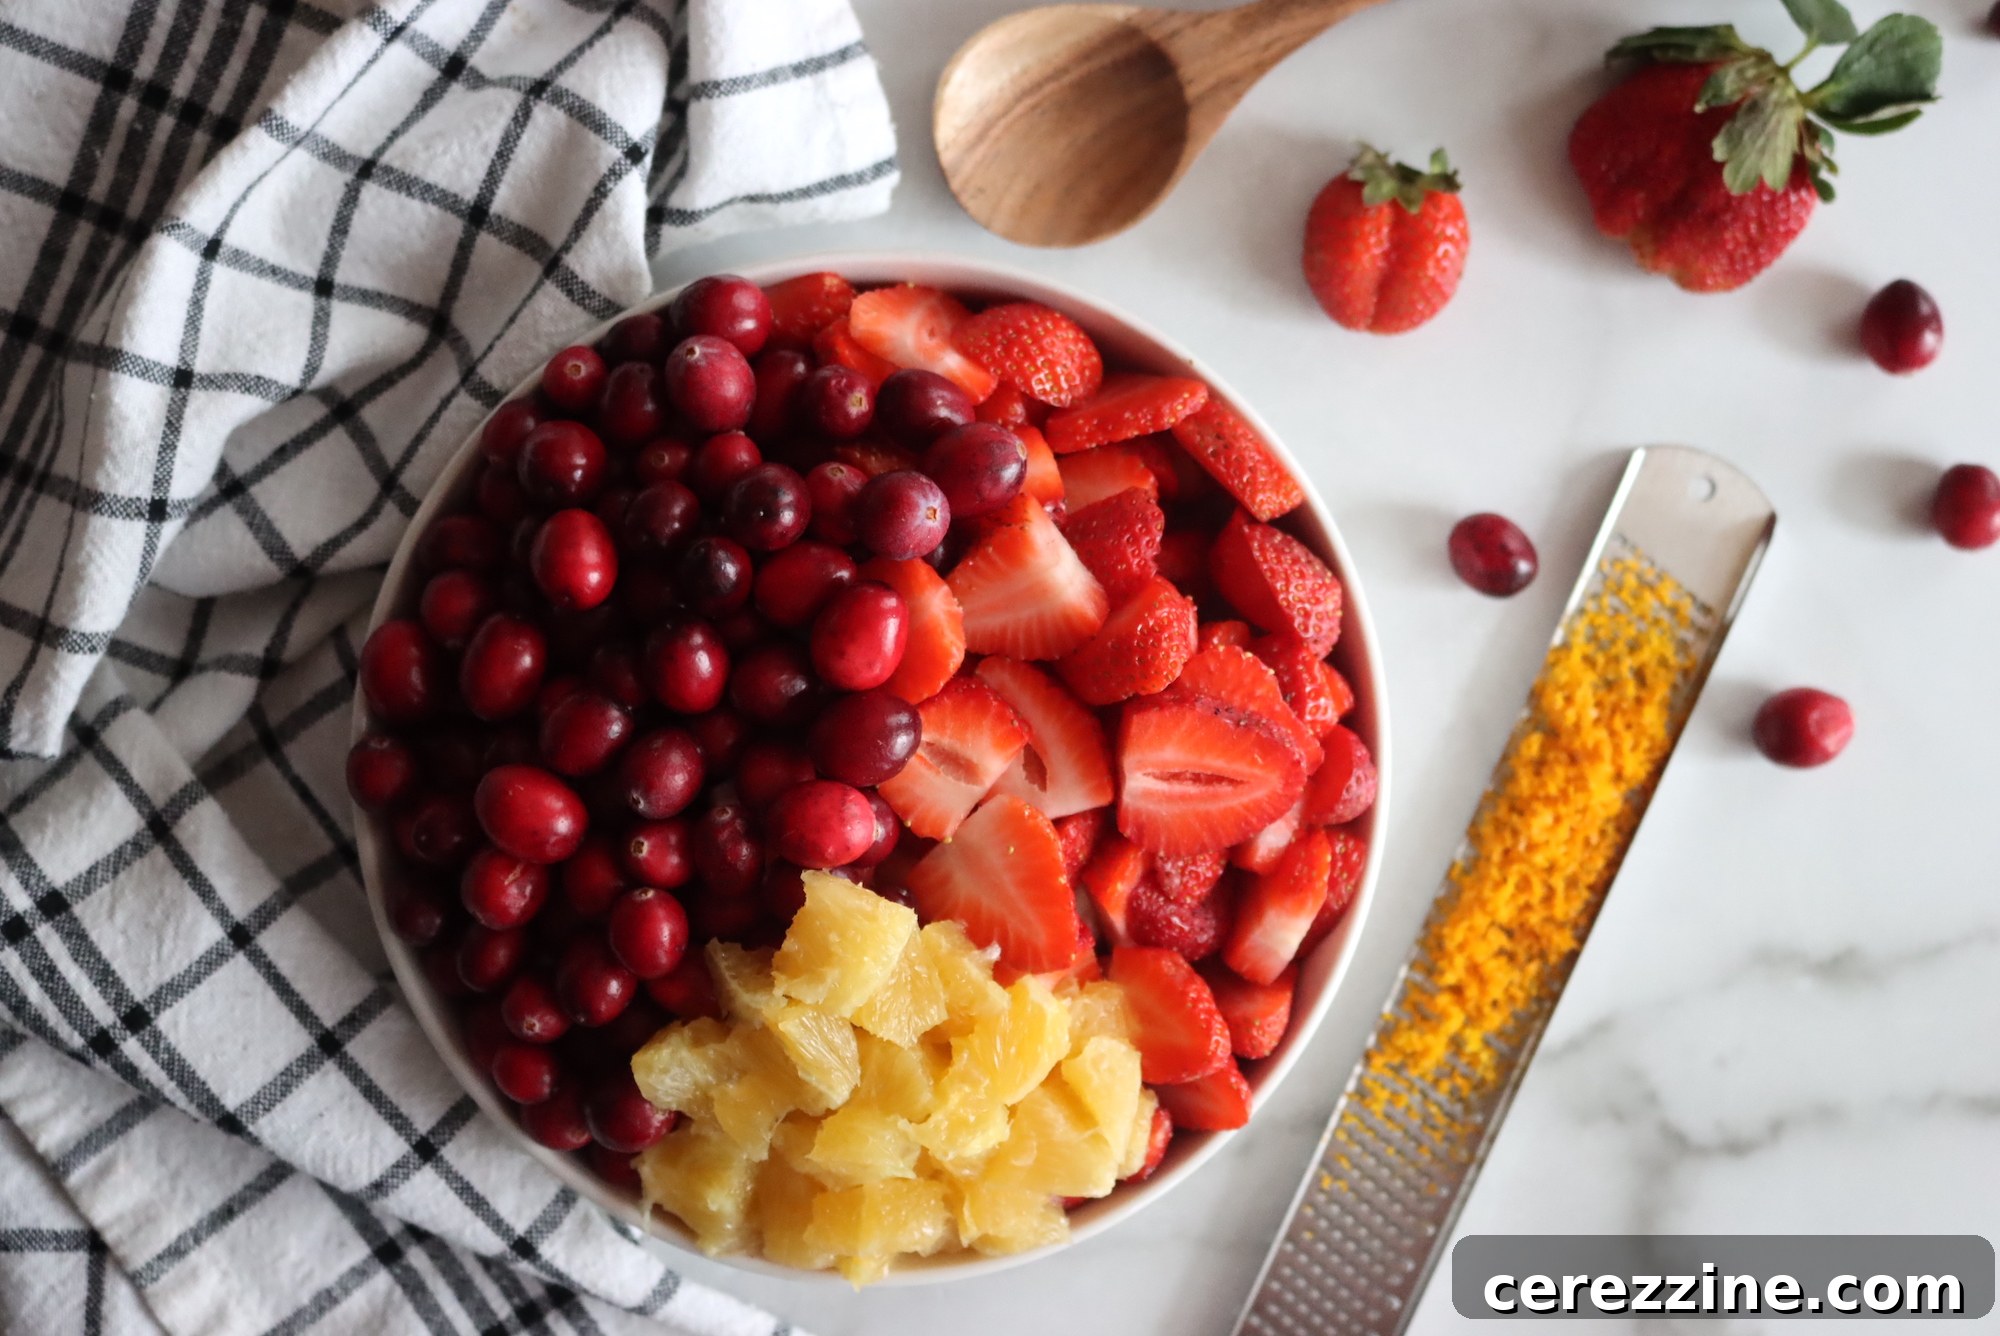
Begin by thoroughly rinsing your cranberries and strawberries under cool running water. Hull and chop the strawberries into smaller pieces, roughly the same size as the cranberries, to ensure even cooking. Carefully zest the orange, avoiding the bitter white pith, then peel and chop the fruit itself, discarding any seeds.
Combine the rinsed cranberries, chopped strawberries, diced orange flesh, orange zest, water (or orange juice), granulated sugar, and the whole cinnamon stick in a large, heavy-bottomed jam pot or Dutch oven. Start cooking the mixture over medium-low heat. This gentle heat allows the fruits to slowly release their natural juices, preventing the mixture from scorching on the bottom of the pot. Stir occasionally during this initial phase.
Once there is a significant amount of liquid in the pot, increase the heat to high. Bring the jam mixture to a vigorous, rolling boil, stirring frequently to prevent sticking. Continue cooking, stirring regularly, until the jam reaches its gelling point. This stage is critical for ensuring your jam sets properly.
Test for the Gelling Point
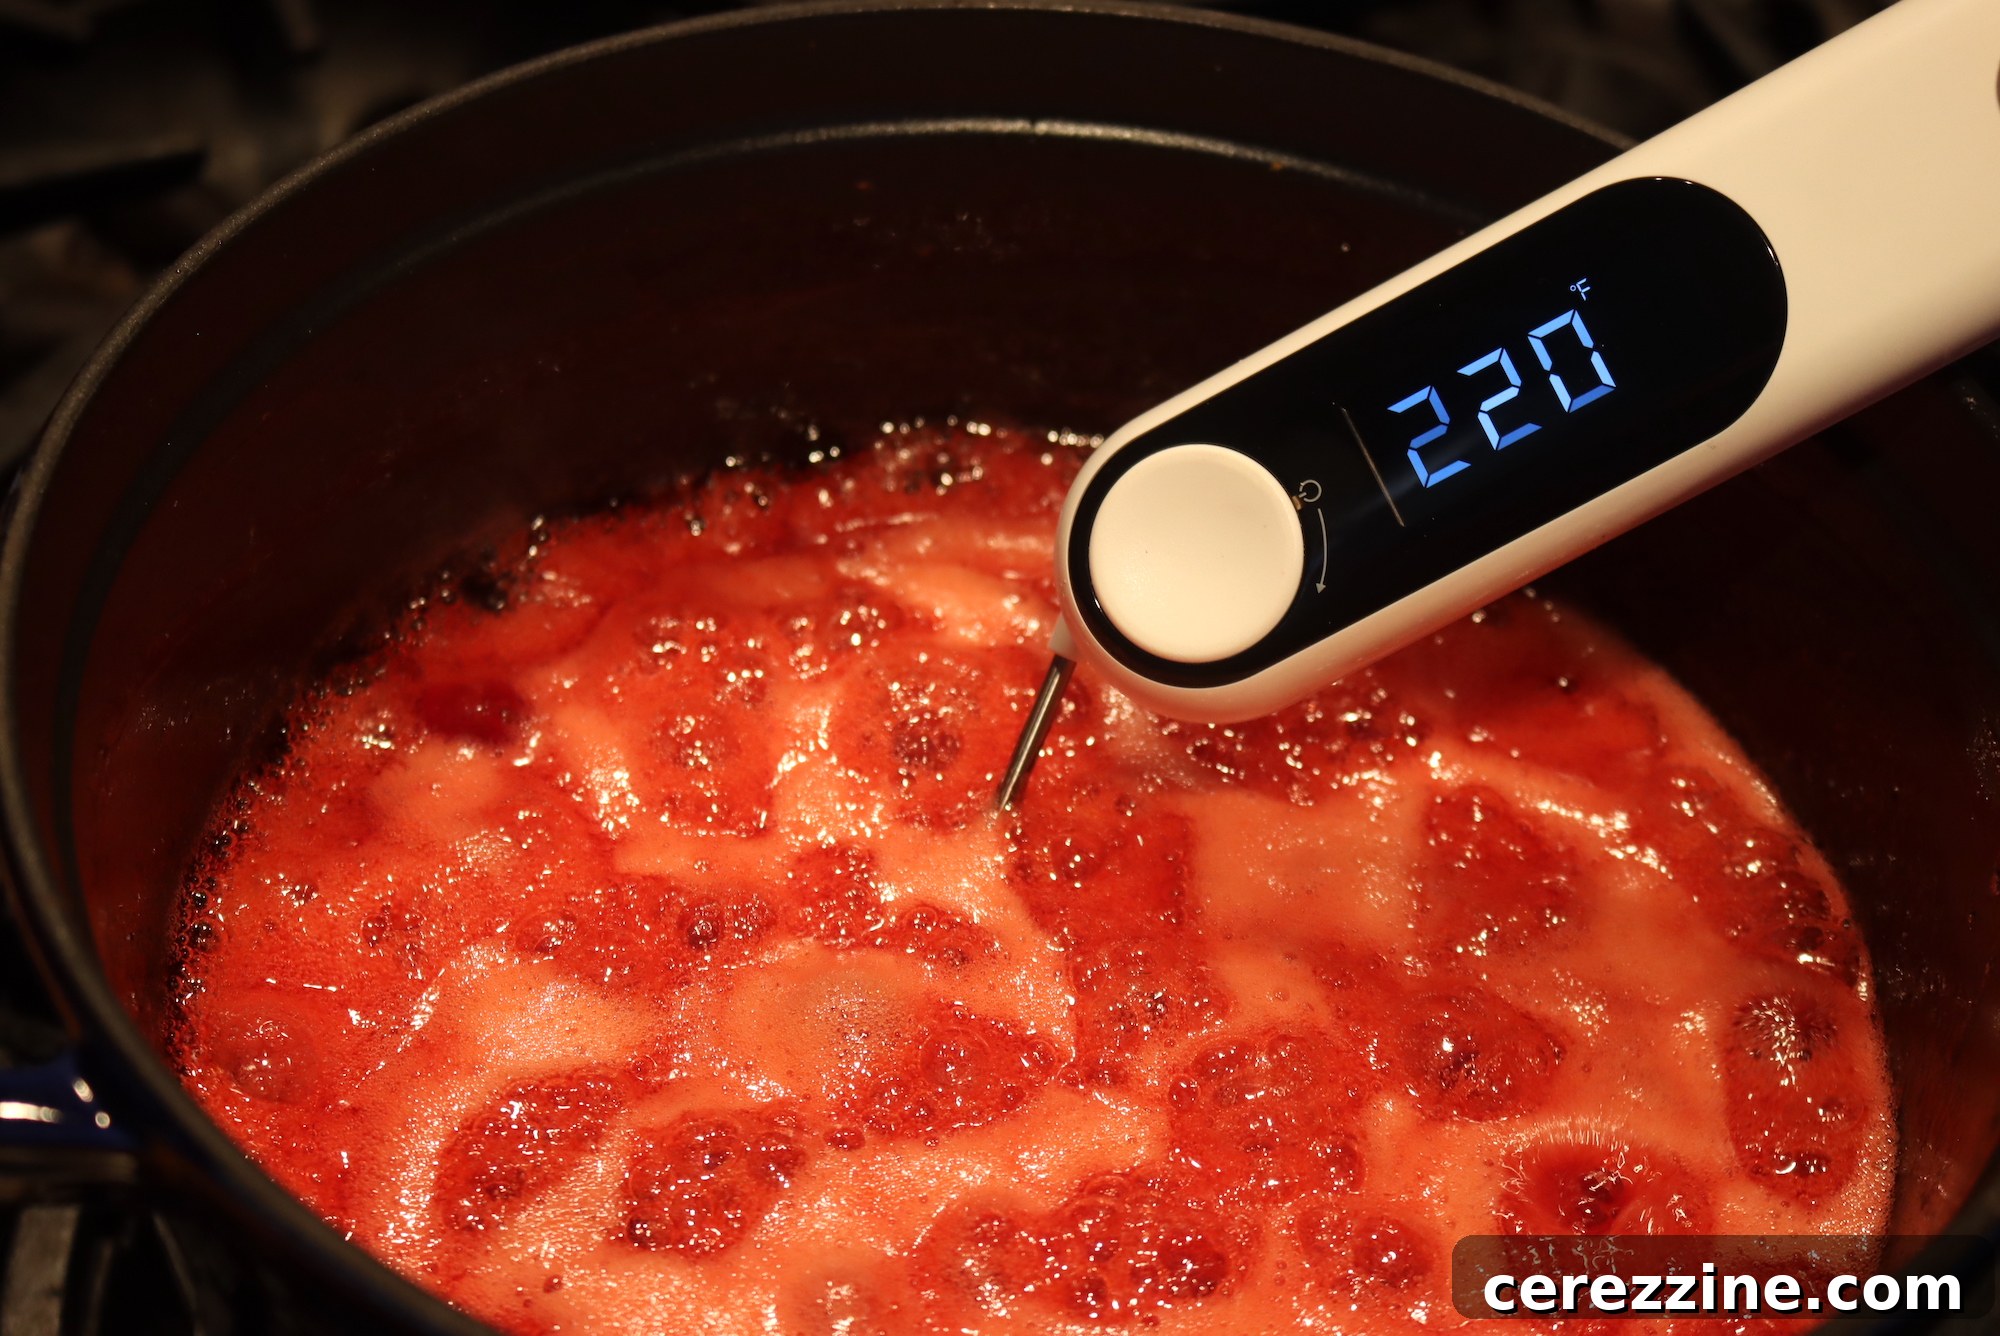
Reaching the correct gelling point is essential for a perfectly set jam. For this Christmas jam, the ideal gelling temperature at sea level is 220°F (104°C). If you live at a higher altitude, this temperature will decrease by approximately 1 degree Fahrenheit for every 500 feet of elevation. For instance, at 1,000 feet above sea level, your jam would finish gelling at around 218°F (103°C). An instant-read thermometer is your best tool for precise temperature monitoring.
Alternatively, you can use the traditional “plate test” or “spoon test”:
- The Plate Test: Before you start cooking, place a small ceramic plate in your freezer to chill thoroughly. When you suspect the jam is nearing its gelling point, spoon a small amount onto the cold plate. Let it sit for about 30 seconds, then gently push the jam with your finger. If it wrinkles or forms a skin, it’s ready. If it’s still very liquid, continue cooking and retest after a few more minutes.
- The Spoon Test (Sheet Test): Dip a clean, cool metal spoon into the hot jam mixture. Lift the spoon and let the jam drip off. If the jam forms two distinct drops that run together to form a “sheet” off the side of the spoon, it has reached its gelling point. If it drips off in separate, watery drops, it needs more cooking time.
If your jam doesn’t seem to be setting, don’t despair! Cranberries have excellent natural pectin. Simply continue cooking and testing for a few more minutes. Sometimes, it just needs a little extra time on the heat to evaporate enough liquid and concentrate the pectin.
Fill and Prepare Jars
Once the jam has reached its gelling point, carefully remove the cinnamon stick. Ladle the hot jam into your pre-sterilized, hot jars, ensuring you leave ¼ inch of headspace from the rim. Headspace is crucial for creating a proper vacuum seal during canning.
Using a clean, damp cloth, carefully wipe the rims and threads of each jar to remove any spilled jam. Even a small amount of jam can prevent a good seal. Place a hot, sterile lid on top of each jar, followed by a screw band. Tighten the screw band “finger-tight” – meaning just tight enough that you feel resistance, but not overly tight. This allows air to escape during processing, which is necessary for a proper seal.
Canning Christmas Jam for Long-Term Storage
Water bath canning is a safe and effective method to preserve your Christmas jam, ensuring it remains shelf-stable for months. This process creates a vacuum seal that prevents spoilage.
Carefully load the filled jars into your preheated water bath canner, using a jar lifter. Ensure the jars are not touching each other or the sides of the canner. Add enough hot water to the canner so that the tops of the jars are covered by at least two inches of water.
Place the lid on the canner and bring the water to a full, rolling boil. Once the water is boiling vigorously, begin your processing time. Process the jars for 10 minutes at sea level. If you live at an altitude above 6,000 feet, you will need to increase the processing time to 15 minutes to account for the lower boiling point of water at higher elevations.
After the processing time is complete, turn off the heat and carefully uncover the canner. Let the jars sit undisturbed in the hot water for an additional five minutes. This helps to equalize the temperature and reduce the chances of “siphoning” (loss of liquid from the jars).
Using a jar lifter, carefully remove the hot jars from the canner and place them upright on a towel-lined counter or wire rack, ensuring there is space between them for air circulation. Allow the jars to cool completely and undisturbed for 12 to 24 hours. During this cooling period, you should hear satisfying “pop” sounds as the lids seal.
After 24 hours, check the seals on all your jars. Press down on the center of each lid. If the lid does not flex or spring back, it is properly sealed. If any jar lids can be pressed down and pop back up, they are unsealed. Unsealed jars should be refrigerated immediately and consumed within a few weeks, or you can reprocess them with new lids (ensure adequate headspace and proper processing time).
Properly sealed Christmas jam can be stored in a cool, dark place, such as a pantry or basement, for up to one year, maintaining its peak freshness and flavor. Once opened, always store the jam in the refrigerator.
Creative Ways to Enjoy and Serve Christmas Jam
This festive Christmas jam, with its delightful blend of sweet and tart flavors and warm spices, is incredibly versatile. It’s not just for breakfast toast; its unique profile makes it a fantastic addition to a variety of dishes and occasions. Here are some fun and inspiring ideas for serving your homemade Christmas jam:
- On Toast and Bread: The most classic way to enjoy jam! Spread your Christmas jam generously on warm toast, fluffy pancakes, golden waffles, or fresh-baked scones for a delightful breakfast or brunch treat. It also pairs wonderfully with croissants and brioche.
- Charming Charcuterie Board: Elevate your holiday charcuterie or cheese board by adding a small bowl of Christmas jam. Its sweet and tangy notes cut through the richness of various cheeses (especially brie, goat cheese, or aged cheddar) and complement cured meats beautifully, offering a burst of festive flavor.
- Glaze for Meats: Use this jam as a delicious glaze for roasted meats. Brush it over baked ham, turkey, chicken, or pork loin during the last stage of cooking. The tangy sweetness will caramelize, adding depth, shine, and an unforgettable holiday flavor to your savory dishes.
- Topping for Desserts: Drizzle Christmas jam over a scoop of creamy vanilla ice cream, plain yogurt, or panna cotta for a simple yet elegant dessert. For added texture, sprinkle with chopped nuts, toasted coconut, or crumbled shortbread cookies.
- Mix into Cocktails: Get creative with your holiday beverages! Incorporate a spoonful of Christmas jam into your favorite cocktail recipes. It pairs exceptionally well with spirits like vodka, gin, whiskey, or even sparkling wine, adding a fruity, spiced twist to a festive drink.
- As a Filling in Pastries: Transform ordinary baked goods into holiday delights. Use Christmas jam as a vibrant filling for turnovers, tarts, hand pies, or classic thumbprint cookies. Its bright color and bold flavor will make your treats extra special.
- Homemade Gift: Packaged in an attractive jar with a ribbon and a personalized tag, homemade Christmas jam makes an exquisite and thoughtful gift. It’s a present that speaks volumes about your care and effort, perfect for neighbors, teachers, friends, or holiday hosts.
- Swirl into Oatmeal or Yogurt: Stir a spoonful of Christmas jam into your morning oatmeal or a bowl of plain Greek yogurt for a quick and easy way to add flavor, sweetness, and a touch of holiday cheer to your daily routine.
- Peanut Butter & Jelly Sandwich (Holiday Edition): Reimagine a classic! Use Christmas jam in a sophisticated PB&J sandwich on artisan bread for a grown-up twist on a childhood favorite.
Christmas Jam Recipe
By Ashley Adamant
Christmas jam is a festive homemade jam featuring a delightful blend of cranberries, strawberries, and warm spices. This recipe beautifully leverages the natural pectin in fresh cranberries, ensuring a perfect set without any added boxed pectin.
Yields: Approximately 4 to 5 half-pint (8 oz) jam jars, or 20 servings
Prep Time: 10 mins
Cook Time: 20 mins
Canning Time: 10 mins
Total Time: 40 mins
Equipment
- Water Bath Canner
- Large Jam Pot or Dutch Oven
- Instant-Read Thermometer (optional, but recommended)
- Sterilized Jars, Lids, and Rings
- Jar Lifter
- Ladle
- Towel-lined counter or wire rack for cooling
Ingredients
- 12 oz (approx. 340g) cranberries (one bag)
- 1 lb (approx. 450g) strawberries
- Zest and chopped fruit of one orange
- ¼ cup (60ml) water or orange juice
- 4 cups (approx. 800g) granulated sugar
- 1 cinnamon stick (whole)
Instructions
- Rinse fresh cranberries and strawberries thoroughly. Hull and chop the strawberries. Peel the orange, chop the fruit flesh (removing any seeds), and zest the peel.
- Combine the prepared cranberries, chopped strawberries, diced orange flesh, orange zest, water (or orange juice), granulated sugar, and the whole cinnamon stick in a large, heavy-bottomed jam pot.
- Stir the mixture over medium heat until the sugar completely dissolves. Once dissolved, bring the mixture to a vigorous, rolling boil.
- Reduce the heat and allow the jam to simmer for approximately 10-15 minutes, stirring occasionally. The jam should thicken visibly.
- To test for the gelling point, place a small spoonful of jam on a cold plate (chilled in the freezer). After 30 seconds, gently push the jam with your finger. If it wrinkles or sets, it’s ready. Alternatively, use an instant-read thermometer to reach 220°F (104°C) at sea level (adjust for altitude: subtract 1°F for every 500 feet of elevation).
- Carefully remove the cinnamon stick from the jam. Ladle the hot jam into sterilized jars, leaving ¼ inch of headspace from the rim. Wipe the rims clean, place new, hot lids on top, and secure with screw bands finger-tight.
- Process the jars in a preheated water bath canner for 10 minutes at a rolling boil. If you are above 6,000 feet in elevation, process for 15 minutes. After processing, turn off the heat and let the jars rest in the canner for 5 minutes before removing.
- Allow the sealed jars to cool completely and undisturbed on a towel-lined counter for 12-24 hours. Check seals by pressing the center of each lid – if it doesn’t flex, it’s sealed. Store properly sealed jars in a cool, dark place for up to 12-18 months. Refrigerate after opening. (Note: If you prefer not to can, simply ladle into clean jars, cap, and store as refrigerator jam for up to 3-4 weeks.)
Nutrition
Nutrition information is an approximation based on common ingredients and may vary. It should be used for informational purposes only.
Calories: 170kcal, Carbohydrates: 44g, Protein: 0.2g, Fat: 0.2g, Saturated Fat: 0.01g, Polyunsaturated Fat: 0.04g, Monounsaturated Fat: 0.01g, Sodium: 1mg, Potassium: 50mg, Fiber: 1g, Sugar: 42g, Vitamin A: 13IU, Vitamin C: 16mg, Calcium: 7mg, Iron: 0.2mg
Explore More Cranberry Canning Recipes
If you’ve enjoyed making this festive Christmas jam, you’ll be delighted to discover many more ways to preserve the bright and tangy flavors of cranberries this season. Canning is a wonderful skill that allows you to enjoy seasonal fruits all year round, creating delicious gifts and pantry staples. Dive into these additional cranberry canning recipes to expand your homemade collection:
- Cranberry Jelly
- Cranberry Sauce
- Cranberry Apple Jam
- Pickled Cranberries
Making homemade Christmas jam is more than just a recipe; it’s an opportunity to create lasting memories and share tangible warmth with those you cherish. The vibrant flavors of cranberries, strawberries, and orange, coupled with the cozy embrace of holiday spices, make this jam a true highlight of the festive season. Whether you’re a seasoned canner or new to the art of jam-making, this natural pectin recipe offers a simple yet profoundly rewarding experience. Enjoy the process, savor the flavors, and spread the holiday cheer, one delicious spoonful at a time!