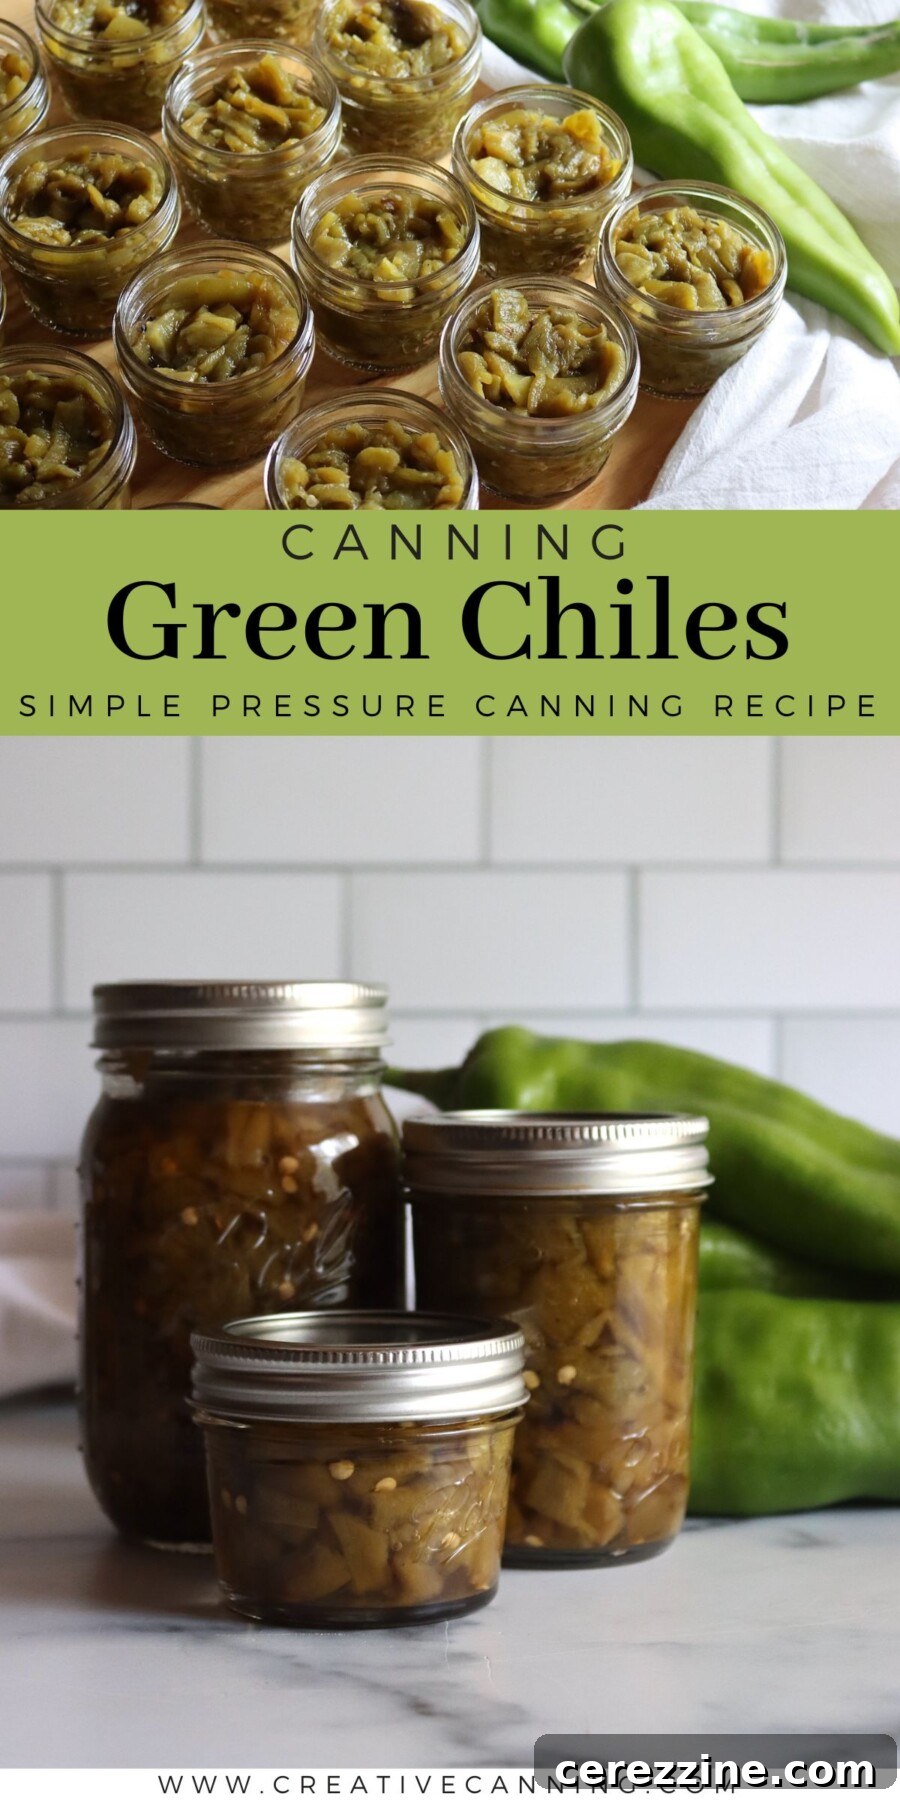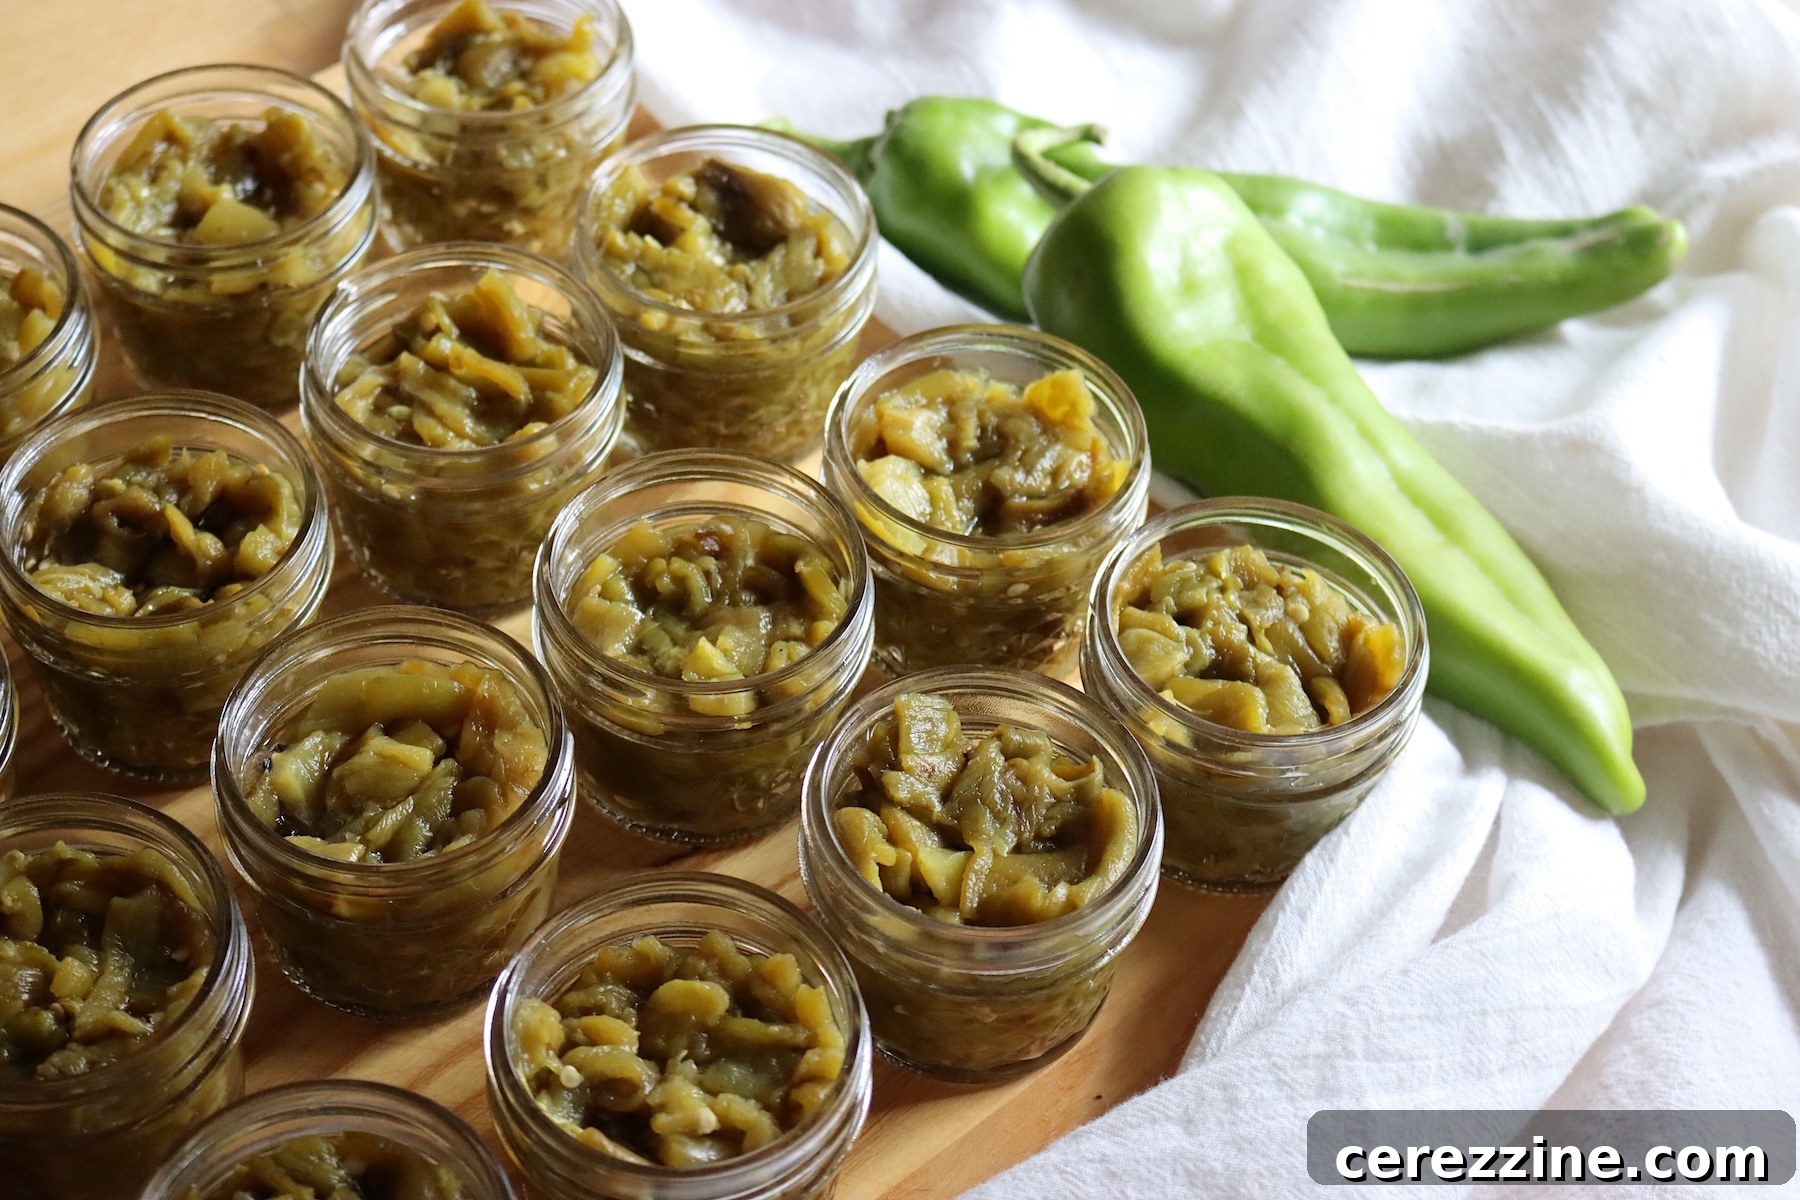
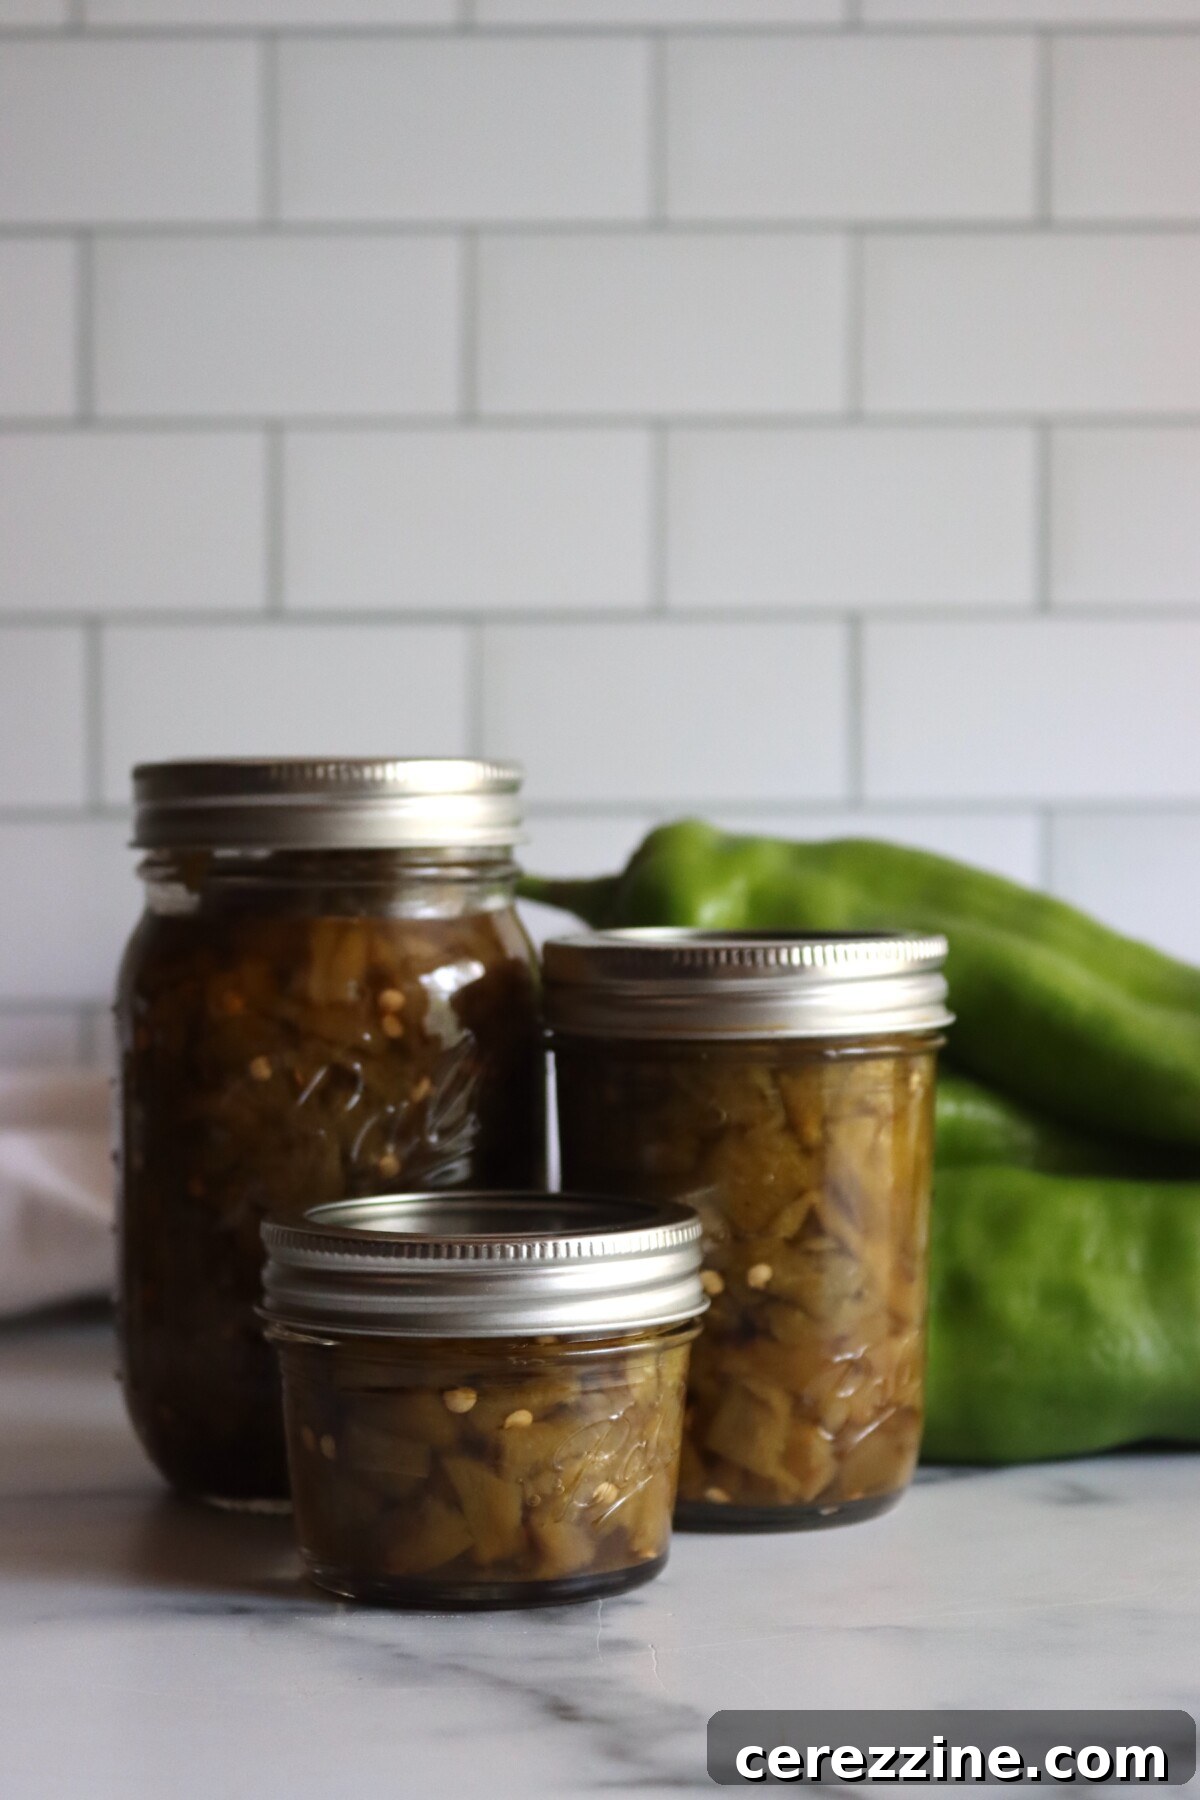
Canning green chiles captures the smoky, roasted flavor of Hatch chiles and stores it on your pantry shelf to use year-round. Roasting and peeling a large batch in late summer—when chiles arrive by the case—lets you grab a jar for enchiladas, chile verde, scrambled eggs, soups, and countless other dishes without reaching for the freezer or making a grocery run.
This recipe has been reviewed for safety and accuracy by a Master Food Preserver certified through the University of Cornell Cooperative Extension.
Because green chiles are a low-acid vegetable, they must be pressure canned rather than water-bath canned. This method follows the tested USDA and National Center for Home Food Preservation (NCHFP) process for plain peppers, the same guidance published for green chile by New Mexico State University. The tested processing times and pressures ensure jars reach a safe temperature for shelf storage.
Unlike pickled or sauced peppers, this recipe leaves the chile plain so it can be used in any recipe. Keep the pack simple—just roasted, peeled chile, boiling water, and optional salt—then add garlic, onions, spices, oils or other flavorings when you cook with the jar later.
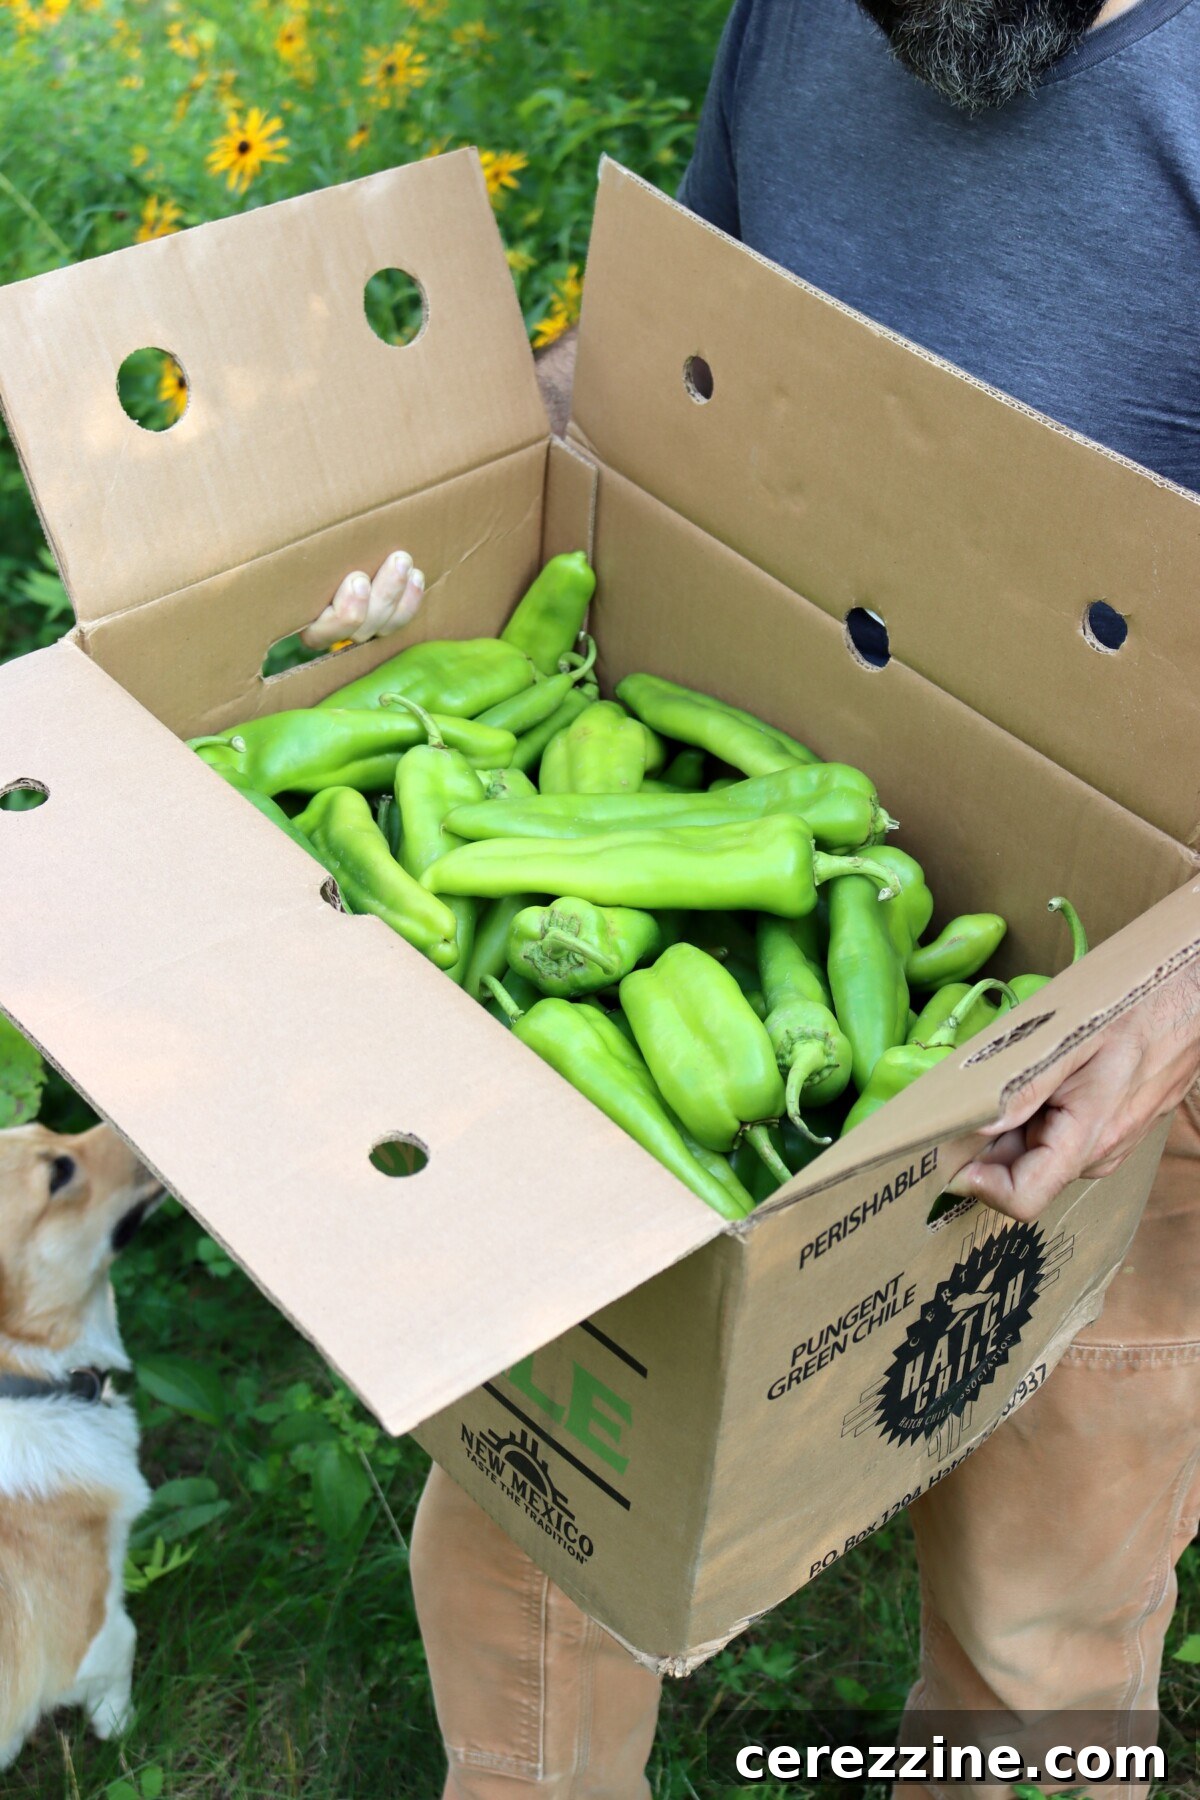
One important safety detail: only quarter-pint, half-pint, or pint jars are approved for canning peppers. Do not use quart jars—taller jars of dense chile will not heat through reliably in the tested processing time.
The bulk of the work is roasting and peeling, the same prep you would do for chiles intended for freezing. It takes time and a bit of elbow grease, but the reward is ready-to-use roasted chile all winter.
Notes from My Kitchen

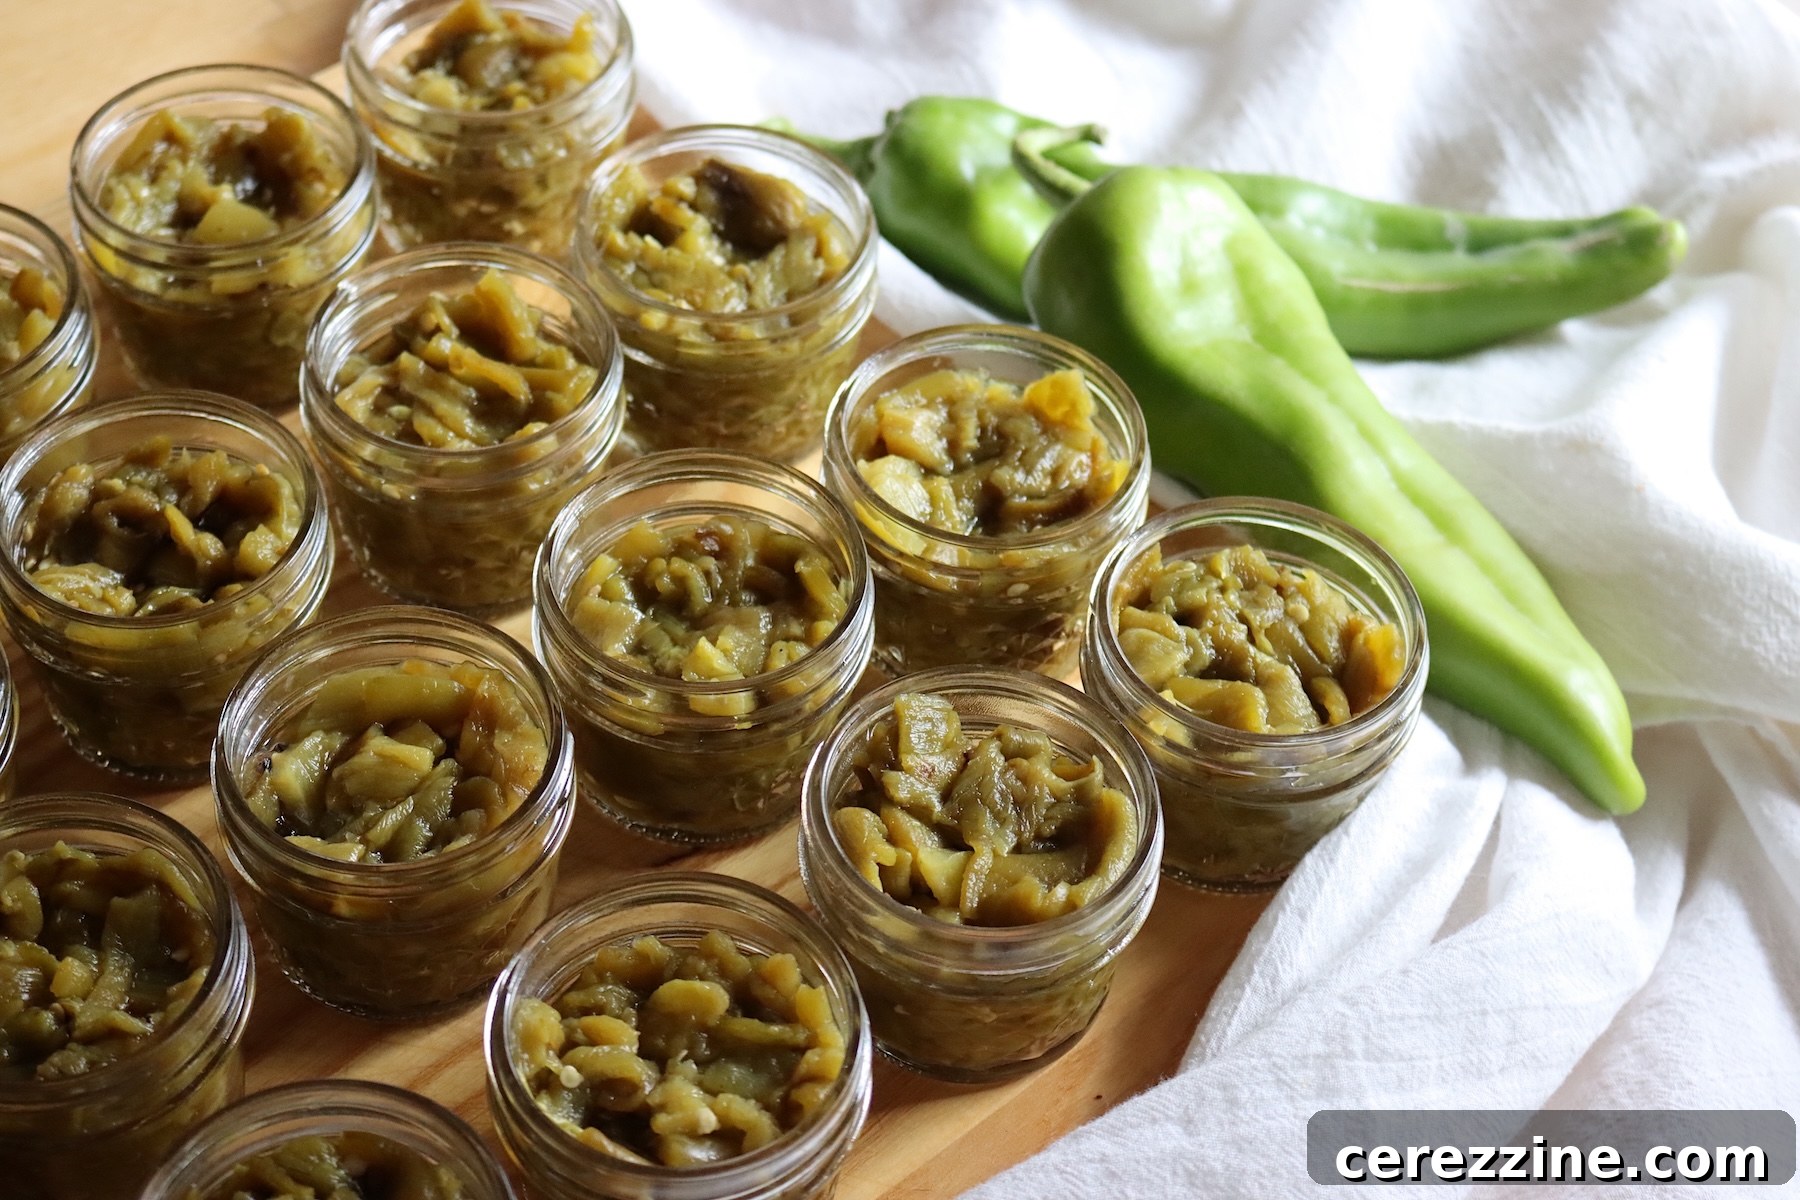
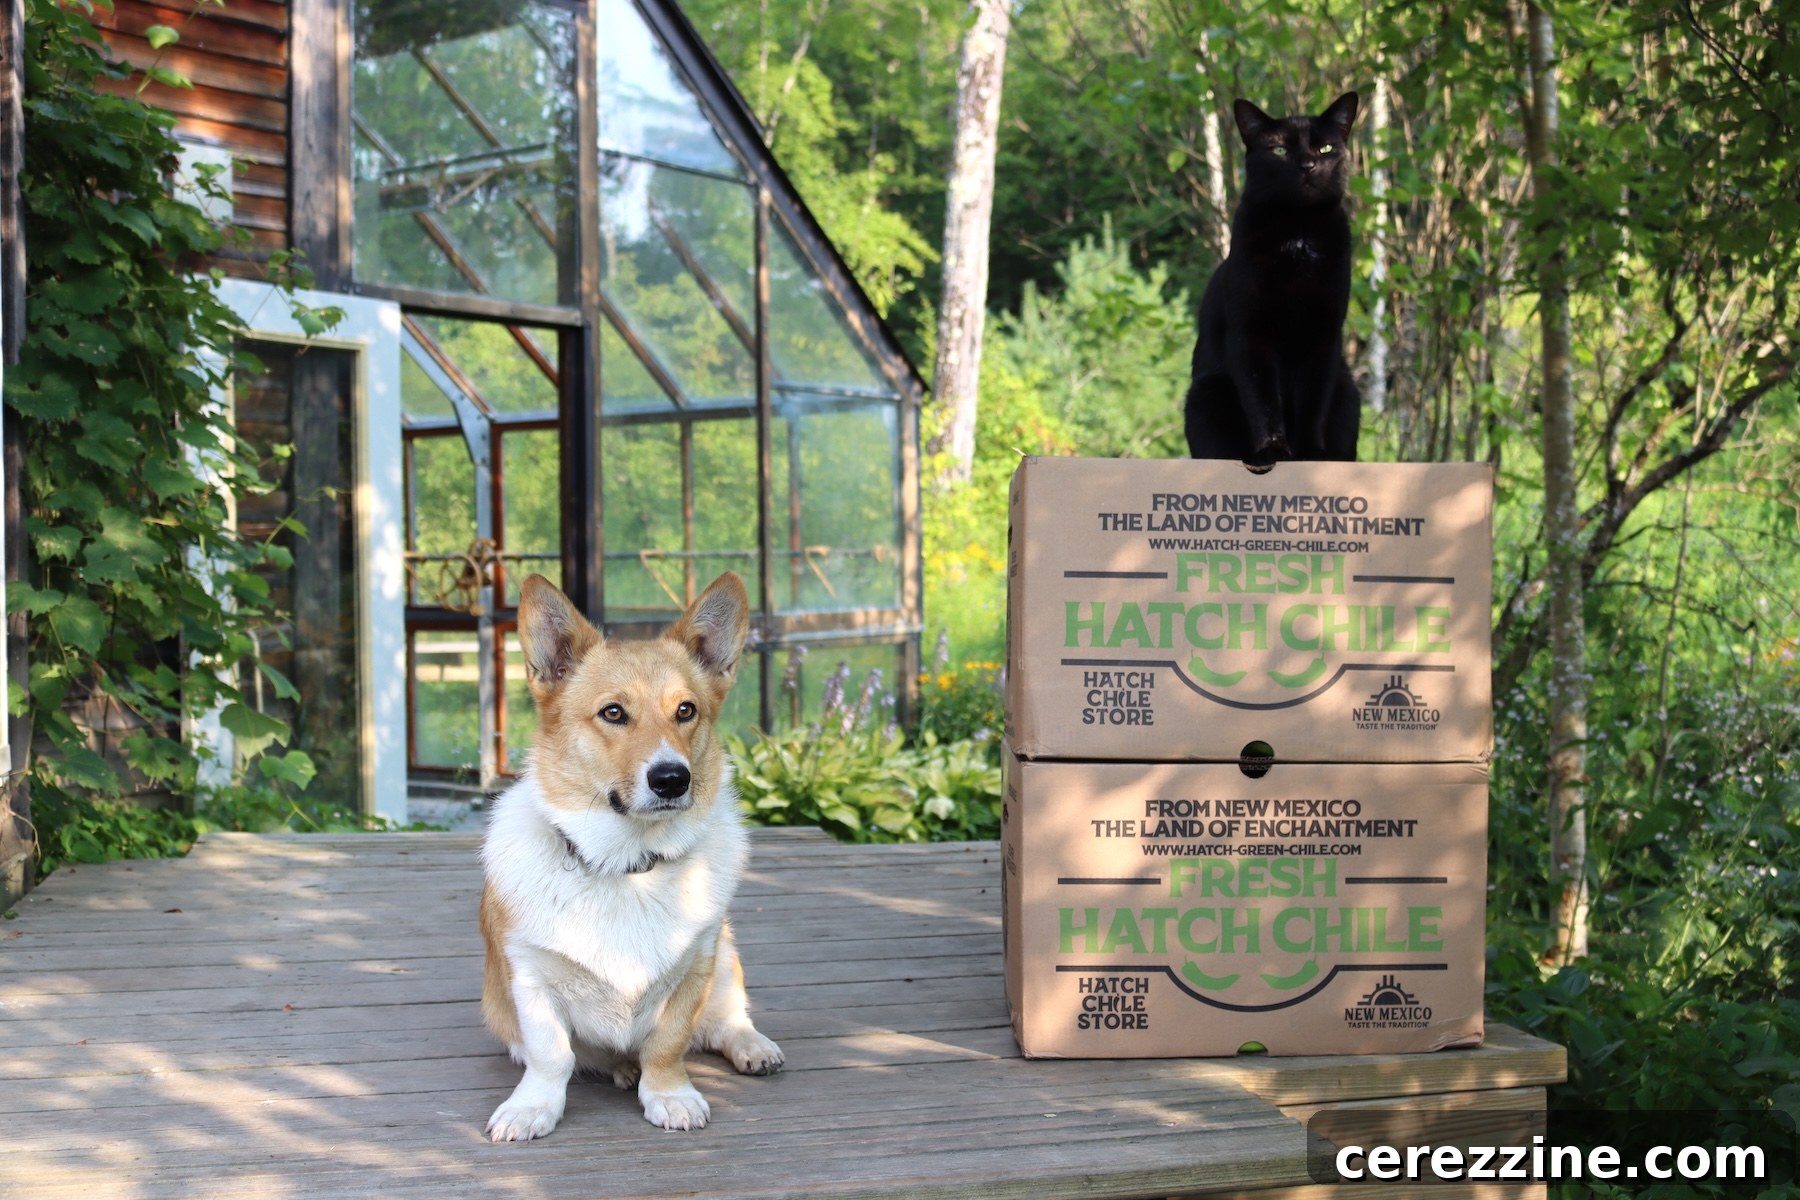
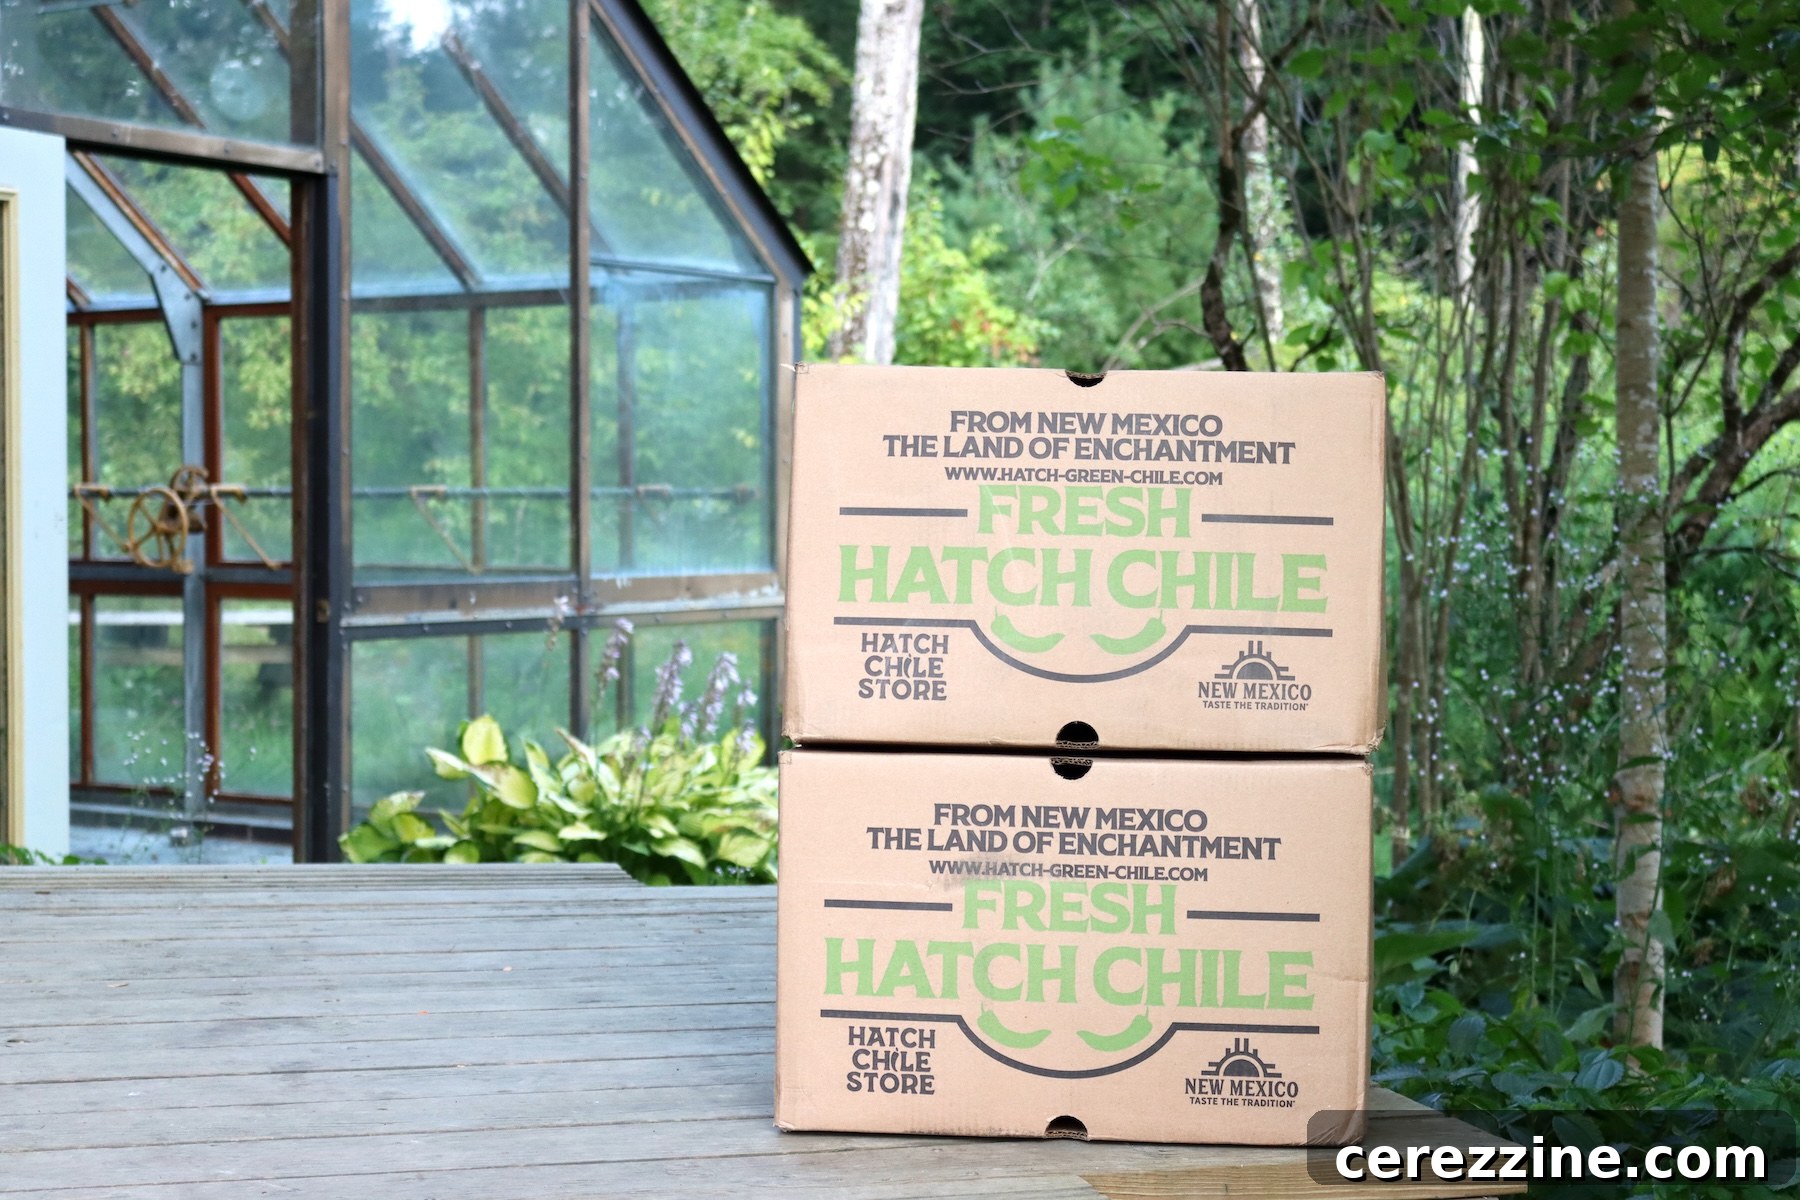
We are far from New Mexico here in Vermont, but a friend ships a box of Hatch chiles every August. Roasting them on the grill is one of those smells that signals the season. I used to freeze the peppers, until a freezer power flicker cost me a batch; now I prefer shelf-stable jars that don’t depend on electricity.
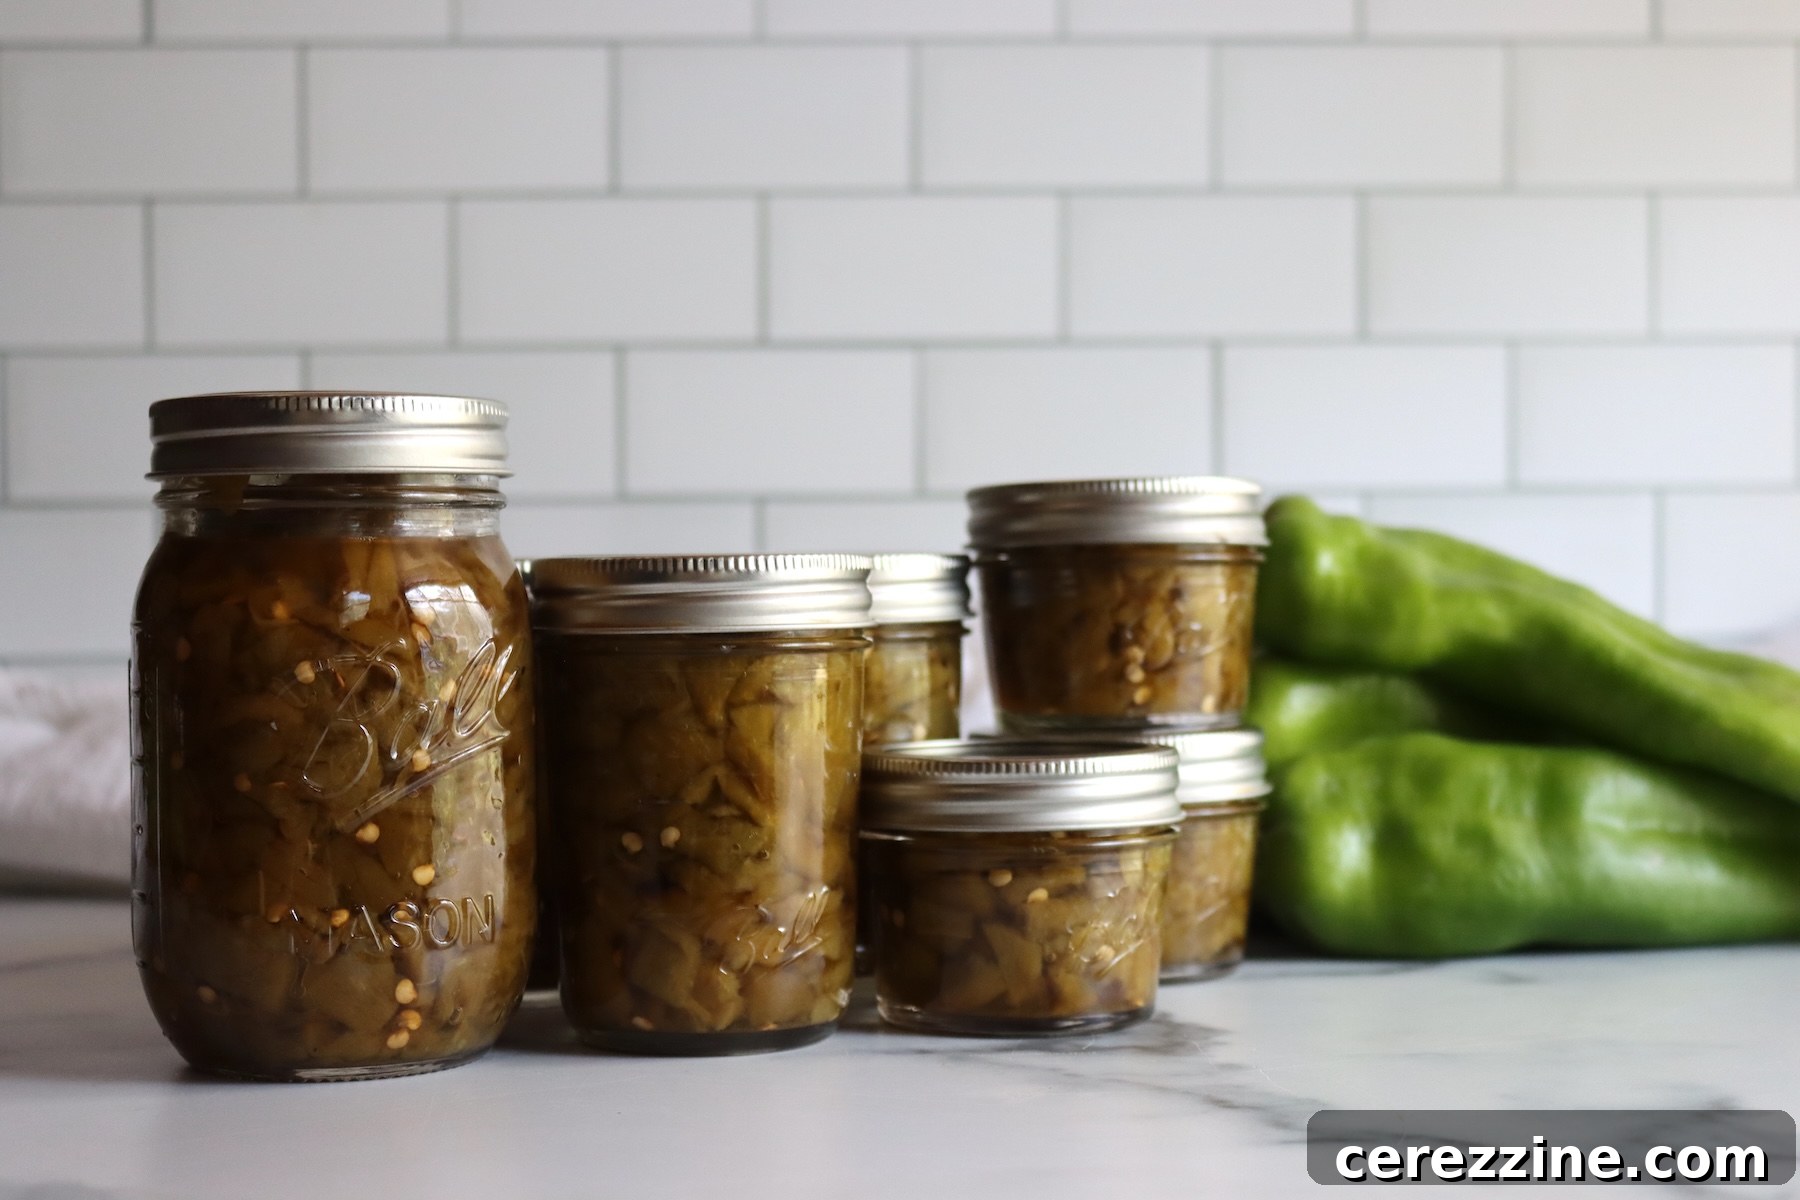
A typical canner load runs about nine pints from nine pounds of chiles, but you can scale up or down. I like a mix of quarter-pint jars—perfect for topping a single meal—and whole pints for a pot of chili or a pan of enchiladas. Roasting and peeling with friends makes the work go faster and turns it into a fun afternoon project.
Quick Look at the Recipe
- Recipe Name: Canning Green Chiles (Hatch)
- Method: Pressure canning
- Prep Time: About 45–60 minutes (varies with batch size)
- Roasting Time: 6–8 minutes per batch under a broiler or until skins blister
- Processing Time: 35 minutes for half-pints or pints (do not use quarts)
- Yield: About 9 pints from 9 pounds of fresh chiles (roughly 1 lb per pint)
- Jar Sizes: Quarter-pint, half-pint, or pint only
- Headspace: 1 inch
- Ingredients Overview: Roasted peeled chiles, boiling water, optional salt
- Difficulty: Moderate
Selecting Green Chiles
Hatch chiles are traditional, but any mild roasting chile will work. Anaheim chiles are a common substitute; poblanos will lend a deeper, earthier flavor. Choose firm, heavy chiles with smooth skin and a bright green color. Avoid shriveled, bruised, or soft peppers. Meaty, thick-walled chiles hold their shape through roasting and give you more yield per jar.
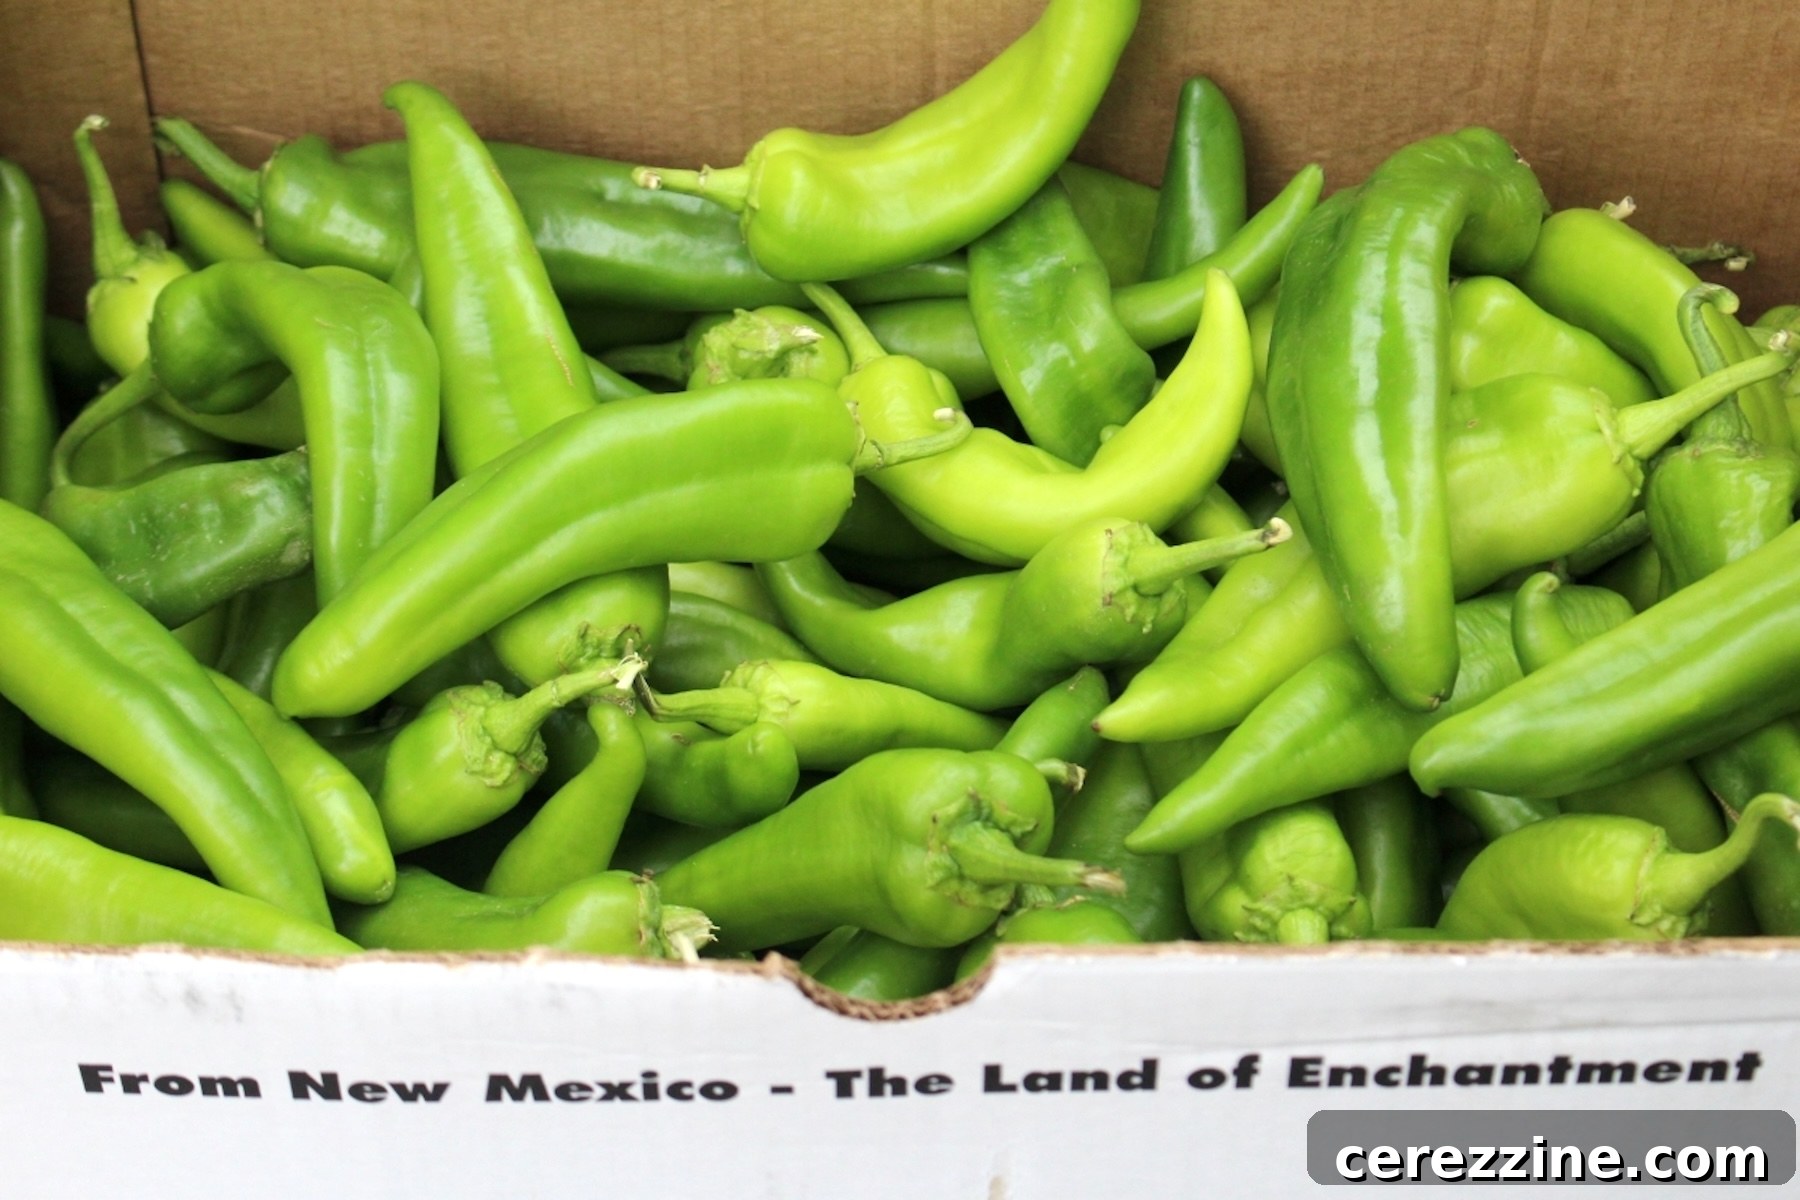
Plan on about a pound of fresh chiles per pint jar as a simple guideline.
Ingredients
The ingredient list is intentionally short. Exact amounts appear in the recipe card further down; this section explains each component and where you can make choices.
- Green chiles: Roasted and peeled. Keep the jar to a single vegetable—do not add other vegetables or aromatics before canning.
- Boiling water: Used to fill jars to 1 inch headspace so heat penetrates evenly.
- Salt (optional): For flavor only—typical amounts are 1/2 teaspoon per pint, 1/4 teaspoon per half-pint. Do not use salt substitutes in the jar; they can develop off flavors during processing.
Green Chile Canning Notes
This recipe follows the USDA and NCHFP process for plain peppers (referenced as New Mexico State University Extension Guide E-308). Processing time, pressure, headspace, and jar size are the safety controls and must not be changed. Do not add oil, thickeners, tomatoes, onions, garlic, or other vegetables before canning. Salt is optional and for flavor only.
How to Make Canned Green Chiles
The process has four main steps: roast, steam and peel, pack jars, and pressure-process. Roasting and peeling is the most time-consuming part, so have jars cleaned and the canner heating while chiles cool enough to handle.
Roast the Chiles
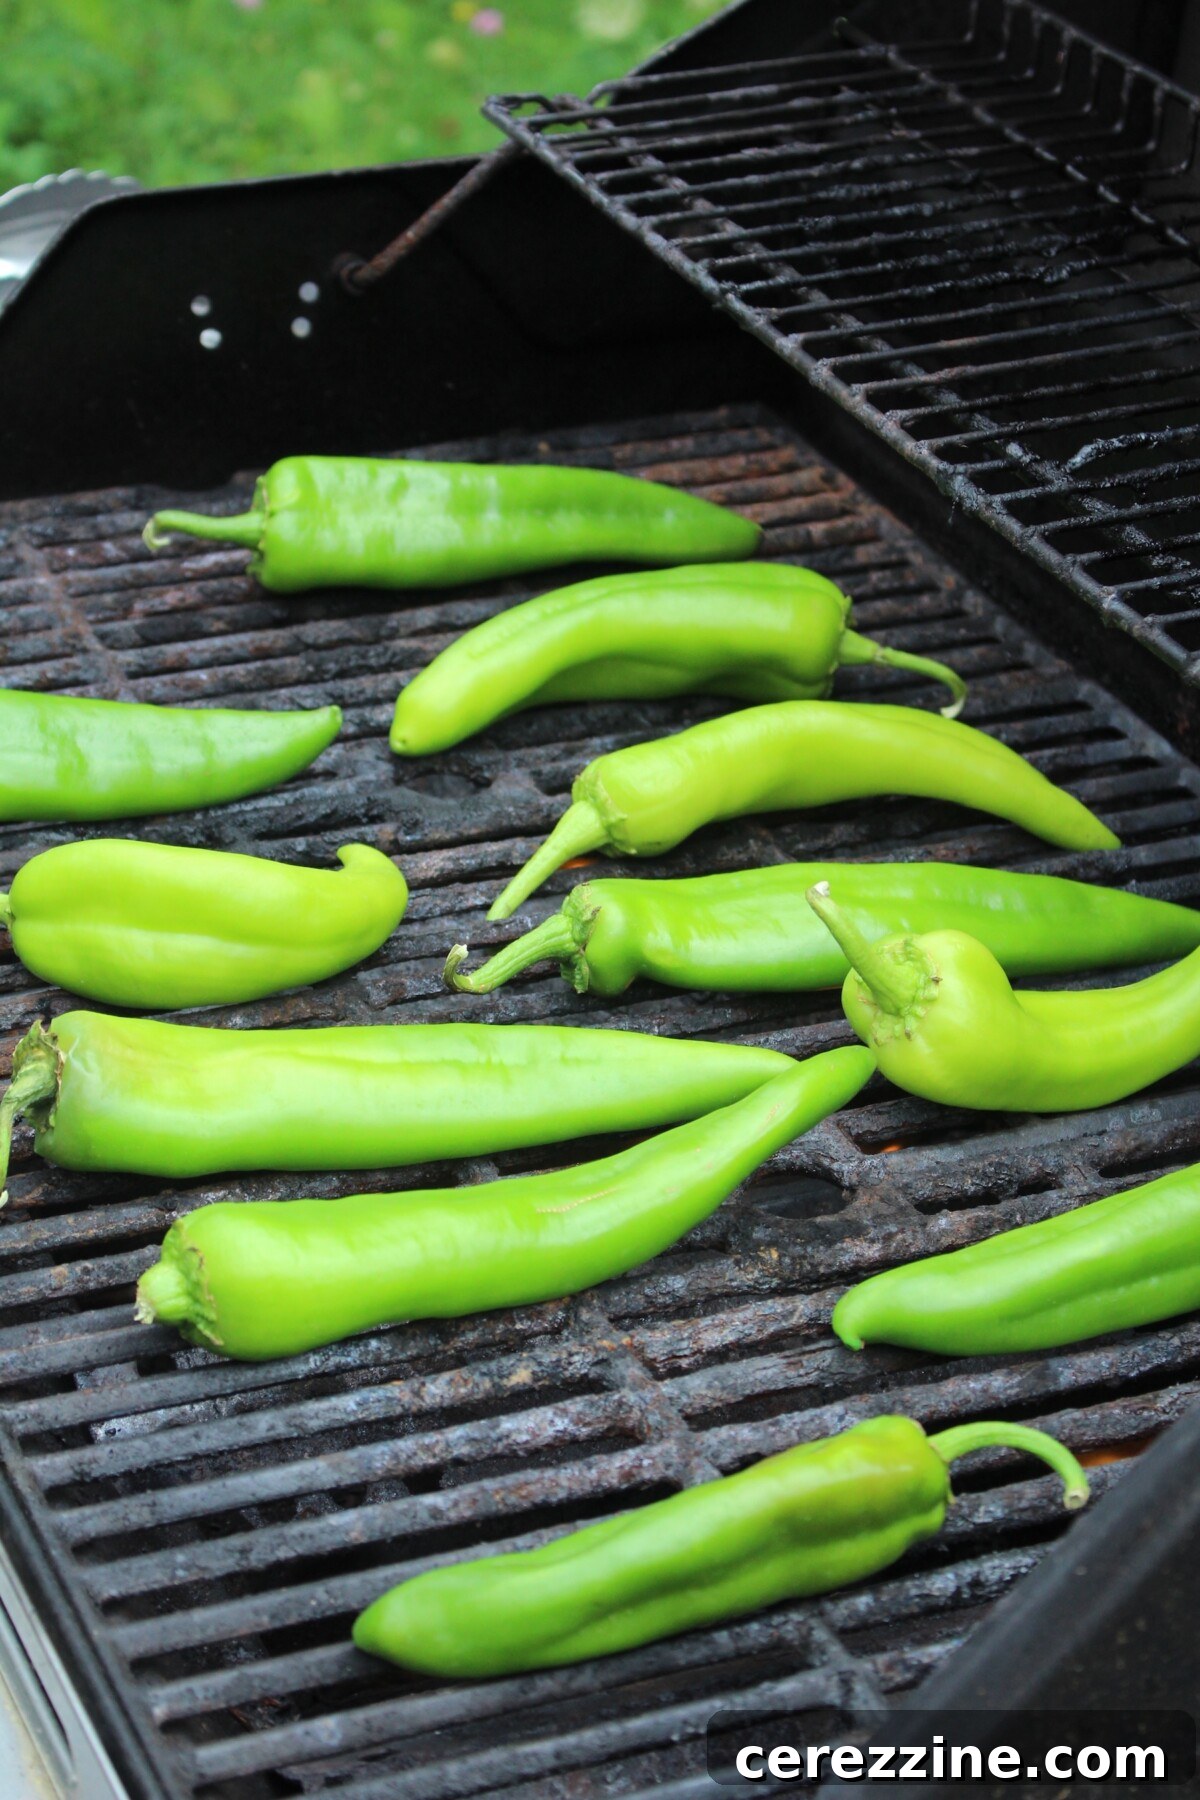
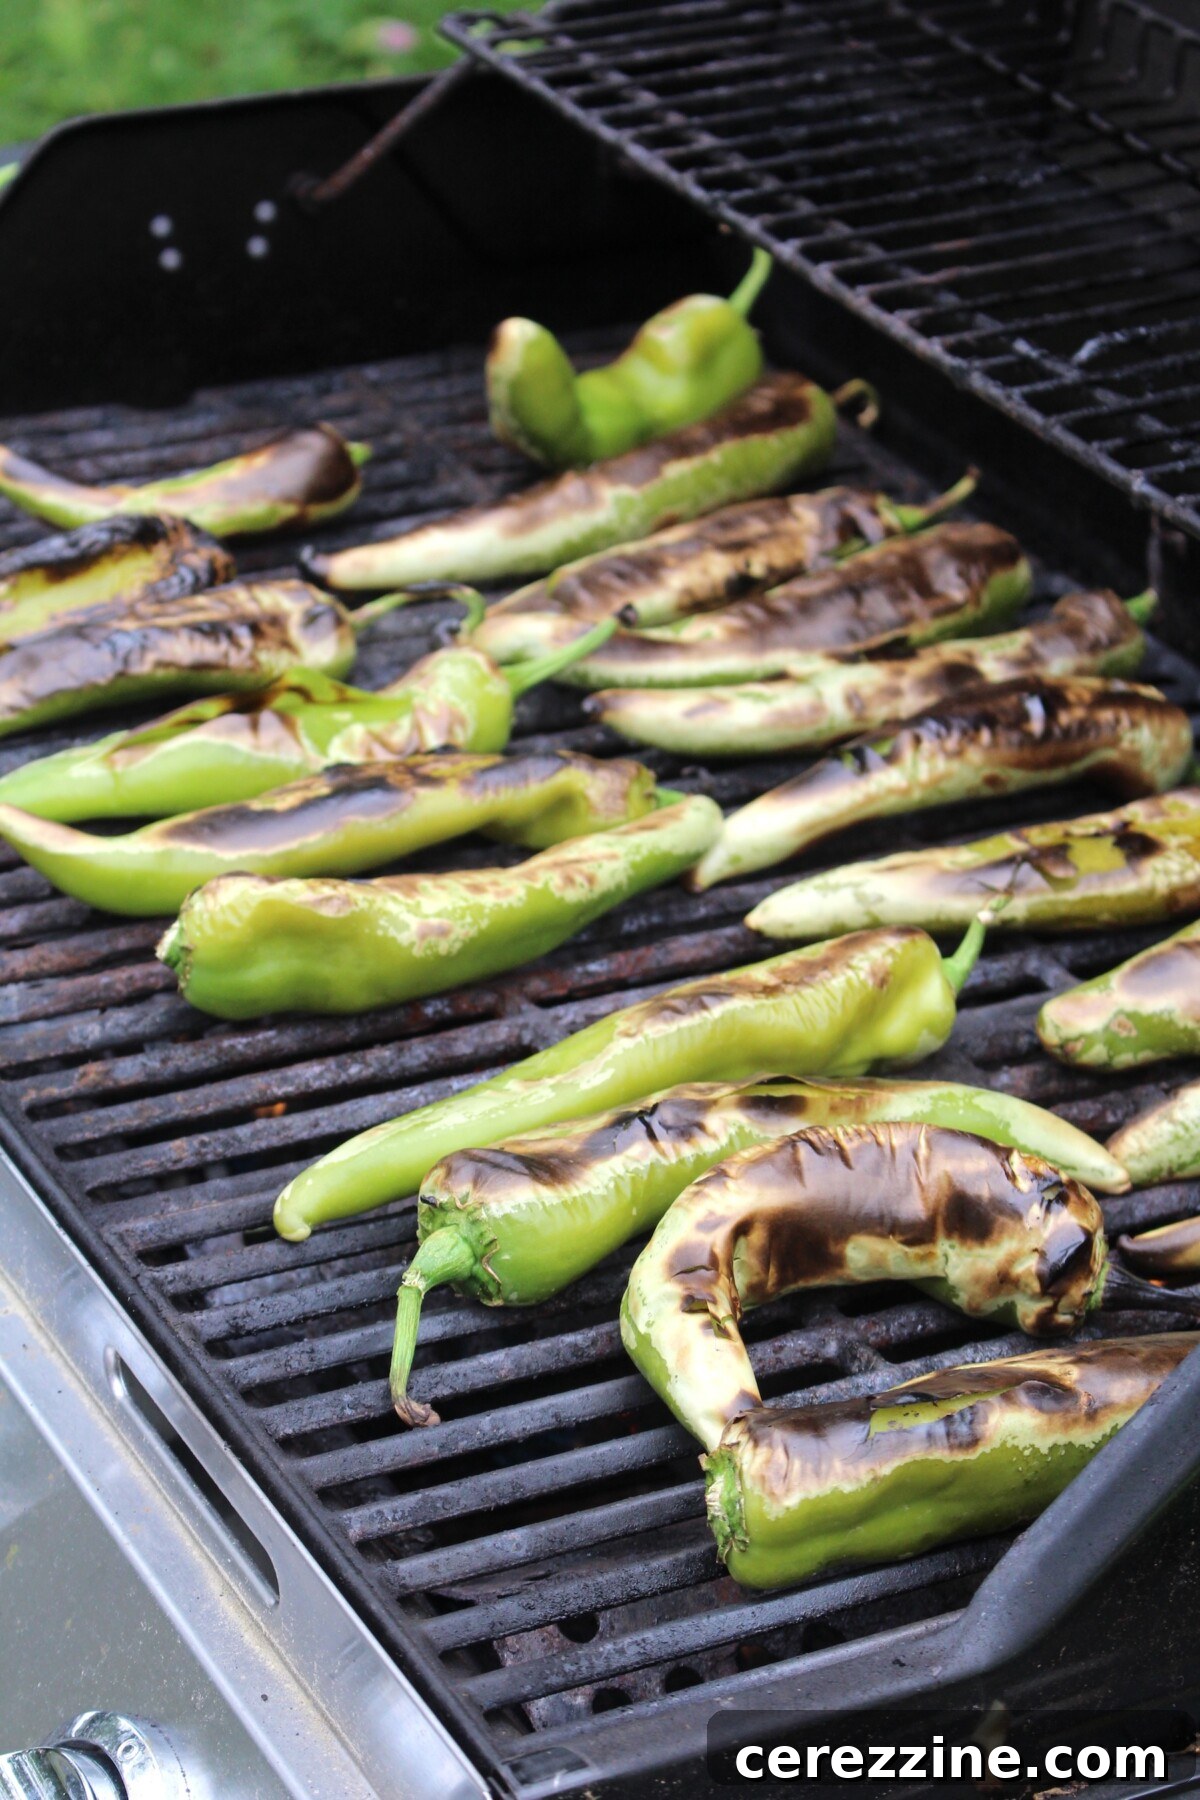
Wash and dry the chiles, then cut a small slit in each to allow steam to escape and prevent bursting. Arrange in a single layer and roast under a broiler or in a 400–450°F oven for 6–8 minutes, or char directly over a grill or gas flame, turning often until skins blister and blacken in spots. The goal is loose, blistered skin—not overcooked flesh.
Steam and Peel
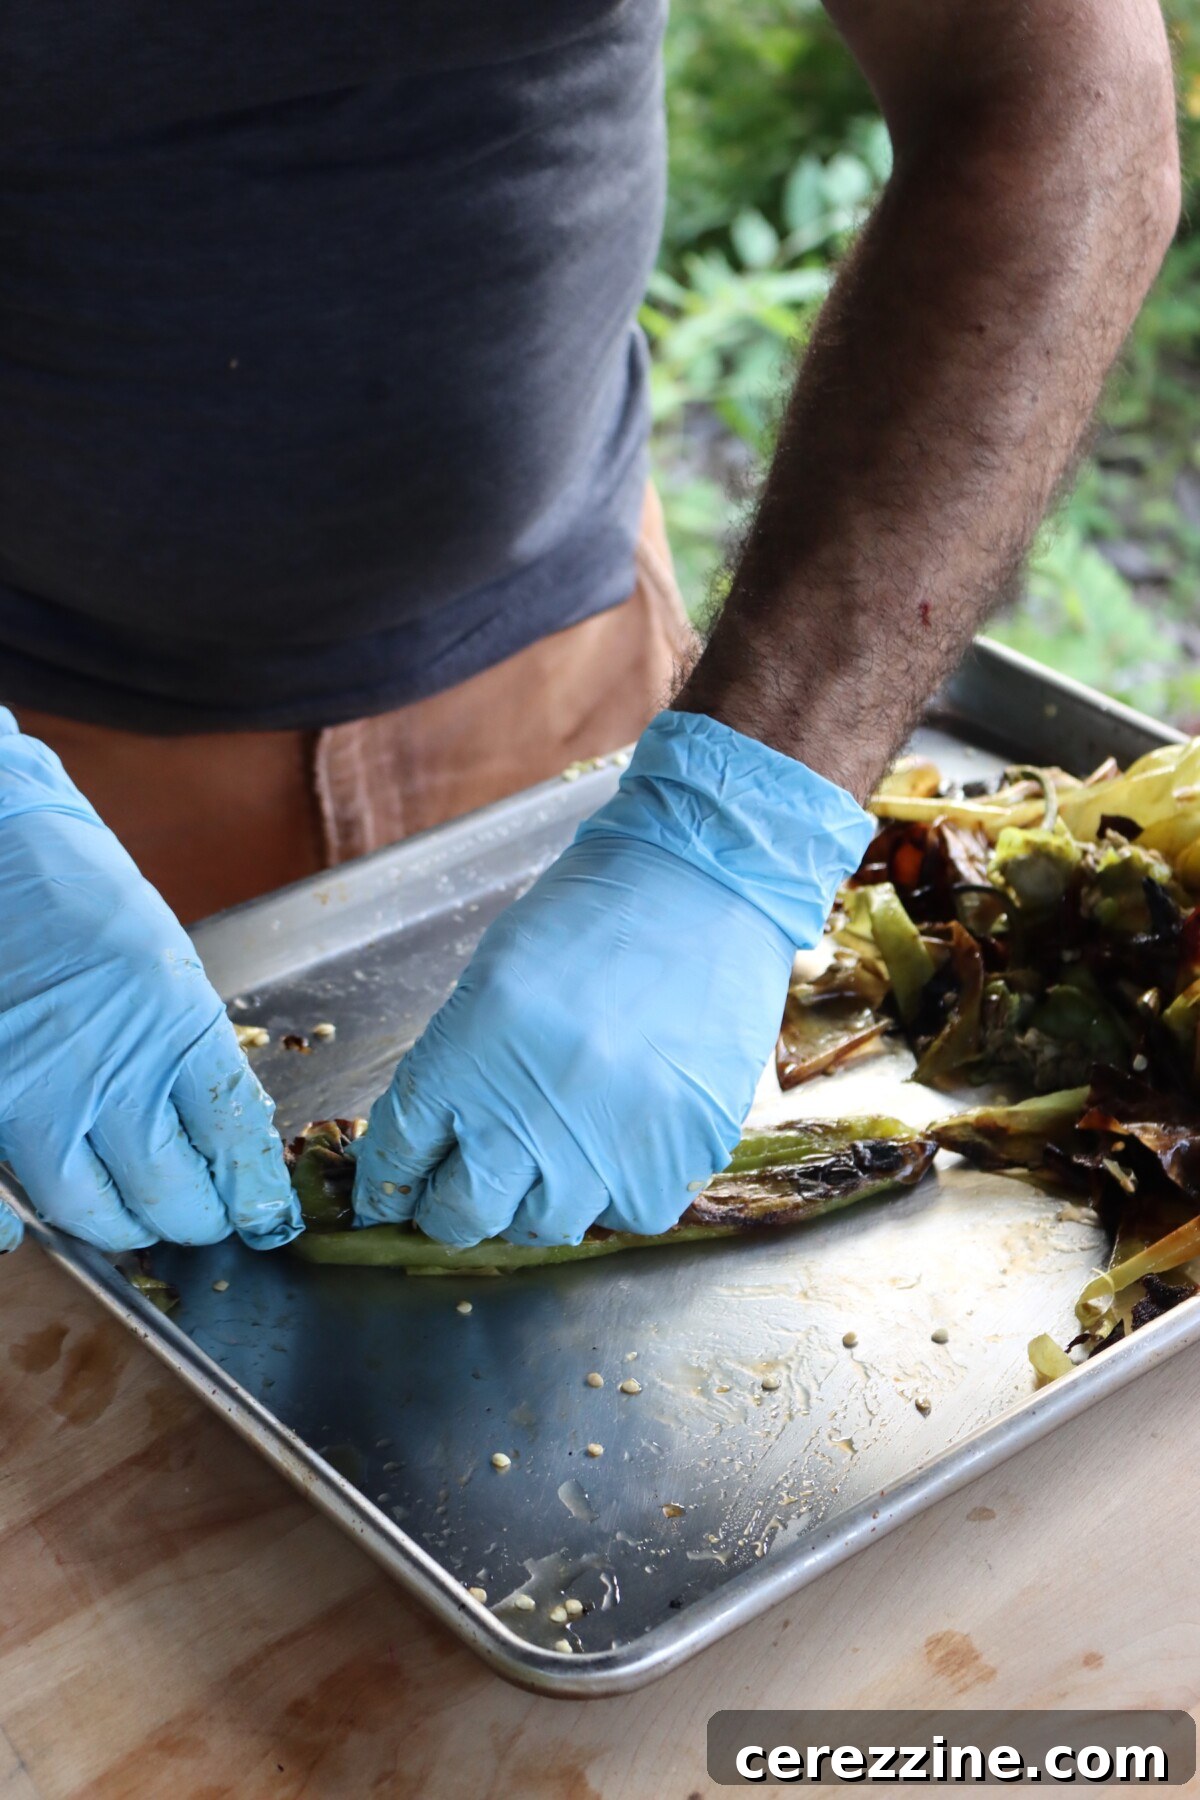
Place roasted chiles in a bowl or pan and cover with a damp towel for a few minutes; the trapped steam loosens skins for easy peeling. If you won’t pack them within two hours, refrigerate the roasted chiles. Wearing gloves to protect skin and eyes from capsaicin, remove charred skins, stems, cores, and seeds. Keep hands away from your face and wash thoroughly after handling.
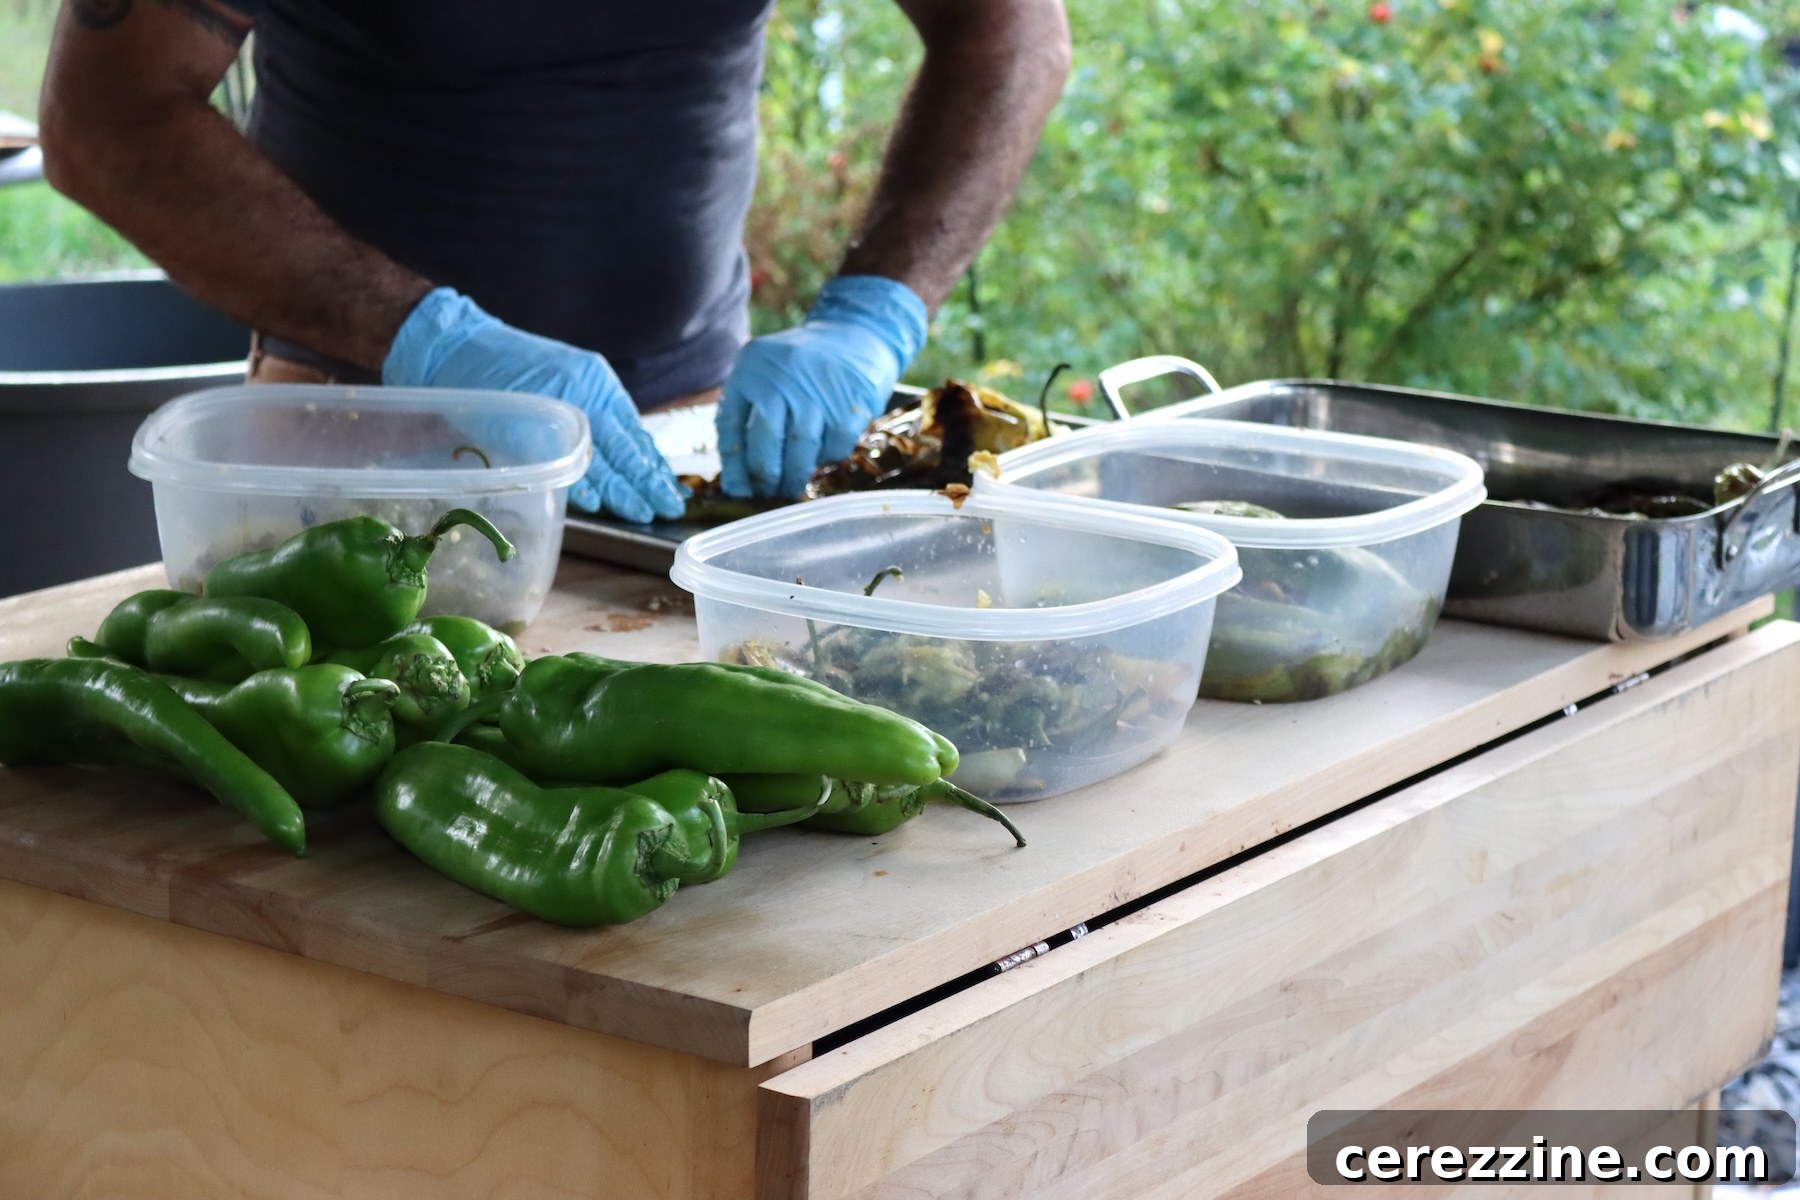
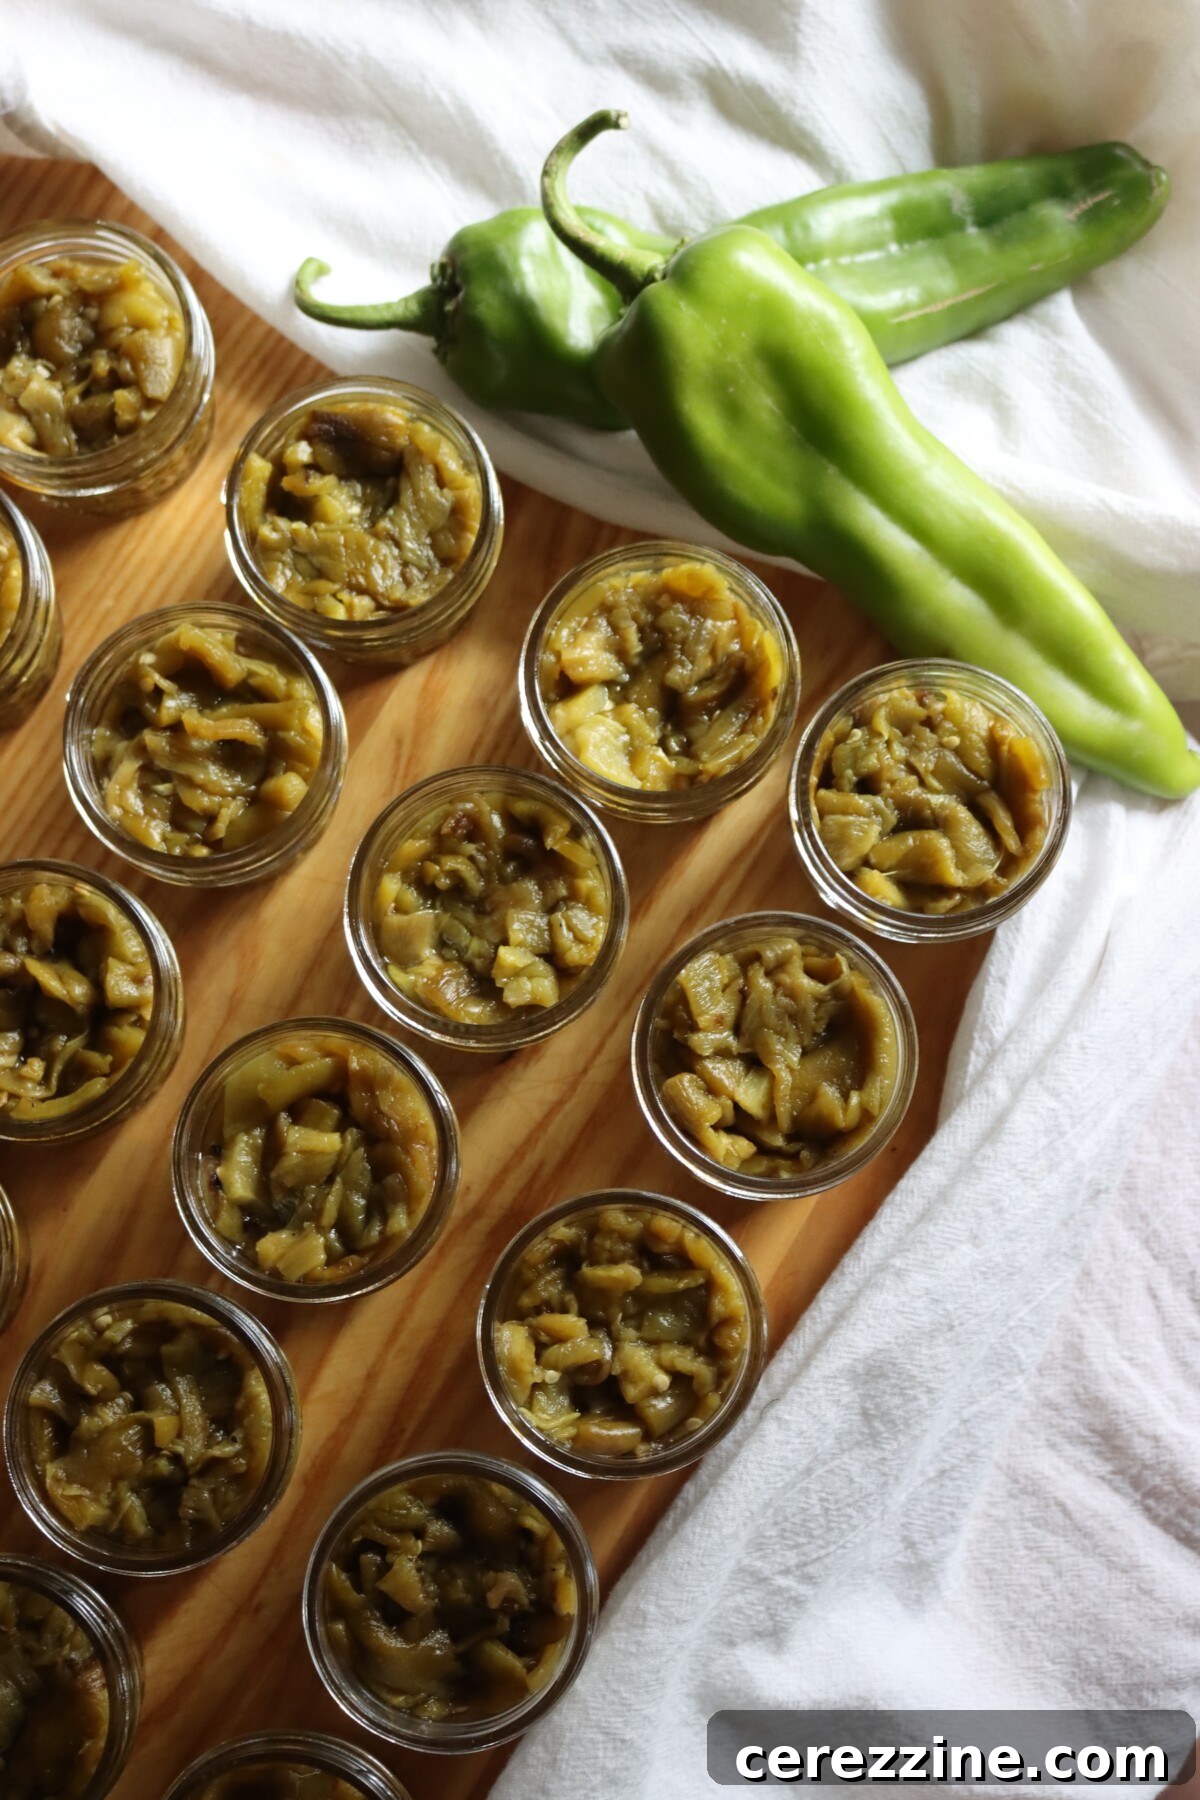
Leave chiles whole or cut them to the size you prefer. Many people pack whole chiles in pint jars and diced chiles in half-pints or quarter-pints; either approach is fine.
Pack the Jars
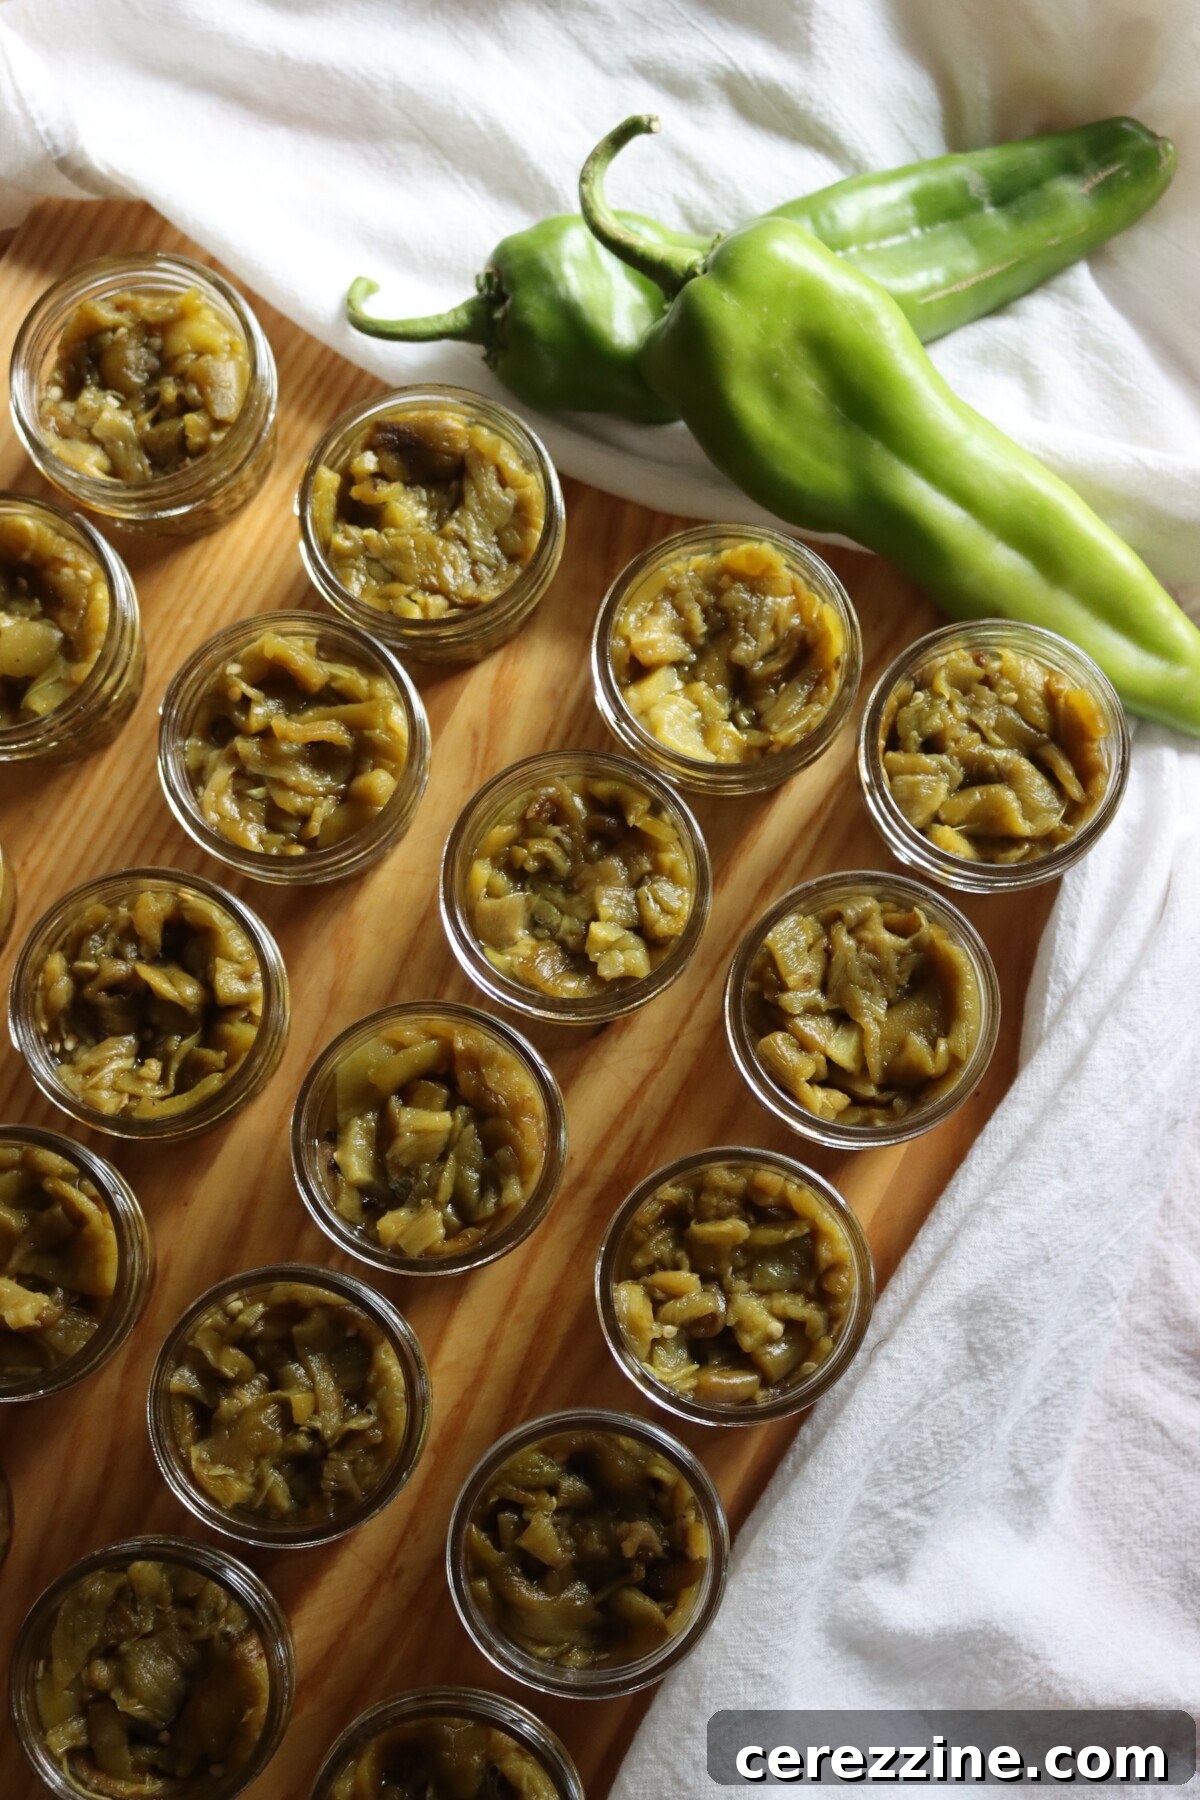
Pack peeled chiles loosely into hot quart-approved sizes—remember, only quarter-pint, half-pint, or pint jars are permitted—leaving 1 inch headspace. Add salt if desired (1/2 teaspoon per pint, 1/4 teaspoon per half-pint). Cover with fresh boiling water, remove air bubbles, check headspace, wipe rims clean, and apply lids and bands fingertip-tight.
Pressure Canning
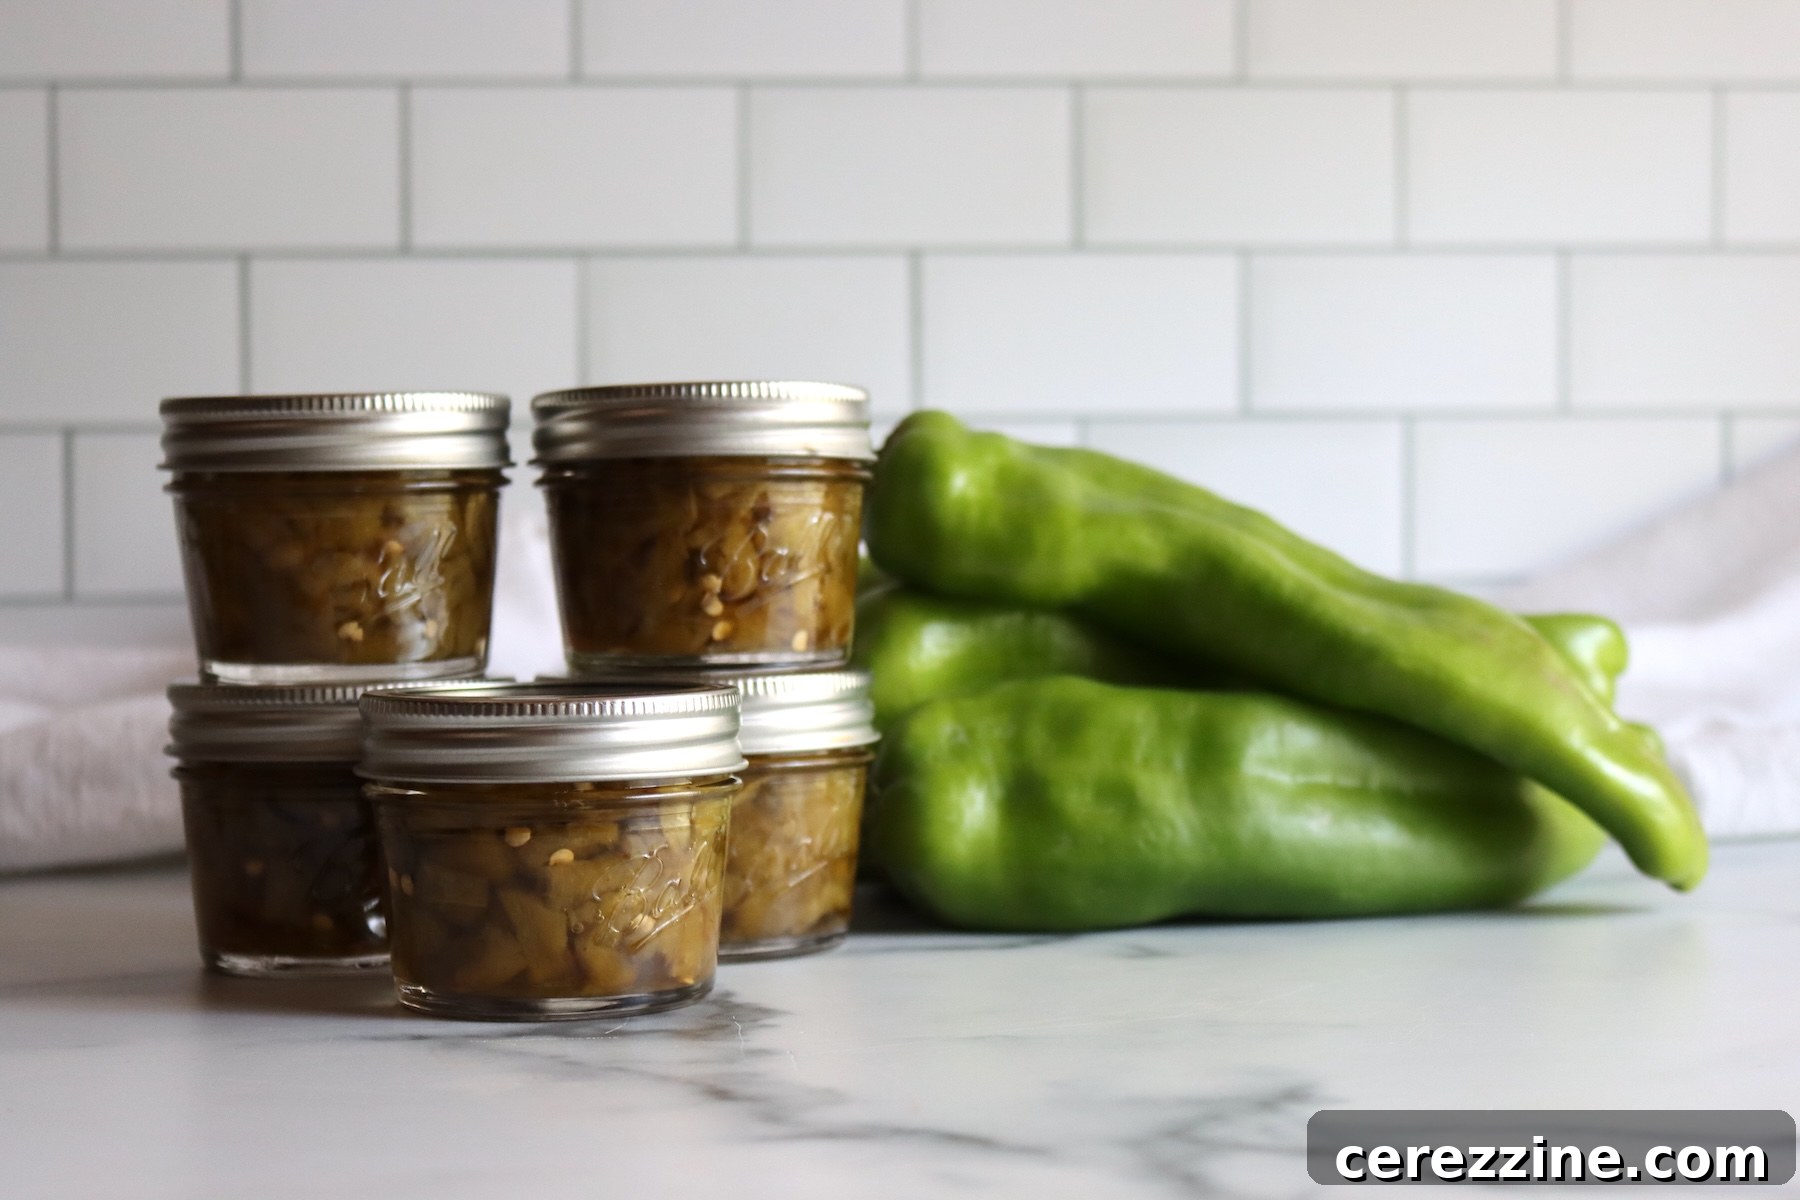
Place jars in a pressure canner with 2–3 inches of hot water. Vent the canner for 10 minutes, then bring to the pressure required for your altitude and gauge type. Process half-pints or pints for 35 minutes at the required pressure (see altitude adjustments below). When processing is complete, turn off heat and allow the canner to depressurize naturally—do not force-cool.
Altitude Adjustments
Processing time stays the same at all altitudes; only pressure changes. For dial-gauge canners use 11 lbs at 0–2,000 ft, 12 lbs at 2,001–4,000 ft, 13 lbs at 4,001–6,000 ft, and 14 lbs at 6,001–8,000 ft. For weighted-gauge canners use 10 lbs at 0–1,000 ft and 15 lbs above 1,000 ft. Follow the tested pressure for your equipment and elevation.
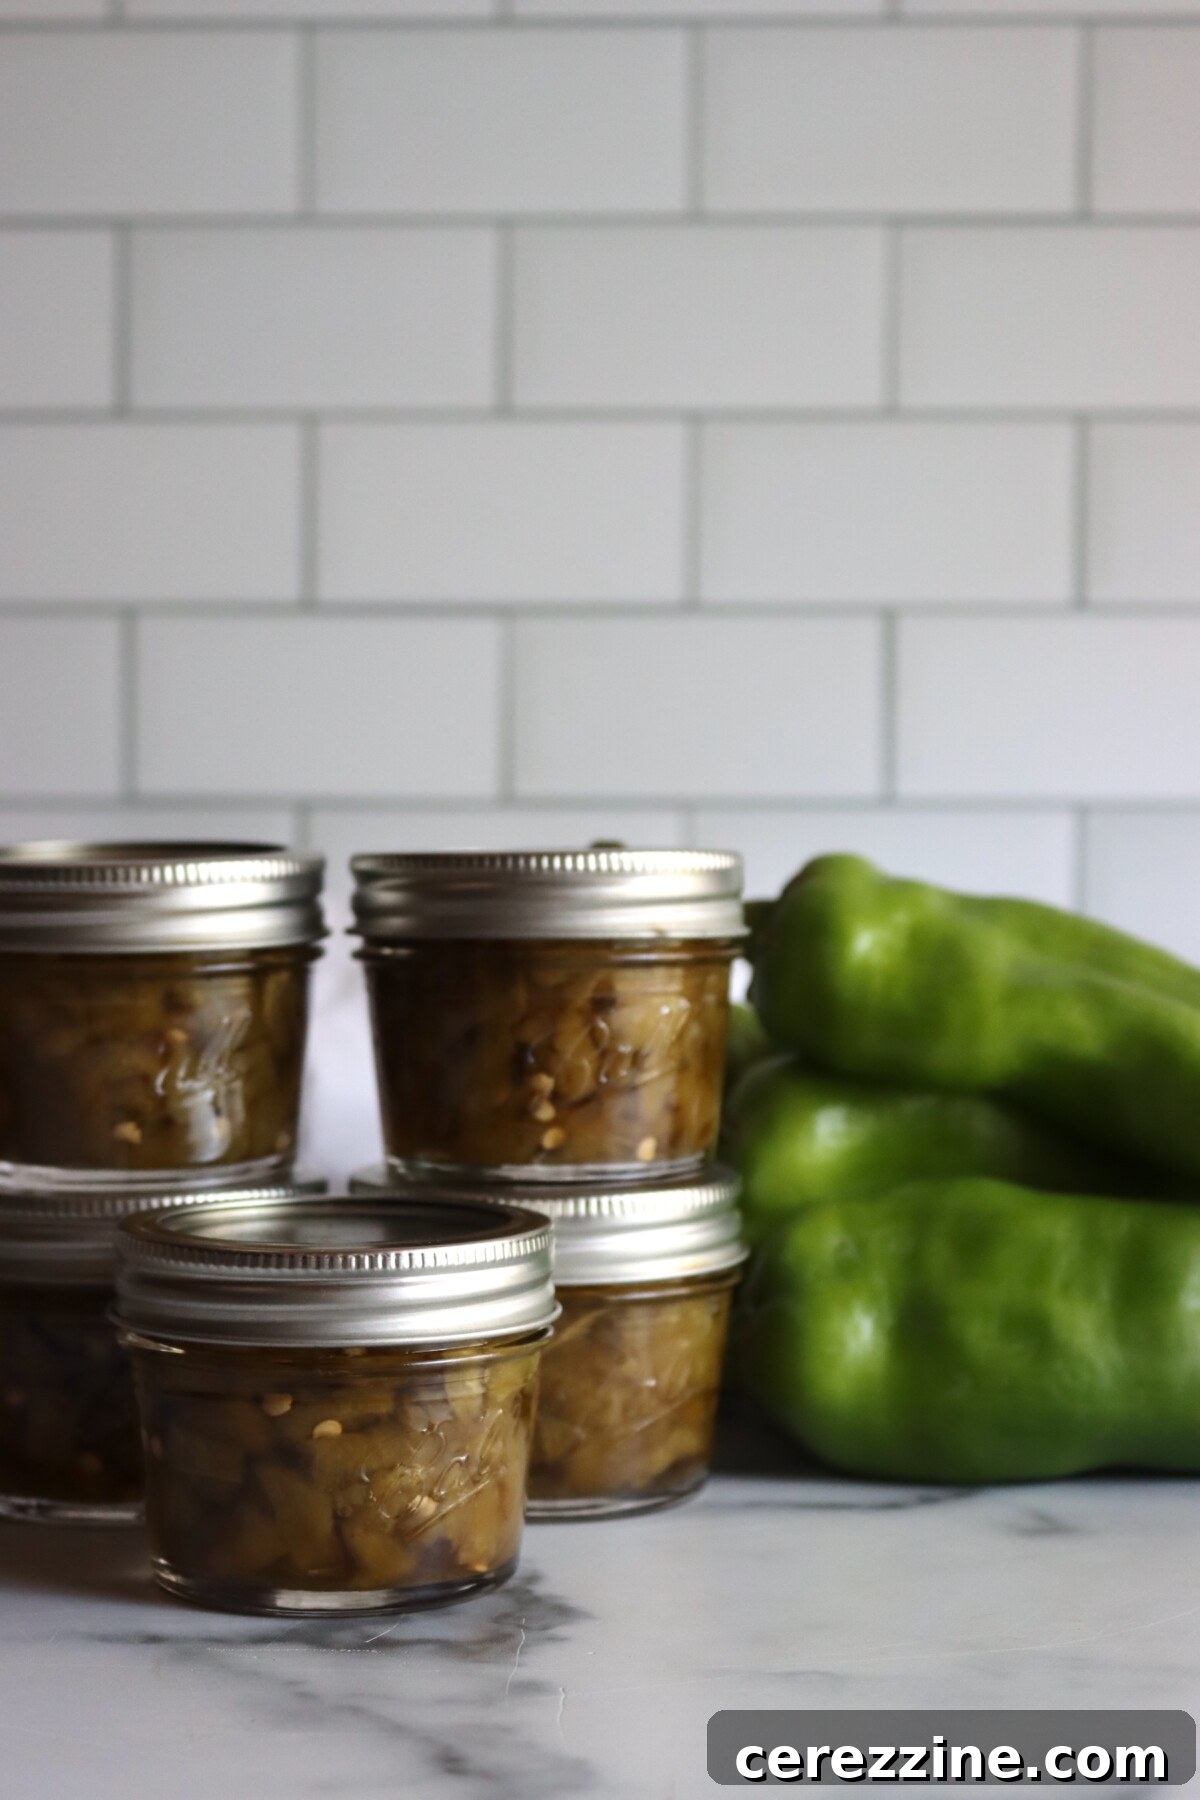
Tips for Success
Roast more chiles than you think you need—skins and cooking reduce the volume. Work with a friend to speed peeling. Always wear gloves when handling hot chiles, and avoid packing jars tightly; a loose pack allows heat to penetrate evenly.
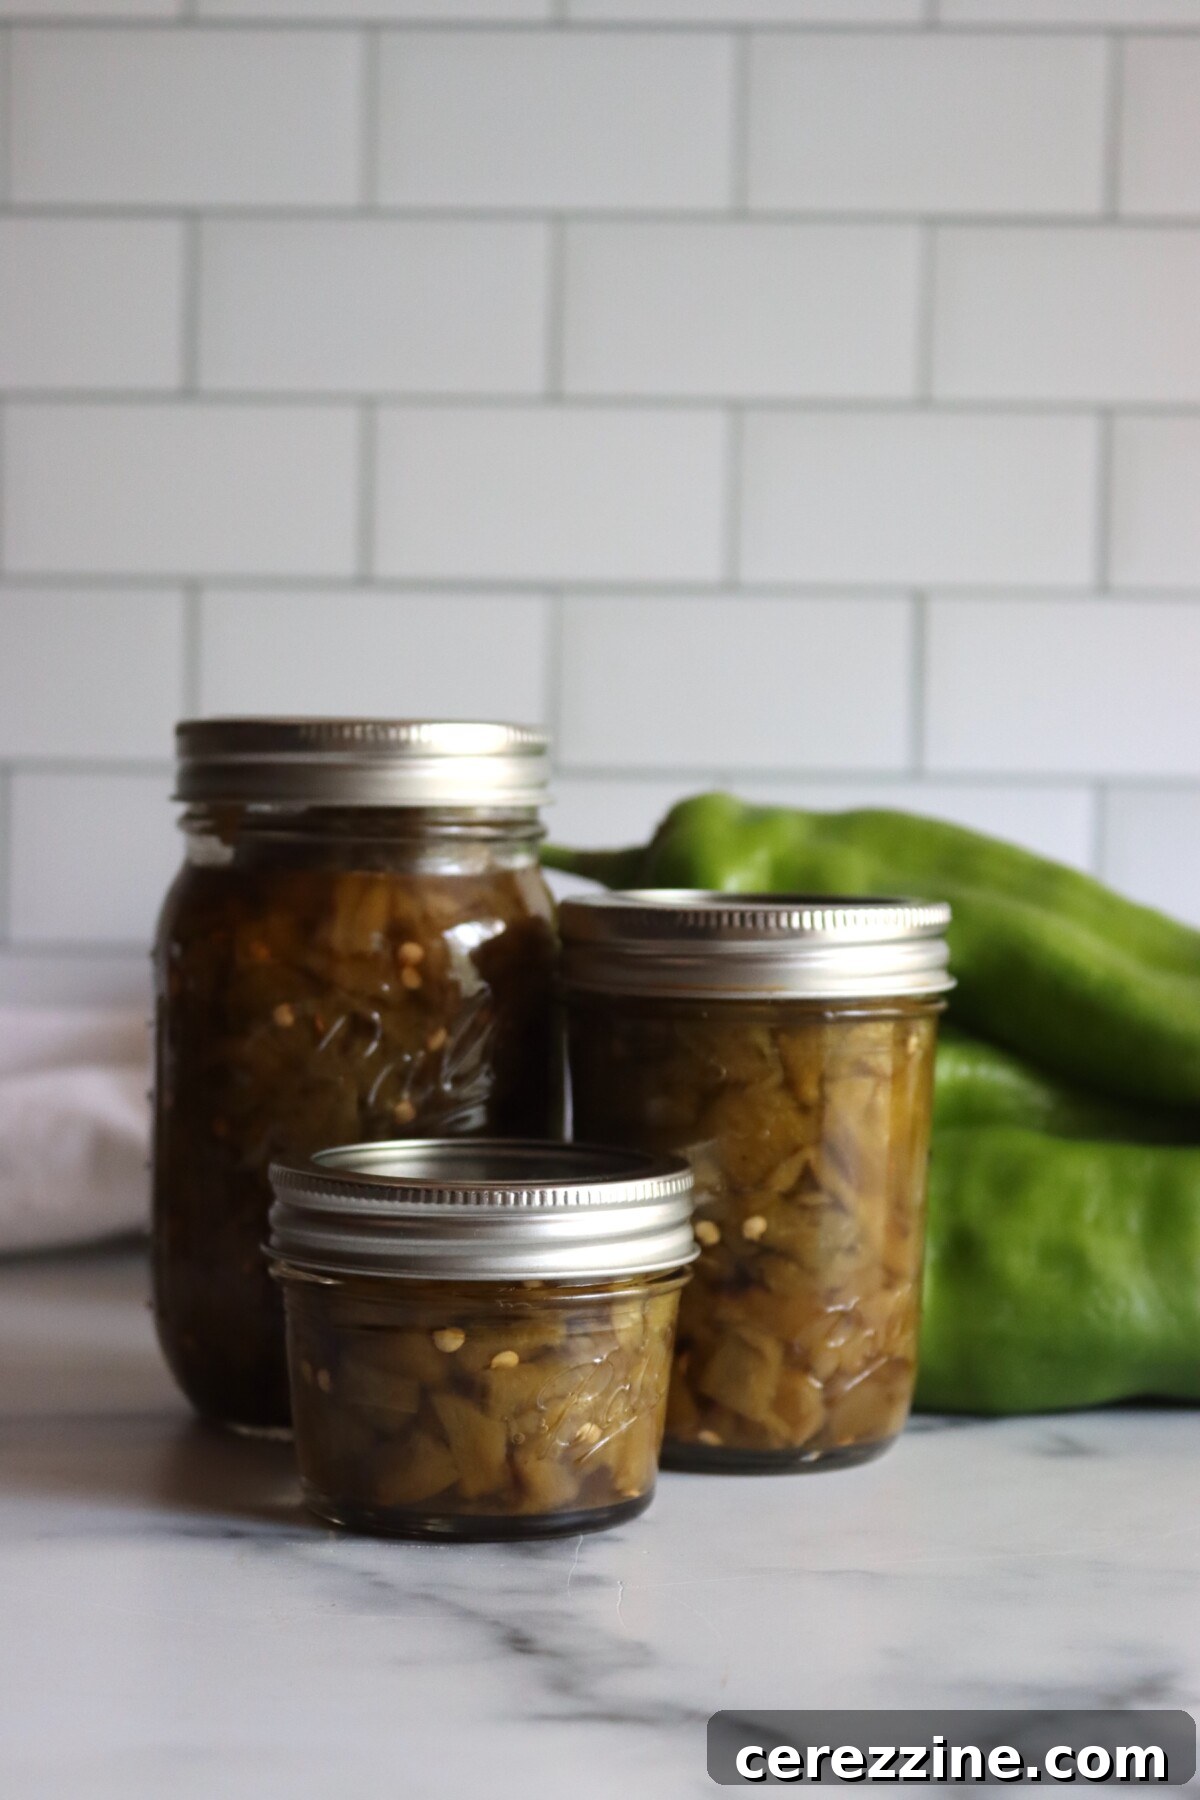
Ways to Use Canned Green Chiles
A jar of roasted green chile shortens the cooking time for many recipes. Drain and chop for enchiladas, green chile chicken, chile verde, or white chili. Stir into scrambled eggs, cornbread batter, cheese dips, or soups. To build a sauce, simmer a jar with sautéed onion and garlic and a little broth, then thicken as desired. Season and finish dishes after opening jars rather than before canning.
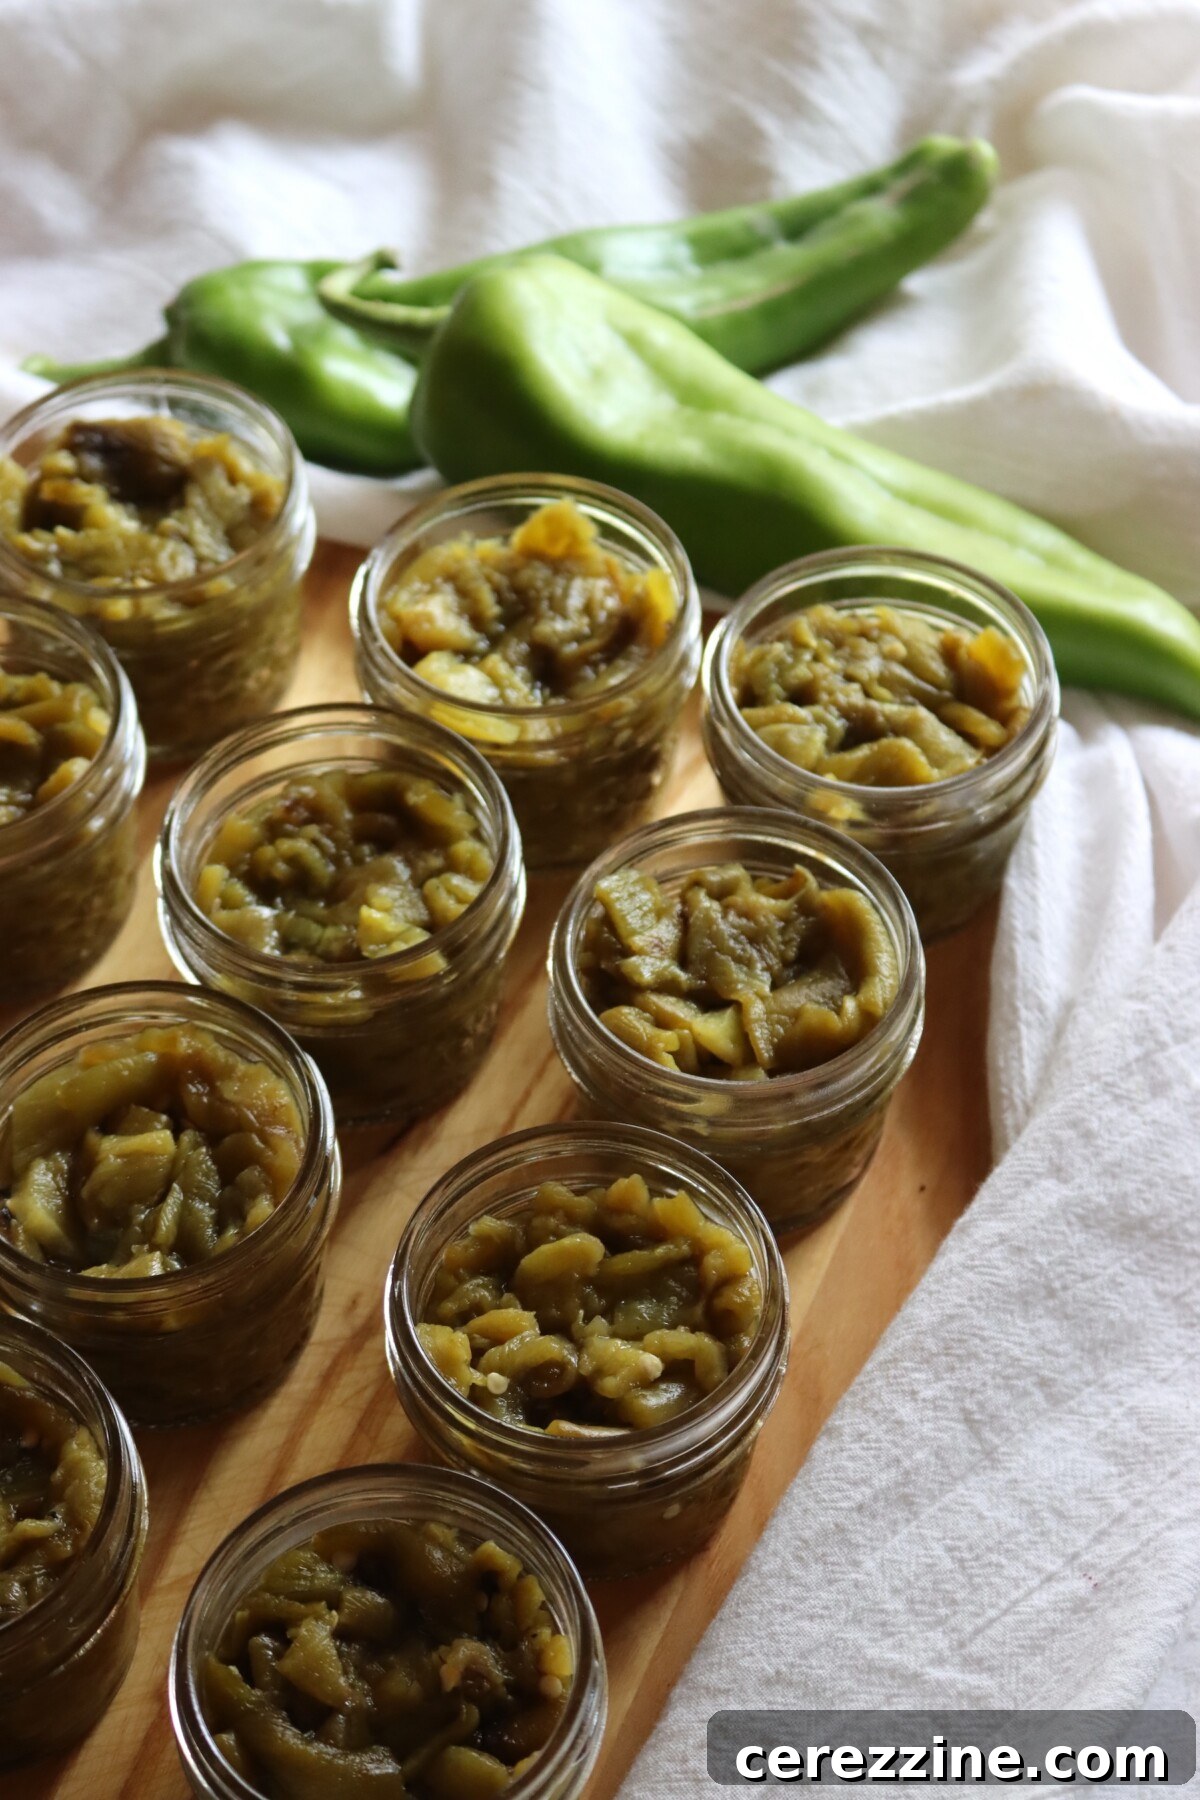
Yield Notes
Nine pounds of fresh chiles yields about nine pints—roughly one pound per pint. Yield varies with chile thickness and how much flesh is lost with the skins. Most people prefer pints for family-sized portions and half-pints or quarter-pints for smaller households; both process for the same time.
Canning Green Chiles — FAQs
No. Green chiles are low-acid and require a pressure canner to reach safe temperatures for shelf stability.
No. Use quarter-pint, half-pint, or pint jars only. Quart jars of dense chile do not heat through reliably in the tested process.
No. Salt is optional and only for flavor. If used, the standard is 1/2 teaspoon per pint or 1/4 teaspoon per half-pint.
Properly processed and sealed jars are best within 12–18 months when stored in a cool, dark place, though they remain safe longer. Discard any jars with unsealed lids or off odors. Refrigerate after opening and use within 3–4 days.
Related Pepper Canning Recipes
Pickled Banana Peppers
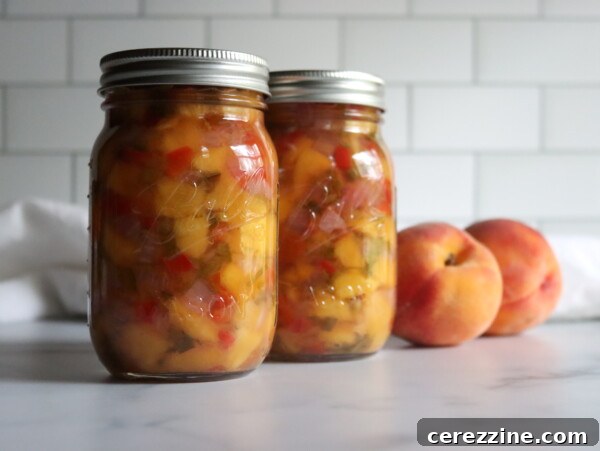
Peach Salsa
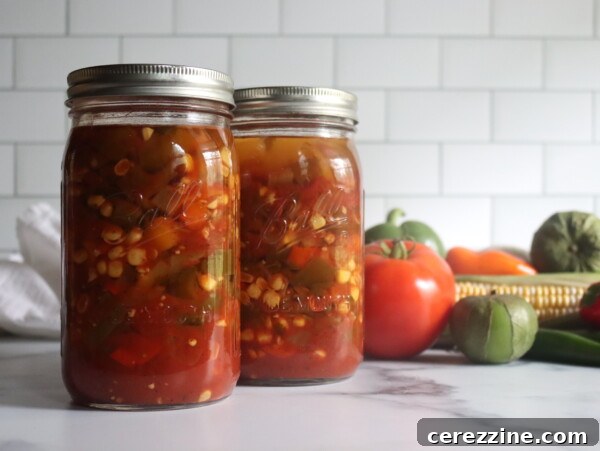
Southwestern Vegetable Soup
If you try this Canning Green Chiles recipe, consider leaving a star rating and a comment to share your experience.
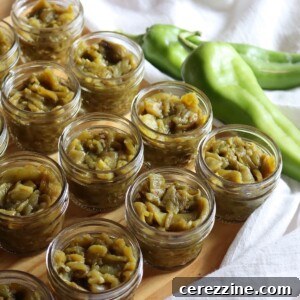
Canning Green Chiles
Equipment
- Pressure canner
- Canning funnel
- Canning jars, lids, and bands
Ingredients
- 9 lbs green chiles (Hatch, Anaheim, or another mild roasting chile)
- Boiling water, to cover (leave about 1 inch headspace)
- Canning salt (optional) — 1/2 tsp per pint or 1/4 tsp per half-pint
Instructions
- Roast the chiles: Wash and dry chiles. Cut a small slit in each to allow steam to escape. Roast under a broiler or in a 400–450°F oven, or over a grill or gas flame, turning often until skins blister and char.
- Steam and peel: Transfer roasted chiles to a covered bowl or pan with a damp towel for a few minutes to steam and loosen skins. Wearing gloves, peel skins and remove stems, cores, and seeds. Leave whole or cut as desired.
- Pack and process: Pack peeled chiles loosely into hot quarter-pint, half-pint, or pint jars, leaving 1 inch headspace. Add salt if desired. Cover with boiling water, remove air bubbles, wipe rims, and apply lids and bands fingertip-tight. Place jars in a pressure canner with 2–3 inches of hot water, vent for 10 minutes, then process half-pints or pints for 35 minutes at the required pressure for your altitude and canner type. Allow the canner to depressurize naturally before removing jars.
Notes
This recipe follows USDA and NCHFP guidance for canning plain peppers. Do not shorten processing time, lower the pressure, or add oils, thickeners, tomatoes, onions, garlic, or other vegetables to jars before canning. Salt is optional and for flavor only. Yield is roughly one pound of chiles per pint; a pint holds about 2 cups of peeled chile. Store sealed jars in a cool, dark place for best quality for 12–18 months; refrigerate after opening and use within 3–4 days.
If you’re planning to heat up the pressure canner, this is a great time to batch other pressure-canning recipes as well—canning multiple items in a season makes the most of the equipment and your time.